Week_5 - 3D Scanning and Printing
Assigment
- group assignment:
- test the design rules for your 3D printer(s)
- individual assignment:
- design and 3D print an object (small, few cm3, limited by printer time) that could not be made subtractively
- 3D scan an object (and optionally print it)
Group Assignment
On this week group assignment we explore the design rules for your 3D printer(s)In fablab we have two types of printers: FDM and SLA. In the description below I will describe the operation and design principles under Zortrax M200, Formlabs 1+ and MAKERBOT. For testing I used a file made available to ctrV on thingivers.
Zortrax M200
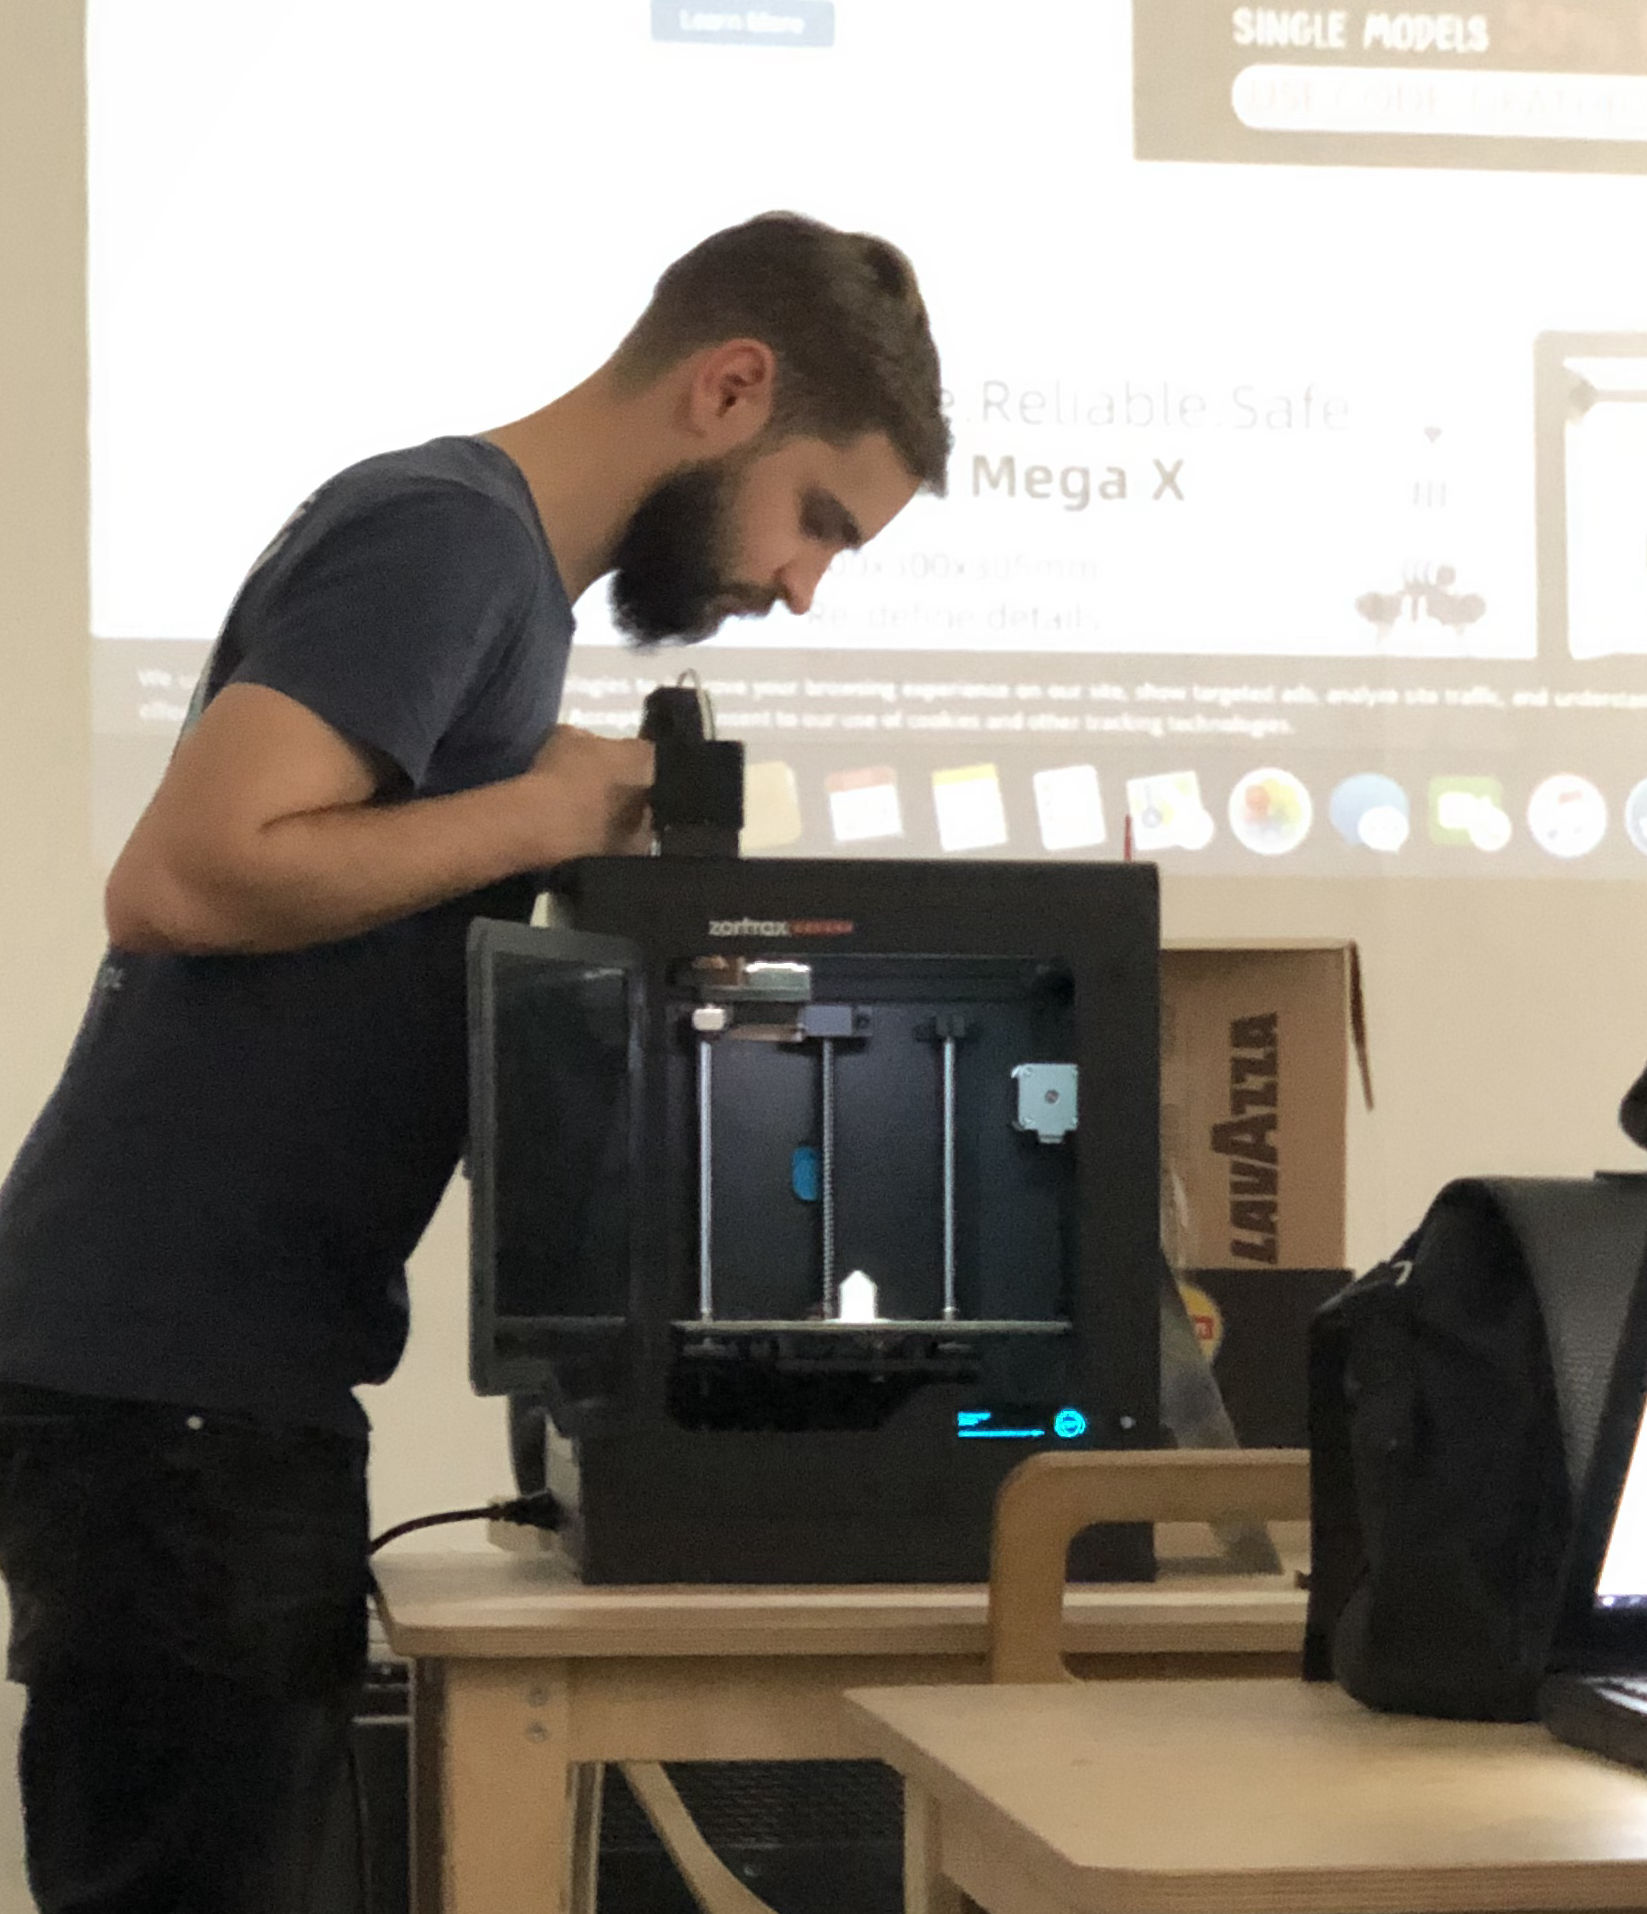
Zortrax is a Polish company that is very well known in the market
for creating armoured printers that may not print the most
beautifully but print almost always, and if they do not print
it is your fault. Over the years these printers have had a very
closed infrastructure, so only the manufacturer's materials could
be used and the software was very limited. At the moment, after
many consultations with users, it is possible to print from any
material to save presets and turn off the raft (which can only be
useful for quick test prints at a perforated table).
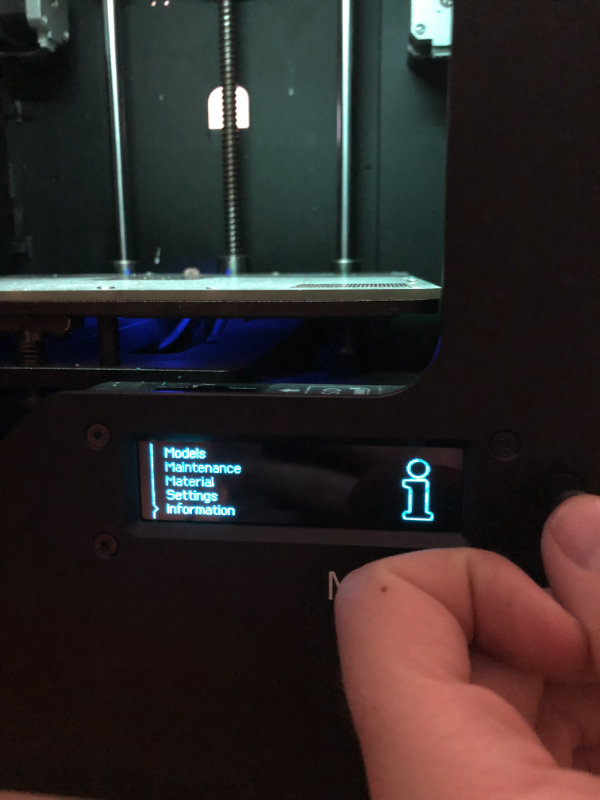
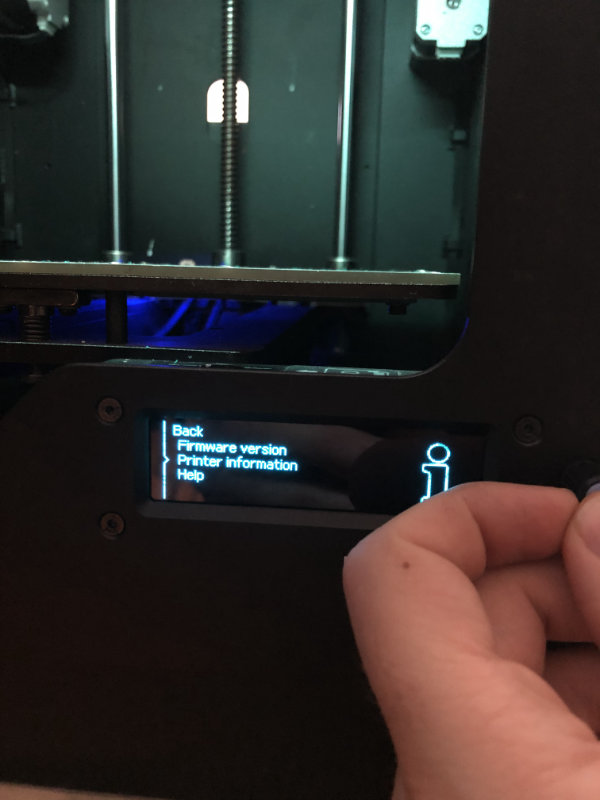
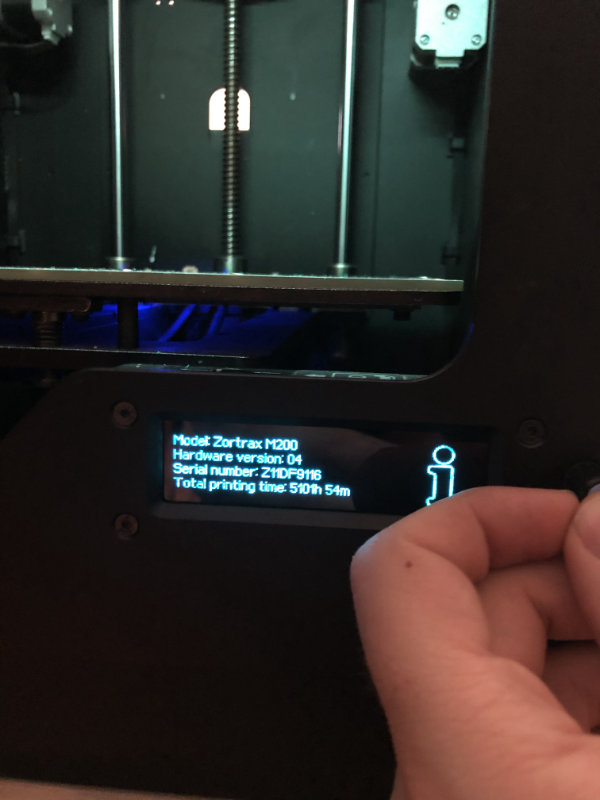
On the manufacturer's website there is a program for Zortrax,
called Z-Suit ,
which is on Win and Mac. For installation we will
need a serial number, which is on each printer in
Information=>Printer Information (uff this printer has
been running for over 5k hours and still works great).
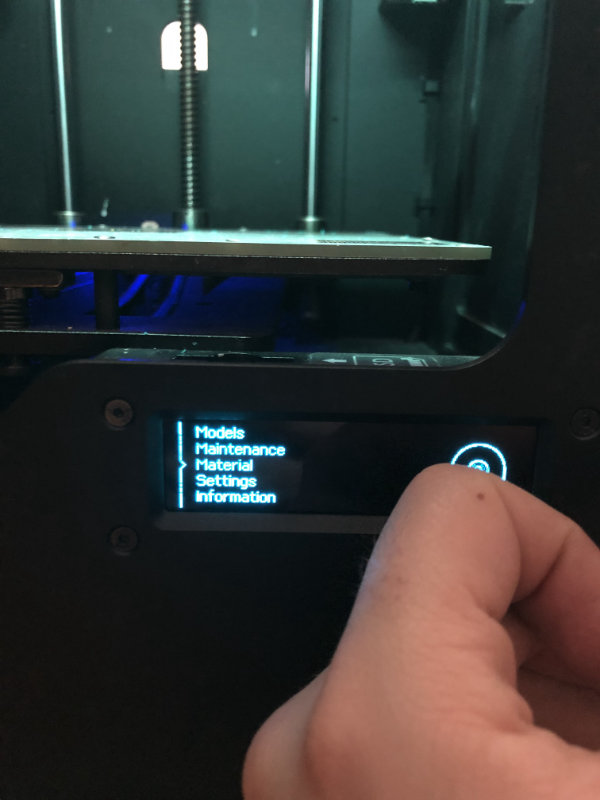
Changing filaments
Once we install the Z-suit we change to our material and release the print.Change the material: Material=>unload the material

wait for the nozzle to warm up, remove the filament and cut off the tip distorted by the filament drive gear.
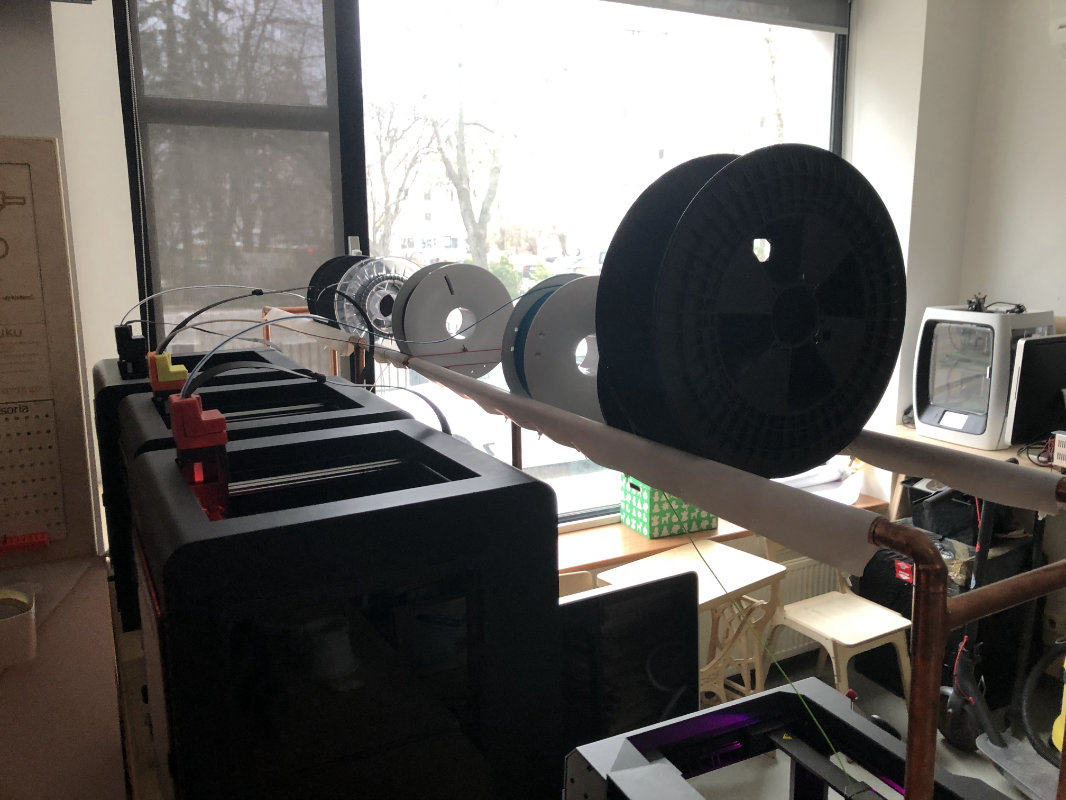
Place a new spool on the rack pillar whose copper pipes are covered with Teflon (thanks to which the spools rotate freely).
Insert the filament into the input hole of the extruder
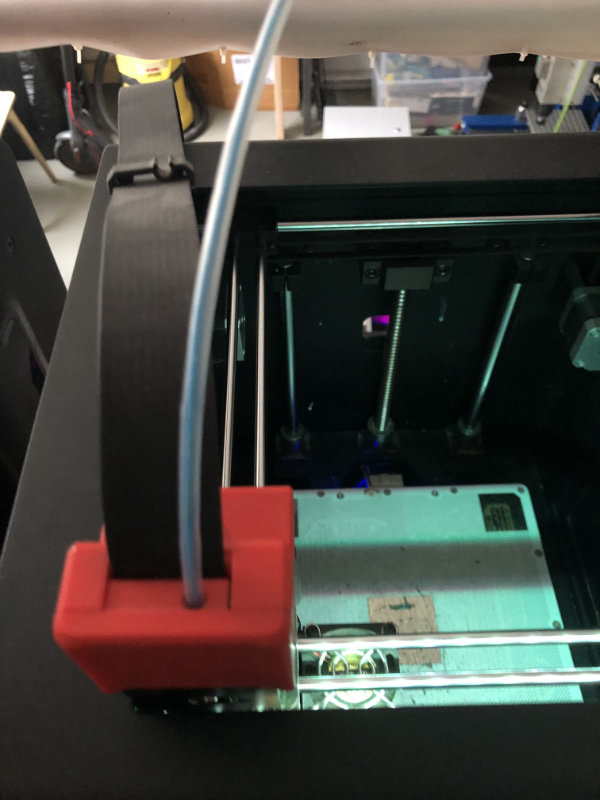
and in the printer menu select Material=>load the material
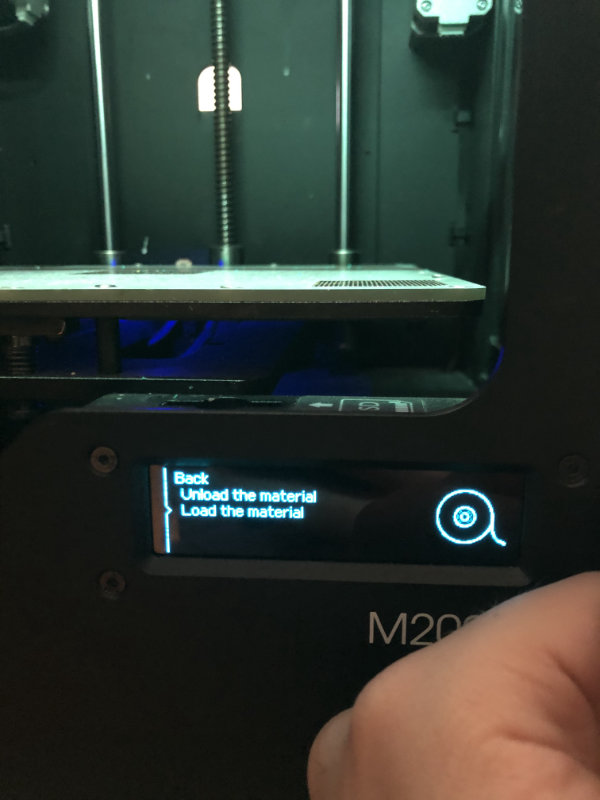
we gently press the filament to enter between the drive gear and the guide bearing.
After inserting the material, clean the nozzle with tweezers and remove the spilled filament.
Calibrating zortrax is and easy task (you can say semi automatic) and there is very nice tutorial on company website, i recommend to familiarize yourself with it.
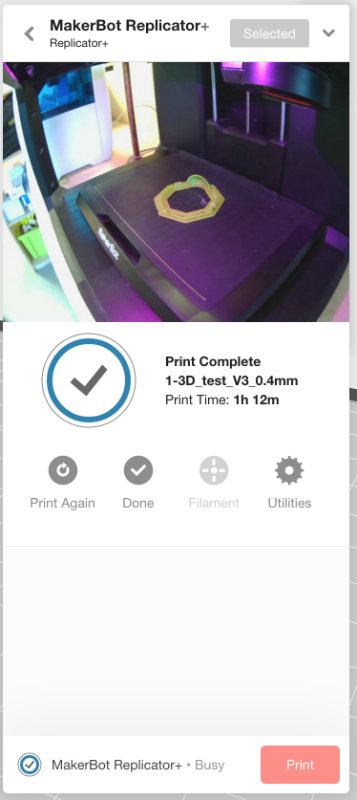
Makerbot Replicator+
Work area: 295 x 195 x 165 mm
Materials: PLA, TOUGH PLA
Software: MakerBot Print,
Layer height: 100-200-300 microns
Dimensions: 528 x 441 x 410 mm
Weight: 18.3 kg
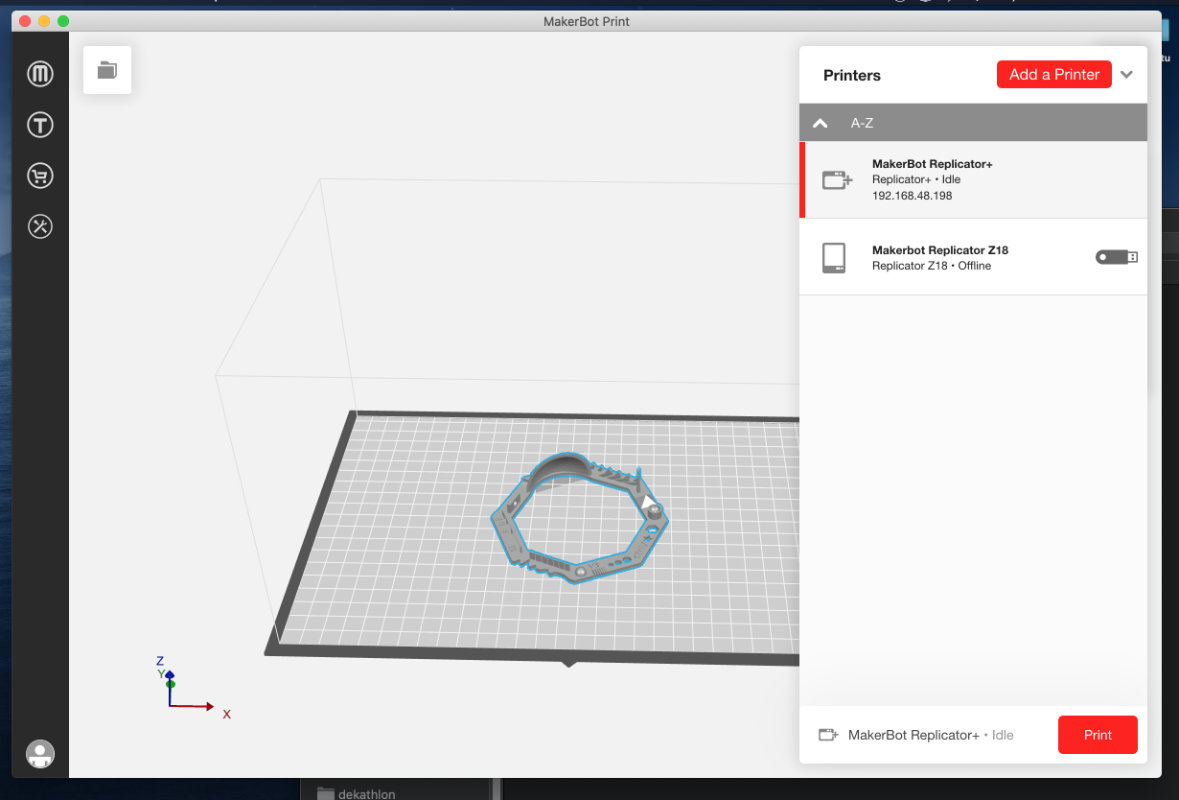
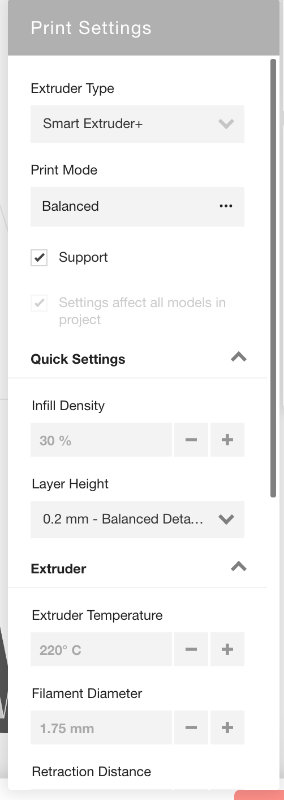
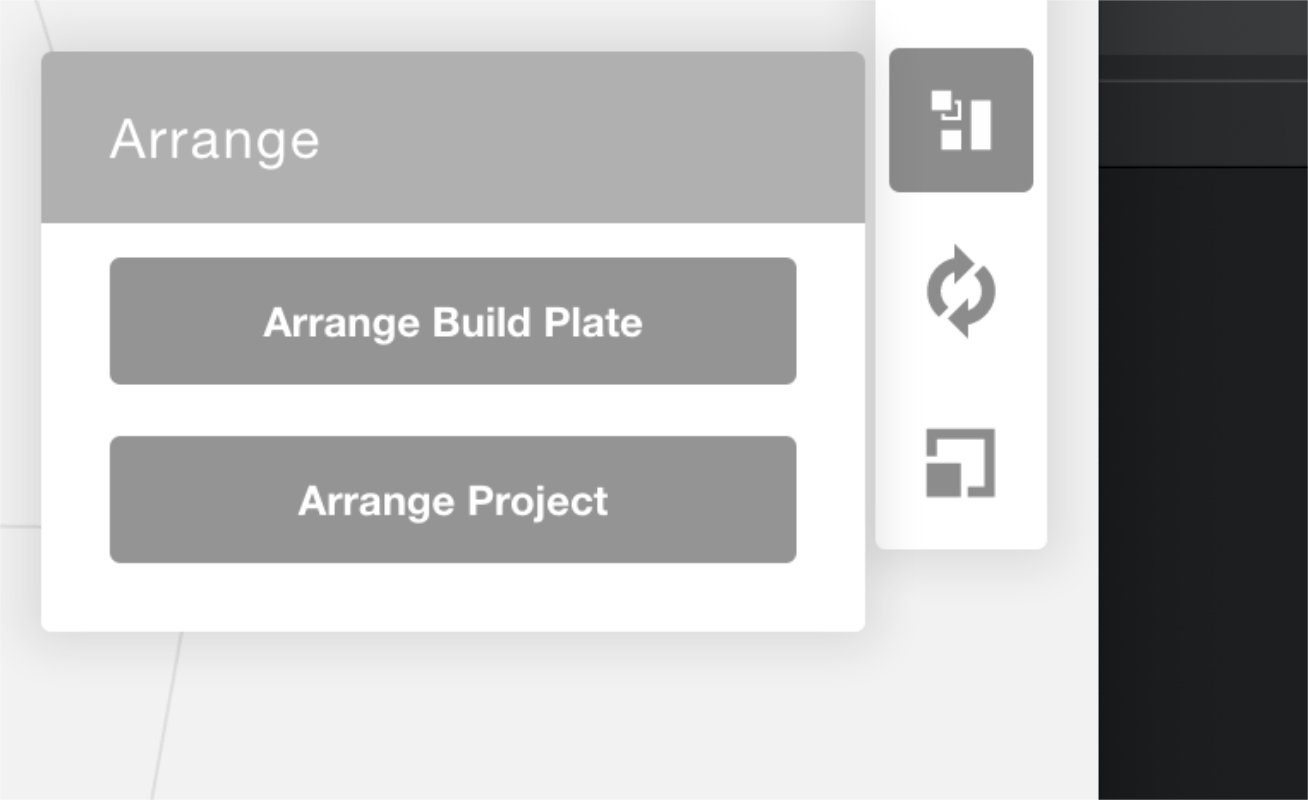
Operating the slicer for this printer is trivially simple,
but unfortunately it also has its limitations due to the
few options available to users and the simplest options
such as print settings are hidden.
Select a file and upload it by drag and drop or choose from import.
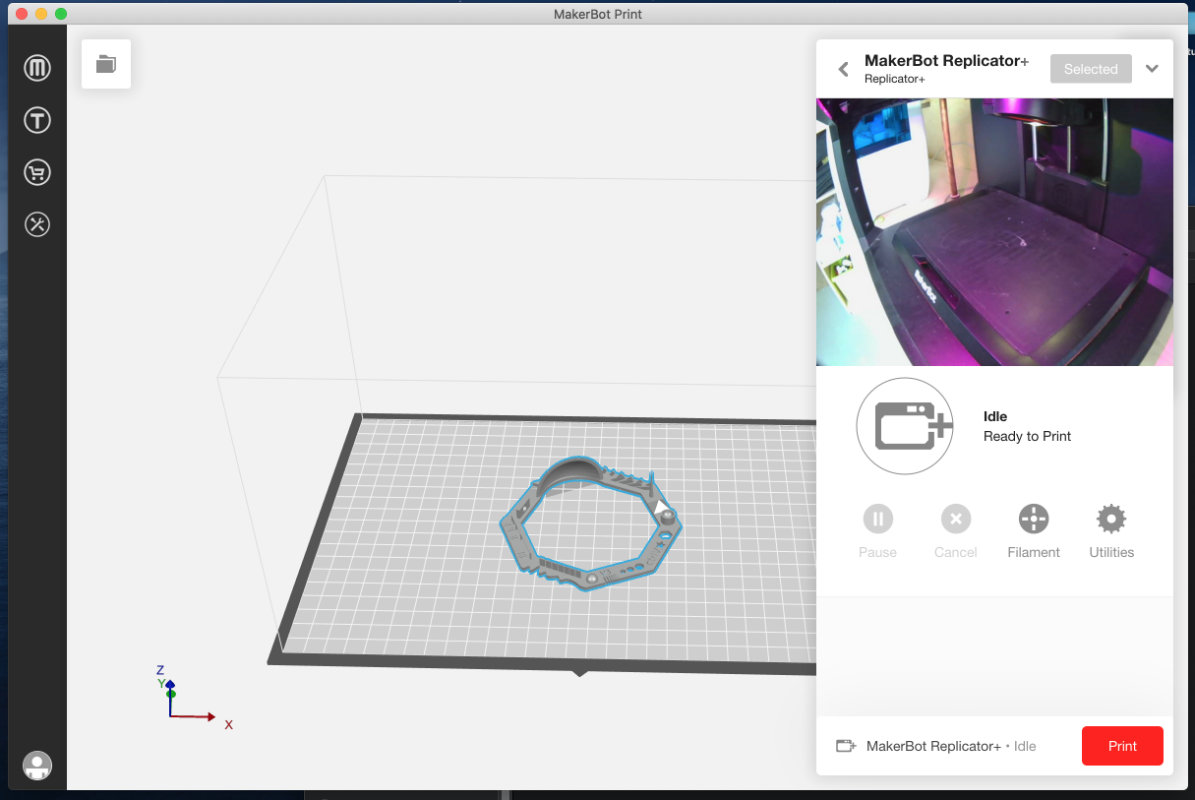
Choose a printer from the network (after the ip address)

Preparing files with the example of Z-suit
Most of the Slicer works very similarly, it is enough that we know the basic
functions and naming and we can print on practically any printer, so before
I take a look at the detailed operation z-suit will describe some important settings.
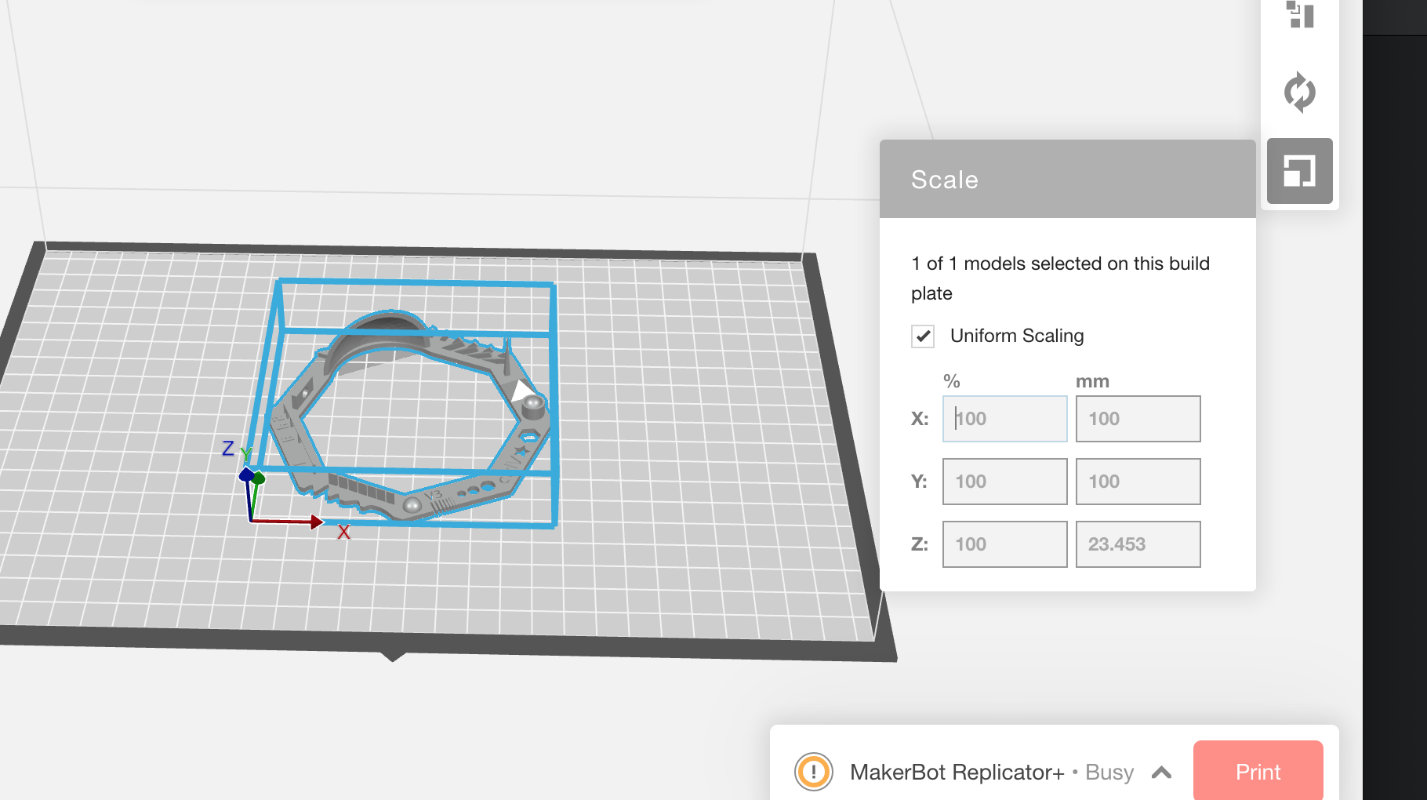
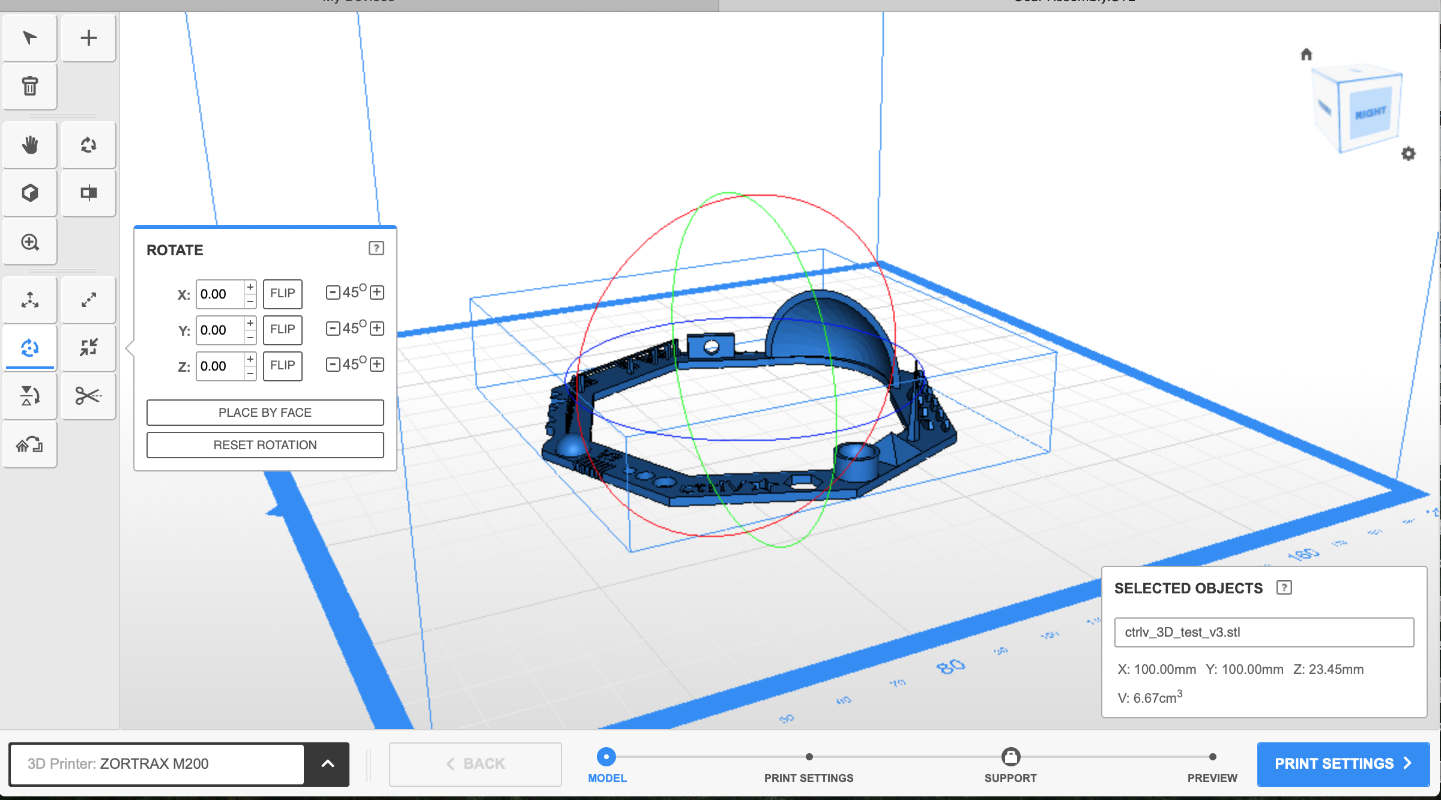
Model positioning
A very important option depends on how long the object will
print and in which plane it will be stronger and more resistant to
particular stresses. More info here
For FDM, the top surface is smoothed by the extrusion
tip, the surface in contact with the print bed will
usually be glossy and the surfaces above support structures will have support marks.
Material types:
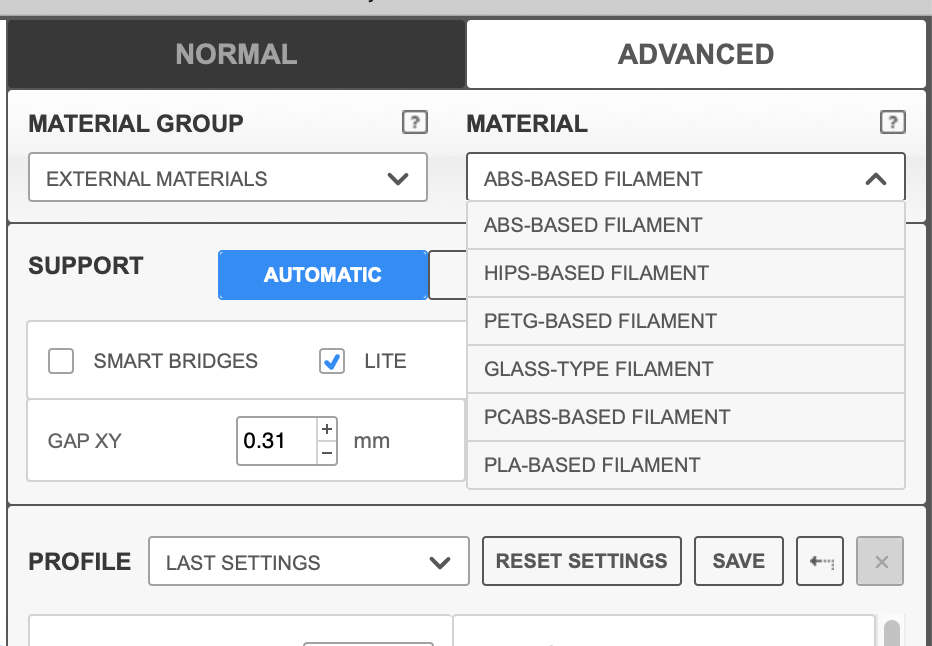
Basic materials used in our Fablab
PLA
ABS
HIPS
PETG
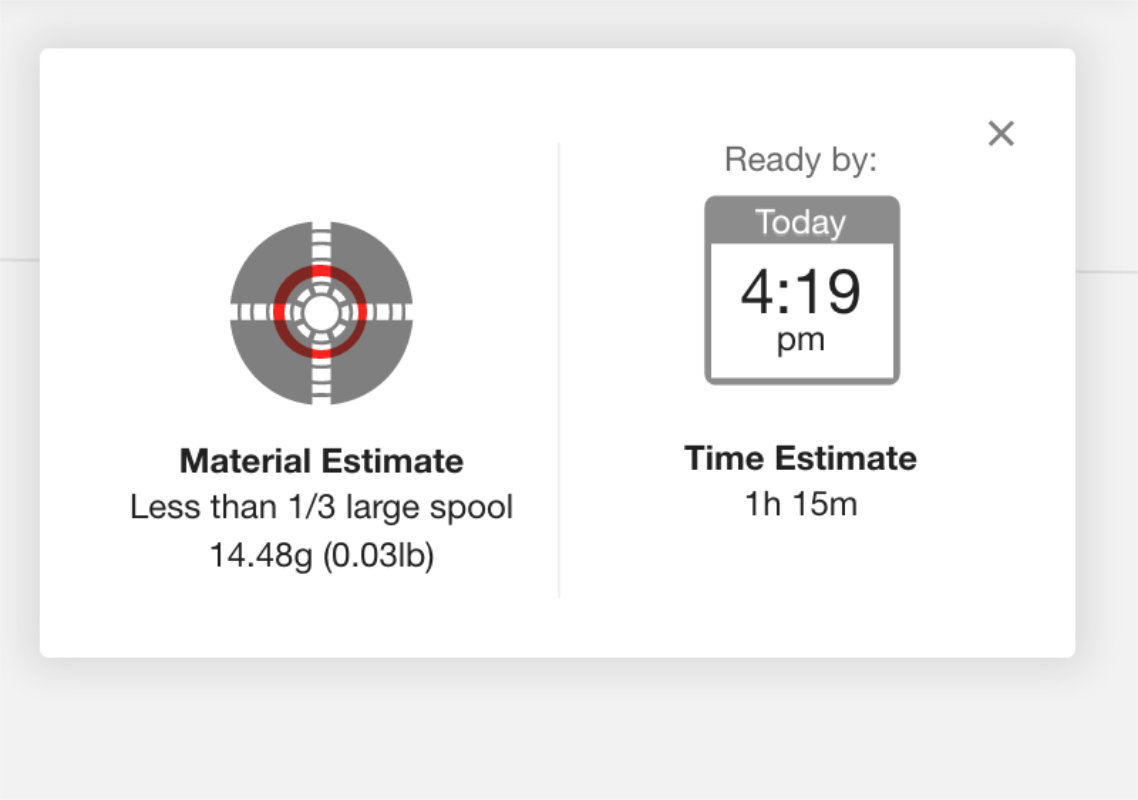
Layer height:
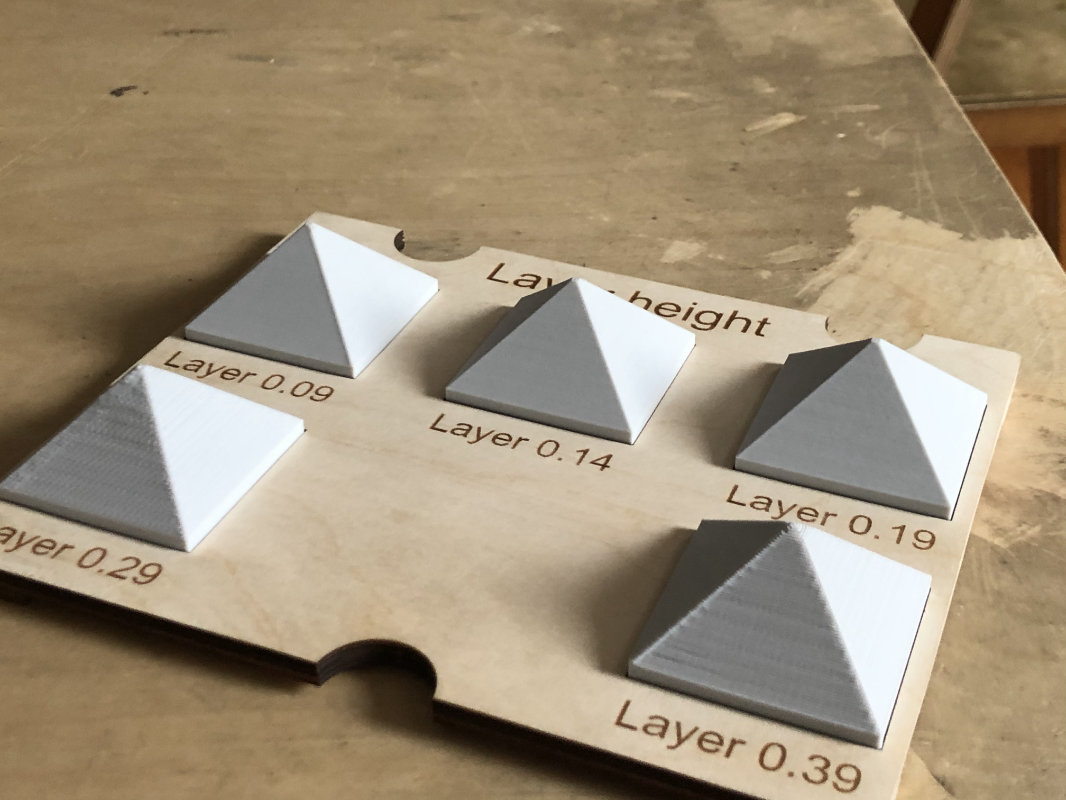
The quality in the Z-axis depends on the height of the layer.
It has been assumed that layers from 0.29 mm upwards can be easily
set for prototypes and models without much detail. Thanks to the high
layer height we can quickly have the object for testing and further
modifications. In addition, the printout can always be post-processed
and the ideal surface can be obtained. For more detailed prints we use
smaller values up to 0.6mm on FDM printers.
Unfortunately, a low layer extends our waiting time for the final product,
so it is always worth considering why we will need a printout. Below is a
picture of a board with sample layers and printing times on zortrax m200.
Infill:
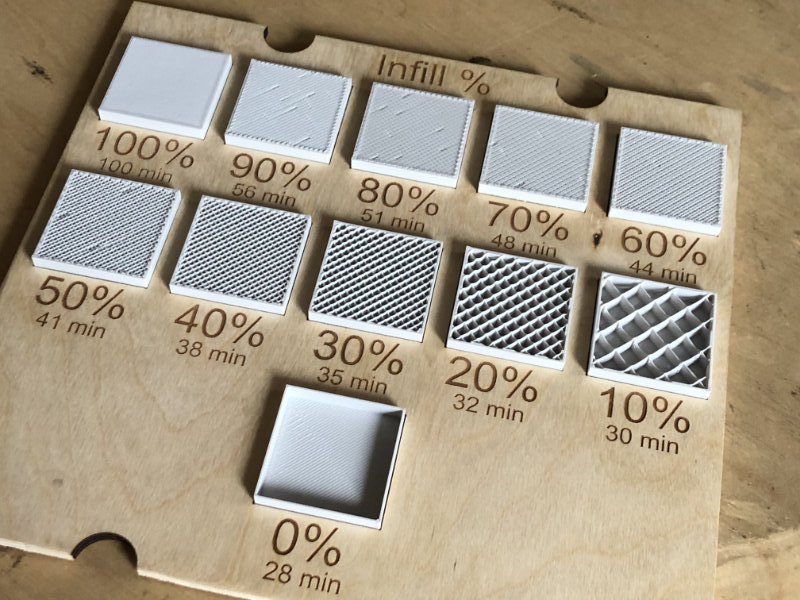
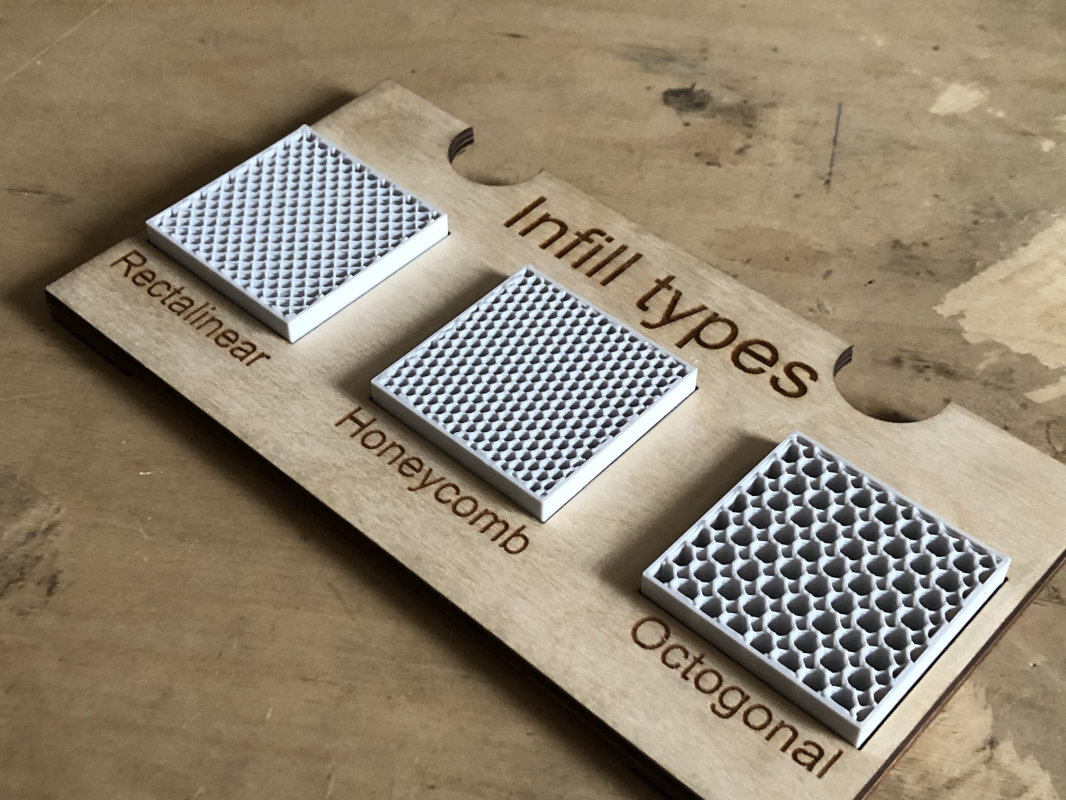
Infill, i.e. percentage filling of the object. You might think that the
bigger the filling the stronger and stronger the print. Fortunately,
this is not the most optimal infill for commercial objects ranging
from 15-25%, and the stronger the printout is 40%.
But why not 100%?
Large fully filled objects are more fragile
fully filled objects are susceptible to cracking and shrinkage of the material
3D printing rules in our fablab
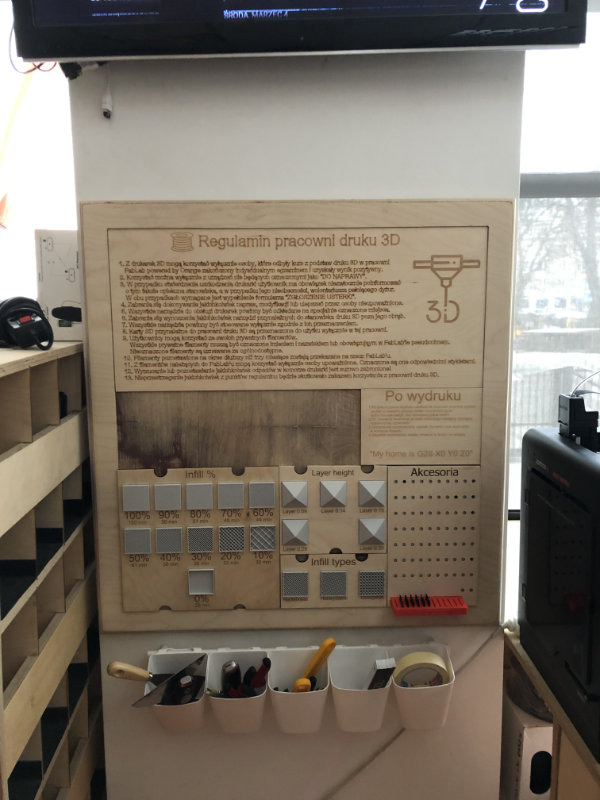
Before printing
During printing
After printing
CAD-designing a part not possible with subtracting processes
I had a little difficulty in choosing the things I would like to design...
the problem was time and a multitude of options:)
More and more projects can be seen on the Internet
that use the incredible add-on systems, i.e. ship in bottle syndrome.
How did it get there? Did someone tweezers piece by piece build it in a bottle?
In Sum, by means of 3d printing, it could happen that the bottle was created on a
par with the ship and the dilemma of what was the first egg or hen falling out...
hmmm or maybe space engineers printed the hen and the egg at the same time?!
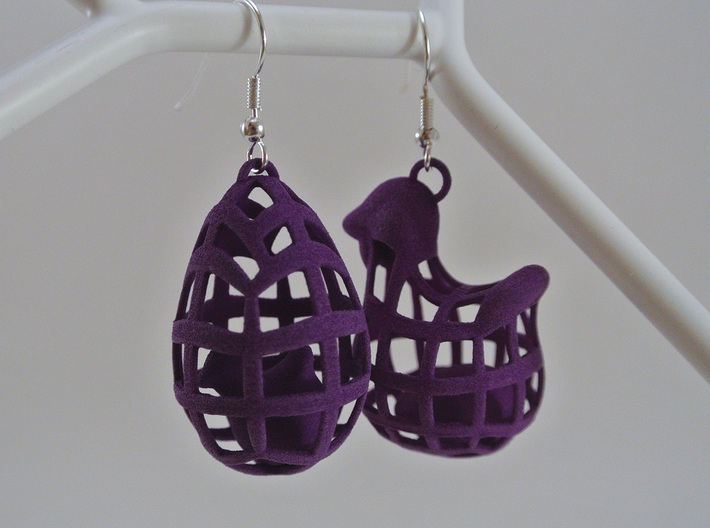
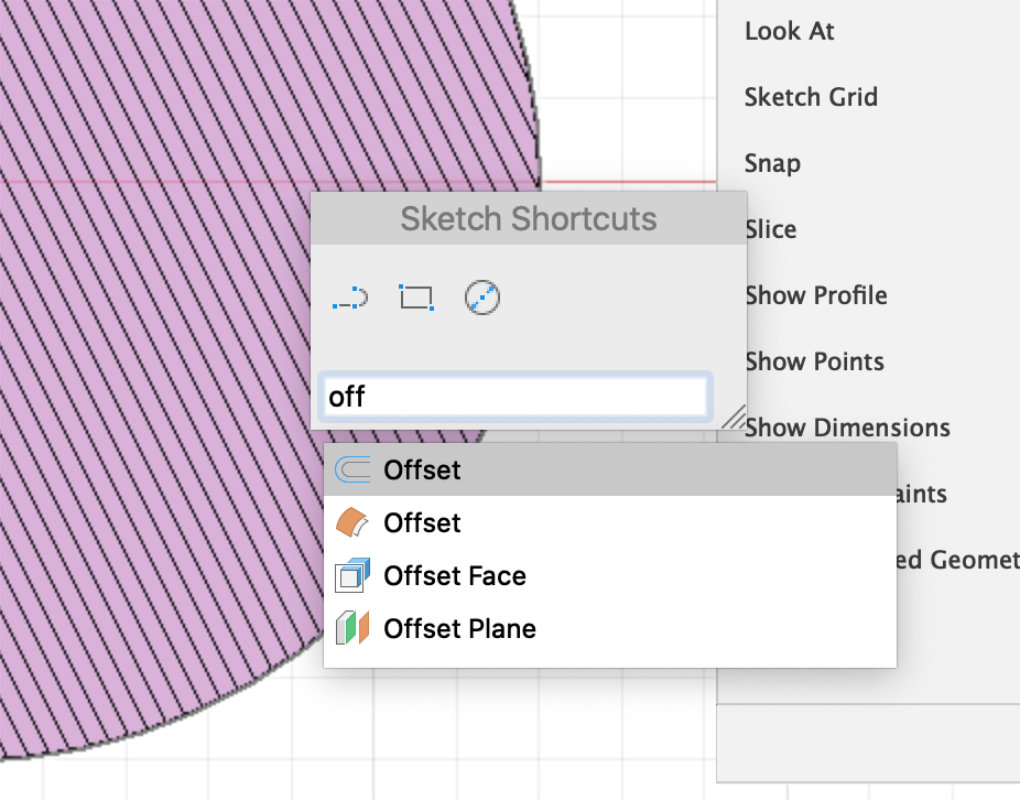
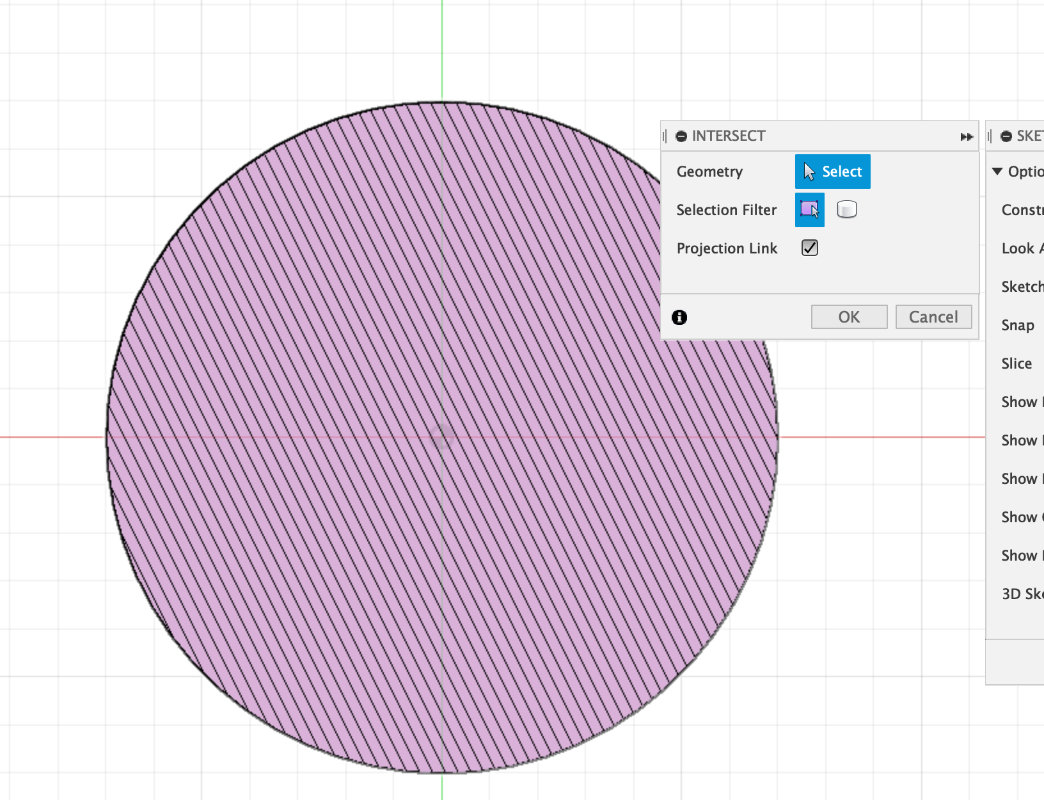
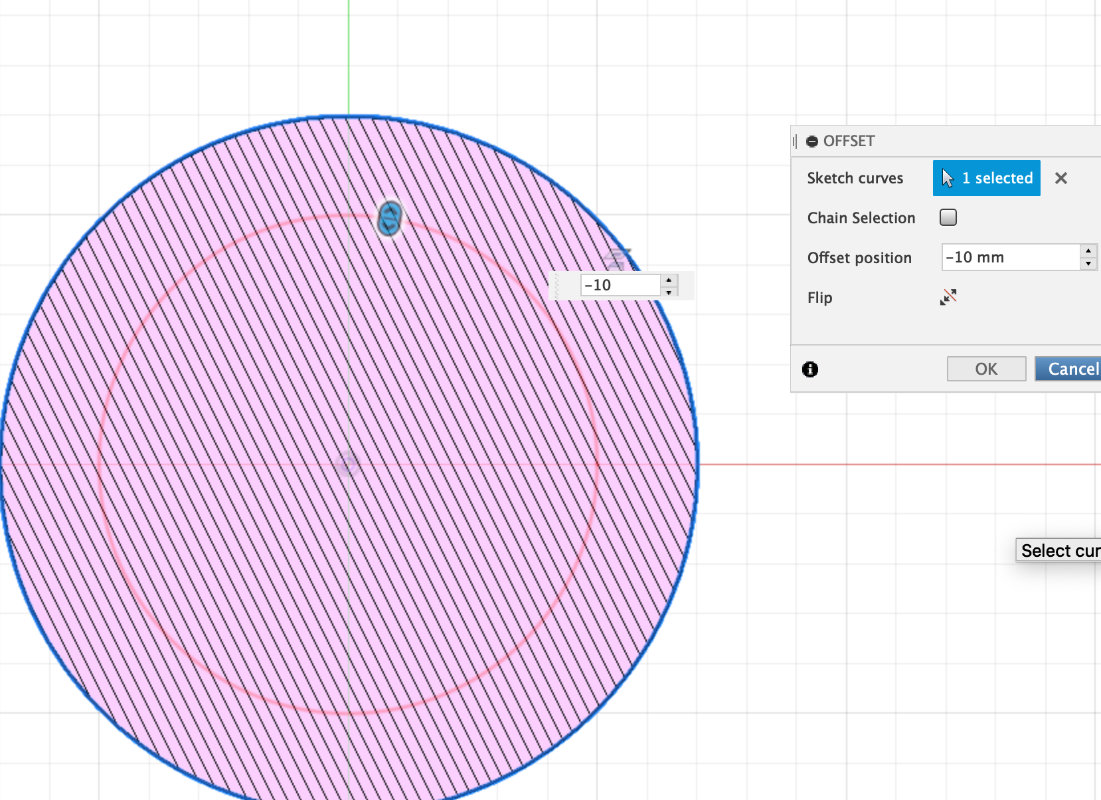
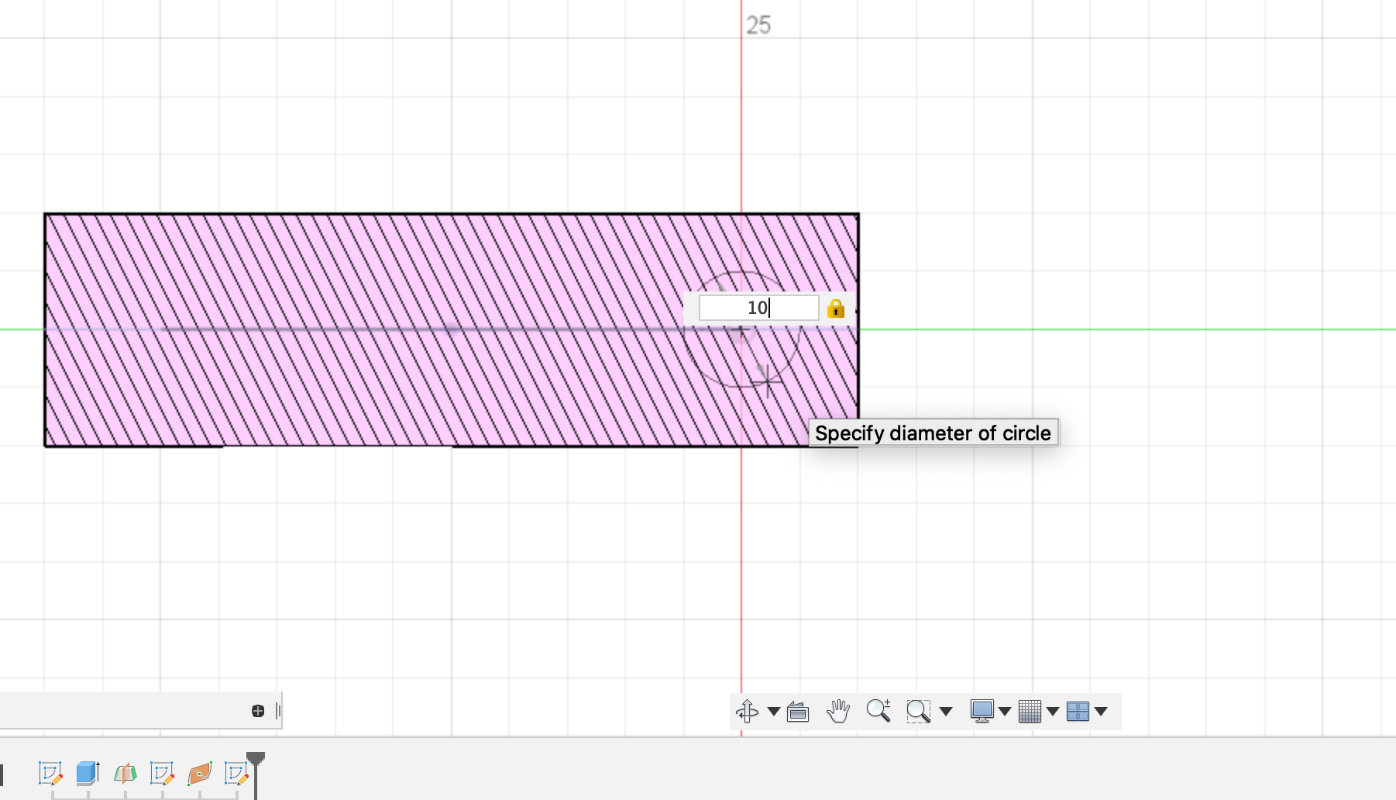
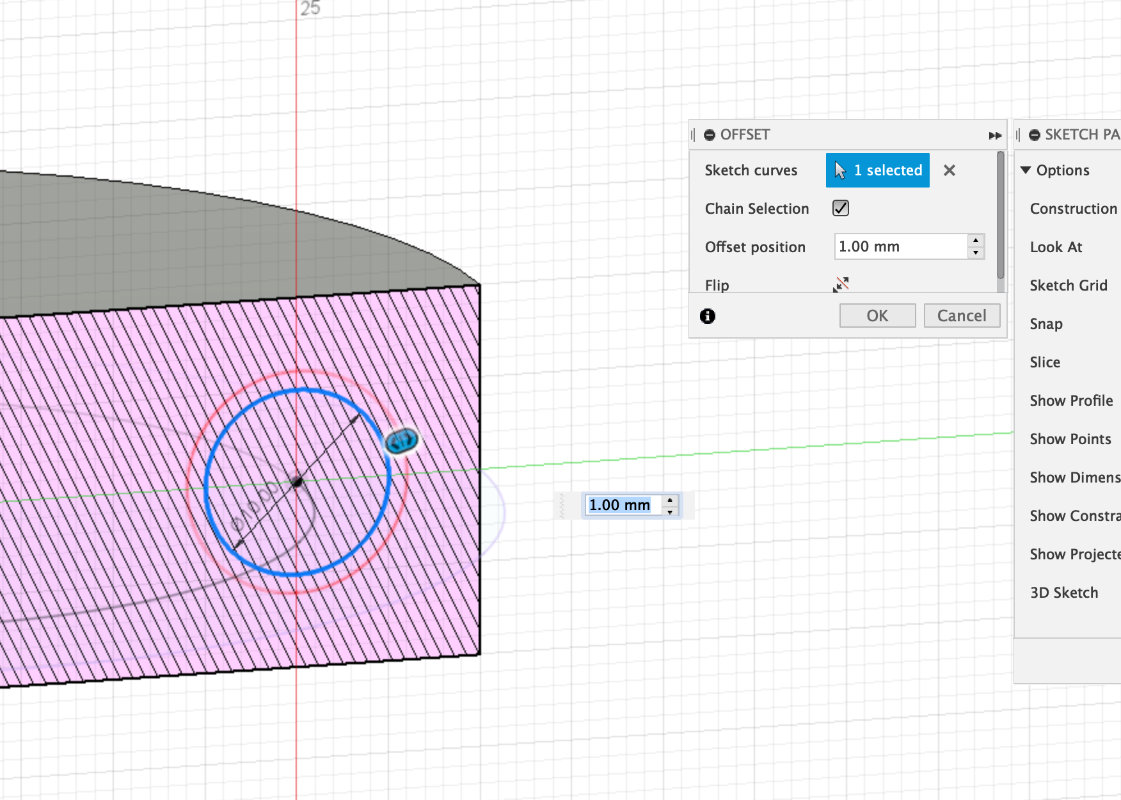
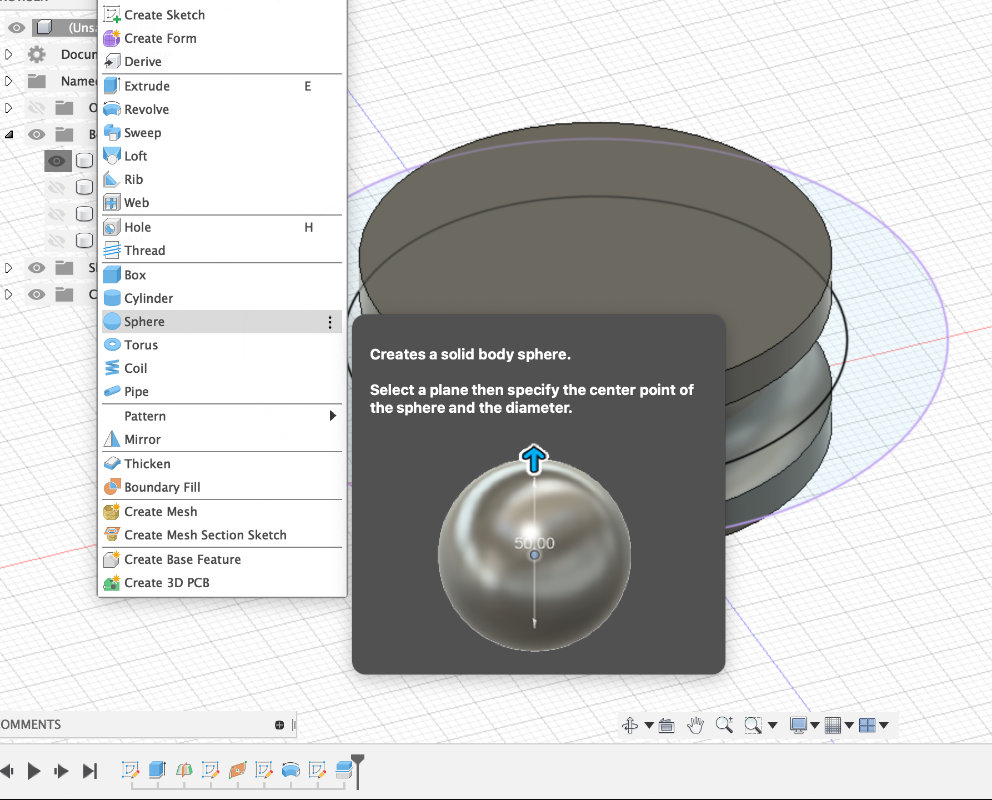
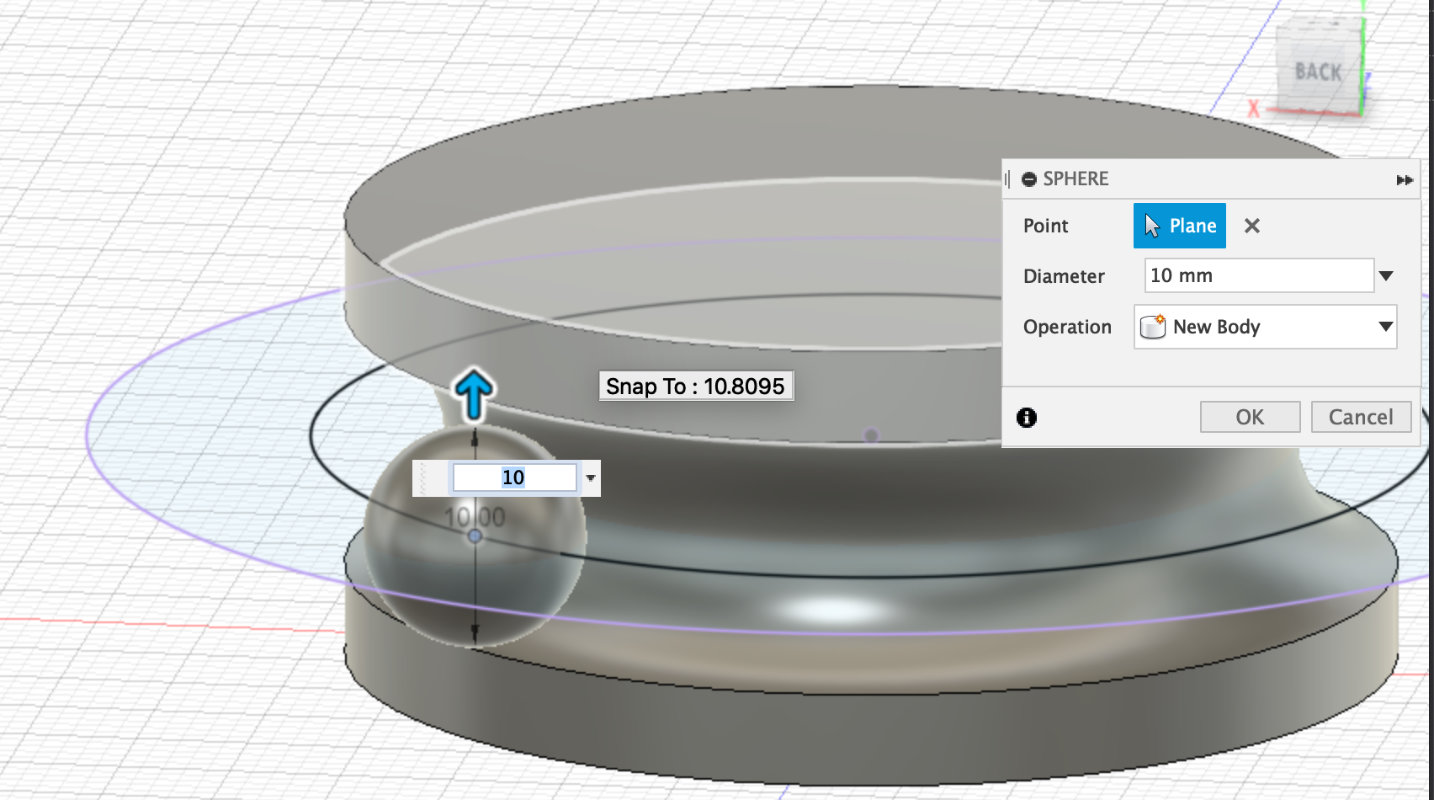
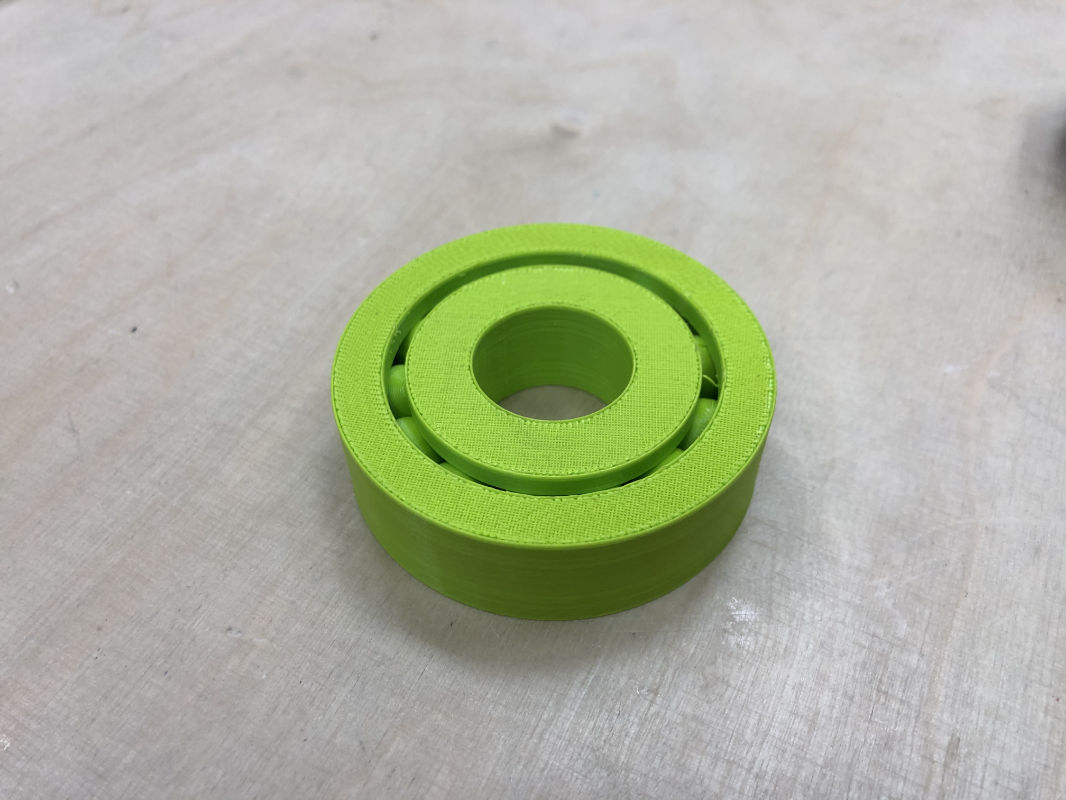
It was quite a simple thing, I'm sure I'll come back to it, the bearing!
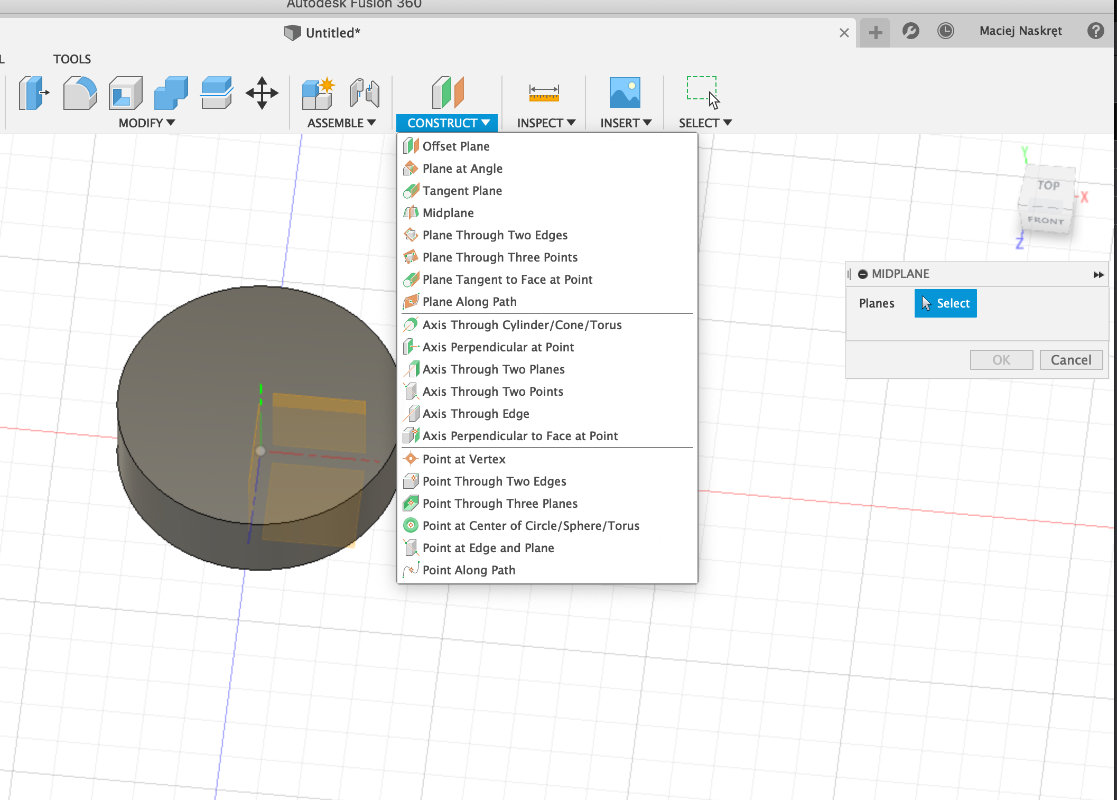
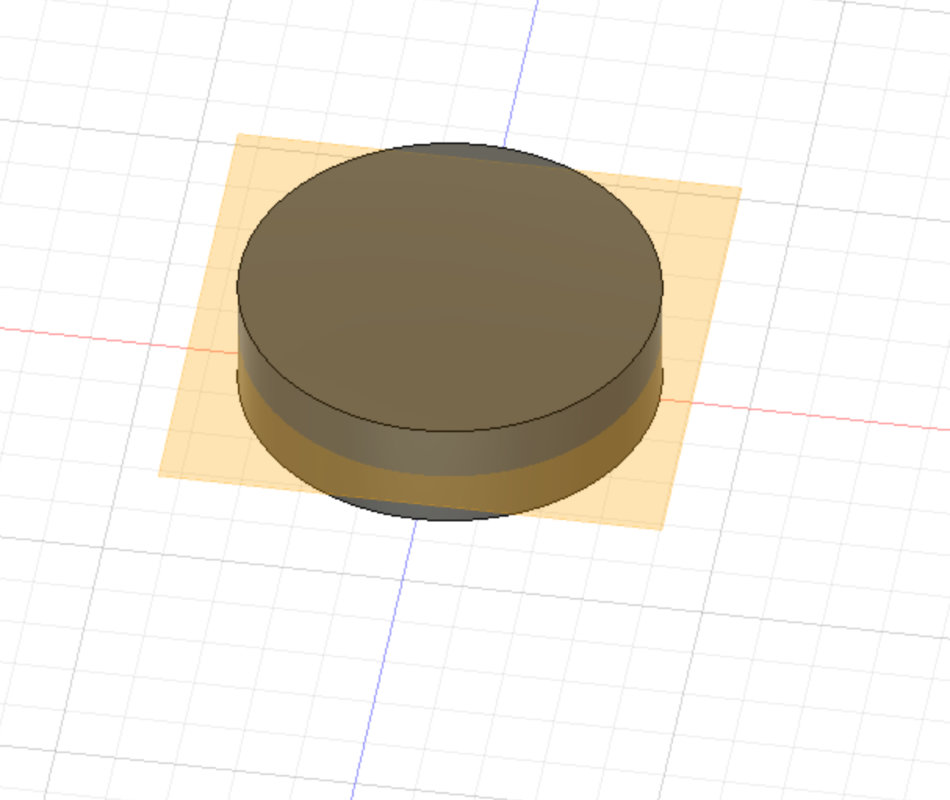
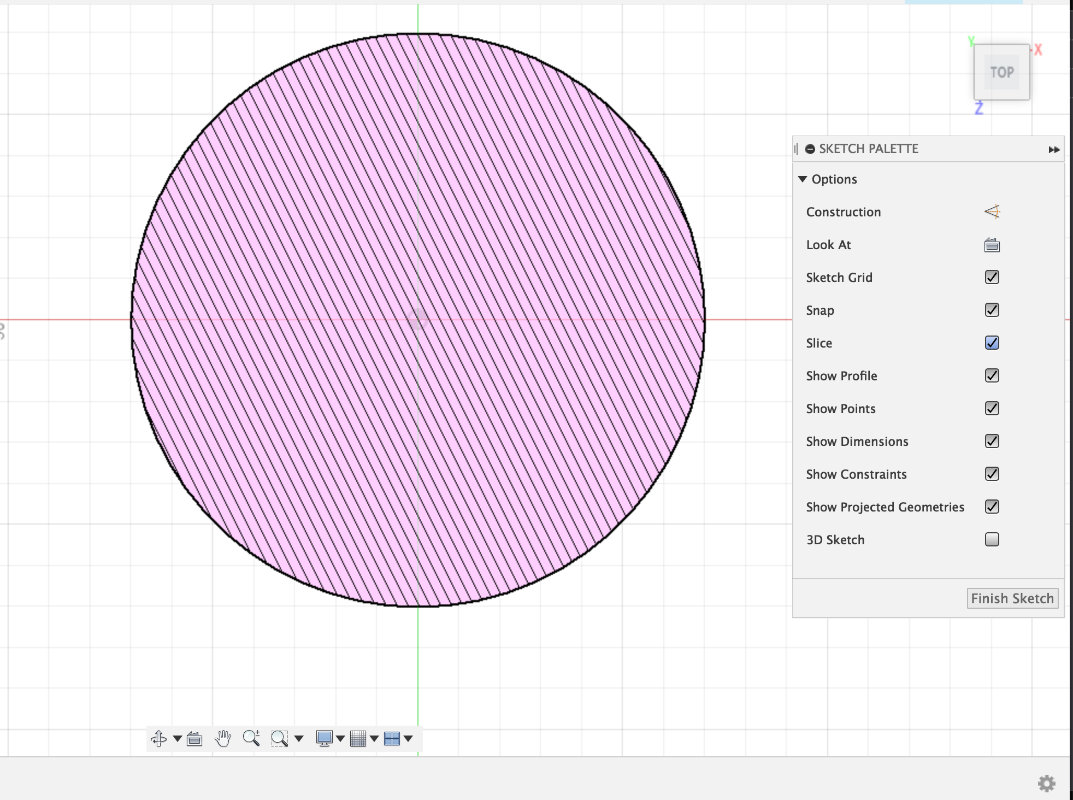
The project was created quite classically, that is a sketch of extrude
revolve cut, but the most interesting element used in fusion 360 useful to
look inside the project was section analyst.
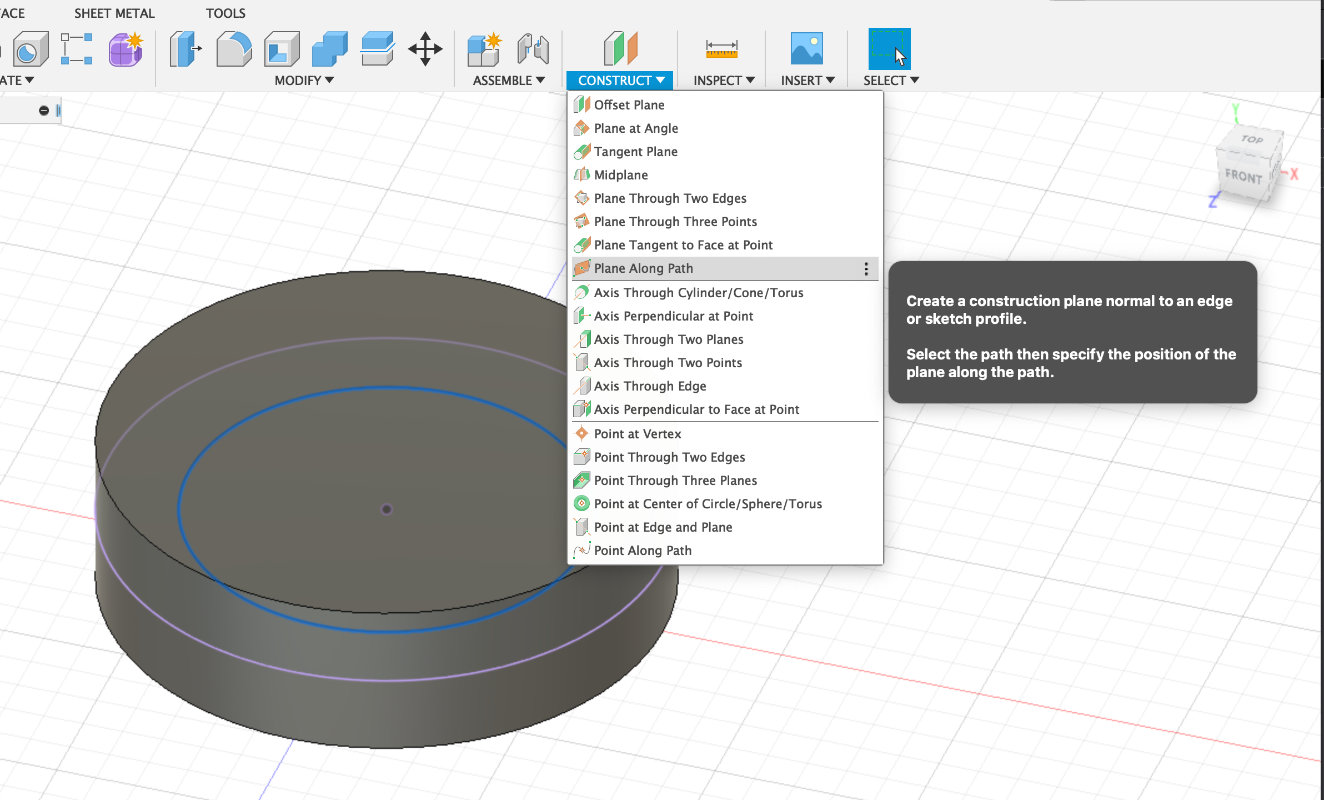
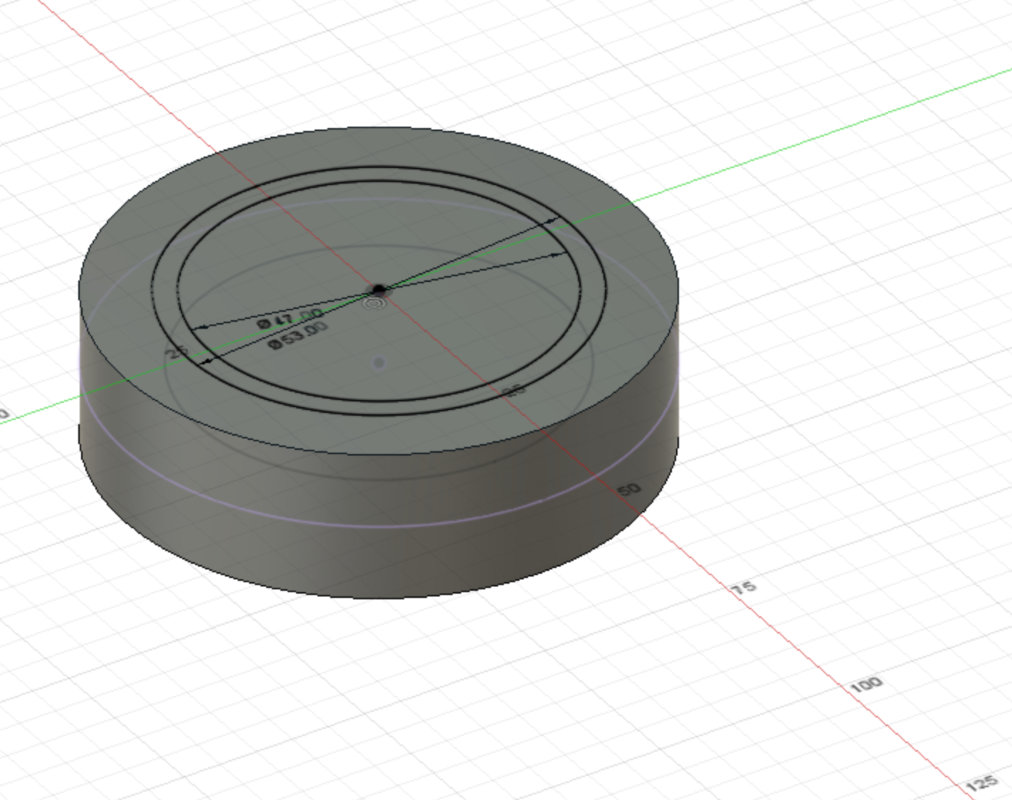
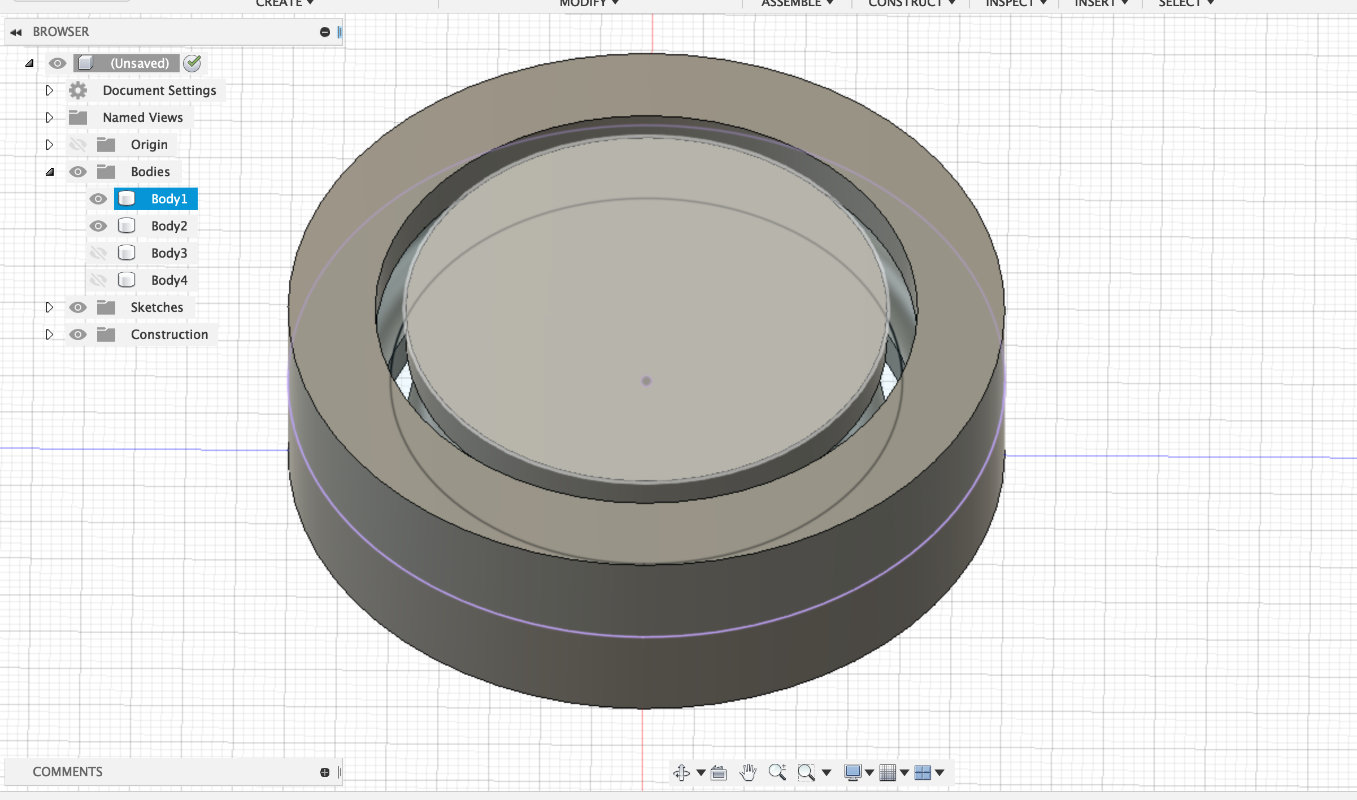
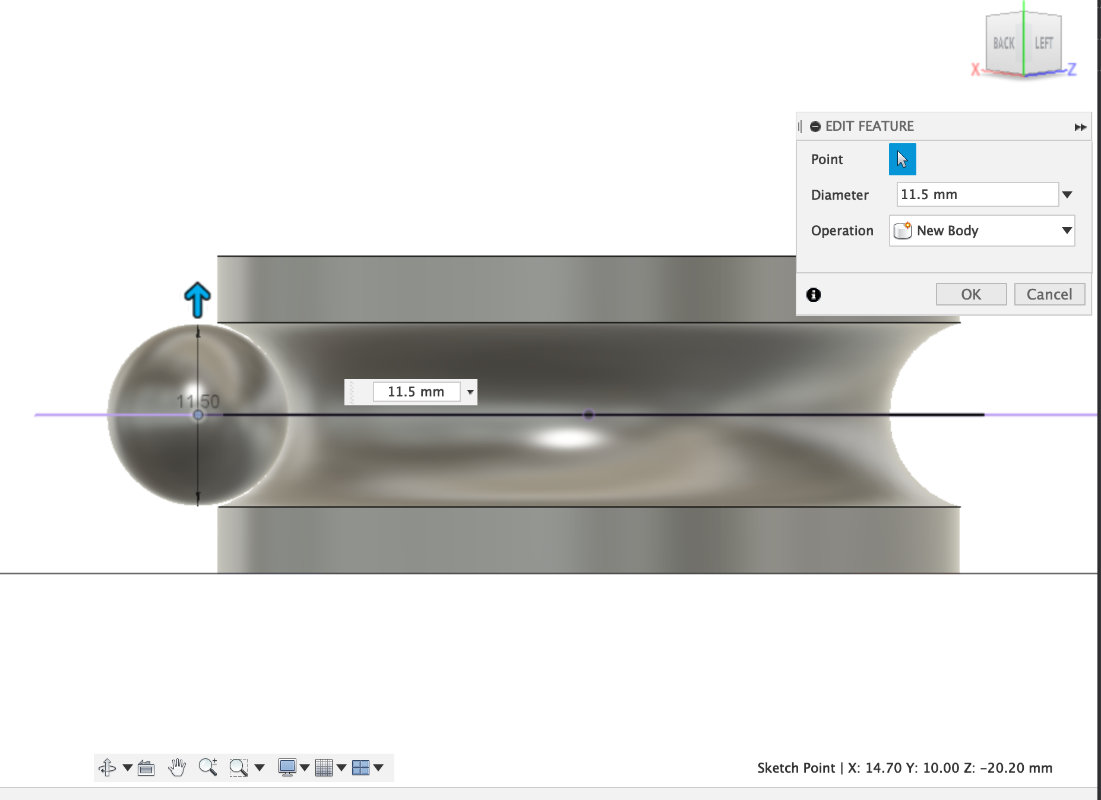
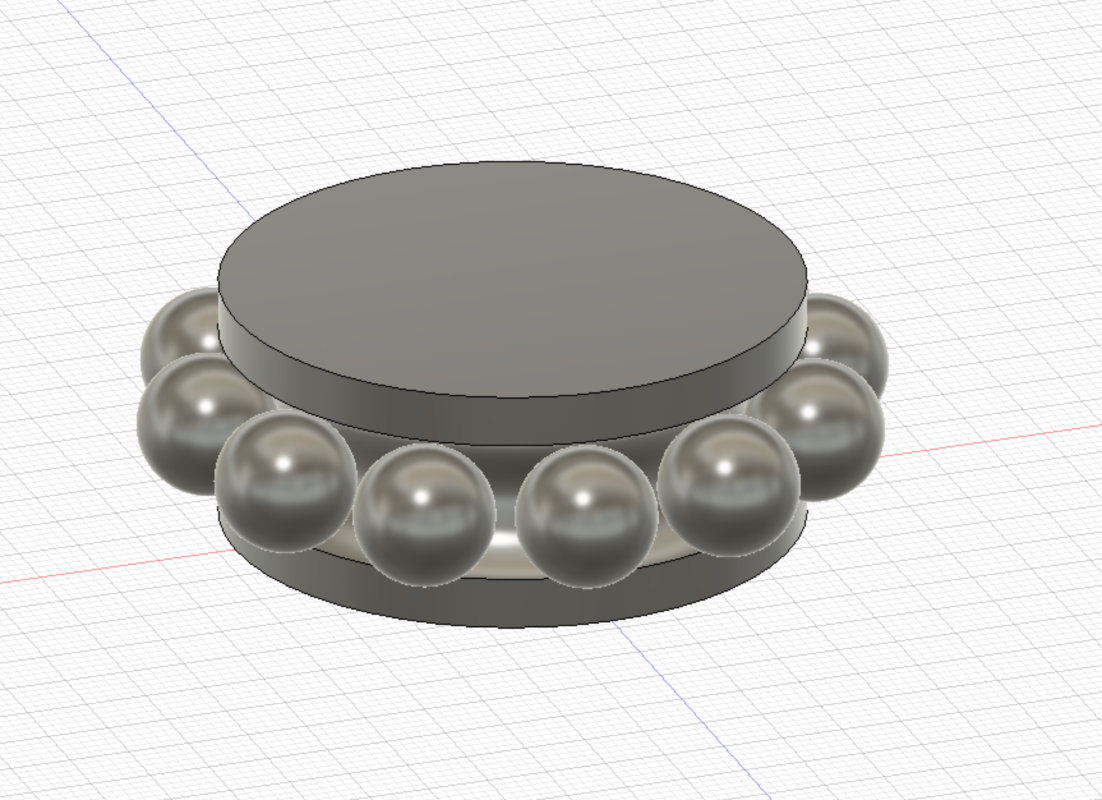

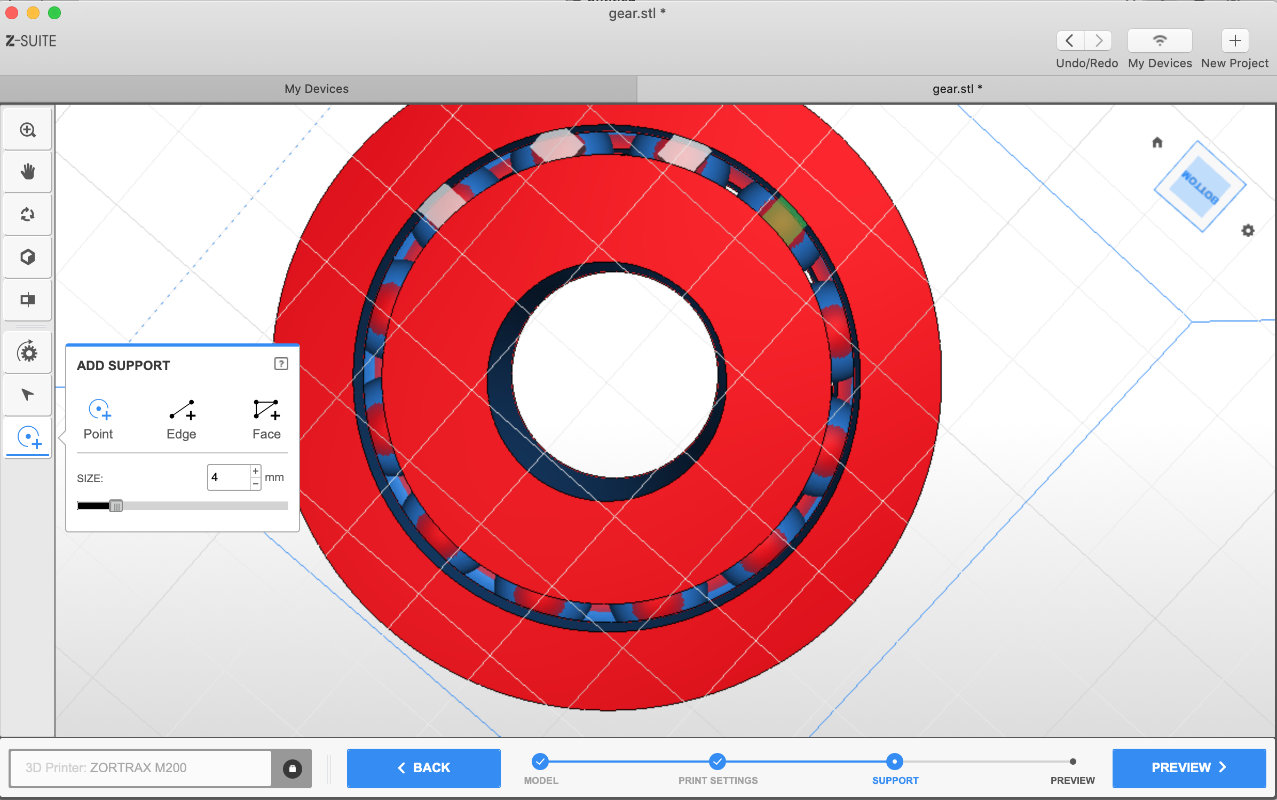
At the end I left the spheres so that they gently touch the rims.
to not print with the supports. or to minimize their number.
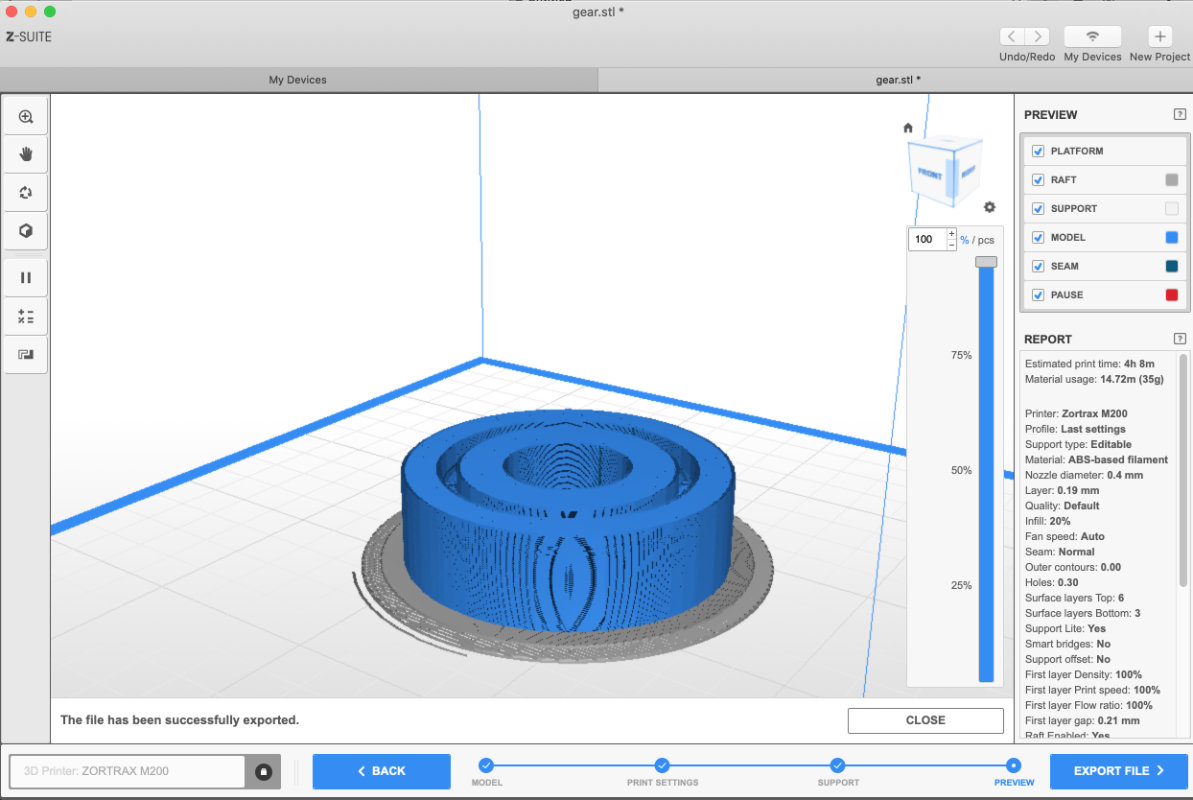
In Slicer Z-suit I turned the project around and manually set up the
supports where I thought they were most needed.
3D Scaning
3d scanning is not the best way to reproduce models. Much better technique
is to collect individual object dimensions and recreate them in CAD programs.
This is at least in case with these simpler models but what if we have to model
some more organic object? Then it is worth to use 3D scanning as a design
support but still rely on dimensions and design.
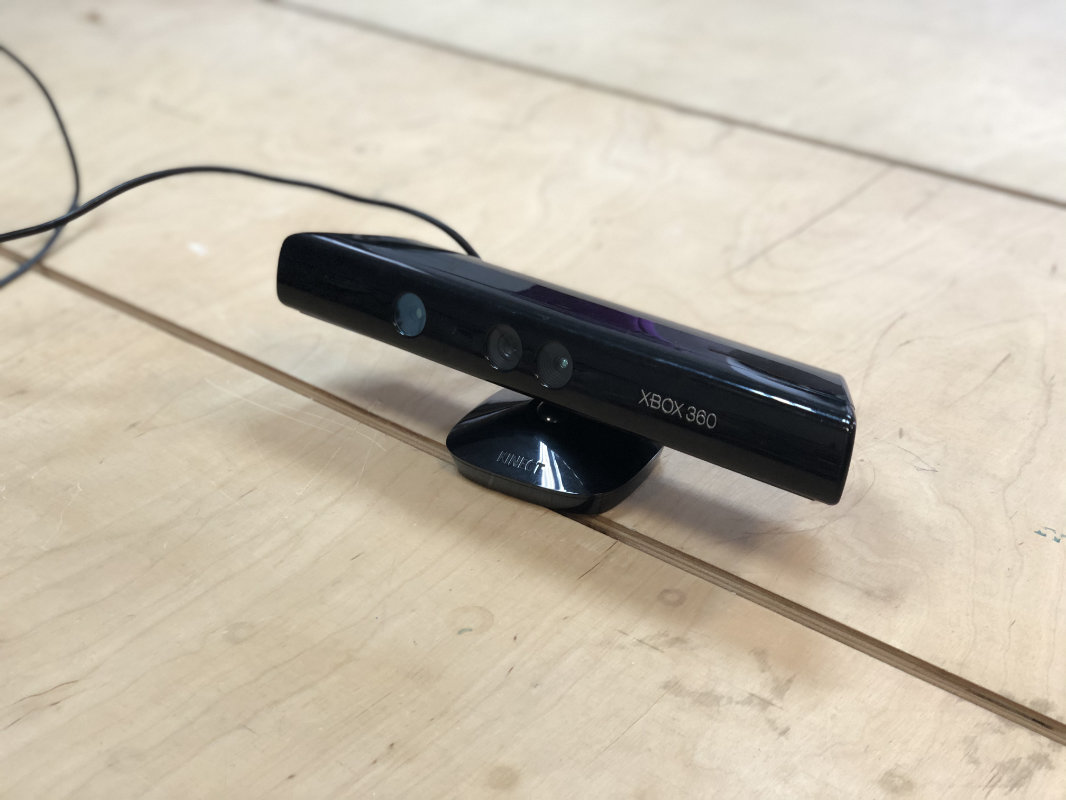
In our fablab we have two Kinect scanners from xbox 360 along with Skanect
software in pro and free version and SENSE
3D scanner with software.
Here I will focus on the xboxs scanner which in my opinion is excellent
as for its price especially when combined with Skanect.
1. settup the size of the objcet
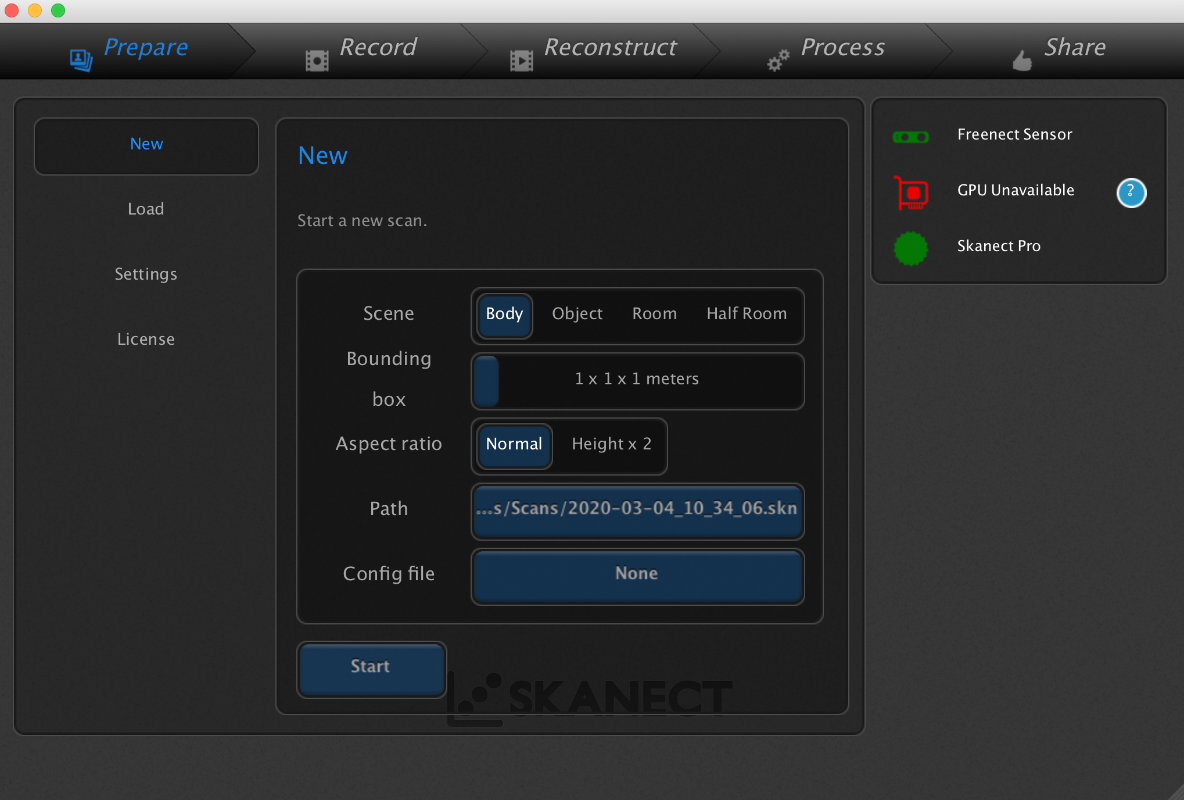
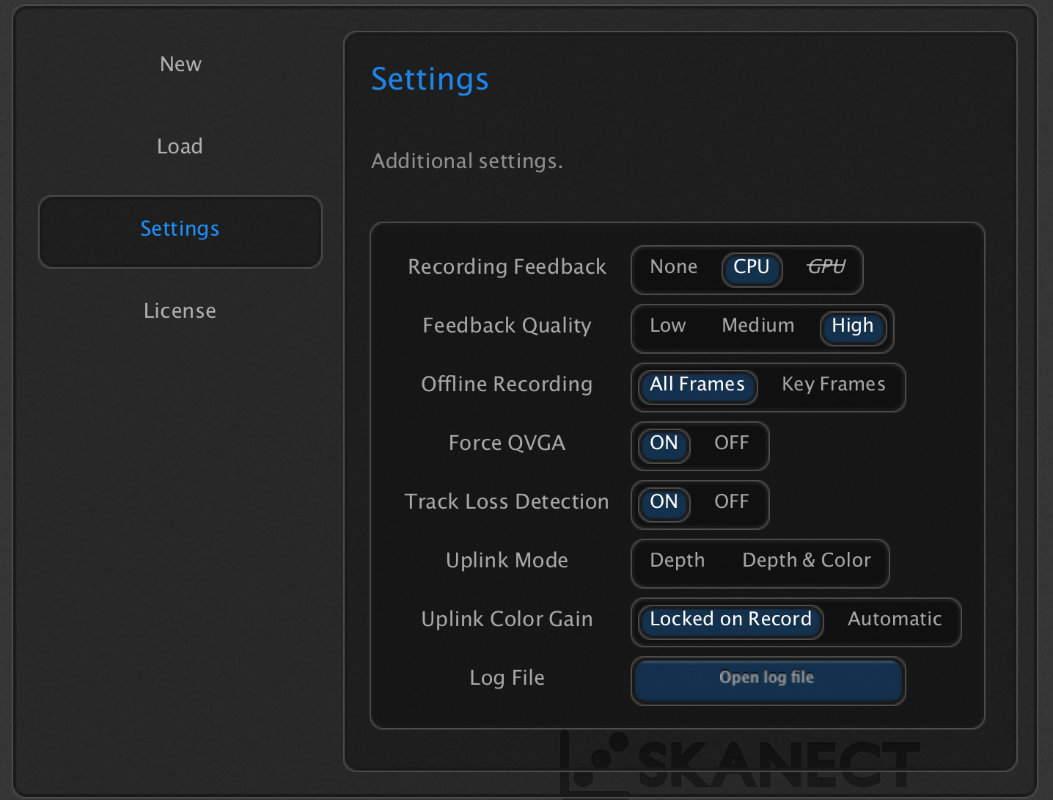
2.settup the quality and recording hardware
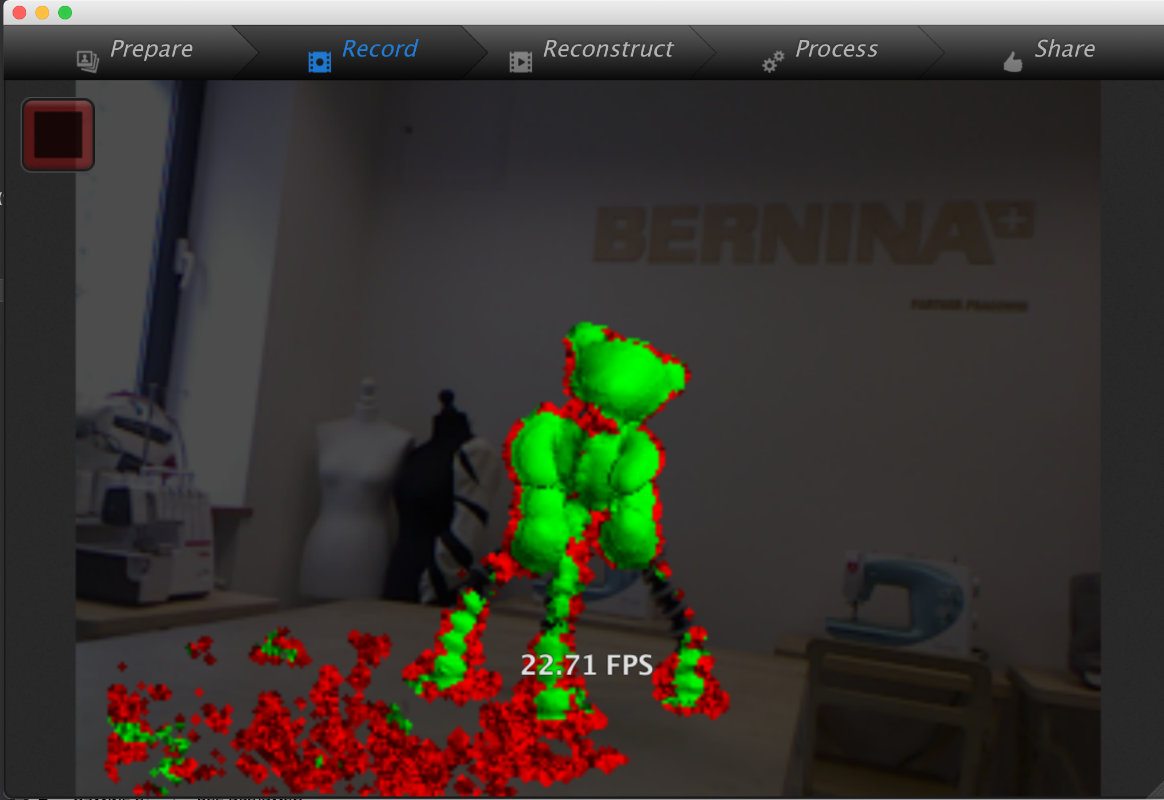
3.press red record button
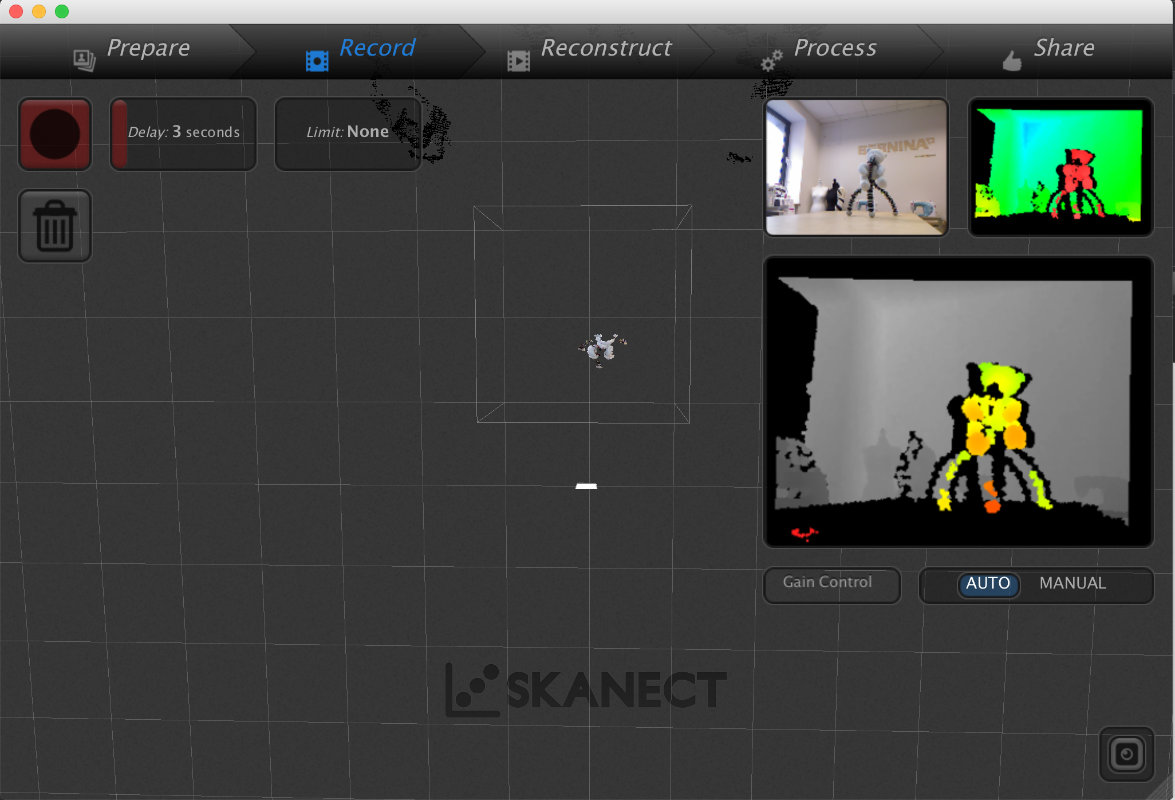
4.go around the object and scun from diffren angles
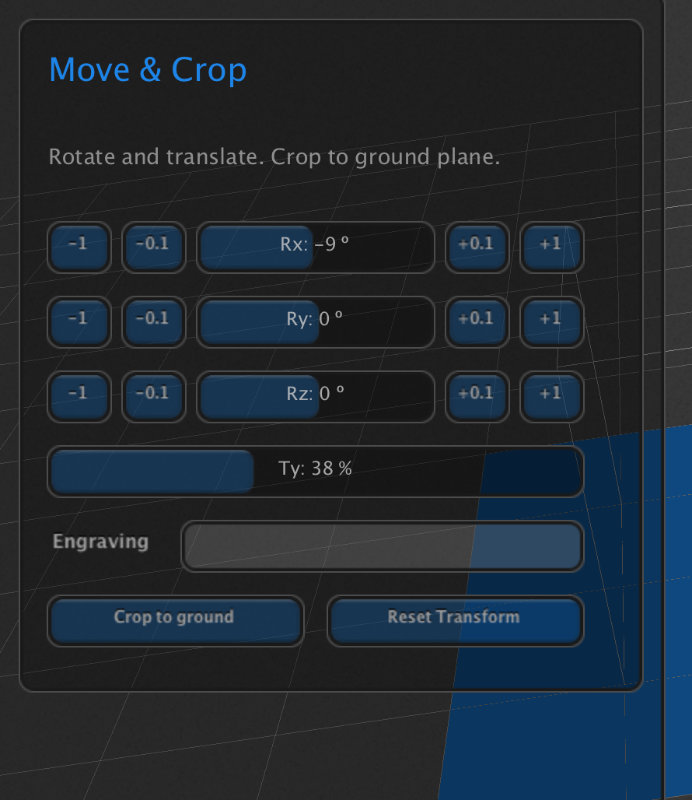
5.first fing when you finished the scanning is transforming the object with tool transform and crop
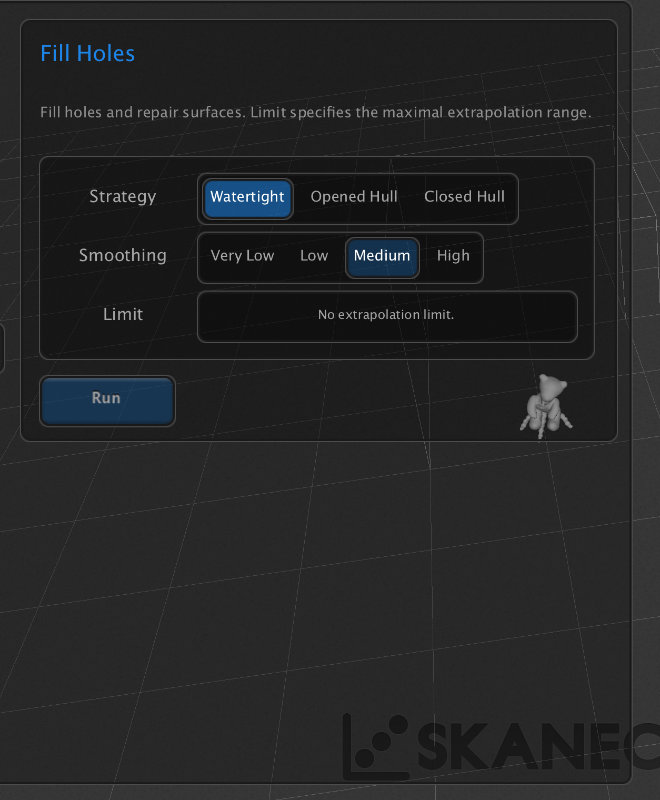
6. remebder to fill holes with fill holes tool
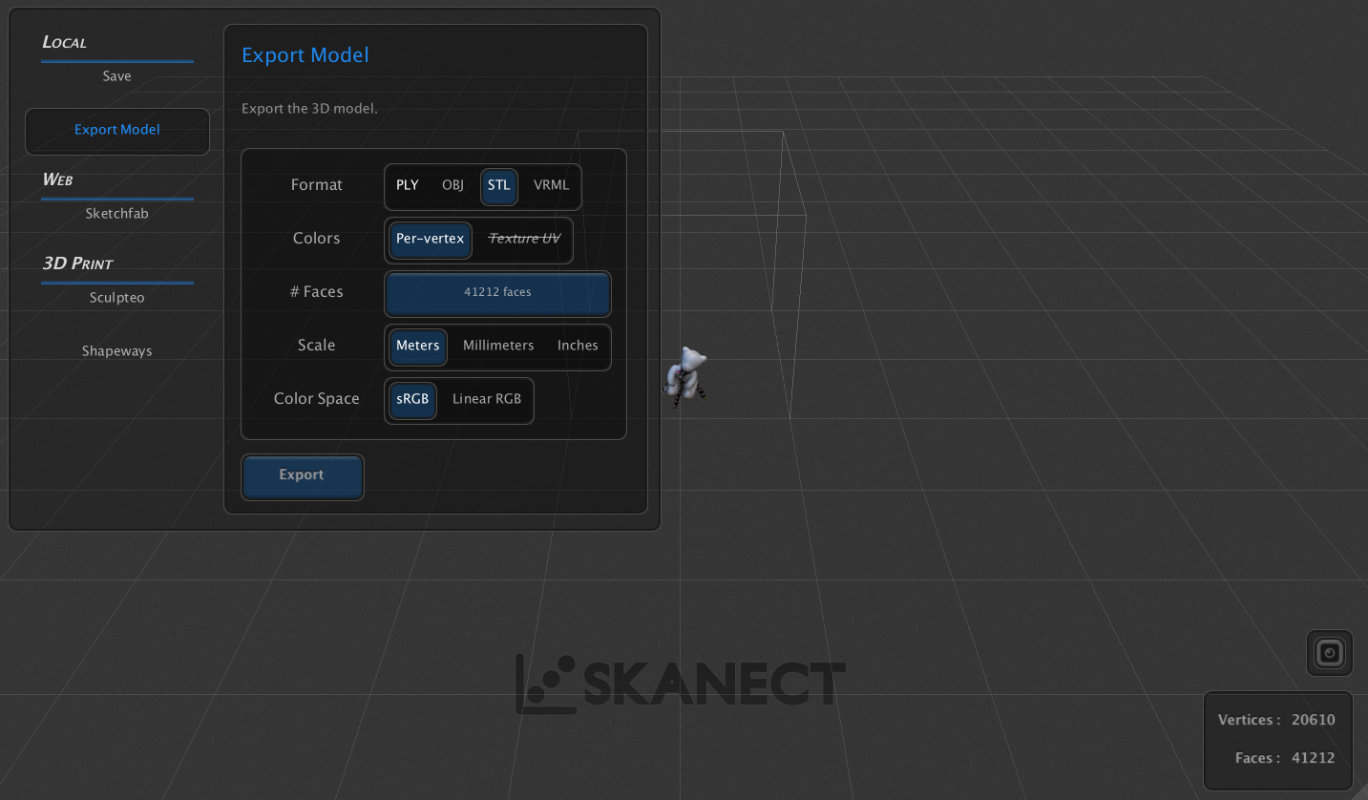
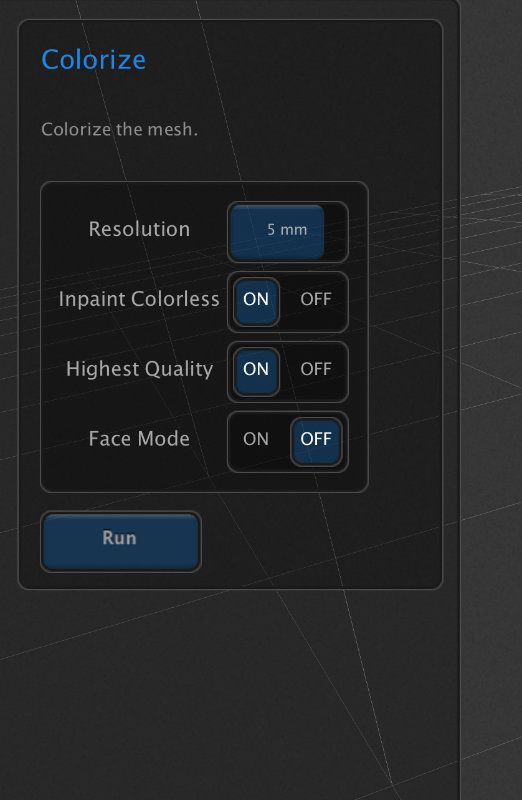
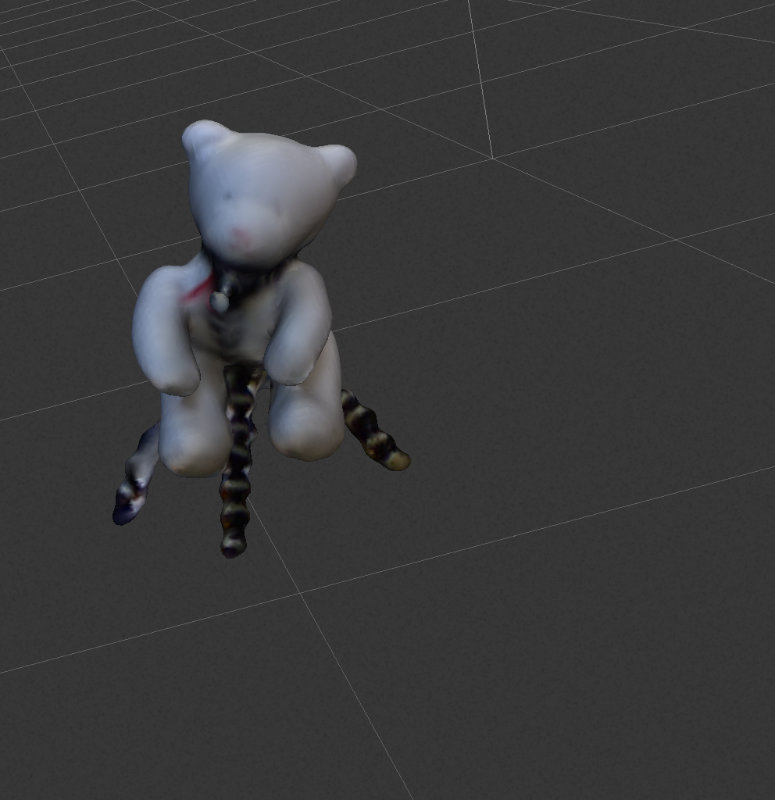
7. there is an obtion to colorize 3d scan but its not necessary for 3d printing
8. ;)
9. last thing save in share bookmark
10. best option for 3d printing is to use .stl files