
Week_4 - Electronics production

Assigment
Group Assignment
On this week group assignment we explore specifications of the PCB production process
There is no standardized way of producing PCBs in our fablab.
Some users sub-contract more complex layouts and some of them
are pickled in a friendly hackerspace or have their own PCB
milling machine.
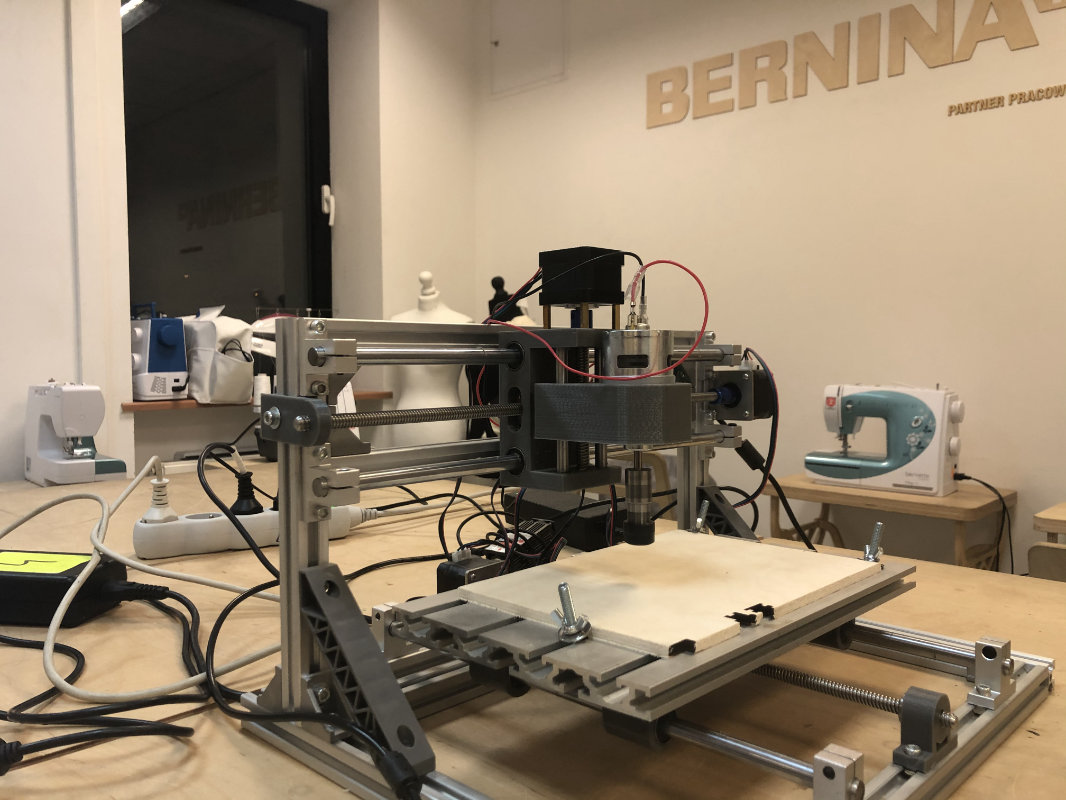
In order to produce the first PCBs we came up with machines
on which we could do it... and it turned out that we had quite a few:

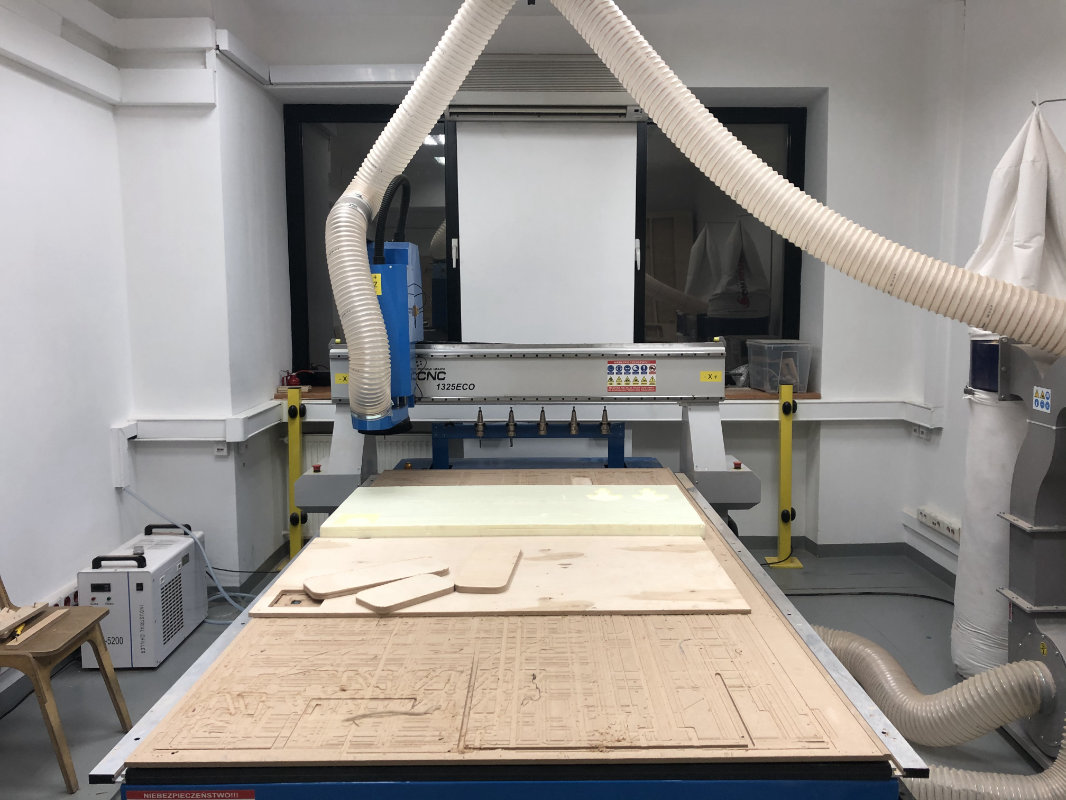
Leveling surface
After selecting the milling machine, we needed grblControl software installed on a computer with windows system, a very simple software for basic operation of the machine. The first thing after installing the software and understanding the basics of operation was to level the surface which in our case was made of plywood with a 3.175 mm diamond cutter.
FAB MODULES
Fab modules, is my great unexpected love. I have to be
honest that at first I was terrified and overwhelmed
by the number of options that fab modules have.
Fortunately when we right-click and choose
programs=>open server program,
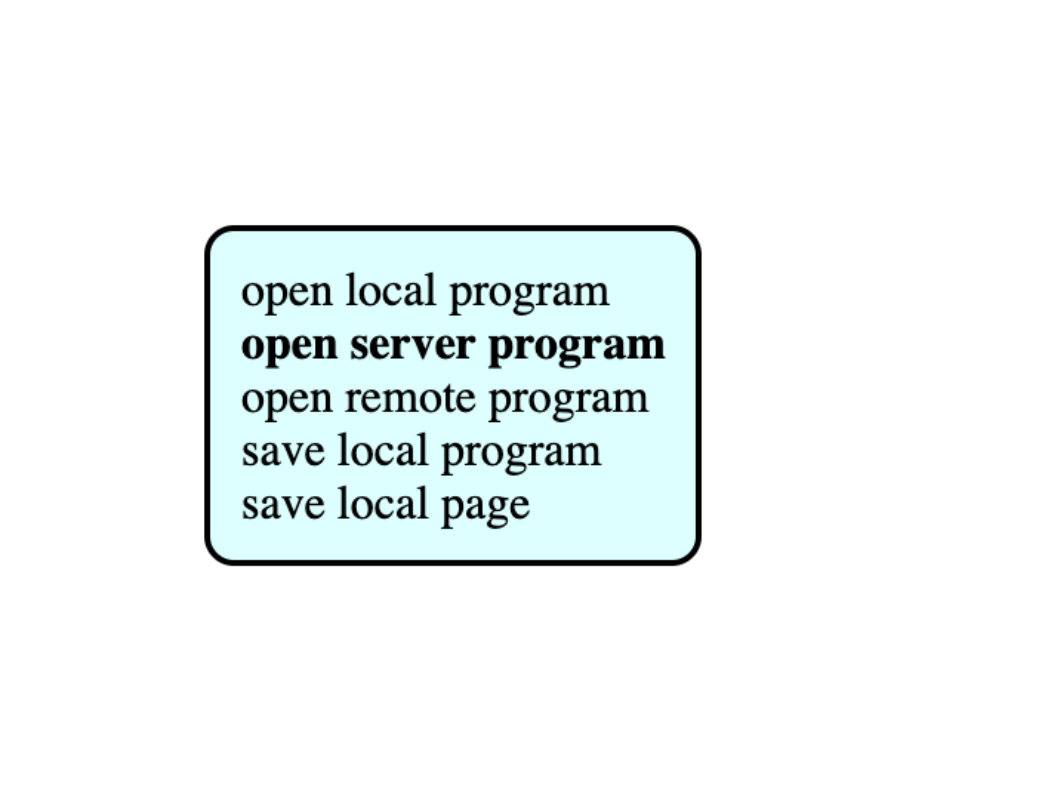
we see the beauty of possibilities of this open source
tool started by Neil. The number of options
is amazing but the most interesting thing is
that you can add more programs to the next
machines yourself.
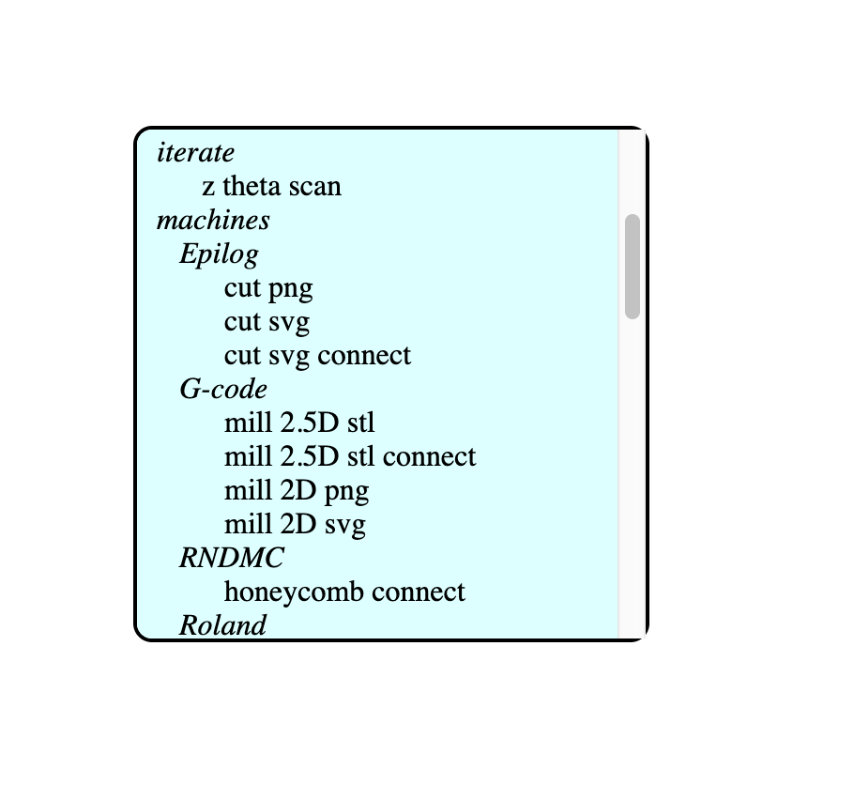
(I attach them to the documentation below)
Setting-up Software
Program settings:
In the beginning, you had to set the COM milling machine,
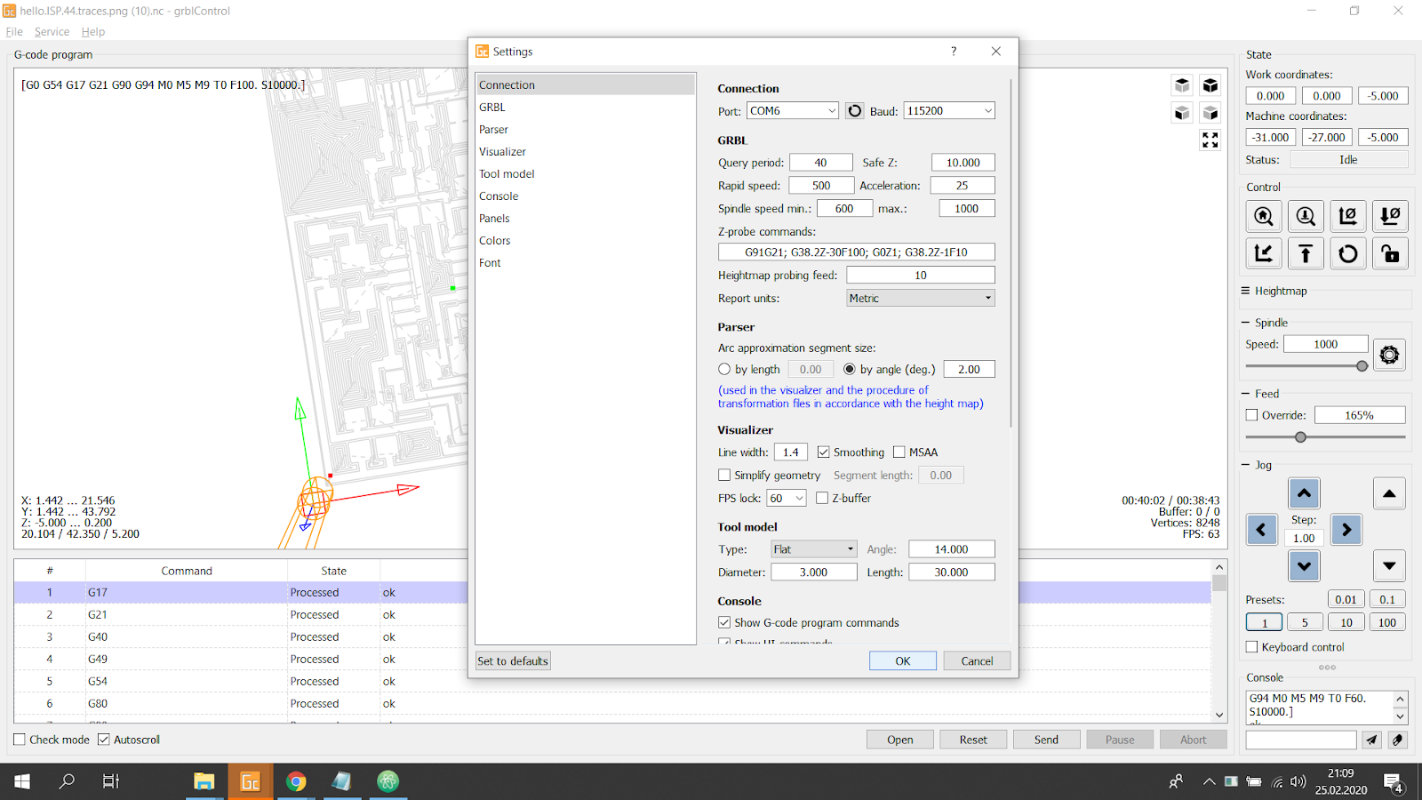
and set the project zero point in Control panel on top right.
Due to an error in the program I also had to replace all
																													Z-0.2002
																													on
																													Z0.2002
I did it in Atom
Oh! Breakable milling Bits
The first bit broke already on Friday on the first machine we tried,
Zmorph. Unfortunately, the machine went down in an uncontrolled
manner when the milling cutter stopped. Since then we decided
not to use the Zmorph for this purpose and ordered several more bits.
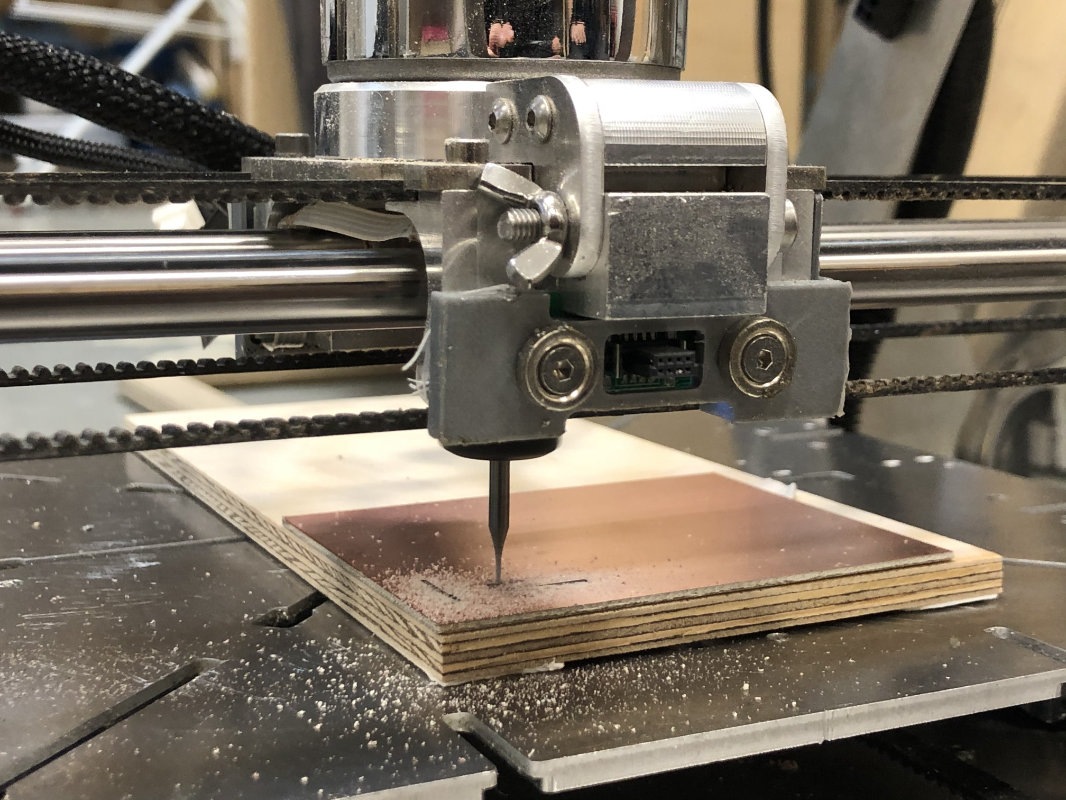
The cutters arrived on Tuesday morning and broke like crazy no
matter what settings we made. We already thought it was high
time to give up and start to work on something for next week...
Just that there was a crazy idea, if the bits were breaking,
there was a reason for this, we ruled out the speed and sharpness
of the bits, we left the length of the bit and the vibrations
transmitted to it (quite a lot). We tested the broken bit .
Wow, we did it! The whole plate was milled.
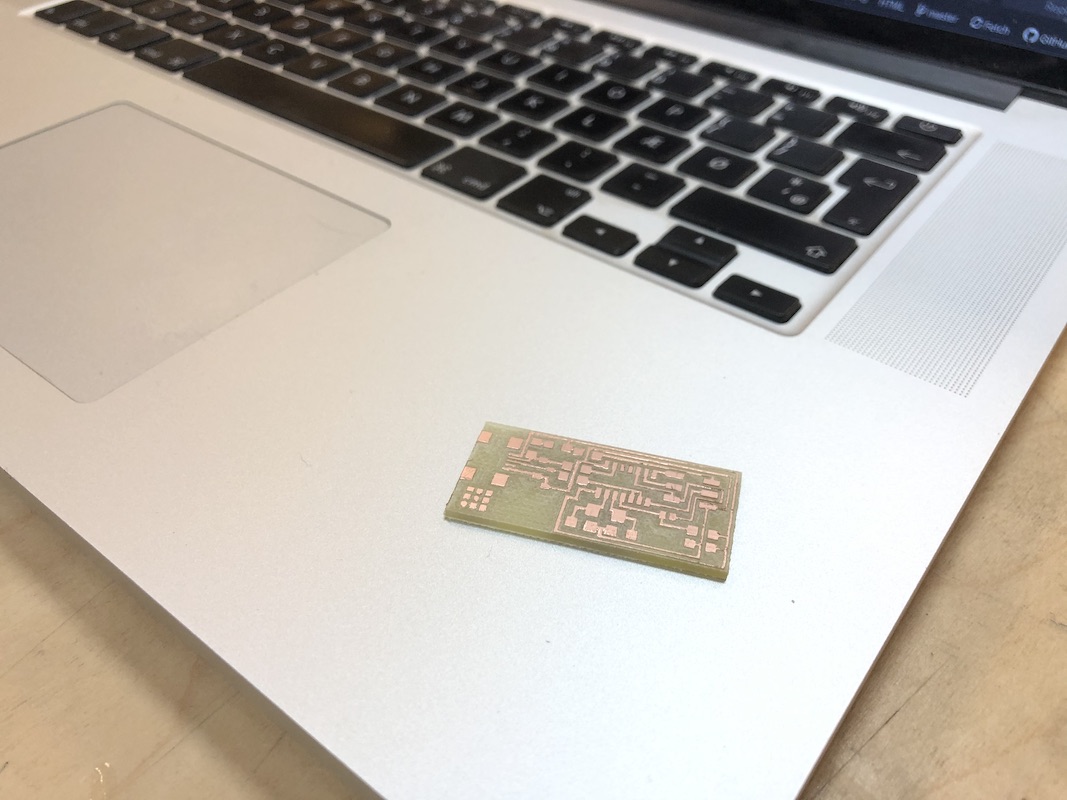
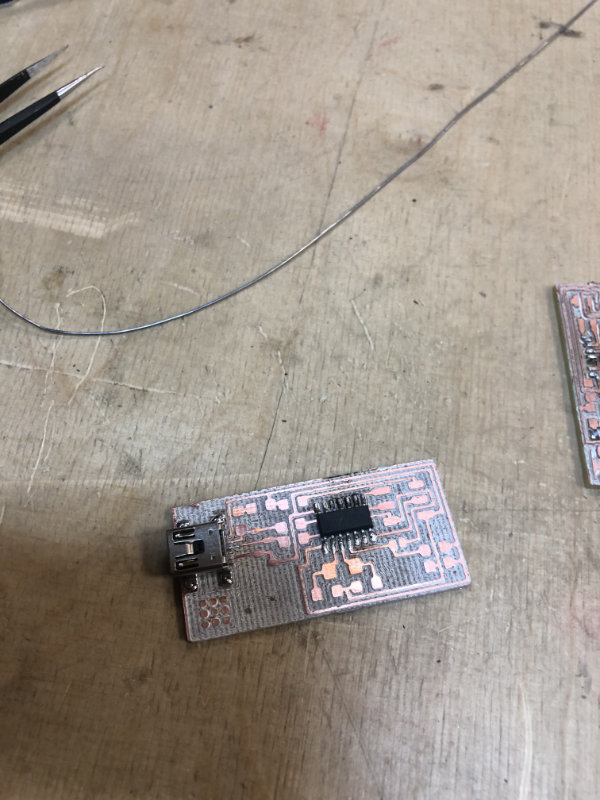
Milled pcb
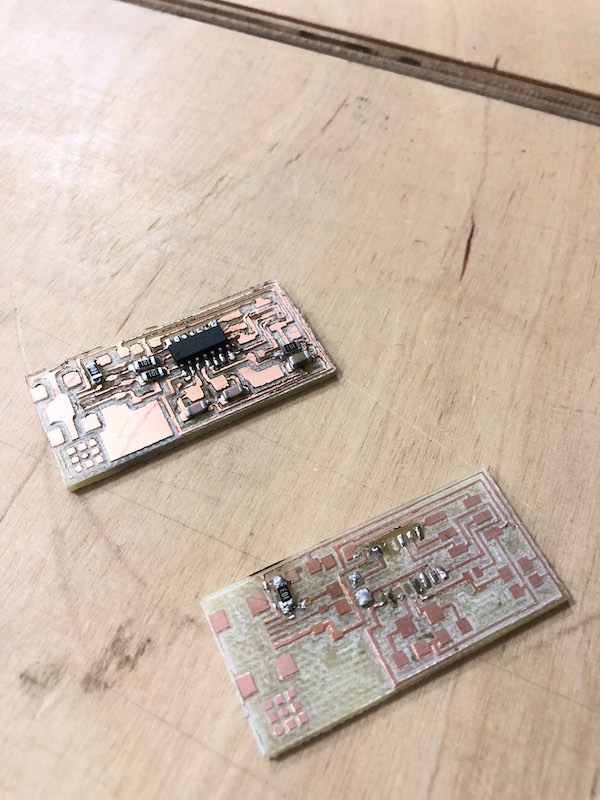
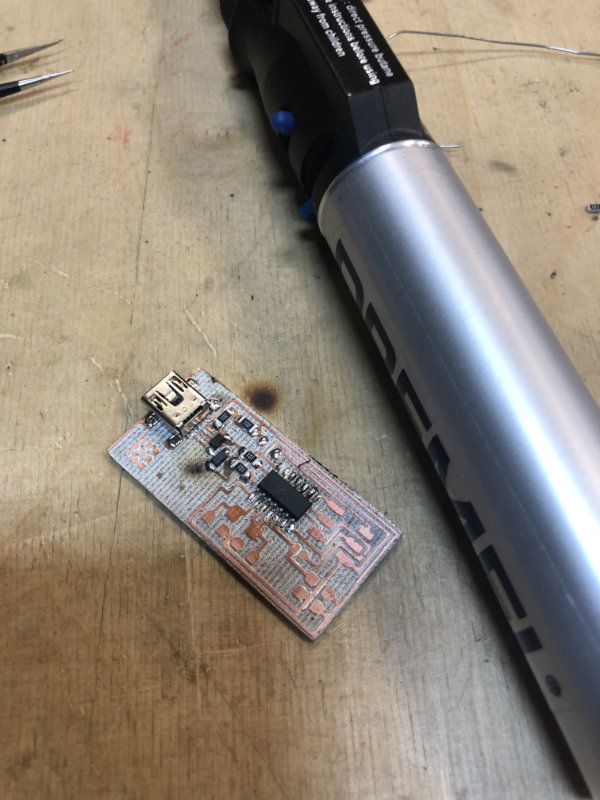
Assembling
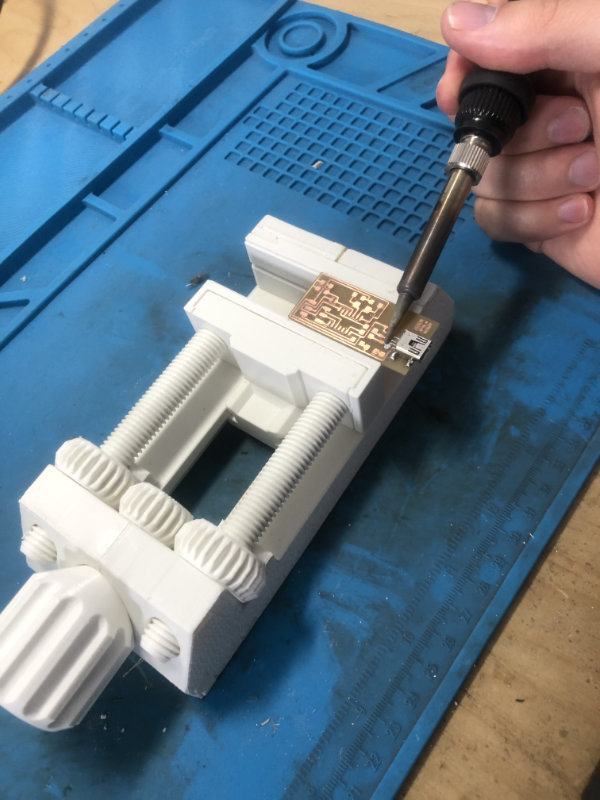
Soldering is a tricky stuff and you have to be careful.
It is very easy to overheat the board or make a small
lake of zin. It is allways importand to heat the pcb
near the place we going to put zin. When i started to
get whole concept of soldering, its become fun and
challanging like a good old pc game.
|
|
|
|
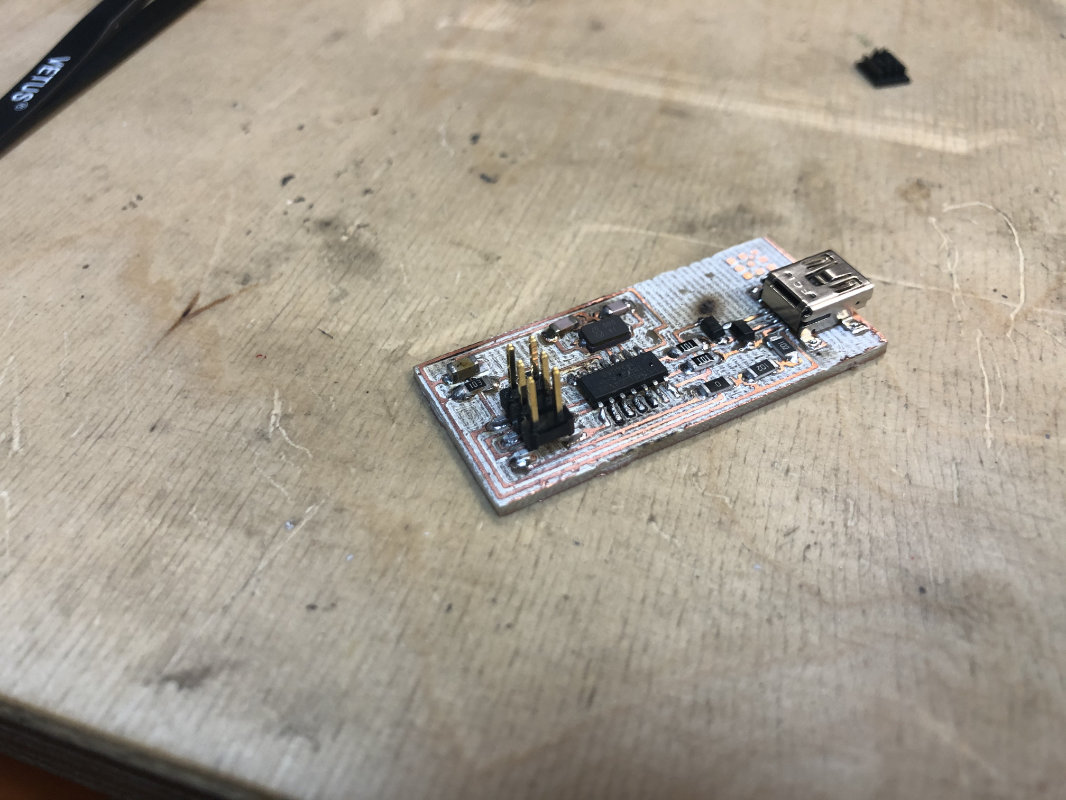
Programing the PCB Attiny
Setting up the IDE in the mac osx Catalina
Before we start programming, we need to prepare our computer for this.
We're gonna need:
$ brew install avrdude
$ brew tap osx-cross/avr
$ brew install avr-gcc
$ brew search avr
$ brew update
After updating and istalling everything with this comends we can go to the point of our work and creat .hex and .out files which are needed to program the board
$ make -f makefile.make
And after that you need to connect your board thorought programmer to the computer and hit
$ make -f makefile.make program-usbtiny
Proof of working
Unfortunately, somewhere during the fight with the programmer, I forgot to document the programming and the soldering the jumper. Only what I can show to a short video that shows that the programmer works.