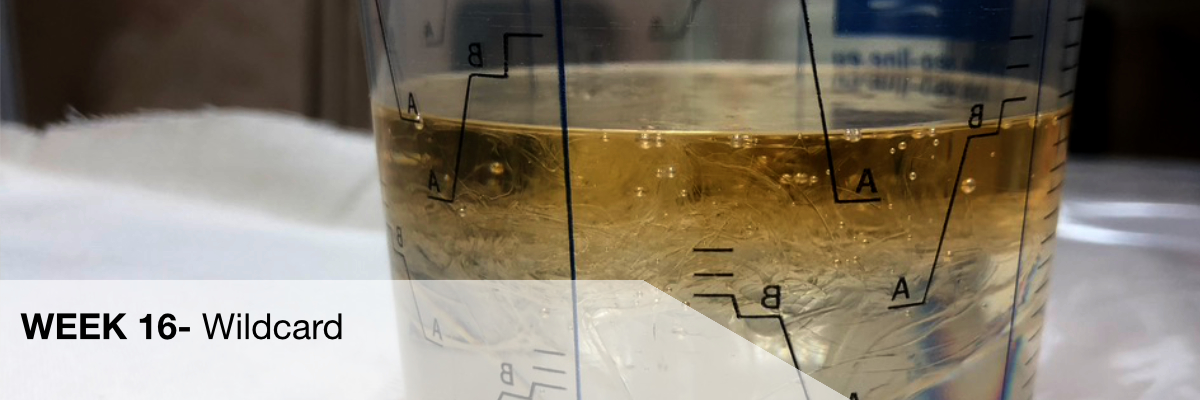
Week_16 - Wildcard

Group assignment:

Individual assignment:

The task for this week was to prepare an element using composites. I can divide the work on this task into several stages:
  • Design
  • preparing files in CAM for cnc
  • cutting out parts from the workpiece
  • material application (cotton pig iron with long distance between the knots) on the object processed by cnc
  • application of resin on the material using a brush

    Design:

    My goal in this task was more fun with form and material than some very specific final project. Playing with the sculpting function in Fusion I created a simple soapbox model. Later I had a few ideas what I wanted to do next: -to make a form consisting of two elements where I put the material and resin between them.
  • I will create a negative and put the material and resin on it.
  • I'll make a positive and apply the material with resin.
    I chose the positive option. I prepared the model, remembering not to make any negative angles (in the case of sharp angles in the form you can not later remove the finished object without destroying the form).

    CAM:

    I add the model prepared in this way to CAM in fusion and using the knowledge gained in previous weeks I set the parameters and the program on the machine accordingly.


    The material I used as a form is styrofoam. Thanks to the fact that it is a very soft material it can be milled at very high speeds, which speeds up work on the prototype or the final product. I stuck the material to the table on the cnc milling machine with a double-sided tape, additionally there was also a suction table which could keep the mould in place by itself. However, due to the fact that in the CAM settings I chose very high speeds, I decided not to risk it.

    CNC:

    The material prepared in this way was ready for milling. (you can see process on video on the button) Before starting work, I checked the height of the tools using a height sensor mounted on the machine. This is an important process thanks to which we can easily use several milling cutters with a tool changer in one program.

    After milling, I cut off the mold and gently grind the surface.

    Application of cotton raw material together with resin.:

    I prepared the pieces of material/cotton raw material by cutting out ready-made formats that were to cover the mould. It is always better to cut a bit bigger pieces because it is always better to have a bit more material and cut it off than to put too little and lose a bigger piece already put on the mold. The resin I used is Epidian 652 and is mixed with IDA hardener in a ratio of 1:2 resin.

    Epidian 652:

    Physical and chemical properties:
  • Viscosity (resin + hardener): 500-900 mPas
  • Density: 1.10 g/cm3
  • Gelding time 100g at 20°C : 50 min
  • Full cure 20°C: 7 days
  • Chemical resistance: 14 days
  • Ratio: resin:hardener 100:50 (by weight)
  • Hardness ≥ 105 MPa
  • Color: straw

    GOOD PRACTICES WHEN WORKING WITH RESINS

  • Accuracy of resin :hardener ratio: never change the weight ratio into volume ratio and vice versa. If weight ratios are given, always weigh the ingredients on the scale - do not dose with a syringe, if volume ratios are given, measure the ingredients in milliliters not on the scale. Both ingredients have a different specific density, so the weight of 1ml of one ingredient is different from the weight of the other.

  • Mixing accuracy: initially mix the ingredients for 2-3 minutes in the first cup and then pour the contents into the second clean cup and mix for 1-2 minutes more. Using this technique allows for full homogenization of the two ingredients with each other. Usually the resin in the composition has a higher viscosity than the hardener, so it tends to focus on the walls and corners of the first cup and it is difficult to mix it well without this rule.

  • pay attention to the working temperature and it is not only about the air temperature in the processing room but also about the temperature of the resin and hardener itself. As a rule, it is not recommended to work with resins below 20°C as this affects the setting process itself, the lower the temperature of the resin mixture preparation and casting storage the longer the setting time, at low temperatures the curing times may increase two or three times the nominal ones. On the other hand, too high a resin temperature during operation can cause overheating of the casting. Our experience shows that the most optimal resin temperature during operation is between 20°C-25°C.

  • furthermore, the resin viscosity is a function inversely proportional to its temperature, i.e. the higher the resin temperature, the lower its viscosity and the easier the process of removing air bubbles created during mixing or pouring is.

  • Remember that in the case of two-component resins (where the bonding processes are chemical) thicker castings bond faster and thinner ones bond much longer than the given nominal times. The same is true for a single pour of resin, small items will usually bind longer than larger ones.

  • Avoid too high humidity in the resin work area.

  • Choose resins dedicated to your project, i.e. for thick castings use resins for deeper castings, for thin and small castings use resins for thin castings, they will bind faster and usually have a higher final hardness.

  • be patient, when working with resins, time passes very slowly, in most cases full curing, i.e. the casting reaches 100% mechanical resistance not earlier than 7 days after pouring, assuming several of the above mentioned conditions are met. Consequently, do not start finishing works before that time, e.g. polishing. Fully uncured resin cannot be properly polished with even the most sophisticated tools and polishing materials, just a waste of time and nerves...

    HEALTH AND SAFETY

    The product can be processed without risk, provided that appropriate precautions are taken as for chemicals. Keep uncured materials away from foodstuffs and children. Wear protective clothing, latex or vinyl gloves and goggles to protect against splashes. The processing room should be well ventilated. After each operation, hands should be thoroughly washed with soap in warm water and after washing dried with a disposable paper towel.

    Application of resin:

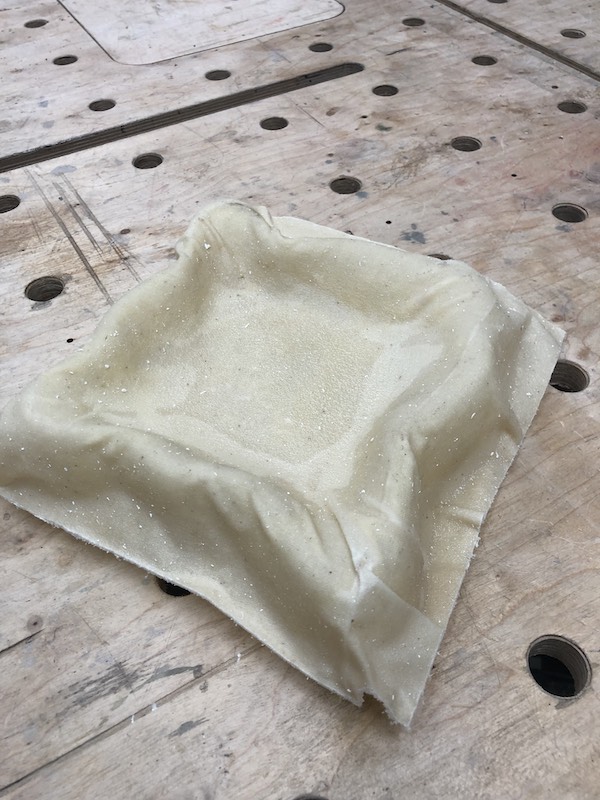
    I put the resins on the material with a brush. Spreading the chemicals in such a way that the material is covered with resin everywhere, but also not enough to spill around. After the resin was applied, I put the mould with the material into the bag and put it all into the vacuum bag, separating the mould from the top layer with a net to help air flow through the whole bag. Using a vacuum pump we suck the air out of the bag and wait until the resin starts to harden.

    Then we take the mould out of the bag, cut off unnecessary elements and fragments. (Sometimes you also need to treat the foam with acetone to dissolve fragments that have stuck to the object).

    Hero Shots:


    Whole process Video:

    all files from projects