Week_1 - Principles and Pratices

Even before I started working on the website, I got acquainted with http://fab.cba.mit.edu/about/charter/, and I'm going to follow these rules
Codeing
First week assignment was to familiarise with Github and code/creat a web page for a documentation. I was think it's not difficult at all. I've already managed to code simple pages into html and css. So full of optimism and with "5 minutes in mind and I'm free" I sit down to the computer.

heh... after 5 minutes it turned out that I don't remember anything and I won't be able to learn until next week and code the page from scratch, so I started searching. The page was supposed to be simple in appearance and not complicated in terms of code. Perfectly useful was the page recommended by Fabacedemy in the link from tamplets. After a couple of hours of searching I decided to use Phantom by HTML5 UP, as it turned out to be very popular among FabAcedemy students.

Gitlab The Force Awakens
So another comparison to the world of film. I thought I know what Git is, I've used repositories and files on Github many times, but I always thought it's a kind of file hosting for open source programs... Wow what gitlab has the ability to learn and find out with every tutorial and every problem I've encountered.
It started with some problems with the account where I tried to log in with fablabs.io account and luckily my instructor and I came up with a simple idea to just reboot the password (a few moments later an email from fabacdemy came to do exactly that).
The next step after successful login was to create your SSH keys,
which on macosx was trivially simple just go to settings on gitlab,
then SSH keys, then generate one
to tutorial and do it step by step.
Next switch on terminal ( CMD+space ) write terminal and enter .
Then type
ssh-keygen -t ed25519 -C "maciek@robisz.to"
add a password or simply click on it ( eneter ) to copy the generated key, preferably type (for macosx )
pbcopy < ~/.ssh/id_ed25519.pub
you paste the key in the gitlab, you name the device.
Uff it was easy, the next steps were a little bit harder.
I downloaded probably all the git gui clients that were on
the market and started to check which one would suit me.
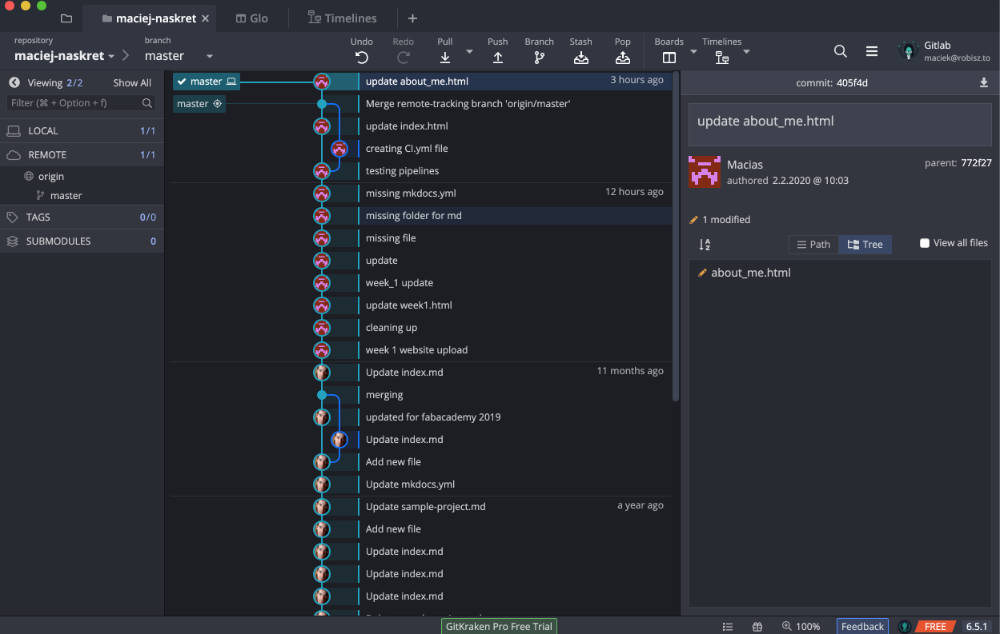
The final choice fell on GitKraken, which first of all
looks nice and has a lot of positive feedback. I learned how to install,
configure and handle it from Matthieu Borgognon FabAcedemy website .

I created a special folder where I put all the files I wanted to upload (in my case it was the site) and the second one where I made my first PULL :) Great feeling of how something works. I've moved the files to the gitlab folder, confirmed the changes, added a comment and pressed PUSH. So I've managed to write my website address on fabacdemy and ...
nothing, still old tamplet prepared by fabacdemy. I started looking for how to add html page I found another Lucio student's website and it turned out that he has a page made by himself so I quickly found his Gitlab and started to analyze what is wrong. It turned out that there is such thing as a pipeline, which is responsible for executing commands after uploading files. i I found the solution to my problem was a gitlab-ci.yml file so I downloaded it to myself and push it on the gitlab... It didn't work, it turned out that you have to do it from the platform.everything started to work, the website has started. Journey Begins!