Exploration into a messy world of embedded programming.
TLDR: nothing got programmed (Never mind it worked), but some things got understood.
Quarantine
 – Quarantine –
Ironically the week when we transitioned into topics where I was most in need of guidance from IAAC’s lab guidance - with electronics, Barcelona switched to a strict lockdown. The course transitioned rather smoothly, but some adjustments had to be made.
.png) – FabAcademy –
– FabAcademy –
.png) – FabAcademy –
– FabAcademy –
For starters I decided to go into a deep end and start quarantine with a clean slate, reinstalling system, removing all commercial software and thus cutting off option to slack off on FabAcademy’s modo “don’t merry the software”
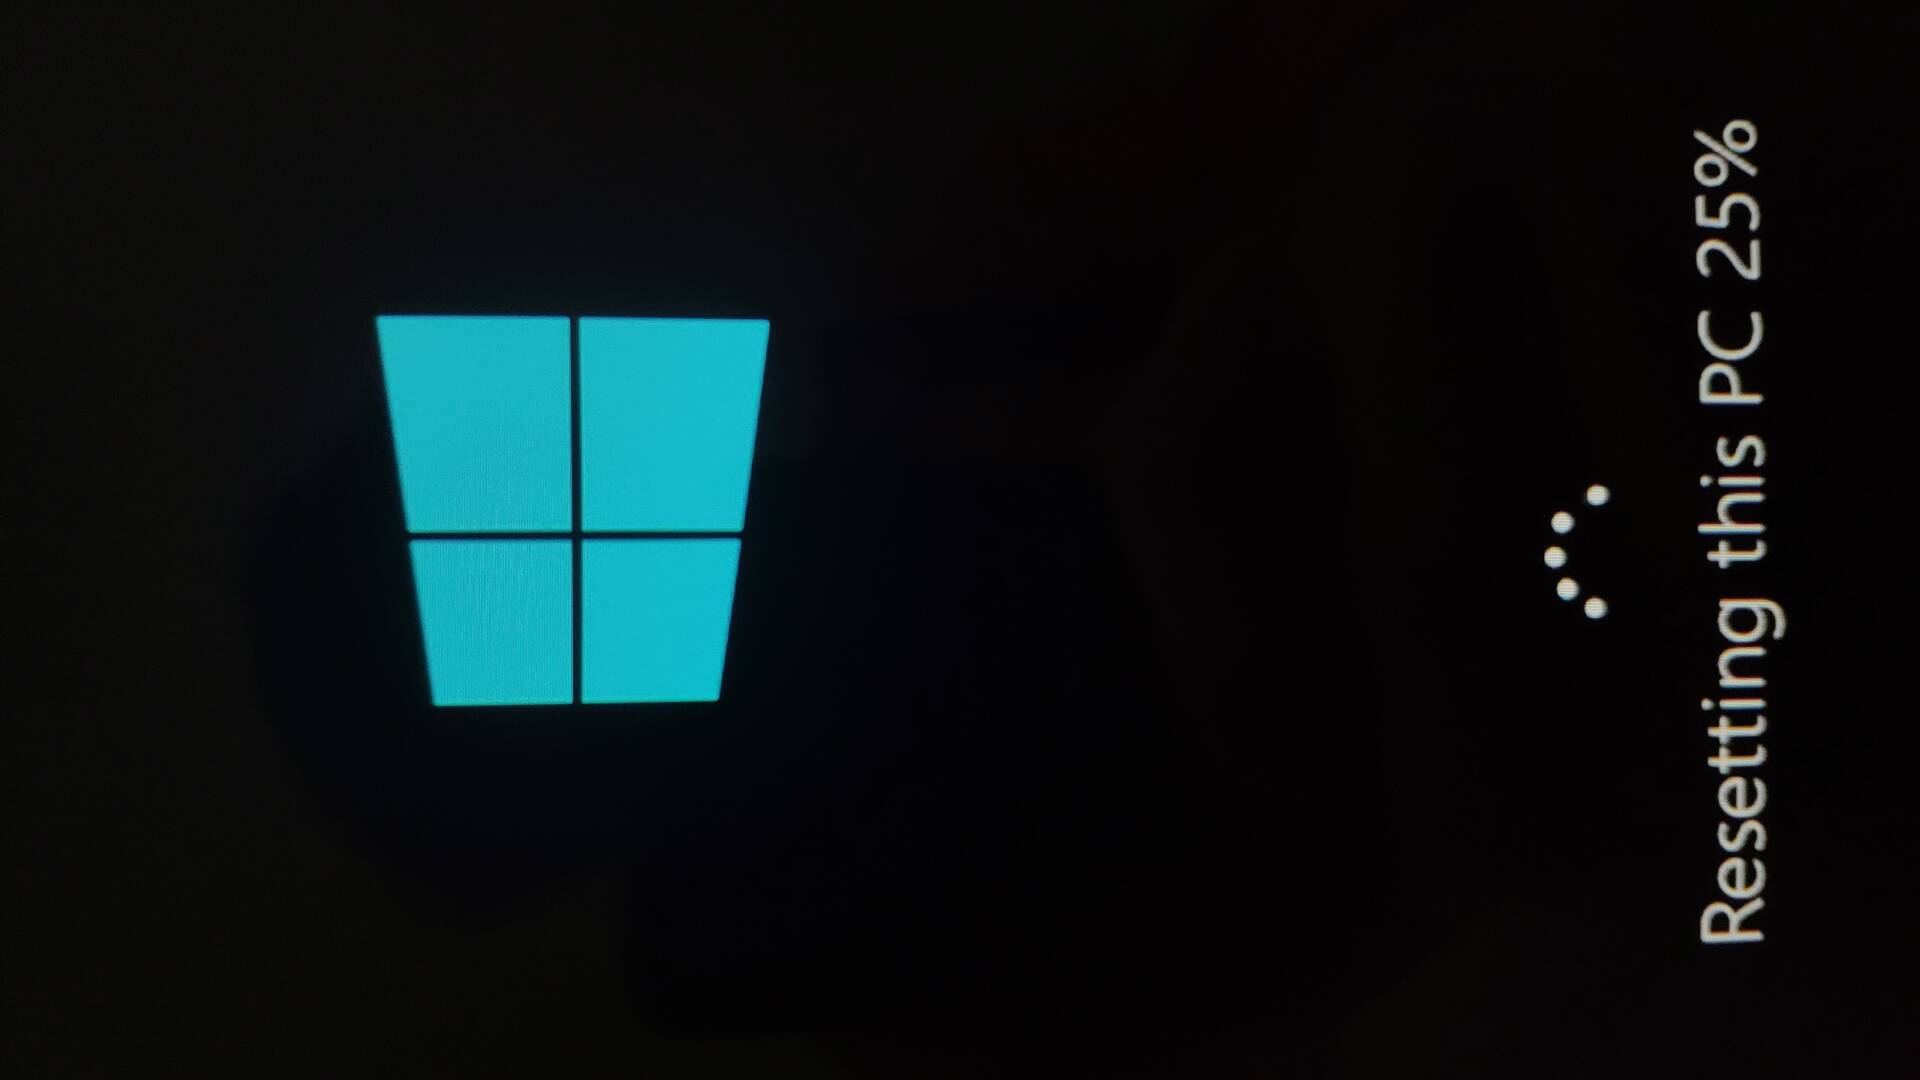 – Reset system –
So while the city got frozen in quarantine, armed with a stash of milled board, soldering iron and carefully picked components for them I decided to focus first on programming the programmers. I thought if I manage to develop a toolset to program other boards it would both clarify a complicated and somewhat mystical world of custom boards but also serve me later.
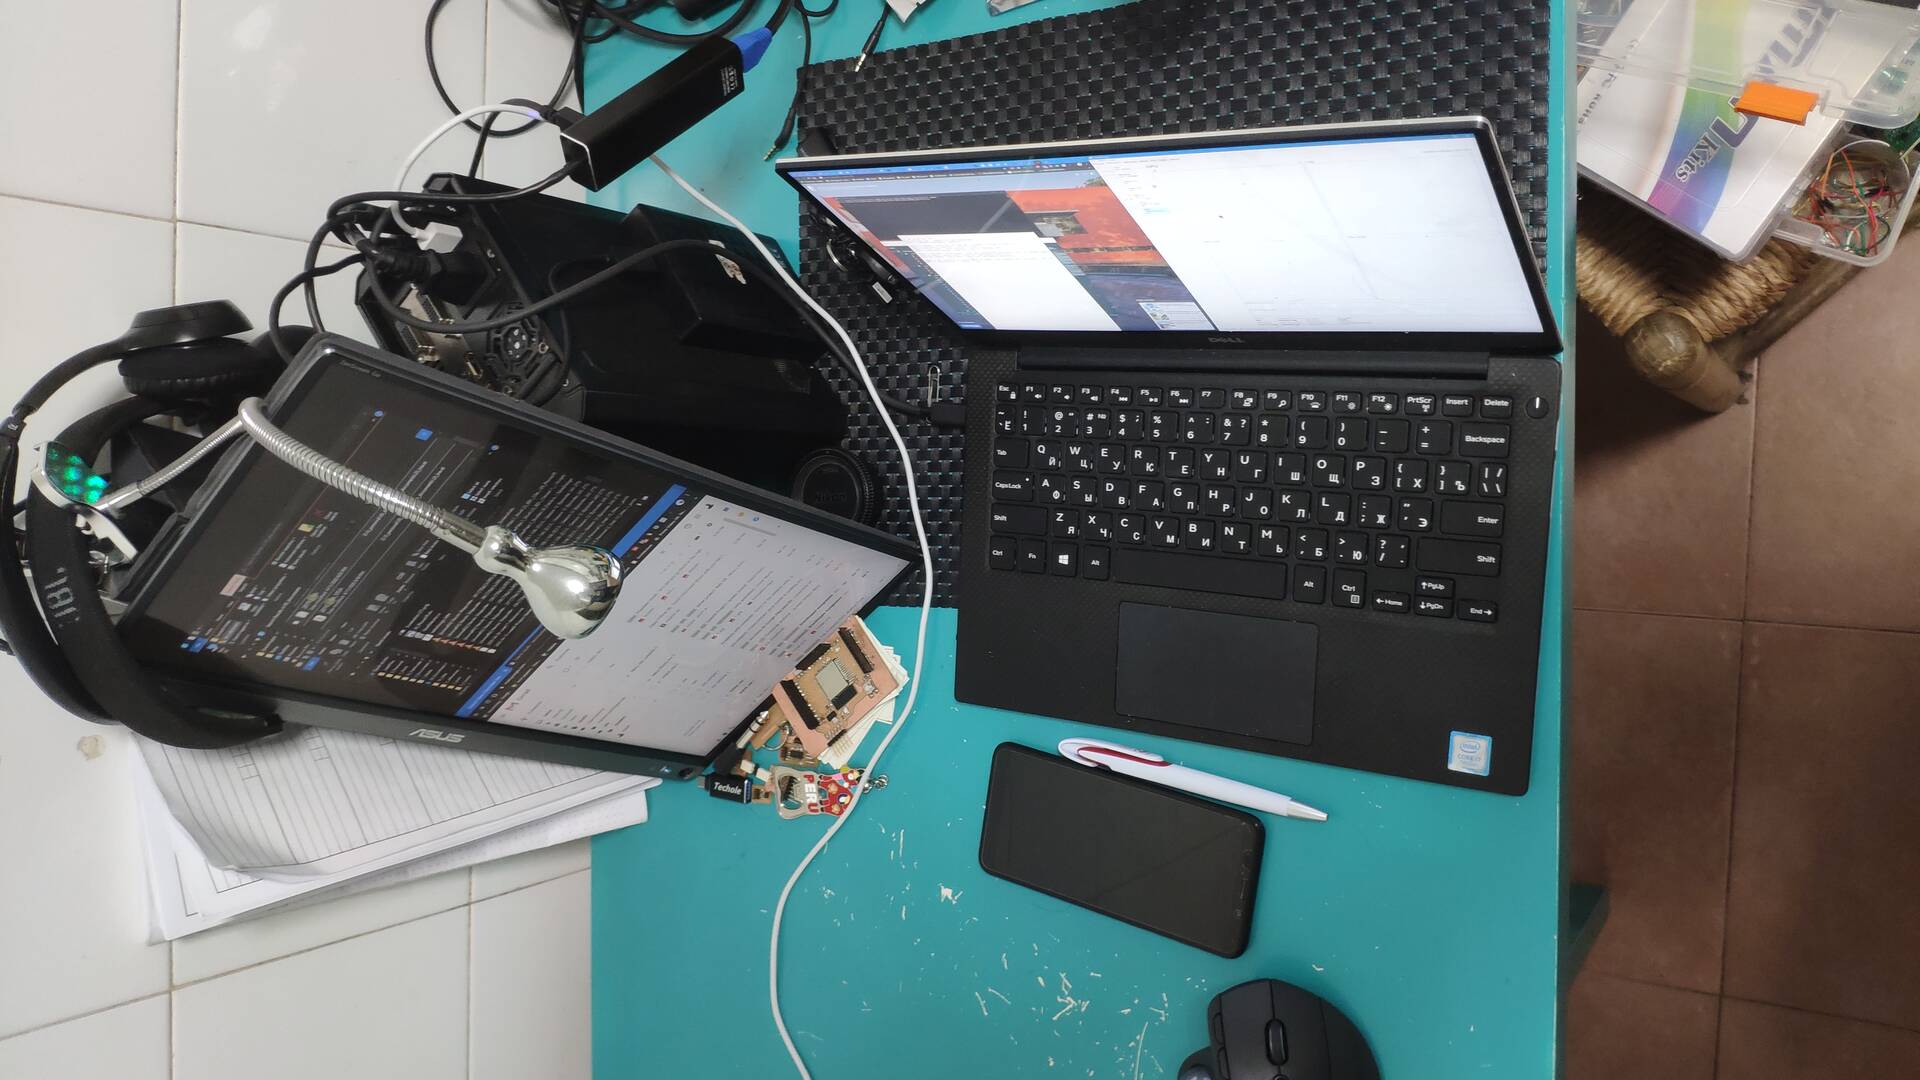 –
– Kitchen Temporary office –
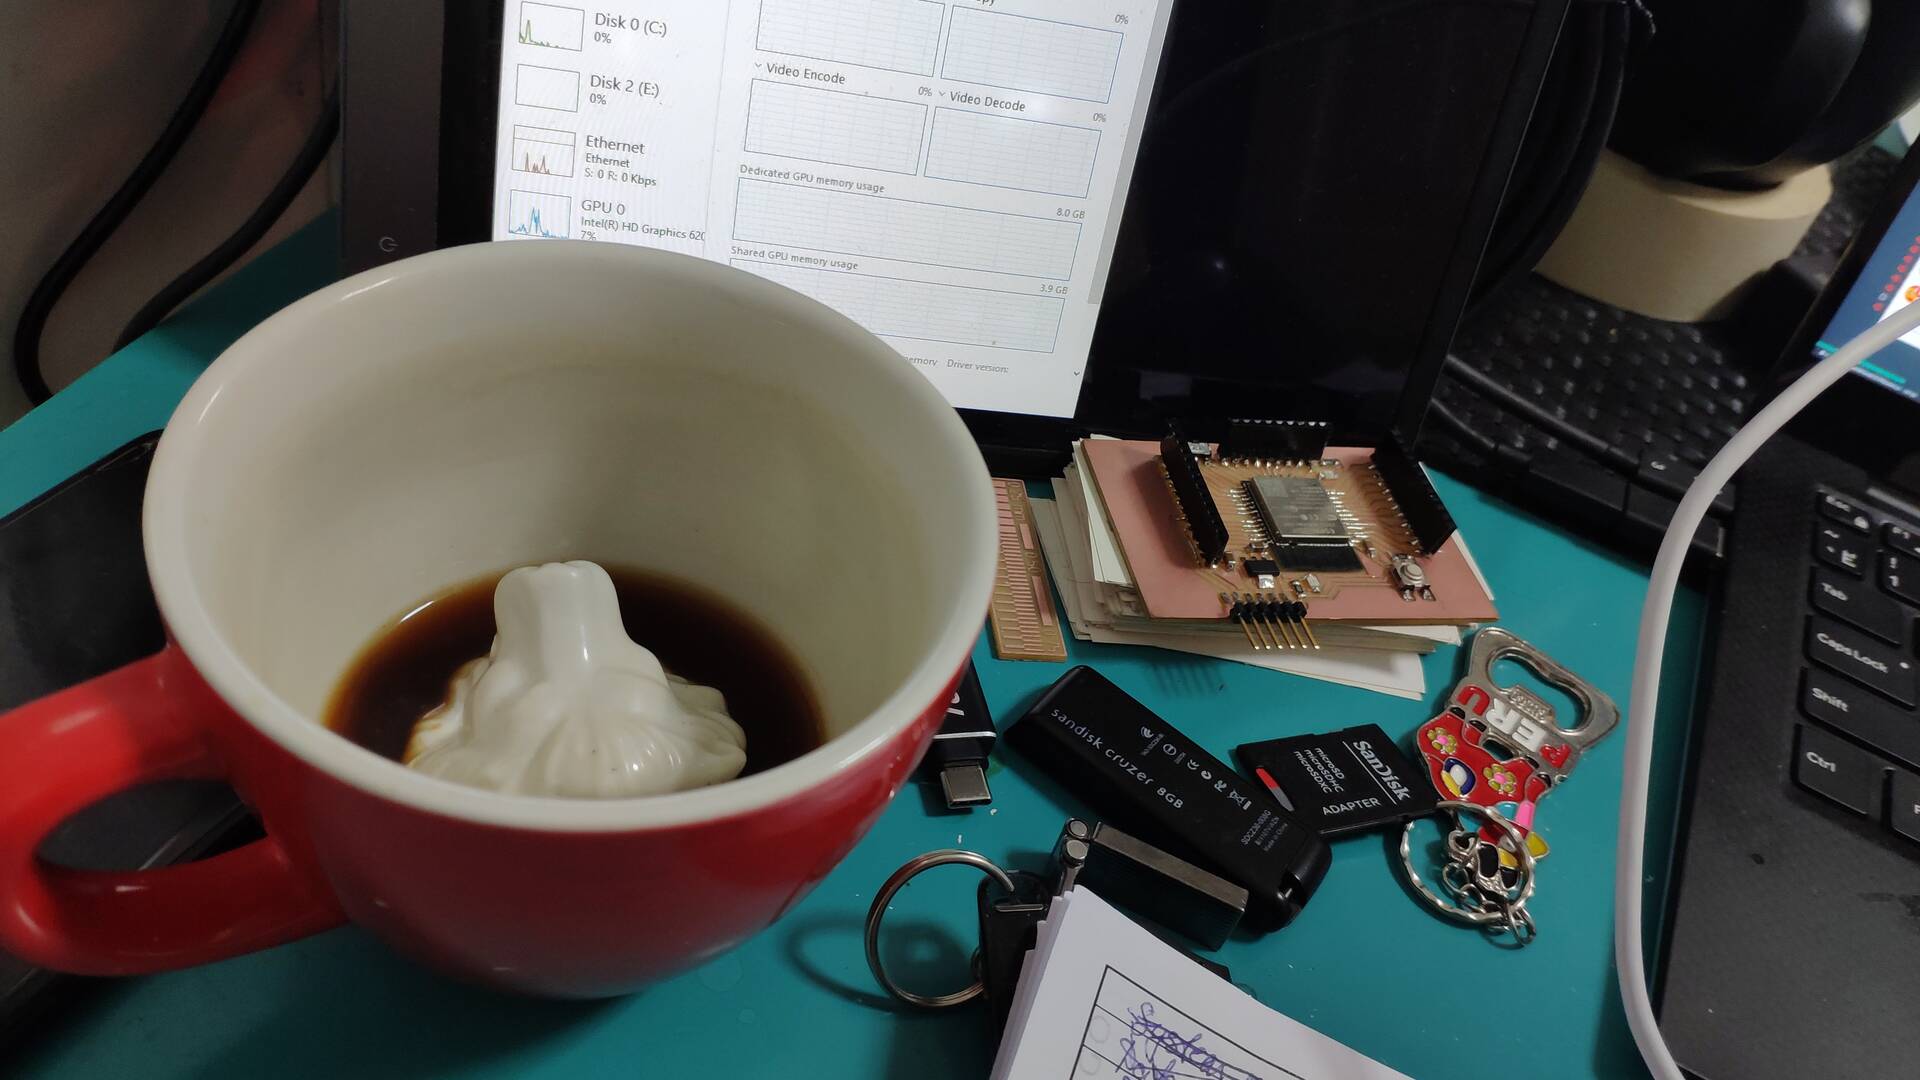 – Long nights on the kitchen –
The following steps unfortunately did not follow in this order. If they did so many stupid mistakes would not have been done.
Step 1: Understand the board
To start off I began by disecting each and every piece of the FabISP hello board. This article helped me to not just know what each of the pieces do but how do they relate.
First the mysterious Zener Diodes made sence - they helped to control voltage on the data lines of the USB connection, since the USB itself provides 5 V but the board requires 3 V. The two resistors of 1 kOhm and 499 Ohm in sequence on one of the data lines - used thus to identify the board as a USB device by pulling one of the data lines up (connecting it to voltage). Which of the two controls indicates the speed of communication and depends on the controller. Now the mystical gap SJ1 going to RST connection of ISP and the RESET pin of the micro-controller - so that the board wouldn’t be programmable. Same goes for the SJ2 - a jumper needed to power board over ISP. however the current might not be sufficient to power a slave (when using this board as a programmer), so the connection should also be severed. (this I found out by accidentally shorting the board a couple of times by trying to connect it with a normal wire since I didn’t have a 0 resistor at hand)
Just to make sure everything is as designed in board I also tried to check connectivity, resistance and even voltage (upon connecting) using multimeter (with help form this article)
Step 2: Compile and talk.
Since at the moment of writing this I am in isolation and do not have other ISP to program mine, I thought I would try to do it from an Arduino.
Here, the silly issue that should really be obvious but it wasn’t - until I program the board it cannot be read properly by computer and thus no driver installation is needed or possible. But because in most tutorials FabISP is programmed through another already programmed FabISP. The driver is inteded for the programmer not the board being programmed. I really wish this was explained better in the tutorials because until this is set you could not program the board. I literally ended up trying all versions of libusb and analogs for the ATtiny 44A board. Another confusion for me was from the fact that in some cases you need to both power the programmer and the board you’re brogramming, but apparently Arduino could power my FabISP on its own. TODO Check with Multimeter.
following general outline from here I tried to follow sporadically trying to find bits and pieces of the toolchain in other software and thus making the whole process extremely messy. For instance by messing up the toolchain (using old one or using some not exactly compatible version or something - not sure) I was getting strange errors trying to “make clean” of the firmware (for example 0xc0000142 or -1073741502 error for rm.exe - causesd upon some invetigation by errors in loading of a .dll) - indicating that some program toolchain was calling was incompatible.
After a long time this article made it infinitely more simple and down to earth and more understandable. By removing all possibly conflicting versions of avrdude and the toolchain from the PATH system variable (it allows system to find programs you run in command line or that they call in tern, among other things) (this variable I managed to completely wipe in the process before due to bad documentation on old software I thought wee necessary to run this process).
In questions relating to adjusting to Arduino as ISP I consulted this article, this tutorial, this previous year exercise, and this previous year exercise
Upon investigation I realized that instead of ATTiny 44 I was using 44A. However upon light investigation over forums, I found that it is just more efficient version and it would not affect anything (not on any official resources however, thank you Atmel for making it so clear). I also checked in the specs for the orientation of the package (physical version of the chip) - also correct.
Until I went through the list of settings of AVRDUDE - I so not understand why this is not linked anywhere - just written what to replace you AVRDUDE settings in make file with no explanation with many more useful explanations and examples here. For instance -c indicates the type of programmer, -p indigates the type of chip being programmed, -P - port over which programmer is connected. -b - rate of communication etc.
 – Fuse Error –
Conclusions
So in my understanding the process over all goes like this:
- when first making board the chip is bare, it needs firmware - a software for low level control of the chip to communicate with inputs and outputs.
- to do so it has do be dove via something - another board - programmer, which in case of FabISP can either be another already programmed FabISP, special expensive device or Arduino.
- firmware is written in and comes in a human readable programming language. It has to be interpreted into ultimately 1s and 0s understood by the chip. The toolchain consists of
- making this readable code from c to object file
- linked up with the libraries used in the code, necessary for functionality - into an elf file
- than converted into a hex file to be sent to the board via programmer.
In this case “make” is a program that is responsible of doing conversions, which in term is using “avrdude” to perform specific parts of the process compile, link, convert or upload it up to a device.
big thanks to this local class for explaining the toolchain in detail.
Despite not managing even to program one board I am glad that I went through this process since I got to mess around with separate pieces of the toolchain without really knowing what it is and what they do and thus get myself a bit closer to understanding it. Hopefully.
Next troubleshooting steps:
- solder up proper bridges for the connections needed to program the board
- re-solder the resonator (some sources suggest it might be the reason of getting an 0x000000 id when running “make fuse”)
- order the 10 uF capacitor to connect to Arduino’s reset as suggested in articles when using Arduino as ISP.
You’ve got to crawl before you can walk.
What went wrong
.jpg) – FabISP programmer –
– FabISP programmer –
Week in reverse
If I were to first read the explanation of all the elements on the board I would understand that the fuse was wrong because the reset pin wasn’t shorted. Moreover, without putting a bridge for the power, I wasn’t able to power the board from the ISP connector and thus the board wasn’t functioning properly.
In the end the process I went through is this:
-
Set Up Tools and Path Variables
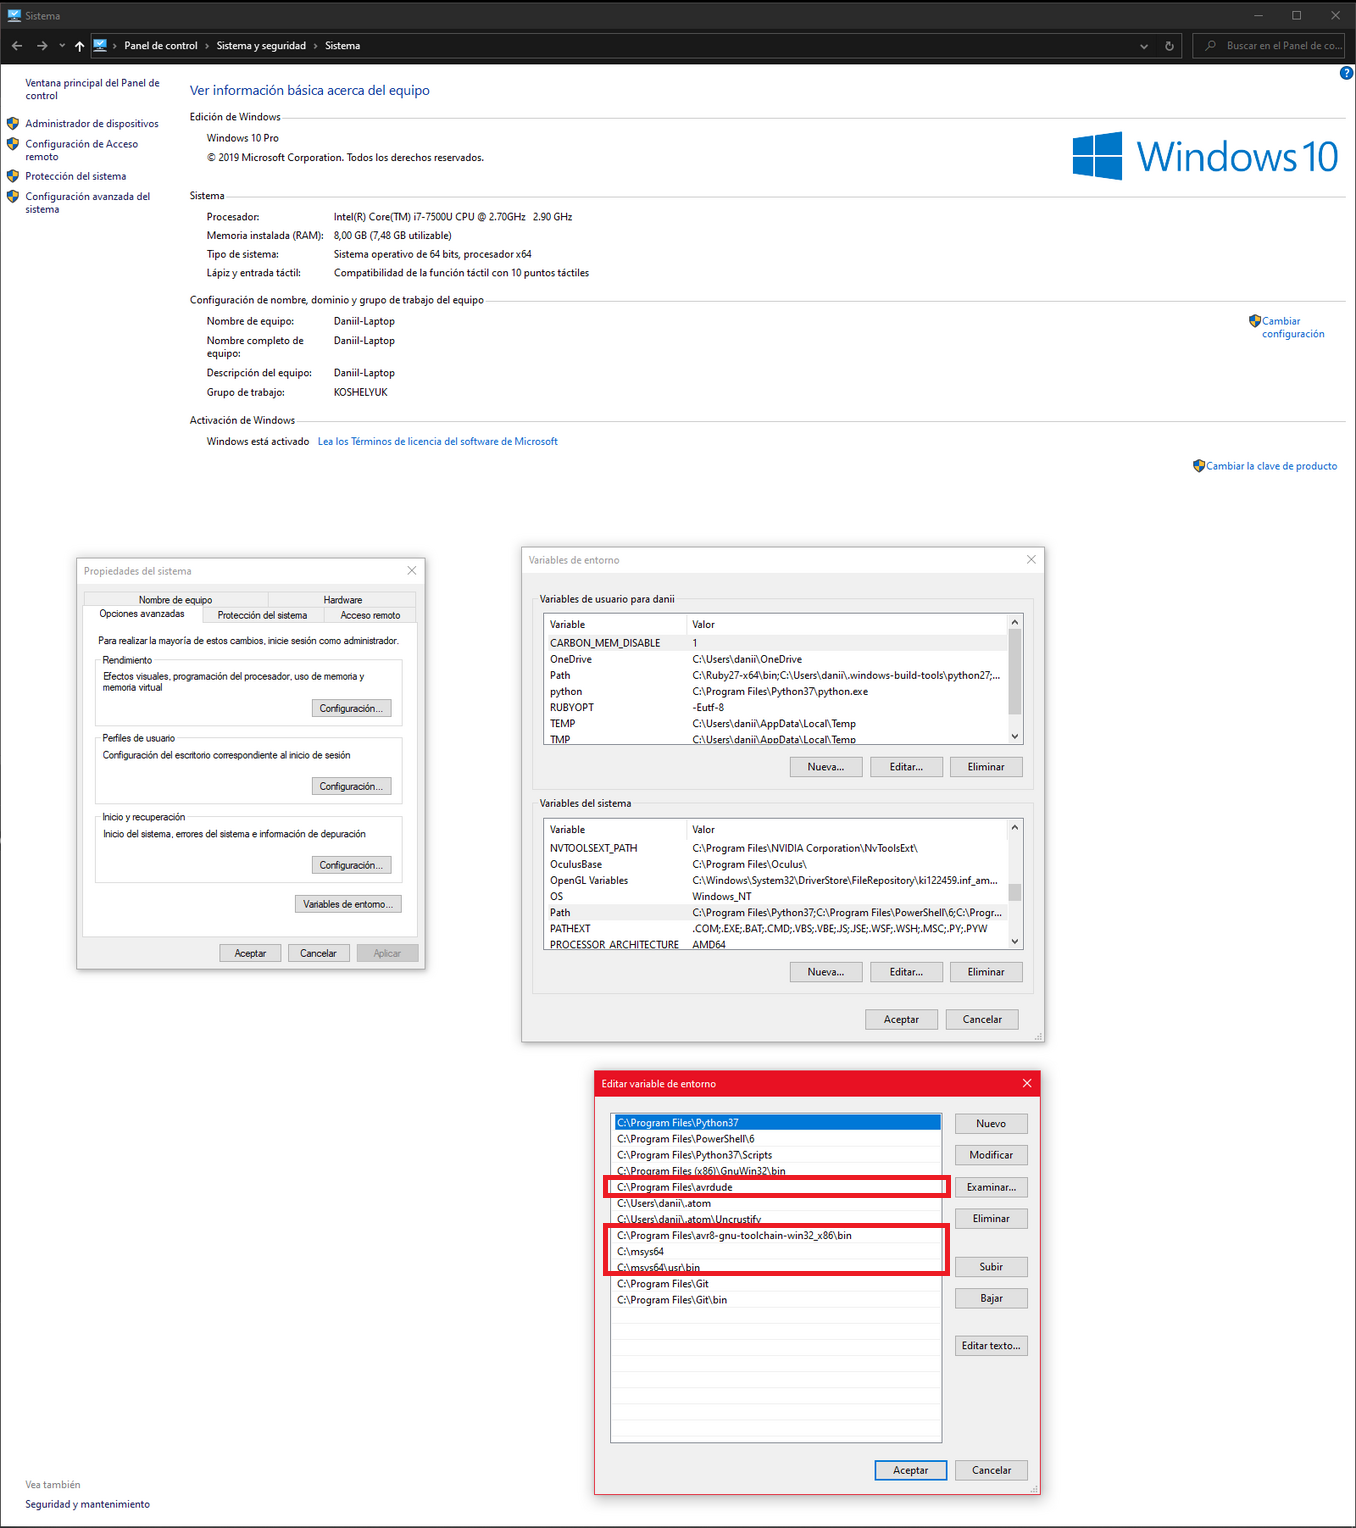
– Process: Set Up Tools and Path Variables –
-
Modify the programmer code according to the wiring and upload
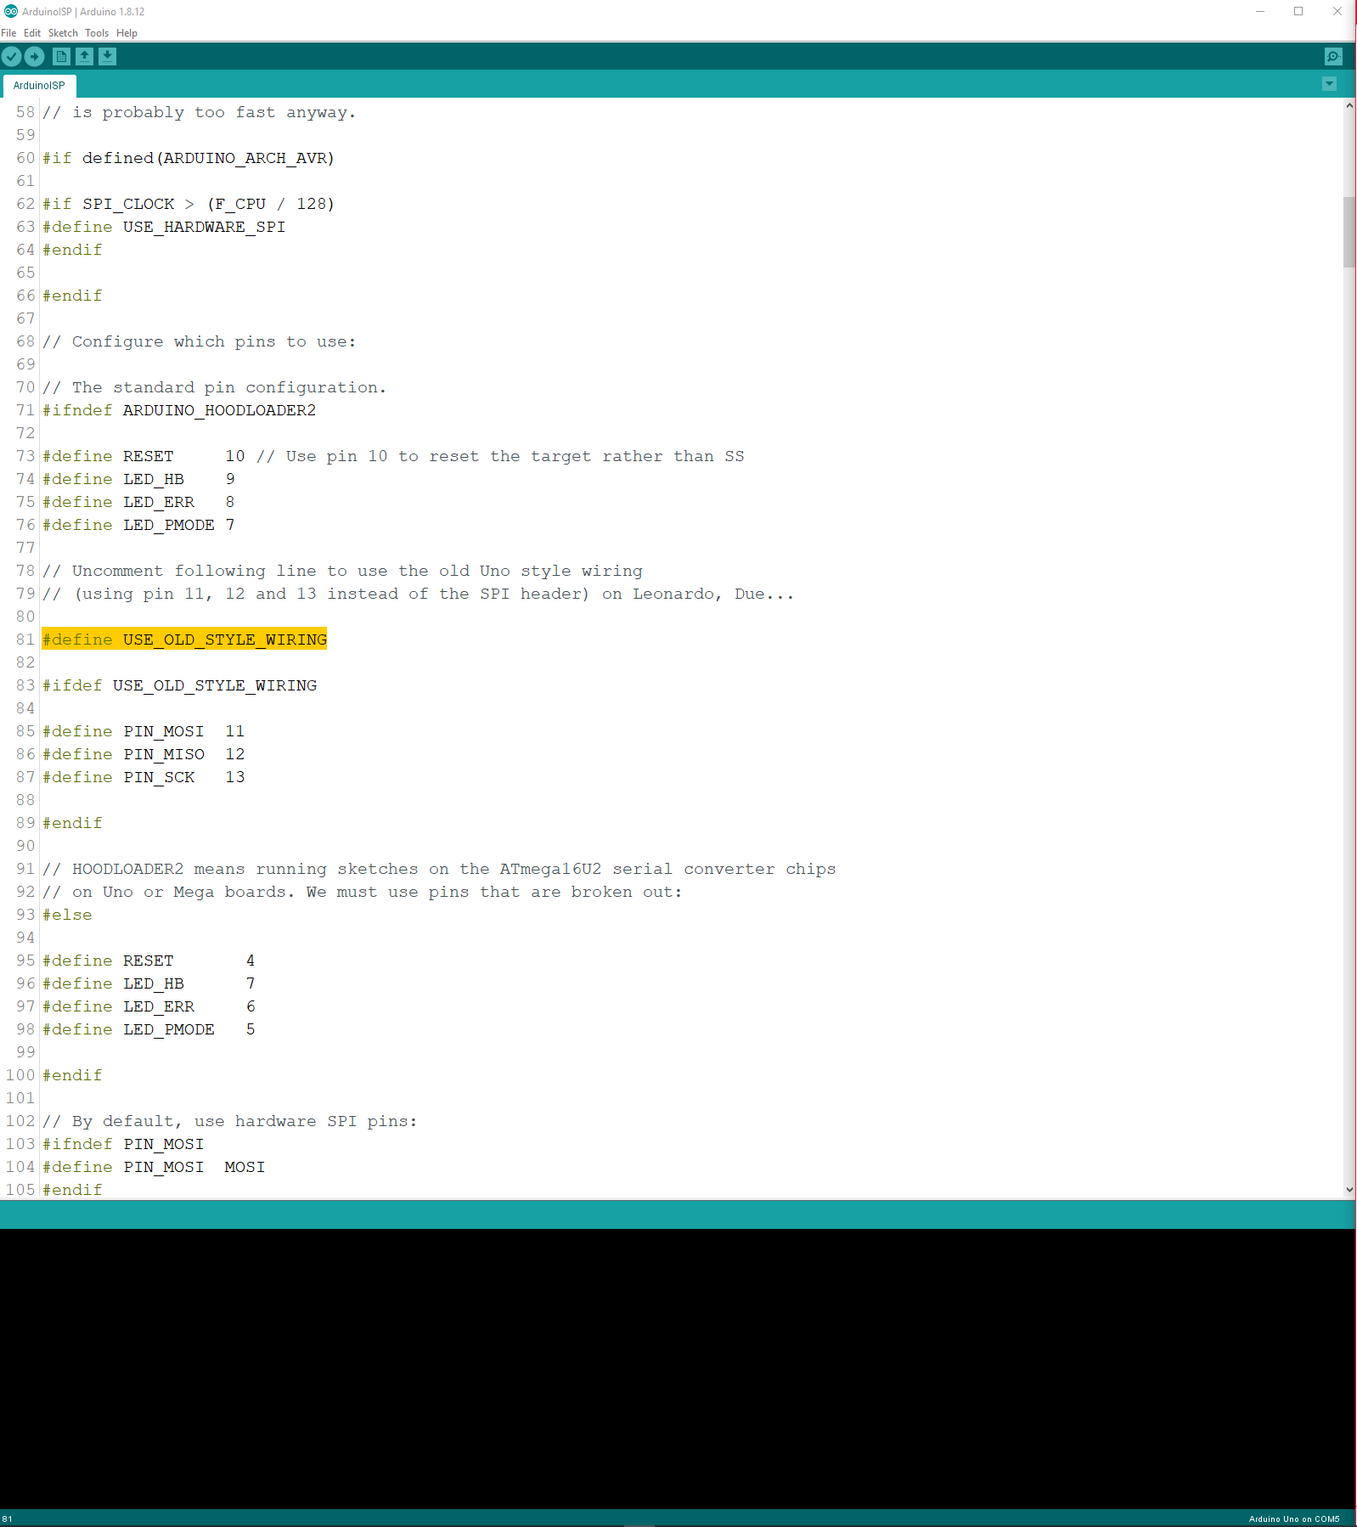 – Process: Modify the programmer code according to the wiring –
.jpg) – Process: Arduino Wiring –
– Process: Arduino Wiring –.jpg) – Process: Arduino Wiring –
– Process: Arduino Wiring – -
Wire it up and connect
.jpg) – Process: Programming setup –
– Process: Programming setup – -
Download the firmware and modify the AVRDUDE command in make file
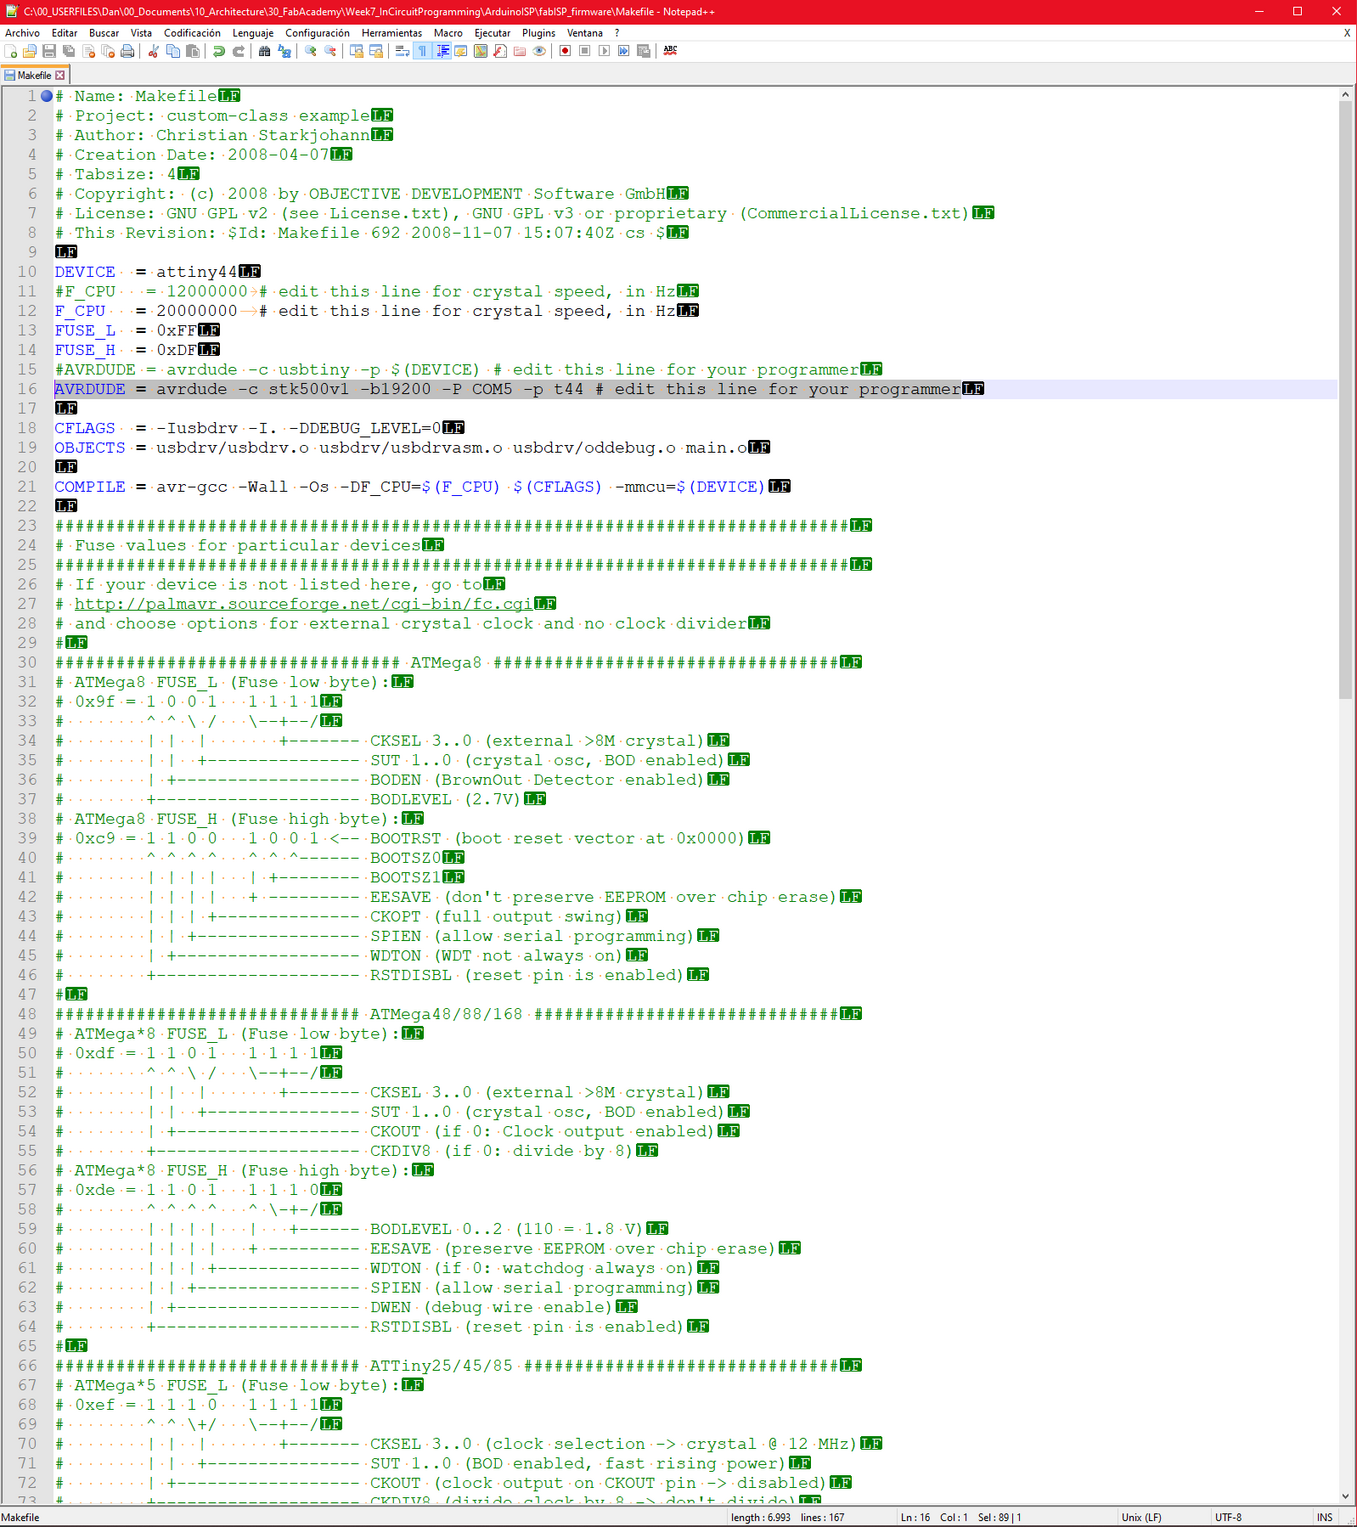 – Process: Modify AVRDUDE command in make file –
 -
Make the firmware and push it to the device
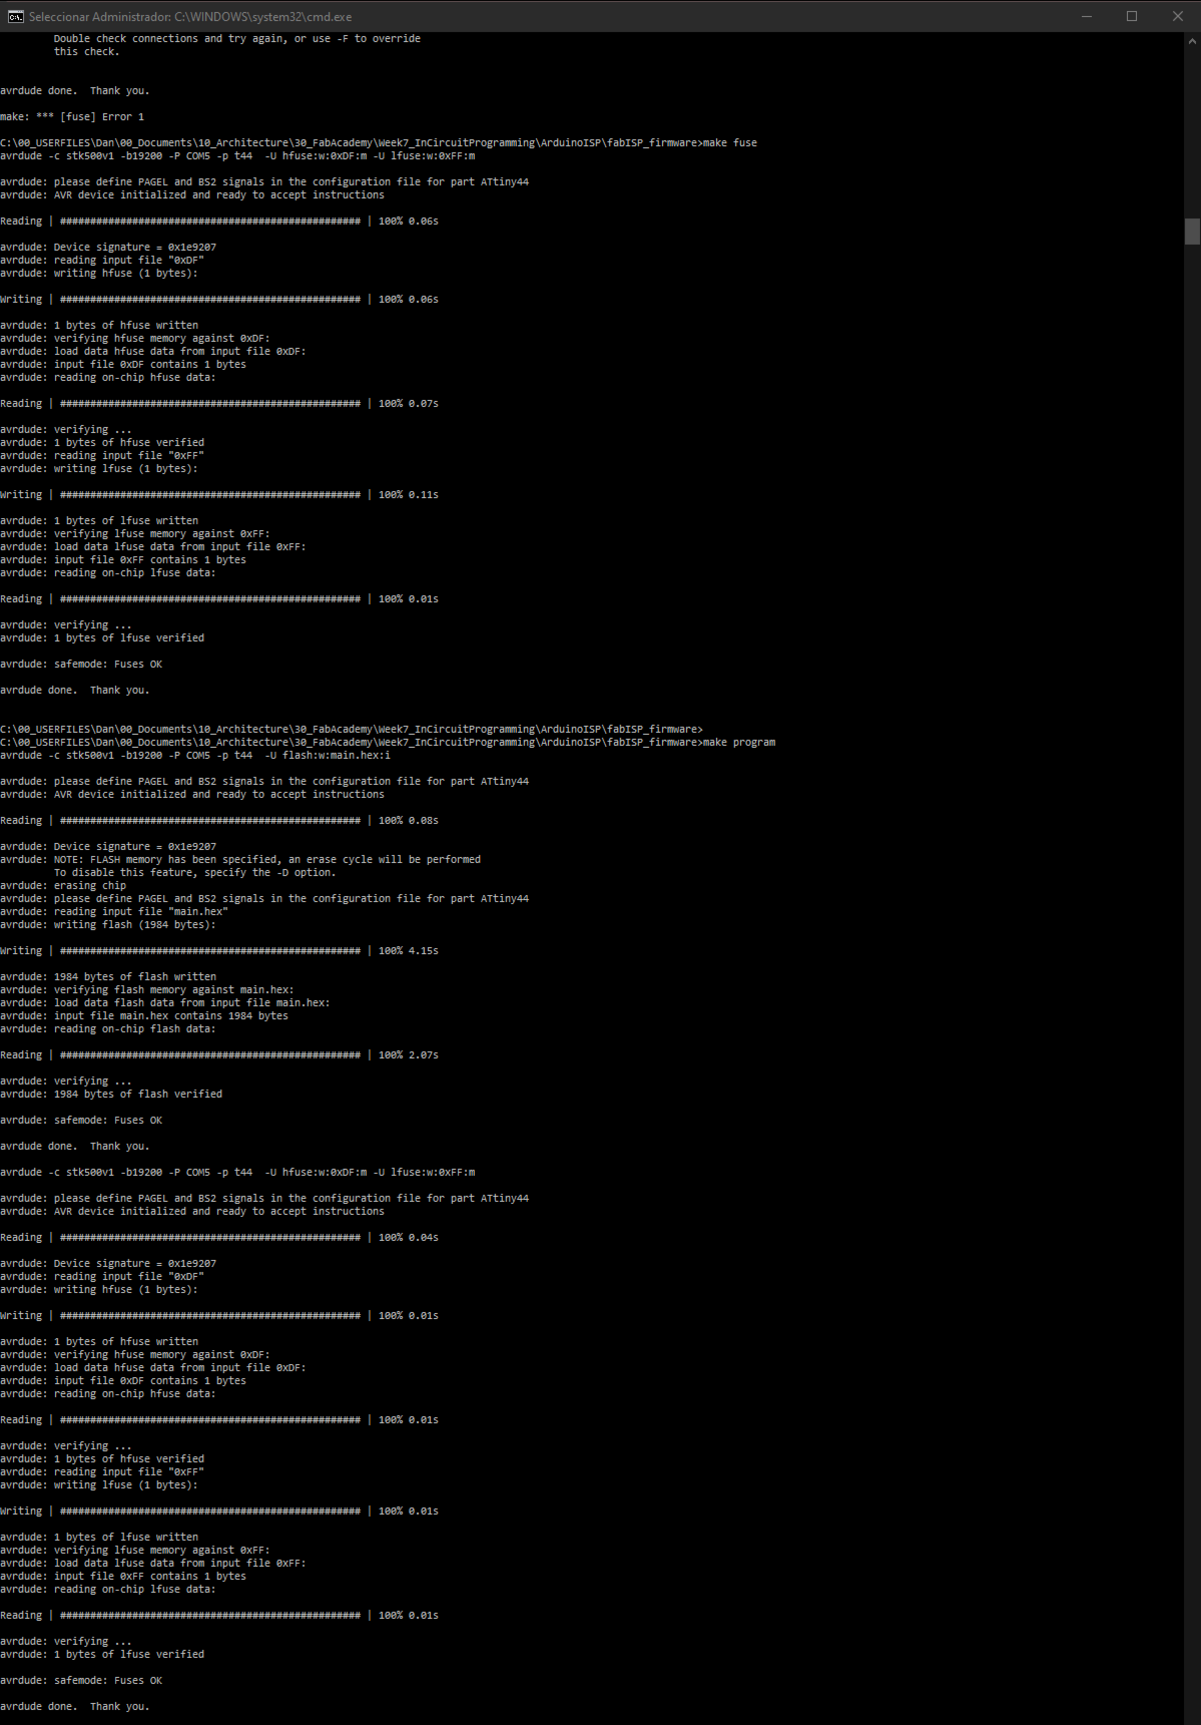 – Process: Successfull make –
if the make file is defined for the firmare as it is in this case:
make clean
make hex
make fuse
make program
Result:
.jpg) – FabISP programmed –
– FabISP programmed –
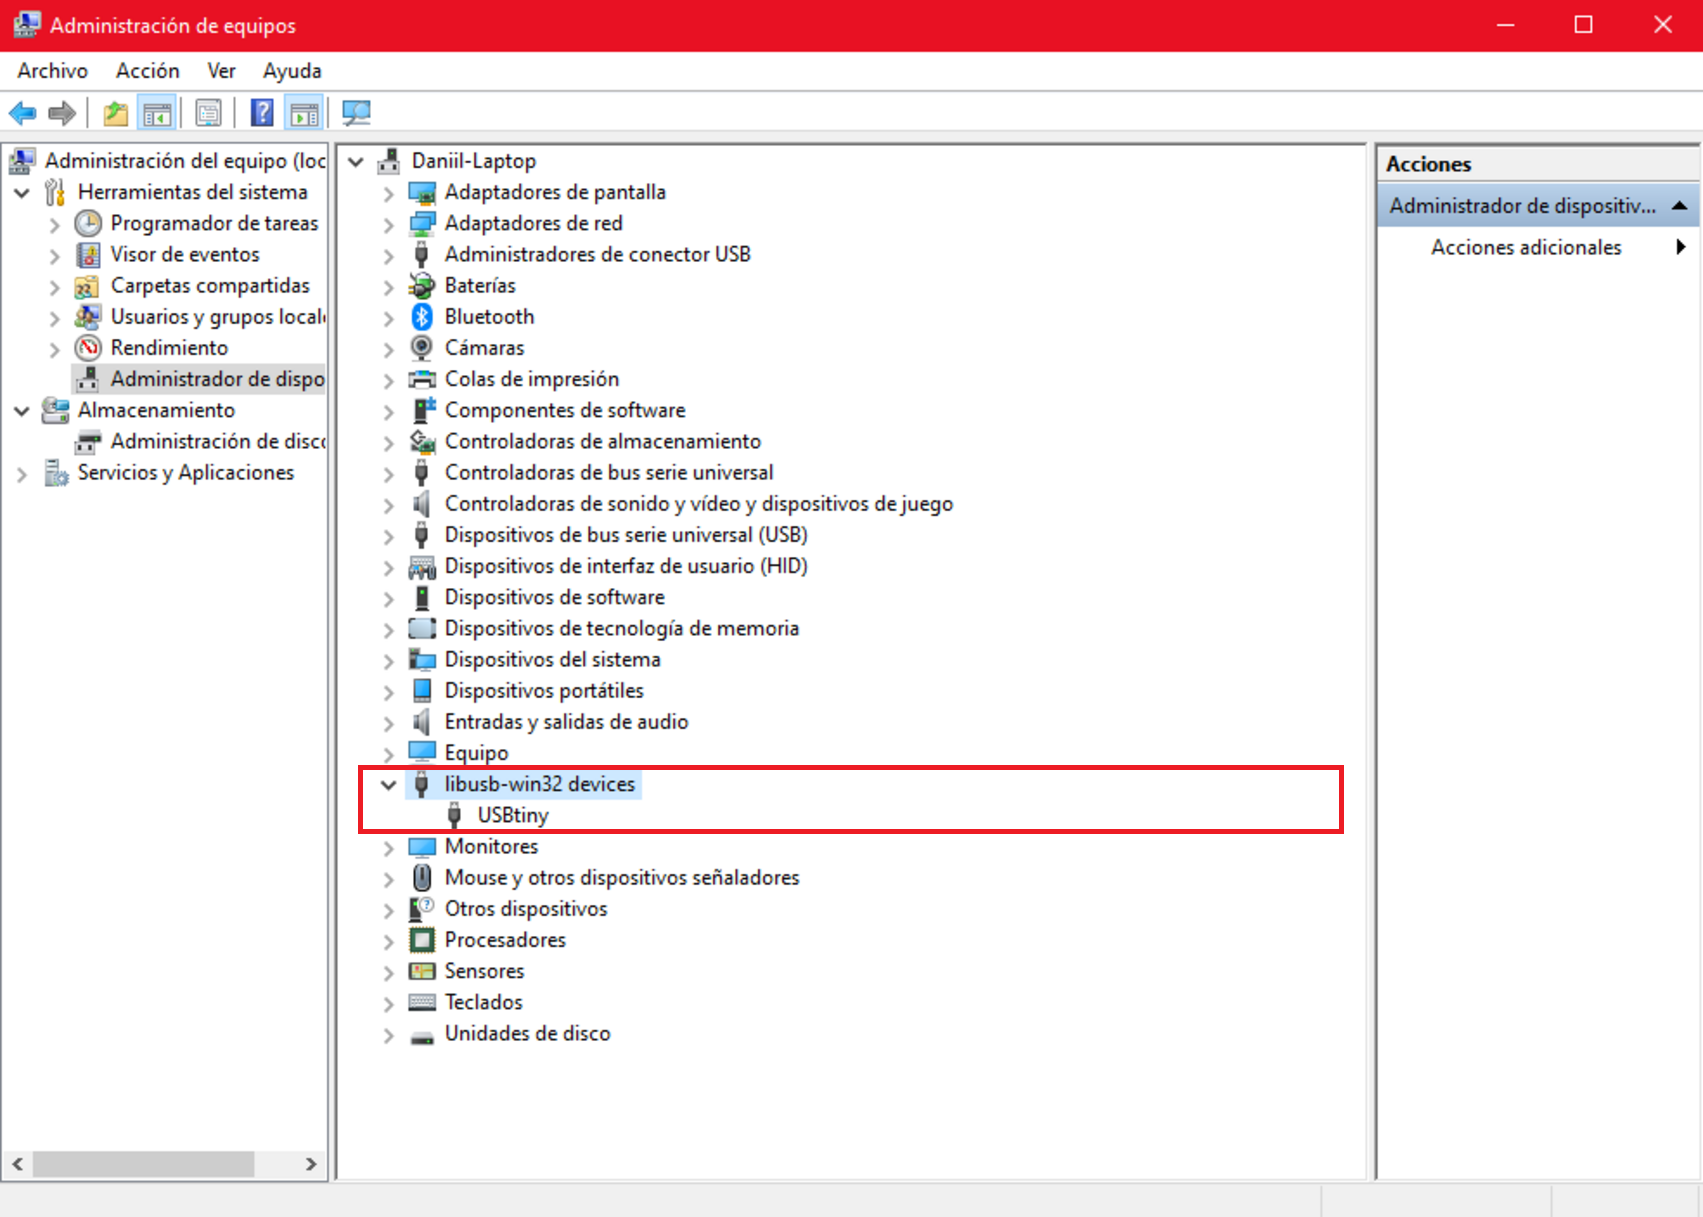 – FabISP detected –
It is not till the next week that I manage to program another board that I made in the Electronics production week with it.