Too Digital Fabrication
CNC fabrication test.
Tinkerers CNC Setup
Ironically the very week we had CNC assignment at work in Tinkerers they were supposed to start fabricating a new terrain model for a mine in South America. However the circumstances took over and the machine had to be left prepared and process postponed until we get access to the building and the lab again.
.jpg) – The Machine –
– The Machine –
These images I managed to take in the last day before quarantine. While the knowledge is not yet applied for me after a walk through by Neil and local instructors in Barcelona and Tinkerers these big machine started to look more accessible and started to split into relatively tangible.
.jpg) – Bridge –
– Bridge –
.jpg) – Extractor –
– Extractor –
.jpg) – Controller –
– Controller –
.jpg) – CNC end mills and tools –
– CNC end mills and tools –
Tinkerers are rather experienced in working with CNC. Project HAToM I described in more details in here in the basis for the third idea. Here are some previous experience in this arena:
.jpg) – Example Materials –
– Example Materials –
.jpg) – Tinkerers: HAToM terrain model –
– Tinkerers: HAToM terrain model –
.jpg) – Tinkerers: HAToM terrain model–
– Tinkerers: HAToM terrain model–
.jpg) – Tinkerers: HAToM terrain model –
– Tinkerers: HAToM terrain model –
Application
As an application of the technology I wanted to fabricate a standing desk for me to work on at work. After some research here I confirmed for myself the rumors I’ve heard that standing desks can be instrumental for the posture and fatigue in cases of such low-activity professions as architect/programmer. Moreover, sitting all day is not very good for the injury in a leg so this way I hope to put some additional physiotherapeutically benefit into this project for me. It is stated, however, that optimal solution is to alternate between standing and sitting every now and than so I wanted to build into my design ability to switch between the two.
Since the fabrication got postponed I decided to work on this project a bit longer than dedicated week and think through as many details as I can and add as many features.
After initial brainstorming session I split design in two main steps: table-top design and adjustable height mechanism. All the elements of the design (all dimensions, angles, all widths, thicknesses, all depths etc.) are parametric so I can adjust it with more precise measurements on the spot.
1 Stage: Adjustable top design
 – Standing Desk: Top Design –
 – Standing Desk: Top Design –
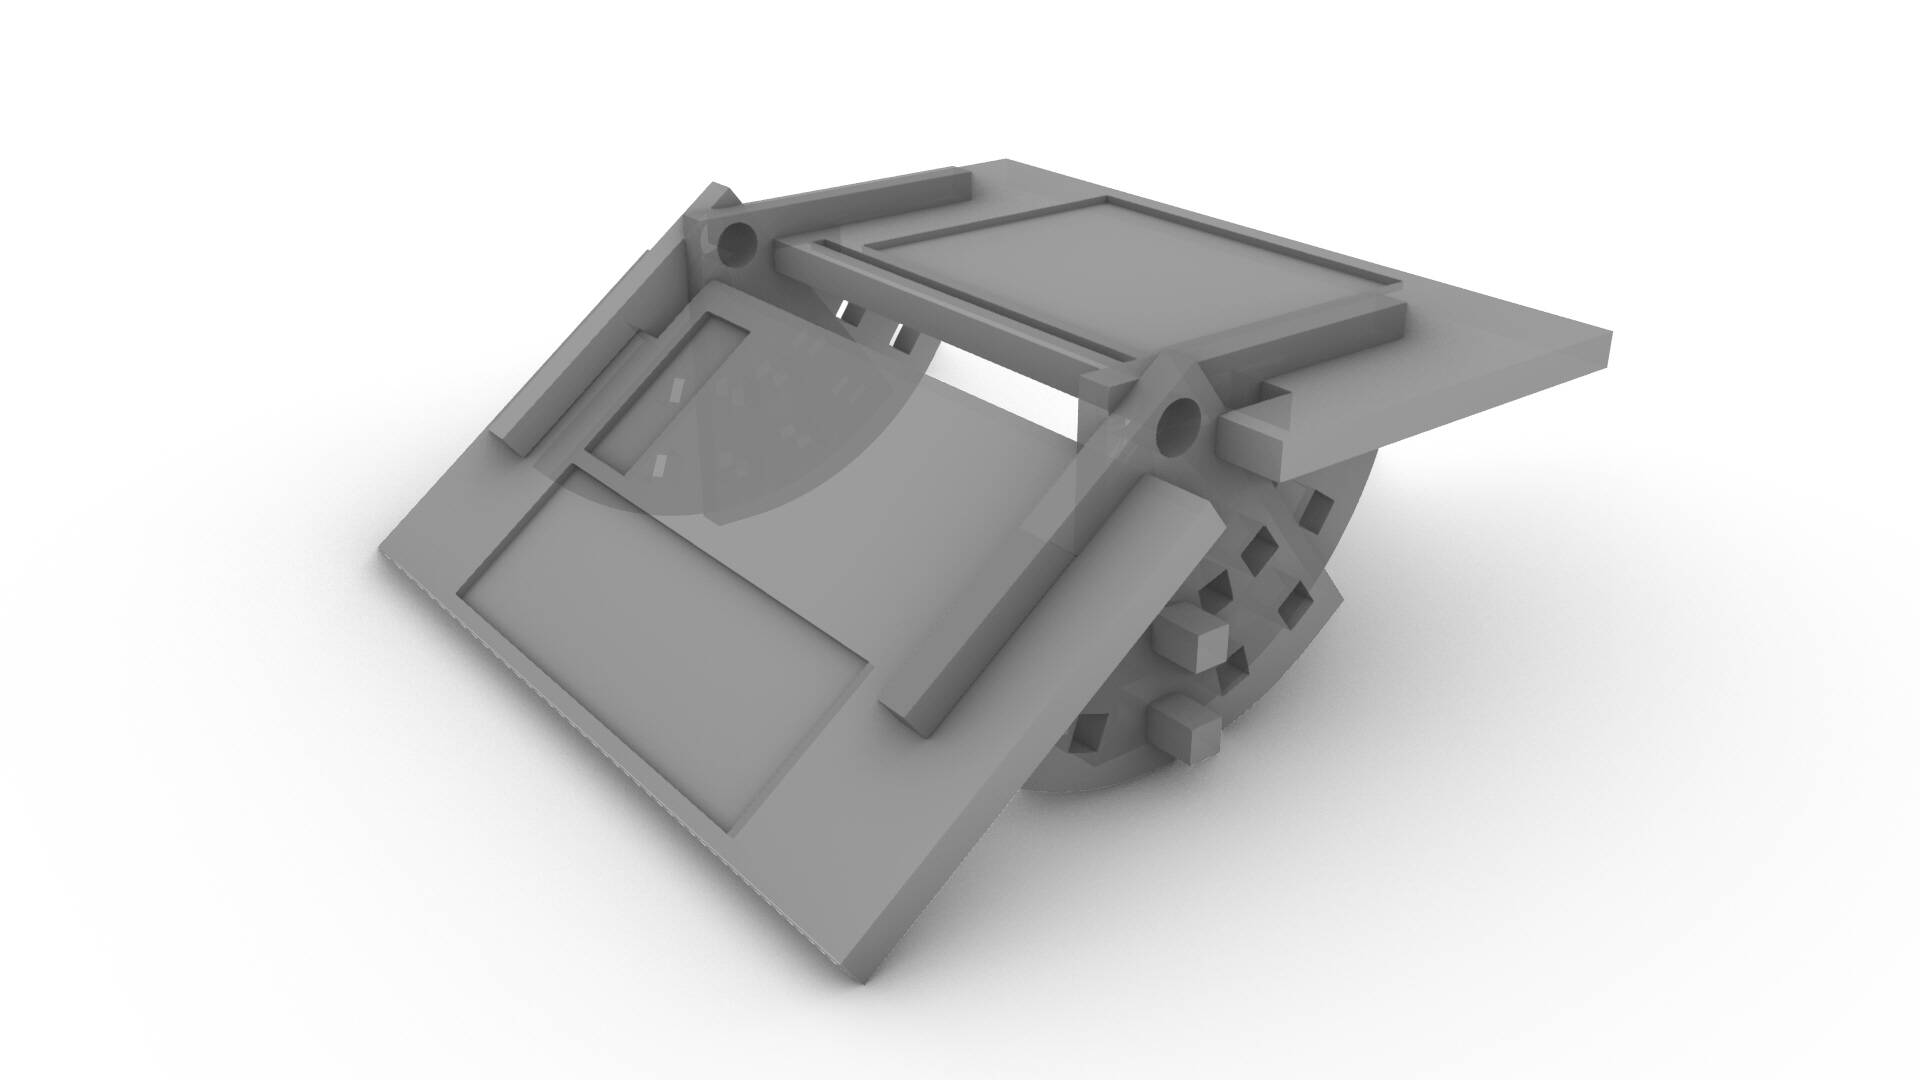
2 Stage: Height adjustment mechanism
– Height Adjustment Mechanism –
– Height Adjustment Mechanism: Detail –
At the moment the design still lacks final details: fixator for top surfaces, connections of rotation stoppers in the vertical mechanism, base and top stand to keep the structure steady. But even now this has been a fruitful exercise in creating dynamic structure and purely geometric mechanisms without relaying on electronics.
Current Work File:
// TODO: To be continued . . .