First steps in designing the final project in Rhino 3D.
housing
The housing would be defined by first the outlines of the screen panel, than by thickness of the boundary of the micro-controller, shield and battery to be hidden inside, as well as desired thickness of the material. Since I have not yet got the pieces the design is thus is chosen to be parametric so I could adjust it later on.
With these inputs in mind i defined an algorithms that goes through:
-
create inner volume with dimensions;
– TODO: volume variations – -
create circular rails for the side and back panels to be places and secured - this way pieces themselves are modular and potentially upgradable; for instance, it would be possible to change handedness of the device by replacing the side panels;
– TODO: rail – -
create piped rail;
– TODO: structure – -
fill in preliminary panels and thicken them.
– TODO: panel images –
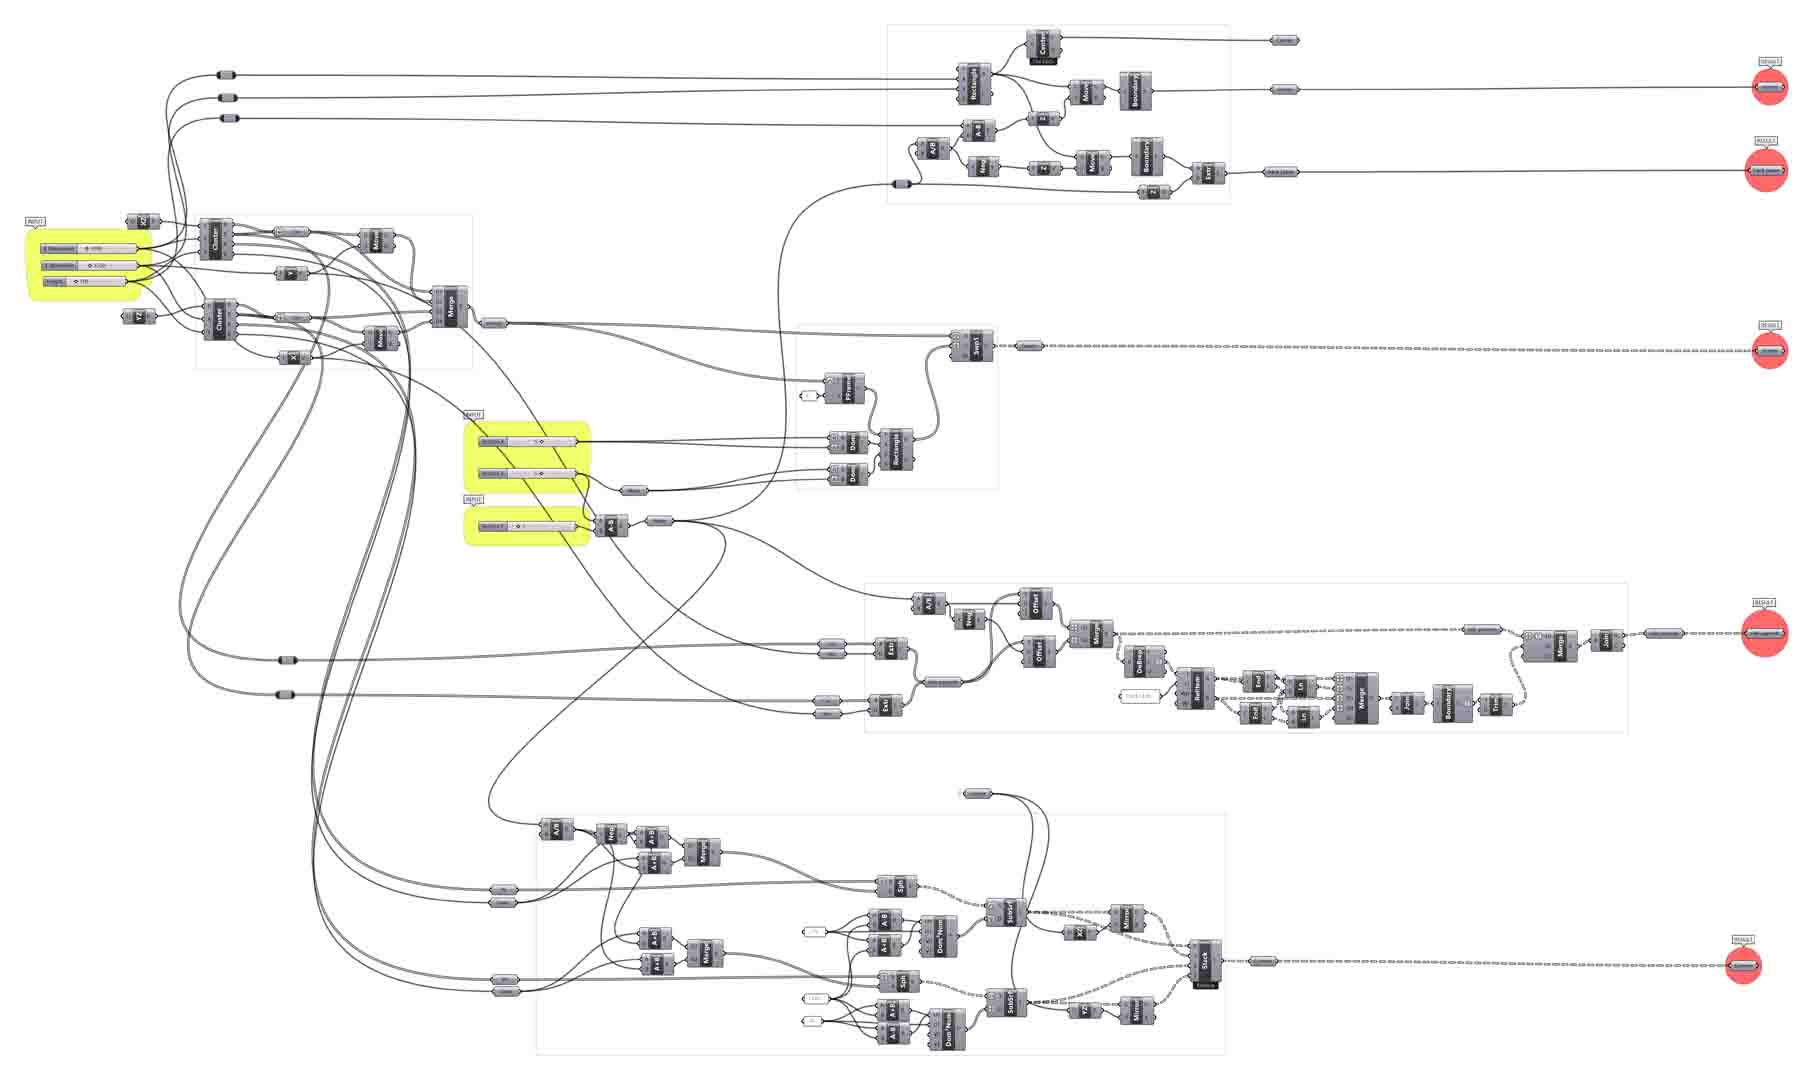 – Script Overview –
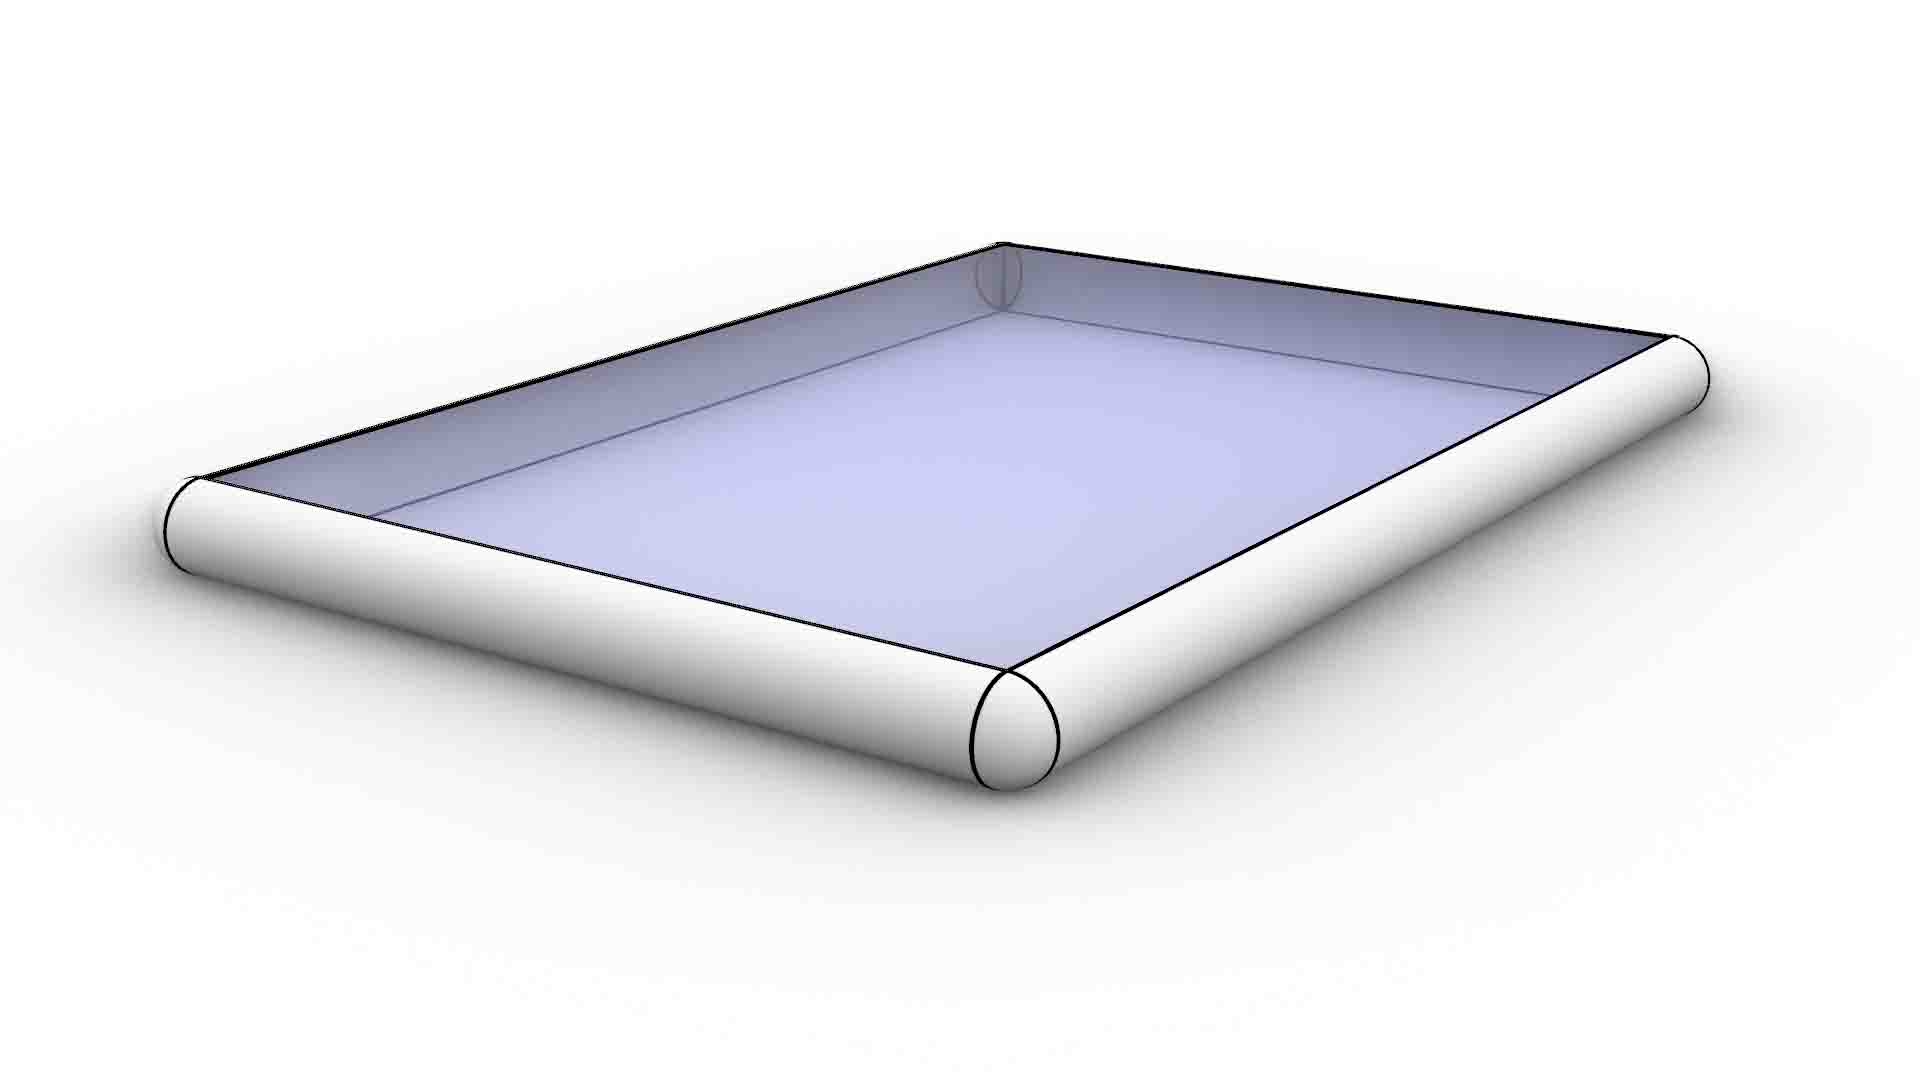 – Structure Overview –
 – Corner detail –
– TODO: Explosion view –
Work File: