Wildcard week
This week we suppose to design and produce something with a digital fabrication process (incorporating computer-aided design and manufacturing) not covered in another assignment, with documenting the requirements that my assignment meets, and I will including everything necessary to reproduce it. I chose to show you how was my first experience with Embroidery Machine what I have near to me is He Feng Single Head Embroidery Machine. I visited a small sign shop, he allowed me to test the machine. The features of He Feng Single Head Embroidery Machine:
Embroidery Design
Design stage:
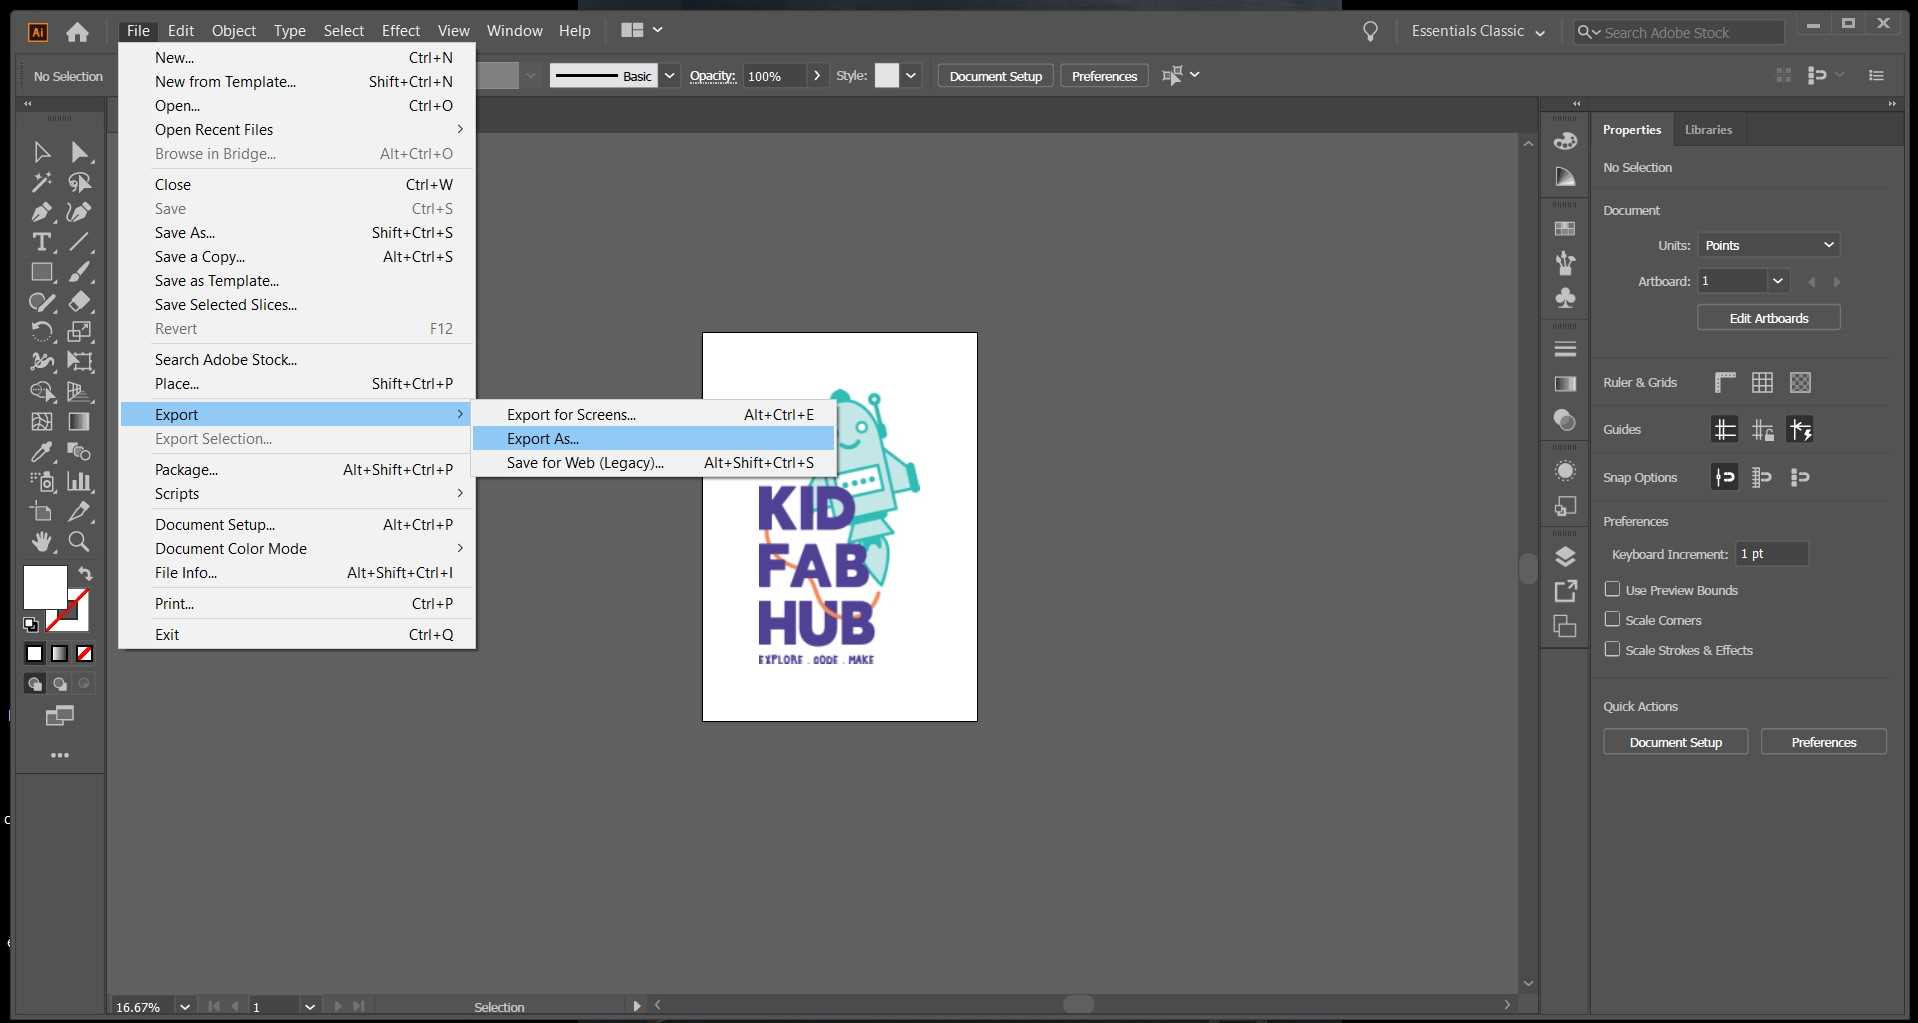
By using Adobe Illustrator I exported the file as .png file.
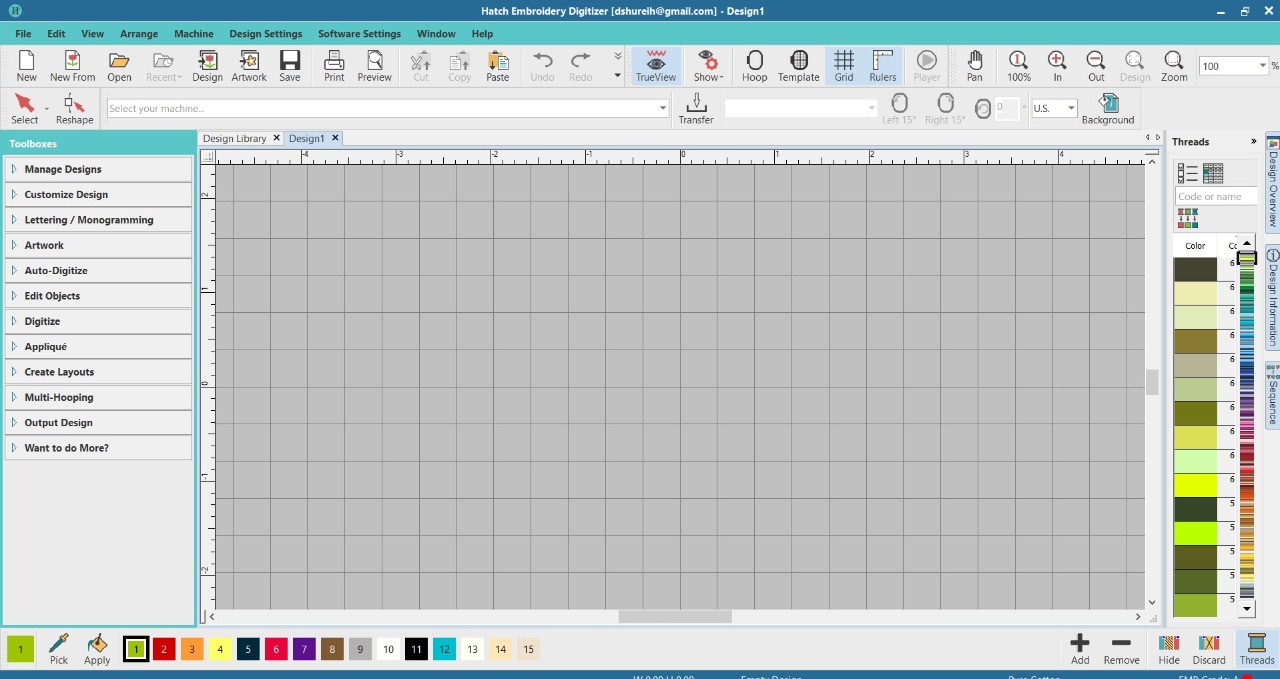
The design window, this allows you to modify or create embroidery designs using the extensive toolset. You can have multiple designs open simultaneously and toggle between each via the design tabs.
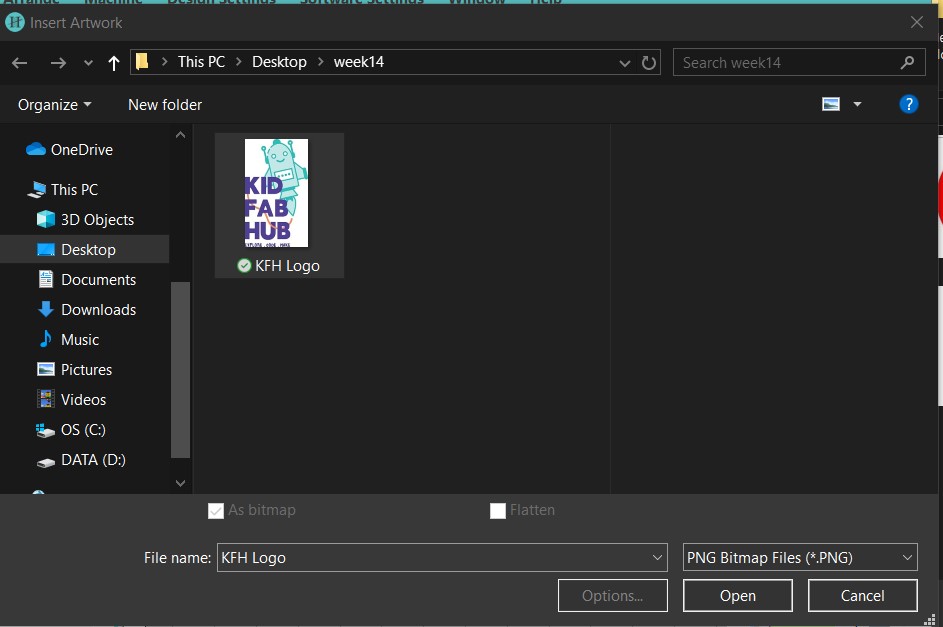
From the menu go to insert artwork and choose your file.
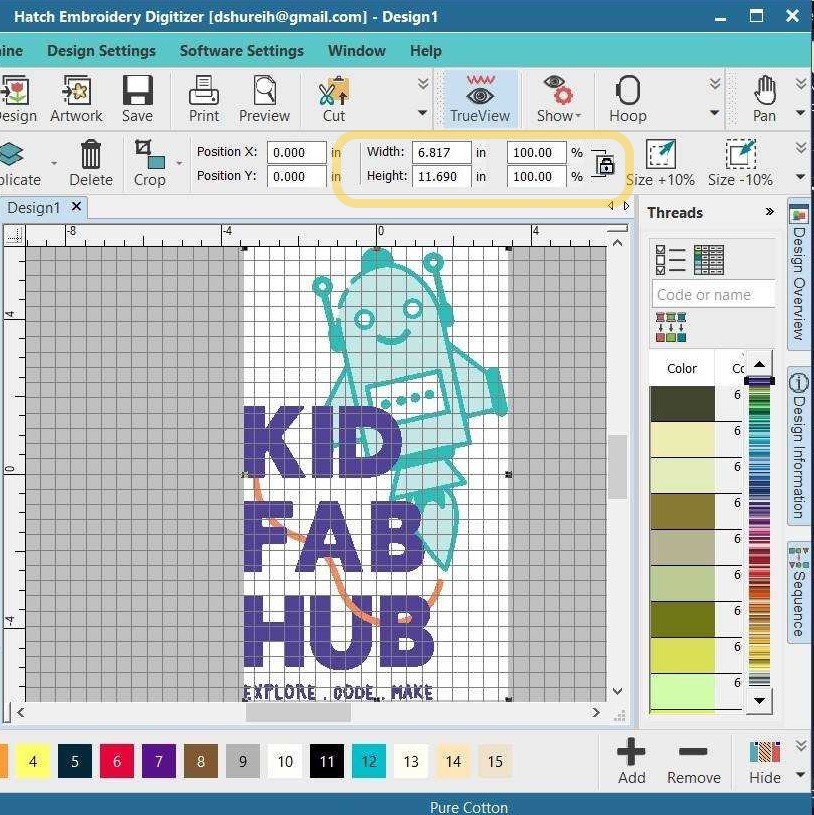
Now edit your design size from the top in the height and width.
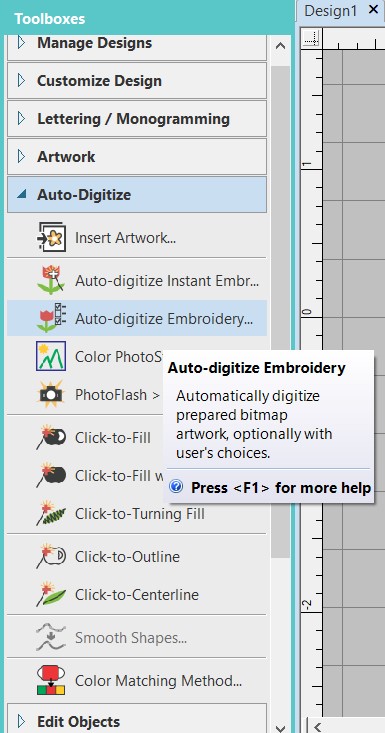
From the toolboxes, click on auto digitize to convert your design to machine toolpaths. With the Auto-Digitize Instant Embroidery tool is simply a matter of selecting the image you want to convert, and clicking the tool. The system automatically determines colors to fill, turn into details, or omit altogether. And it chooses the most suitable stitch types to apply using default settings. Even if an image is not pre-processed with the image preparation tool, Auto-Digitize Instant Embroidery automatically processes and converts it.
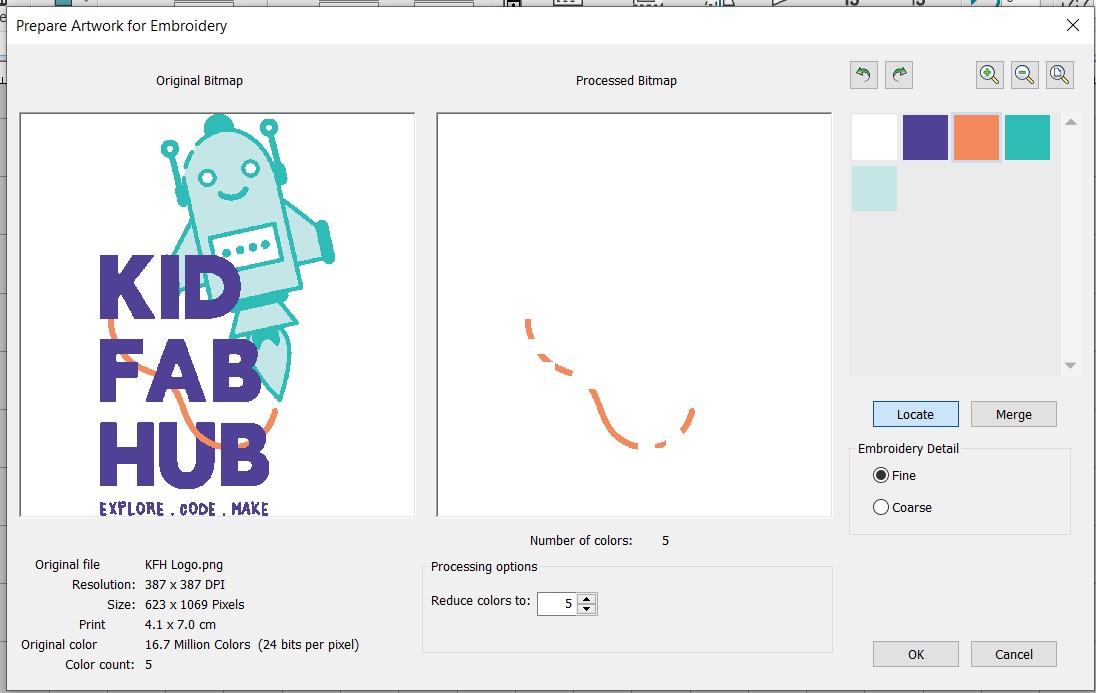
Here you can select a color in the list and use the Locate button to preview if they are not matching click on locate after selecting the part you want then change the color.
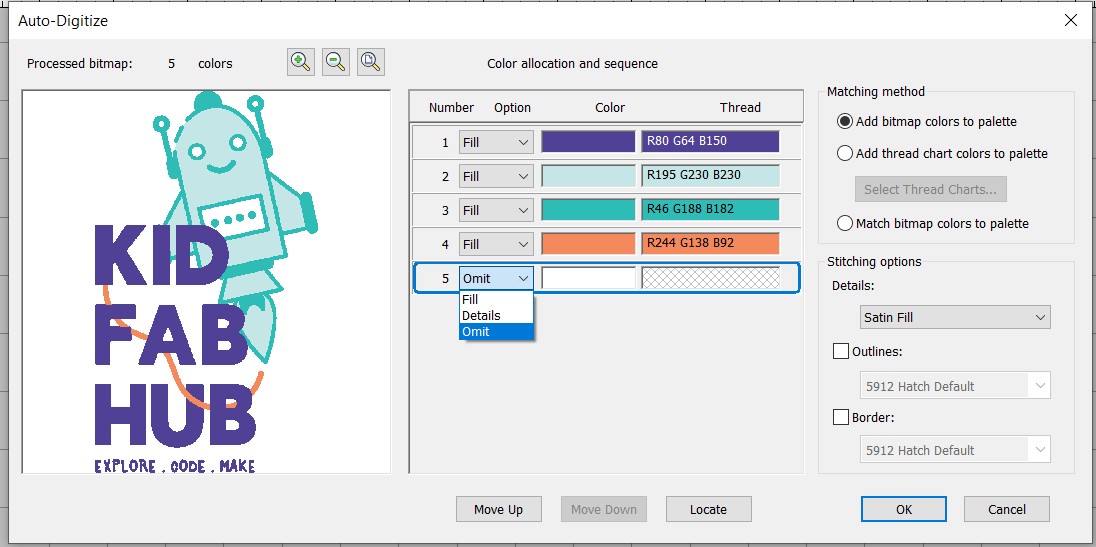
After clicking on OK. Image colors are automatically classified as fills or details or omitted altogether.
You will see color allocation and sequence. For the white color in this design, I omitted it.
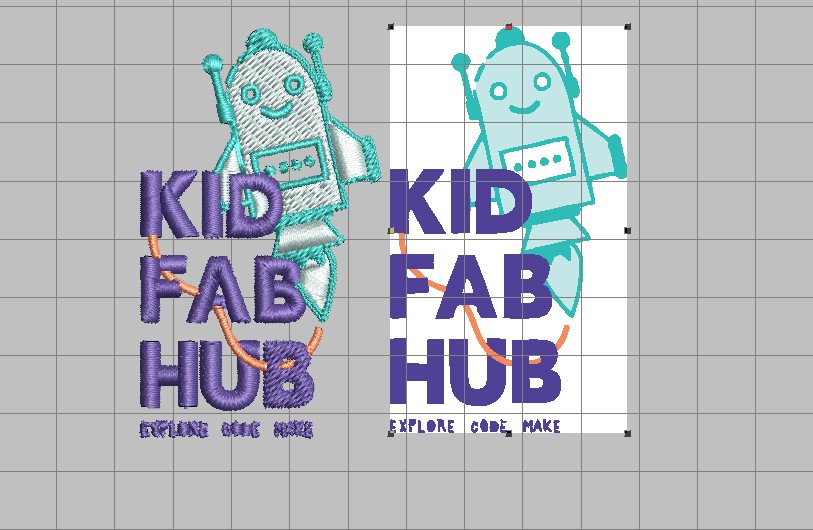
Now delete the original design.
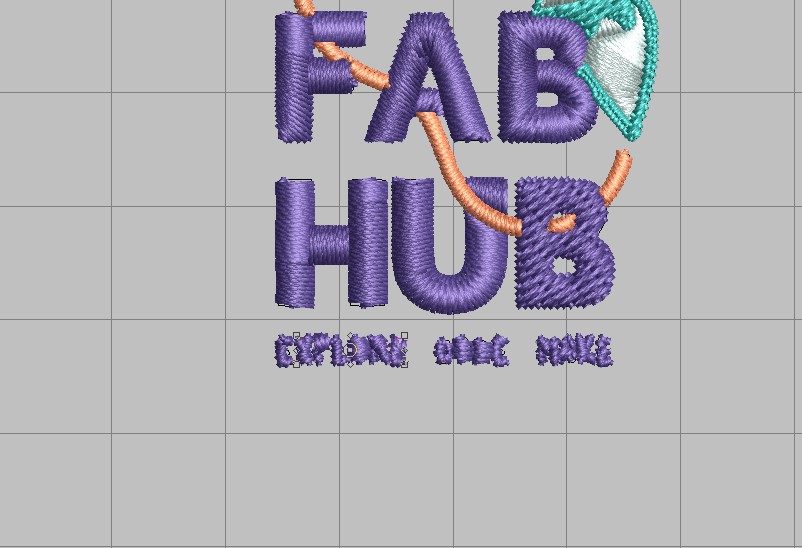
In this design, I delete the small tiny letter, because the machine can not do the small tiny letter, I used an old version of the machine.

It is not clear here in this design but sure if I want it, I can edit it until it become clear, but I will use a new machine.
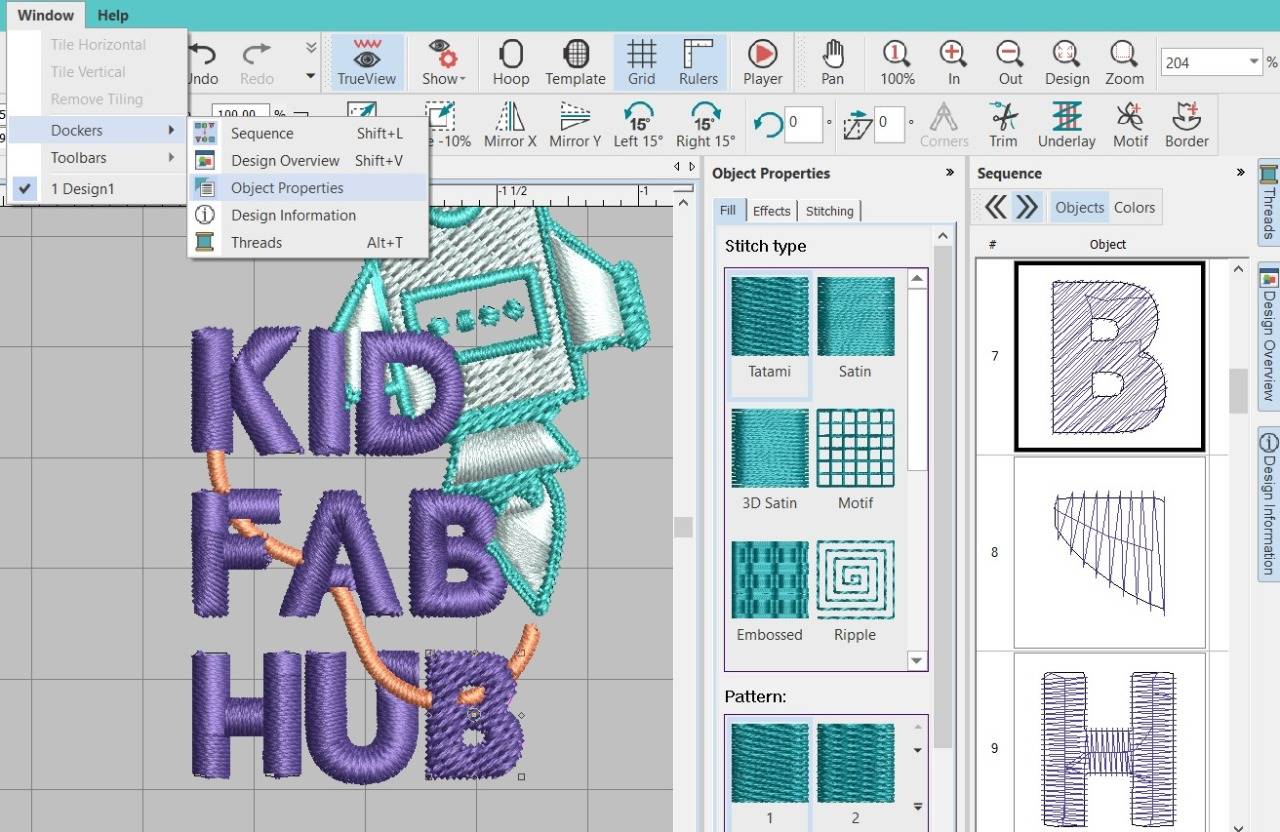
Different stitches are suited to different objects. You can change stitch types at any stage. A wide range or fill and line stitch types. To edit the letters, go to Use Object Properties > Effects > Feather Edge to create rough edges and shading effects, or imitate fluffy textures.
The software provides stitch effects to create artistic effects such as textured or contoured fill stitching.
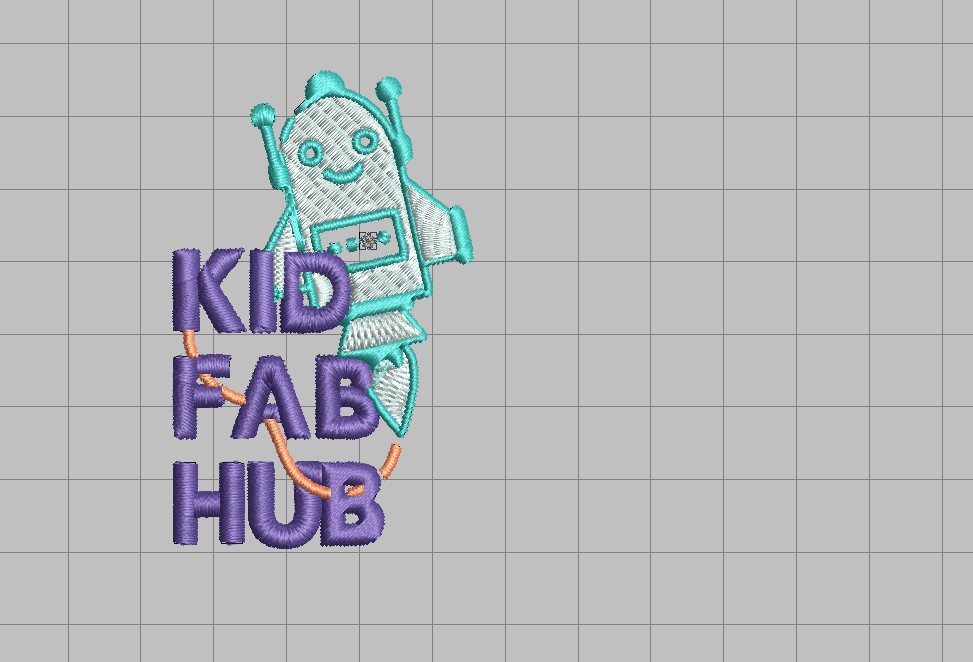
I changed some letter but sill I need to do some editing in others. In this program, you can create interesting curved effects by shaping needle penetrations to follow the contour of digitized lines. Create rough edges, shading effects, or imitate fur and other fluffy textures.
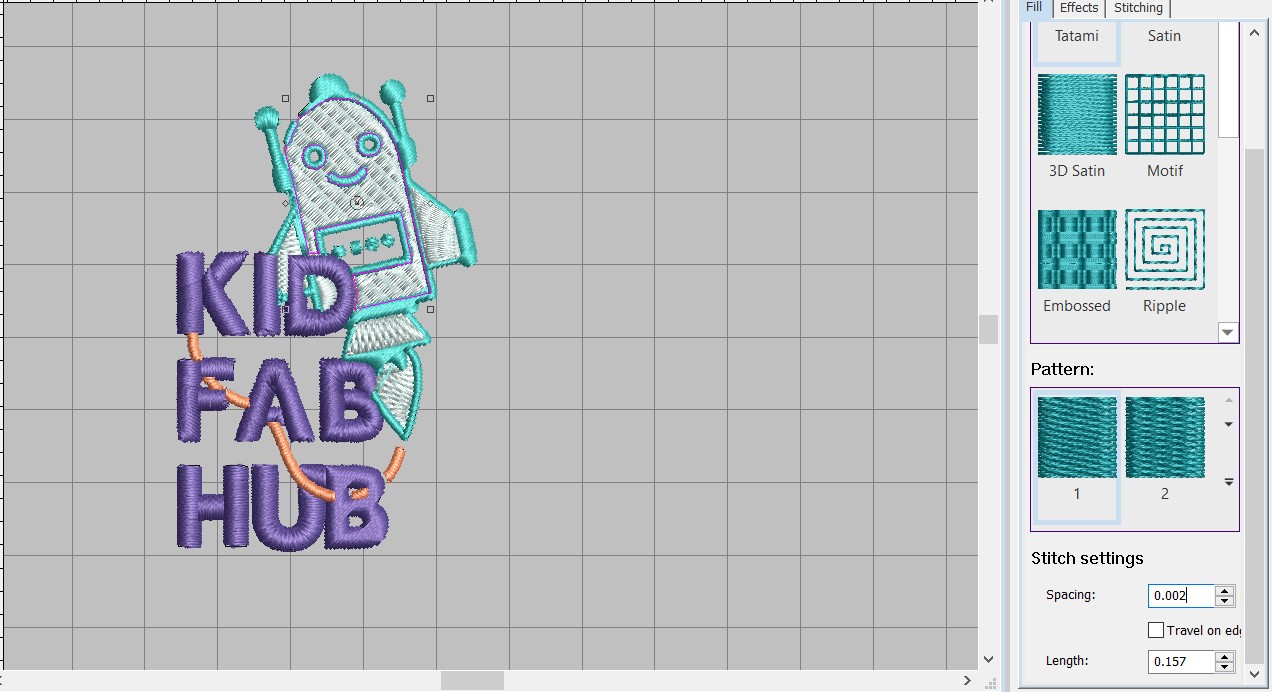
There are many stitch types, in this design, I chose tatami fills. Tatami fill stitch consists of rows of run stitches and is suitable for filling large, irregular shapes.
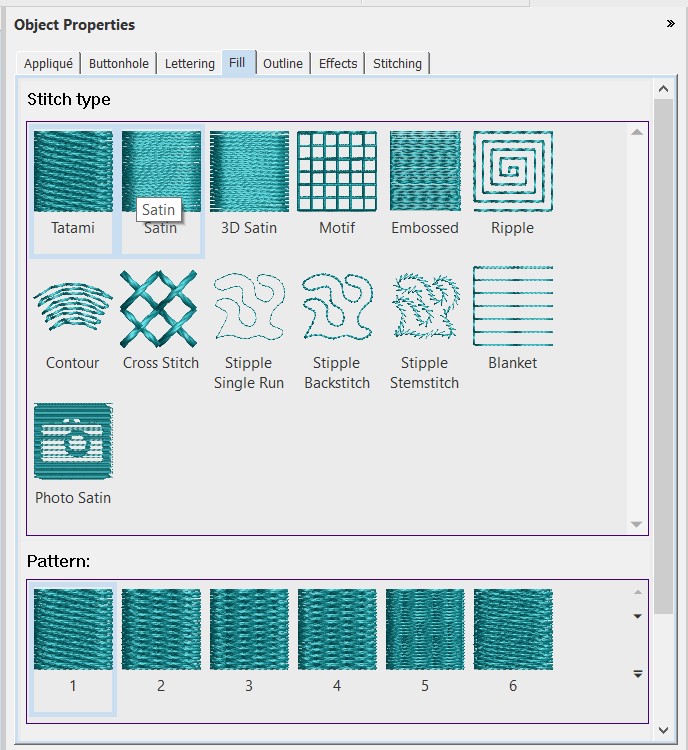
When I chose Tatami to fill stitch, I sew many patterns types they are formed by needle penetrations. The default pattern (No. 1) is designed to create a uniformly flat and smooth texture similar to a woven mat.
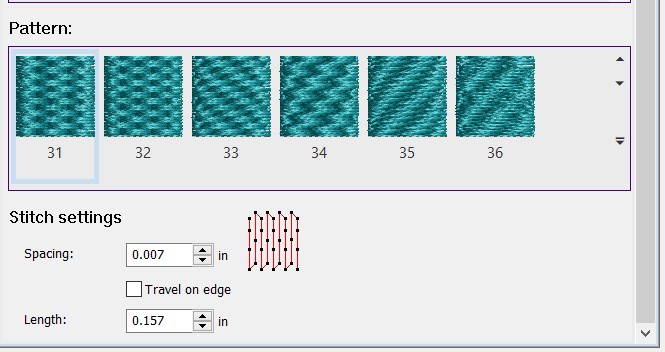
For Tatami fill, stitch density is determined by row spacing. The spacing setting is the distance between two forward rows. To increase density, enter a smaller value. To create a more open fill, enter a larger value.
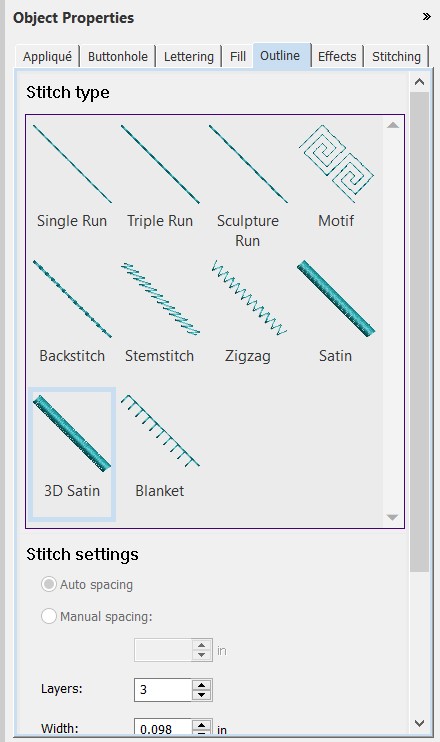
For the outline I chose 3d satin.
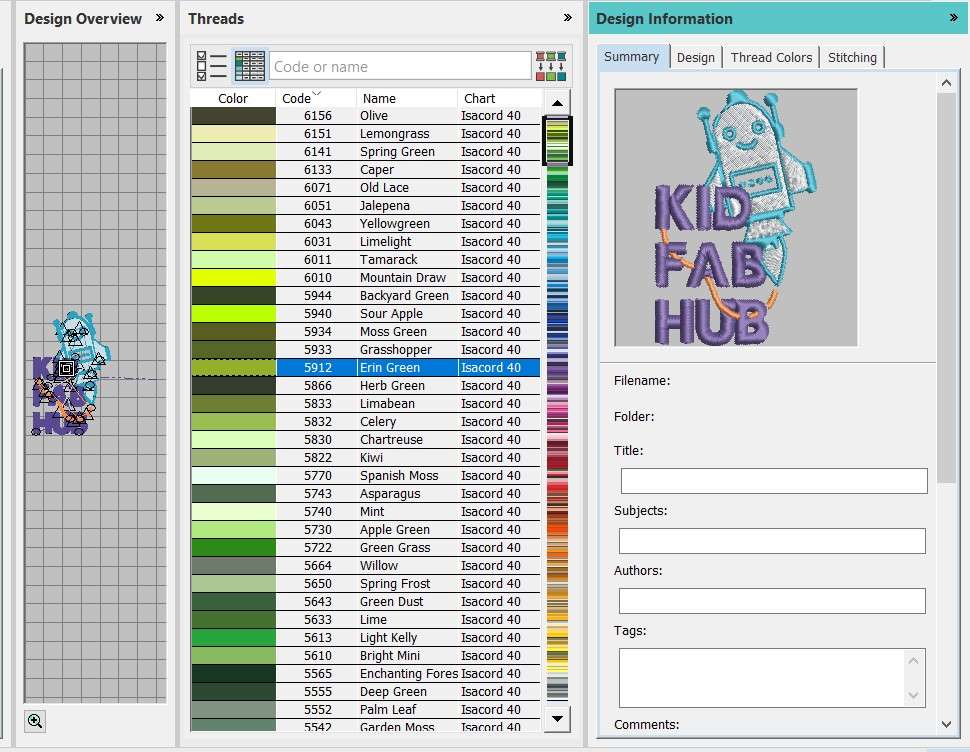
You can also choose the threads color. But for me, it was matching I did not change any of them.
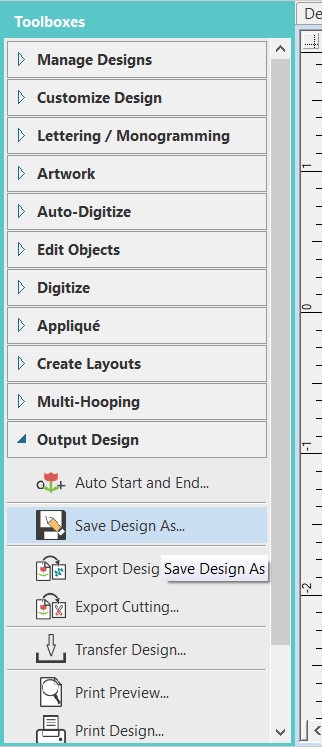
Now the design is ready, go to file then export for cutting, in the shop he used to export the designs to the USB driver.
Fabrication with He Feng Machine stage
In this stage, I will show you how to assemble the fabric in the hoop and the threads in the needles.
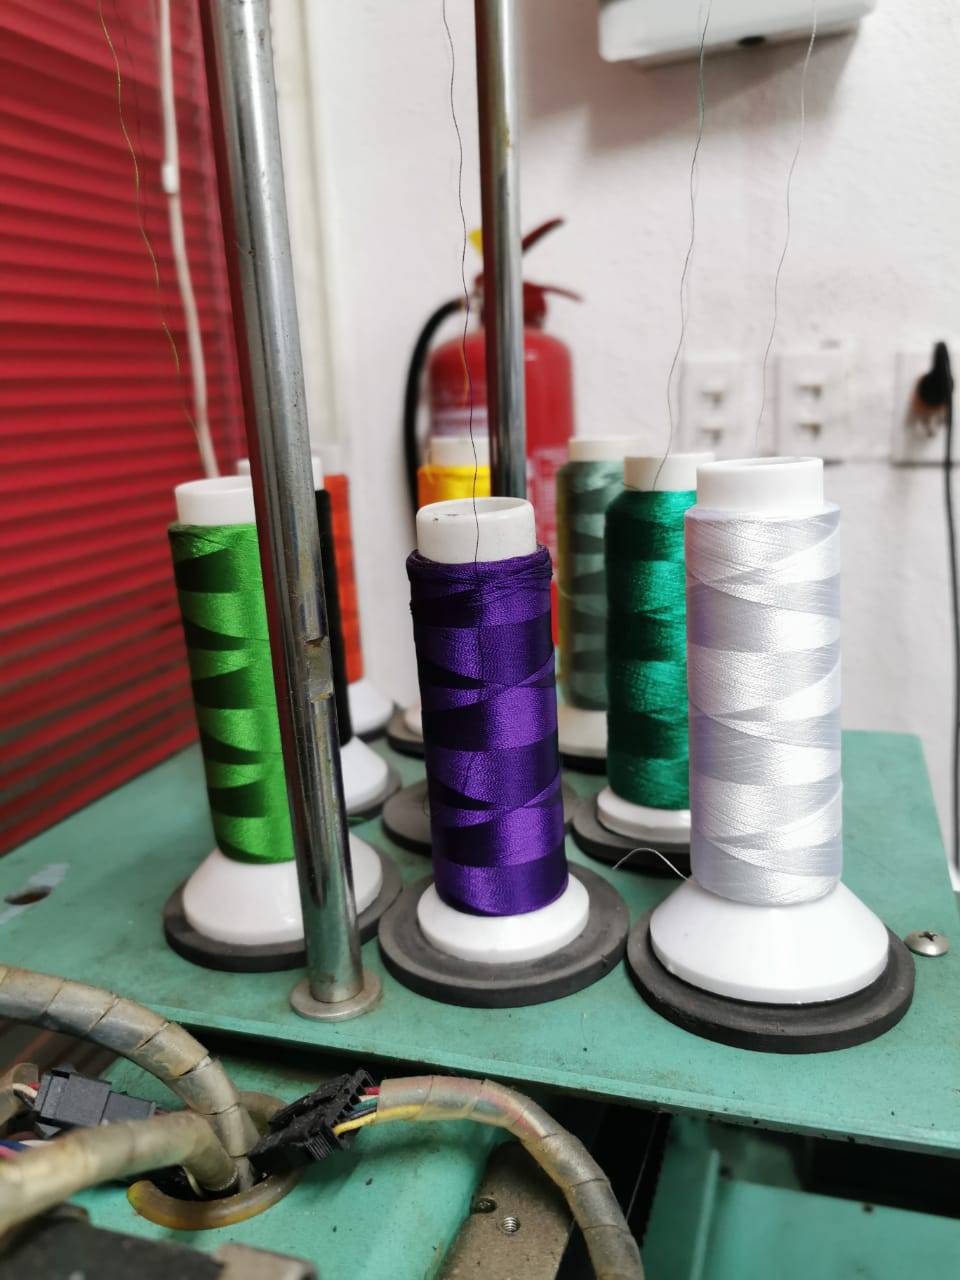
I chose those colors of the threads, then I insert my piece of fabric in the hoop.
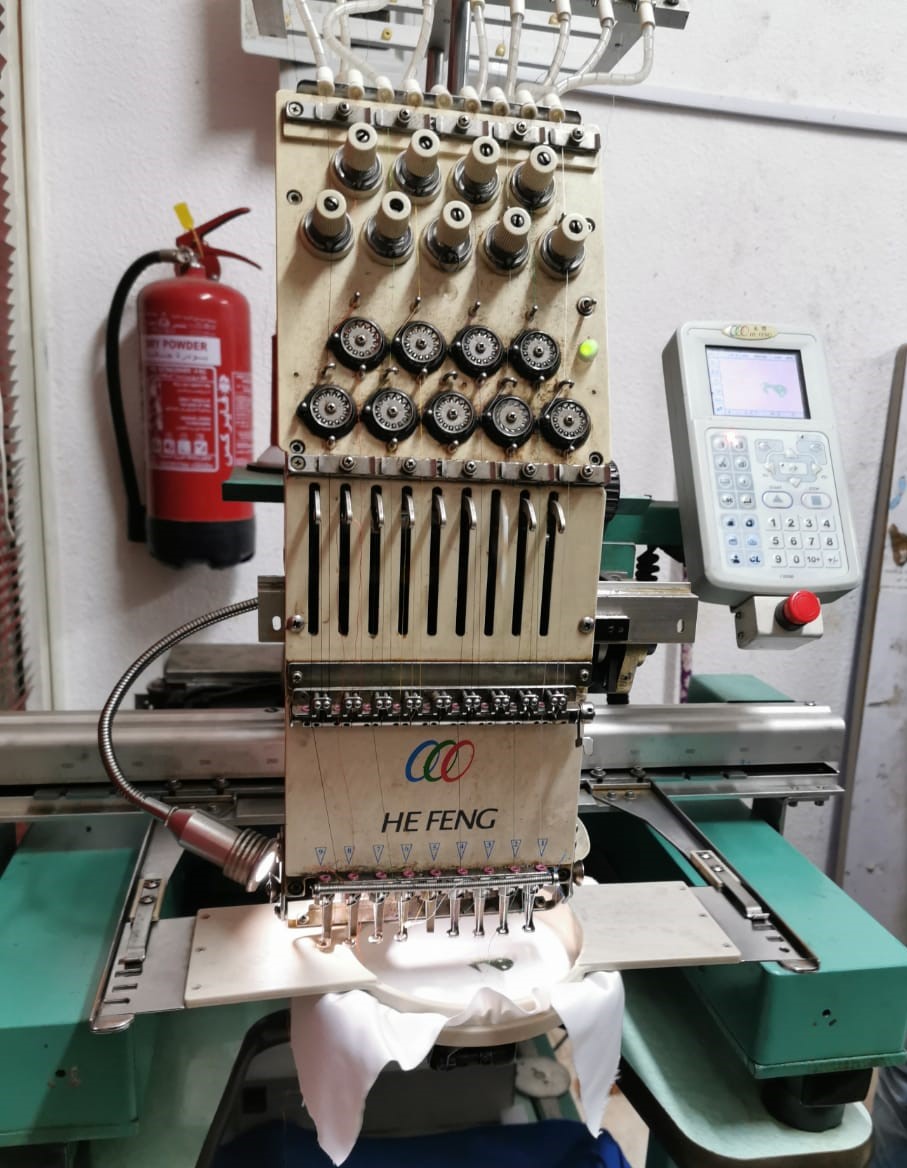
Each thread should be in sperate needle and path.
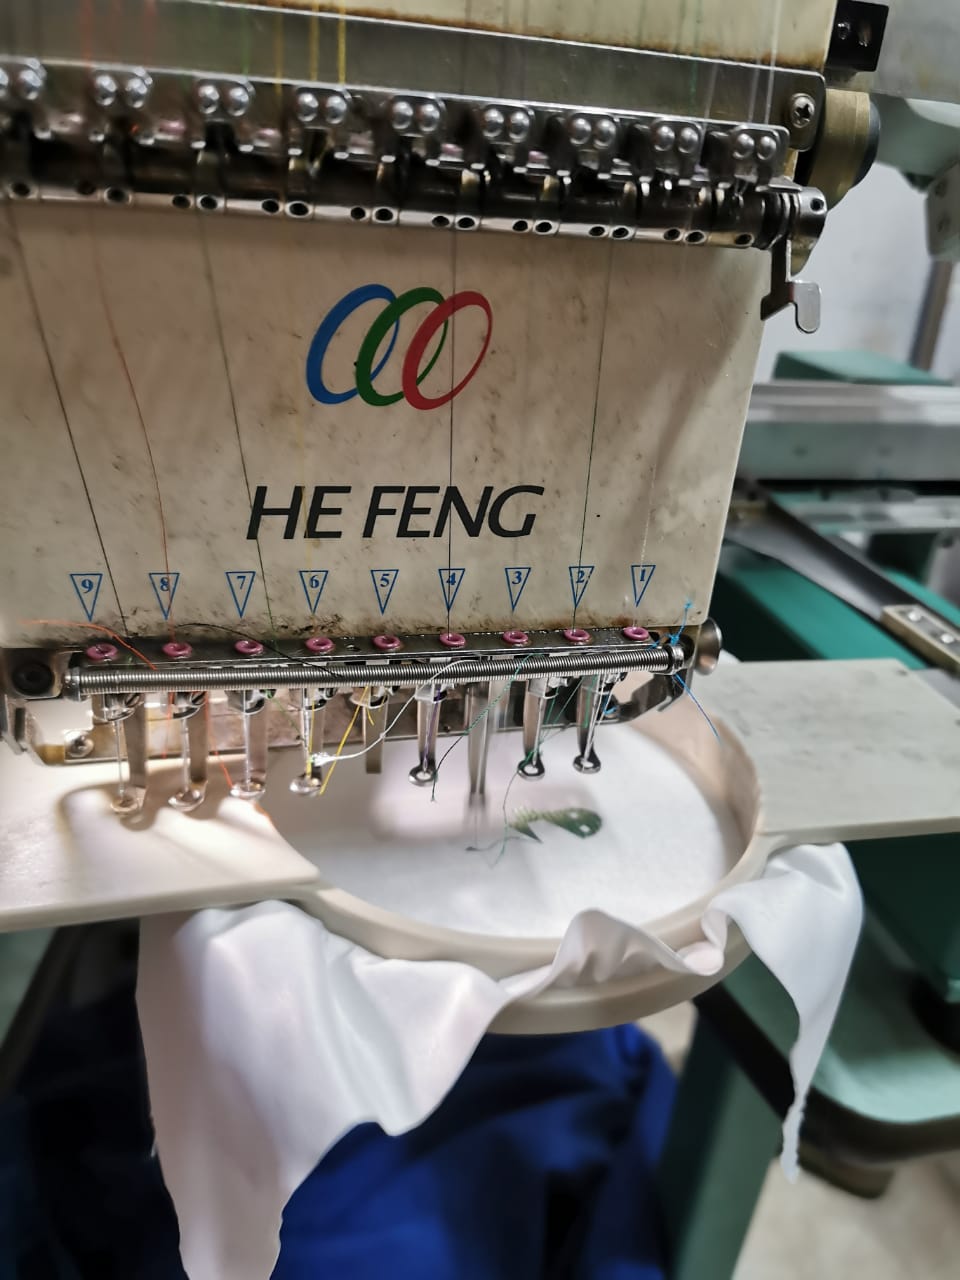
I inserted the hoop under the needle.
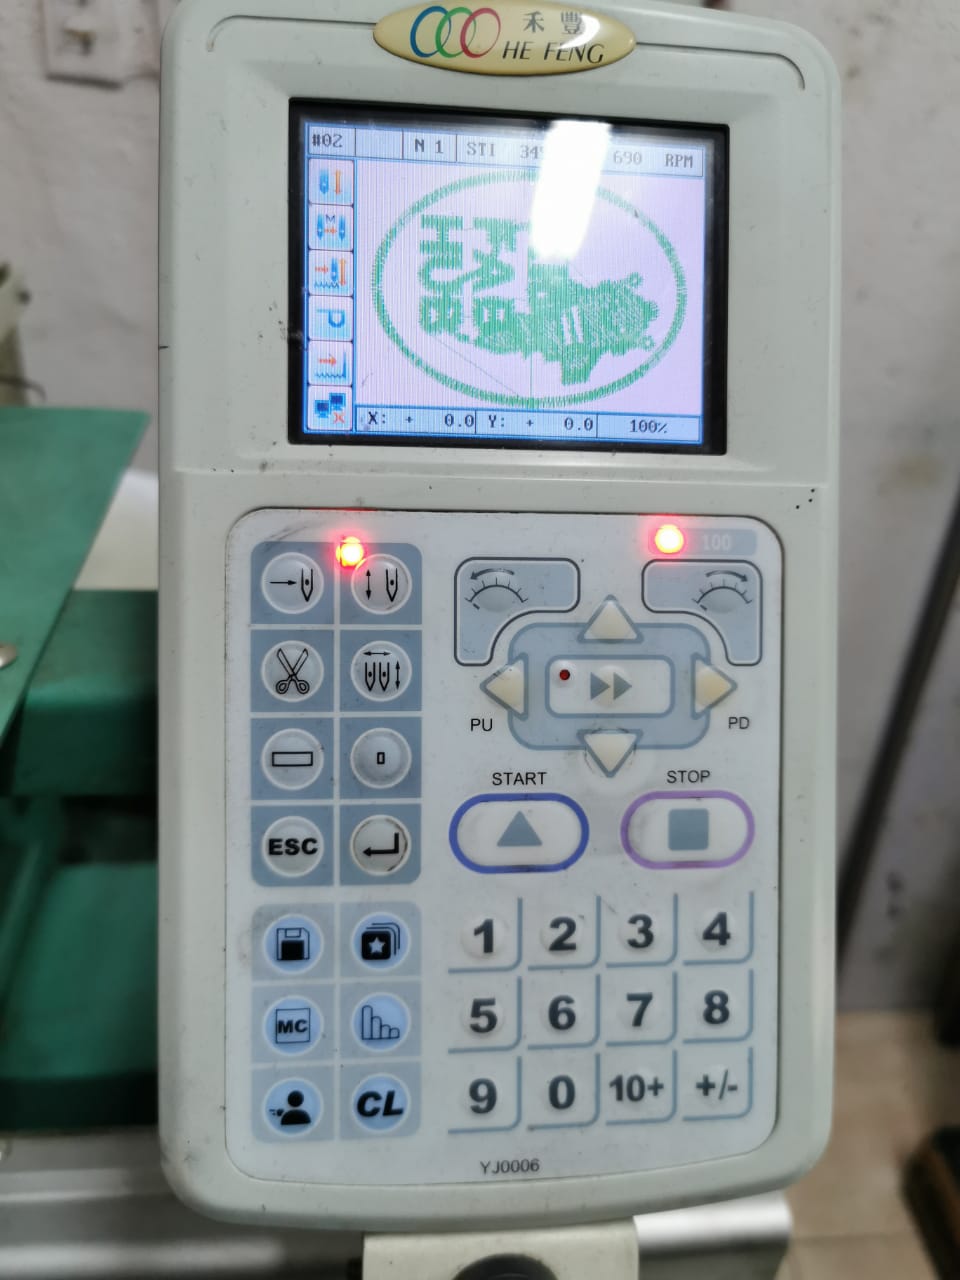
The control key, where I inserted the USB driver then I started the work.
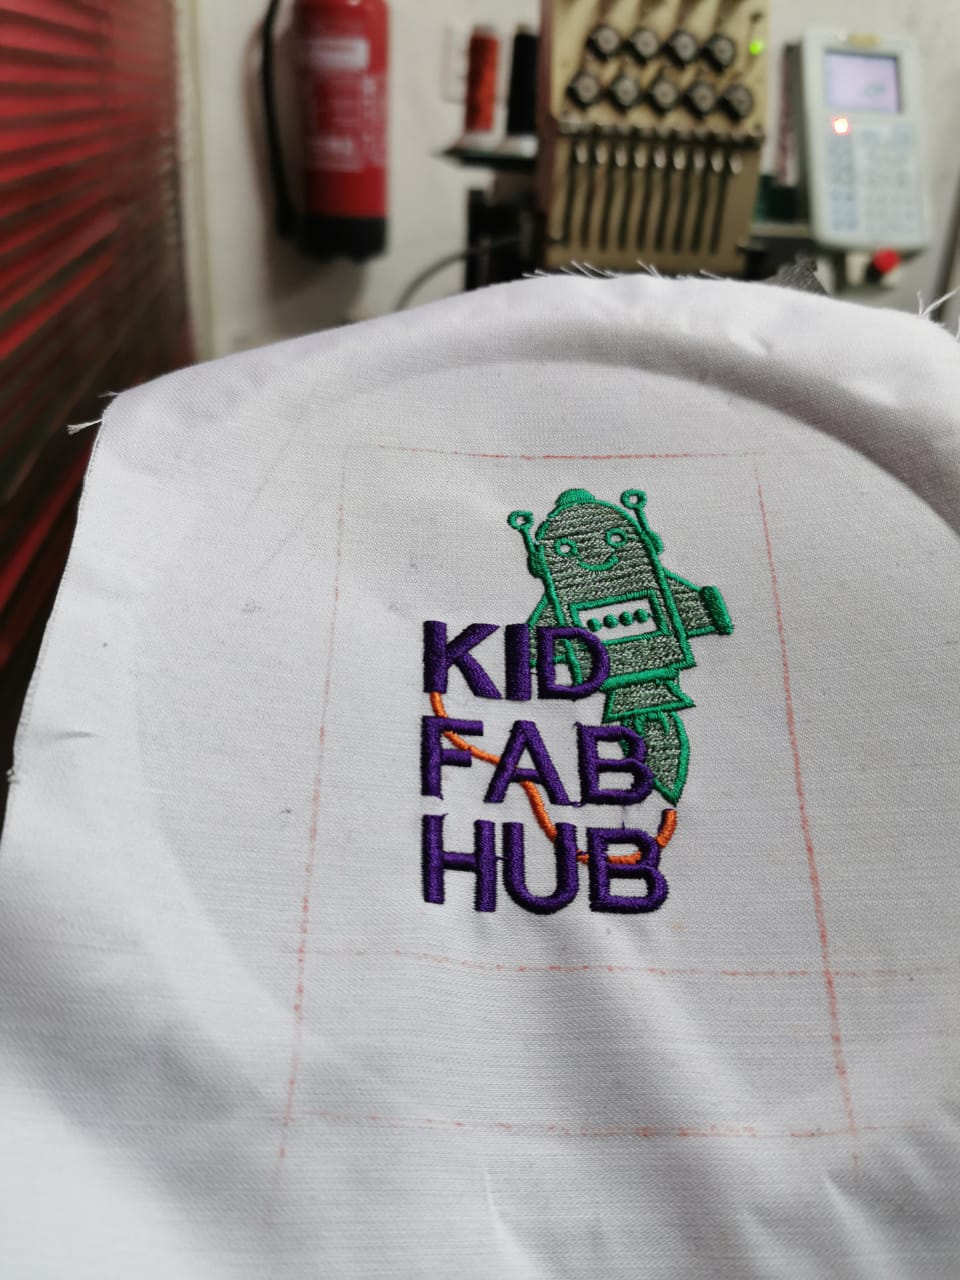
Final result.
Useful links for using both machine and software:
Design File
Design and fabricate Ma'amoul moulding:
Ma'amoul is an Arab filled pastry or cookie made with dates, nuts such as pistachios or walnuts and occasionally almonds, or figs. They may be in the shape of balls, domed or flattened cookies. They can either be decorated by hand or be made in special wooden moulds.
2D Design Stage:
I used Inkscape and Tinkercad program to design the mould, I used before with circuits, in this time I'll use it with 3d design.
Inkscape
I decided to design the mould with Arabic calligraphy from the top. Below I will show you how I did the moulding step by step.
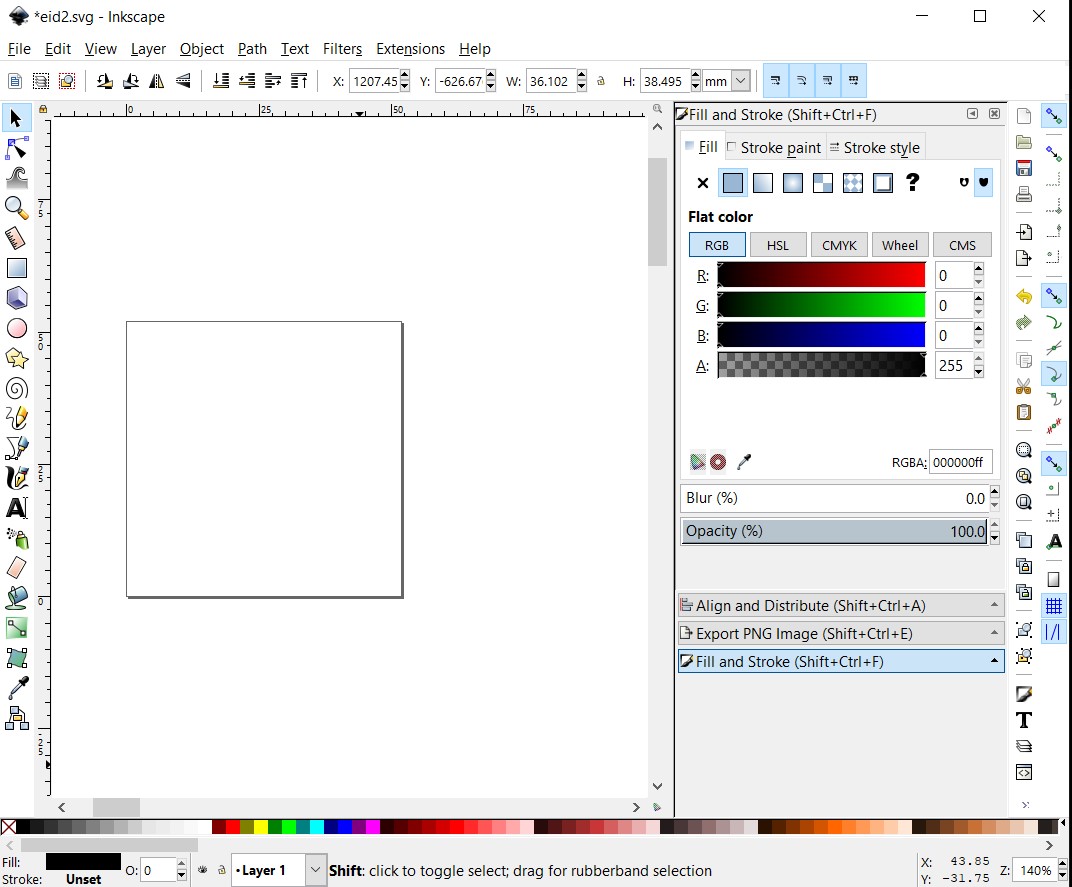
First I opened the inkscape.
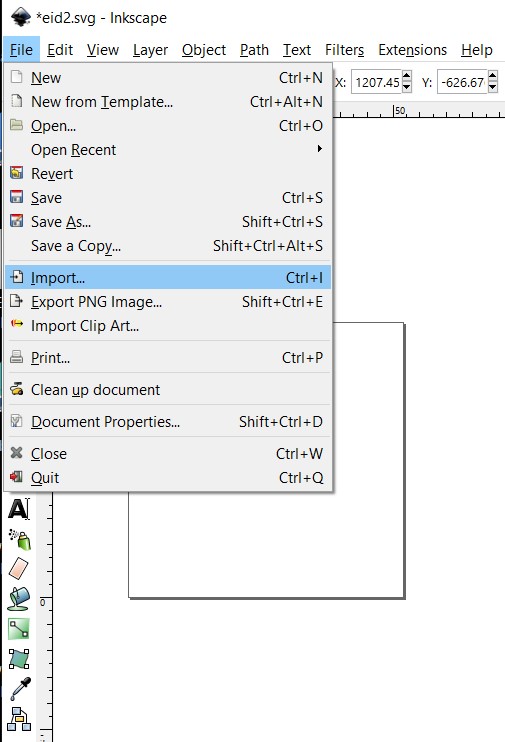
I clicked on File the Impot the images then, I imported the images after I downloaded from the internet and I chose an open-source image.
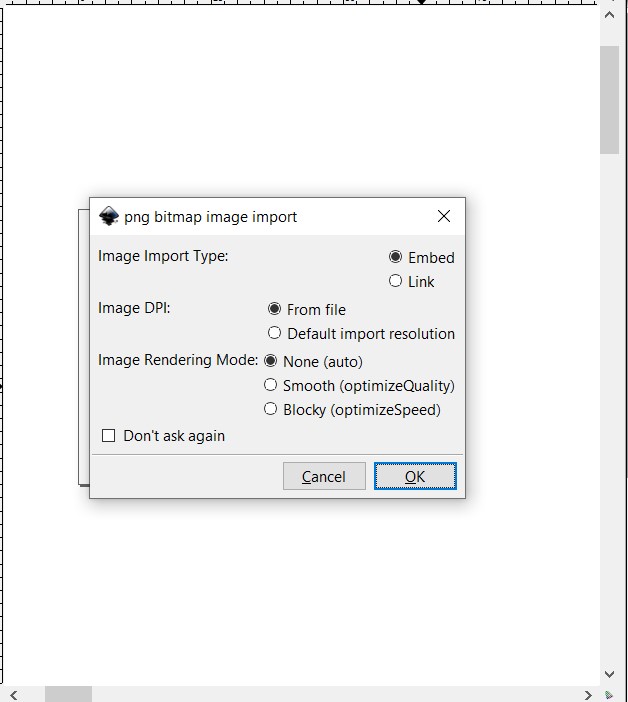
If this message upper just click OK.
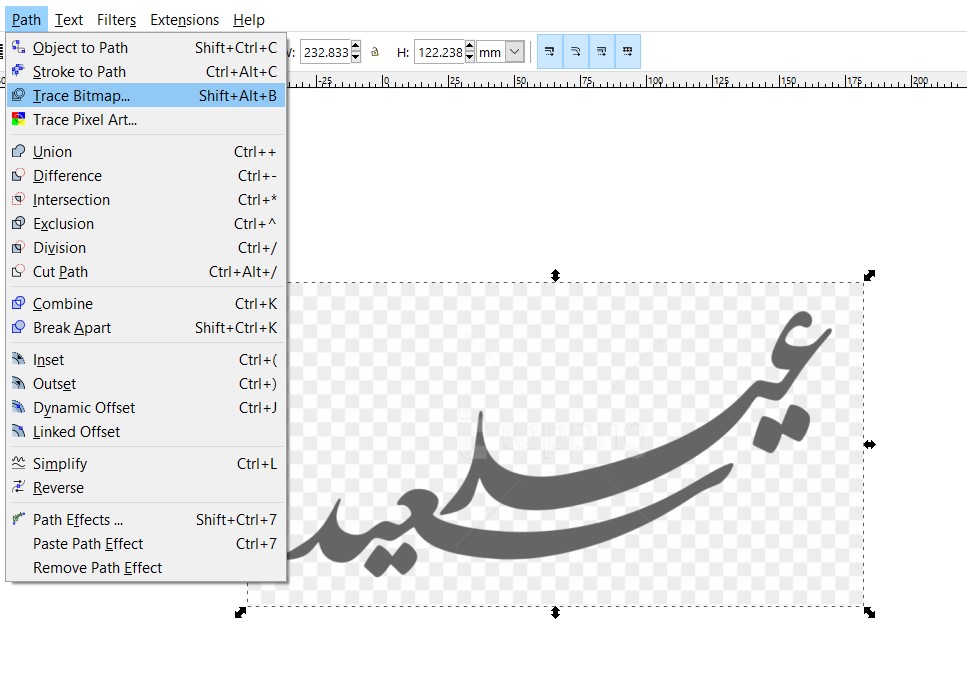
I clicked on the path tab from the menu bar, then I clicked on trace bitmap to do the tracing.
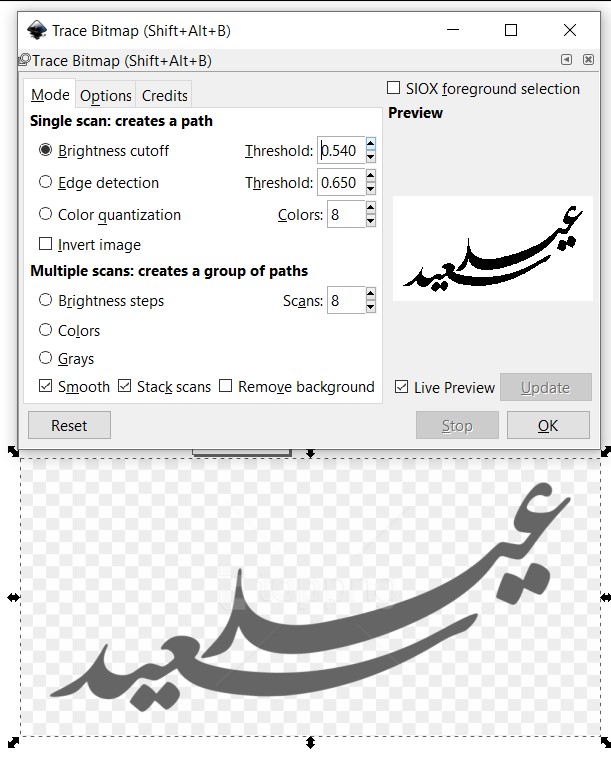
I used the brightness cutoff mode, to sew all the details.
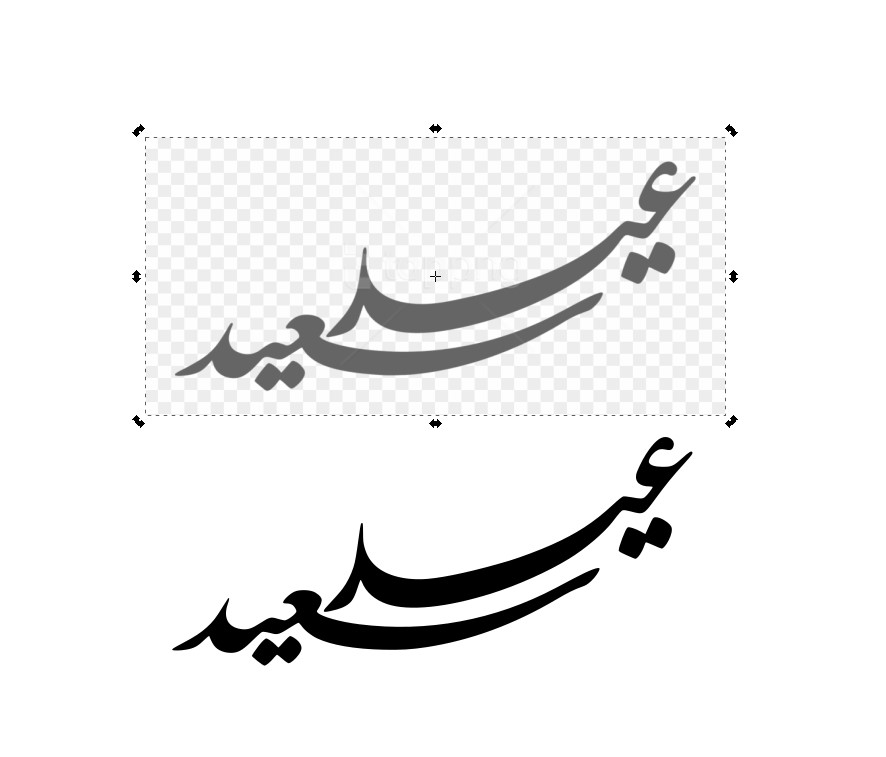
In this stage we do not need to use the original image, so I deleted it.
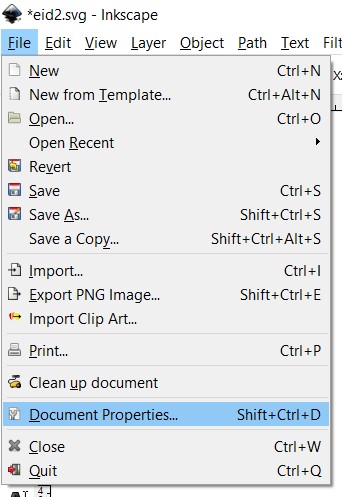
To edit the workspace with the design, I clicked on file then document properties.
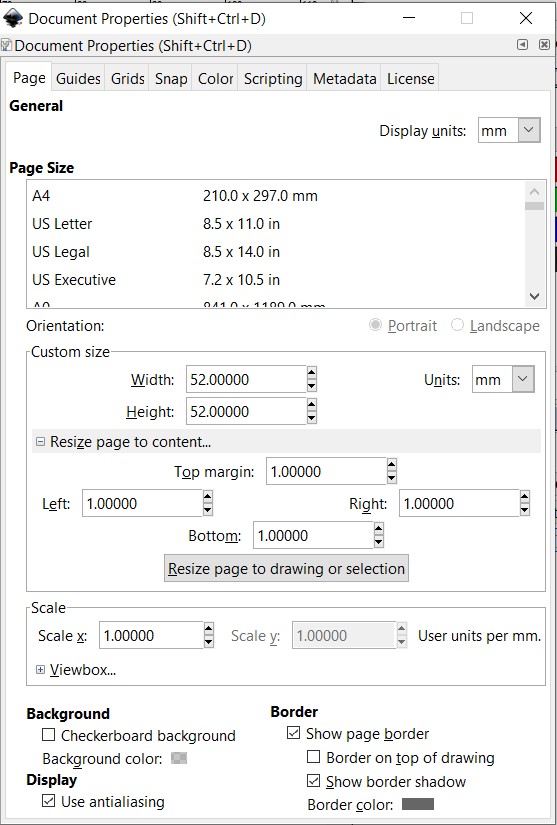
Then I clicked on custom size to add 1mm margins from each side.
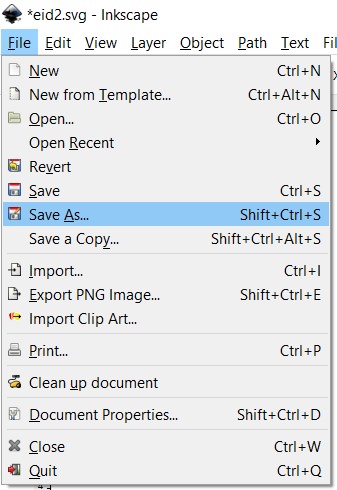
The design is ready now, I clicked on file then save as to save it as SVG file.
3D Design Stage:
In this stage, I will show you how did I design the mould after many trails to get the suitable size of the ma'amoul and the most beautiful calligraphy details of the Arabic letters.
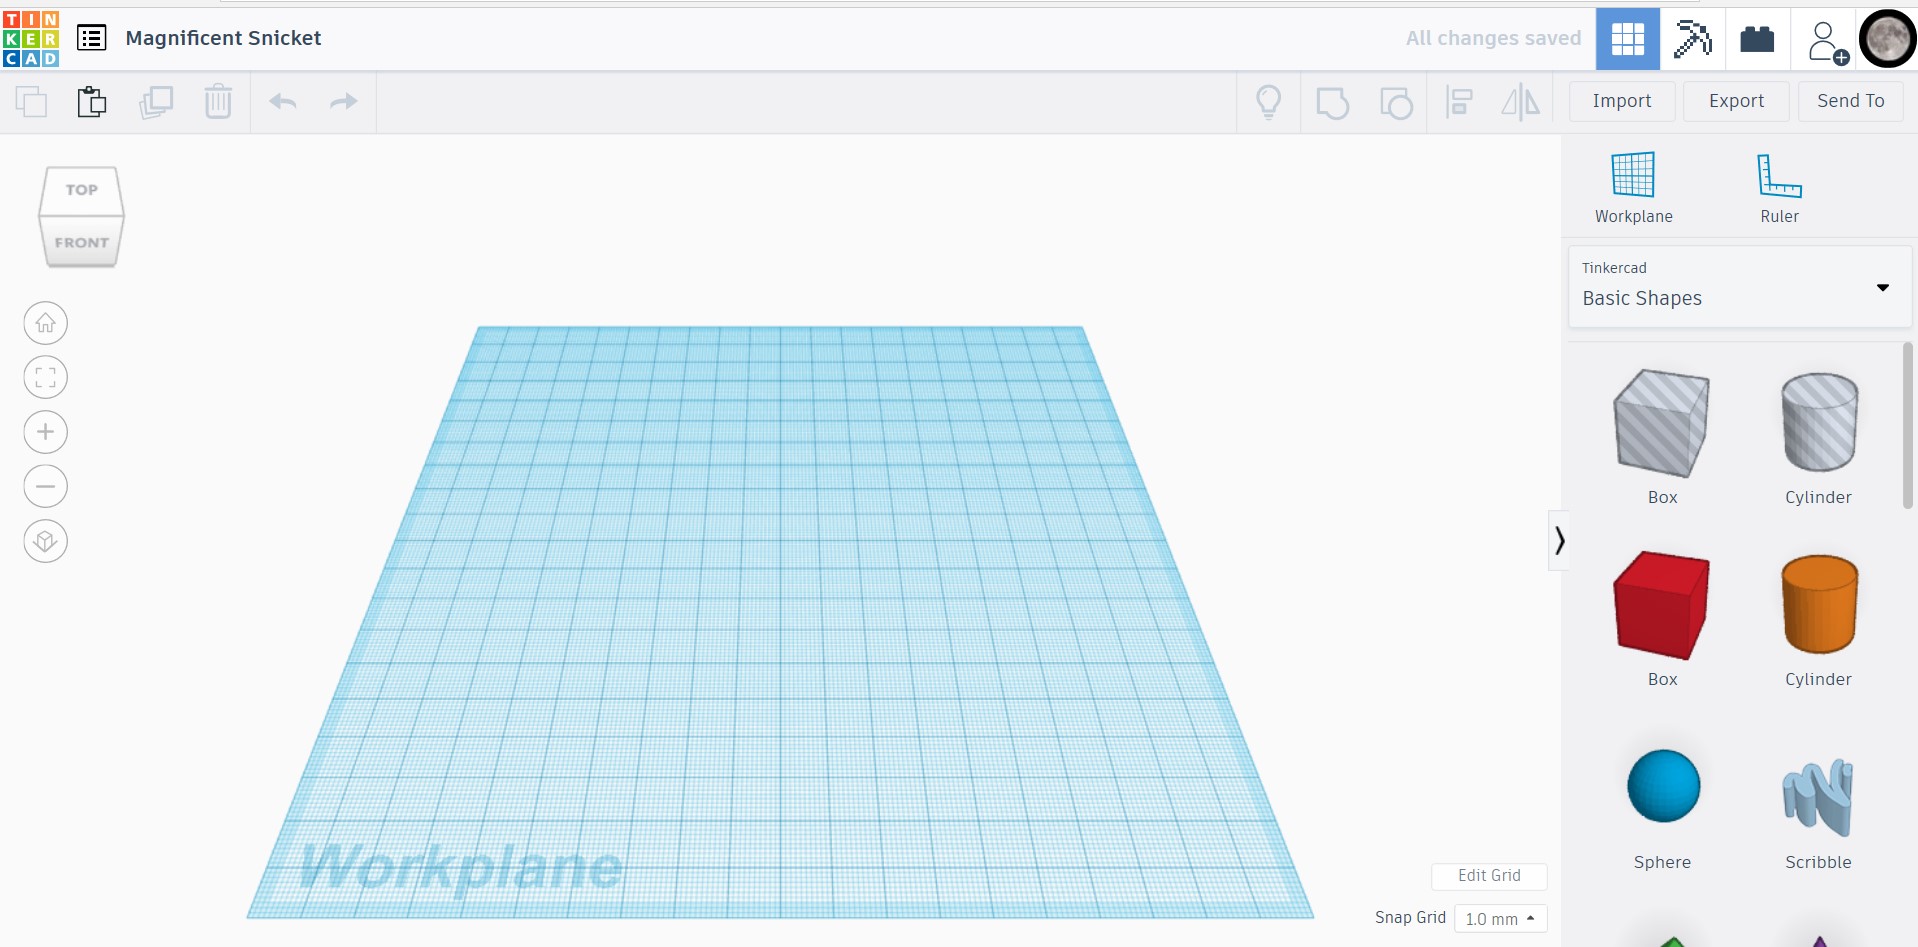
As you can see the interface of this program is easy to use and fast, for this reason I choose to work with it.
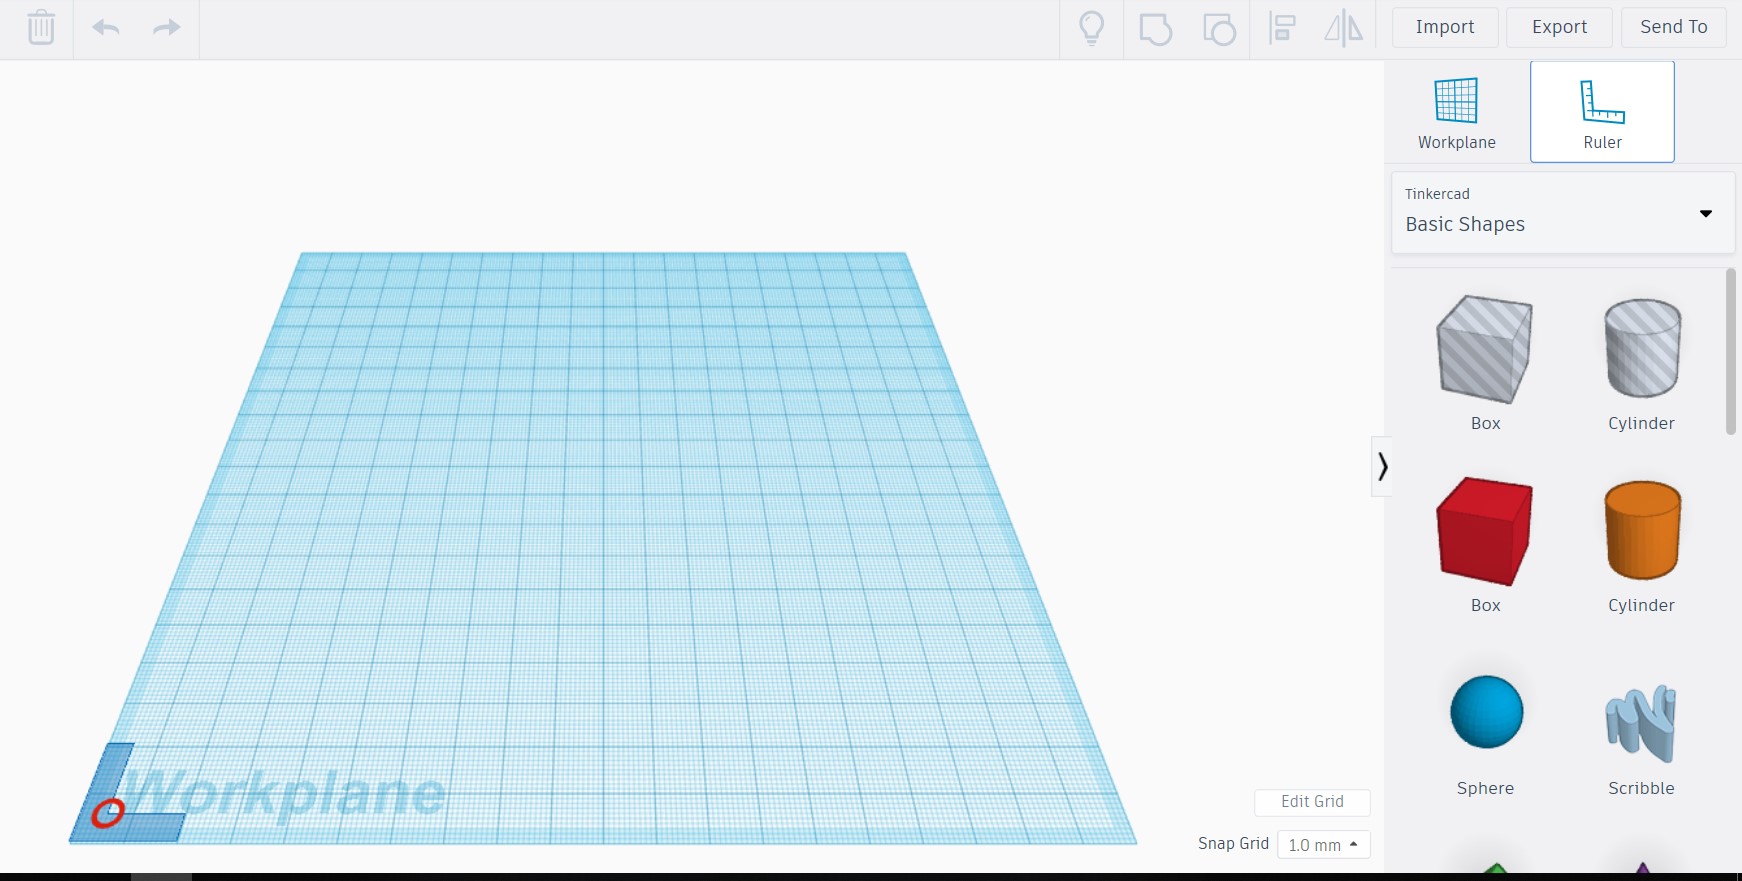
Before starting designing, I inserted the rural to be more accurate while designing.
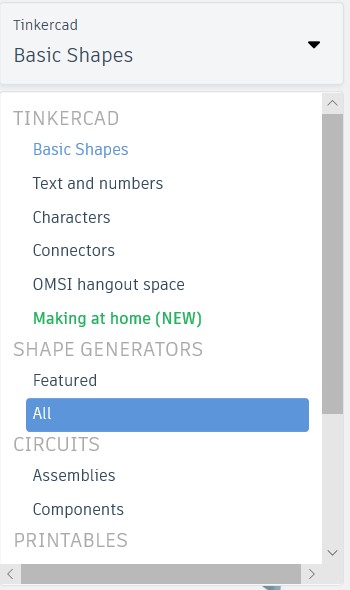
Then in the shapes menu, there are many kinds with different shapes you can see them by clicking on "All".

I started by importing the SVG file to complete the mould shape.
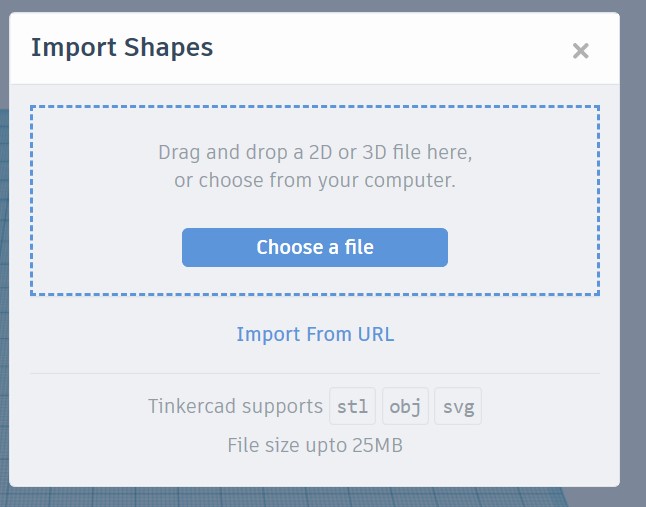
I clicked on "choose file", or you can drag and drop the file.
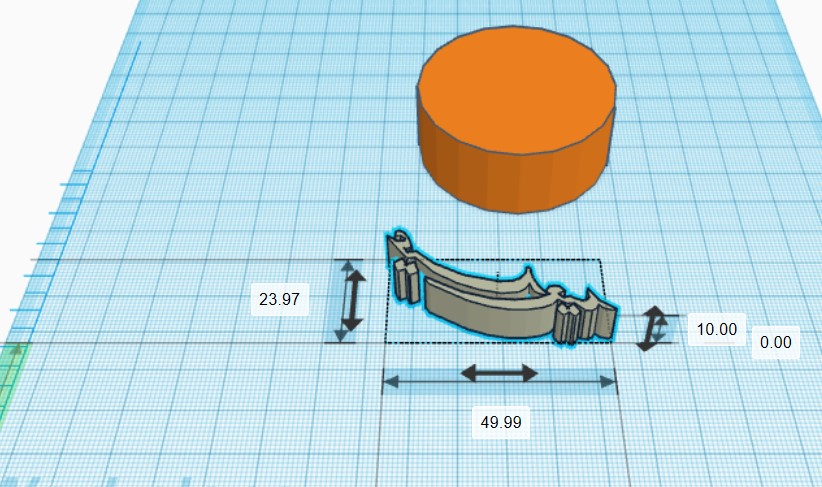
I choose the mould to be in circle shape, so I drag and drop the shape from the shapes menu.
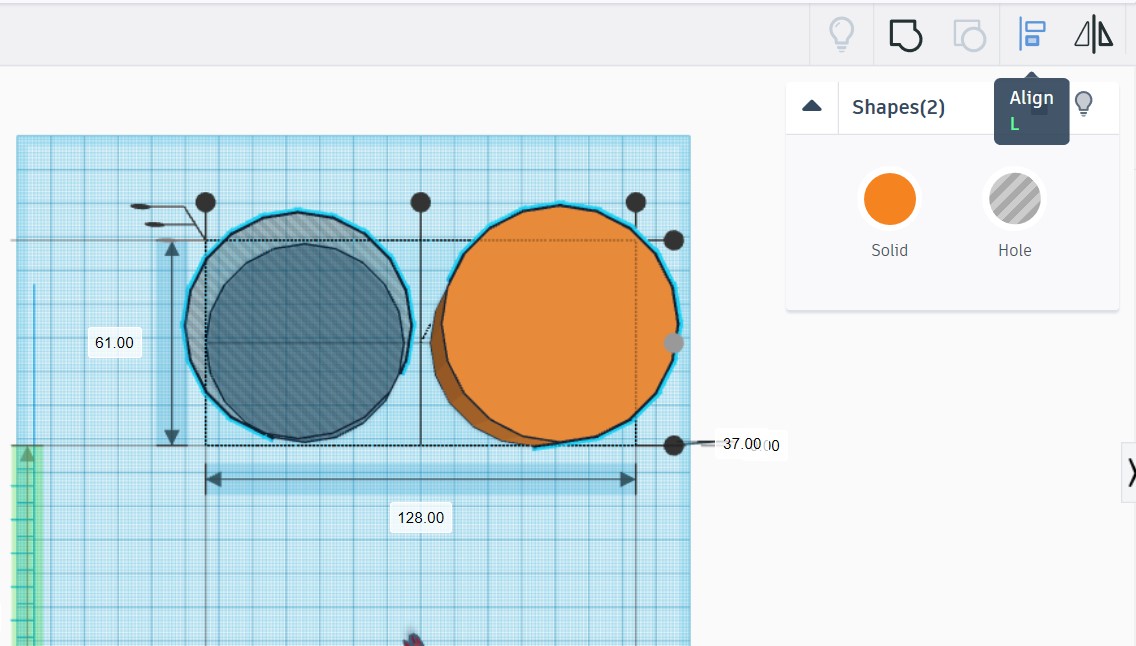
I copied the circle to do the mould, one should be holo and smaller than the other.
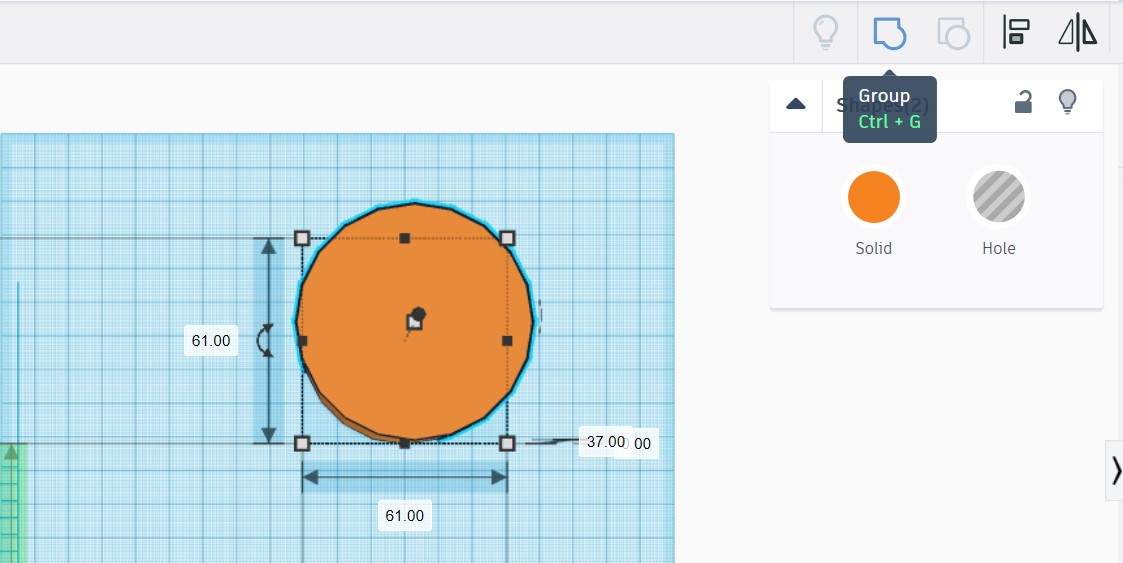
I moved the shapes near to each other, then I clicked on the align tool to make sure that both of them are centered.
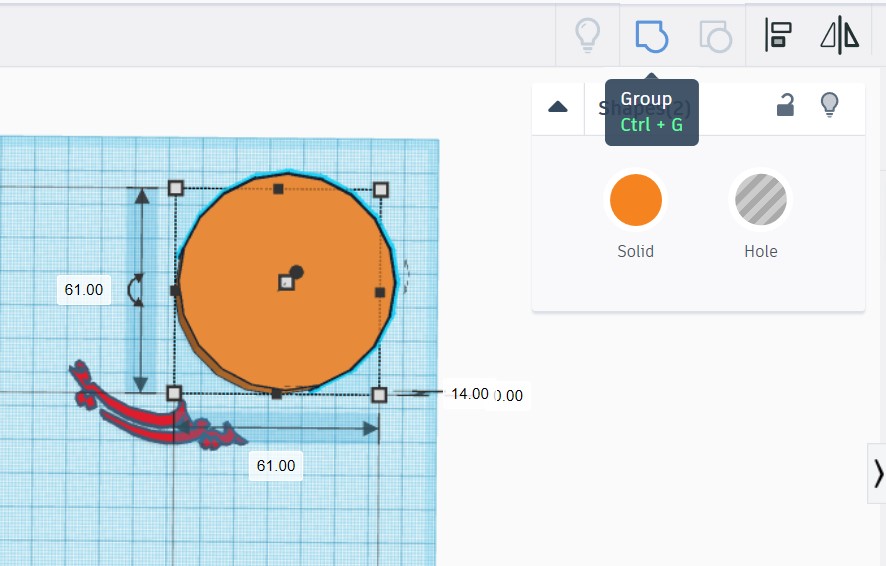
I selected both circles then I clicked on the group.
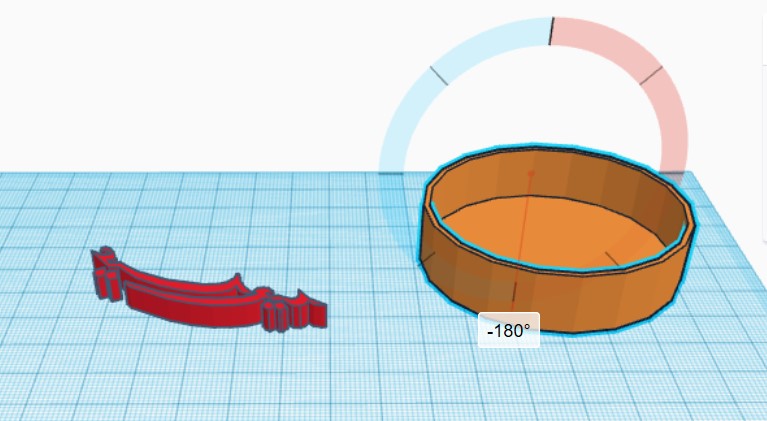
I Rotated the shape, by using the three-axis.
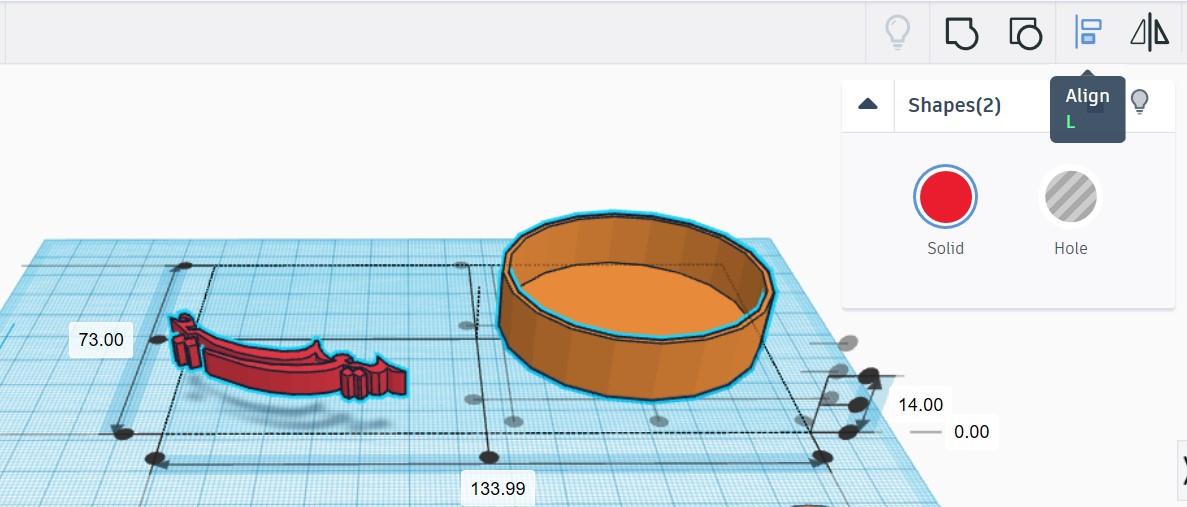
I moved the calligraphy text to align it with other shapes.
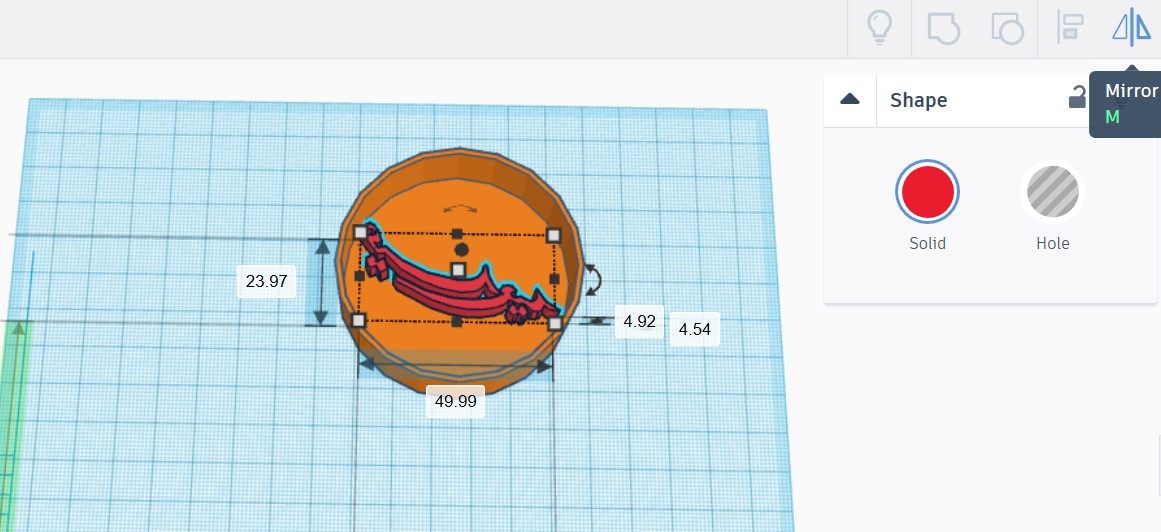
After I did the alignment, I clicked on the calligraphy to flipped it horizontally in the Tinkercad flip tool is the mirror.
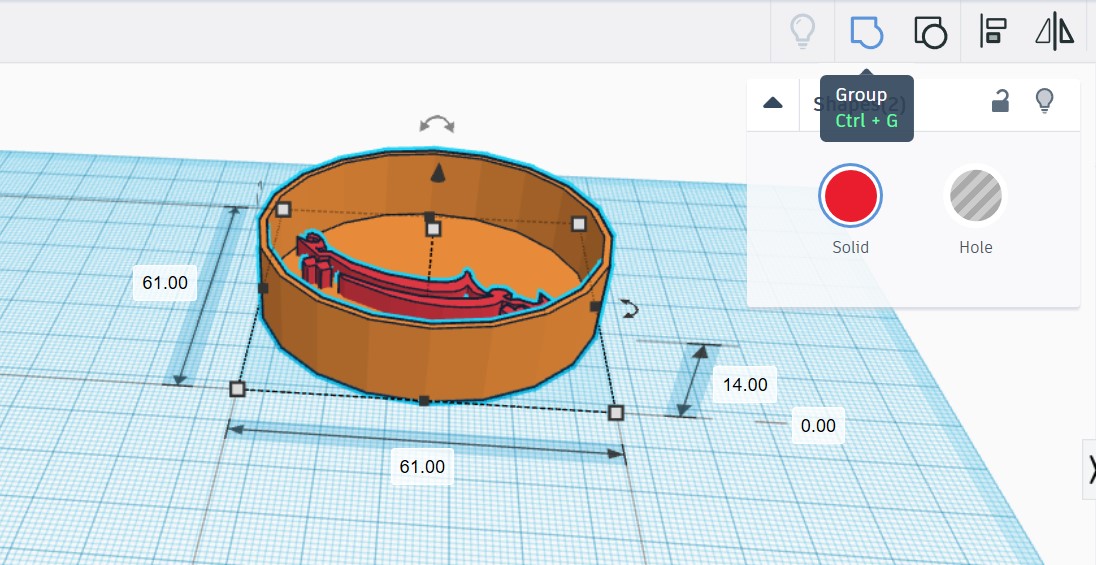
I selected both shapes, then I clicked on the group to combined both objects.
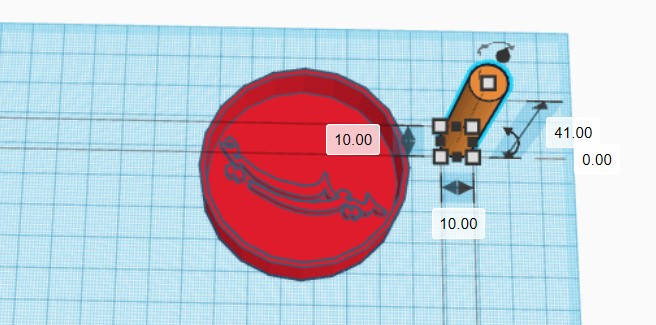
I inserted a cylinder shape to be a handle.
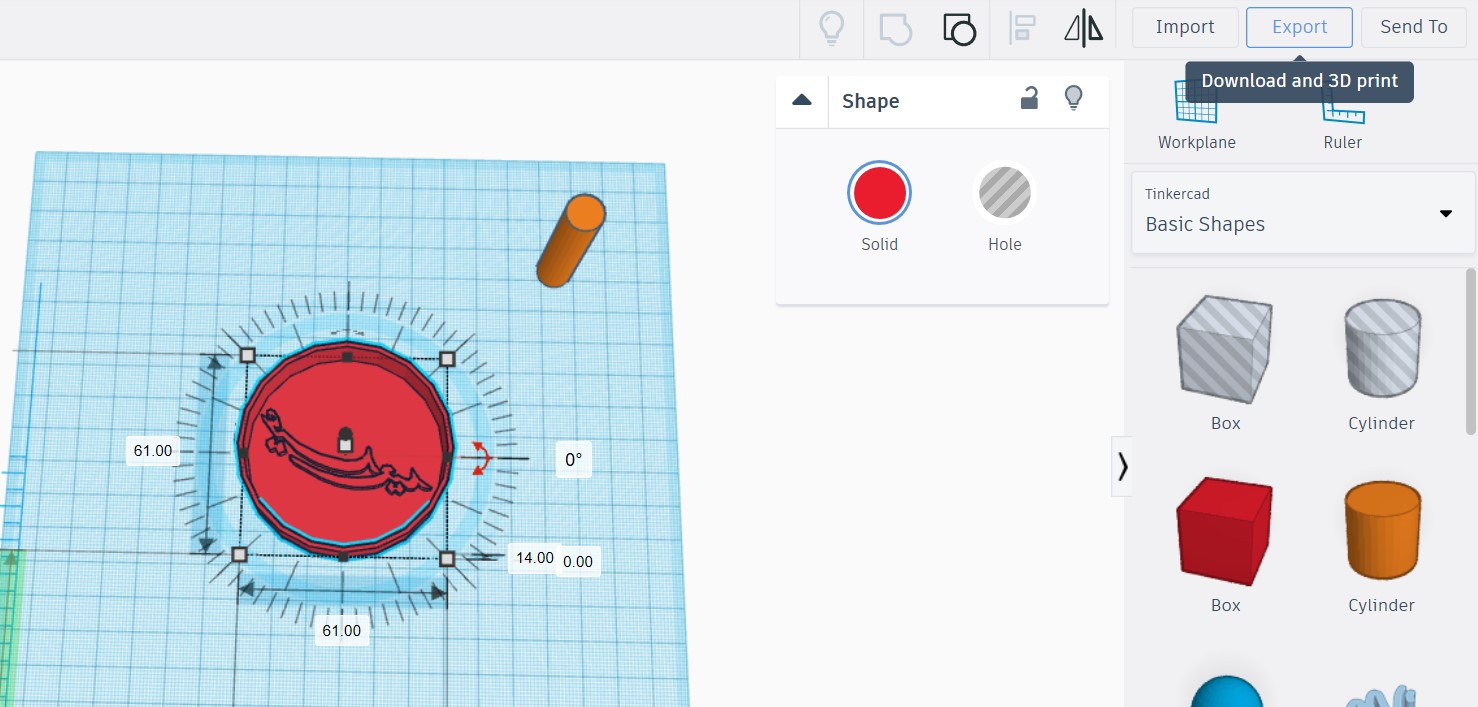
I exported the STL file to be ready for 3d printig stage, by clicked on expoert.

Here I chose to save each object separately. Also, you have different options for the file types.
Fabrication with 3d printer stage
I chose to print with what I have for now during the crefew. I have PLA white filiment.
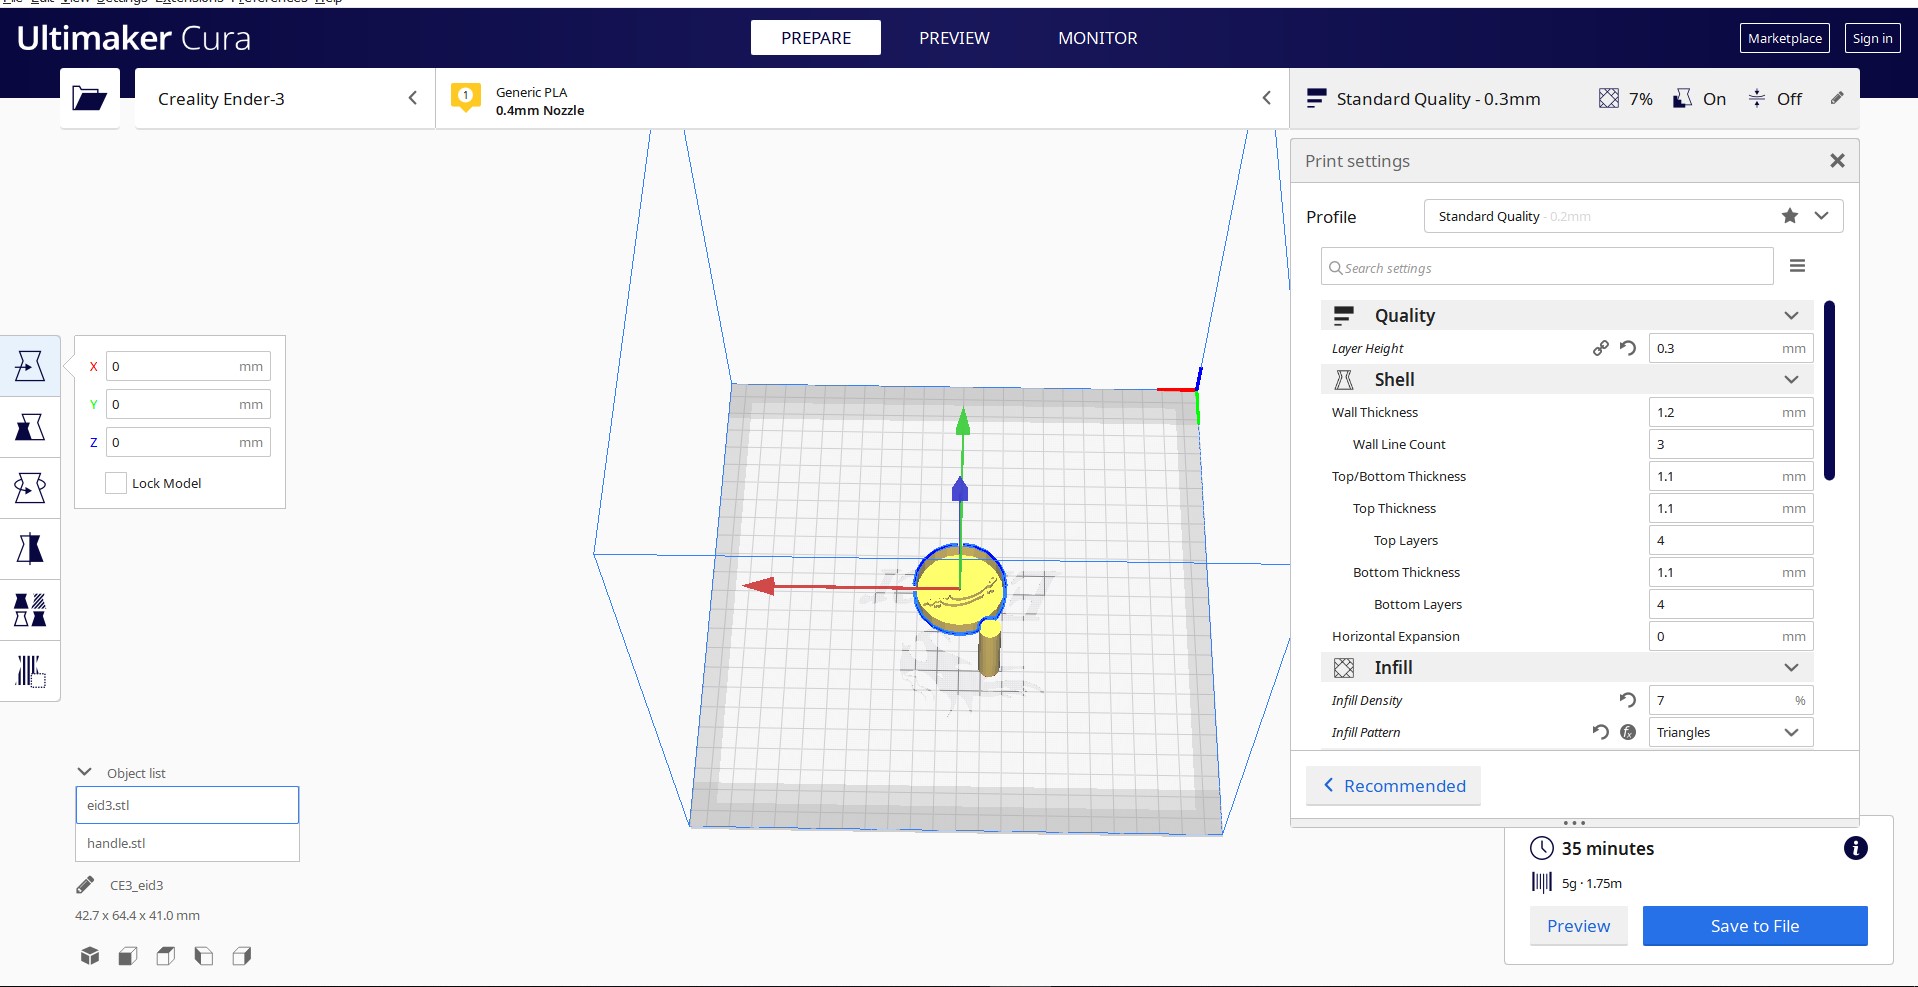
I chose to print with low quality and lower fill density. to keep the material for the final project and other projects.
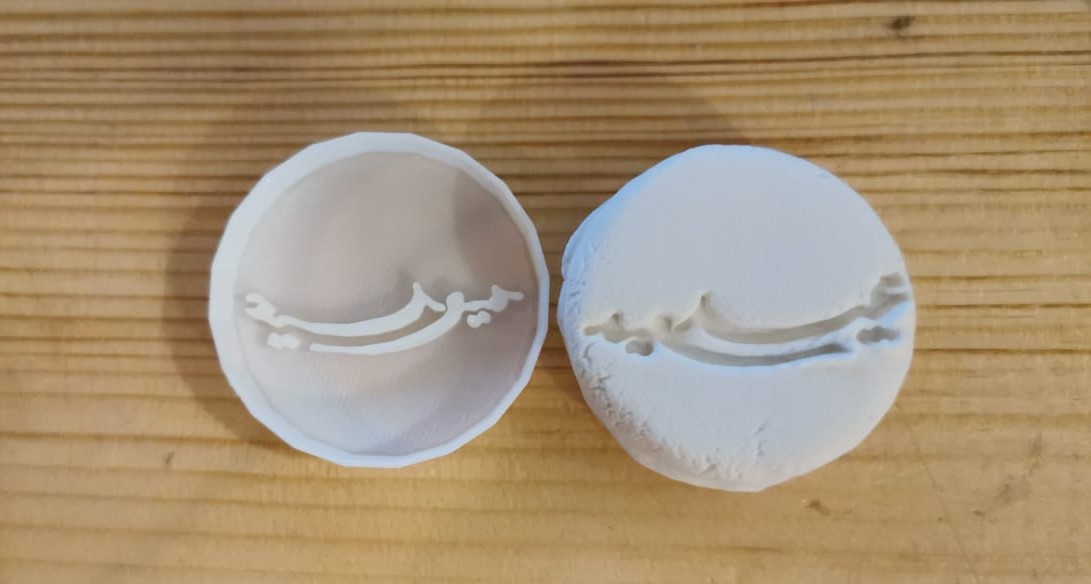
Final result, I testd with Dry Air caly. I will use it for next Eid and share it.
I was wondering if the PLA is food safe? I did small reacher about this and I read the scientists found that "PLA is Generally Recognized as Safe (GRAS) when used in contact with food. The study did reveal that PLA does release a small amount of lactic acid, however lactic acid is a common food ingredient and there was not enough to cause harm to humans."
However, I will use it without any heat only for moulding.
Design File
Problems and sultions:
While I was testing the mould in the first experiment, I designed it in an oval shape with debossed calligraphy details, to have the final outcome embossed calligraphy details, in the design stage I did not face any issue, but after I printed the mould and tested it, the clay sticks and the calligraphy details were not clear. In the second experiment, I show you previously how I fixed it, by changing the shape and designed it with less embossed calligraphy details, and the result was as I want.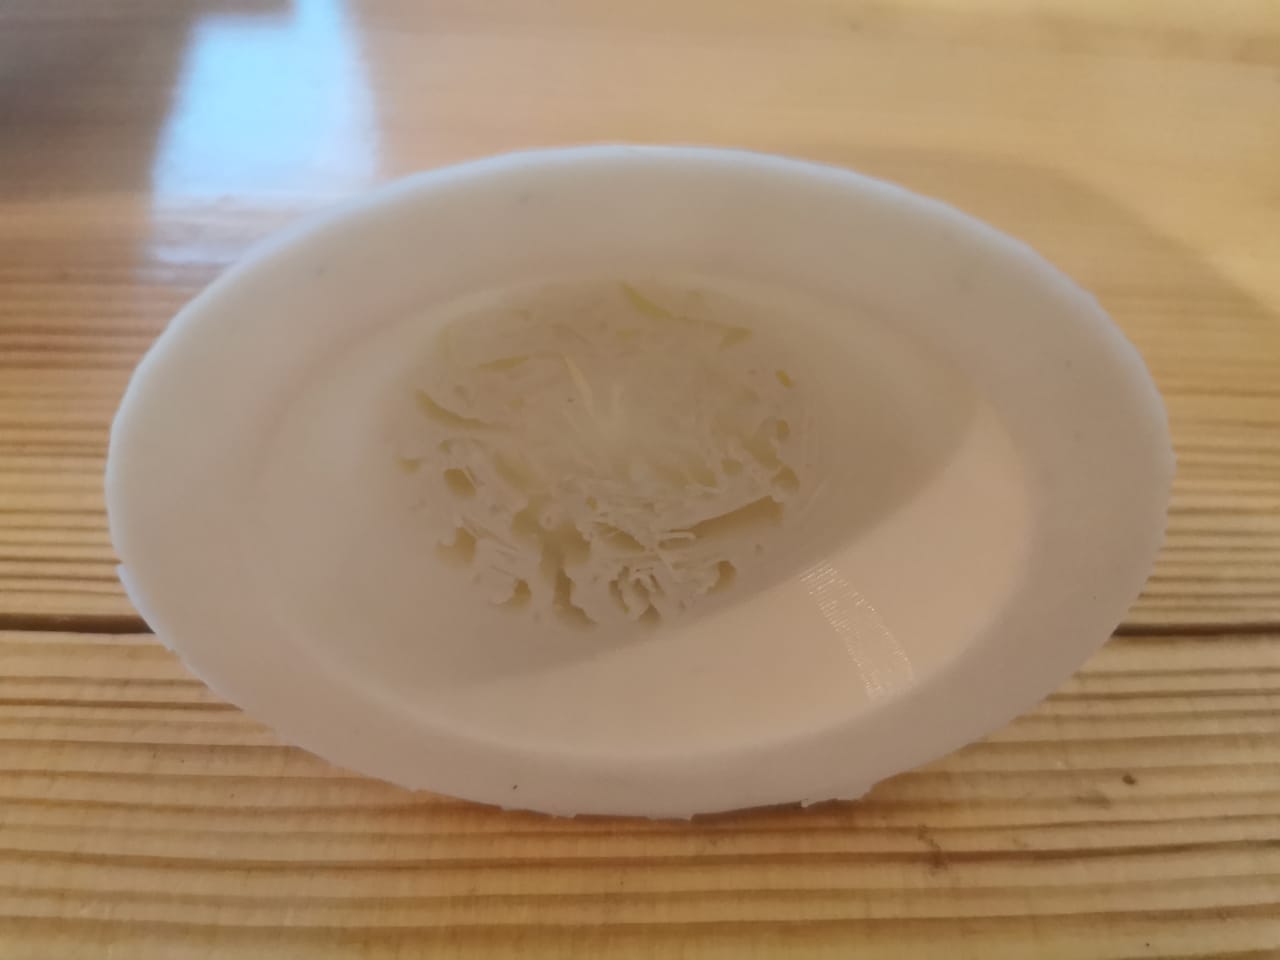
The mould after I printed with 3d printer.
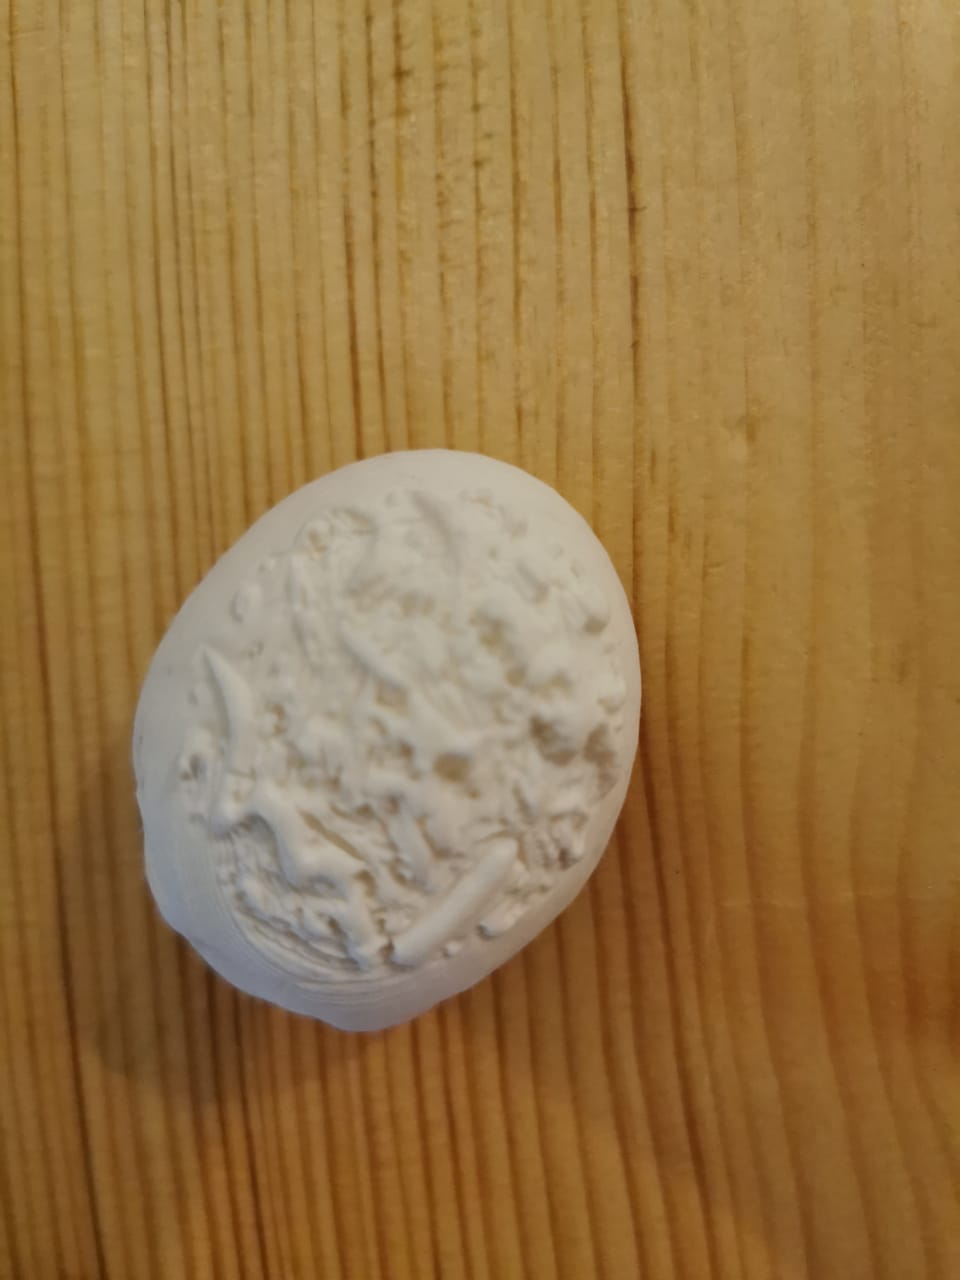
The air dry clay after tested with the mould.