Molding and Casting
Learning outcomes:
Design appropriate objects within the limitations of 3 axis machining.
Demonstrate workflows used in mold design, construction and casting.
Group assignment:
Review the safety data sheets for each of your molding and casting materials.
Make and compare test casts with each of them.
Individual assignment:
Design a 3D mold around the stock and tooling that you'll be using, mill it (rough cut + (at least) three-axis finish cut), and use it to cast parts.
This week we will design a 3D mold around the stock and tooling that I will be using, then I will mill it (rough cut with three-axis finish cut), last I will use it to cast some parts. And as a group assignment, I will review the safety data sheets for the molding and casting materials that I will use it. Then it is possible to reach the lab soon as we still in the curfew, I'll make and compare test casts with each of them. To be more originized in this assignment I followed below steps from the Fab Academy tutorial sheet.
3D CAD 2-parts mold
In this project, I started to make 2 parts mold for celebrating the next Eid occasion. as I read in the Fab academy tutorial if you want to create a 12 parts mold - design a 3D file with a flat backside. The flat backside can rest on the ground in the final cast. Now I will show you how:
2D Design
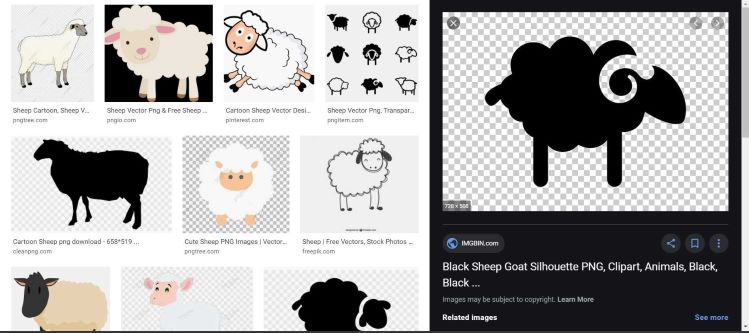
I shearched for an open source png images for sheep.
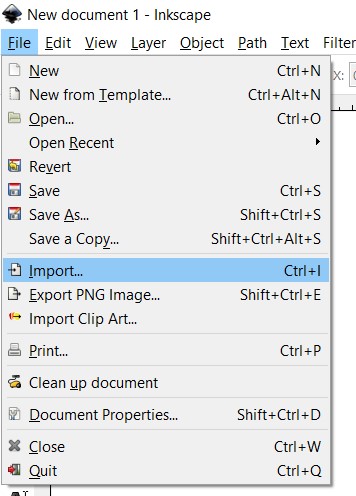
I imported the image to Inkscape program.
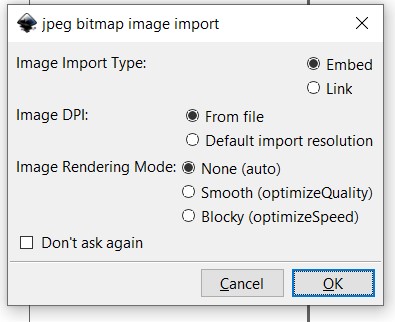
Click Ok is this message upper.
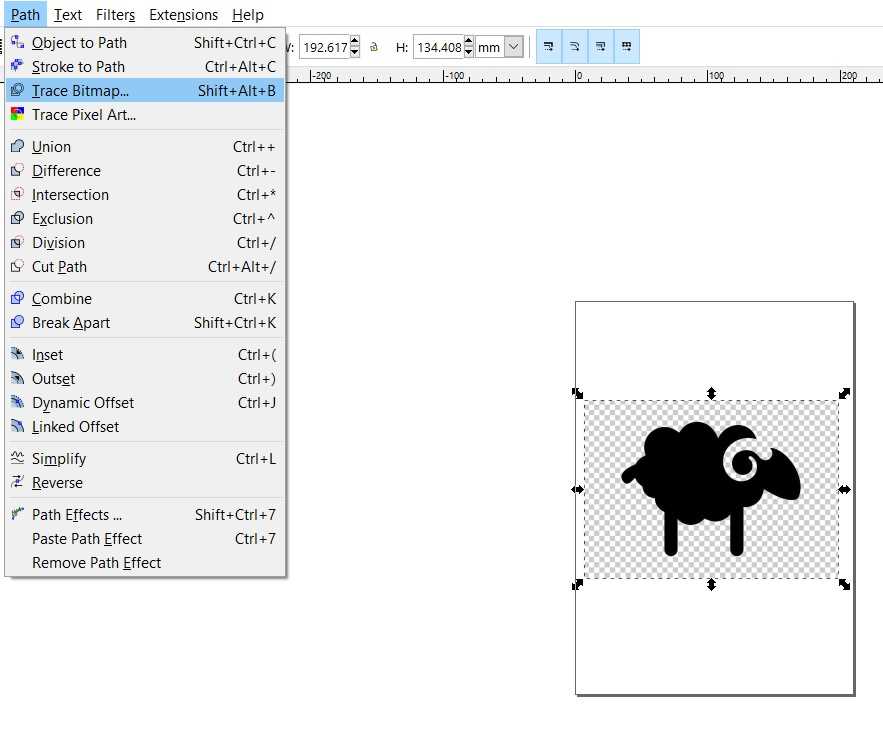
I traced the image by clicked on path tab in the menu tab, then I clicked on tracebitmap.
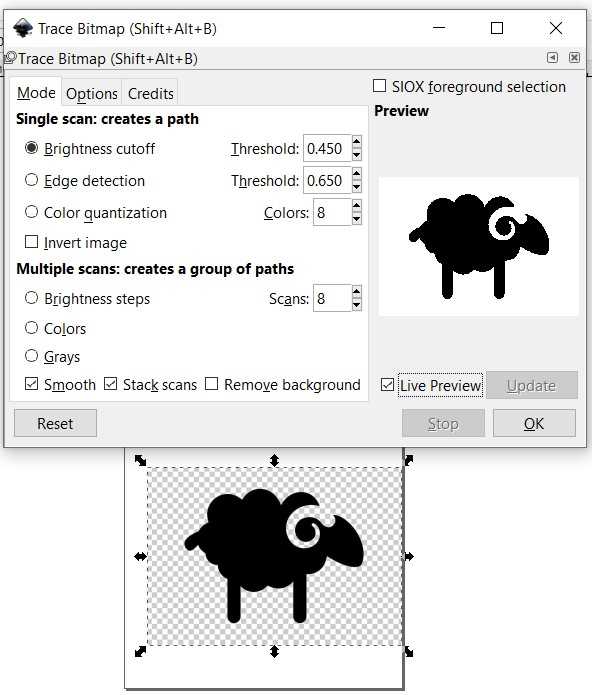
I used the brightness cutoff mode to got all the image details.
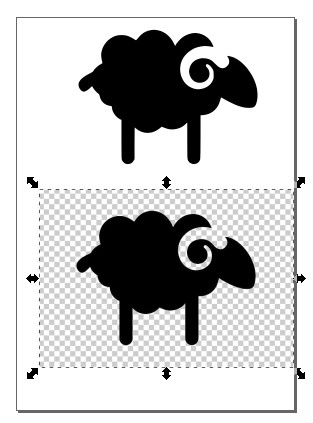
I deleted the orignal image, becuse I will use the vector copy of it.
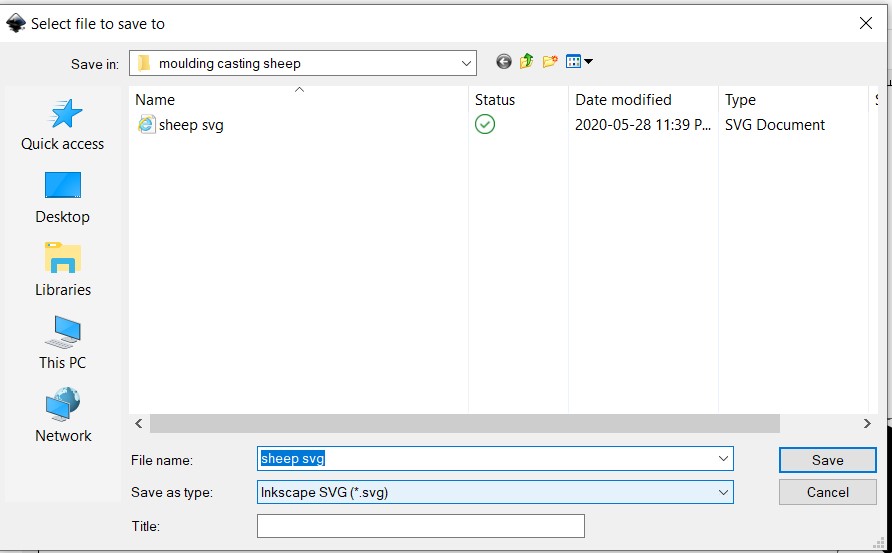
I saved it as SVG file to open it later with Fusion 360 or tinkercad.
3D Design
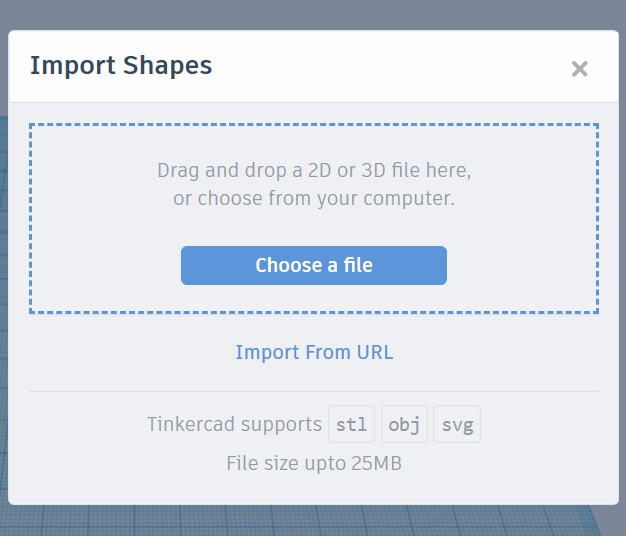
I decided to use tinkercad It's easy and fast in working with big mesh.
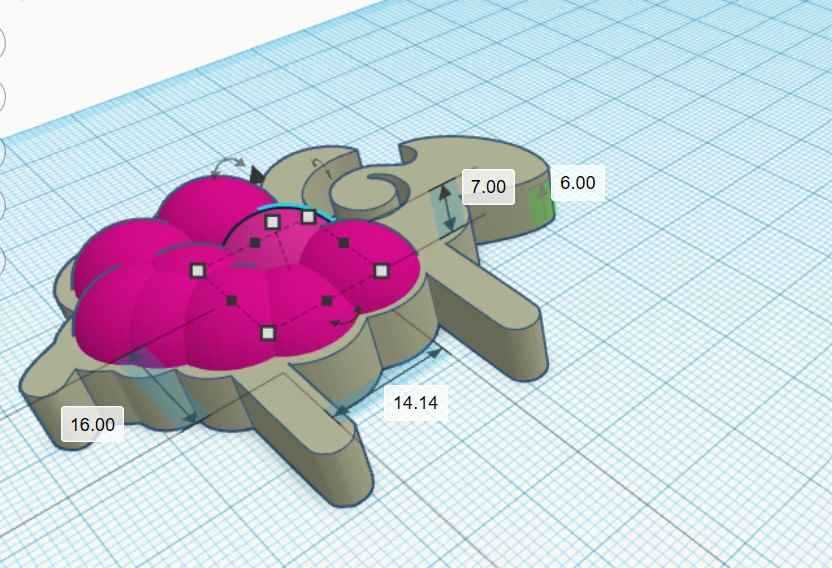
after I extruded the sheep shape. I added some more details to the sheep by using half sphere shapes to looks like wool.
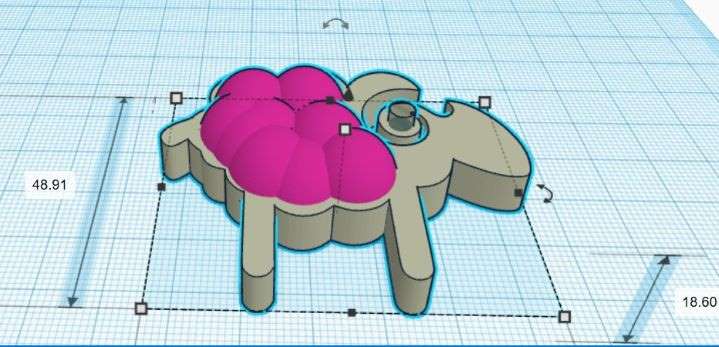
I added a 5mm hole to use the sheep shape as keychain later.
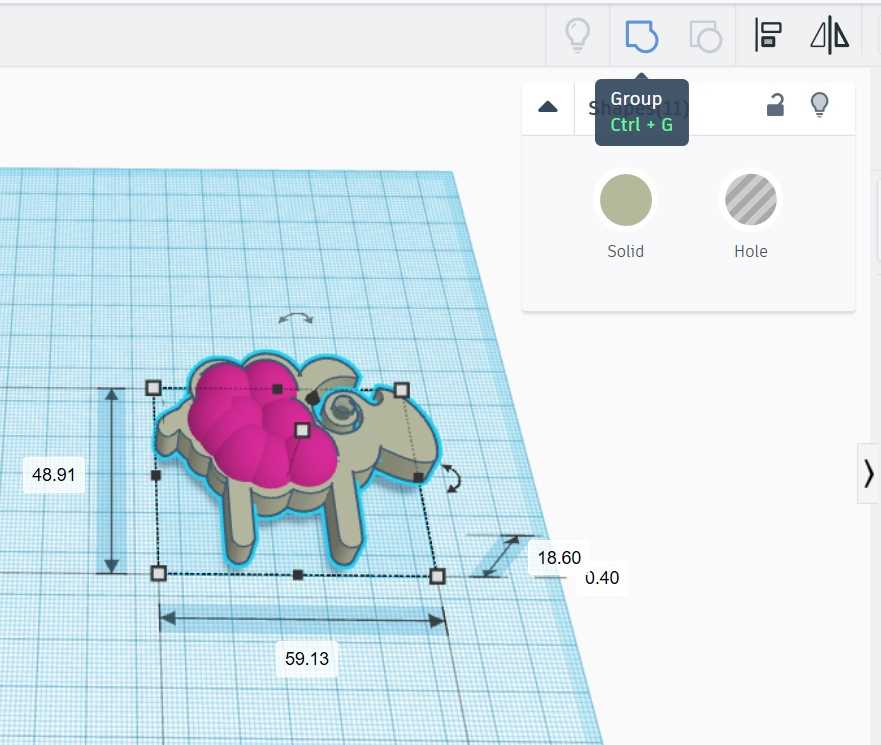
I grouped all the 3d shapes to get the final attched 3d sheep shape.
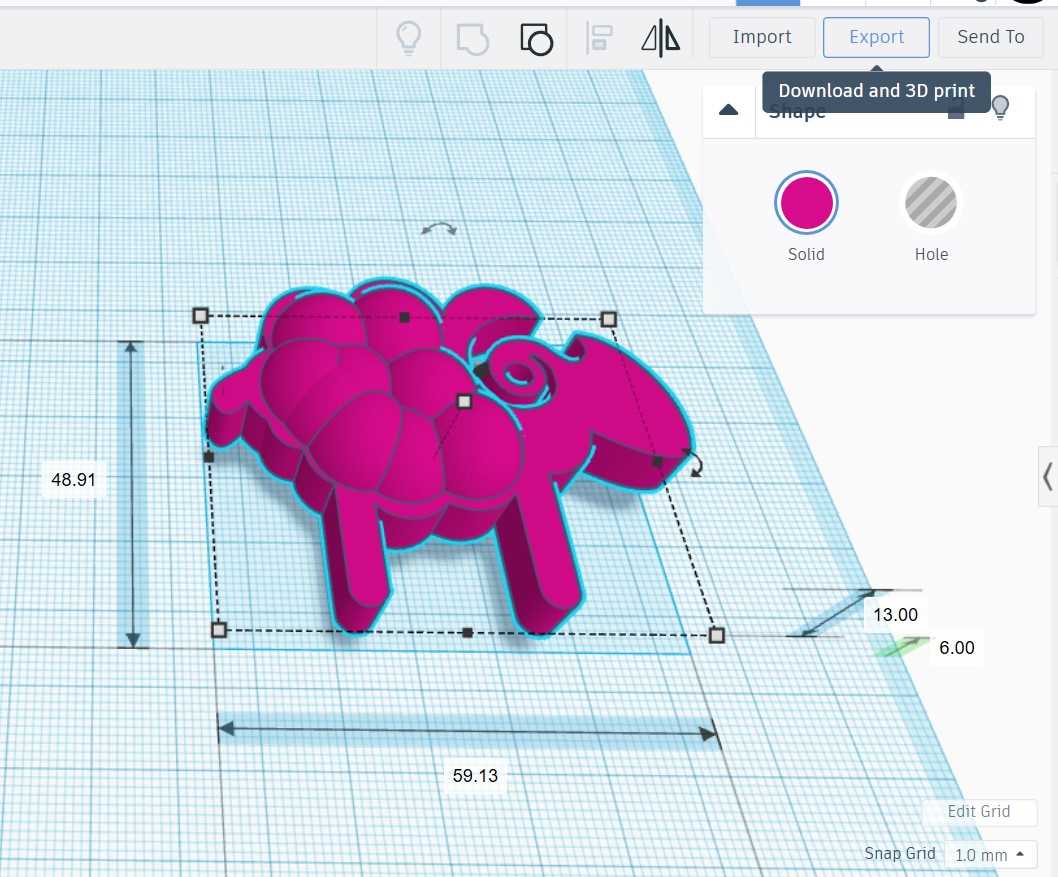
From Tinkercad we can export the model as.STL and other formats. I exported as an STL file to use it with a Modela player to create the CNC Path.
3D 2-PARTS mold
In this project, I will show you how I design 2 parts mold to get 3d sheep for eid giveaways. I used again Tinkercad to add to the previous project I explained it before.
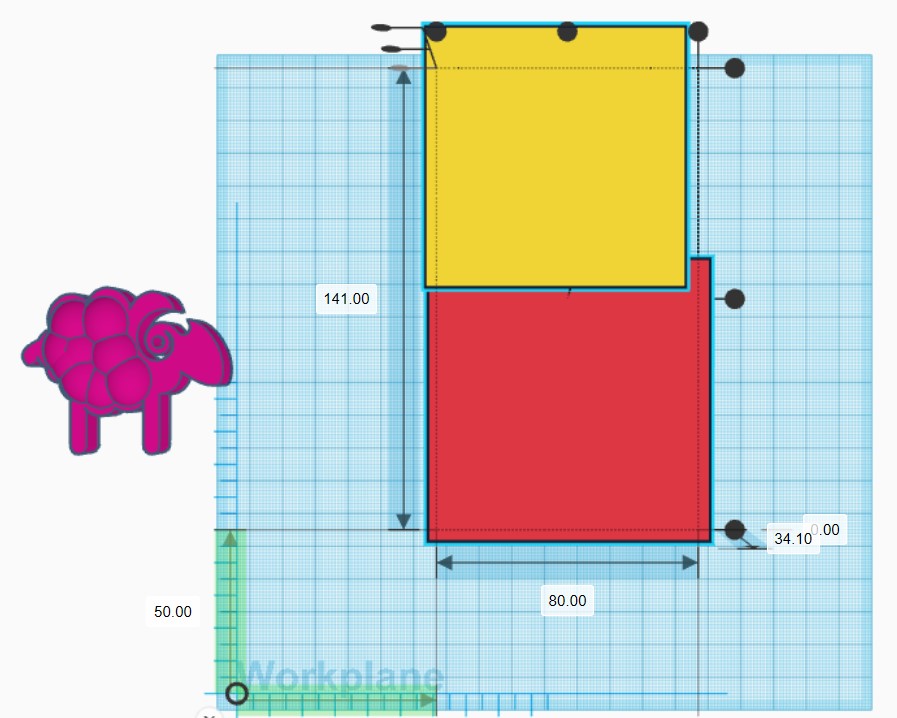
In this stage, I need to design a box to hold the mold. I drow to boxes on is hollow and smaller than the other, then I grouped it to get the box frame.
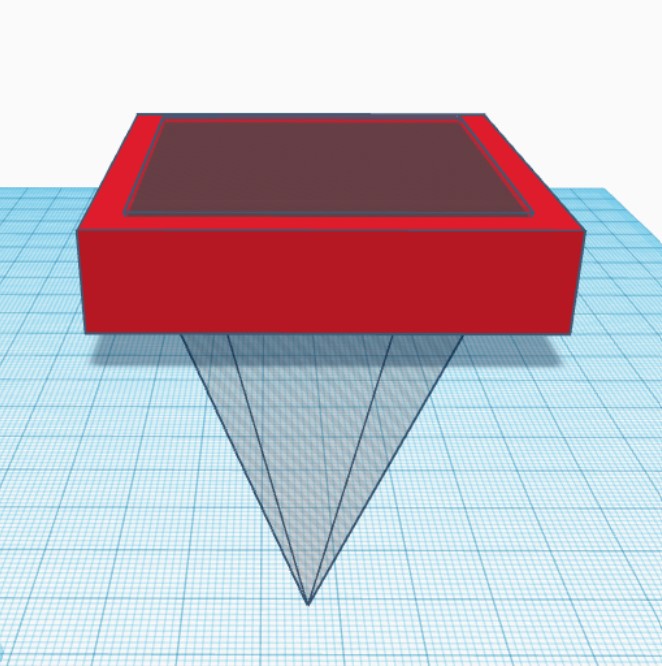
I add a cone upside down to got the draft angle to allow me to get out the mold easily.
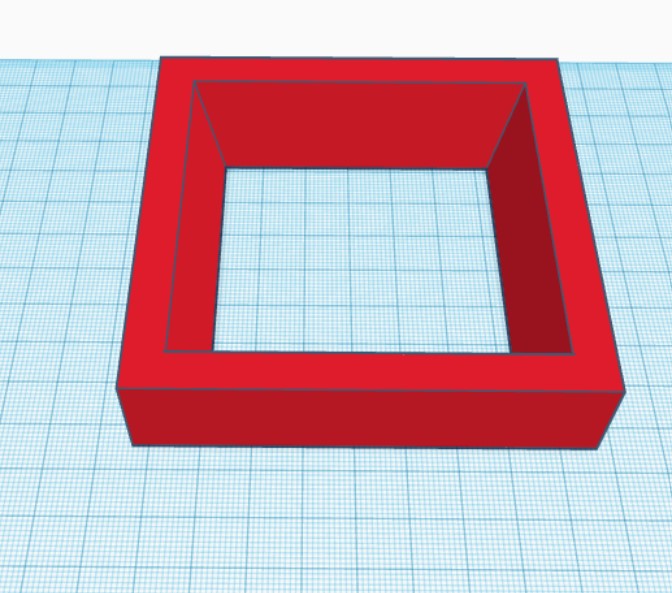
I aligned it and grouped it as shows.
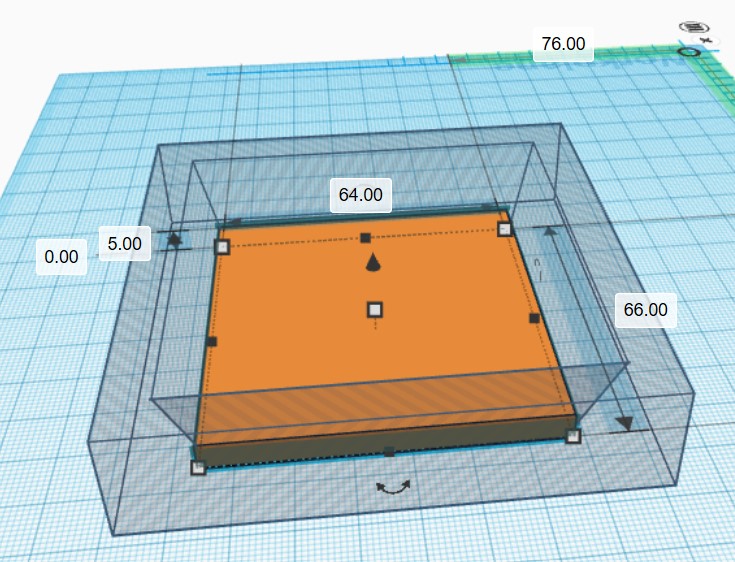
I added again a box shape with 1cm hight to be able to do the joints.
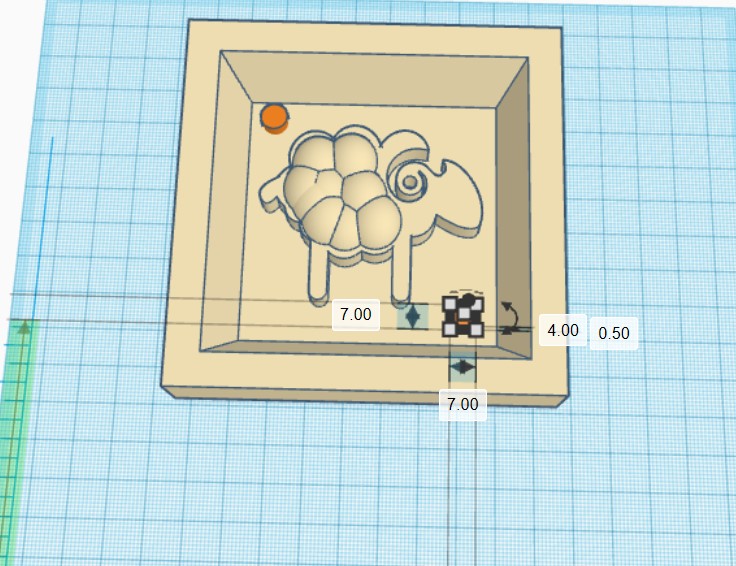
I moved the sheep shape to the center of the box and aligned it, then I add the joint with diameter 5mm and the height is 4mm to hold the mold with the other part while doing the casting process.
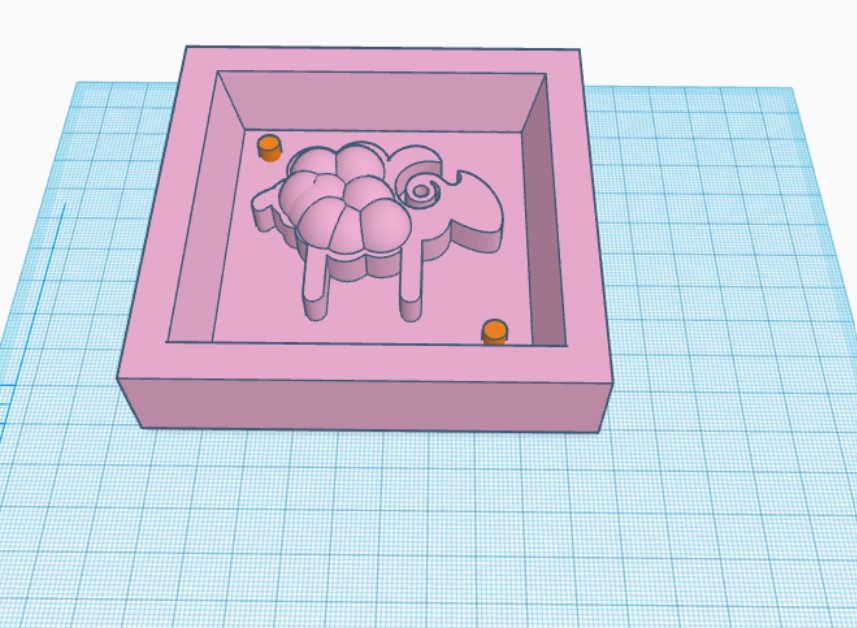
I added to the joints on the corners.
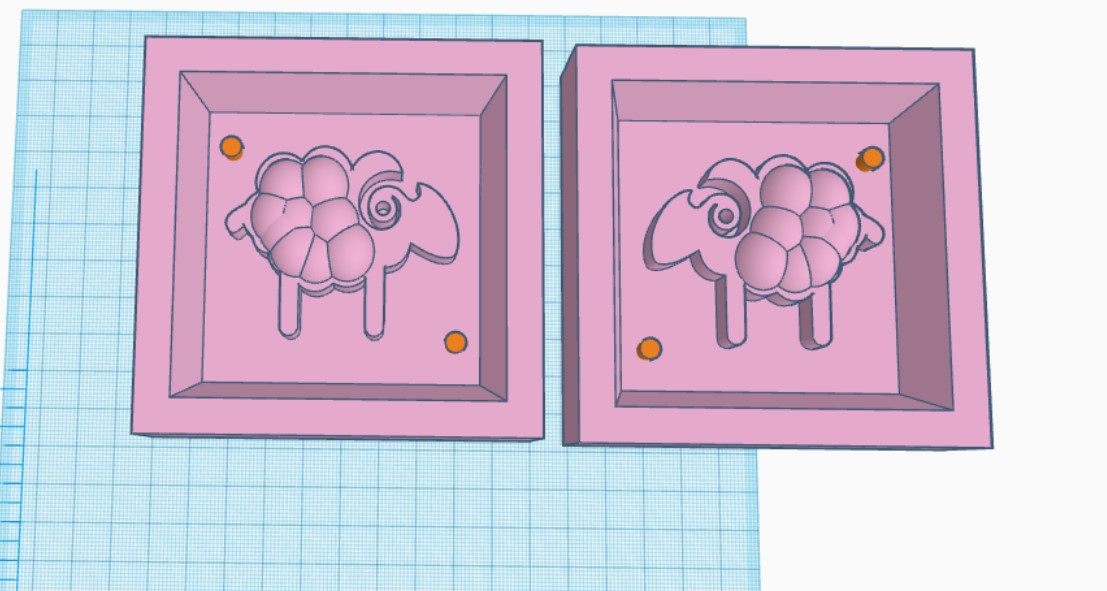
Now as it is two parts mold, I duplicated and flipped the other part. Fliping on Tinkercad is the mirror tool.
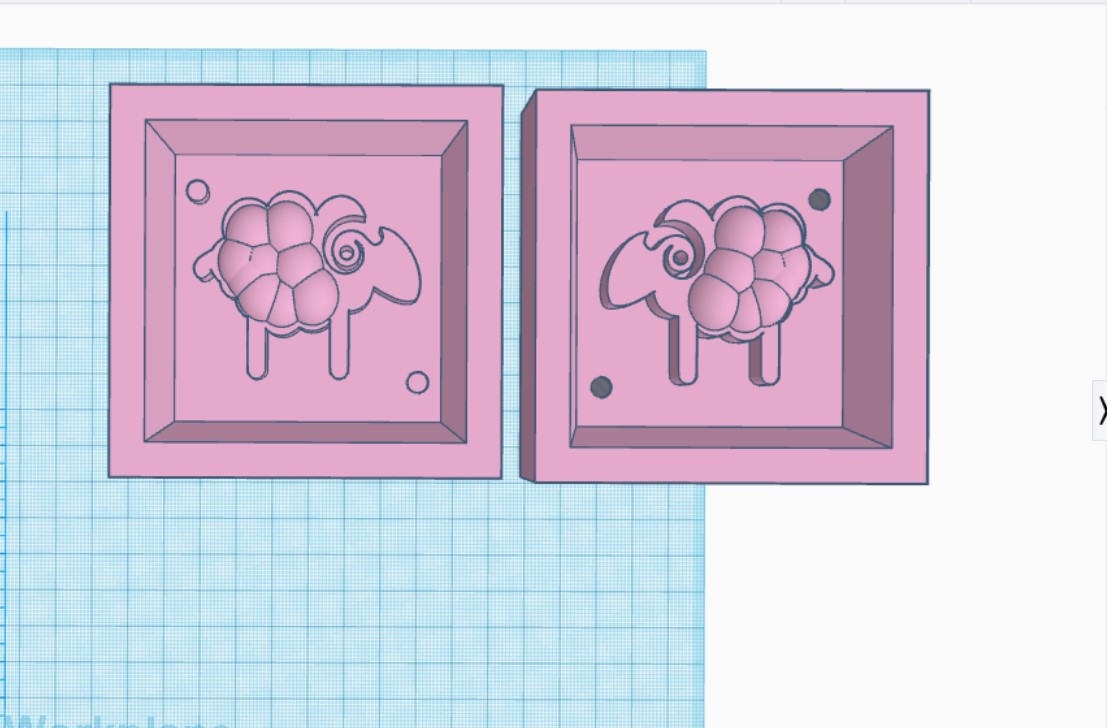
For the first part, the joint should be extruded up, for the second part, it should be extruded down to close the two parts molds.
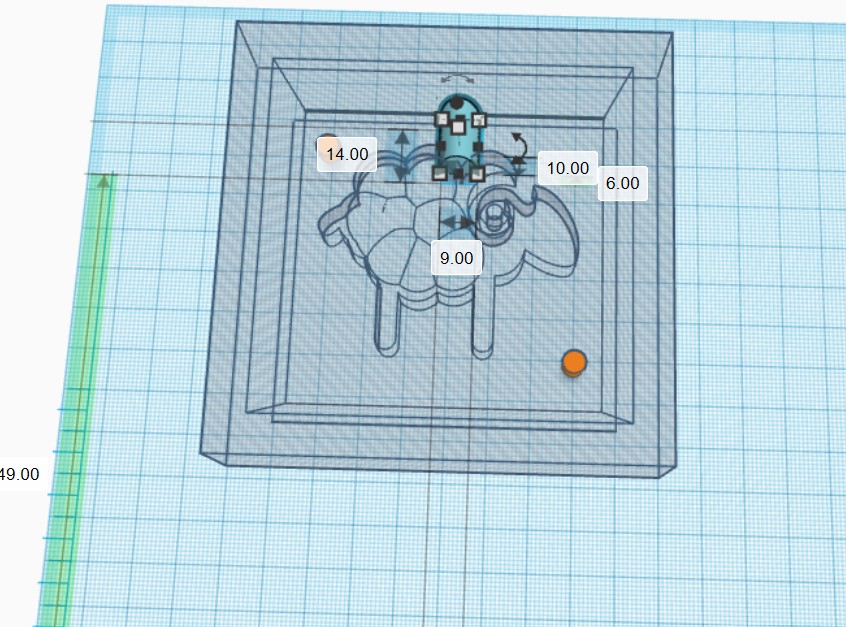
I added sphere shape to be the hole for the casting process.
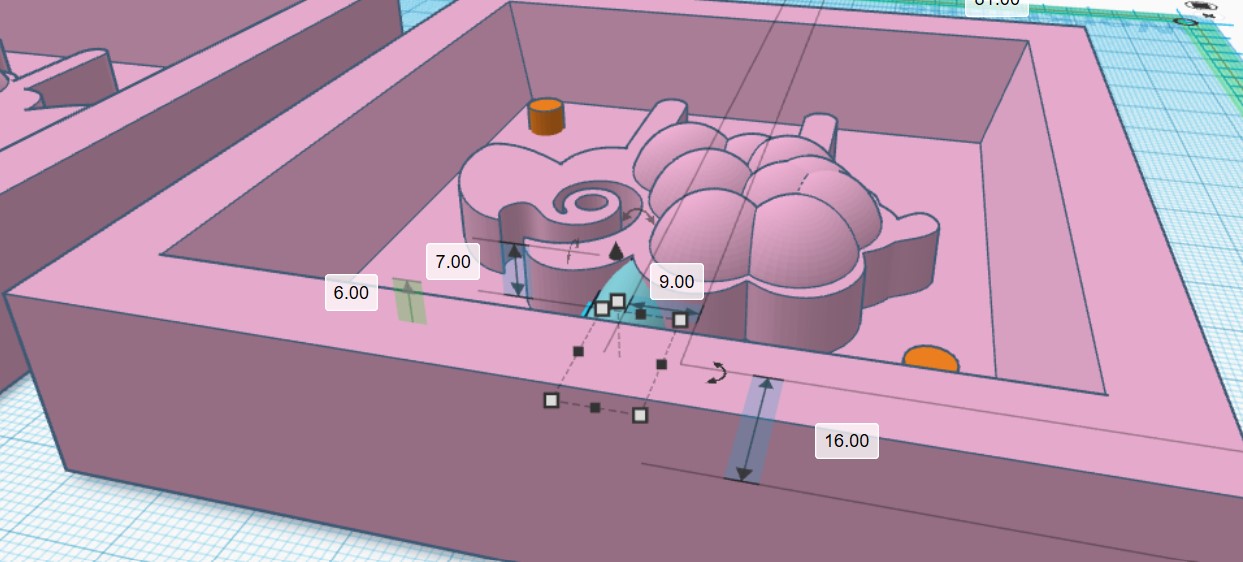
I set the hight of the hole equally with sheep shape and part of it.
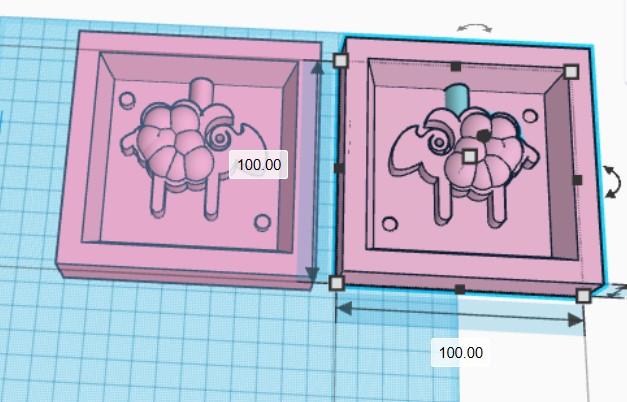
I grouped all the parts together.
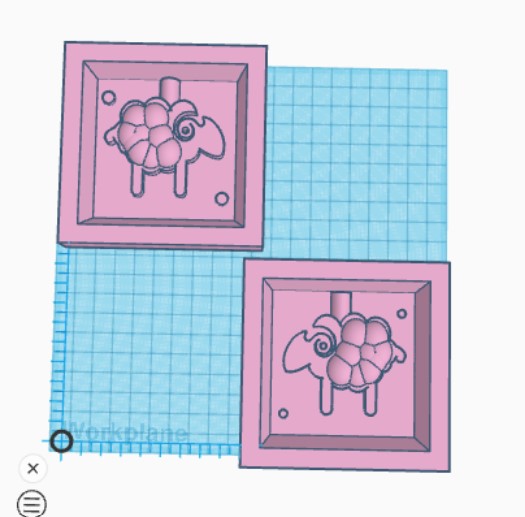
The final design, I exported as STL file, to import it to Modela Player to generate the cutting toolpaths.
Using 3D Printed mold -During the lockdown of COVID 19-
Easymold Silicone Putty
Instead of making mold by modela machine and mill the wax to use it as mold, I decided to try Easymold Silicone Putty and 3D printer, until I can use the lab and the materials over there. What I found locally and borrowed it from my friend is Easymold Silicone Putty makes great resin and plaster molds! It’s fast and easy to use. However, Easymold Silicone Putty molds must be heat cured or allowed to fully cure for a minimum of 24 hours prior. Easymold Silicone Putty is ideal for a wide range of impression type mold applications, including Castin’Craft Clear Casting Resin, EasyCast Clear Casting Epoxy, wax, baking, chocolates, ice cubes, soap, plaster, air dry clay, concrete, and low melt metals! Easymold is an easy to use, Odor Free, Non-Toxic, FDA compliant – Food Grade, two-component silicone putty.Procedure for making the molding
First It is necessary to read the Safety/Datasheet you can easily found it digital copy on your mold kit official website. I used for made the mold Easymold Silicone Putty kit. As I read in Easymold Silicone Putty it has 3 minutes of working time at 70° F / 21° C. Cooler temperatures will result in slightly slower cure rates, while warmer temperatures will result in faster cure rates. Therefore, work quickly when making your mold. Be sure to have all your original pieces ready. Mix only enough to make one mold at a time! If working with gloves, use vinyl or nitrile gloves, which are sulfur-free.I found also two data sheets one for part A and one for part B, this two we should mix them together to get the putty mold.
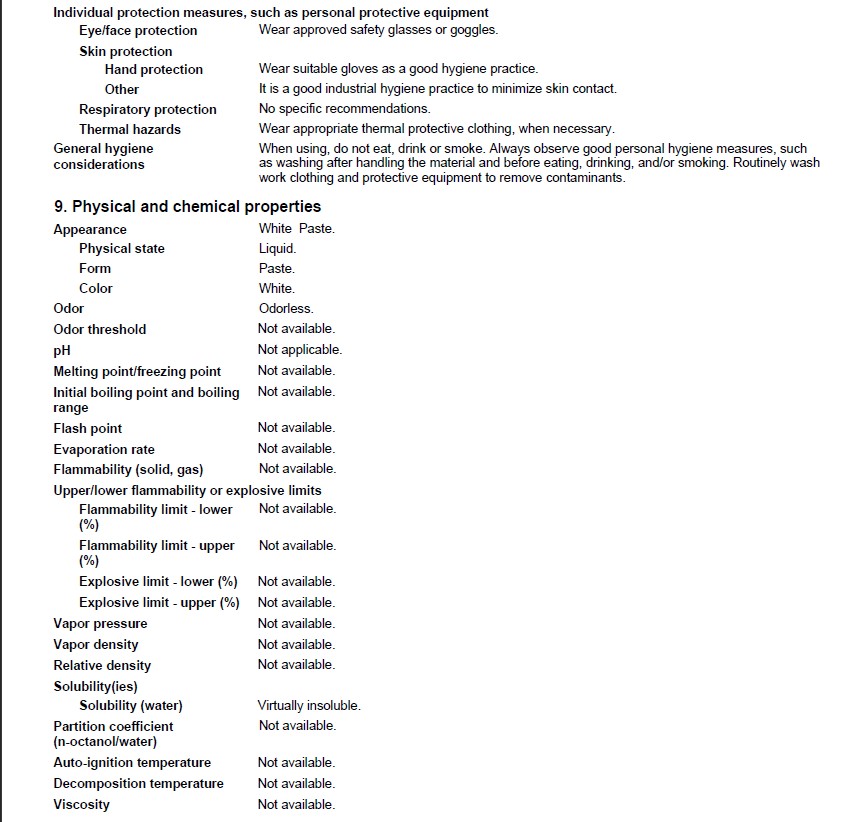
Individual protection measures as written in the data sheet. And the physical and chemical properties for part A.
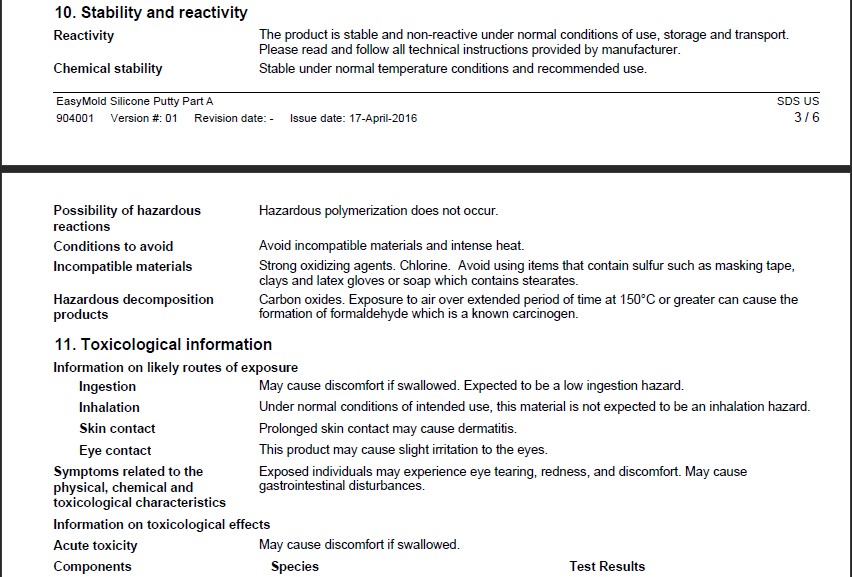
Stability, reactivity, and toxicological information for Part A.
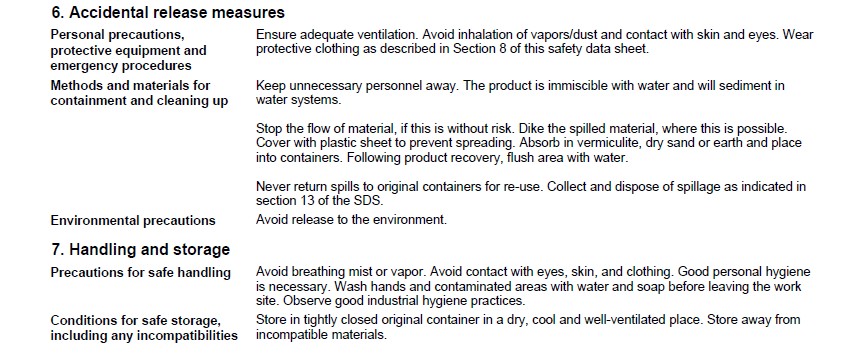
Accidental release measurer, handing, and storage for part B and it similer for part A.
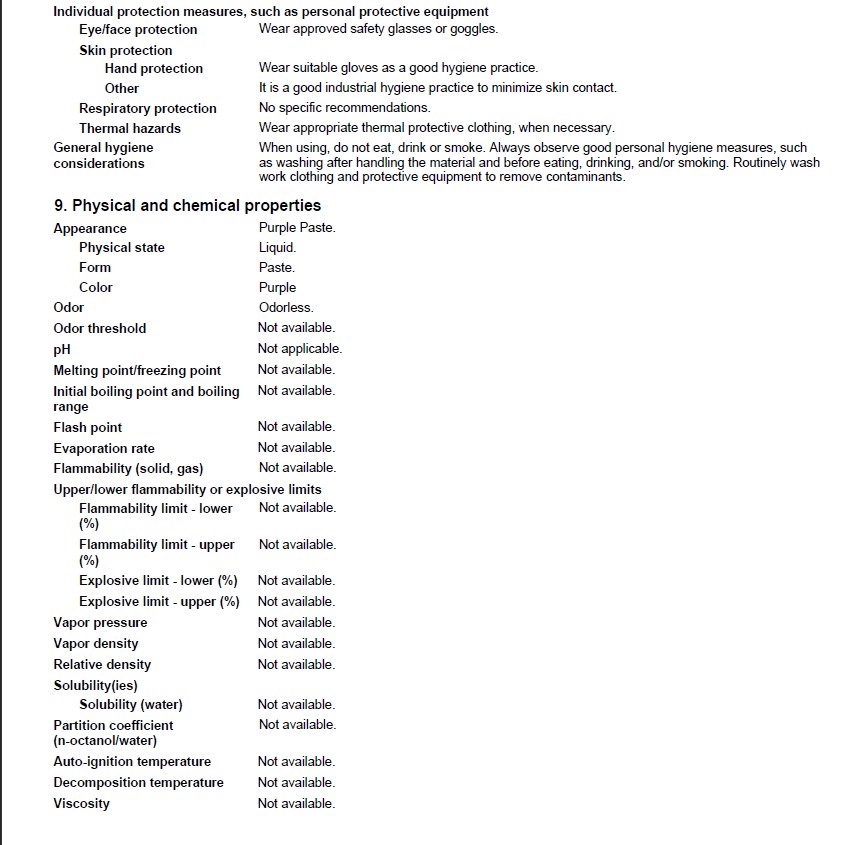
Individual protection measures as written in the data sheet. And the physical and chemical properties for part B.
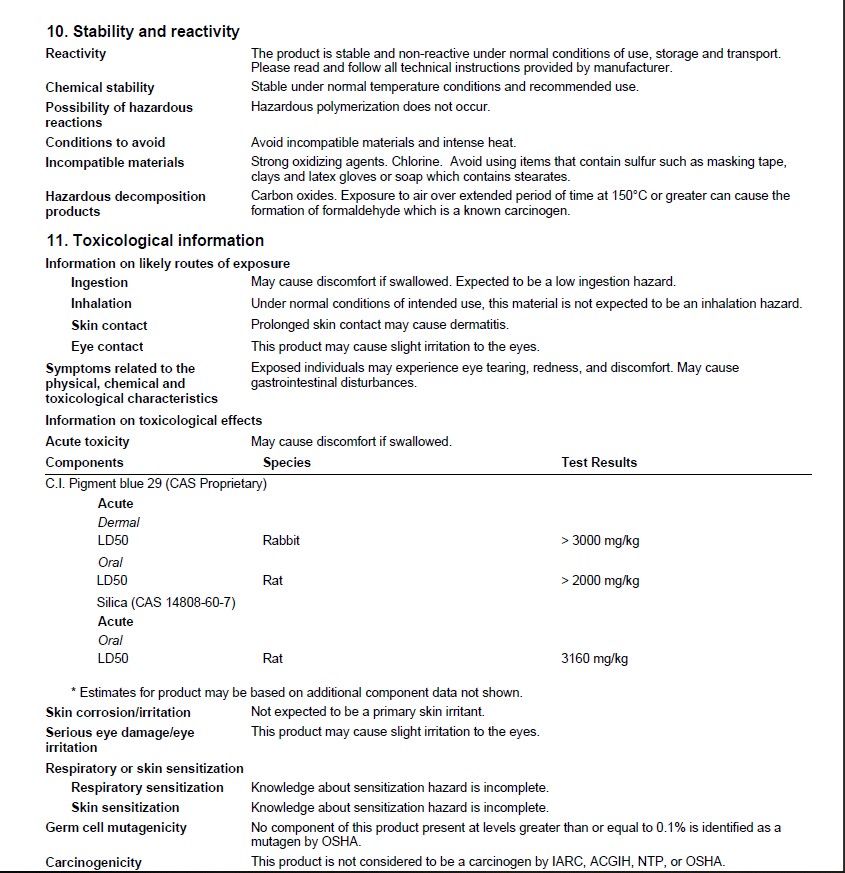
Stability, reactivity, and toxicological information for Part B.
Making The mold
Now I will show you how I did the mold step by step.
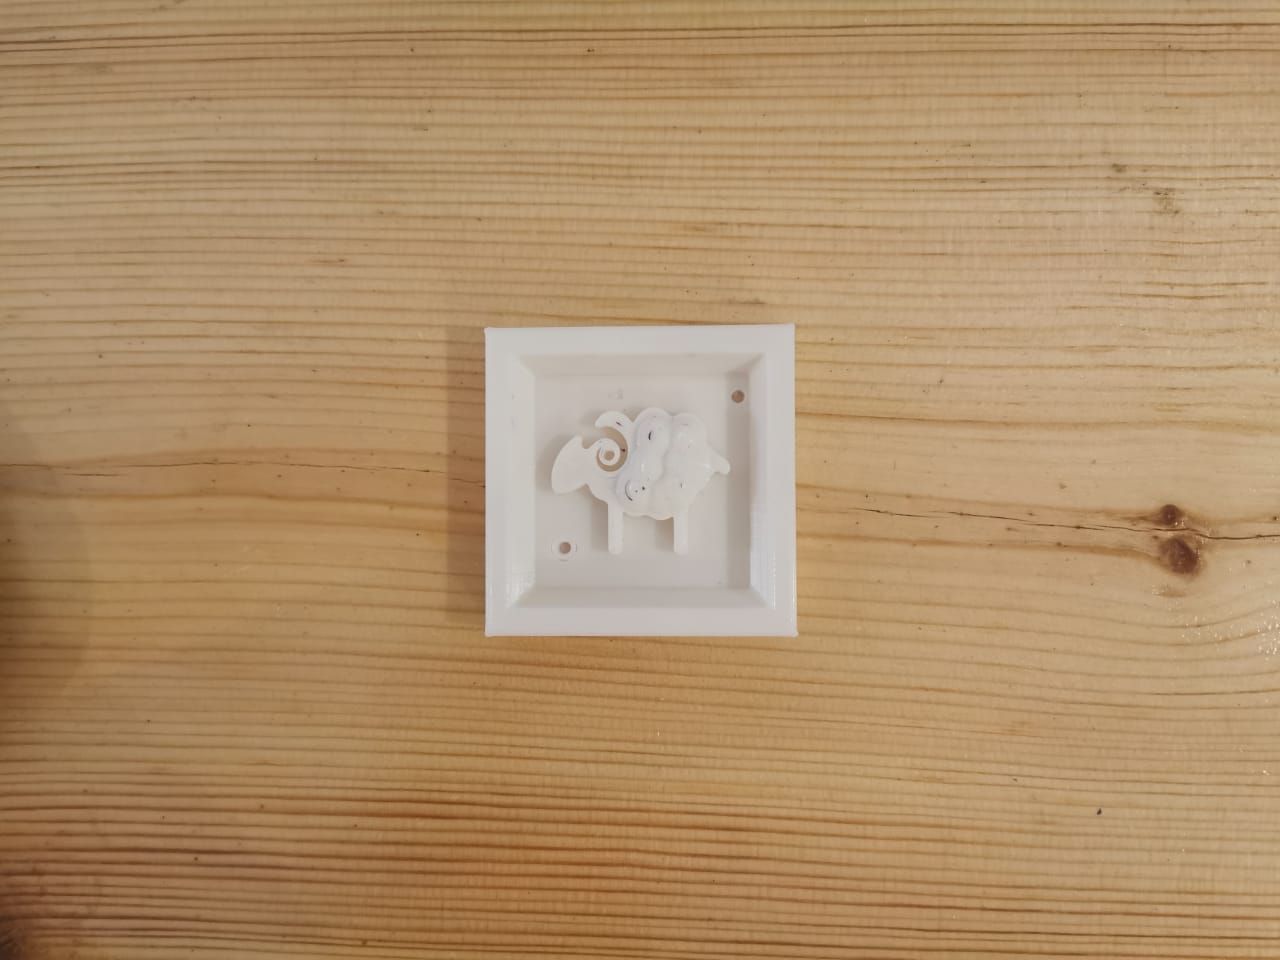
I printed the mold by 3d Printing machine until now I can not use the Talents Lab.
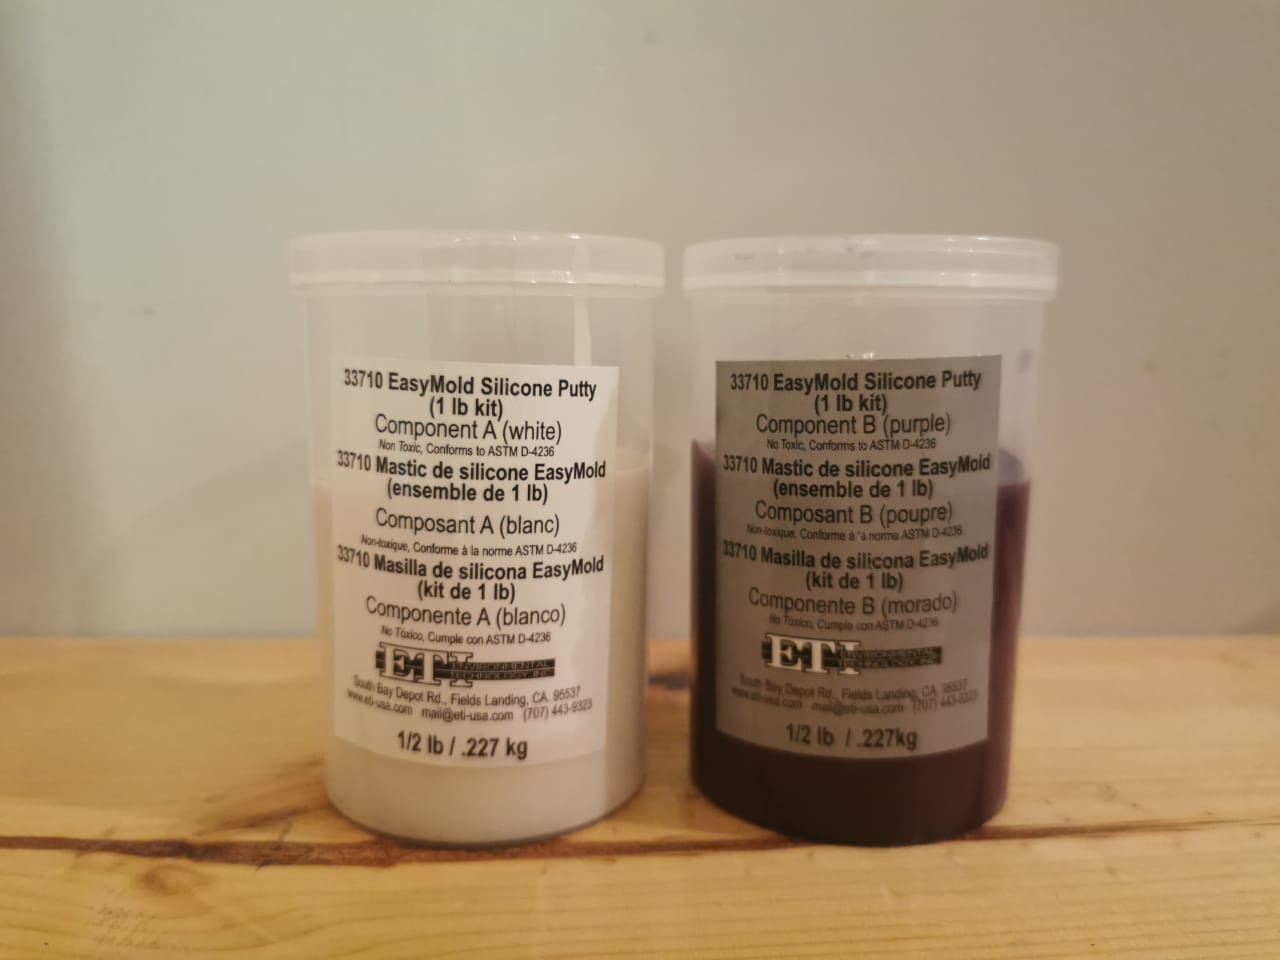
First, we have two components part A and part B.
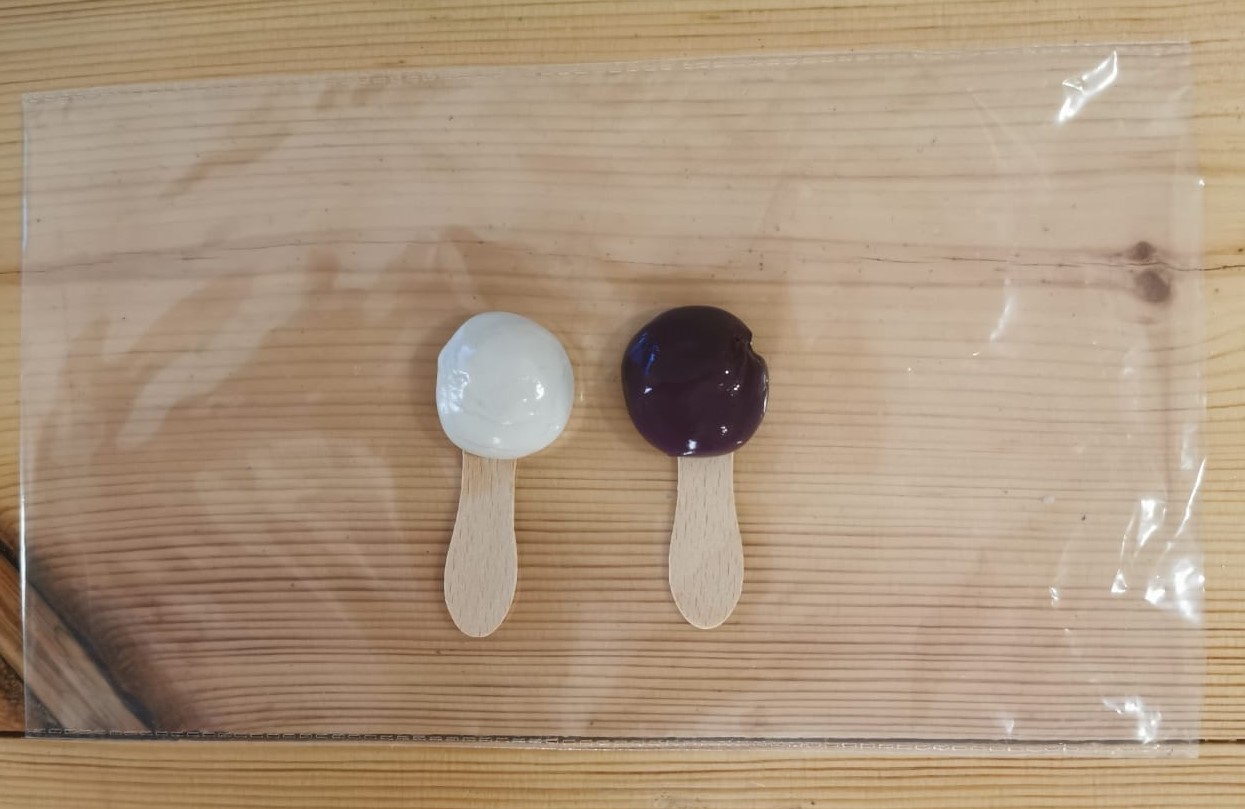
I took two equal amounts by volume of components A & B, you can take as weight and use the digital electronic balance.
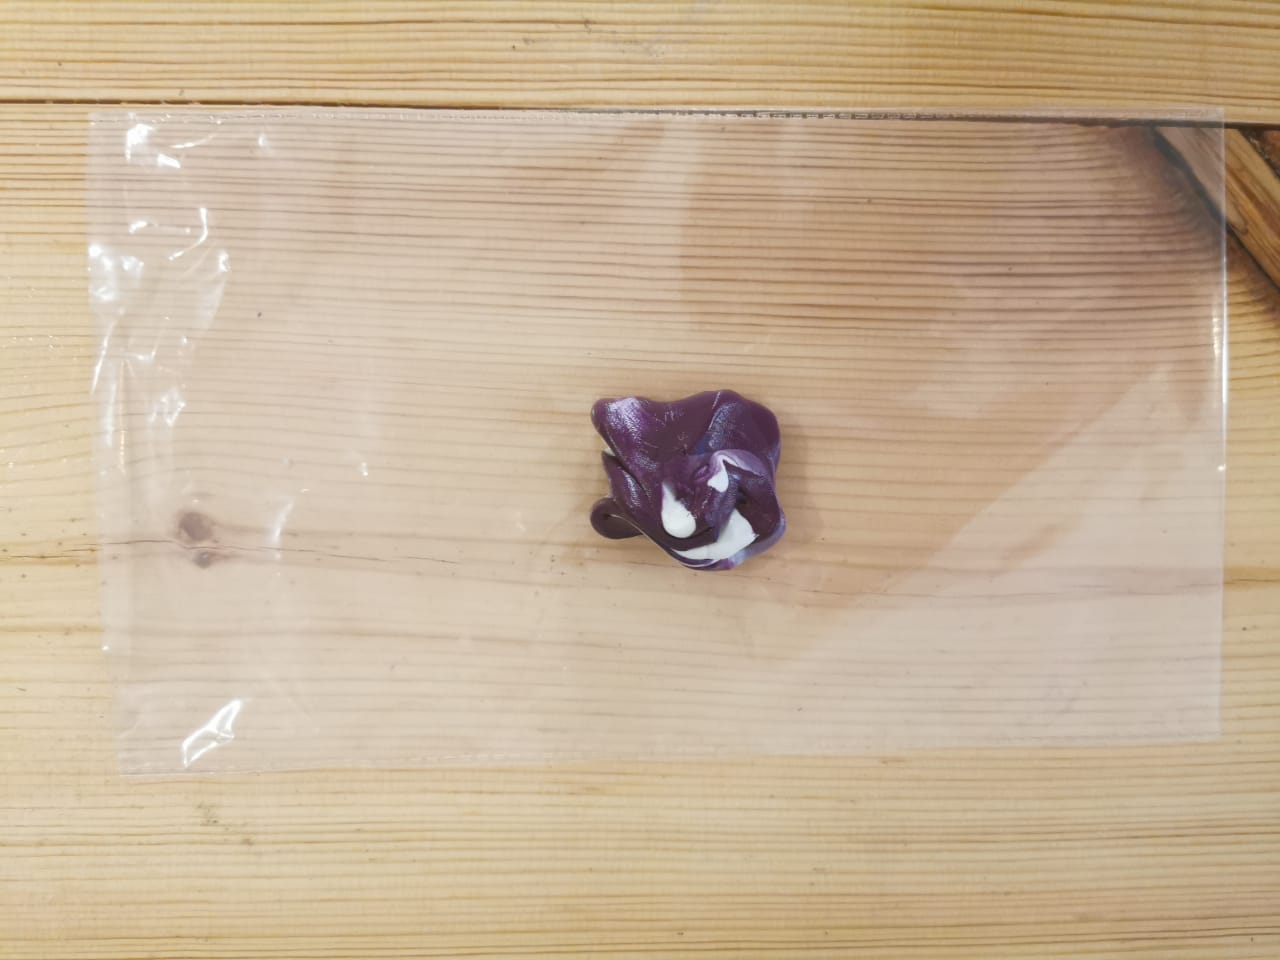
Quickly knead together the equal amounts of the two components A & B until a swirl-free uniform color.
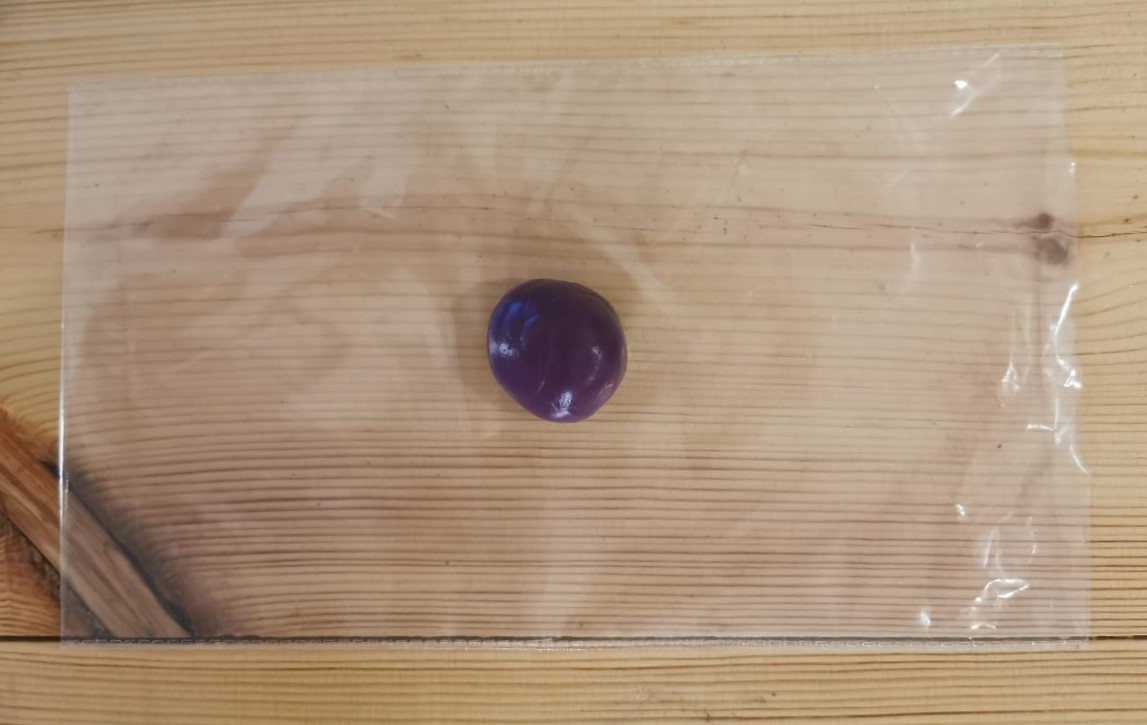
I achieved a uniform color within 1-2 minutes.
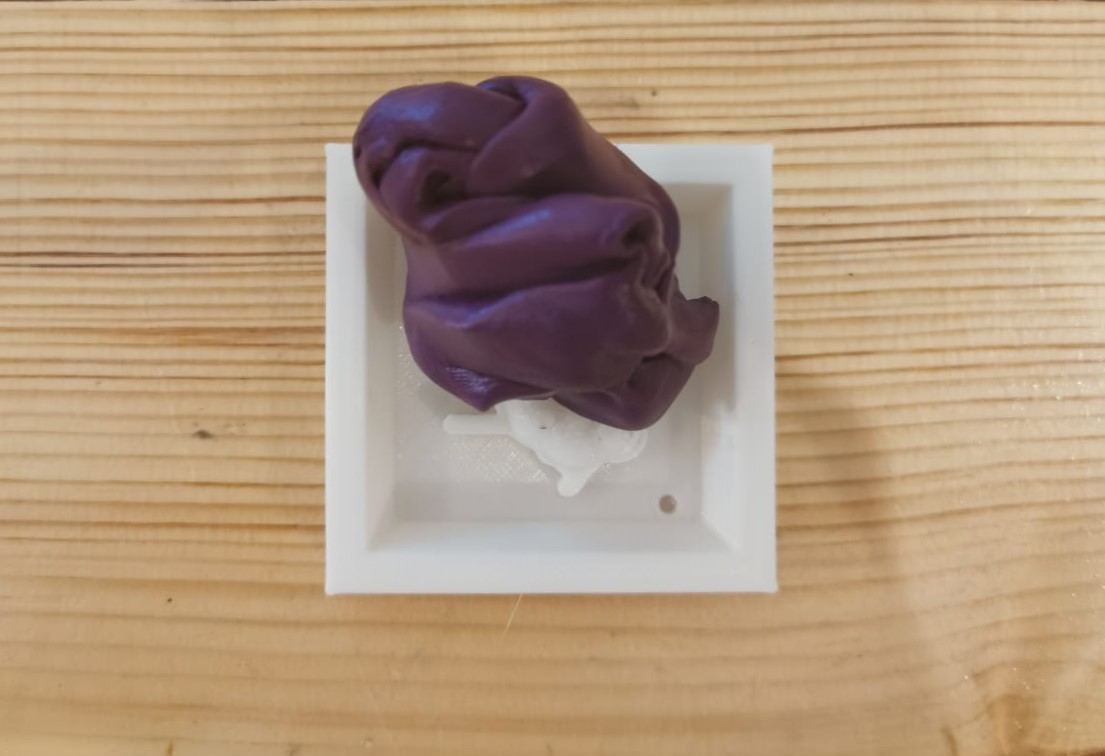
After I rolled the kneaded components into a ball, I flattened slightly. Then I pressed the putty into the mold to form it.
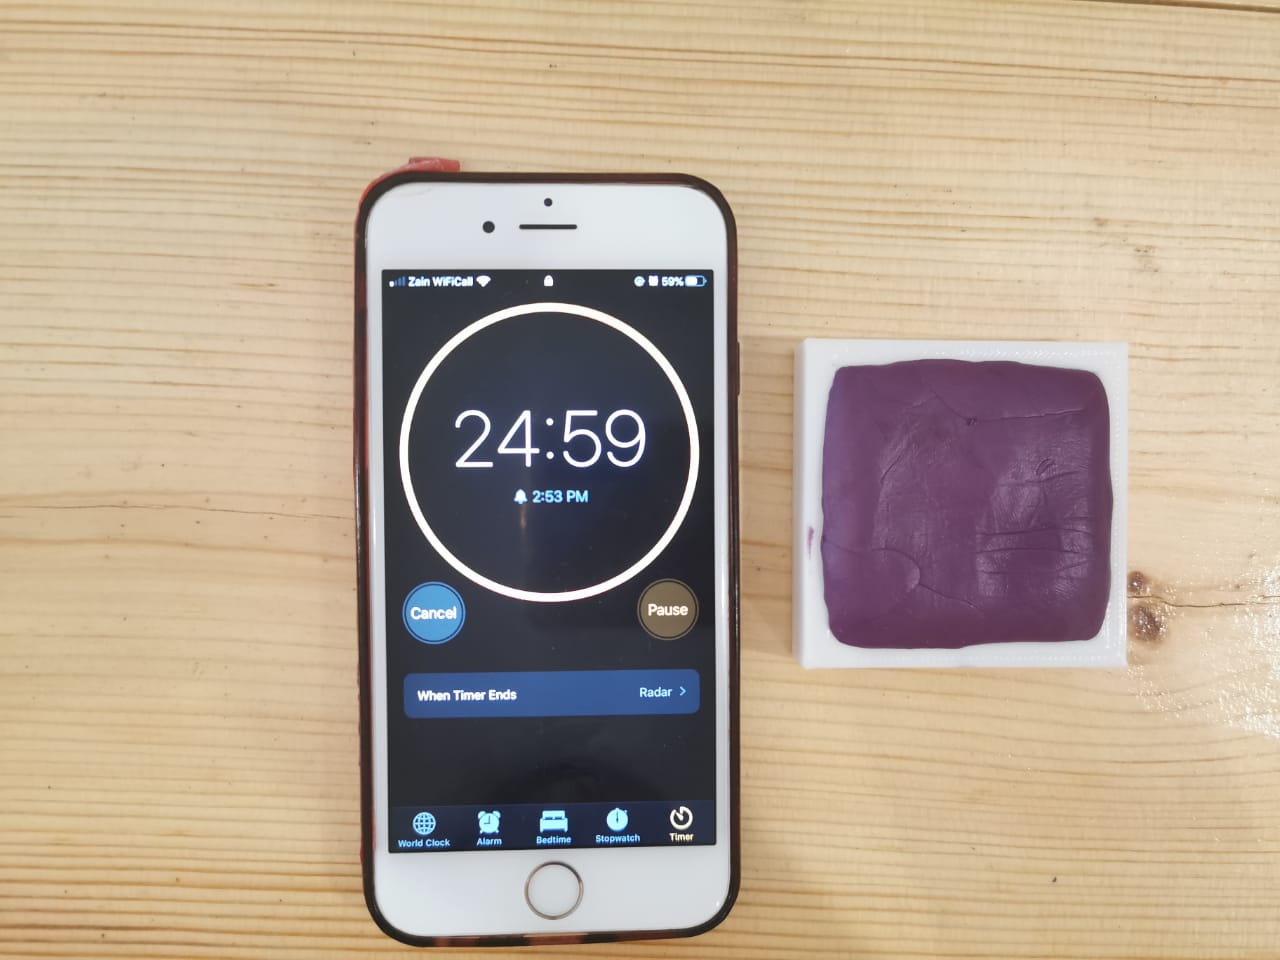
I left the object in the putty and allowed it to cure for 25 minutes.
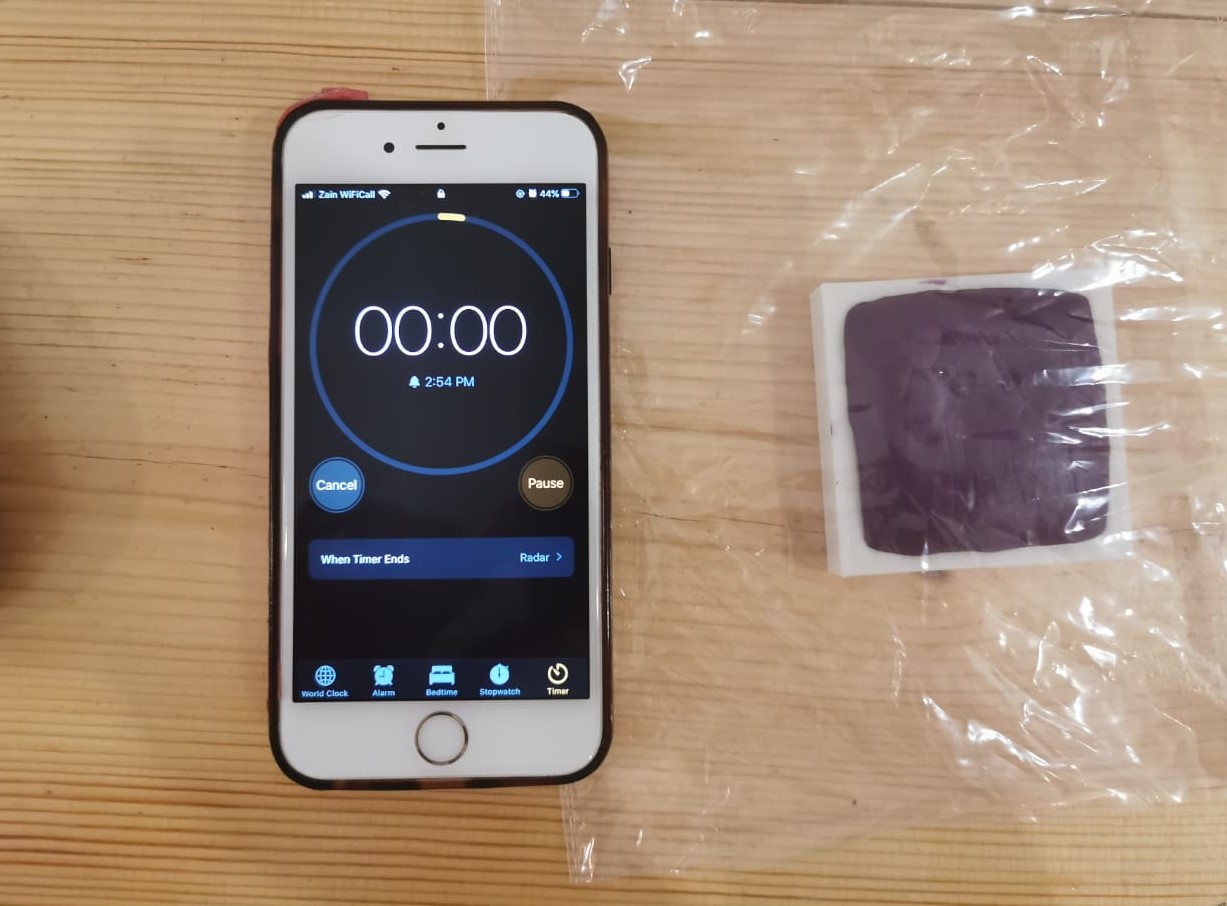
After 3 min it becomes hard and not soft as it was after the 25 min finished, it becomes harder than it was.
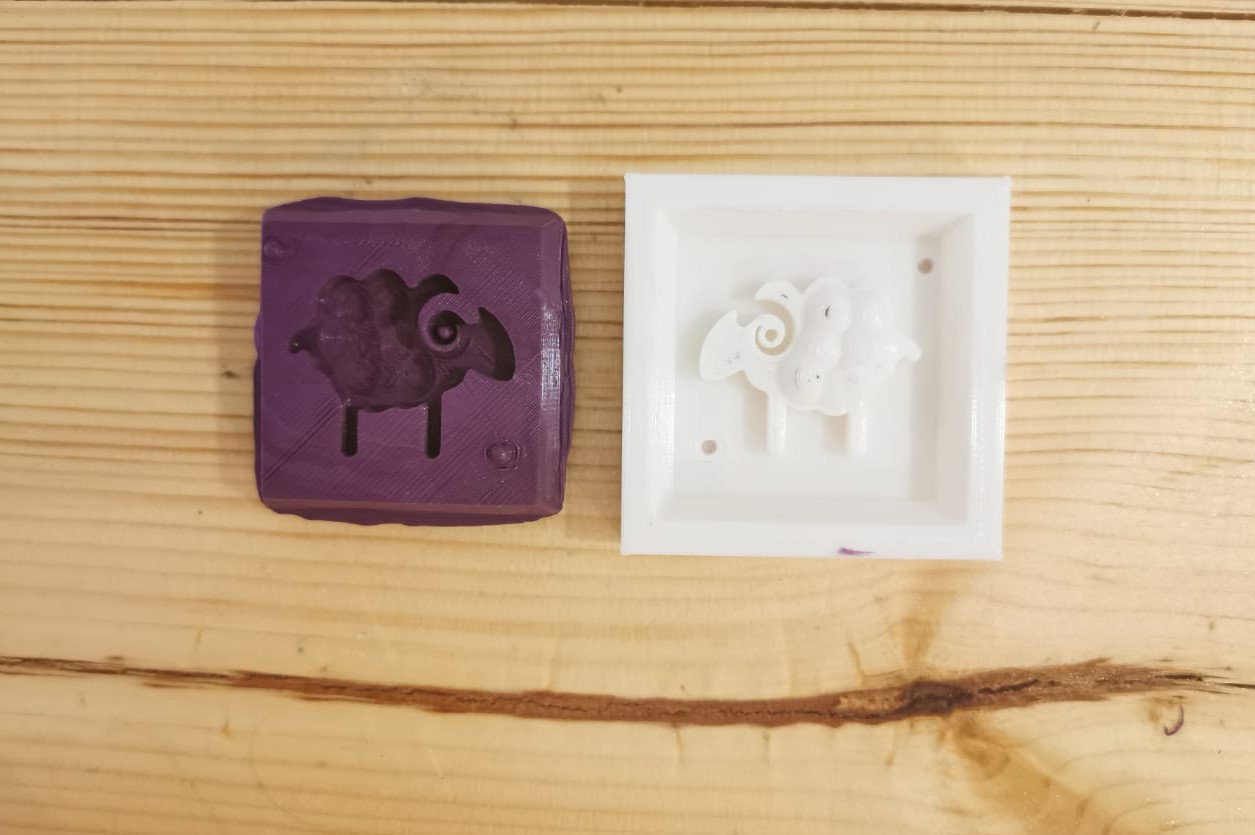
I removed the object; my mold is now ready to use.
Procedure for making the Casting
As I read in the datasheet Easily creates molds for small impression type objects! Odorless, Non-Toxic. FDA Compliant, Food Grade.Chocolate Casting I tried to cast a small bite of chocolate as the first trial because if I used any non-food material, I can not use the mold for the food again. Because the mold will be contaminated and cannot be used with food products! molds used for food type applications must be washed and dried between applications.
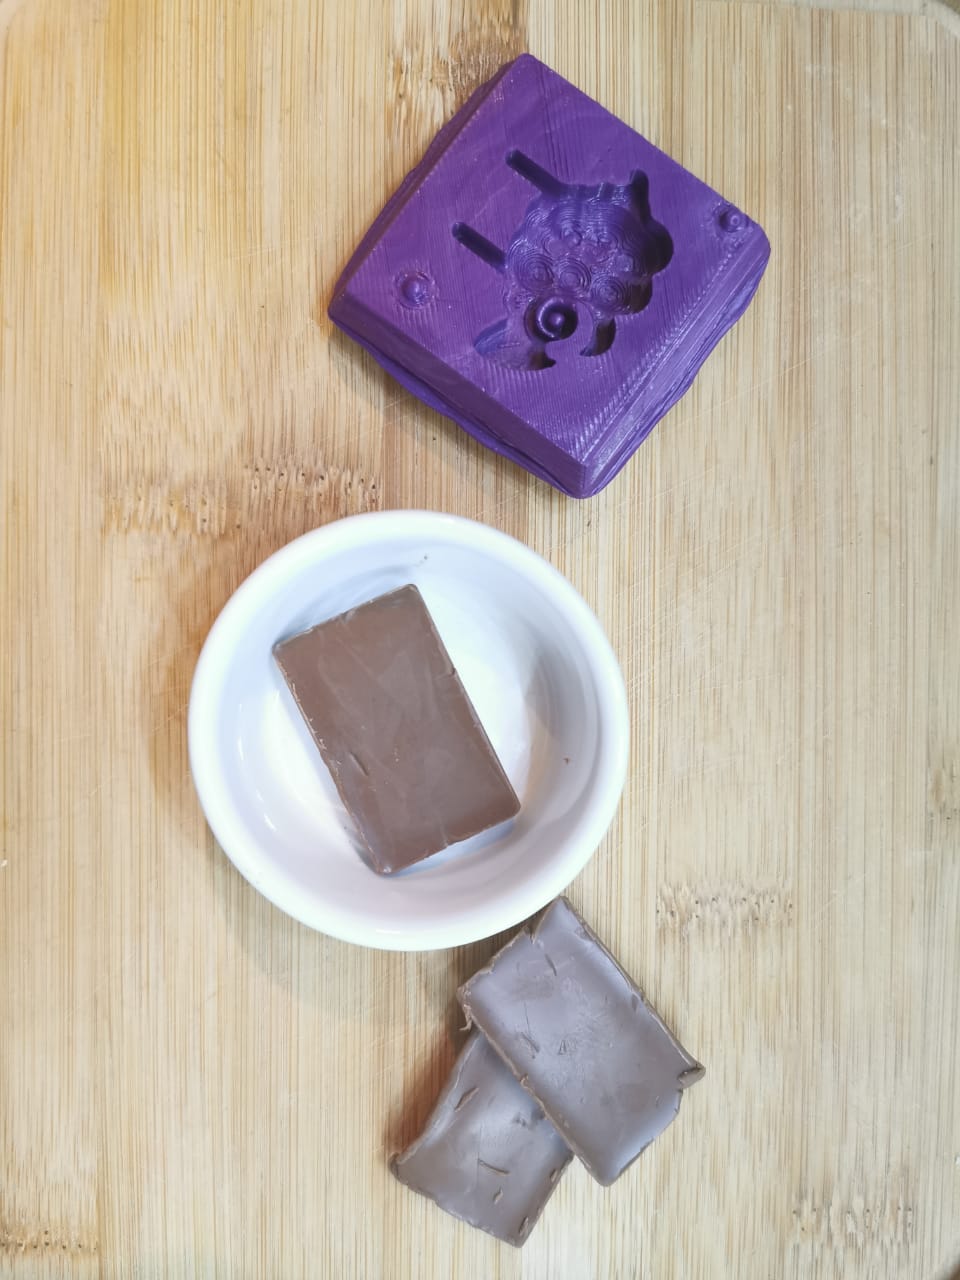
First, I prepared the chocolate.
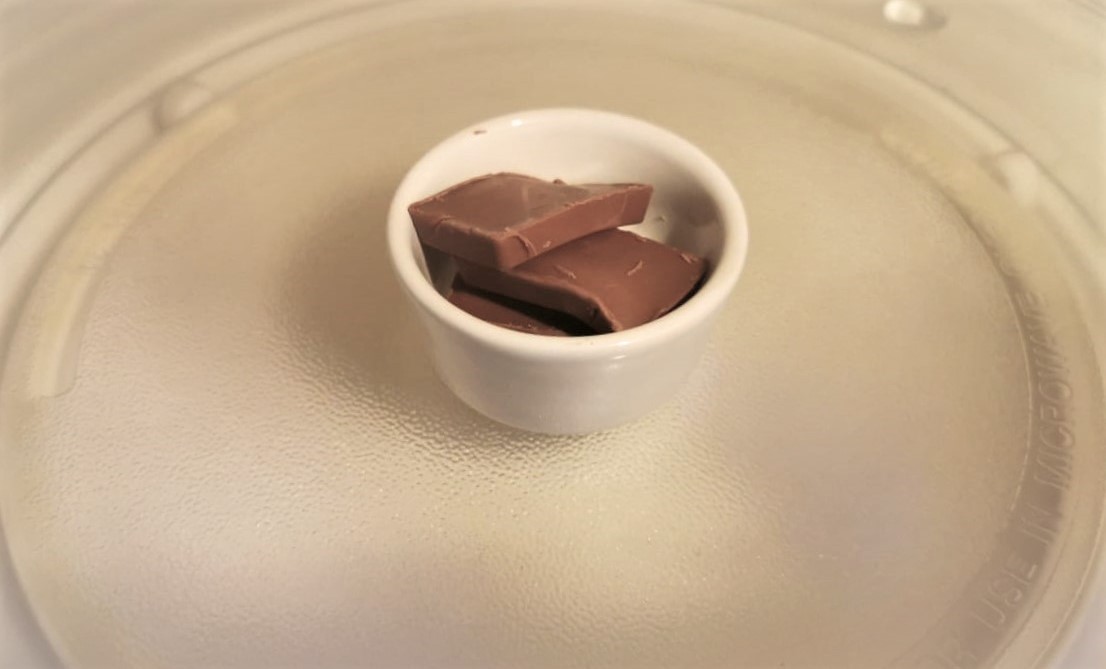
Secound, I melted the chocolat by using the microwave.
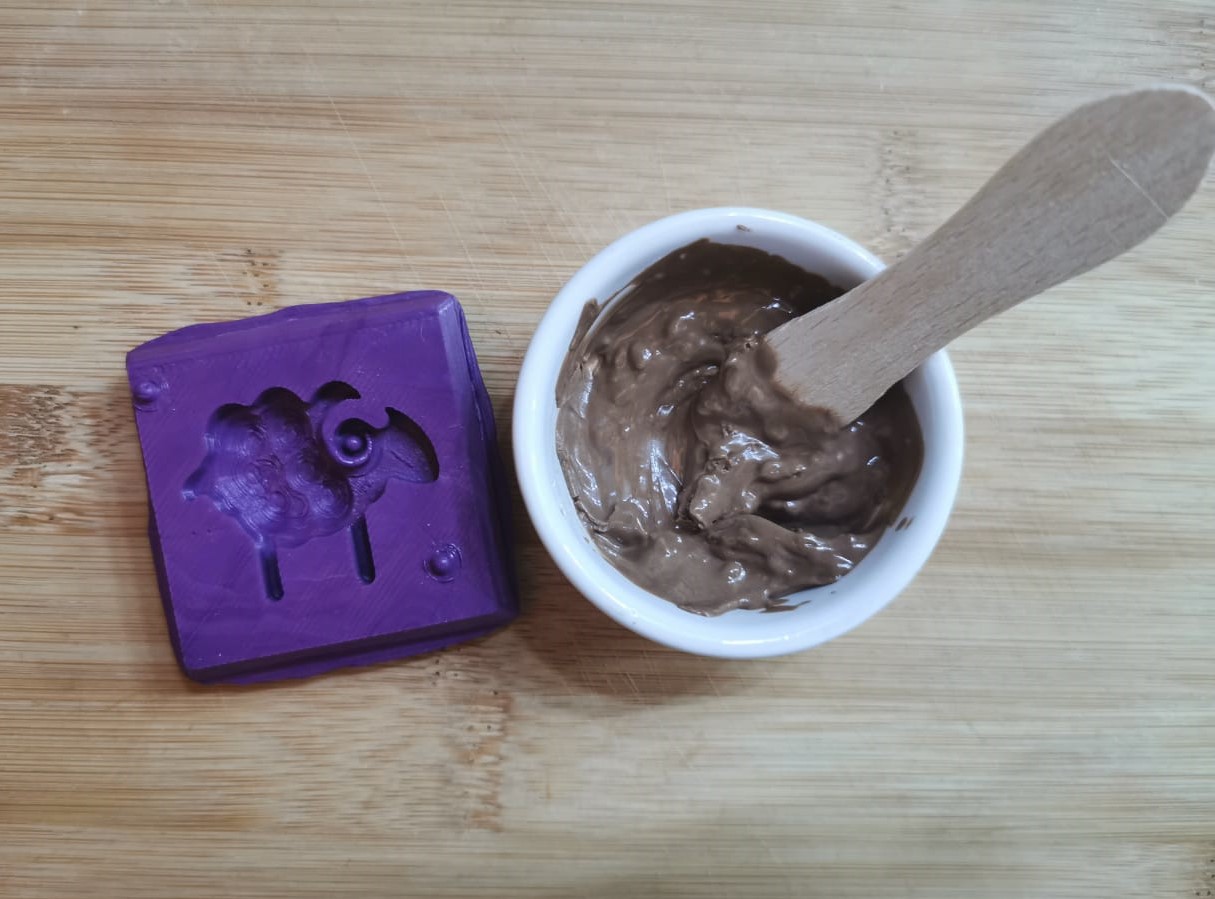
Then, I casted it in the mold.
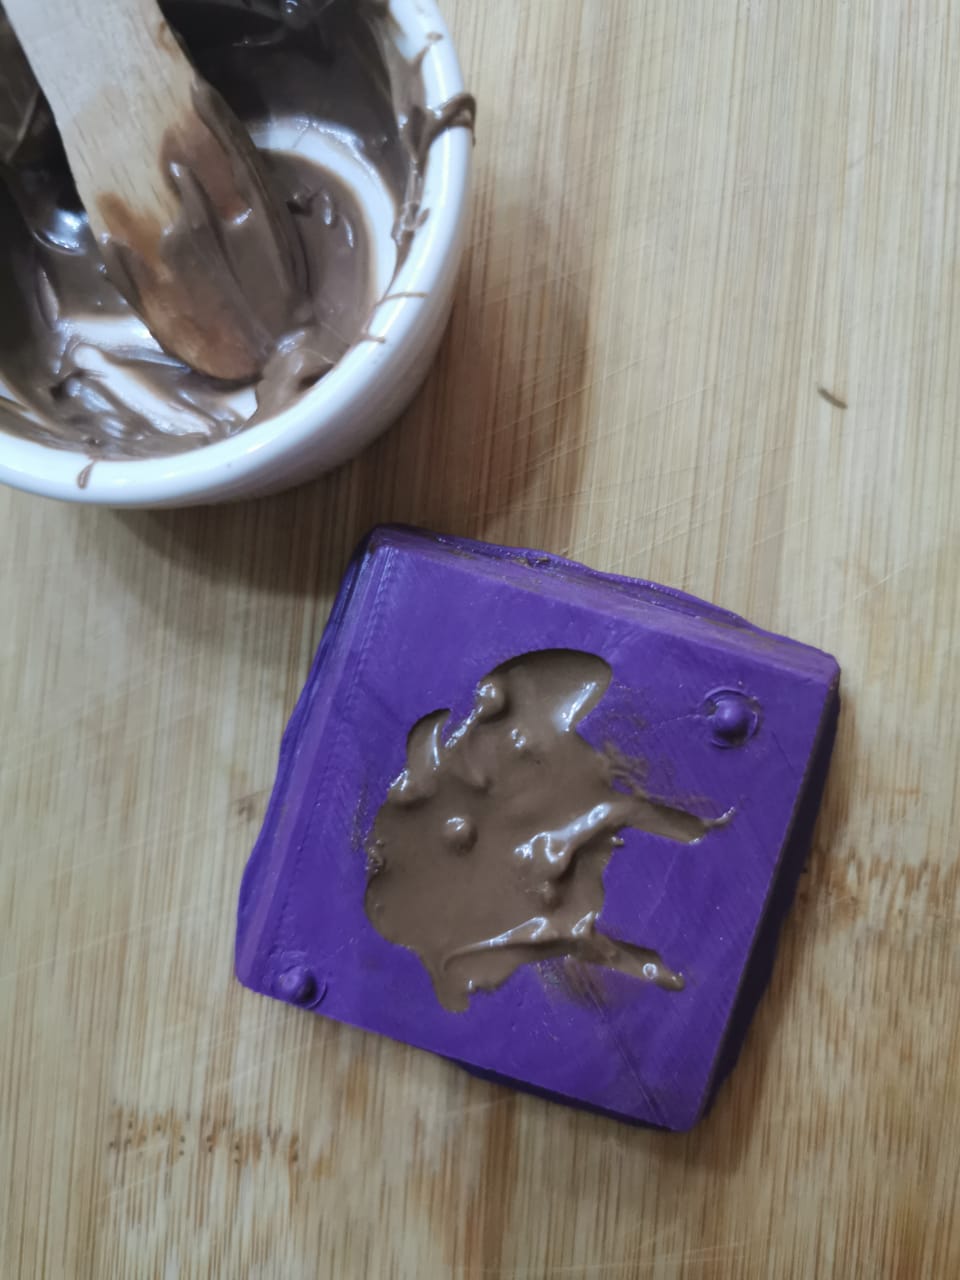
I hitted the mold for leveling.
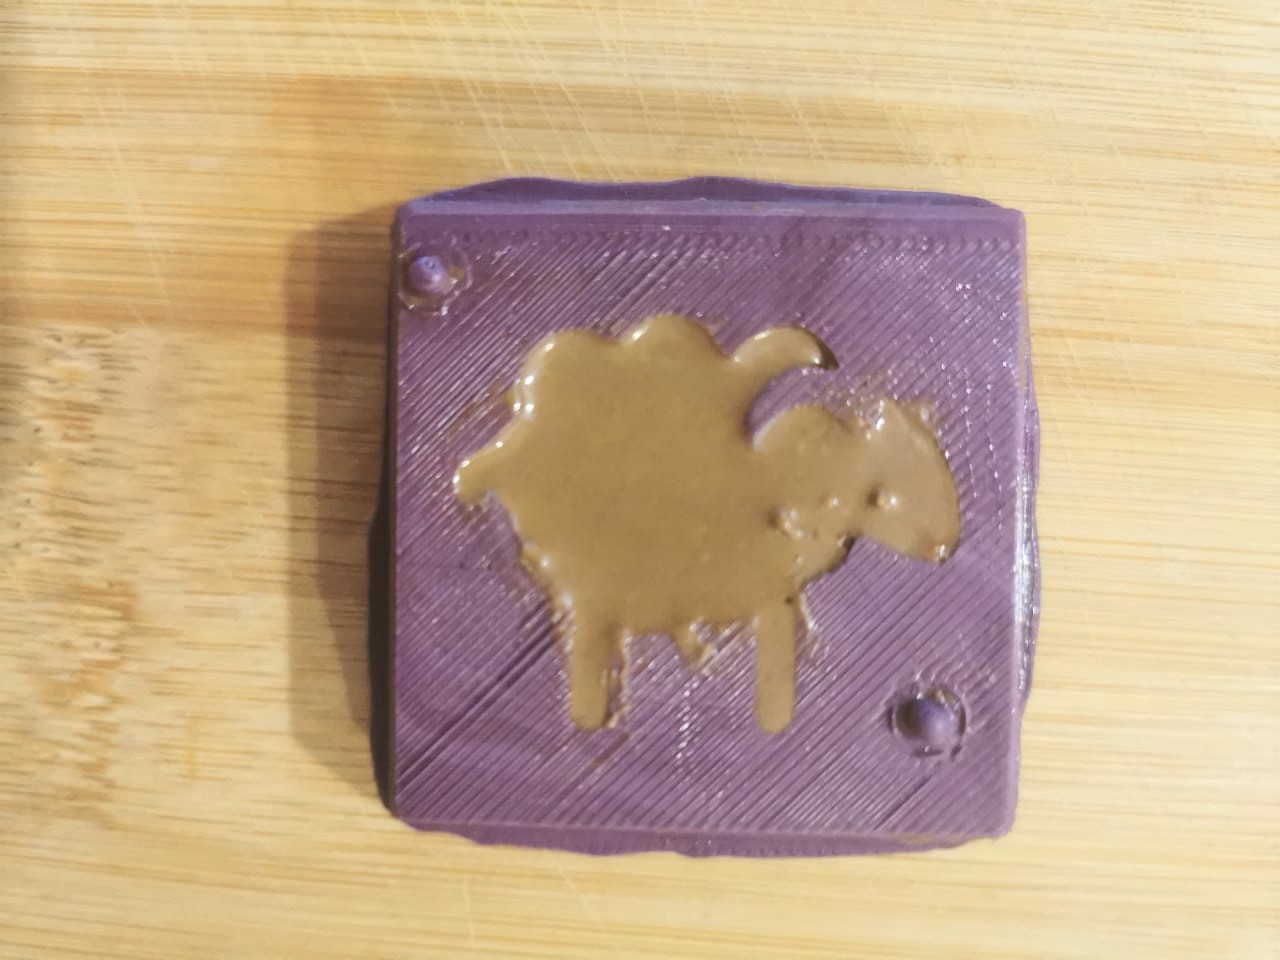
I tried to leveled the surface of the mold.
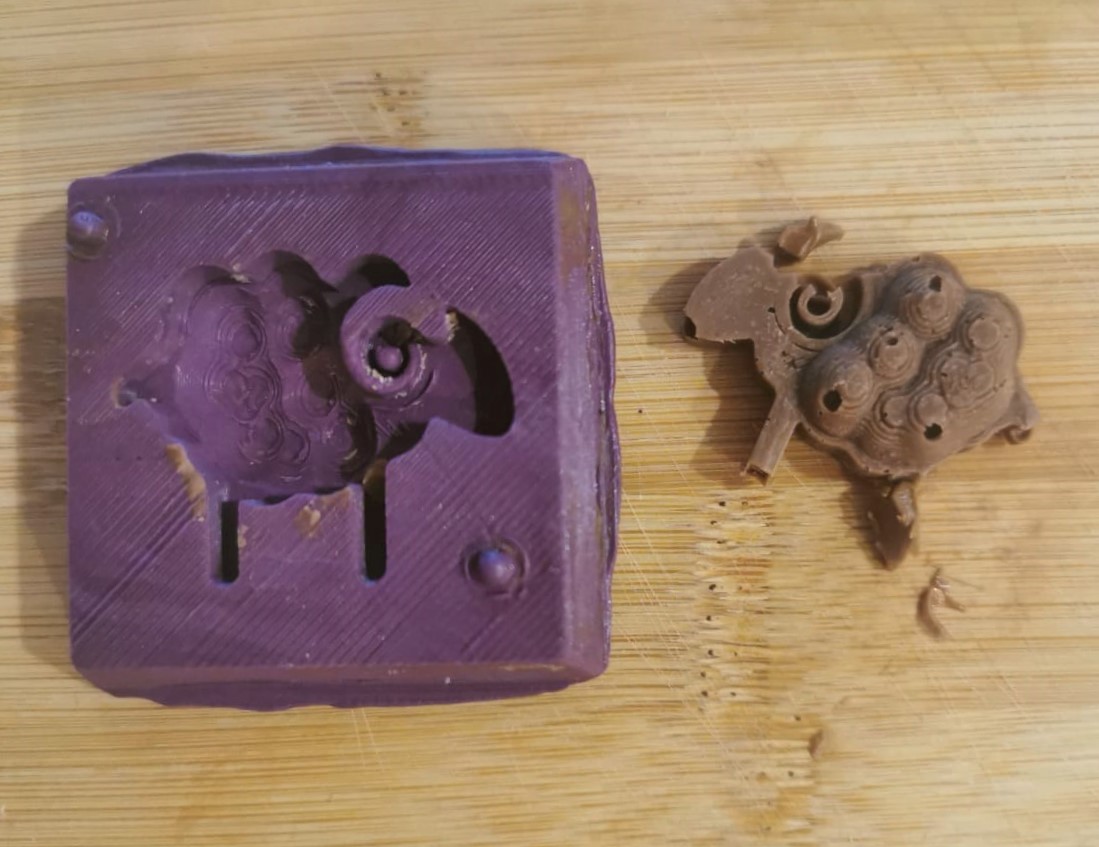
It's a chocolate, so I put it in the freezer for 15 min to get it cold fast and better. As shows the final result, for the next time I will git it off slower.
Resin Casting
In this project, I will show you how I poured the resin to the same mold I used for the chocolate. For the resin, I will use ArtResin is a water-clear 2 part epoxy resin system designed for creative applications. ArtResin contains no BPA, no VOCs, no fumes, no solvents, is non-flammable and non-hazardous, and offers industry-leading non-yellowing properties. As necessary to read the safety/datasheet to know how to use the resin safely and correctly.
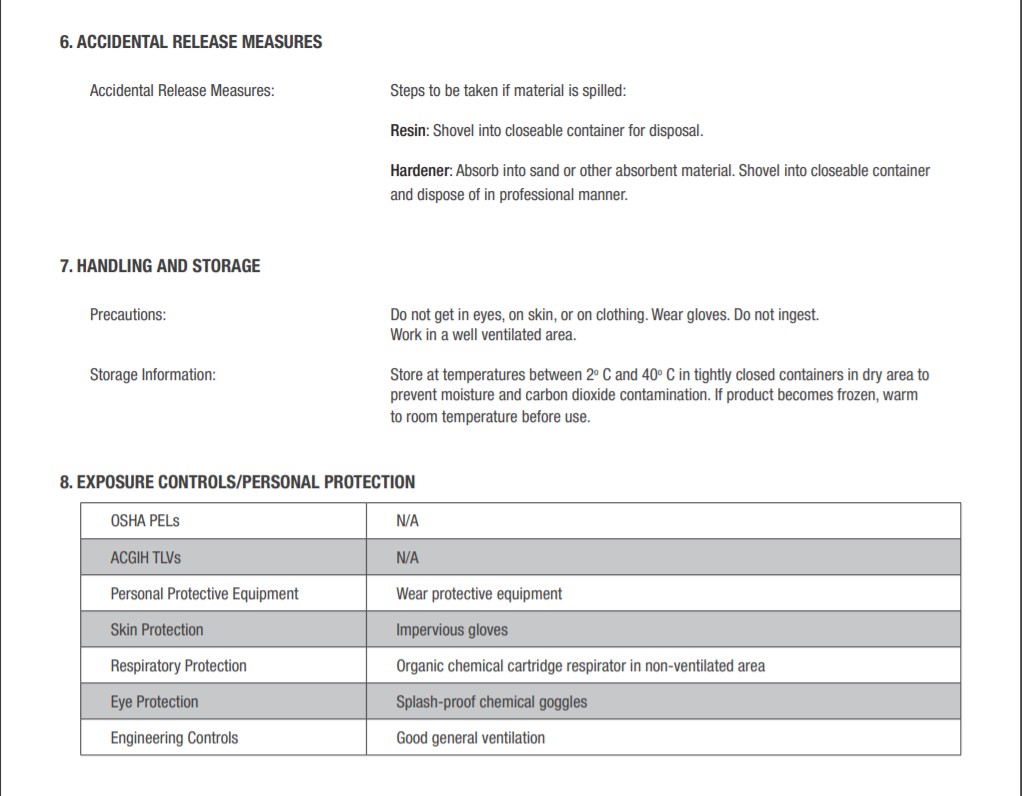
Accidental release measures, handing, and storage. exposure control and personal protection.
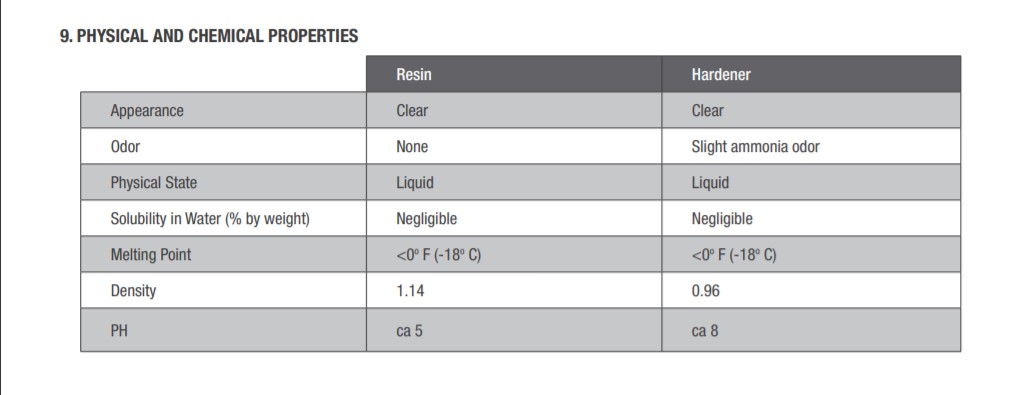
physical and chemical properties.
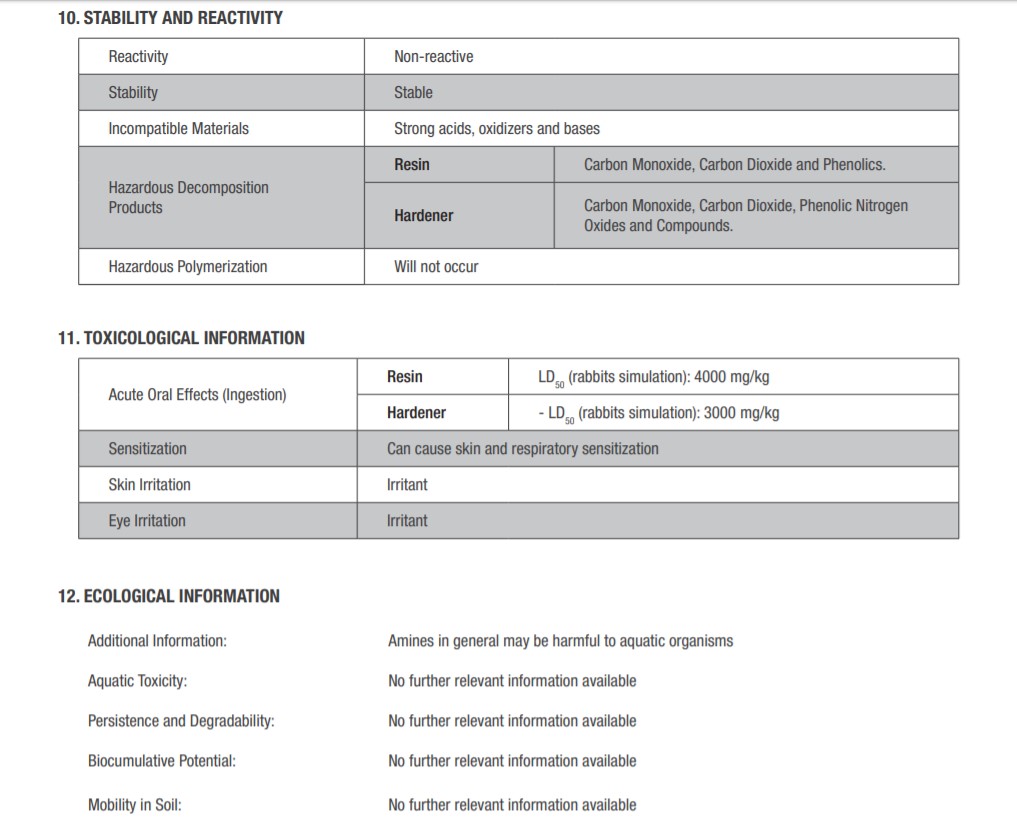
Stability and reactivity. Toxicological information. Ecological information.
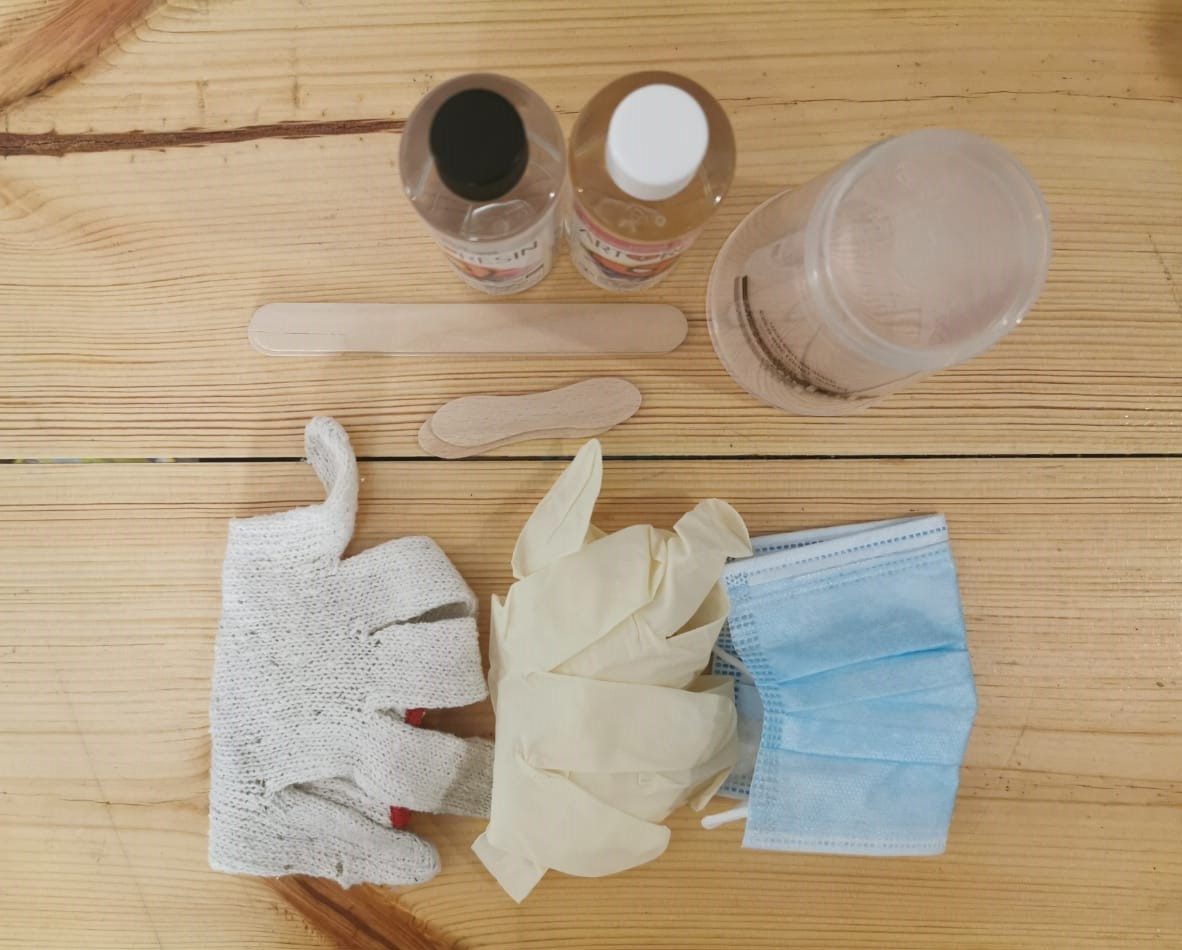
First, I prepared the saftey tools, gloves, mask, and somtimes you need to cover your hair to get a clean clear resin.
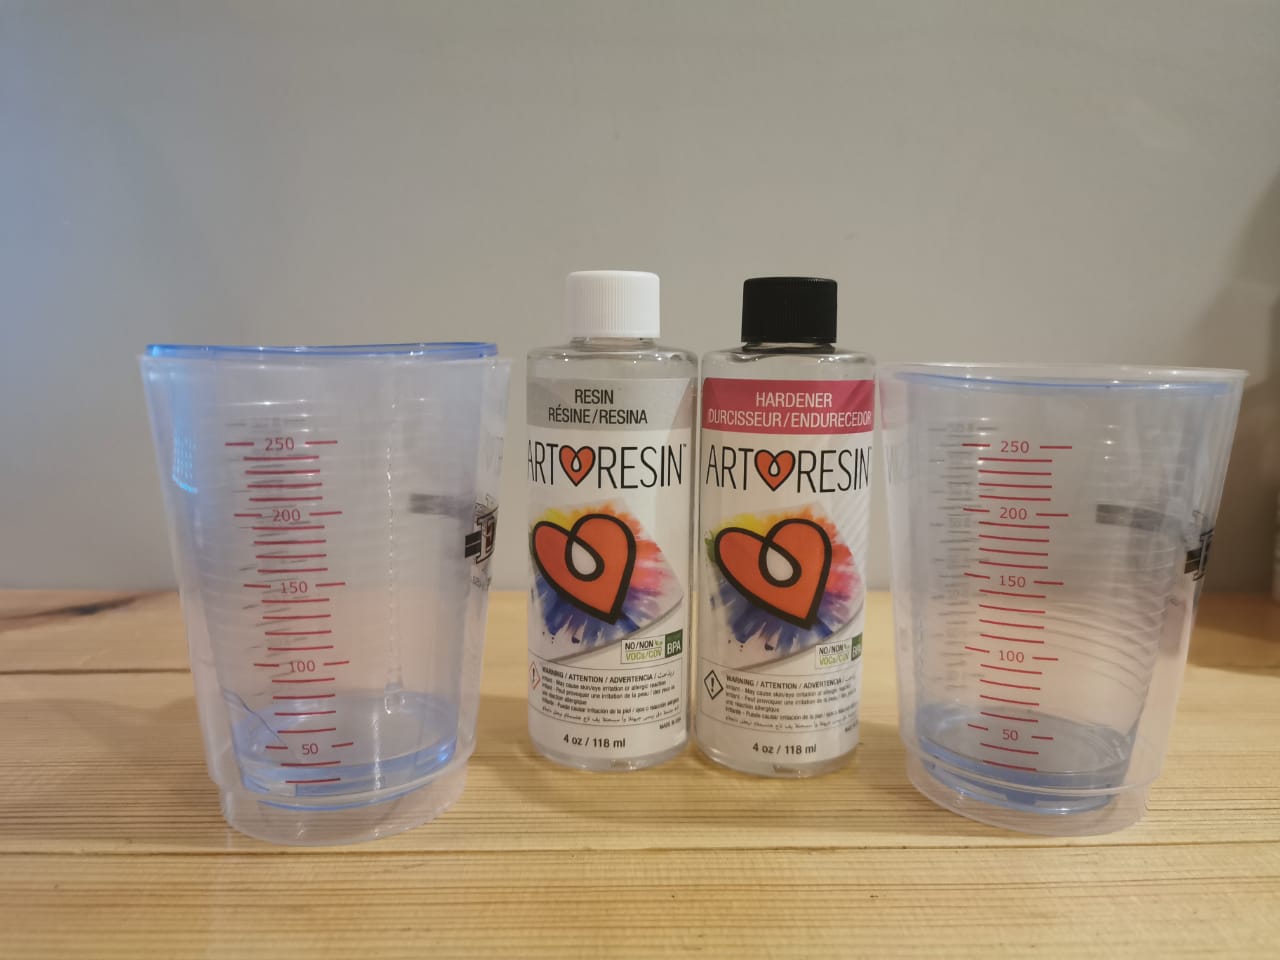
I Measured and poured with gloves on, equal amounts of resin and hardener into a mixing cup.
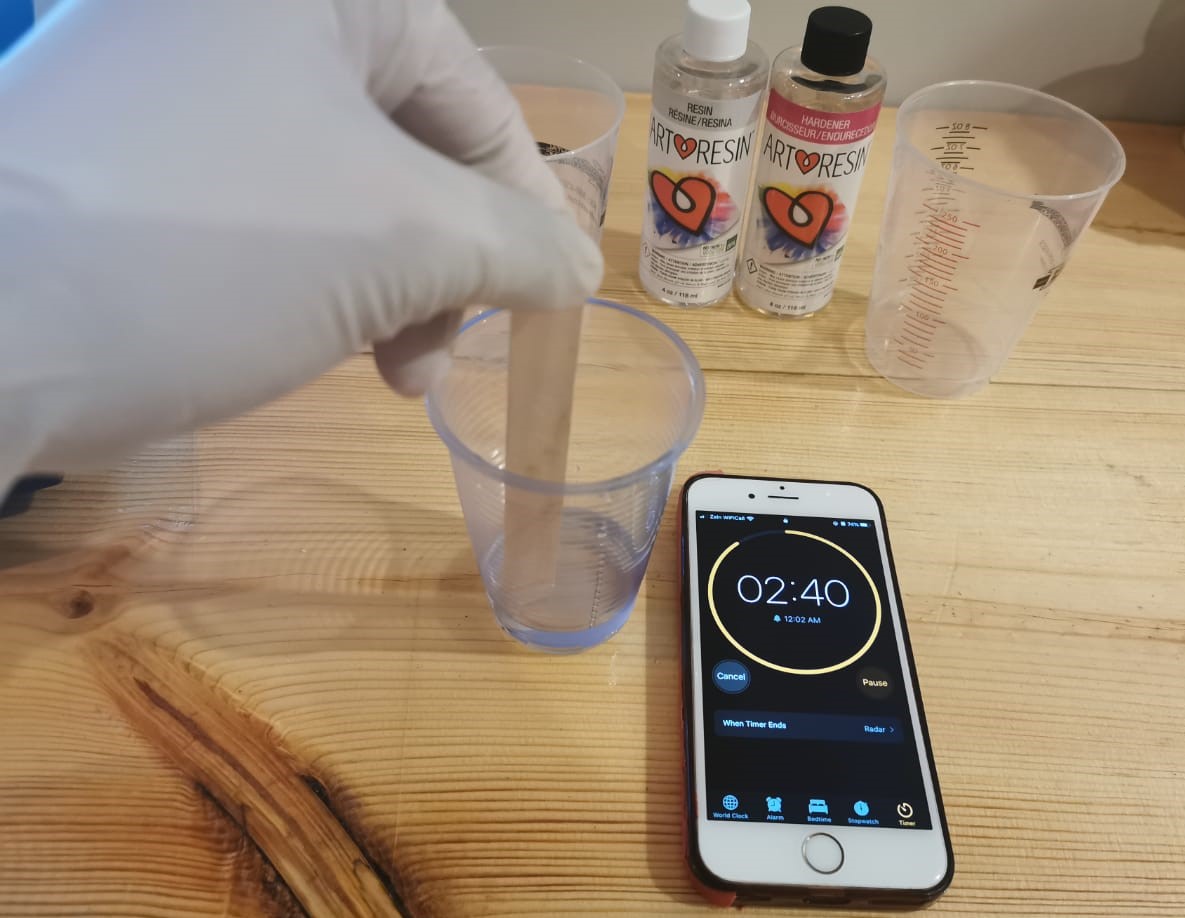
I mixed really well for at least 3 minutes. with Scraped the sides and the bottom to make sure it mixed well.
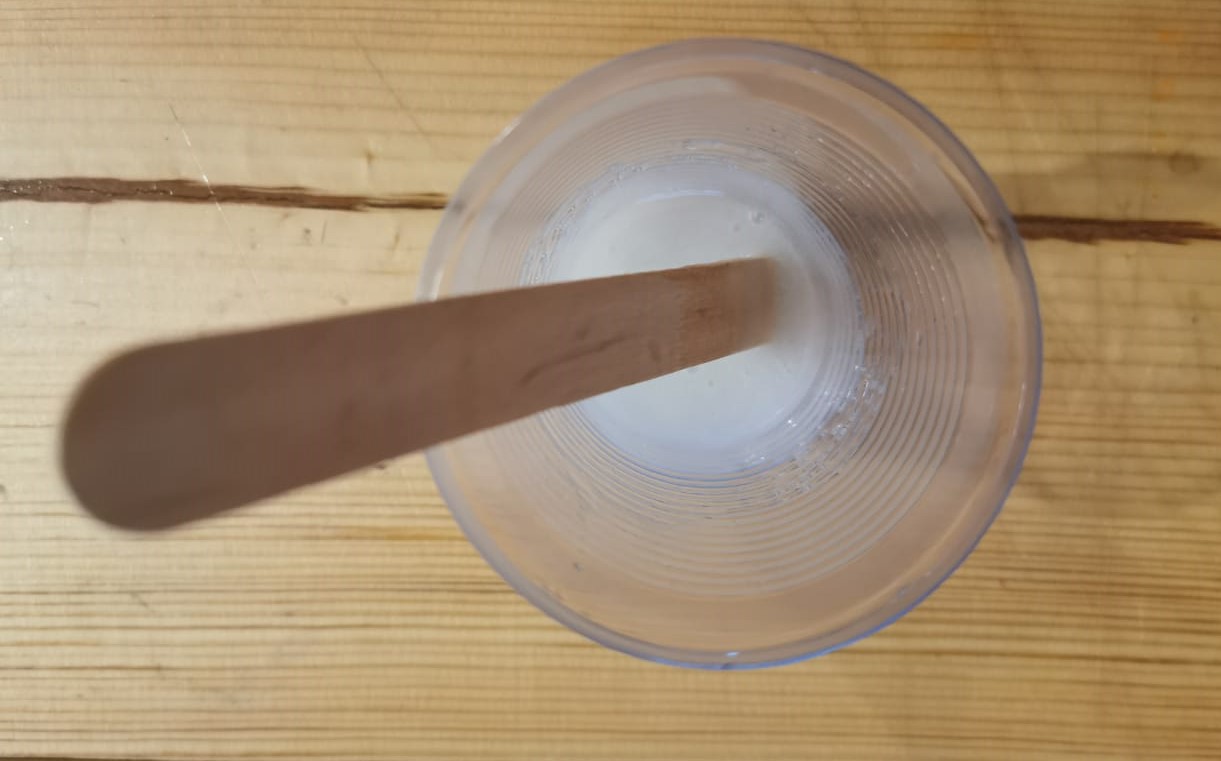
After mixed for 3 min, It becomes milky resin, and I guess because of the room temperature.
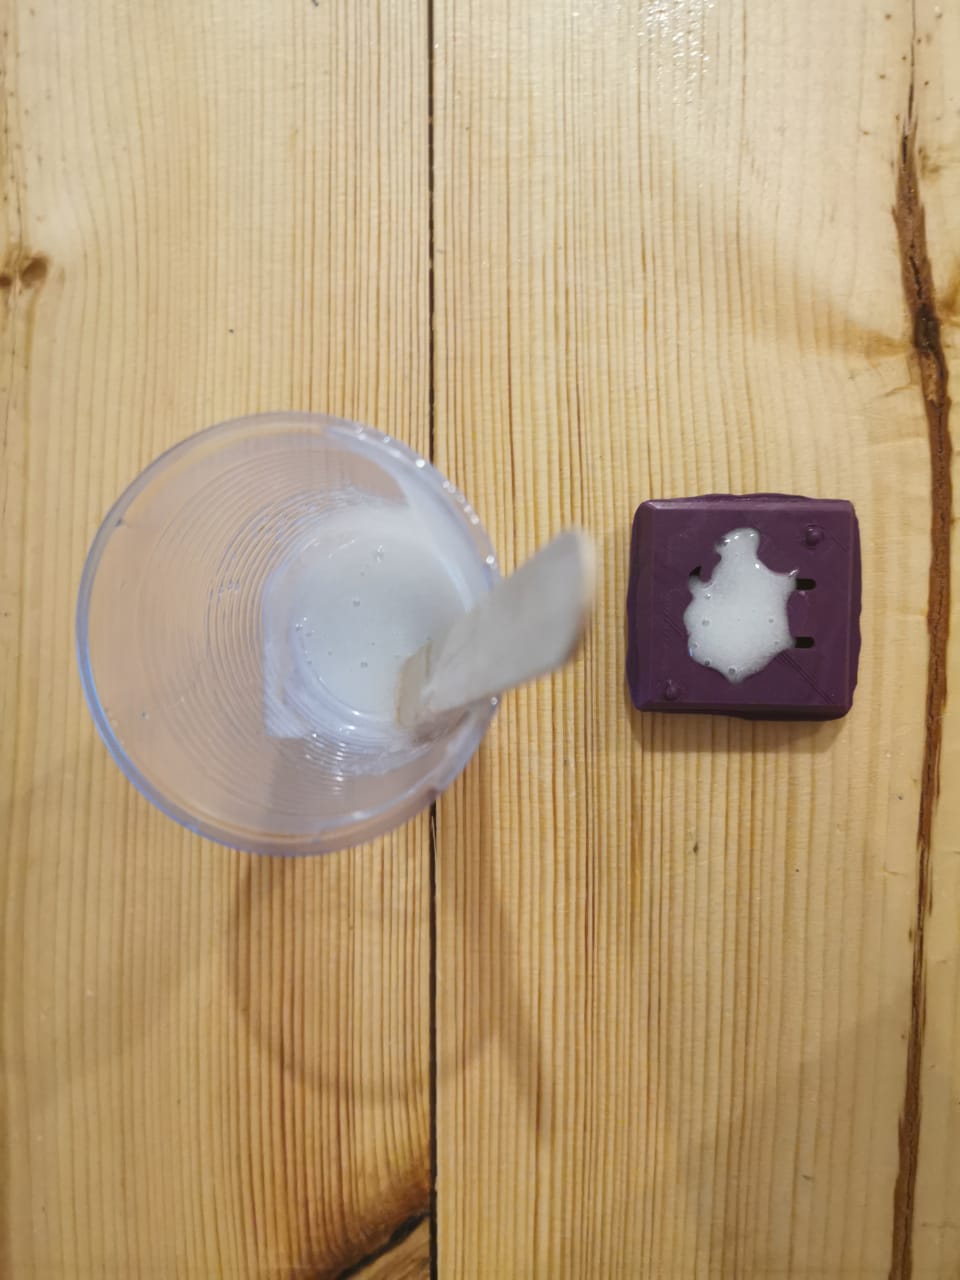
I poured the resin, after making sure of my piece is level, and dry.ou’ll notice bubbles will begin to rise to the surface. Many of these will pop on their own, but you can also pop them yourself for a flawless you can use lighter or lighter torch after return to the datasheet and make sure that both mold and resin materials are non-flammable.
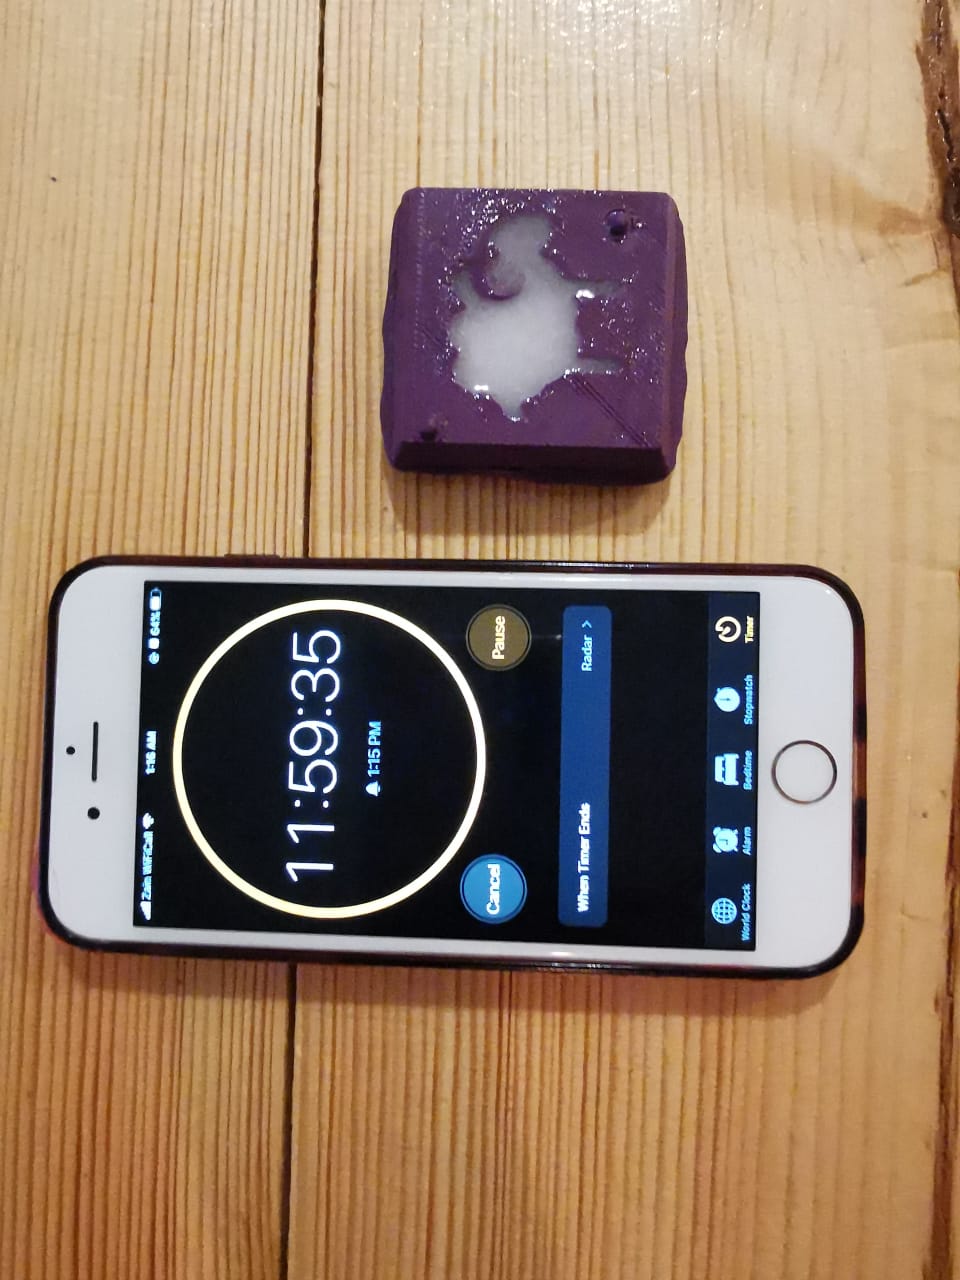
ArtResin needs to sit for several hours in a dust-free space while it cures. In about 8 hours it will be tacky but you will be able to pour a second coat if necessary.
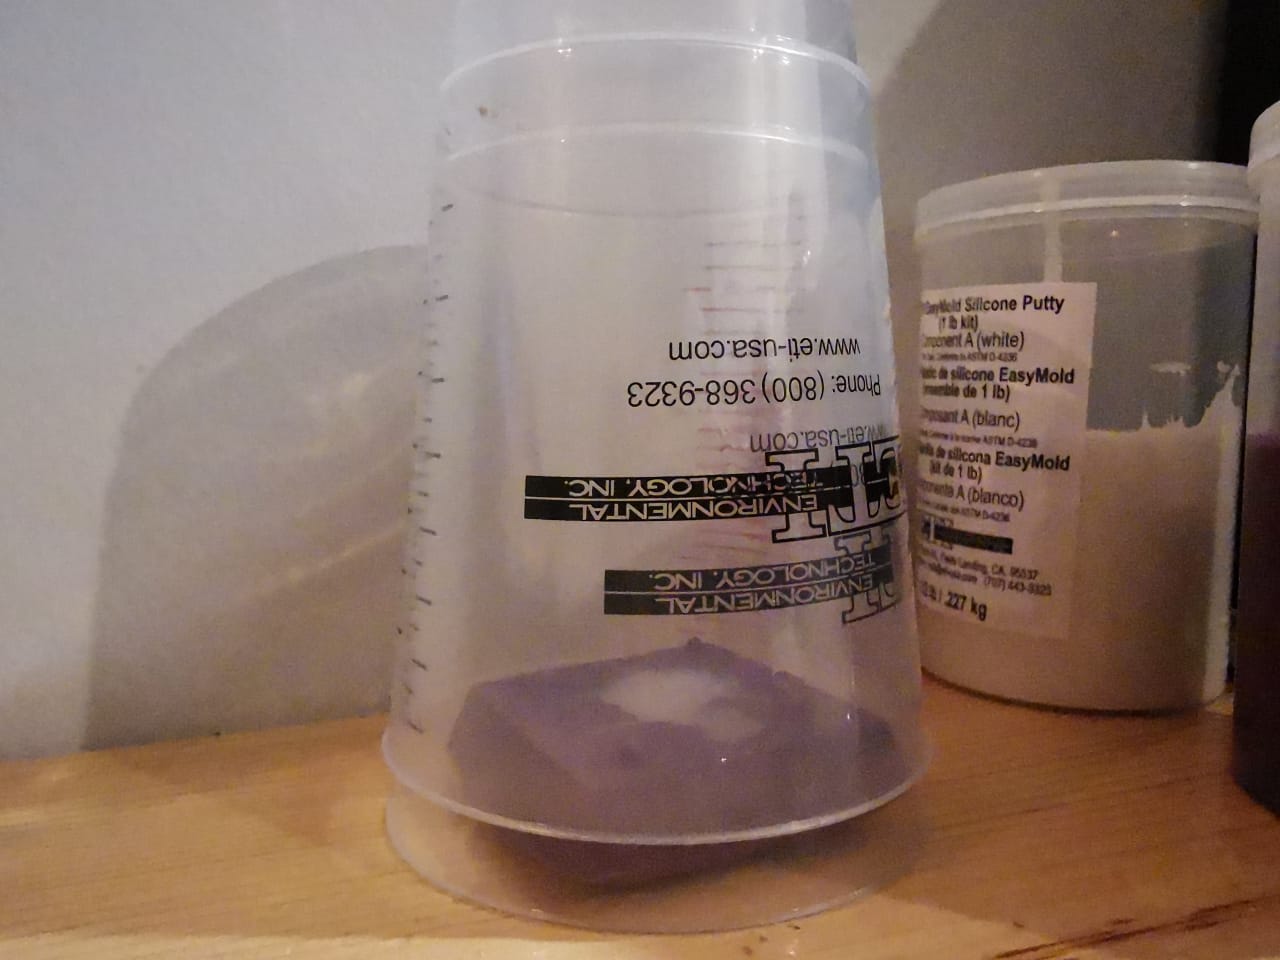
In about 12 hours it will be dry to the touch, and within 24 hours it will be 95% cured. It will be fully cured within 72 hours.
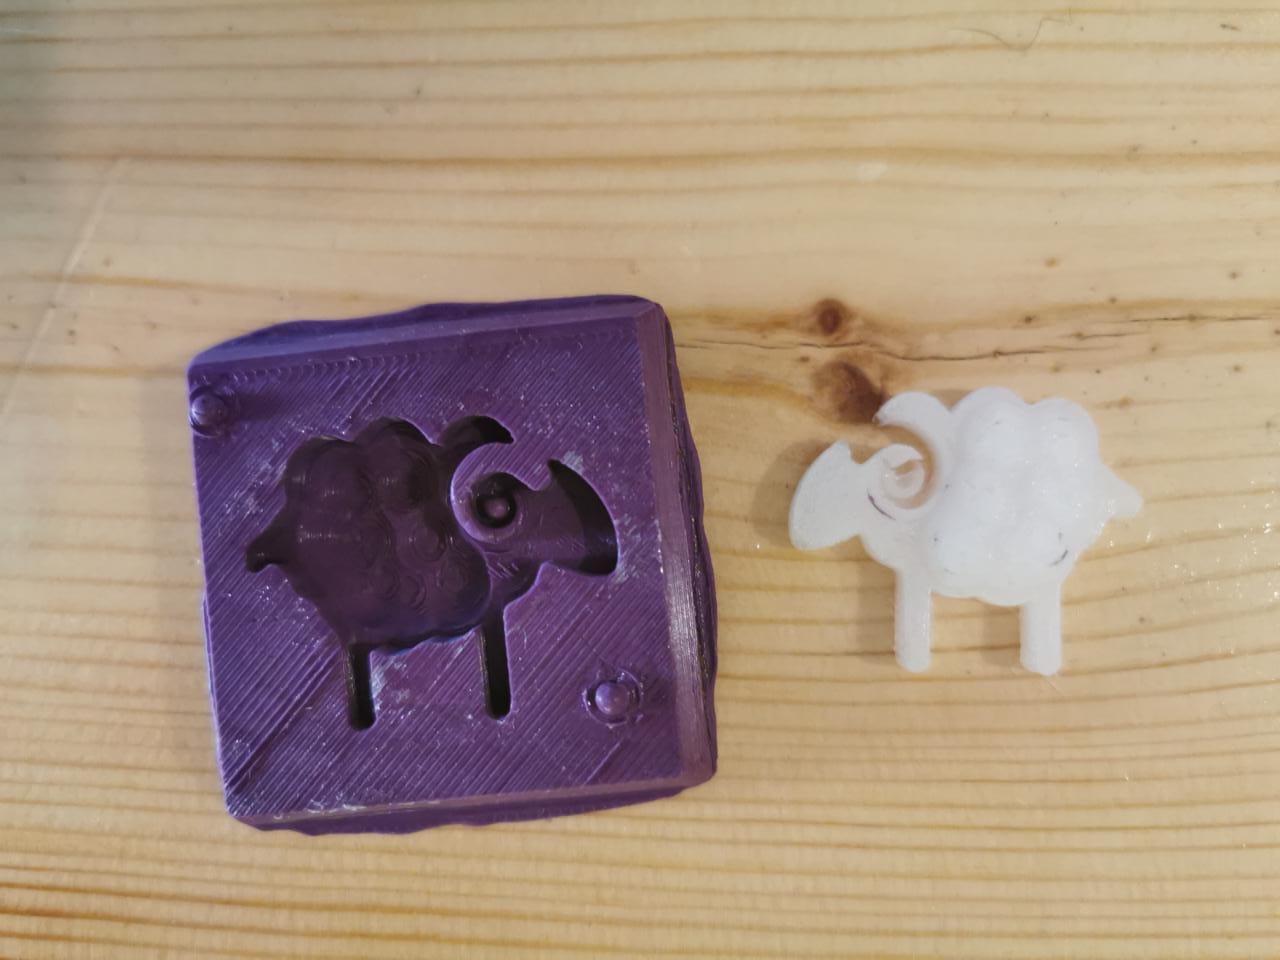
Final ruselt after 12 hours, still need more time to be harder.
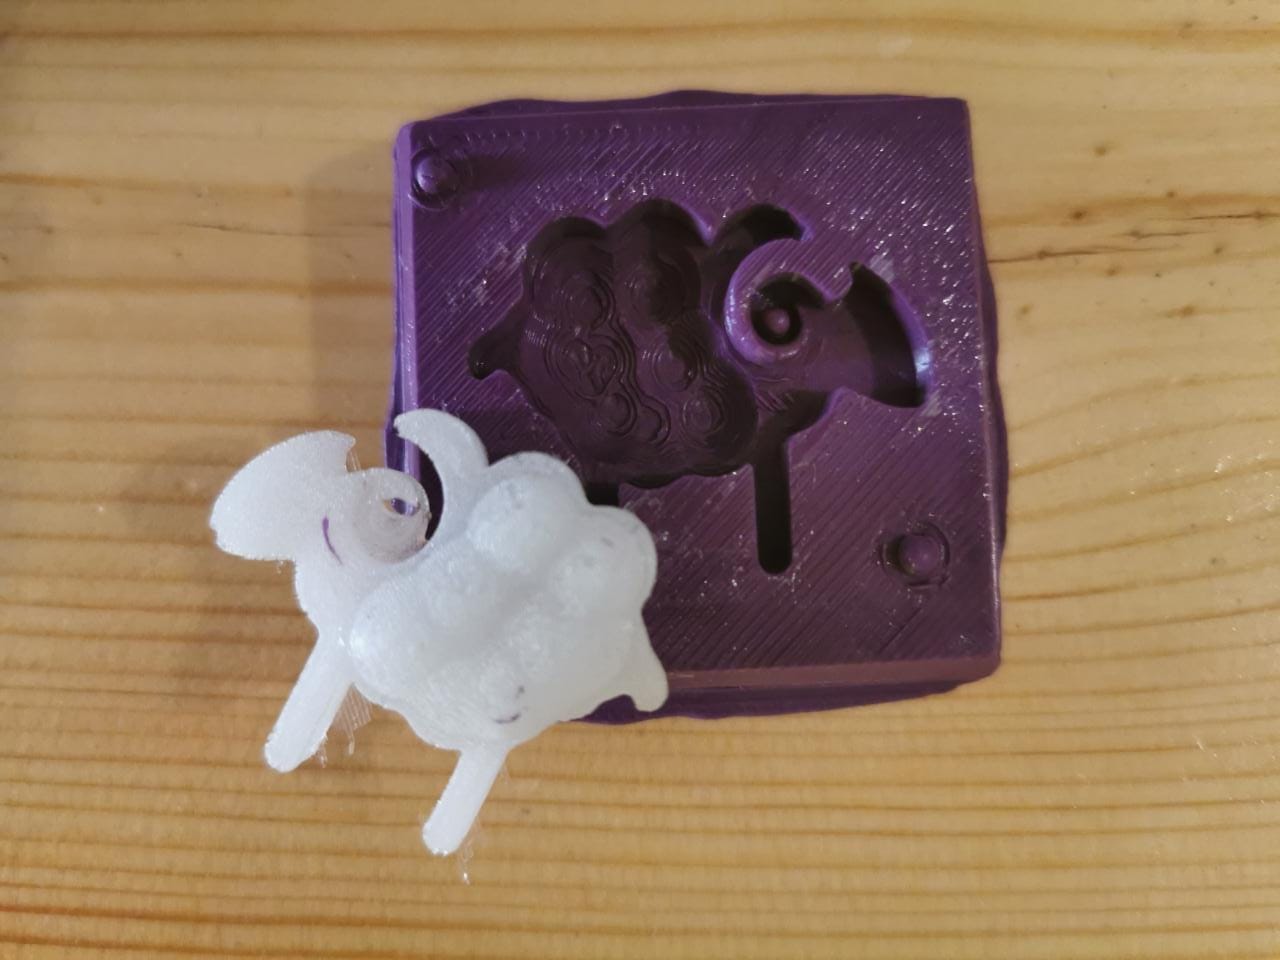
I liked the final ruselt, it is not clear as the normal resin, but I am happy with it.
Using Carbide mini CNC Machine for making wax mold
From STL to GCODE
Prepare the CAM File:
Softwares:
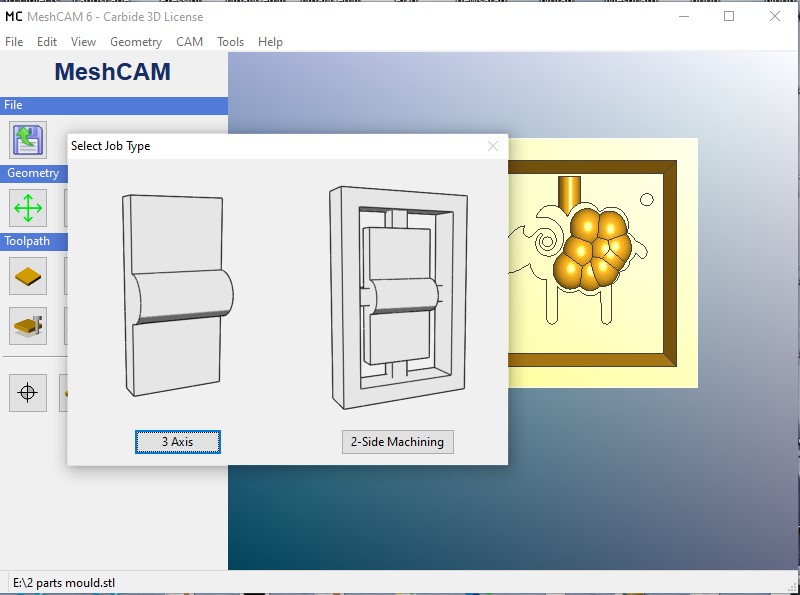
Choose 3Axis to import your STL designe
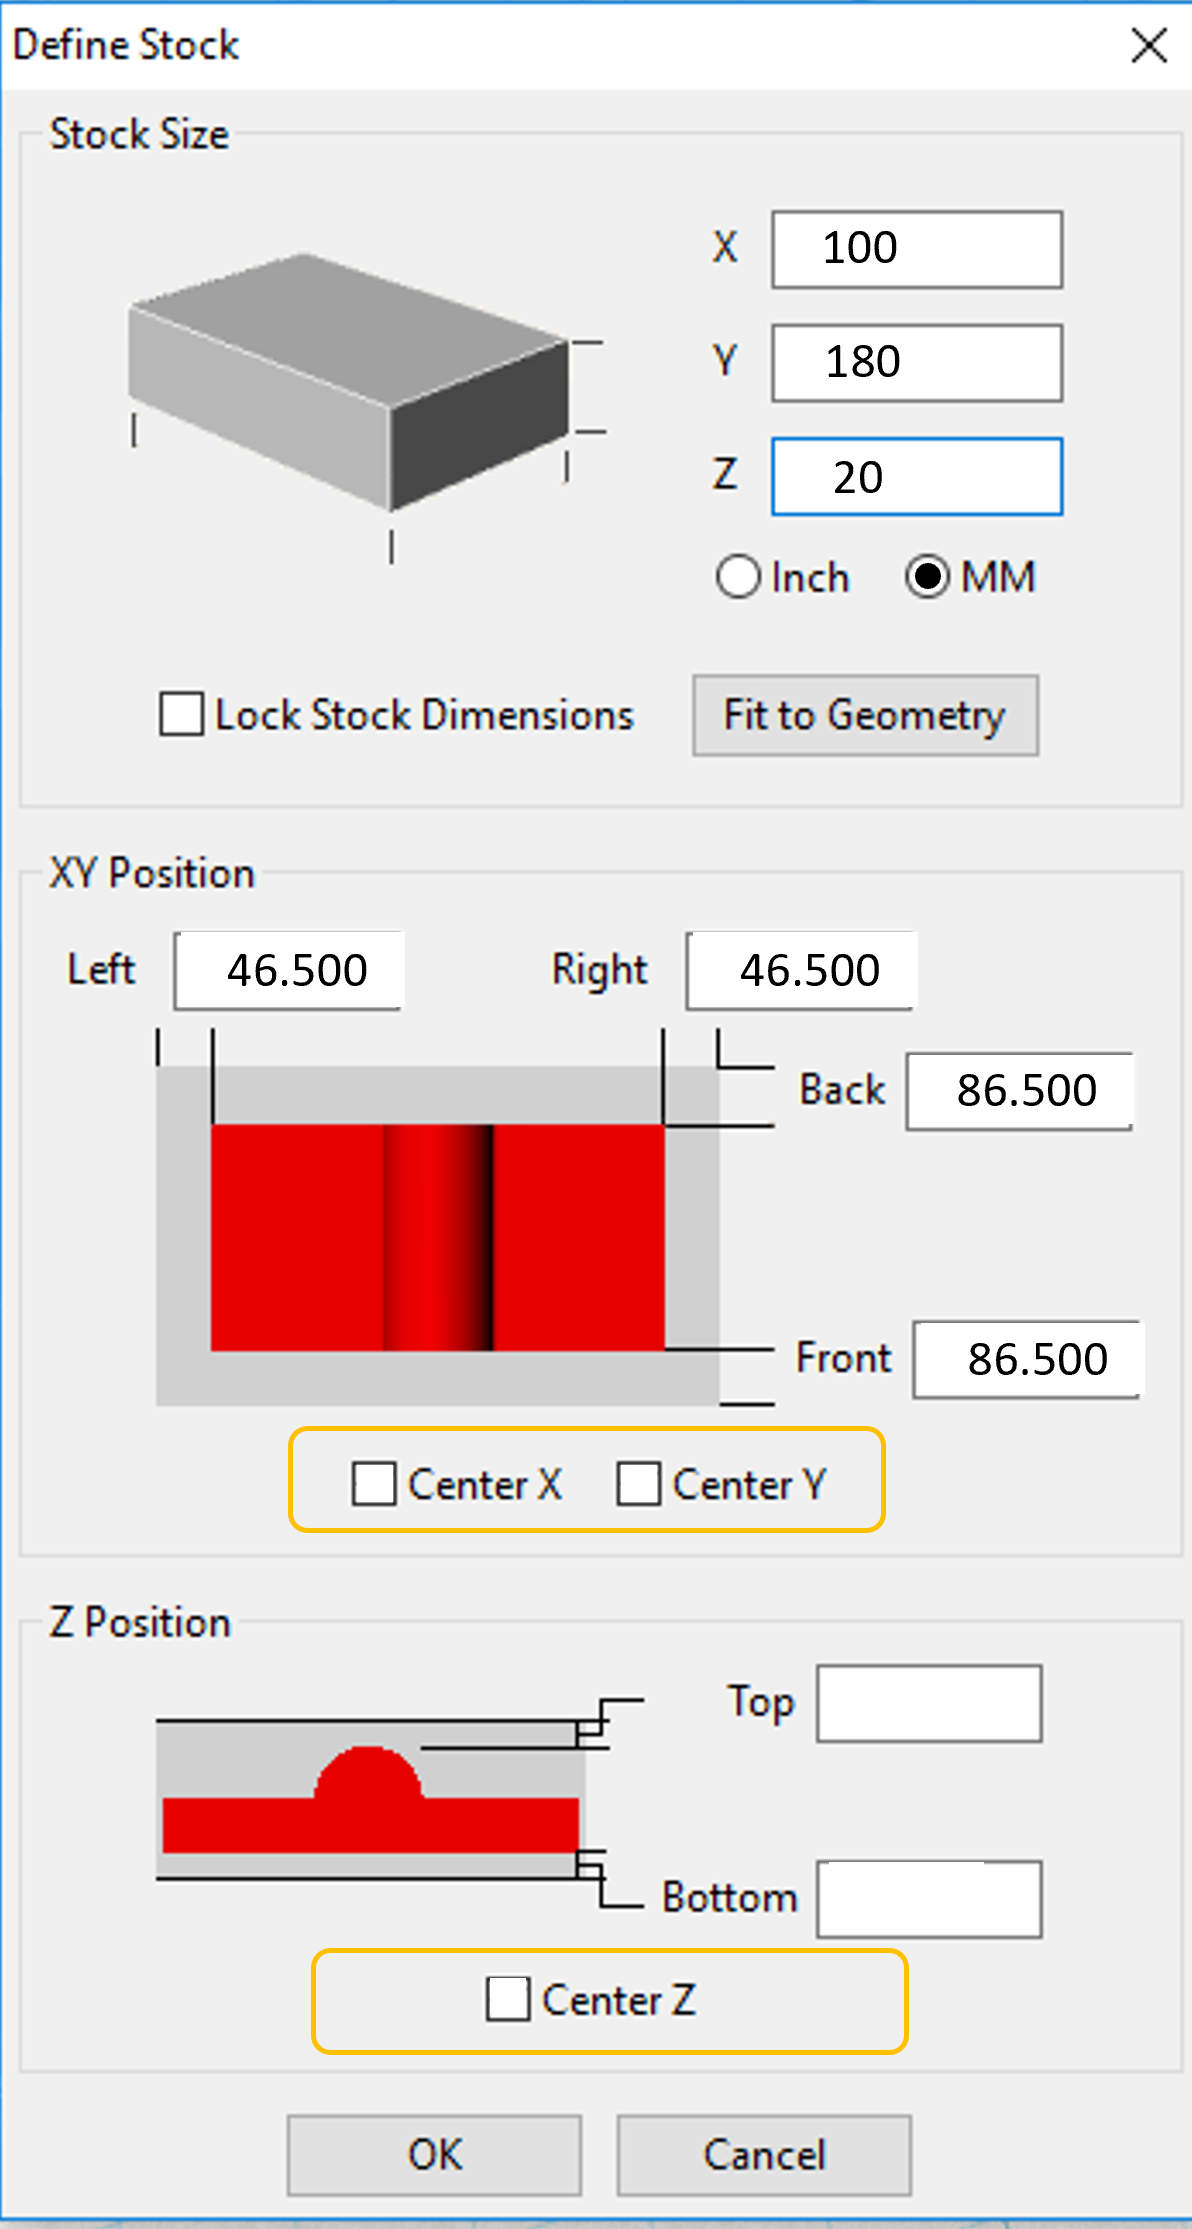
It is important to define the block dimensions,also make sure to set the XY as zero.
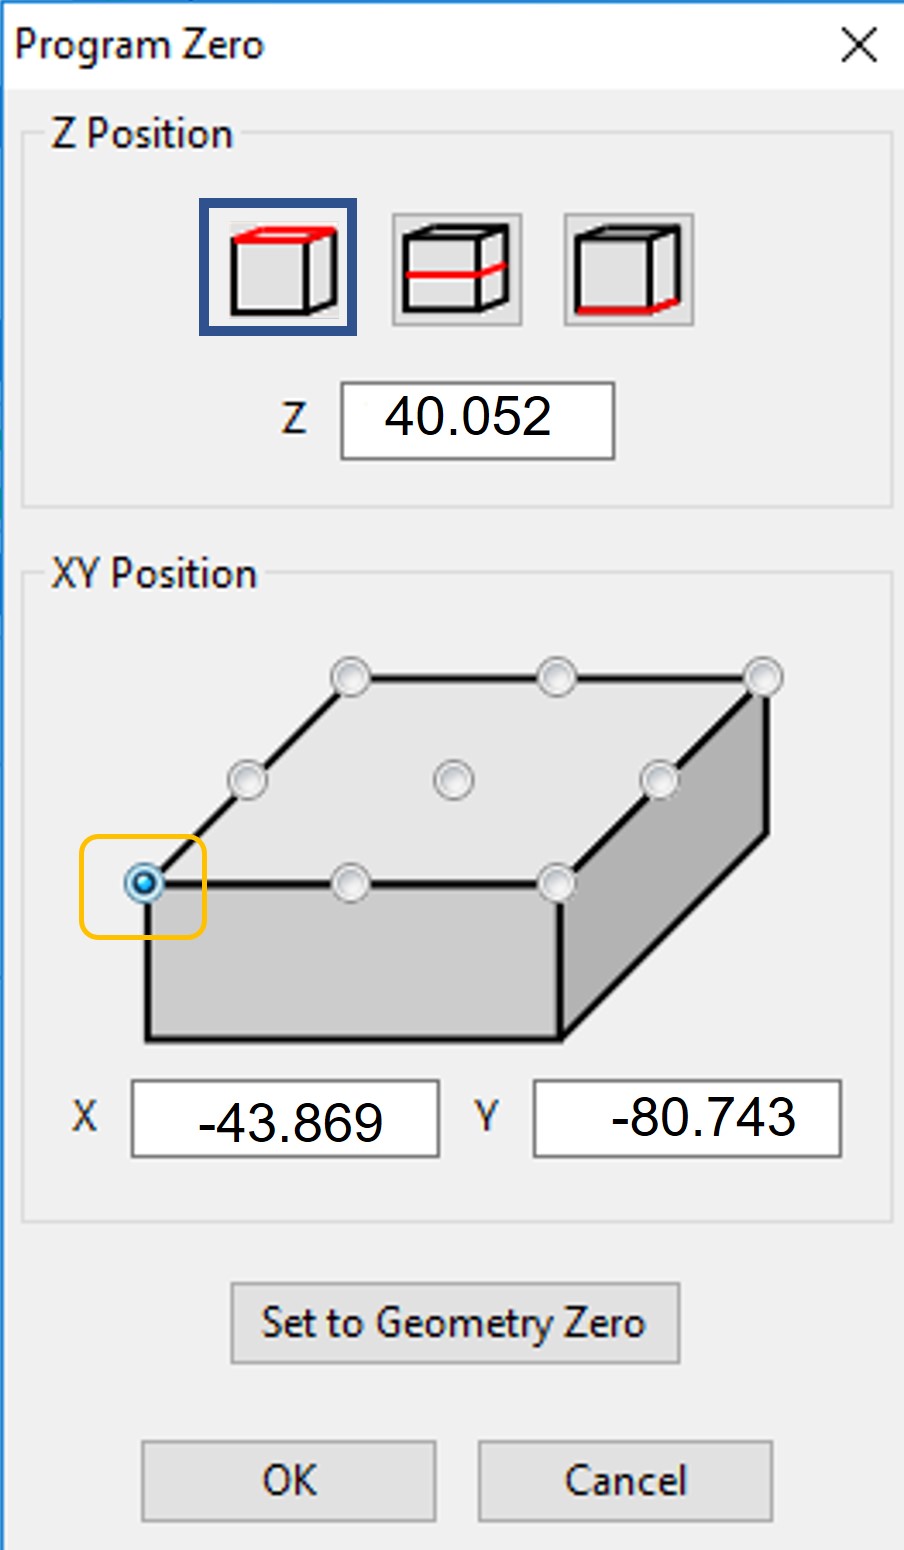

Make sure to set the depth less than your block thickness to avoid cutting the machine base.

define the toolpaths (speed/ feed and cutter dimensions the speed and dimensions) I recommended as I read and tested by myself to use an Automatic Toolpaths Wizard afforded by MeshCAM

I chose bit size 0.125 in

I chose the Tolrance to be more accuratd , thats mean it will take more time in roughing and finishing stages.

Now the file is ready to fabrication stage.
Nomad 883 Pro Carbide 3D Machine
I used Nomad 883 Pro Carbide 3D Machine it was easier than I thought, I learned how to use it in few hours only.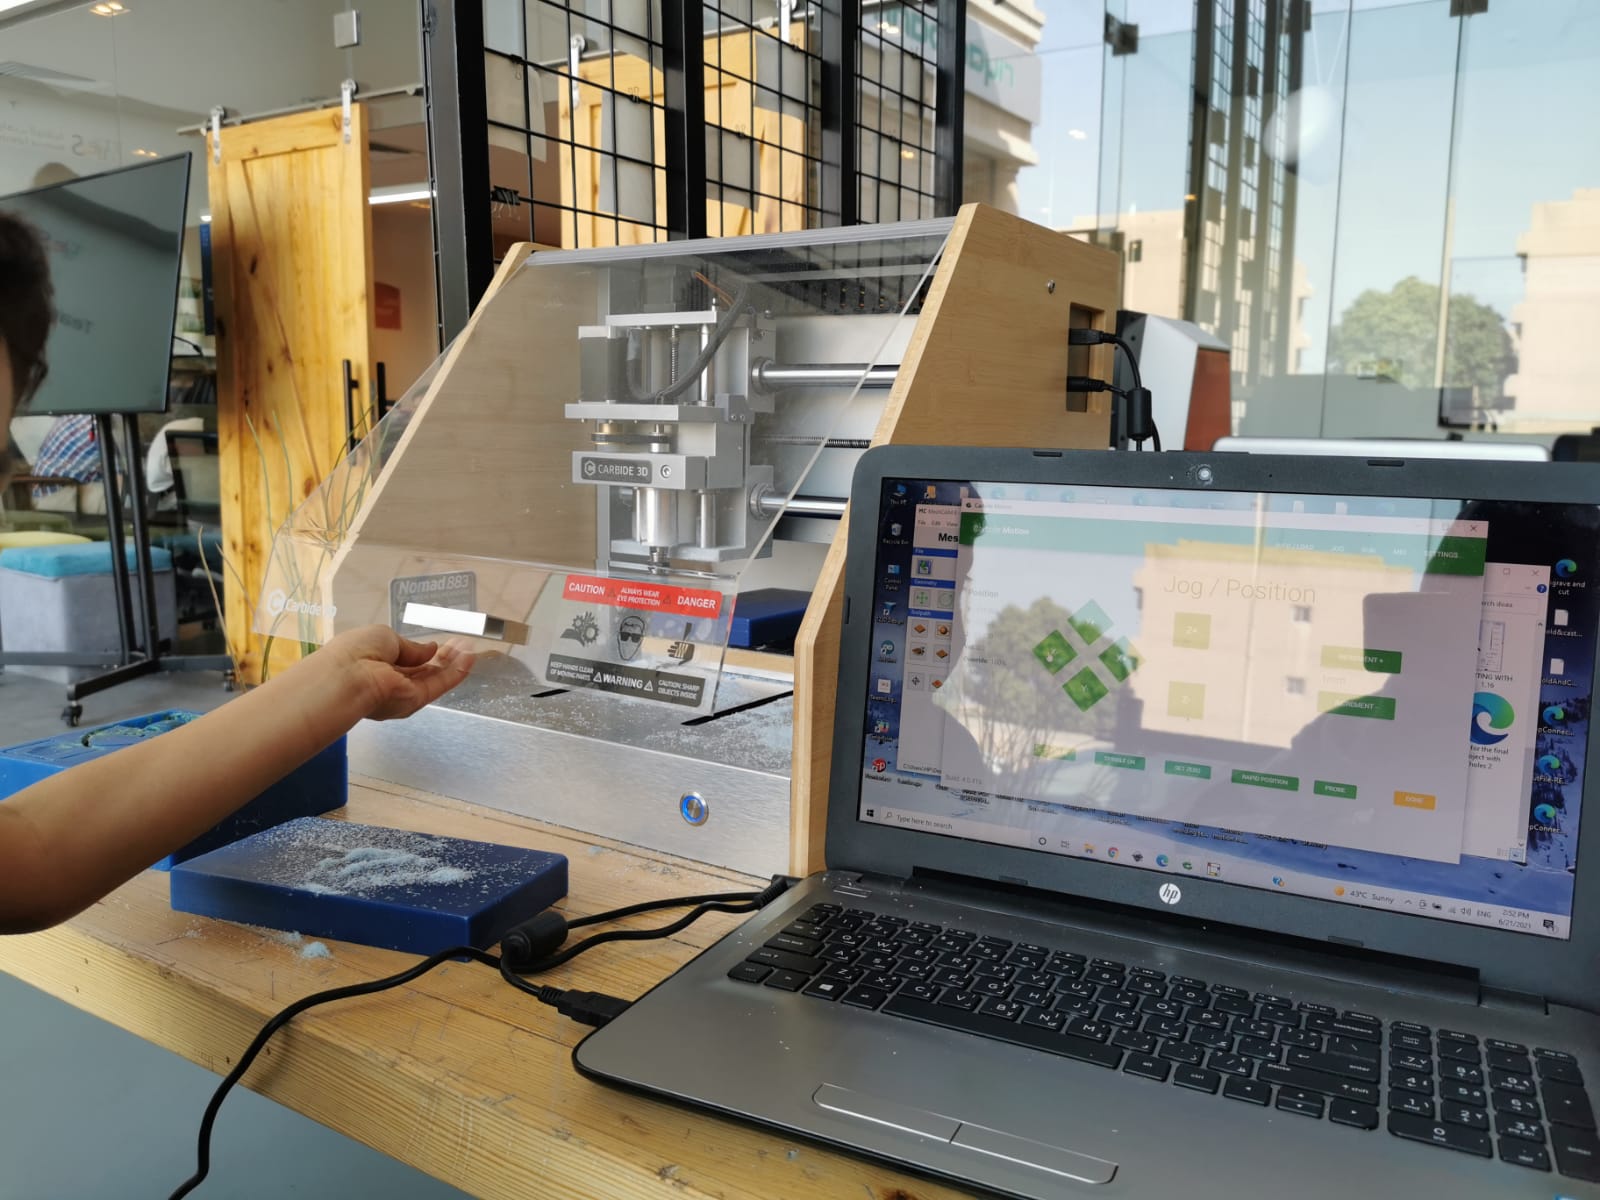
I placed my blue wax inside the machine the block dimentions is H=10xW=18xZ=2cm
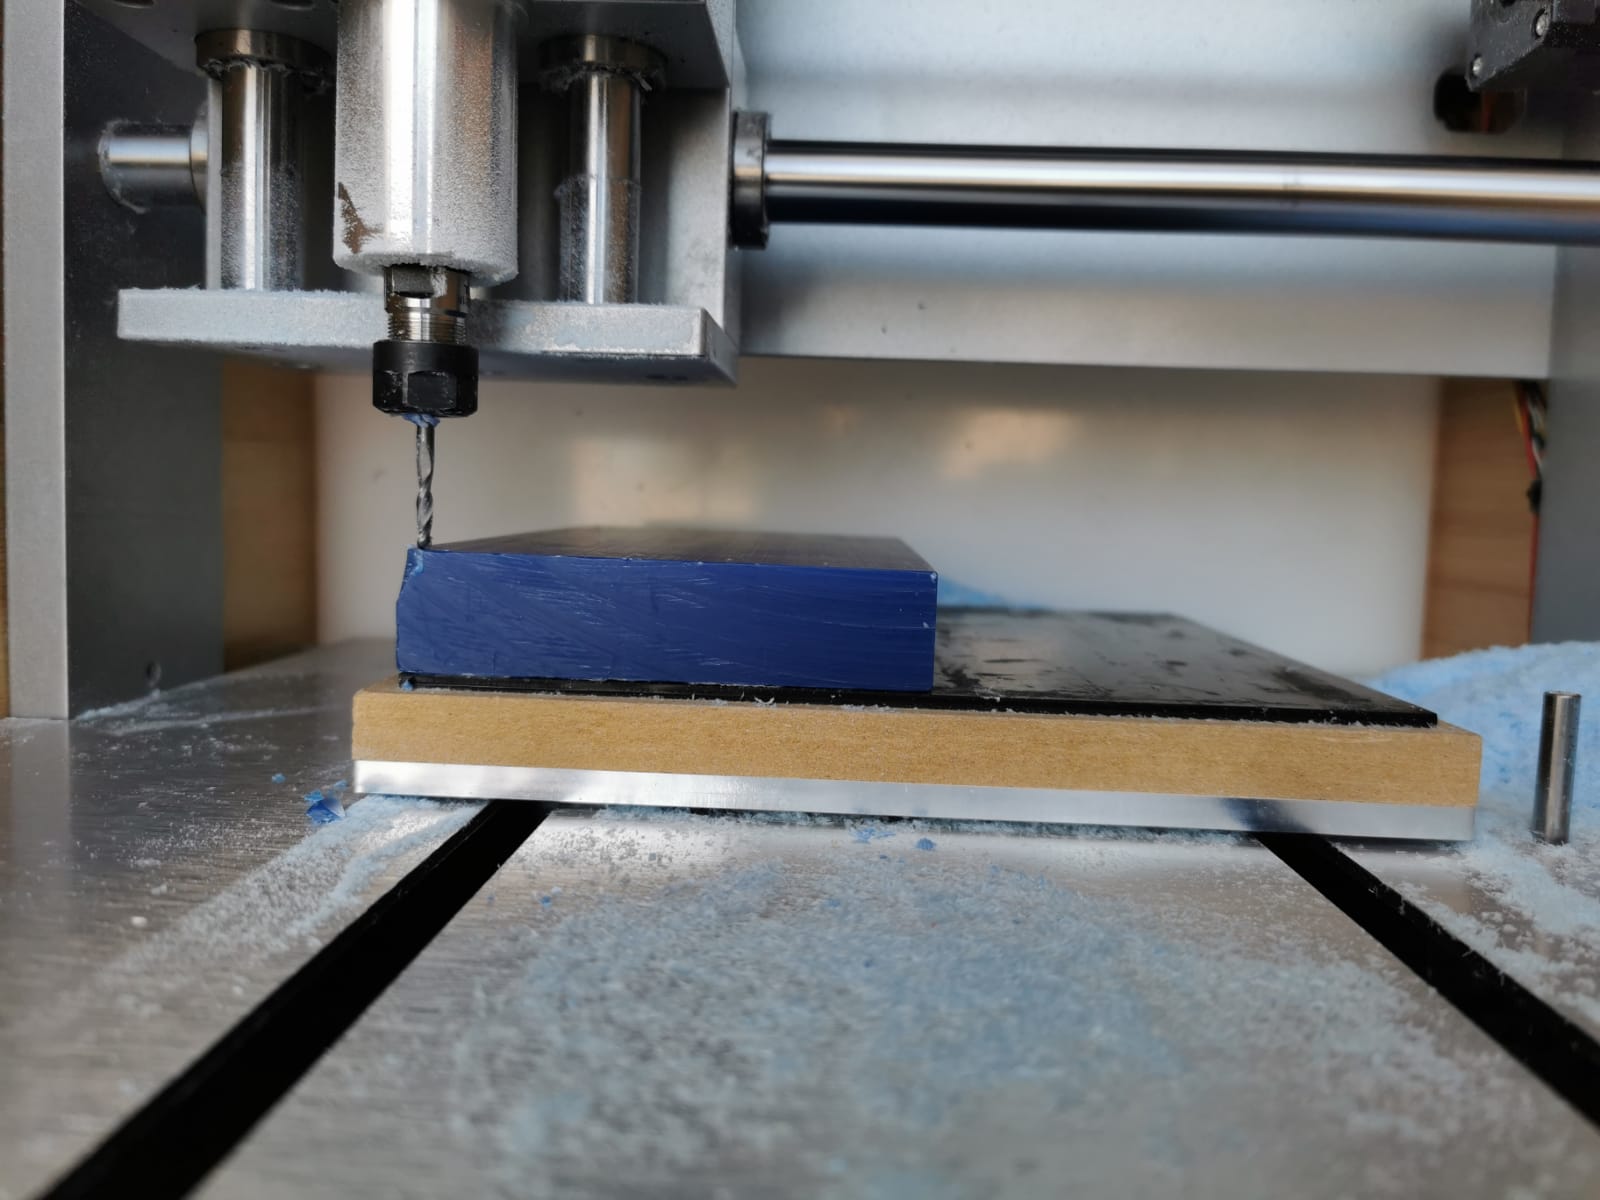
I controlled the machine motion to set the X Y Z by using theCarbide softawre
Carbide Motion Software
Carbide Motion is the machine control software used to operate your Nomad or Shapeoko CNC machine from Carbide3D.
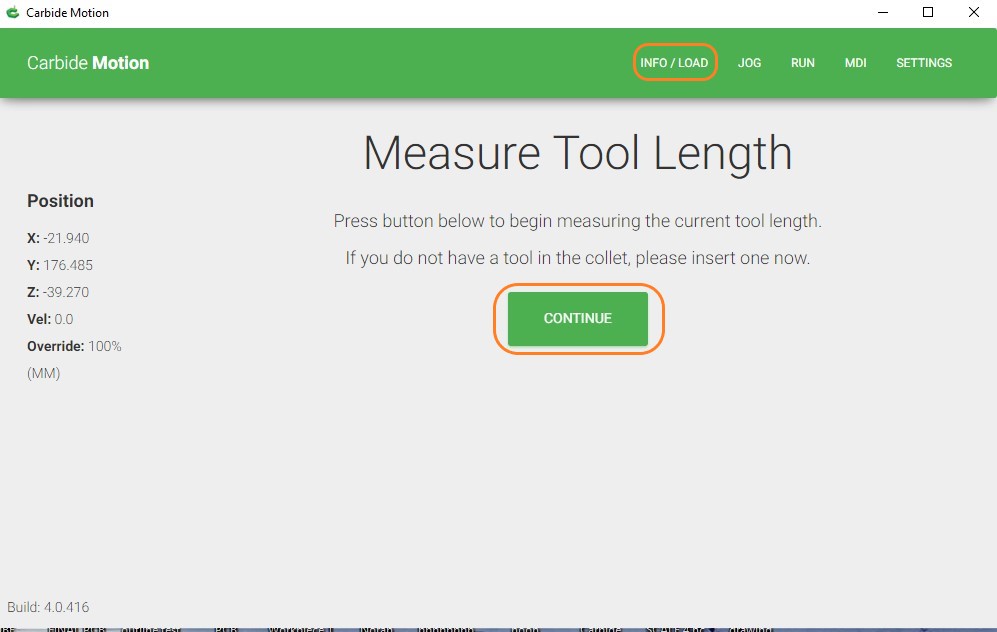
Make sure to connect the machine, then load your GCODE file.
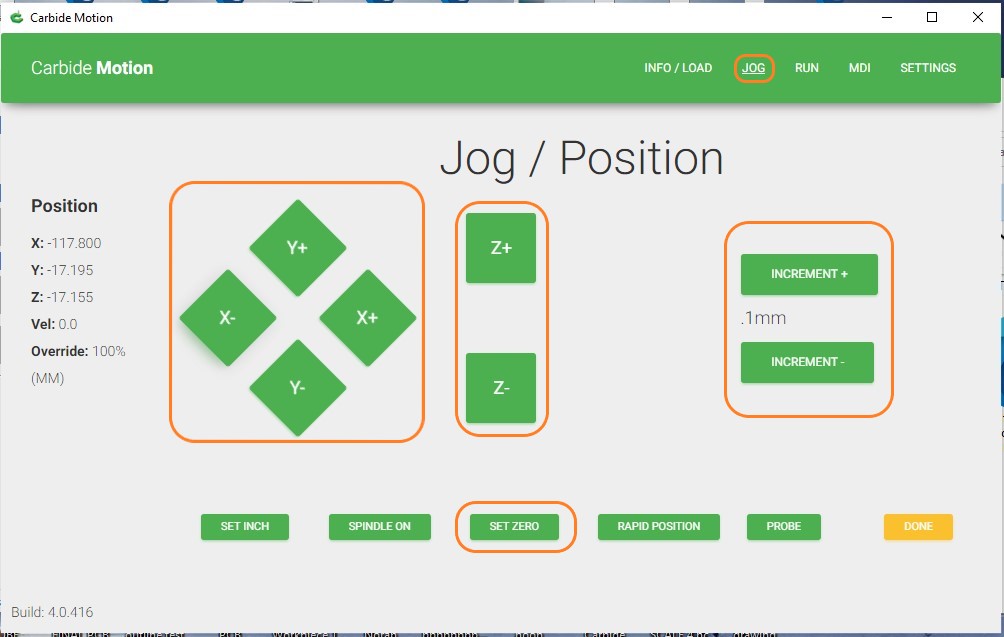
From Jog feature I use the arrows to move the router to the zero position also, you can control the speed movement
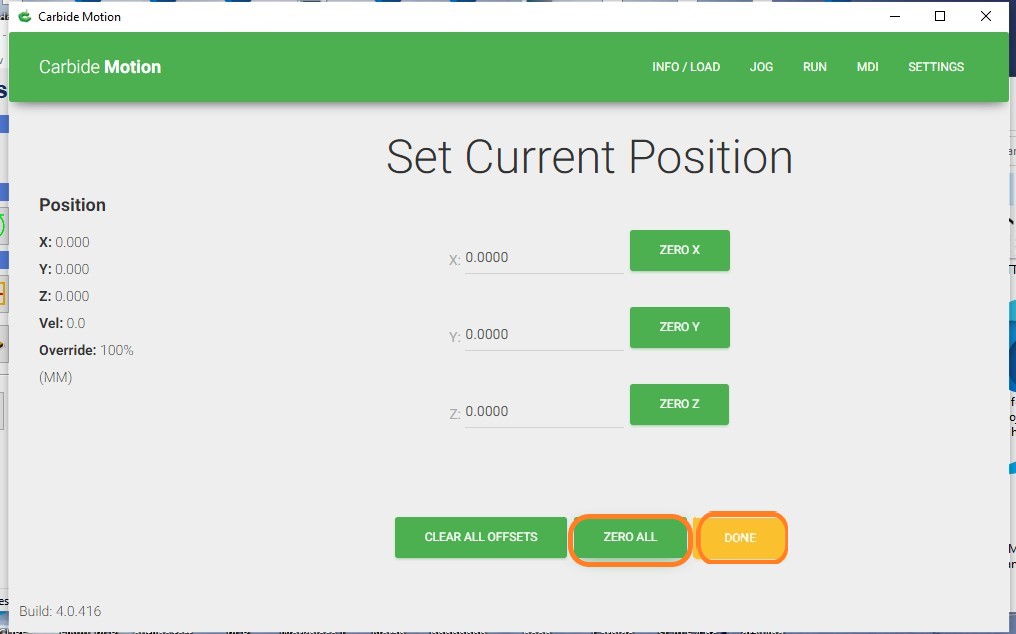
Click Zero all
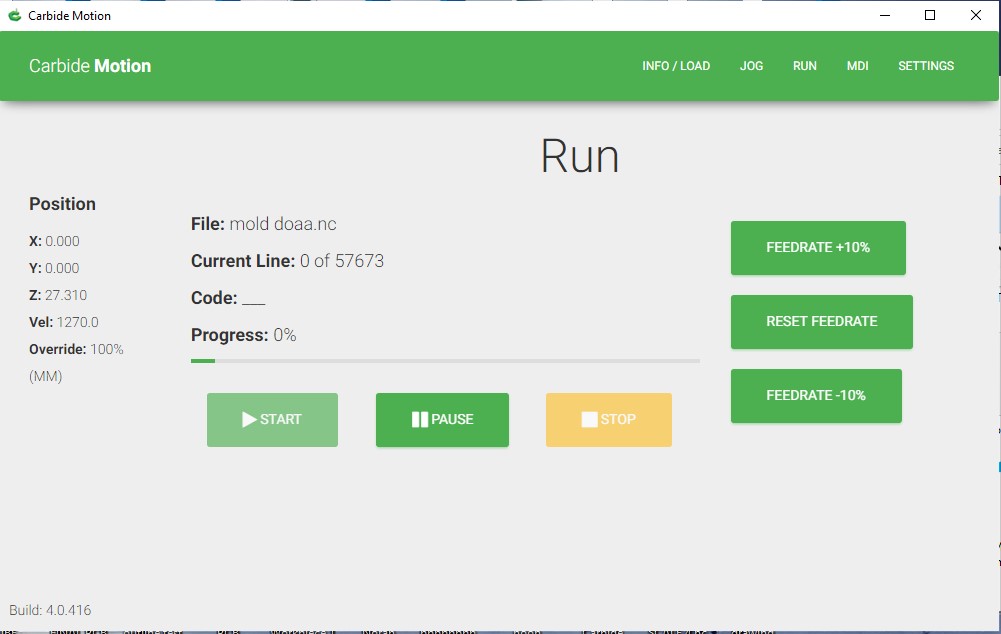
Press Run to start the work.
Rubber Mold
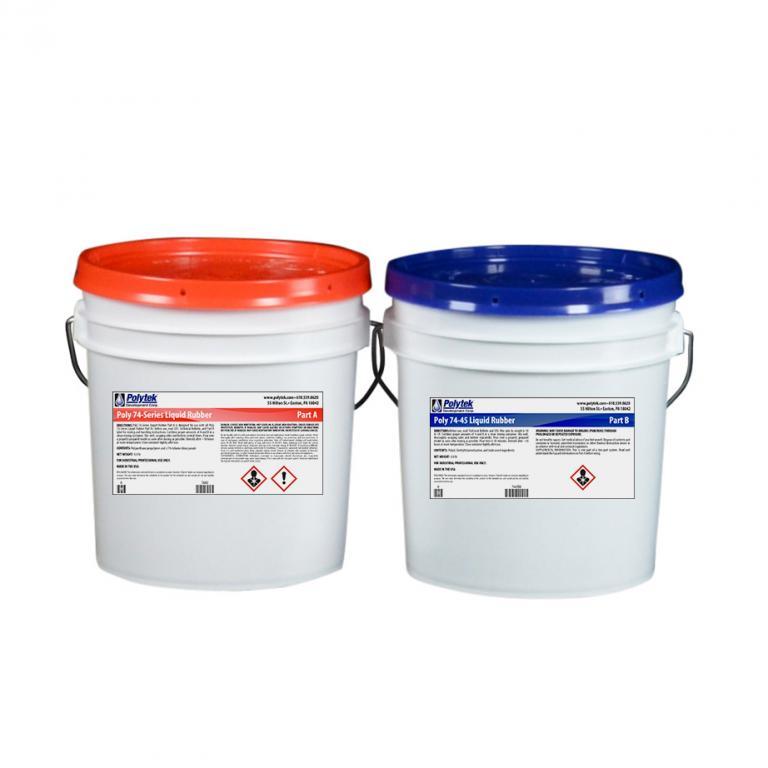
I used Poly 74-45 Liquid Rubber
Poly 74-45 Liquid Rubber is a two-part, liquid polyurethane system that cures (RTV) to a yellow, Shore A45 rubber. This is a pourable rubber, but it can be easily thickened with PolyFiber II Thickener for brush-on application. After reading the saftey sheets for both parts A & B
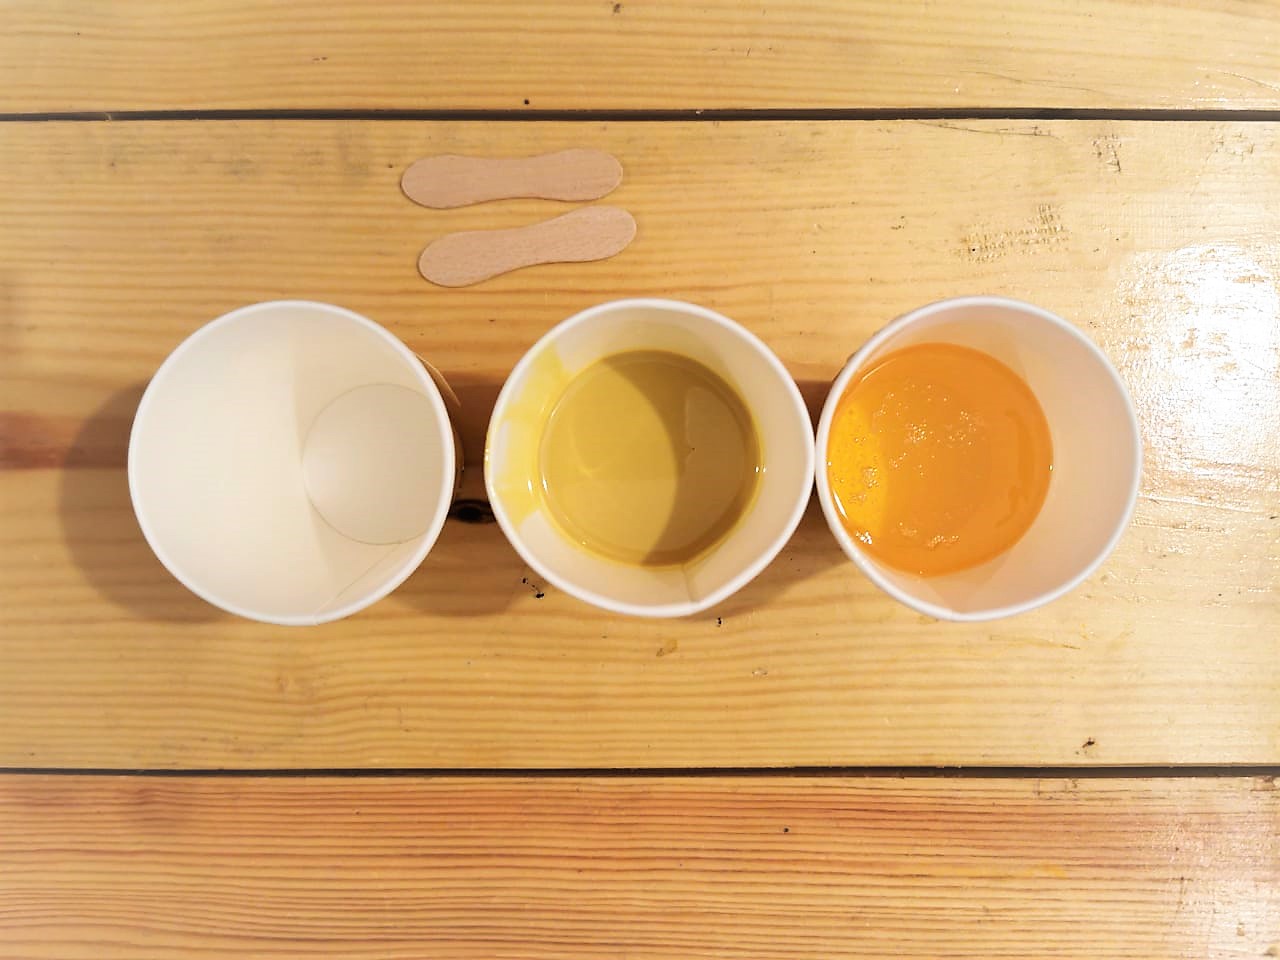
I mexed 1:1 ratio for 10 min
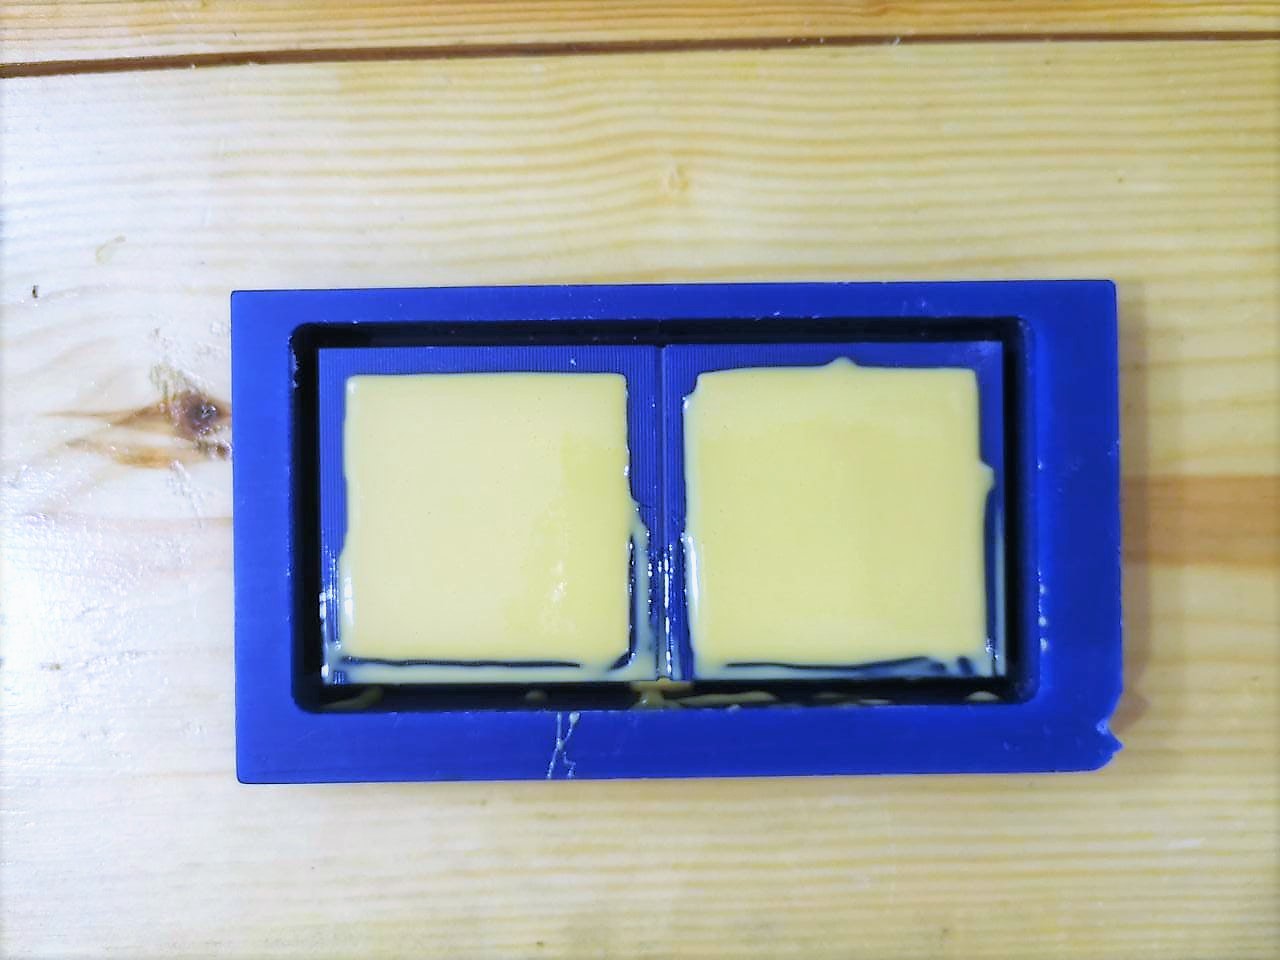
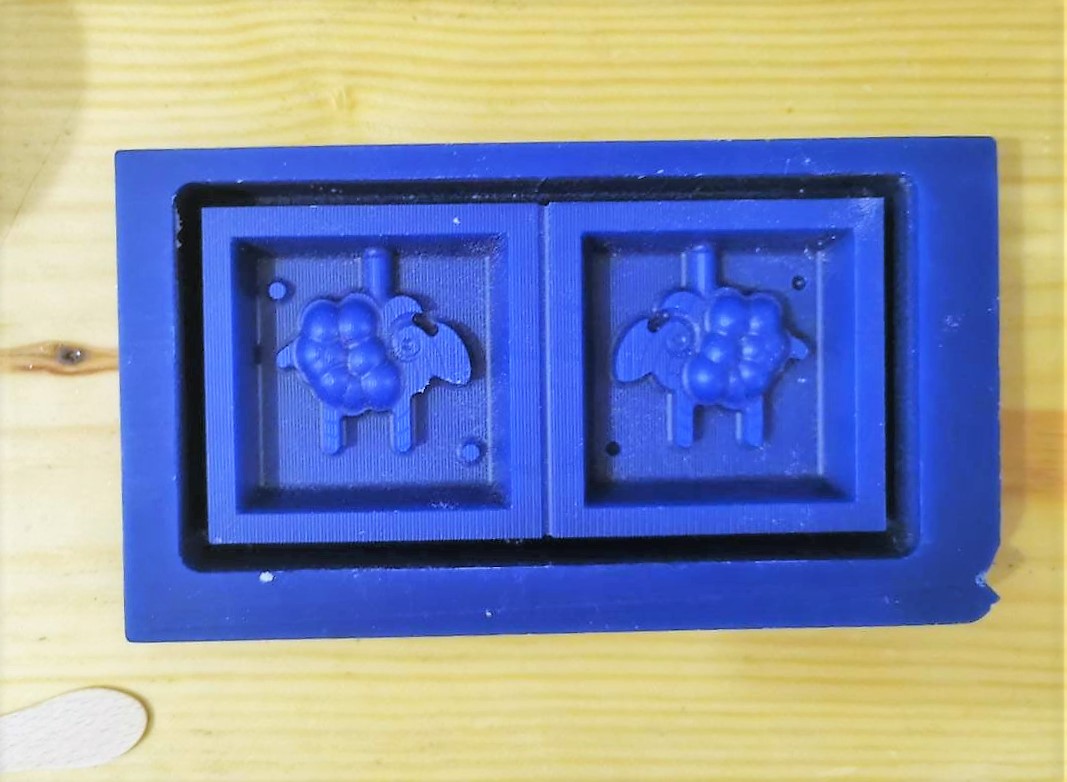
I poured the mix into my wax mold and wait for around 10 hours but better leave it for 16 hours
Casting!
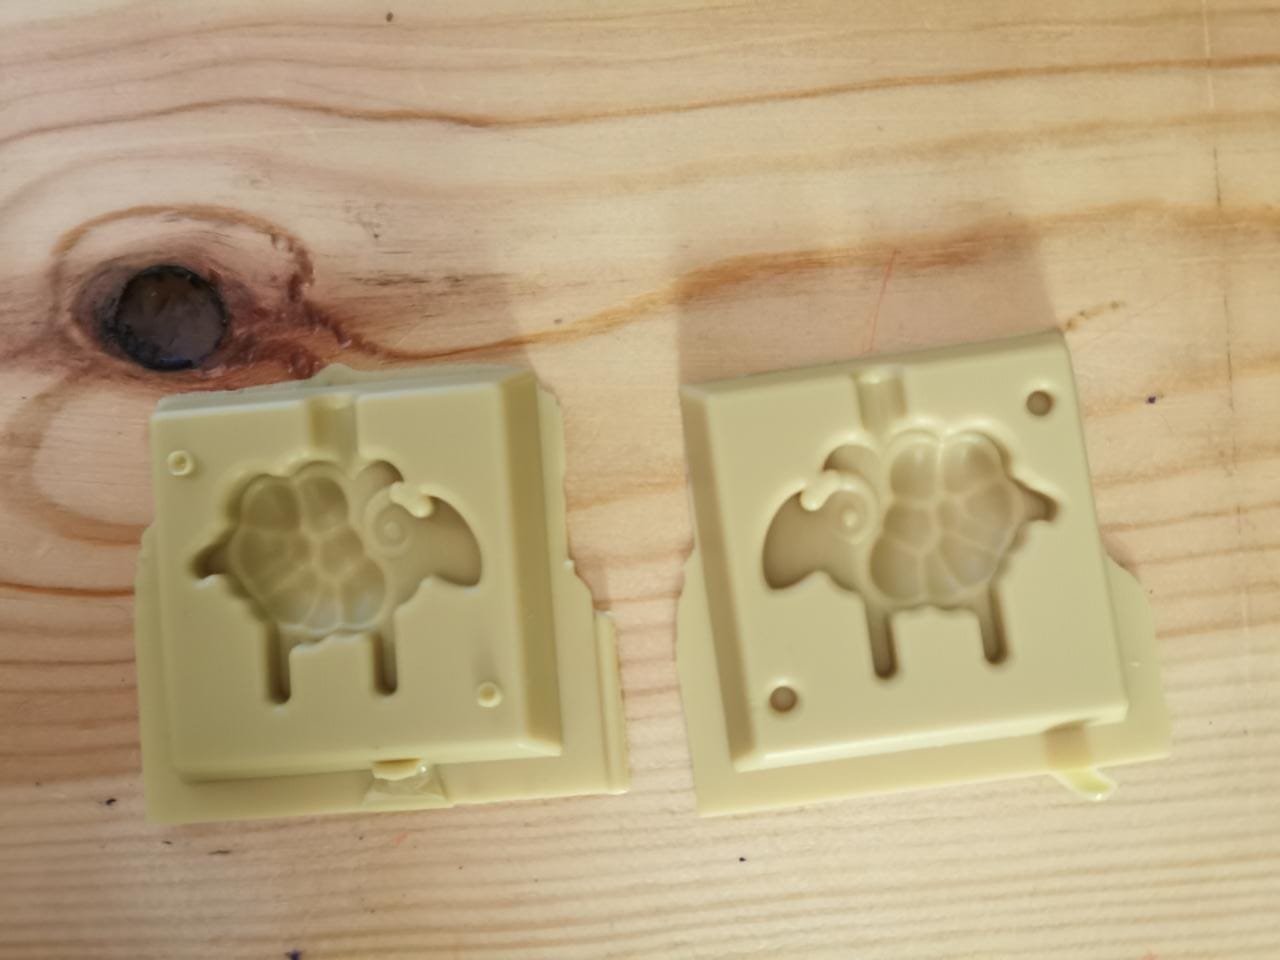
It's ready now!
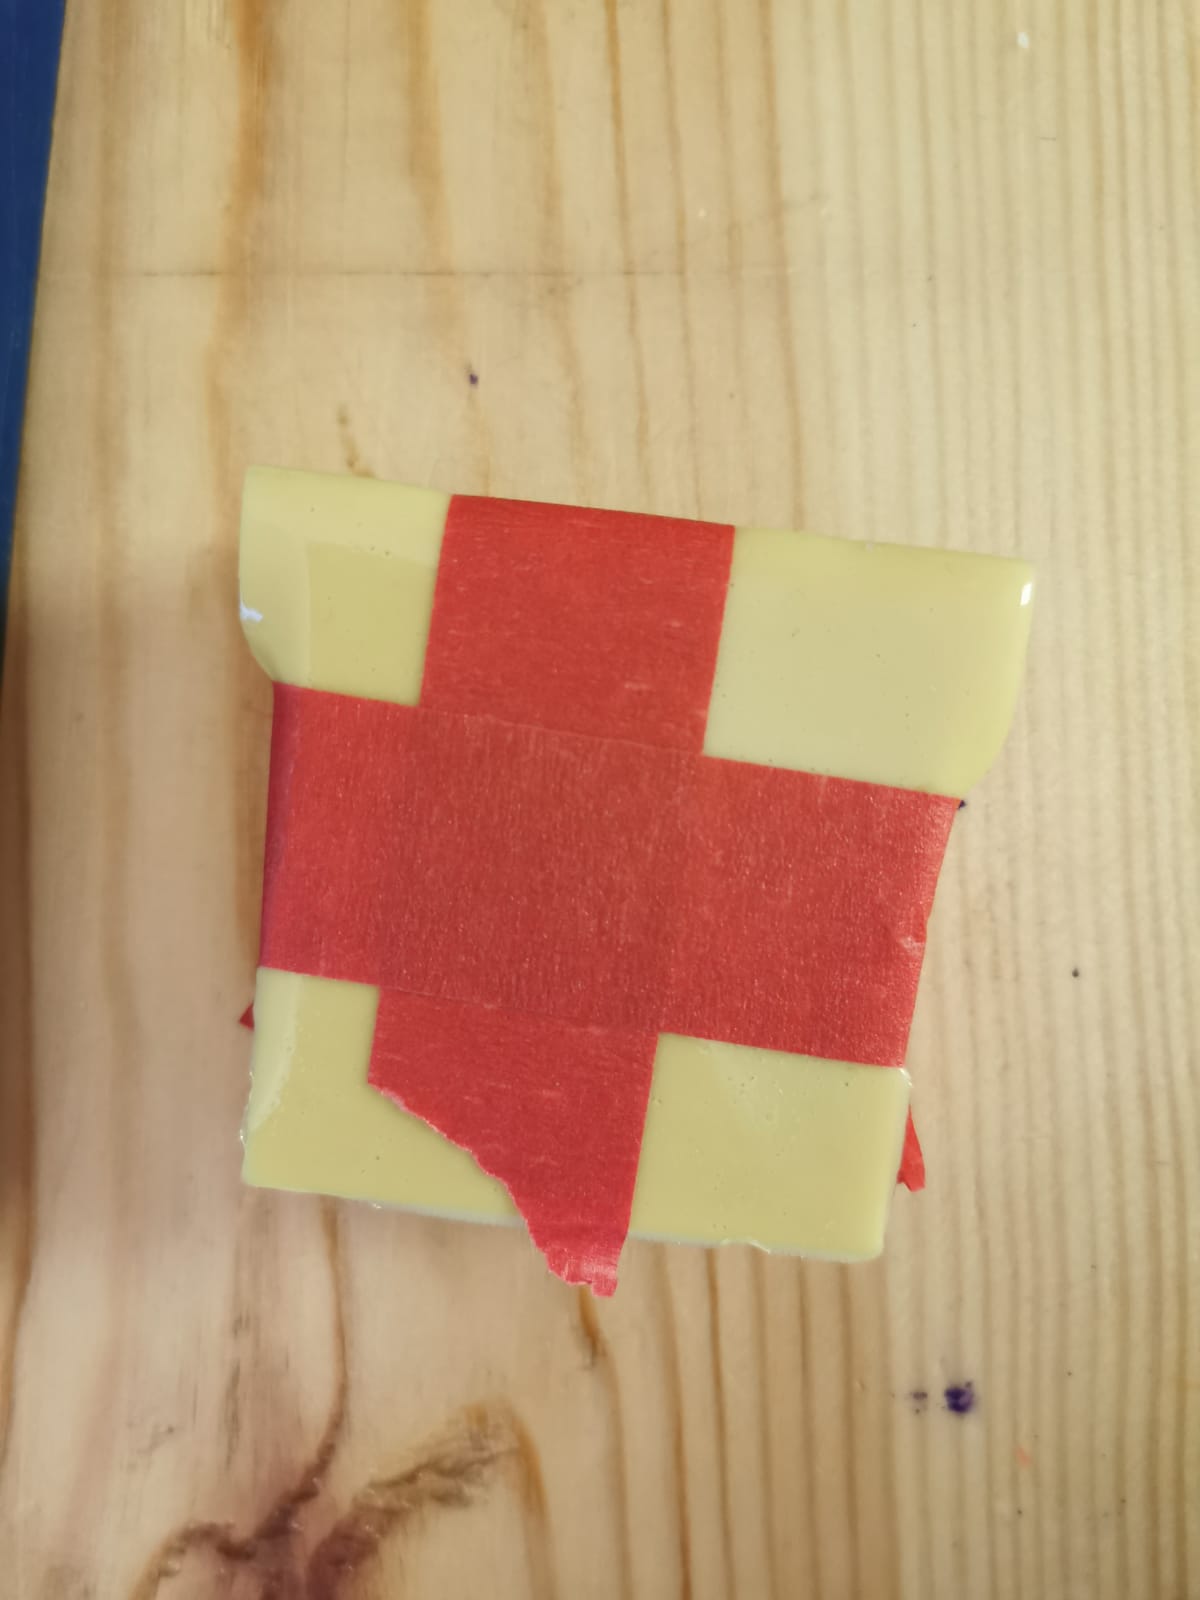
Make sure to close it very well.
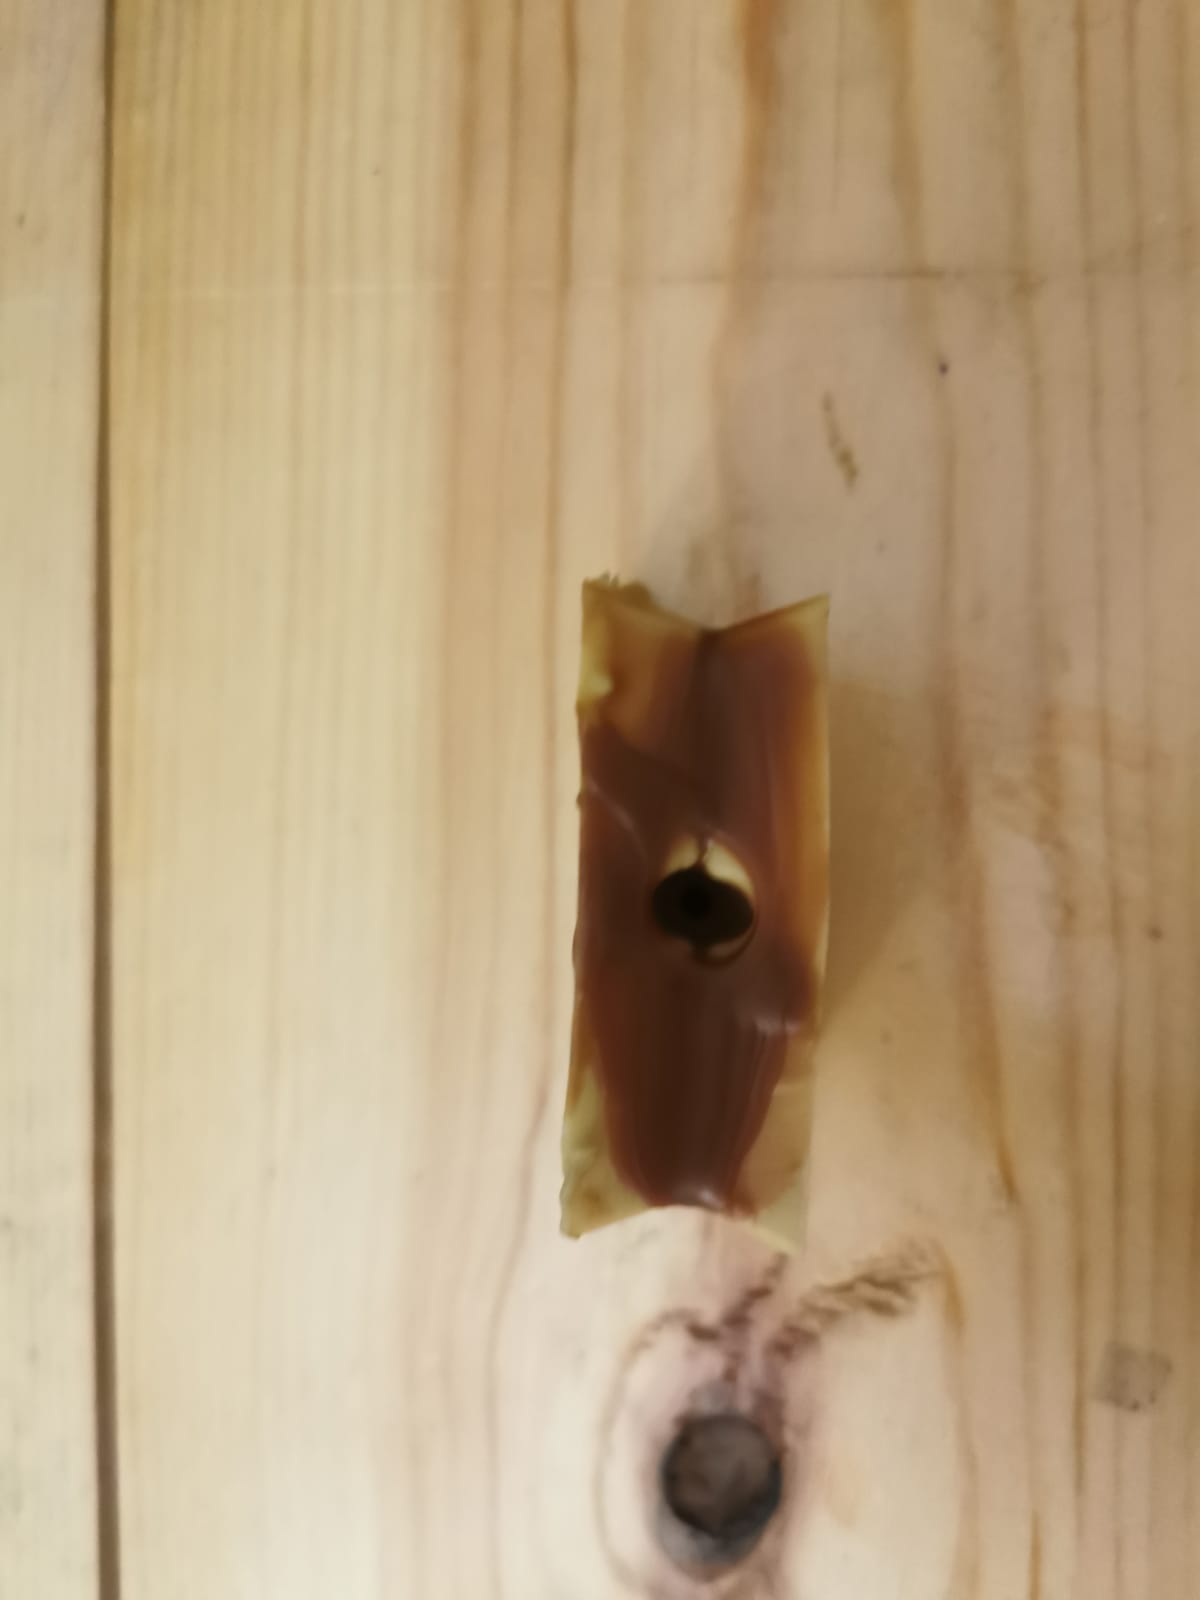
I will make small sheep candles for Eid giveaways for this eid.
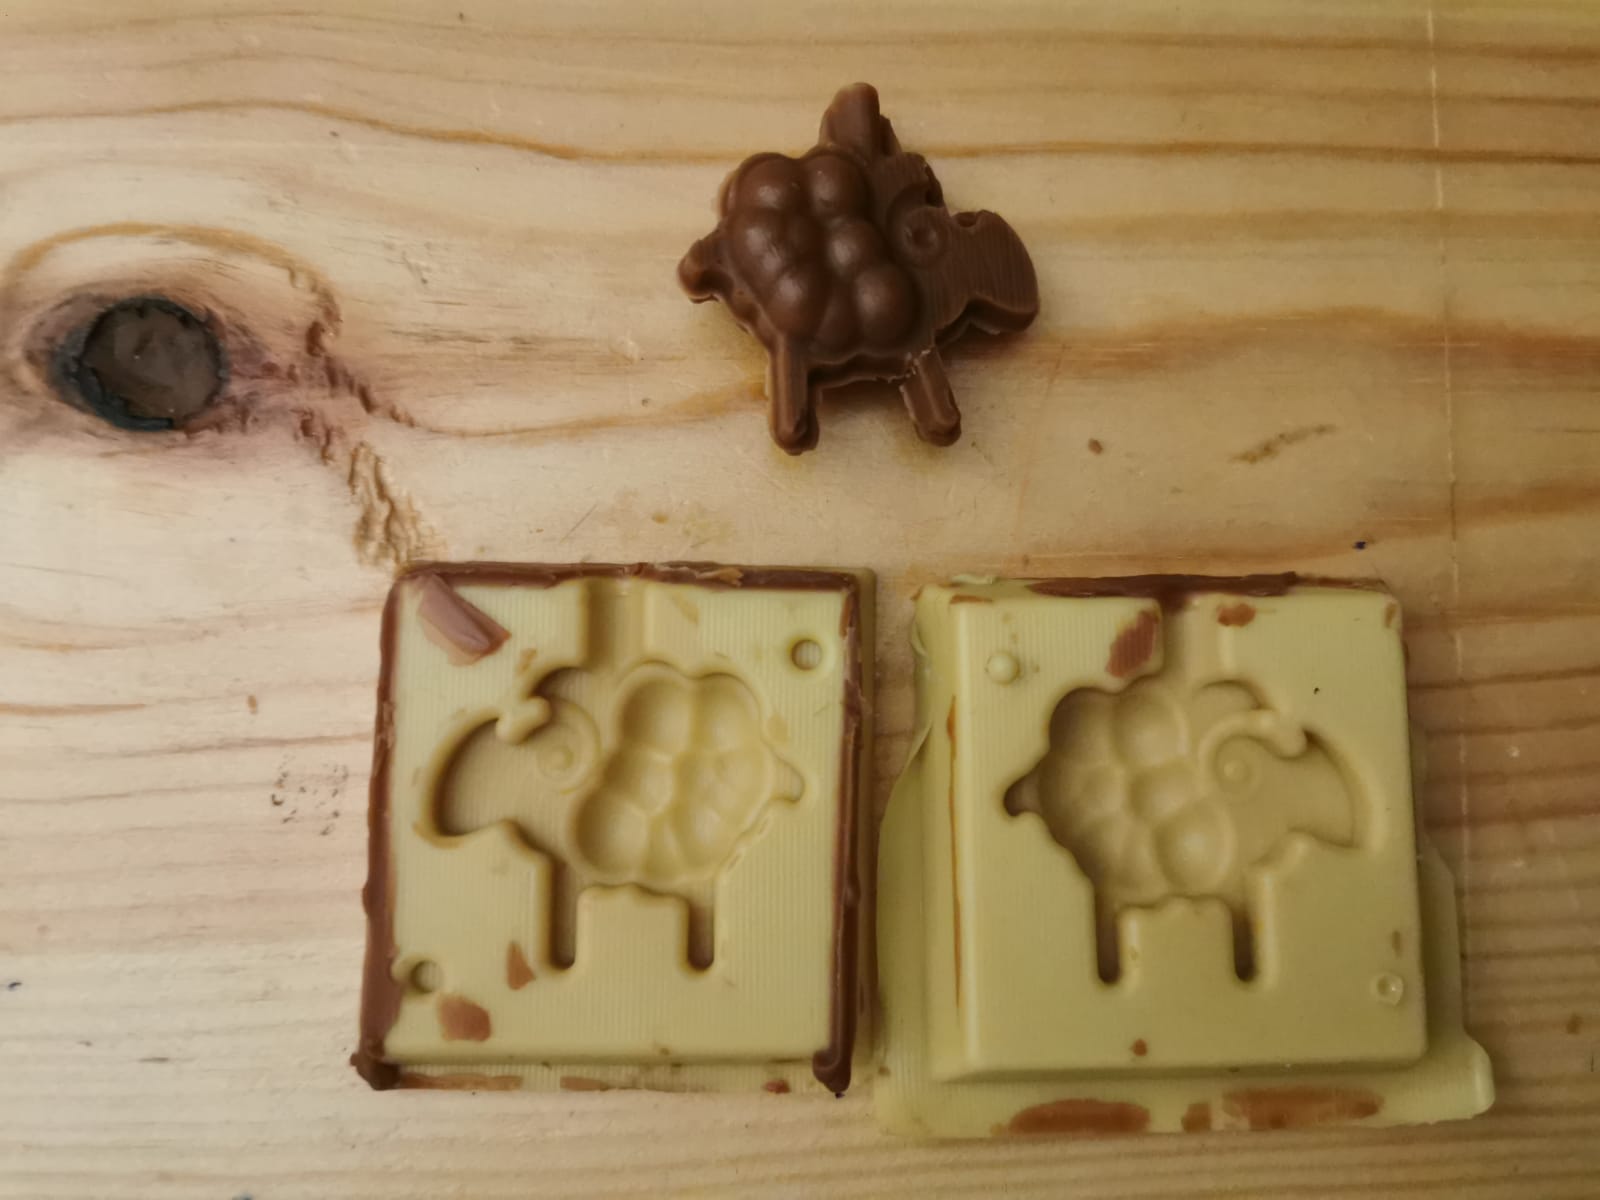
Final result
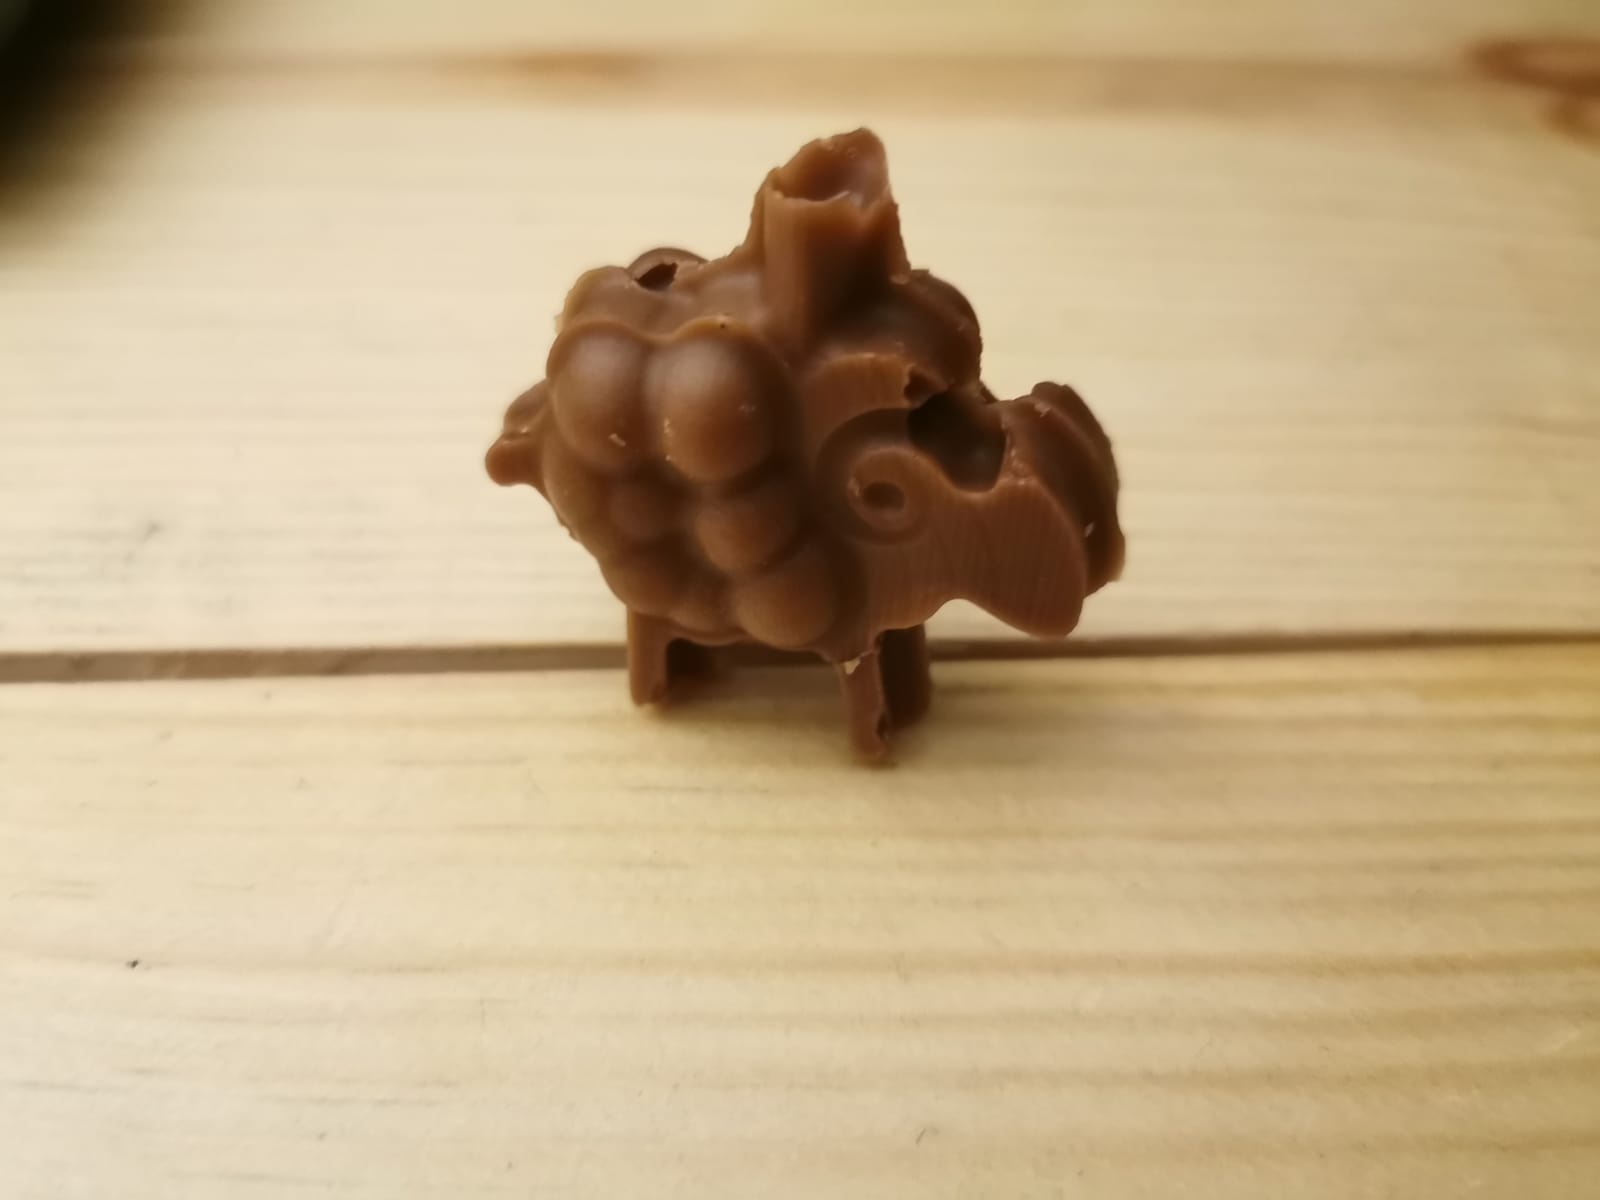
I used chocolate wax for this time.
Group assignment For the group assignment I desgined a 2 part mold for our lab logo, in the group assignment page we documented all the steps by using different materials casting from Smooth-on.
Design File Useful Link: