Exercise 2. 💻 Computer-Aided Design 😉
At the end of this exercise, I should be able to:
1. Demonstrate and describe processes used in modelling with 2D softwares (I selected Inkscape and GIMP).
2. Demonstrate and describe processes used in modelling with 3D softwares (I selected Fusion 360).
3. Model an object/part of a possible project in 3D software.
Before I dwell into the softwares, I will need to understand 2 types of image files namely vector and raster.
Raster images are created with pixel-based programs or captured with a camera or scanner. They are more common in general such as jpg, gif, png, and are widely used on the web.
Vector graphics are created with vector software and are common for images that will be applied onto a physical product. Also used in CAD, engineering, and 3D graphics.
The elaborative explanations can be read here.
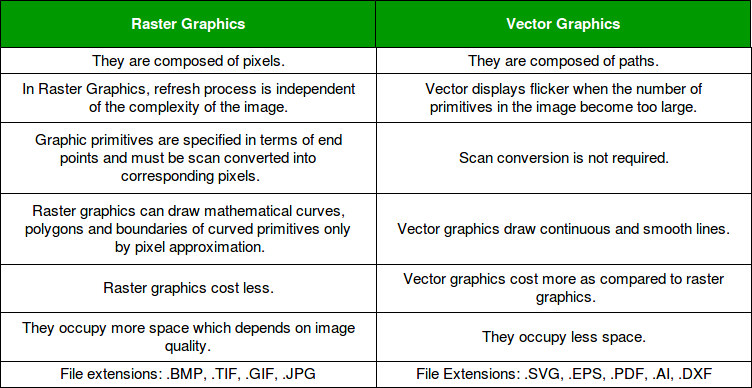
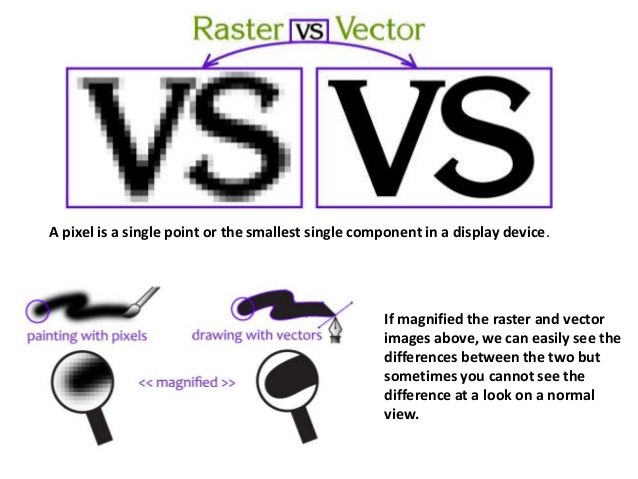
Below are the main differences between vector and raster from https://vector-conversions.com/vectorizing/raster_vs_vector.html.
Vector Drawing Using Inkscape✎📏
• Inkscape is a software to create and modify vector graphics. I learnt to use inkscape to draw 2d sketches of the possible final project. The sketches are the front view and side of the tea brewer.
• It was challenging to use inkscape at the beginning, but after watching few tutorial videos like this and replicate what they demonstrate, I can learn few tricks in inkscape, like how to cover a layer.
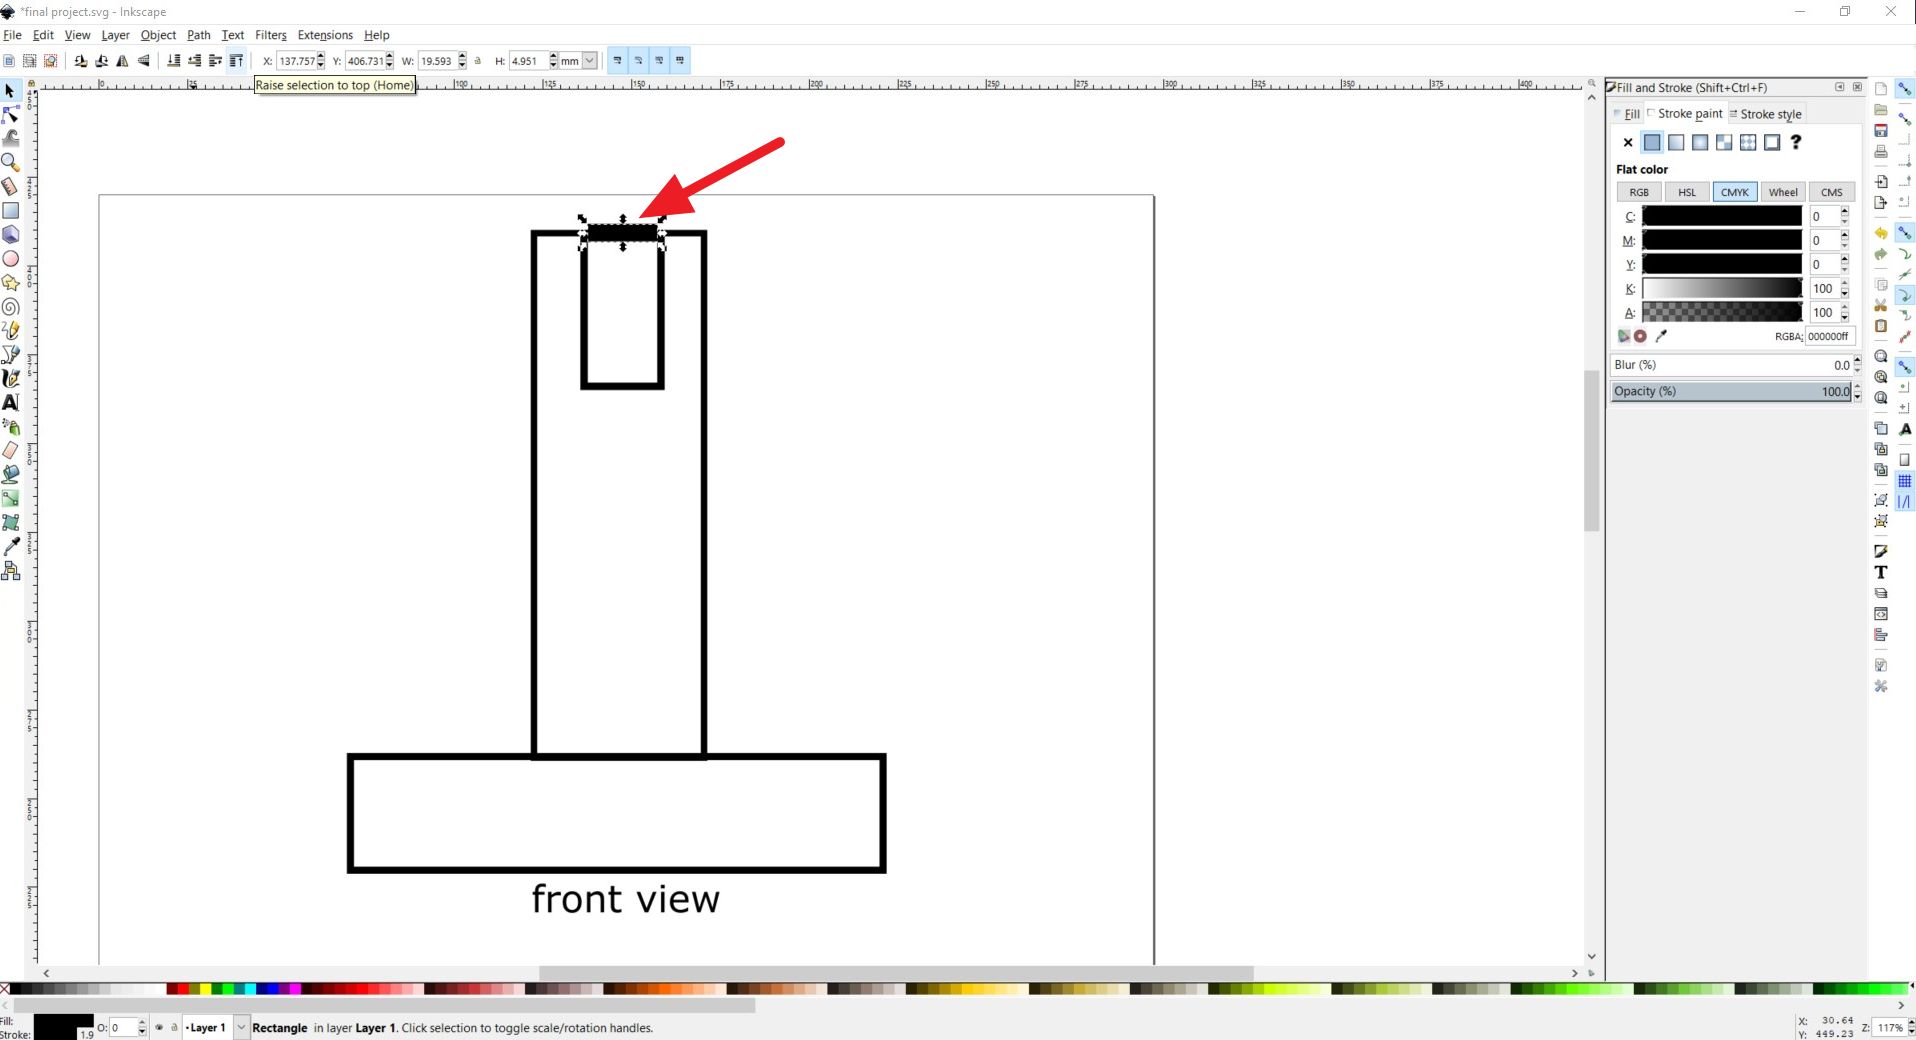
• By changing the color we can cover the background behind.

• Below is the side view of the possible final project.

Download drawing files
• I also learn how to trace images with bezier. I would like to use this filter for my final project and I would like to trace the images of this image to get the isometric view of the image. Hence I select Bezier tool and start tracing the line.

• After manually tracing the line, I select white fill and black stroke paint and the result is shown below.
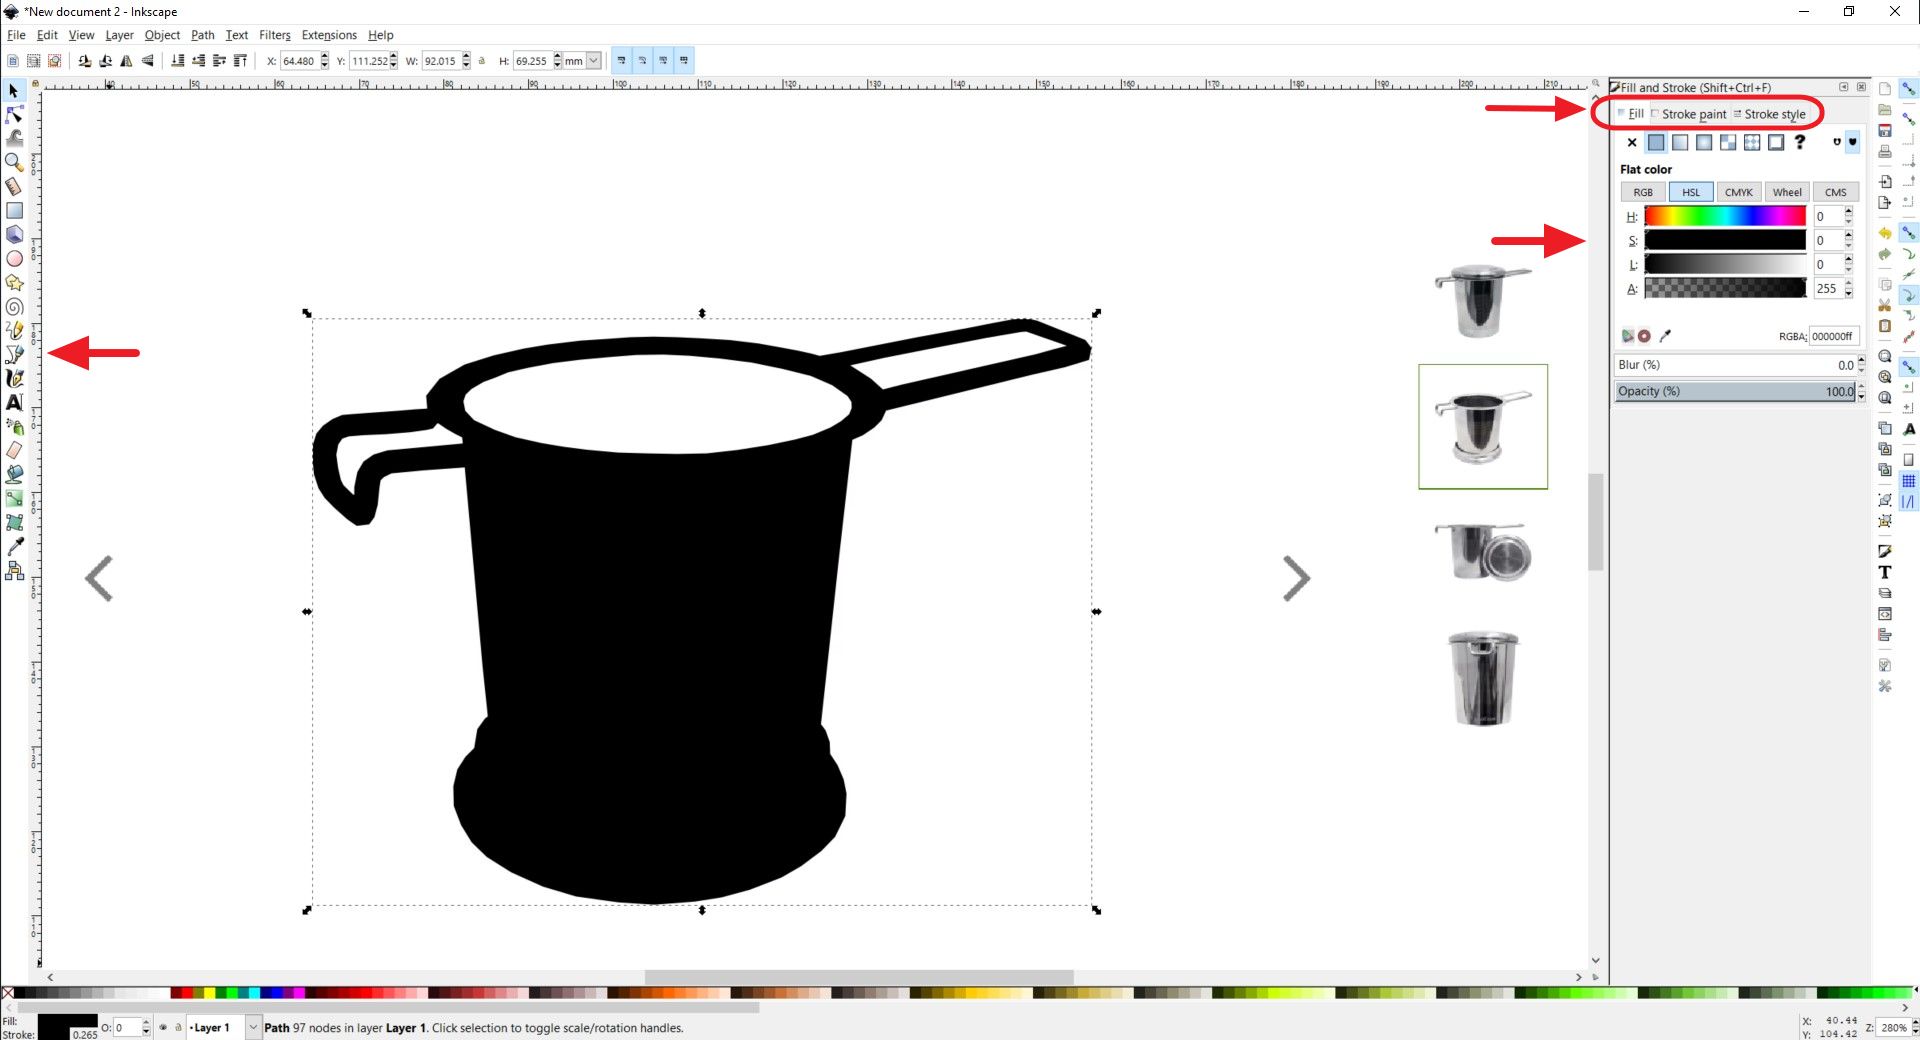
To see the difference between raster (.png) and vector (.svg) I saved the final results in both files.
Download drawing files
Raster Drawing Using GIMP🖌📷
• GIMP is used to create and modify raster (pixelated) graphics.
• While learning to use GIMP, I appreciate the importance of remembering and using shortcut keys, example.
1. Fill with FG color is “Control+,”
2. Fill with BG color is “Control+.”
3. Duplicate layer “Shift+Control+D”
• I tried to create a simple logo using GIMP by creating different layers for different lines/curves.
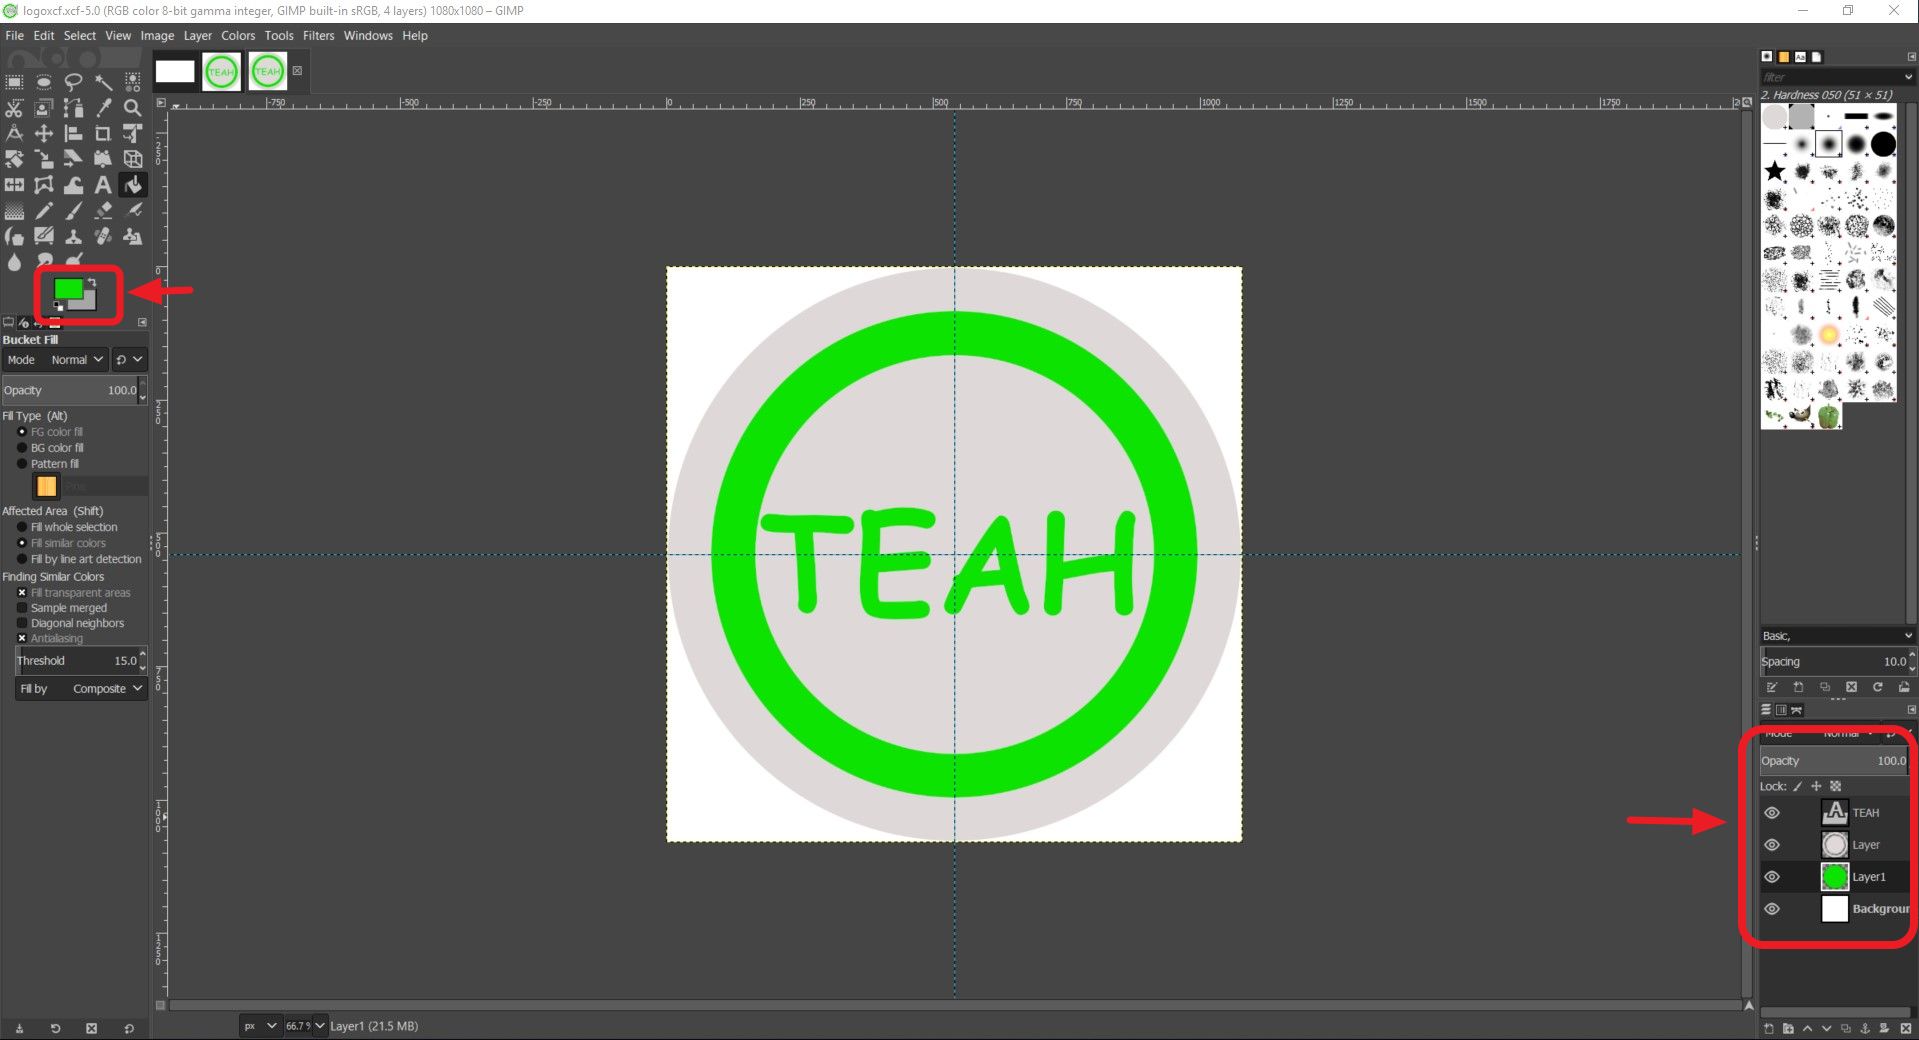
Download drawing file
3D Model using Fusion 360💻
• FUSION 360 is a professional software for creating 2D and 3D graphics.
• There are many available video tutorials on Fusion 360 in the web. The video tutorial below is the one that I follow closely for this exercise.
• When using Fusion 360, it's important to start by sketching the 2D of what we want to draw complete with the dimensions.
• Example in the figure below, I started by drawing the 2D (x and y plane) for the base of the box for my final project. This box serve the purpose as a base and also as a place to put the eletronics.
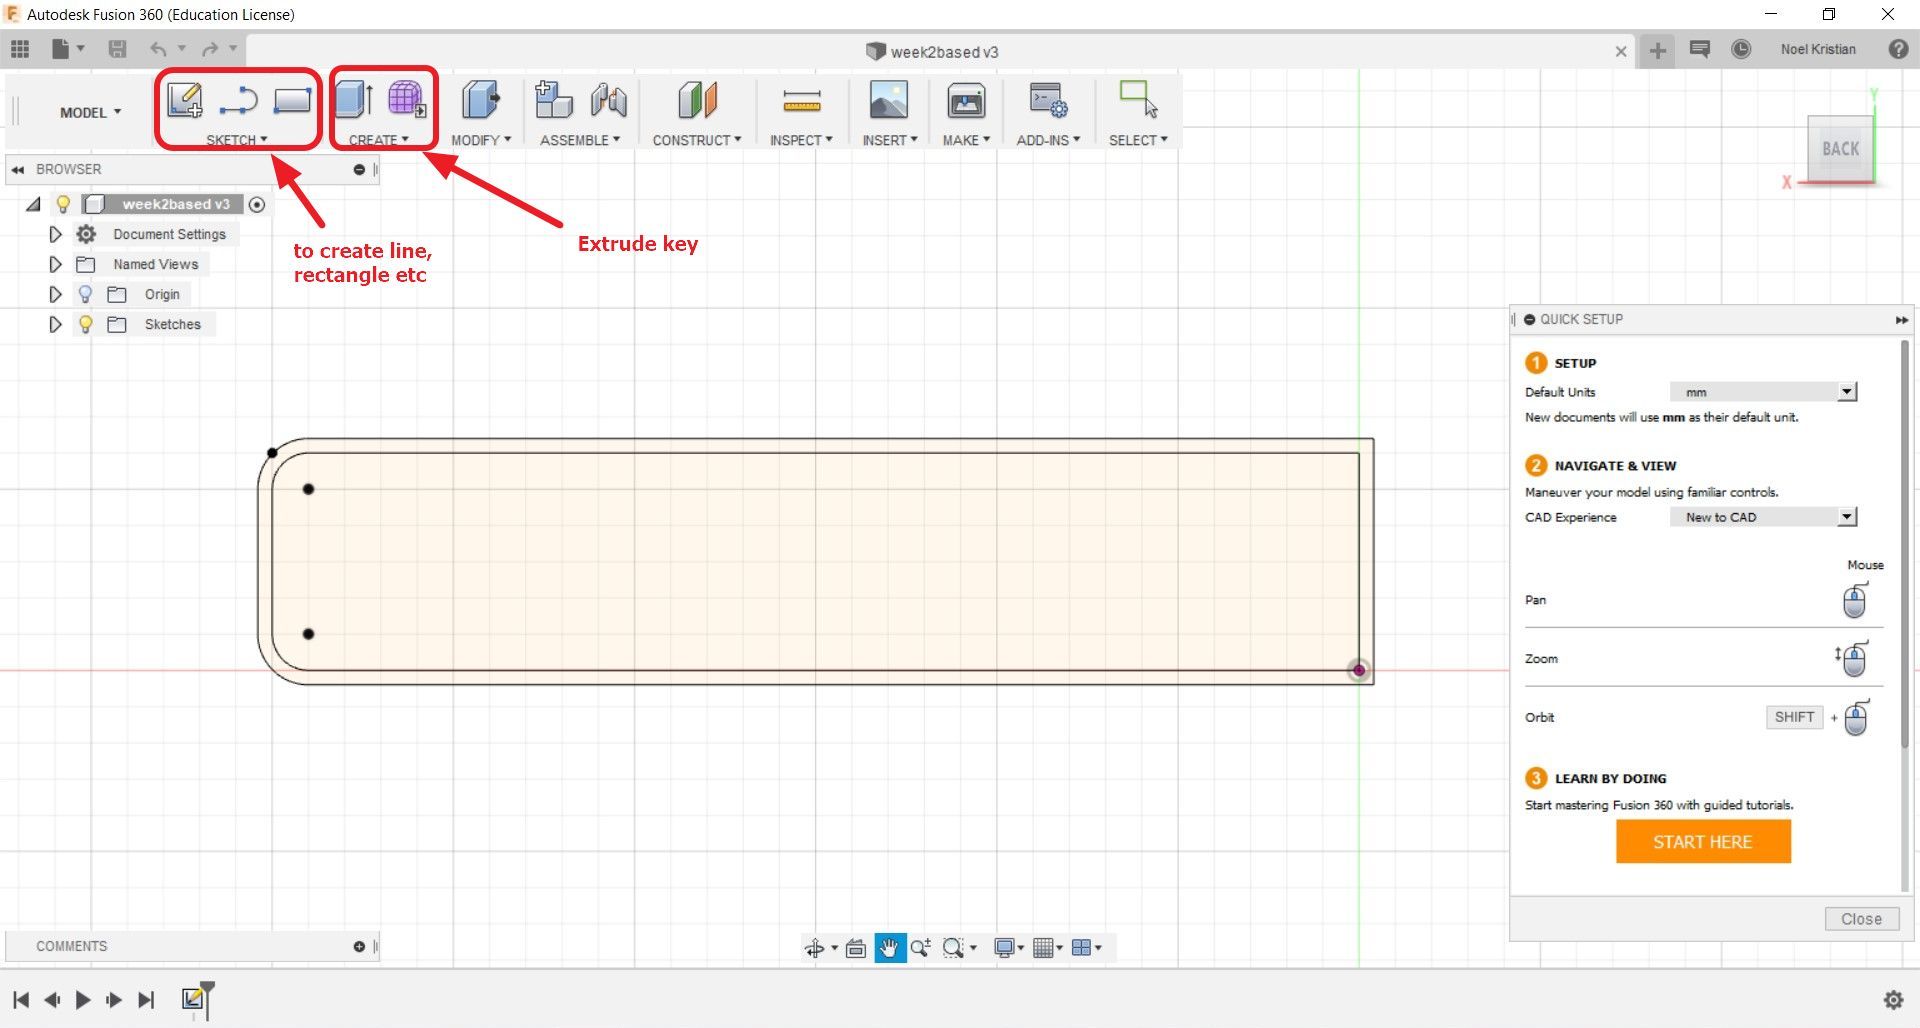
• Then I used offset to create identical lines off 2 mm and 4 mm of the 1st line.
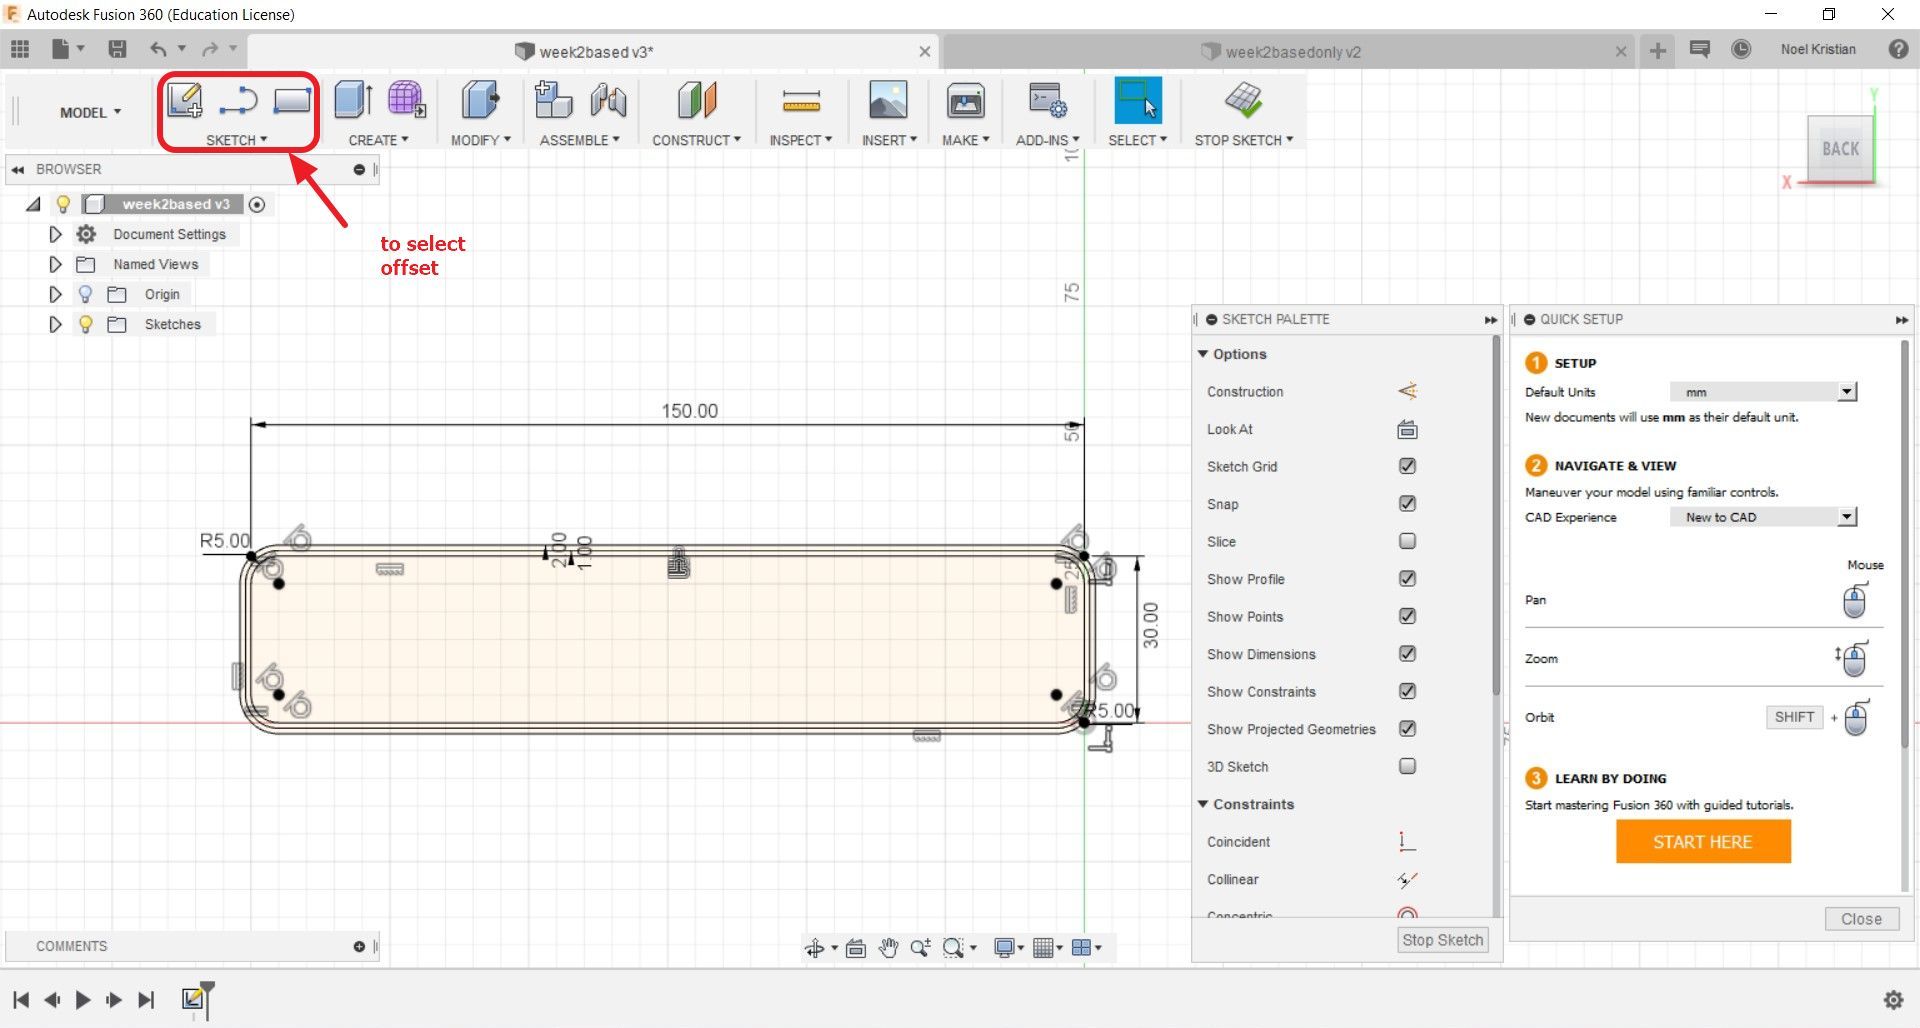
• I copy the entire lines and select sketch -> rectangular pattern. This will create identical lines and the identical lines will change if the original is change.

• I used extrude command to create the base of the box and then extrude twice of different height to create the lip for the box. I did the same for the cover of the box.

• As for the stand, I am still tinkering on using a retord stand for my final project.🤔
Result: The model can be rotated and zoomed with the mouse/trackpad.