Computer-Controlled Machining
Group assignment
- Test runout, alignment, speeds, feeds, and toolpaths for your machine
- Document your work (in a group or individually)
group project here
- Individual project
- Make (design+mill+assemble) something big
Make something big
This week assignment was to make a big one using CNC
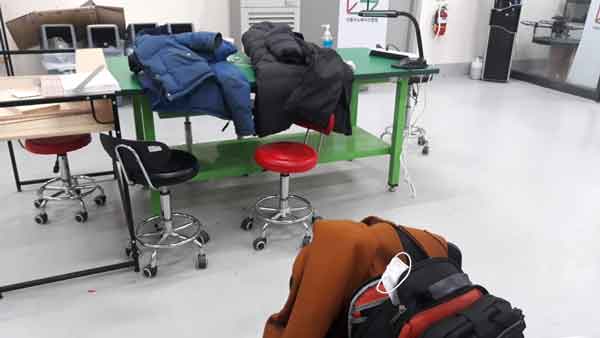
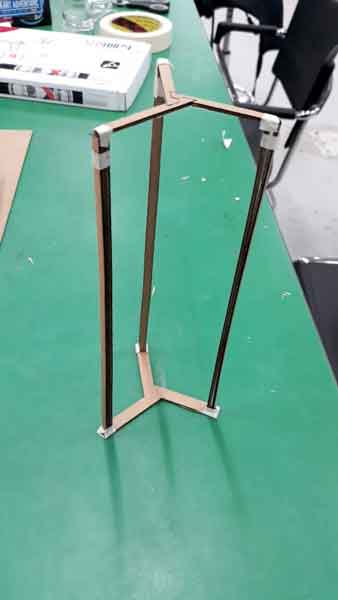
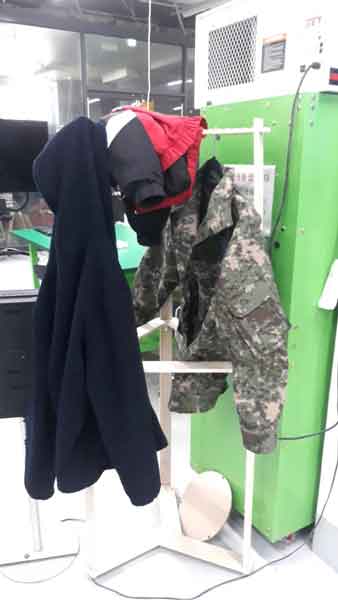
While thinking about what to make, it occurred to me that a clothes hanger stand was needed for a fab lab.
This is the usual look of a fab lab without a stand.
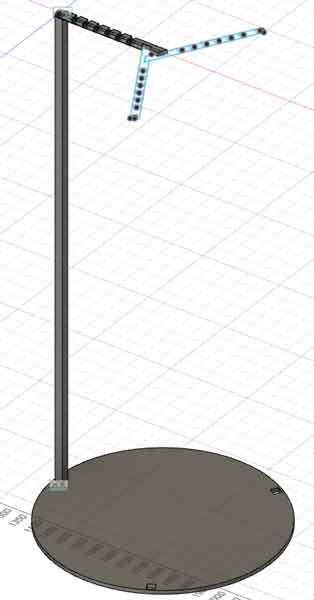
 I made the design of the hanger stand with fusion360.
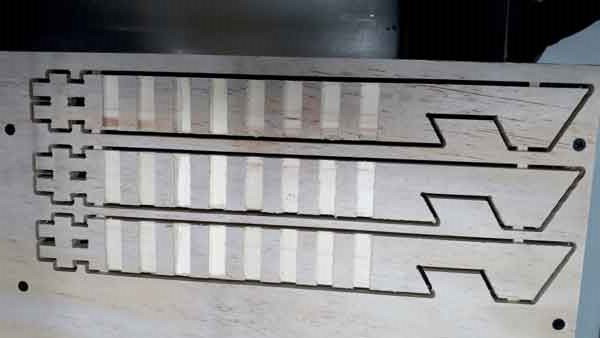
I converted the design into a svg file and tested it with a laser cutter.
I made the design of the hanger stand with fusion360.
I converted the design into a svg file and tested it with a laser cutter.
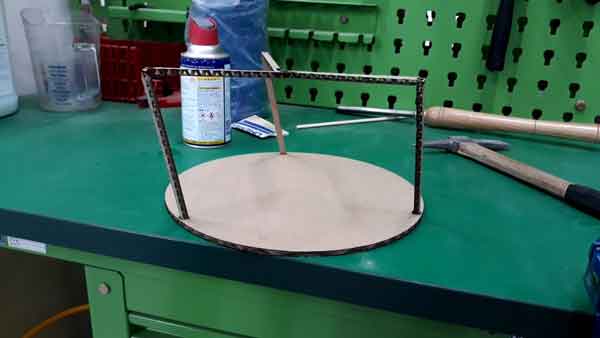
The first design was too big and the joint was weak.
Change joints more strong and reduced the distance between the legs.
Retest of the changed design
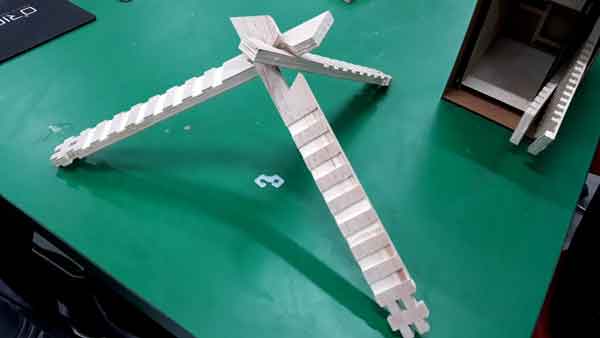
Shop Bot
I made a test joint using a shop bot.
The test joints made of Shop Bot looked like they needed to be complemented because of their weak coupling.

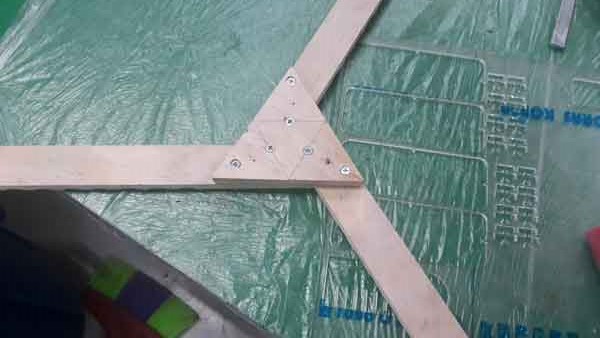
Craig taught me how to change to reciprocal frame.
However, there was no time to change to a reciprocal frame, so we decided to solve it in an easier way.
The method of supporting and securing wood plate under the joint was chosen.
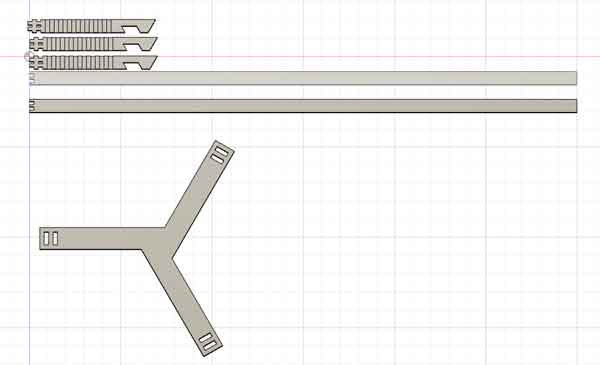
And made the rest of the parts.
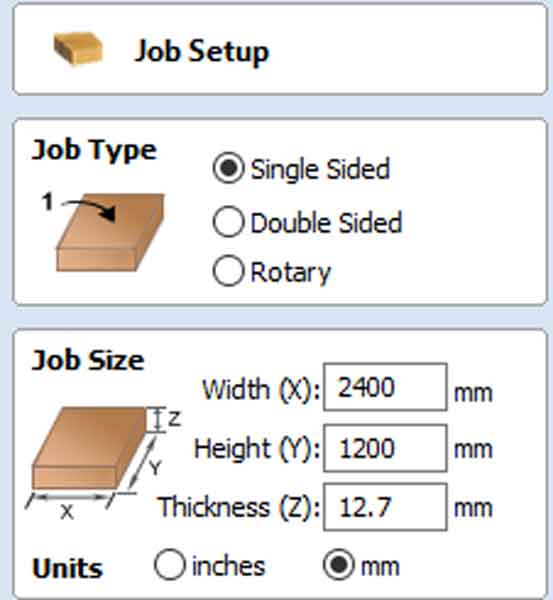
I used Vcarve to set up the file.

Measure the size of the plywood I will use and add the setting value.
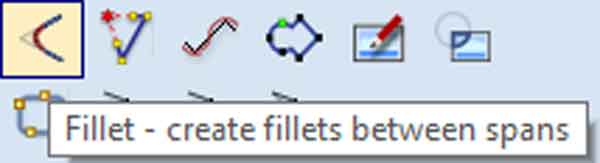
Use the fillet function to make a dog bone.
The dog bone size is half the size of the end mill you use.
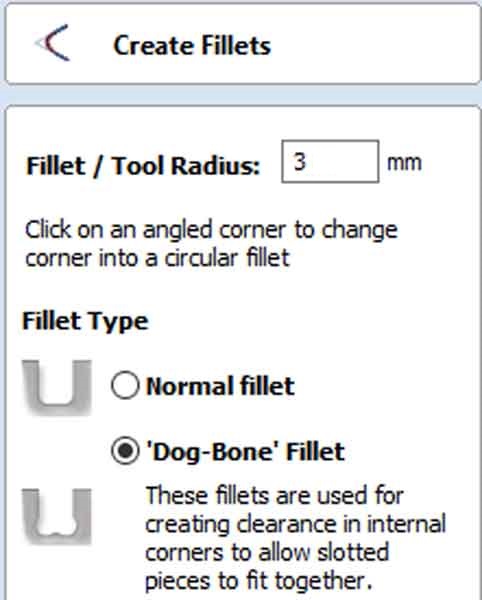
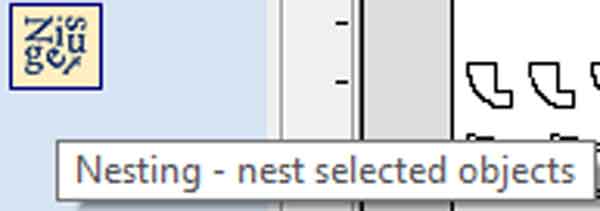
The nesting function of the parts was used to align the positions of the parts.
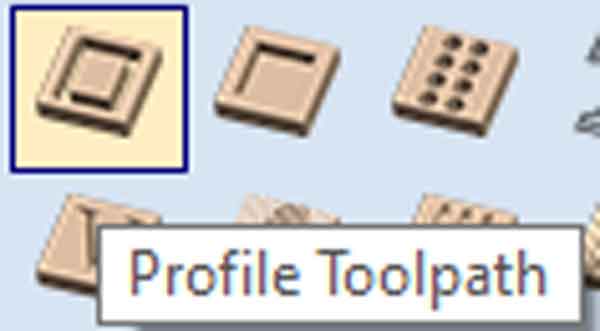
The profile function was used to set the parts to be cut.
I changed the setting to 6mm end mill And added a tabs.

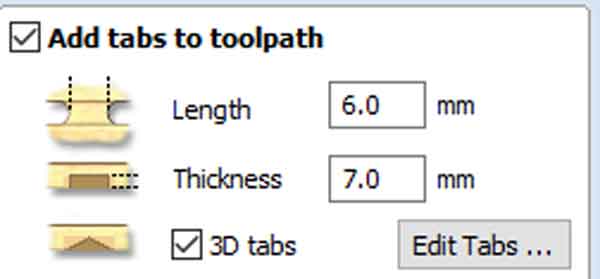
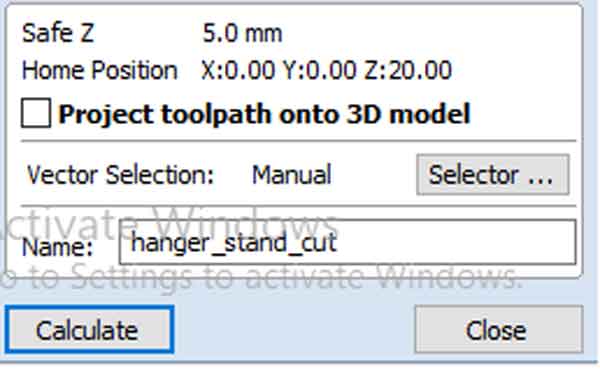
finished setting and calculated it.
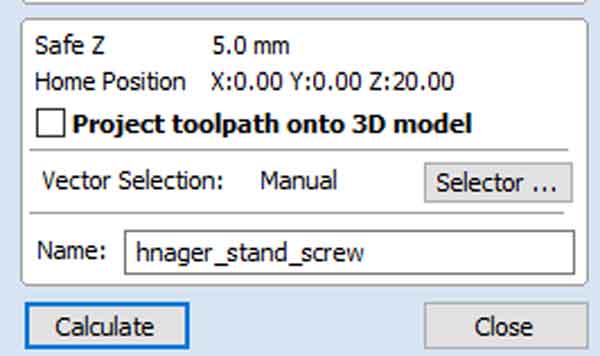
I made a screw hole for fixing plywood with a screw.
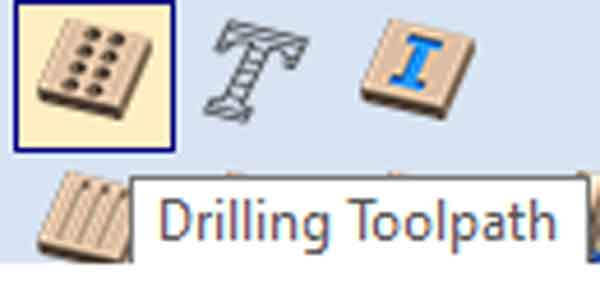
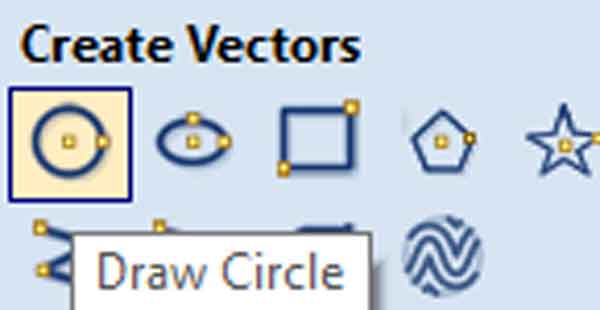
The screw hole position was set using draw circle.
finished setting and calculated it
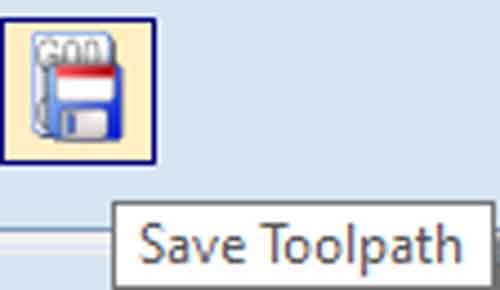
Save it as a SBP file when all settings are complete.
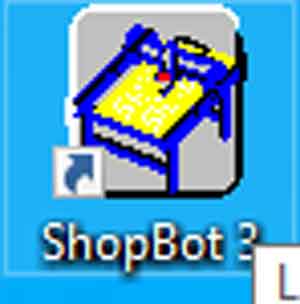
Enter the shop bot program and prepare the milling.
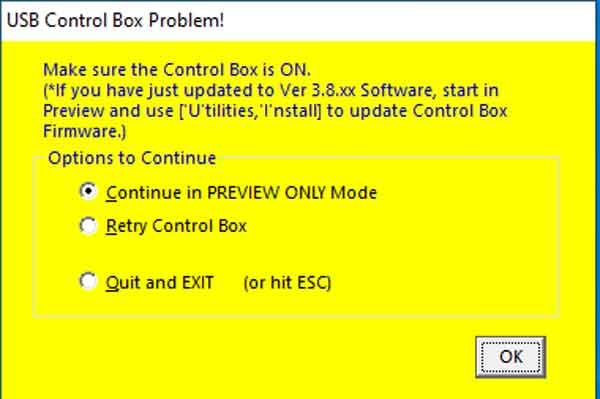
Messages that come out when you turn on a program without powering it.
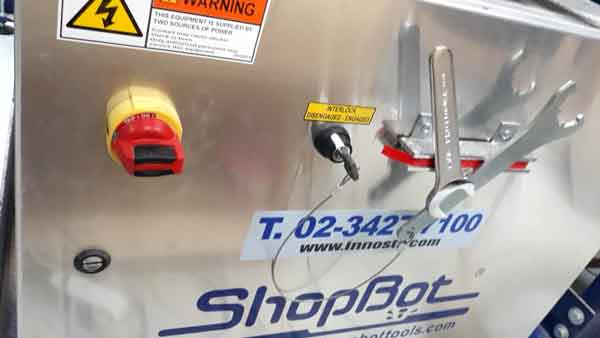
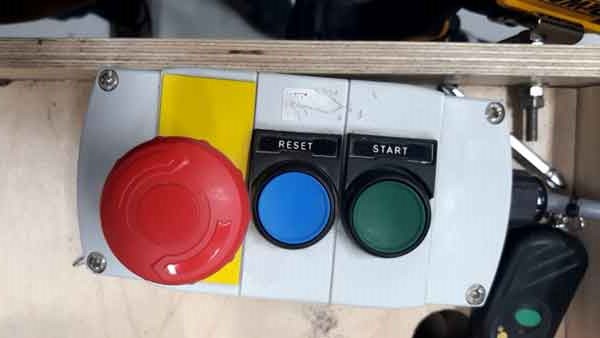
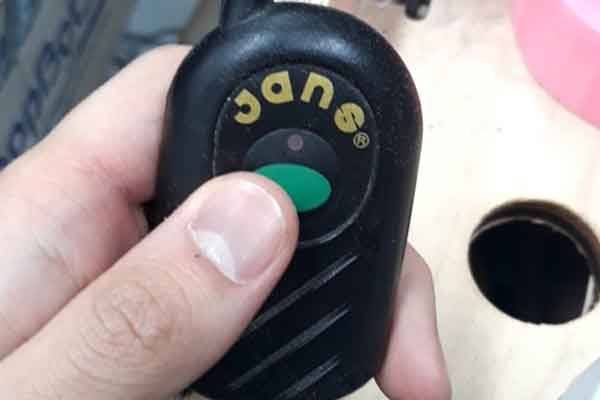
Turn on the power and press the reset button.
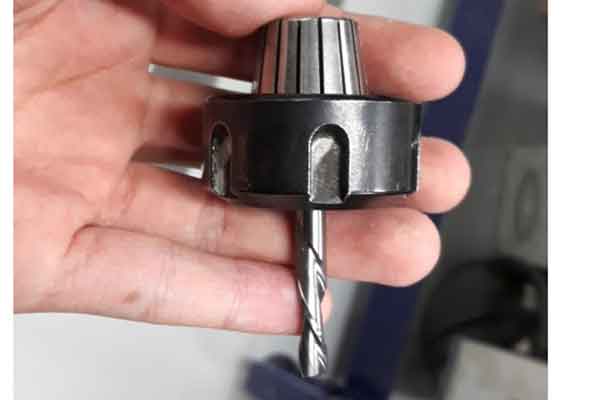
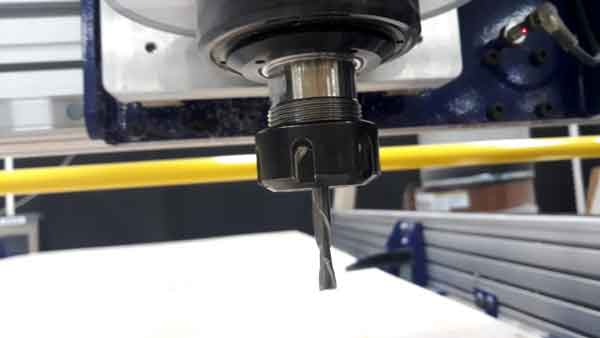
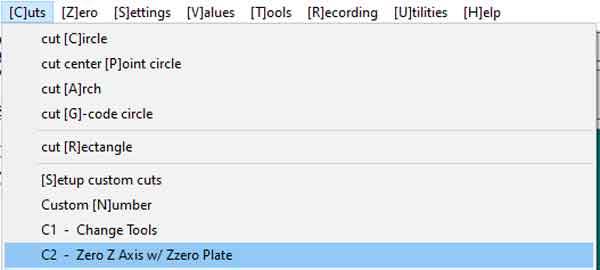
Replace the end mill and set the Z-axis.
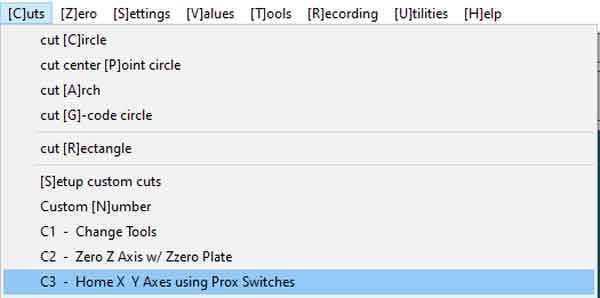
After setting the Z axis, set the X and Y axes.
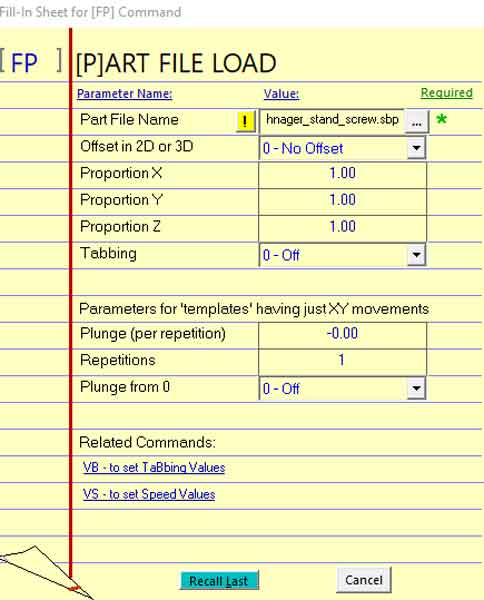
open the file and press the vacuum button.

Press the vacuum button and operate the end mill.
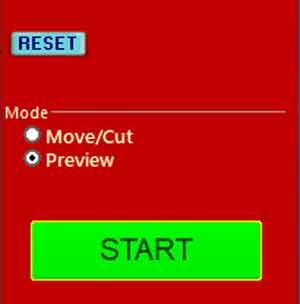
Start the work.
After finishing the work, I cleaned up the shop bot and sanded the parts.
After sanding, I assembled the parts..
I couldn't take a picture of assembling and sandpaper.
Thank you.
my work
hanger stand dxf File here