
Week 5
3D scanning and printing
Ultimaker is the 3d printer of our lab. I used the 3D printer a couple of time before, but I did not dig that much on all the possibilities that can have.
First of all, I found a simple test on thingiverse. to print it and see when the machine starts failing.
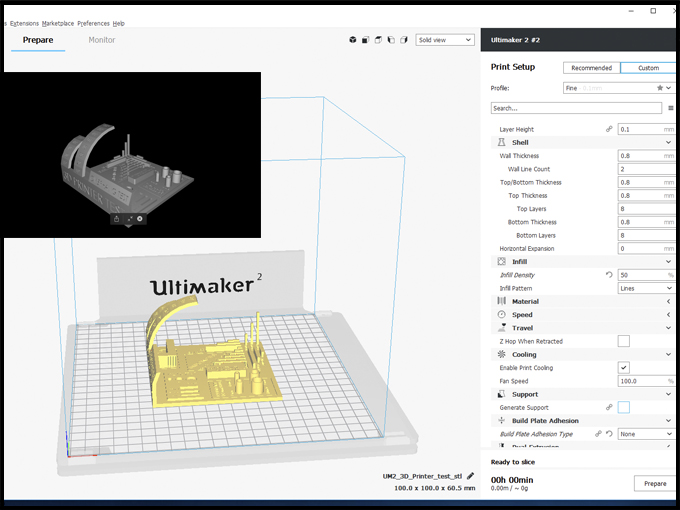
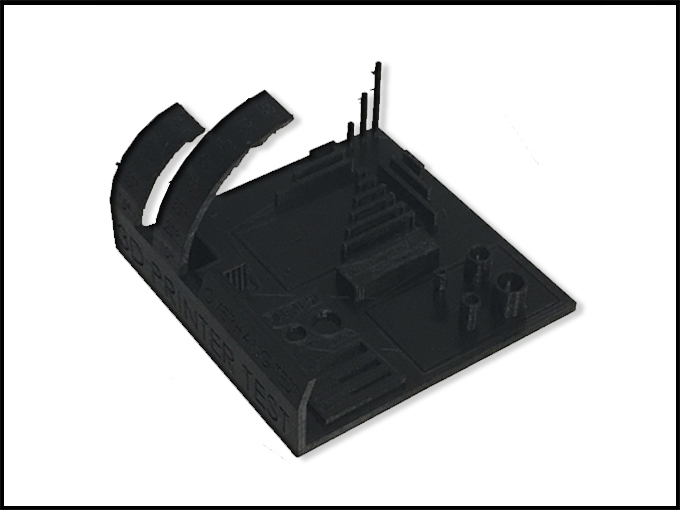
At the first view, it is looking good, but if we go closer, we could see some imperfections:
- The angles start to have extra material from 40º/50º
- The smalls letters are hard to read.
- The little details are not finished properly.
The design is connected with the final project. It is a small light that will be attached to the drawer of the table. So, it is a simple ring of 60 mm. with an interior support of 55mm. that goes 3 mm. deep because it will support a transparent plexy-glass of 3 mm. To be able to attach it to the main material, it has a “ear” and to be able to close it, it has a bottom that fit inside 3 mm.
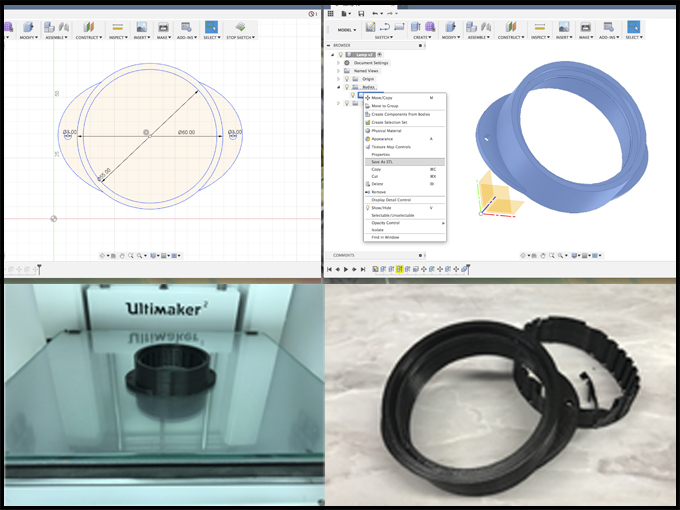
Everything it was designed on fusion 360 so we part from the 2D sketch and see that is fitted on 3D version. Now, we are ready to export like a SLD and open in CURA to set the printer.
The other assignment of the week was to scan, create a 3D printer object and prepare it to print. For this I used the program PreCap Photo.
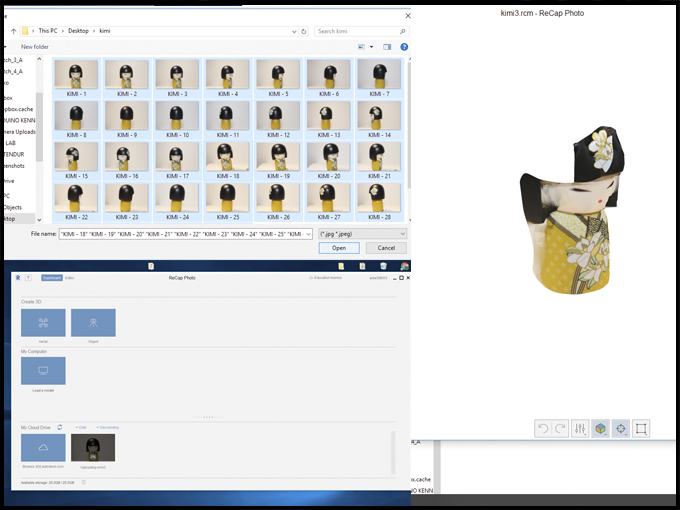
The first try we took around 35-40 picture and fail, the head did not take the form that supposed to have. We did not figure out why, maybe the light on the picture or the form of the object. Anyway, we try a second time. The second try we took around 100 picture, different angles, and 360º rotation. Fail again.
It was a good practice for the future and we will try again in a future and hopefully will work.
for this kind of process, it is necessary to have a good lights environment and mobile platform to take a proper photoshoot of the object. Even though, it failed, it was a good practice for the future.
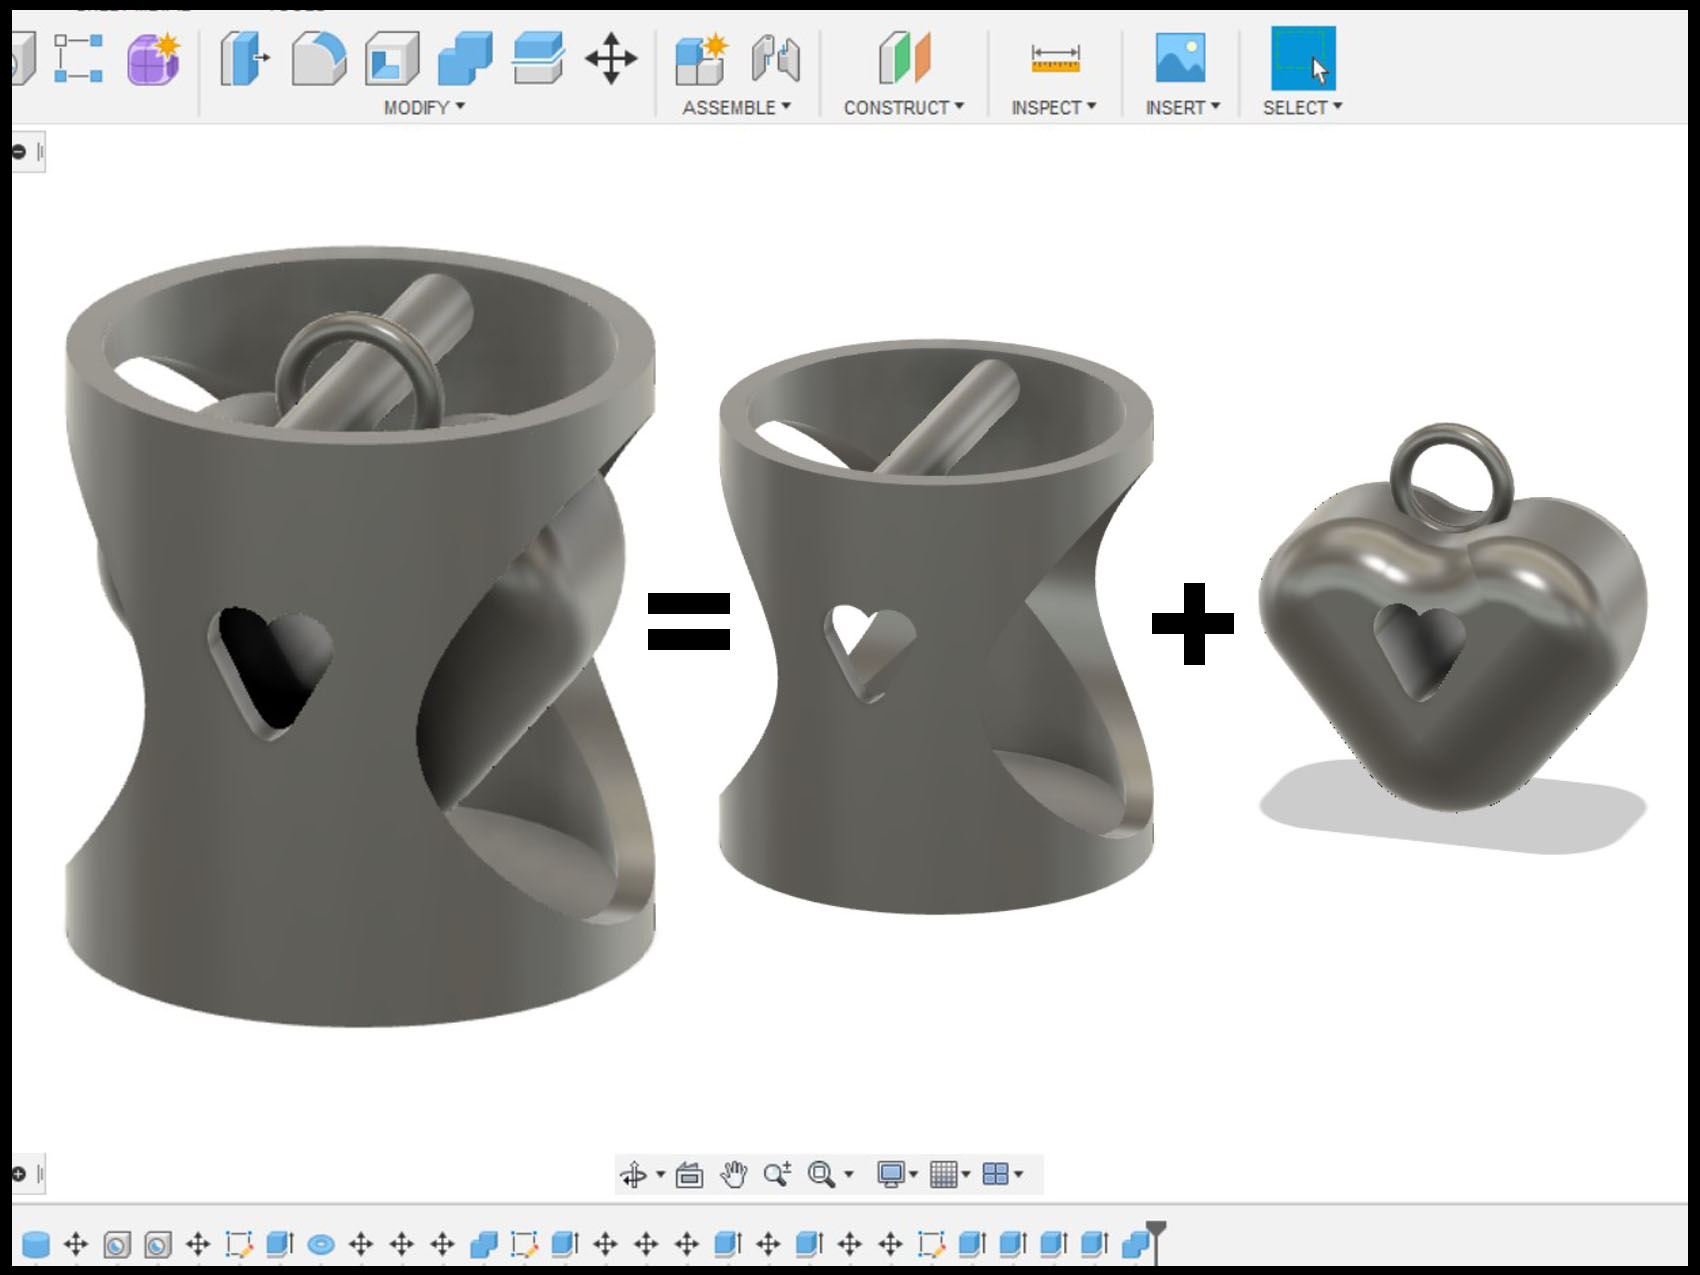
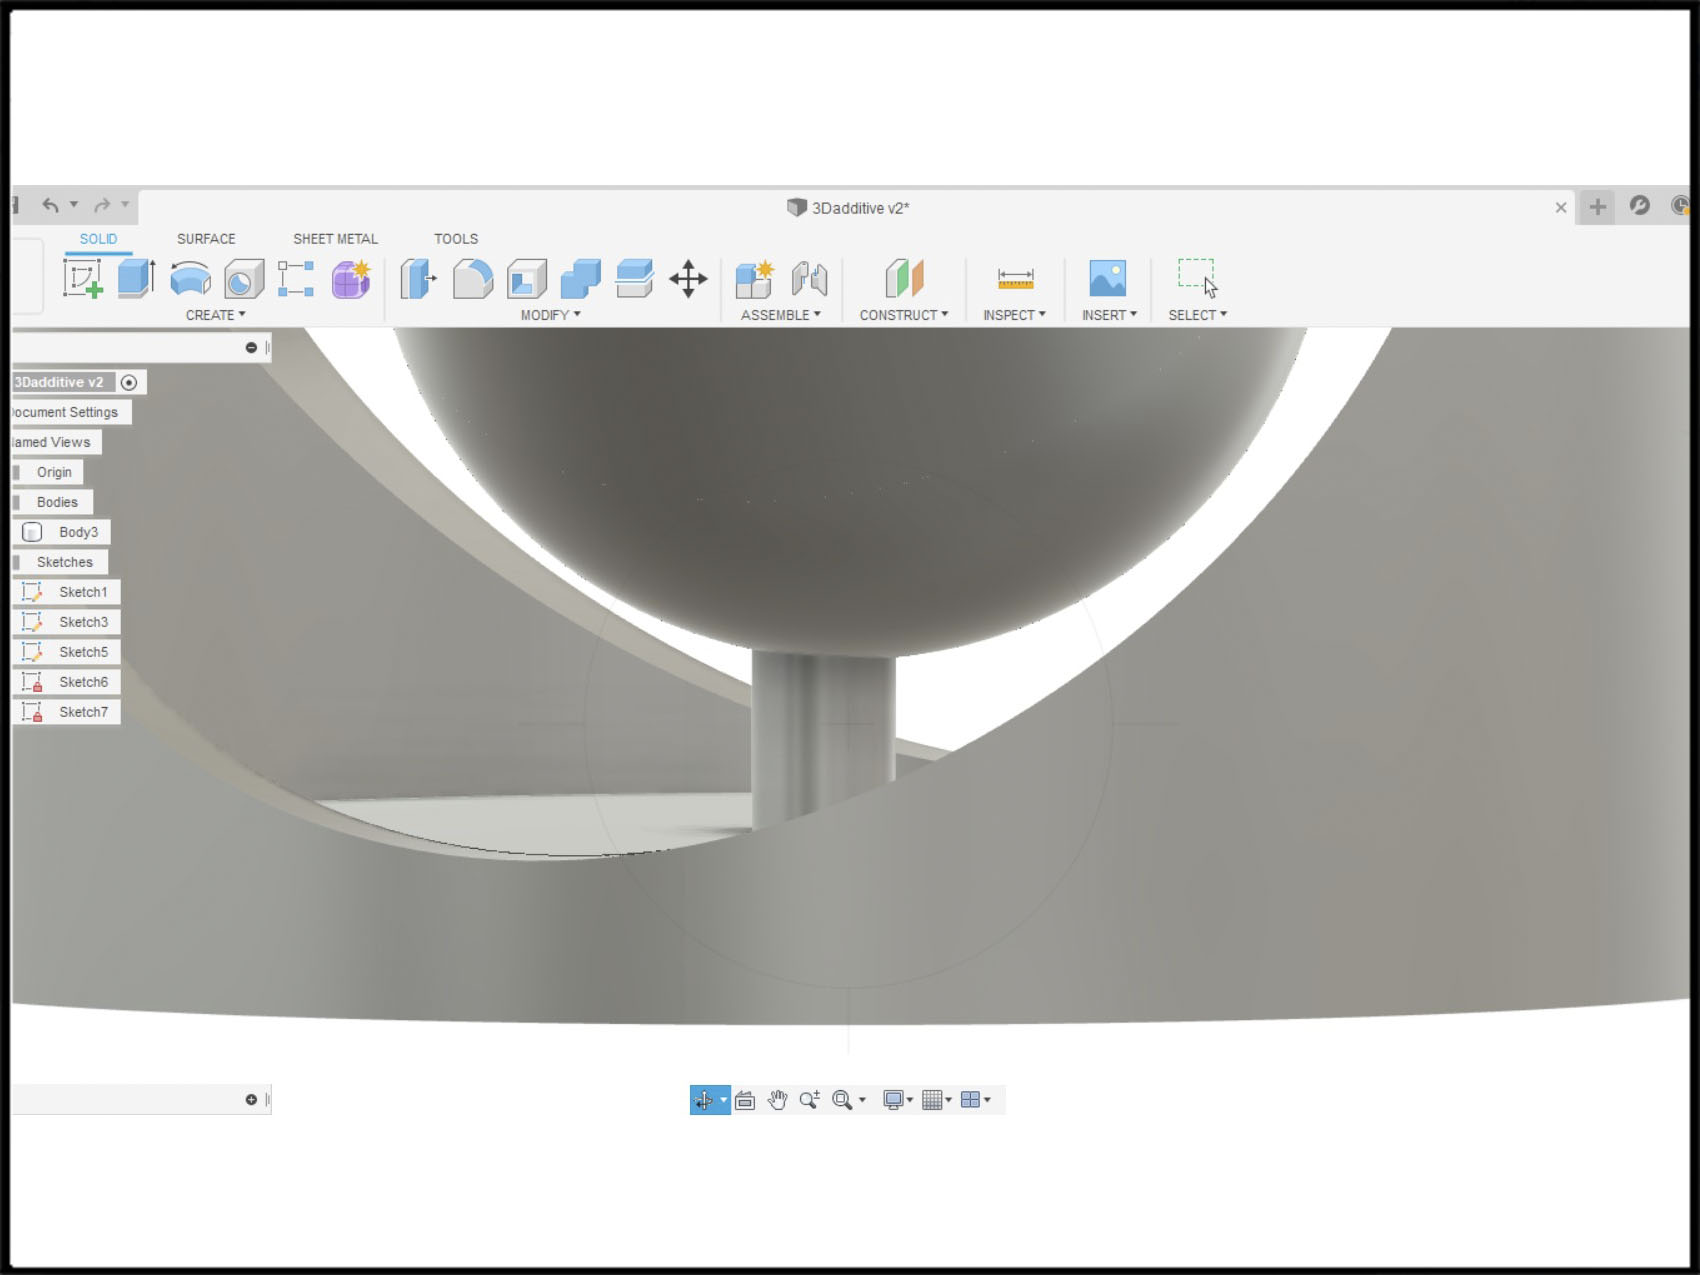
The design of the lamp is able to do it in a subtractive way, so to show the possibility of a 3D printing design with the only choice to do it in an additive way I design a 3D printing in Fusion360 Using mostly the tools of solid figure. The first steps on Fusion is always to do a sketch, then I draw a circle, duplicate and connect them with lines. After that I extrude them and combine and filled, the rest of the structures were designed with the solid tools.
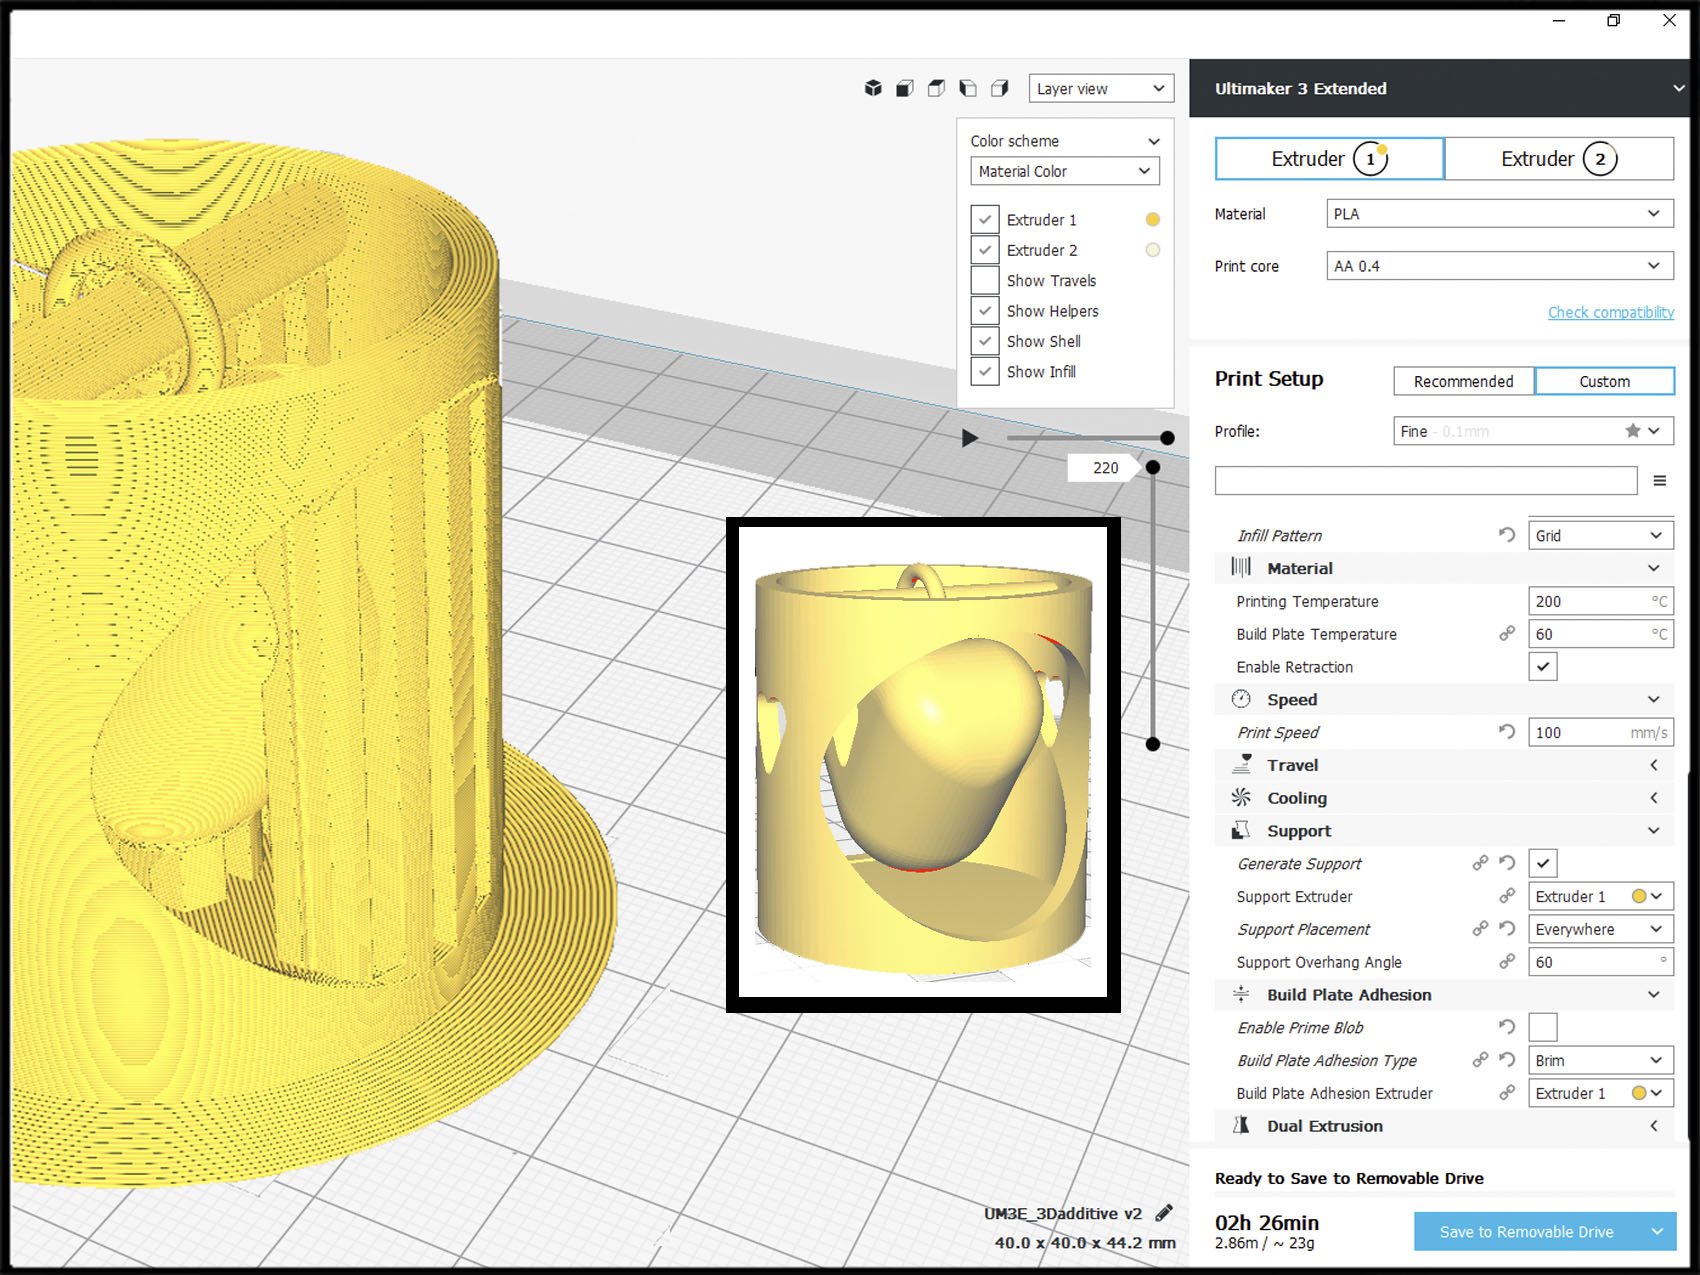
On the first try of printed, the support did not get all the structure, so the print was aborted, and I added an extra support on the Fusion file. In Cura you set the 3D printer, in this case is Ultimaker 3 Extended, the main setting to take care of are:
- Layer height 0.2 mm
- Infill density 30%
- Add support.
- Add built plate.
On the picture below, you can see how the printer finished it with the support.
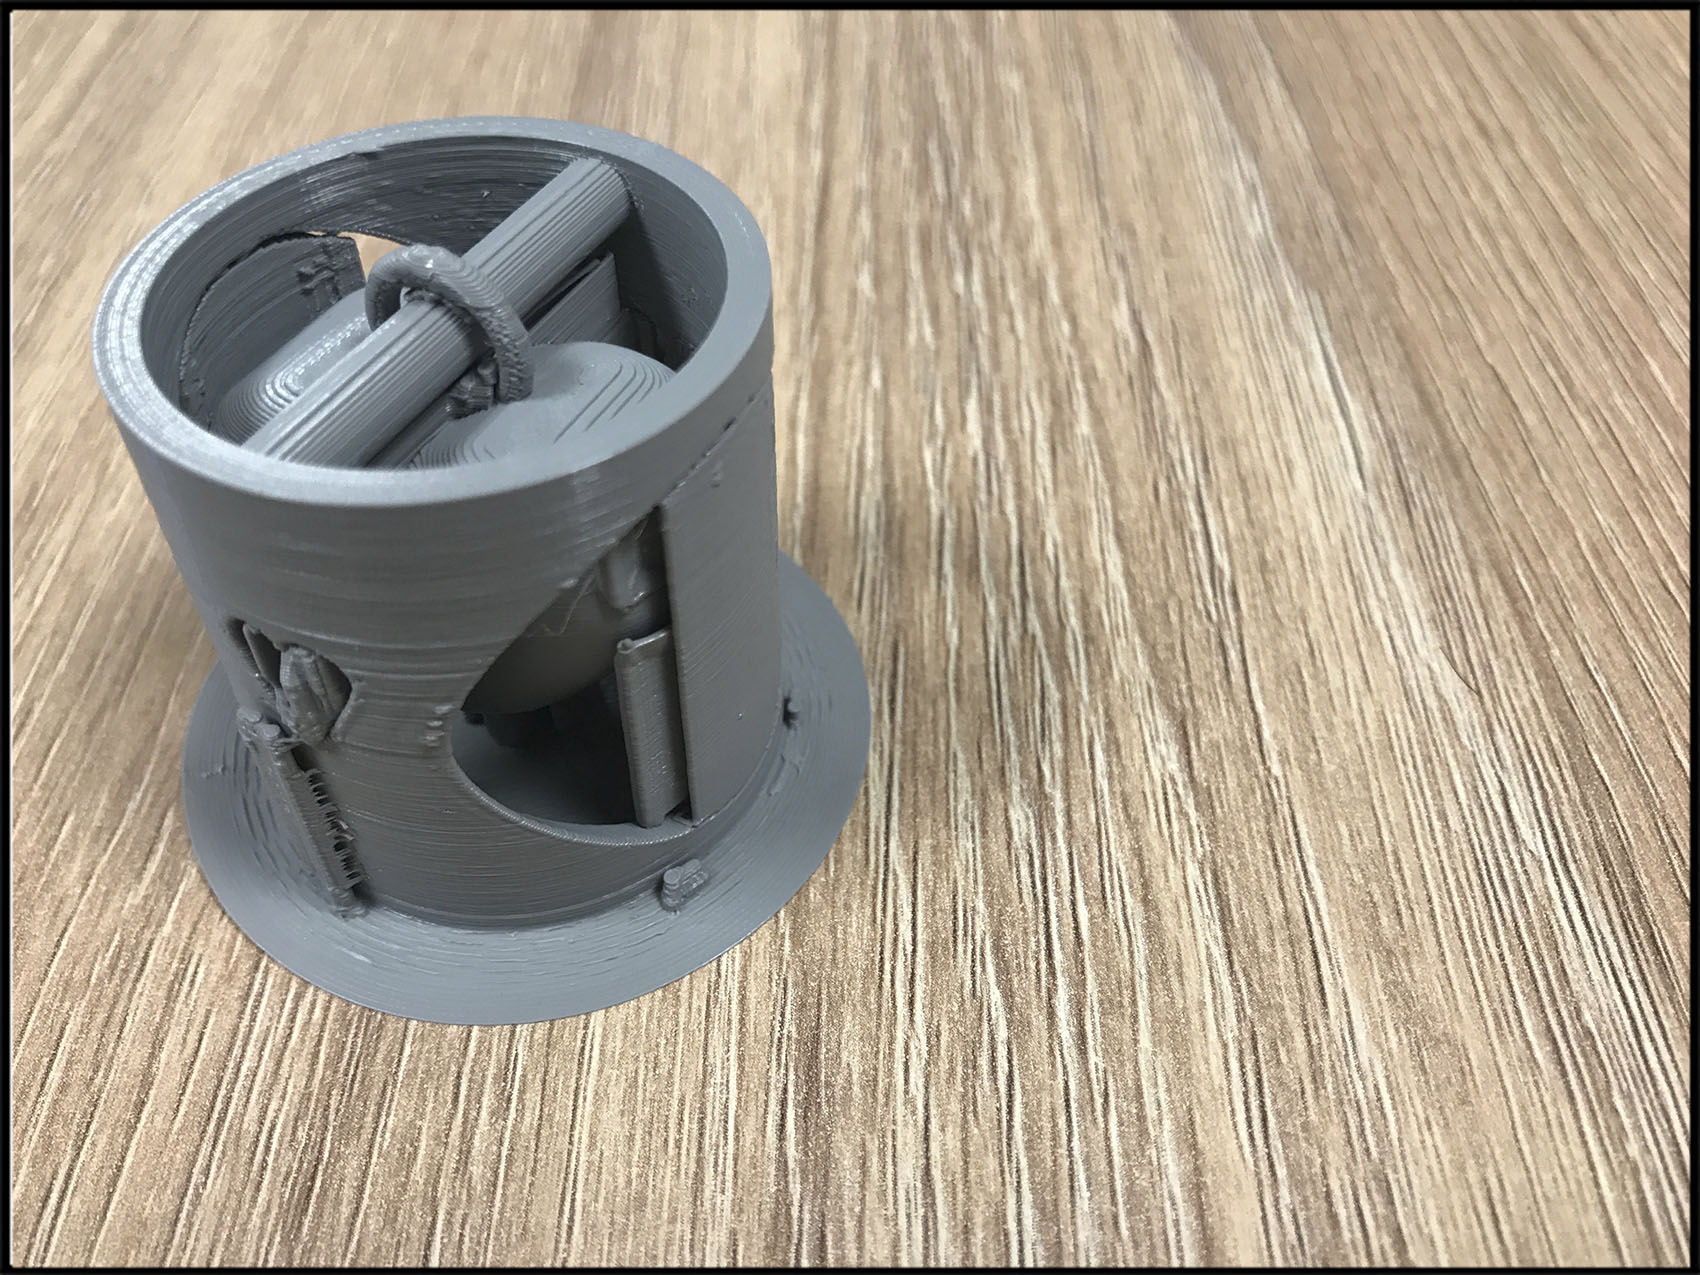
On the next video you can watch the result:
Files
Test. Stl file
Lamp. Fusion360
Additive 3D print.Fusion 360
Additive 3D print. Stl file