
Week 16
Wild card
SOFT ROBOT
Thinking about what to do over this week came a main though on my mind. Soft robot. To get into this I watched and read the work of Adriana Cabreraand Mathew Borgatti. Also, it was so helping and easy to follow the information and the steps about it with one of the students of FabAcademy of this year, 2020, Adrián Torres.
To build a simple soft robot you need a main structure that you can 3D print.
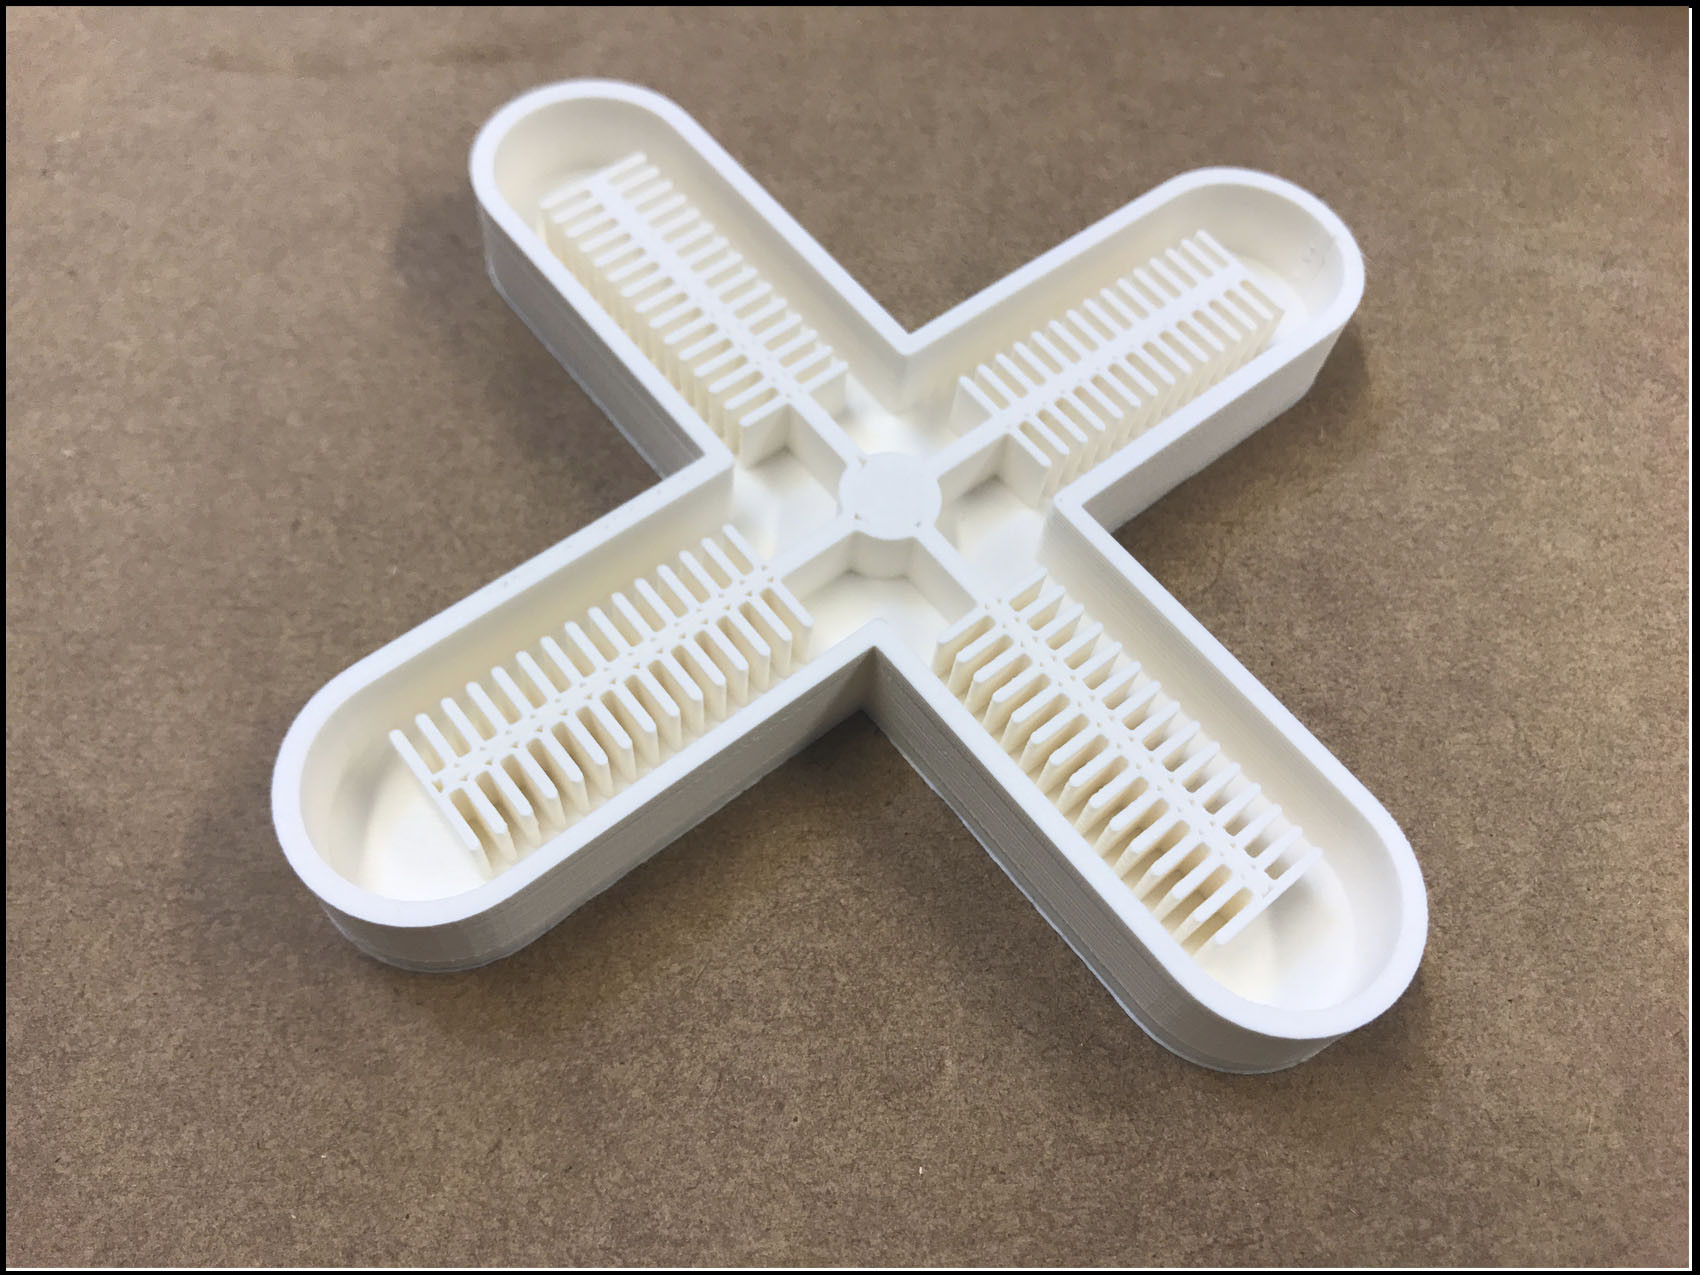
After that, with Smooth Ecoflex you casted. Do not forget to create a layer of silicone and paste both parts together with silicone also. To finish, it is necessary to make a cut to be able to put the tube to blow inside. If you do not have any motor to blow in side, you can use also inflator.
Sadly, the soft robot assignment was not possible to make it work. I could not get the Eco Flex Smooth to be able to use, instead I found Clear Flexy Smooth, so I decided to give it a chance.
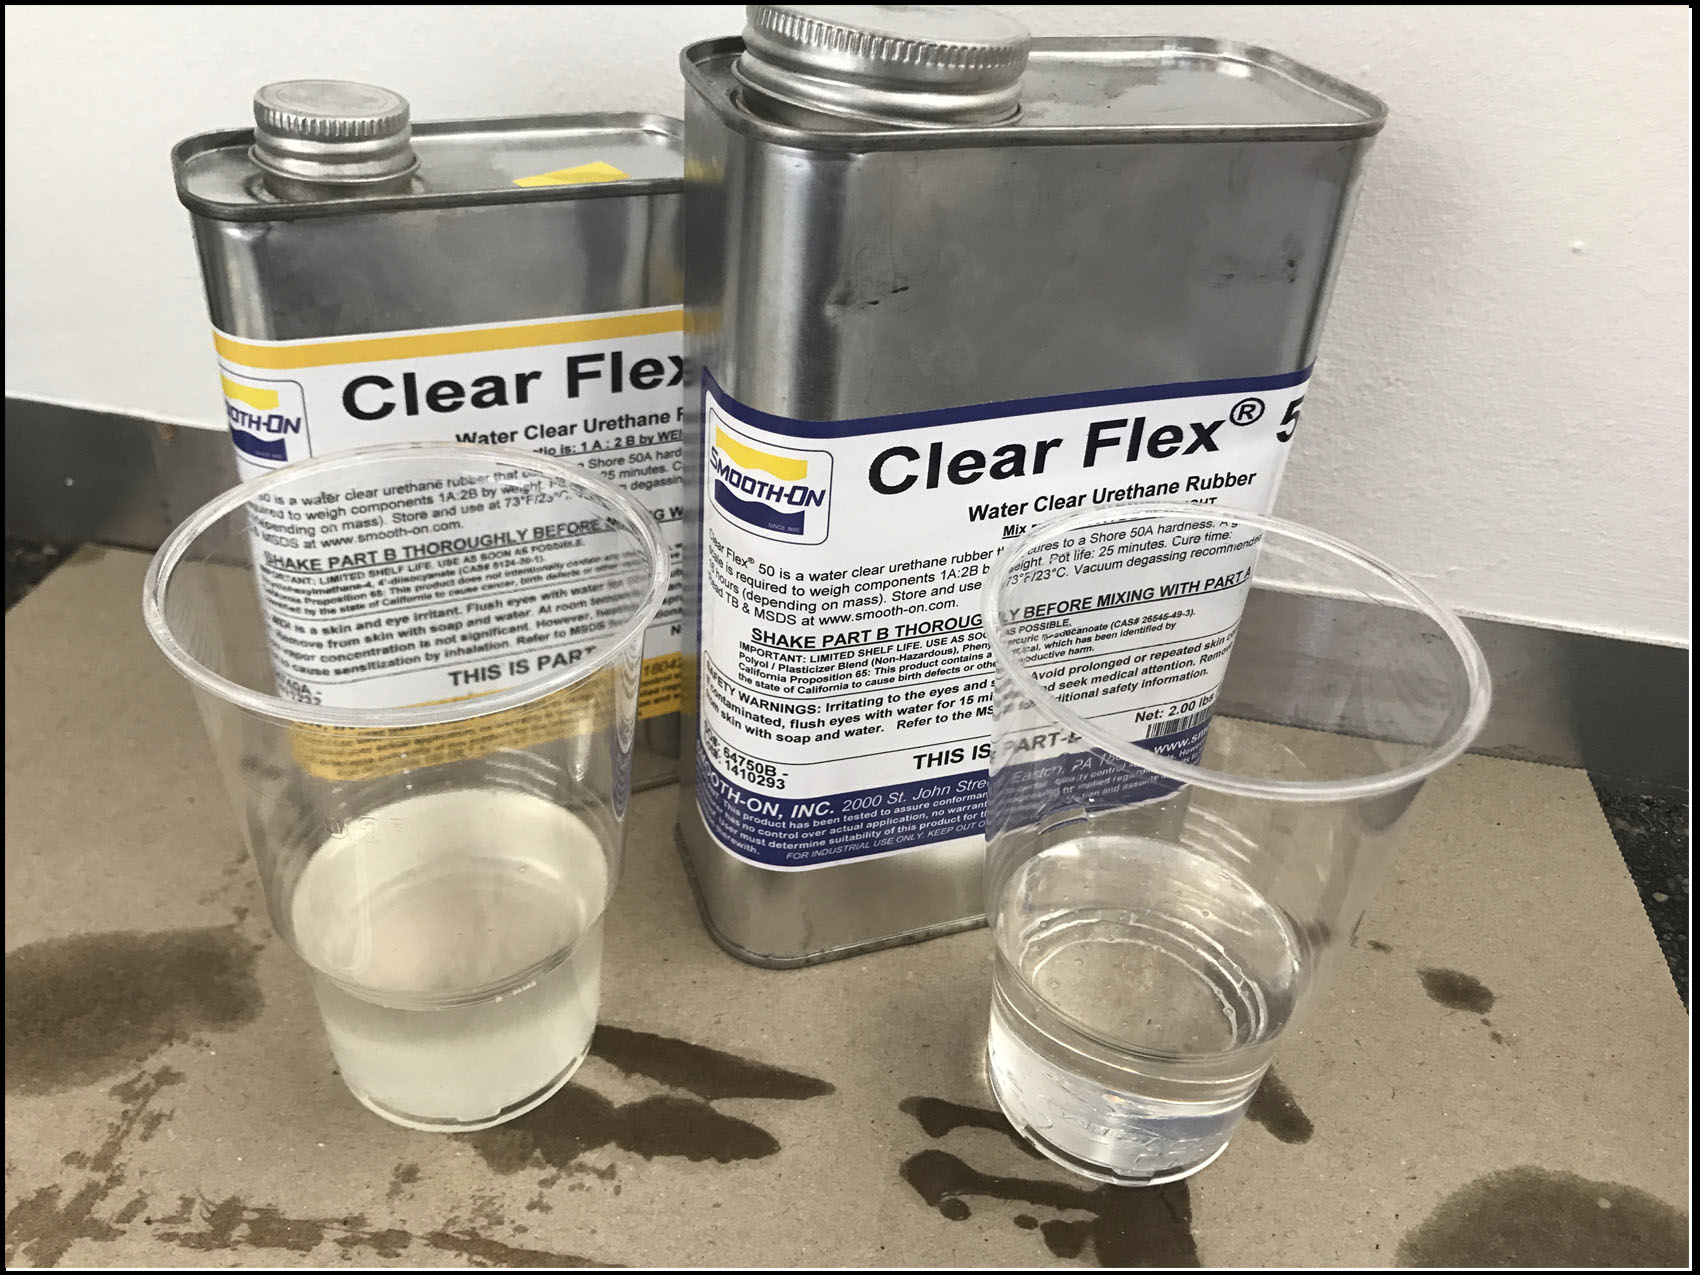
However, it did not work like supposed to, and everything got stuck on the molds.
IPAD COVER:
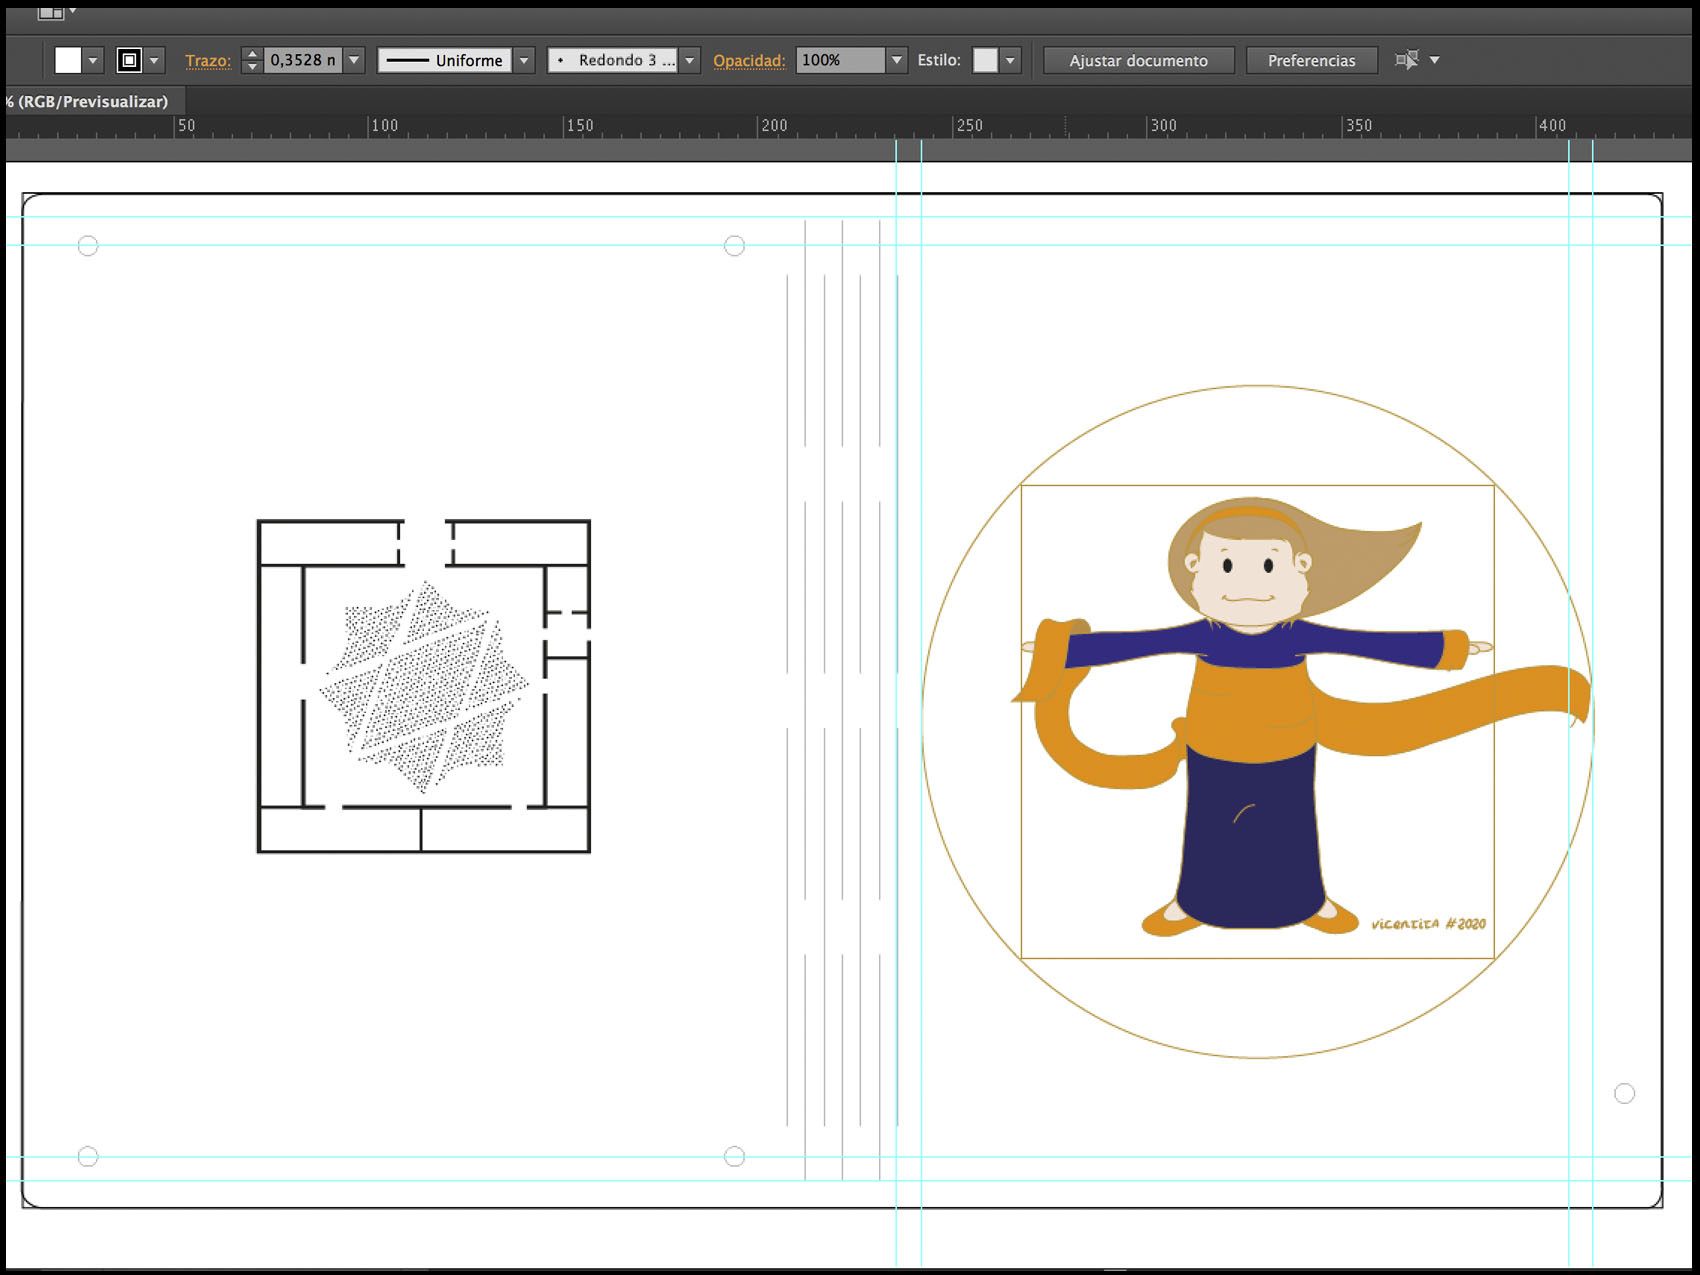
The cover was designed on illustrator. I made holes where will fit pieces 3D printed to hold the Ipad and the Apple pen. To be sure that everything fit, at the same time that I design the pieces on fusion 360, I recreate the cover. Also, to be able to bend the middle part I use a lines pattern.
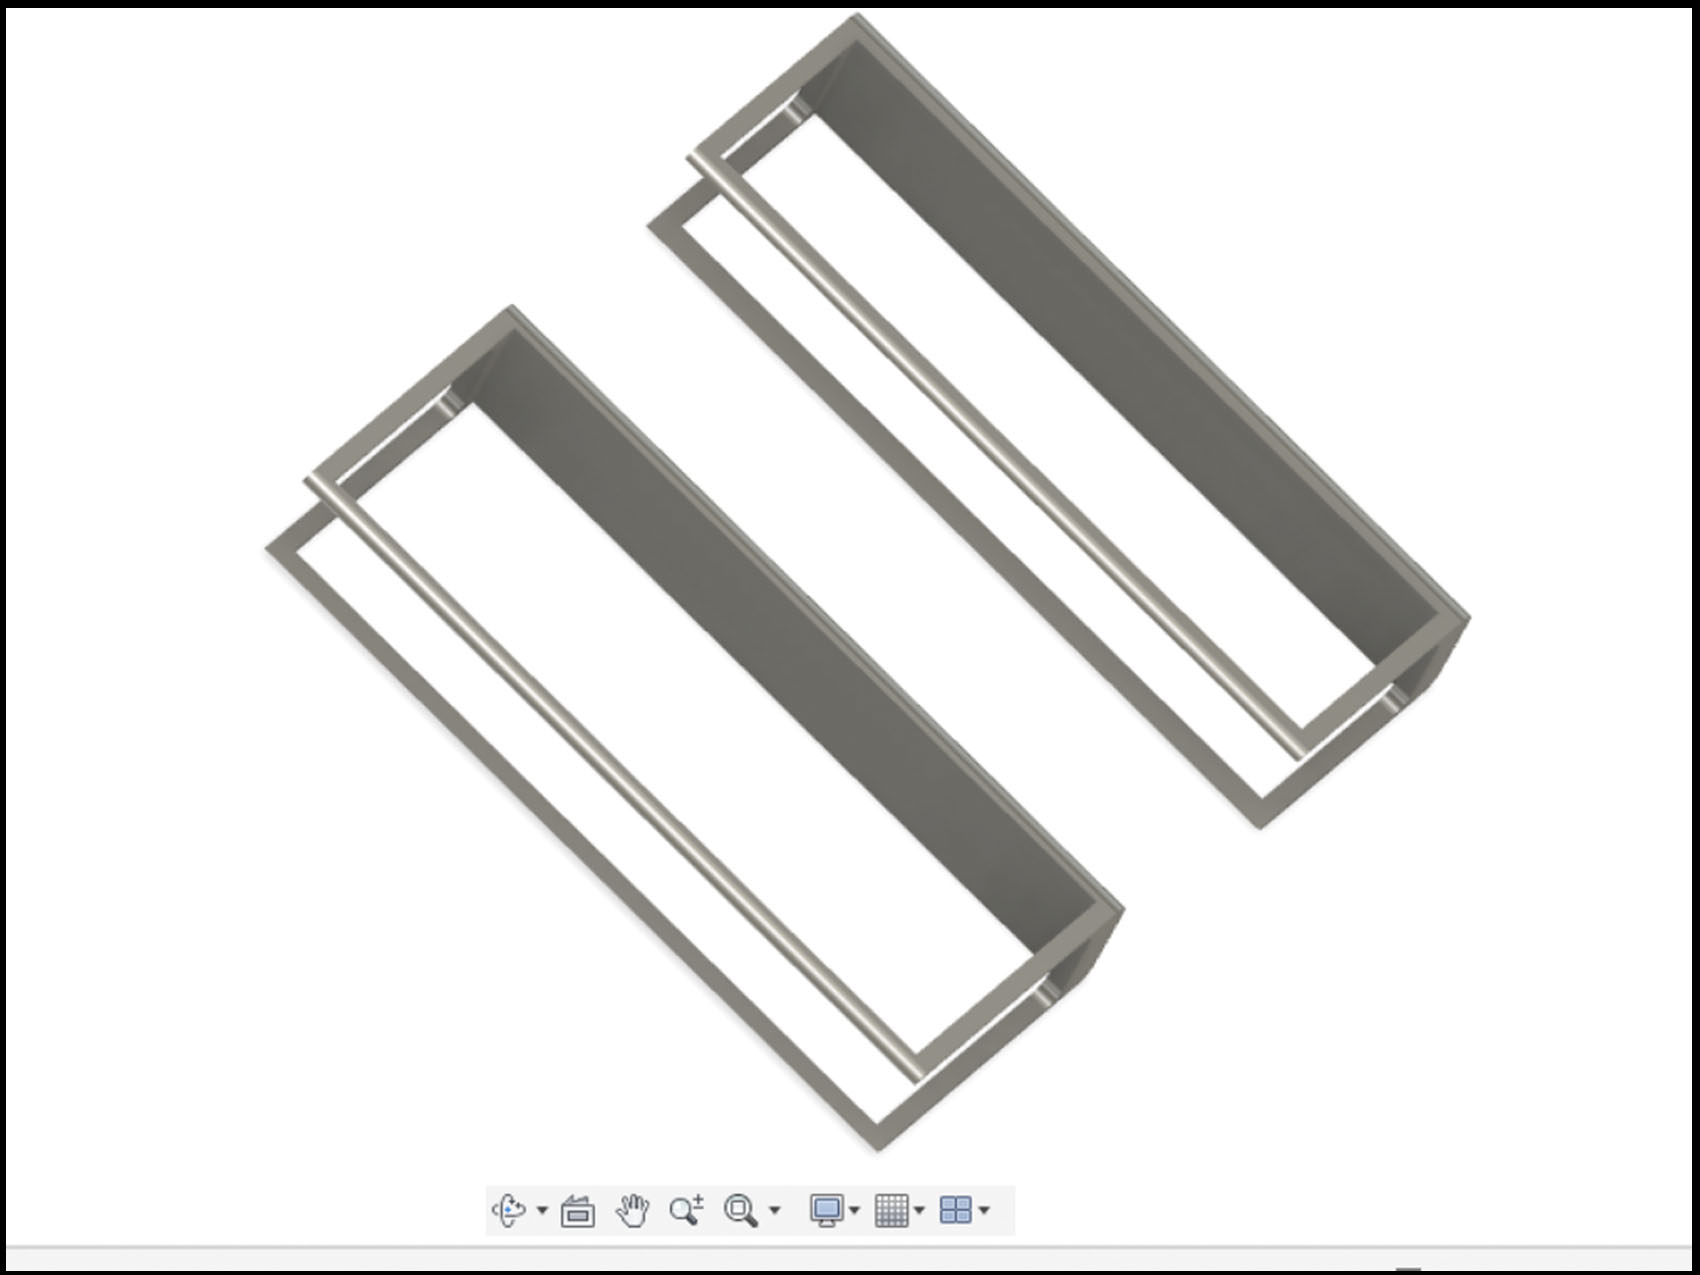
To be able to hold the IPAD I design in fusion little holdings that are able to take it out.
VICENTITA’S MOLD:
Taking the lessons of the “molding and casting’s week” I wanted to have a mold of the character that I created a long time ago to be able to make little dolls, flexible dolls or candles of her. The first step it was to design her on 3D with fusion, make the box and the front and the back of the doll. Sencondly mill it in wax with the Roll mill. And finally, cast her.
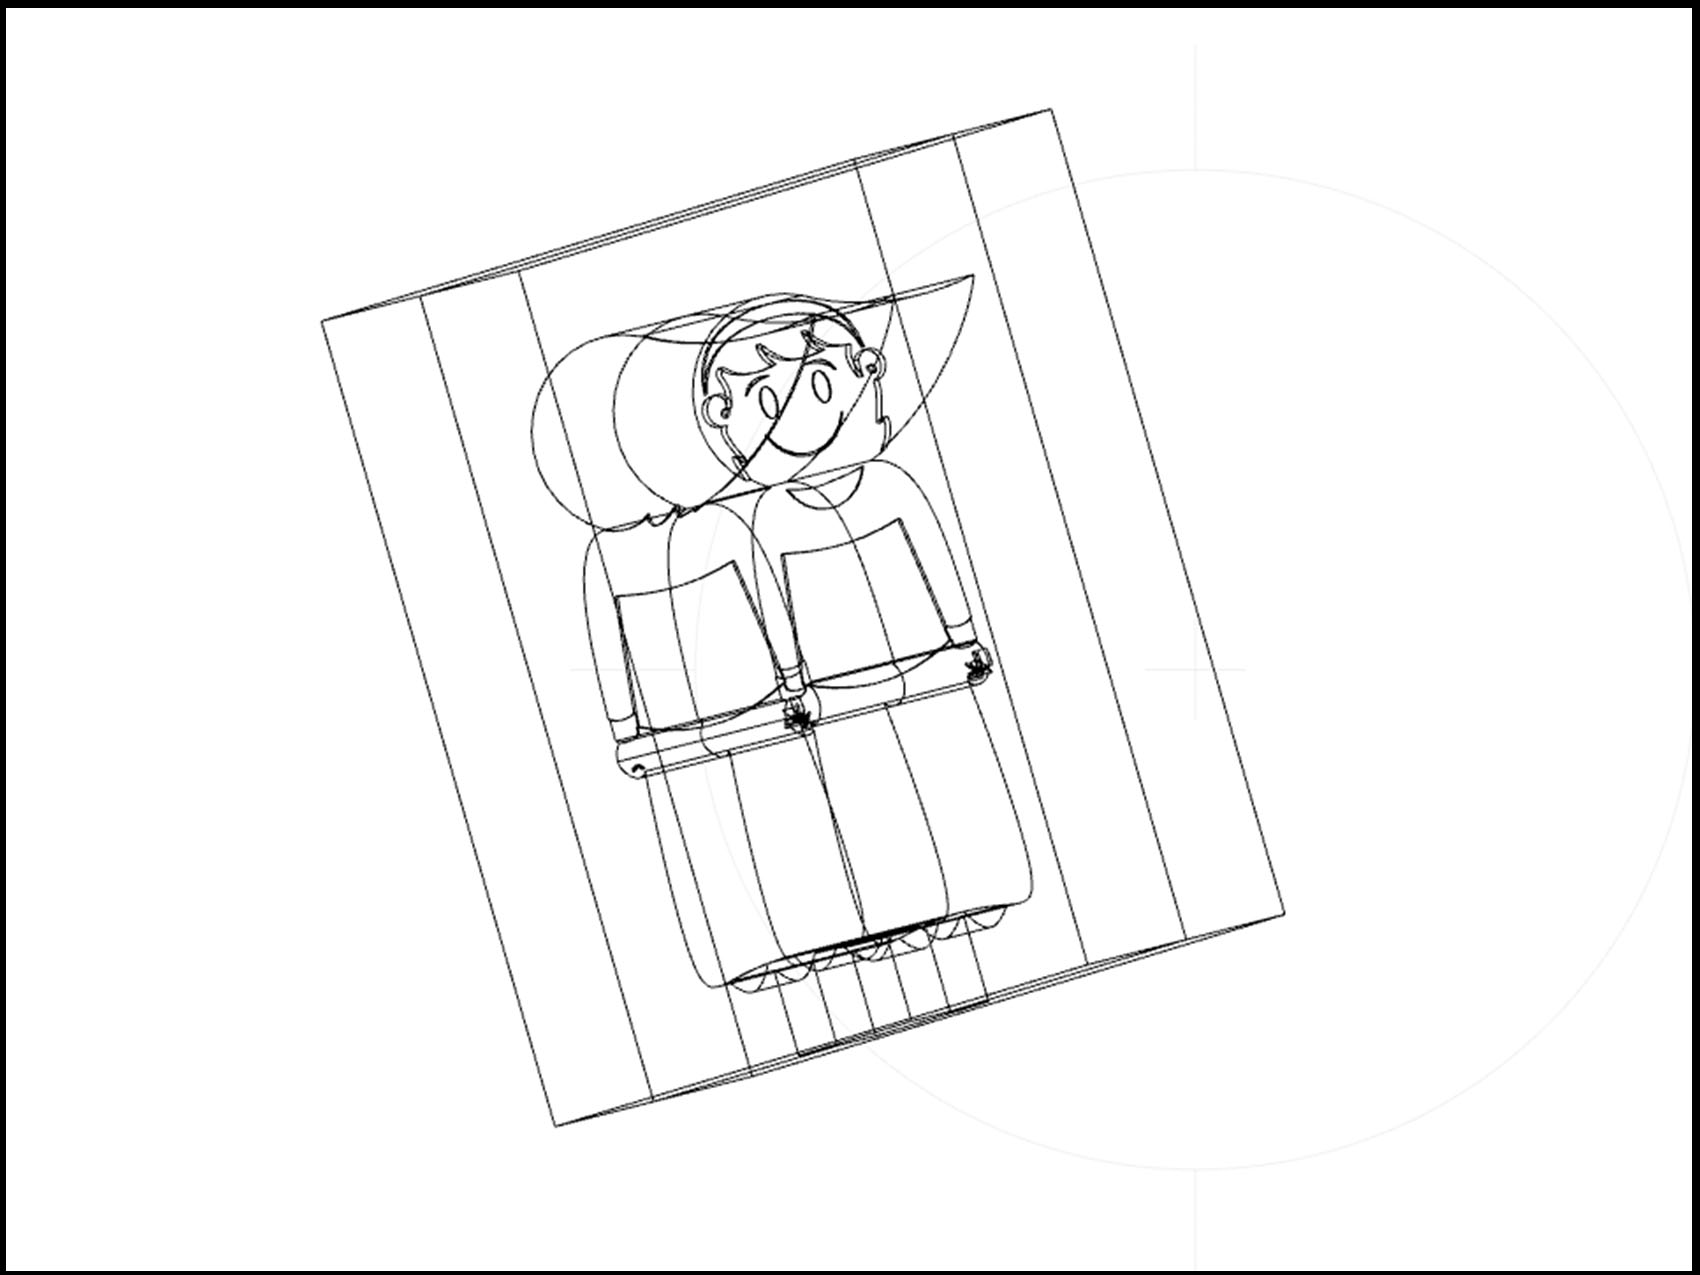
The lab where I have access is restructuring the building so, the machines are not available to be used. To be able to do the final mold to cast.
BUTTON’S FRAME:
The projects connected with the final project is this one. This frame will be connected to the cartoonist table, under her it will be the board with the buttons that control the movement of the table up and down, the movement of the mirror up and down and the swift on and off of the light box incorporate on the table.
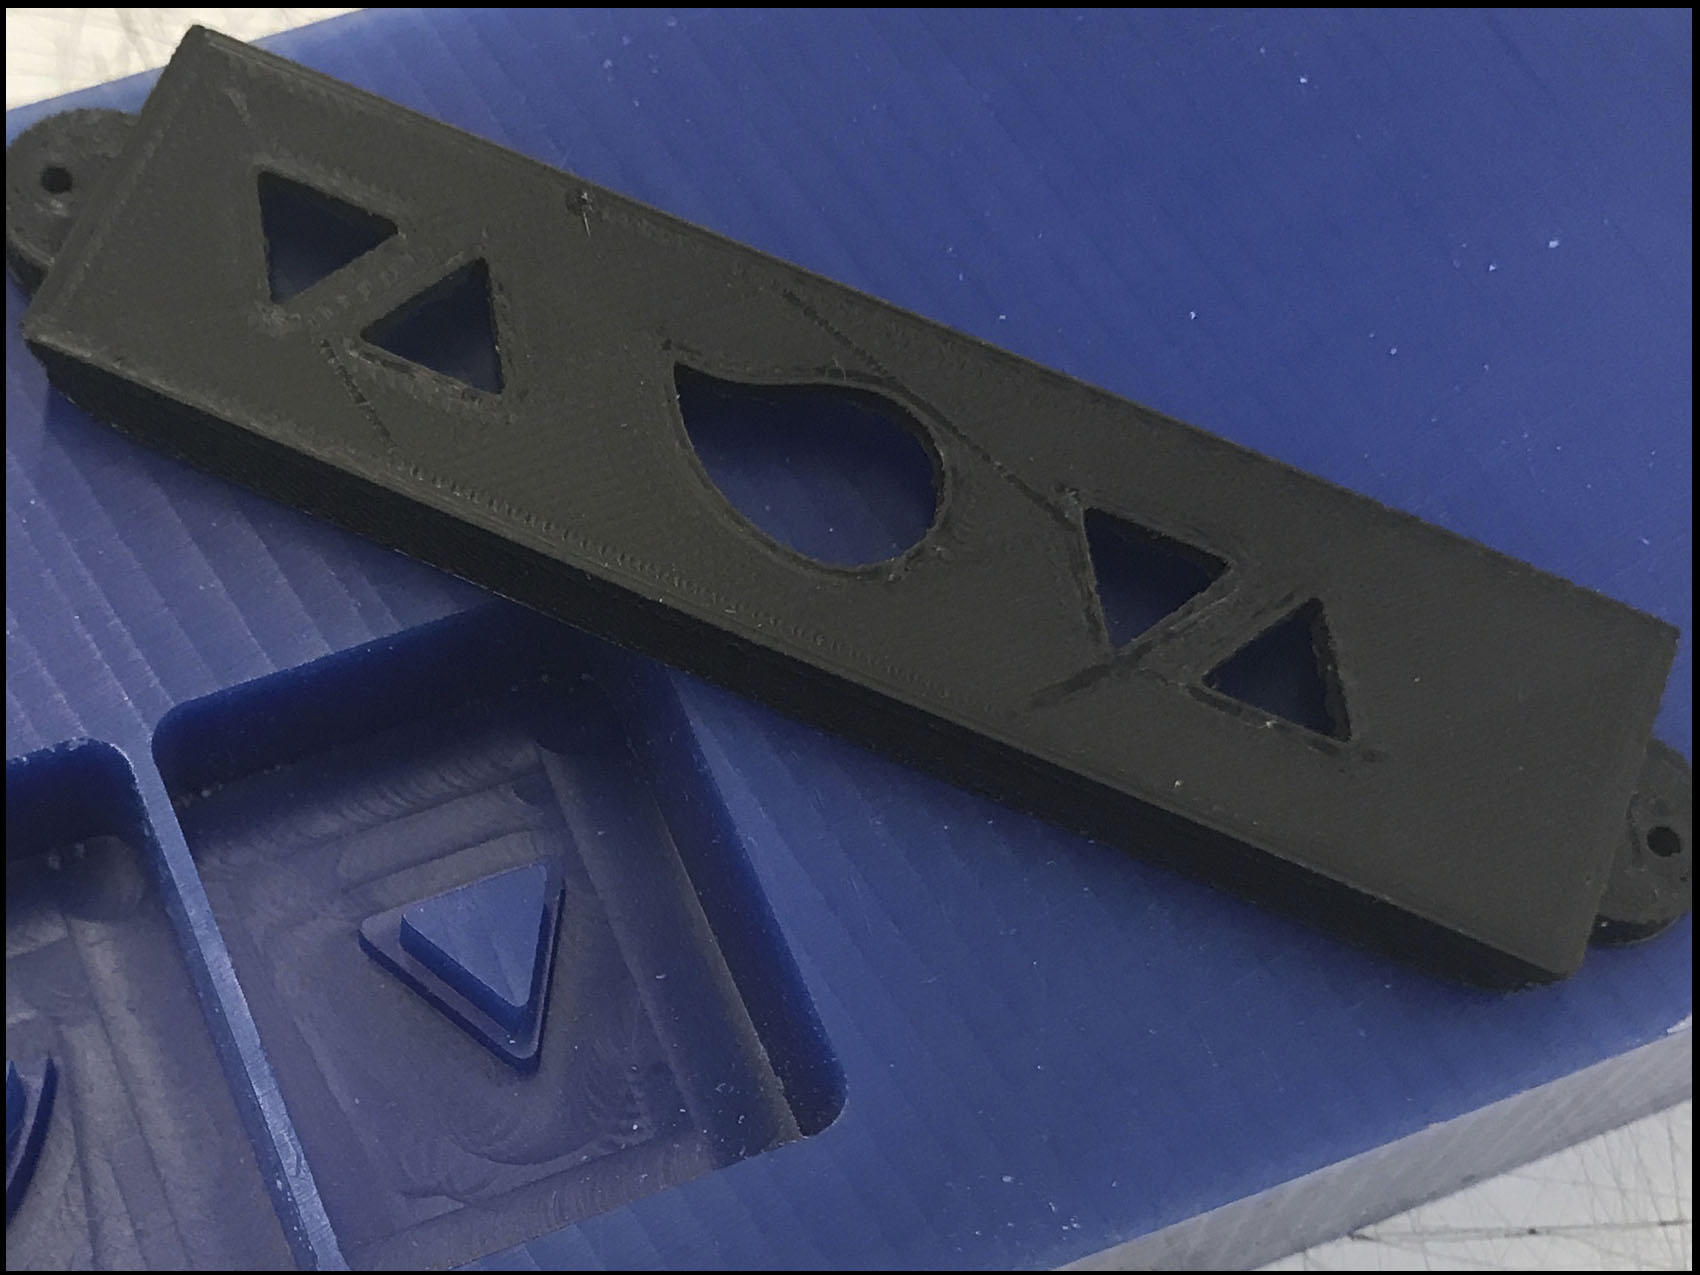
In this case, the molds of the button were making it on the “molding and casting’s week”, once I got the buttons, they were fit it on the frame. The challenge arrived when the button’s board have to fix under it.
The most of the previous assignments are not finished, so the next one hopefully works.
SECOND TRY OF THE SOFT ROBOT. INFLATABLES:
Advised by the global instructor, I took a look on Adrián Torres Week 3 where he explains how to make an inflatable structure. He got the inspiration by his local instructor, Nuria , who was doing the FabTextile. (ADD THE LINKS)
For this assignment it is necessary:
- Baker paper.
- Vinyl + Film.
- Straw or tube.
- Heater shrink to protect the straw.
ADVICE: Not put the straw inside the heater planc.
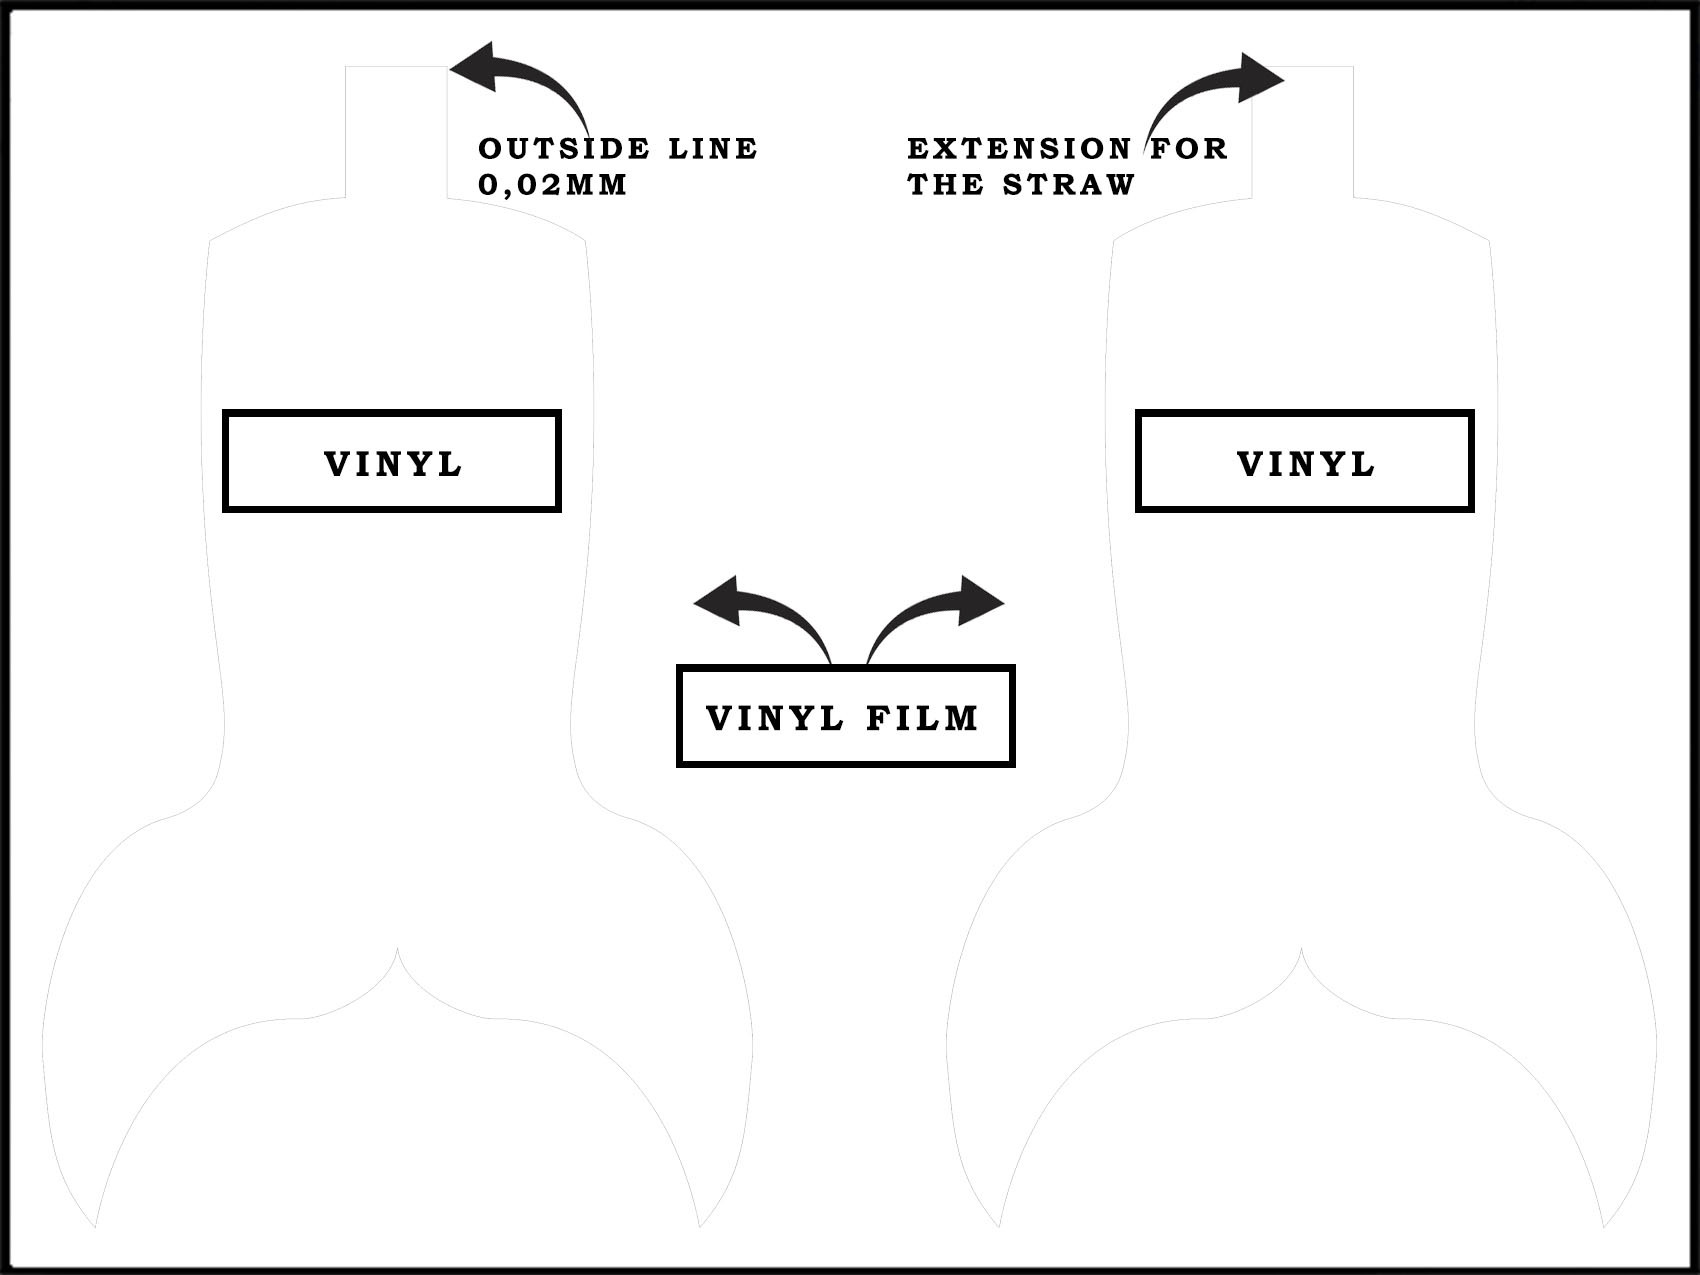
The mermaid tail was design with Illustrator and cutting with the Roland GX 24 that was set like on the week 3. Draw 2 pieces of the shadow of your design, on my case the mermaid tail, and cover the area that you do not want to get pasted.
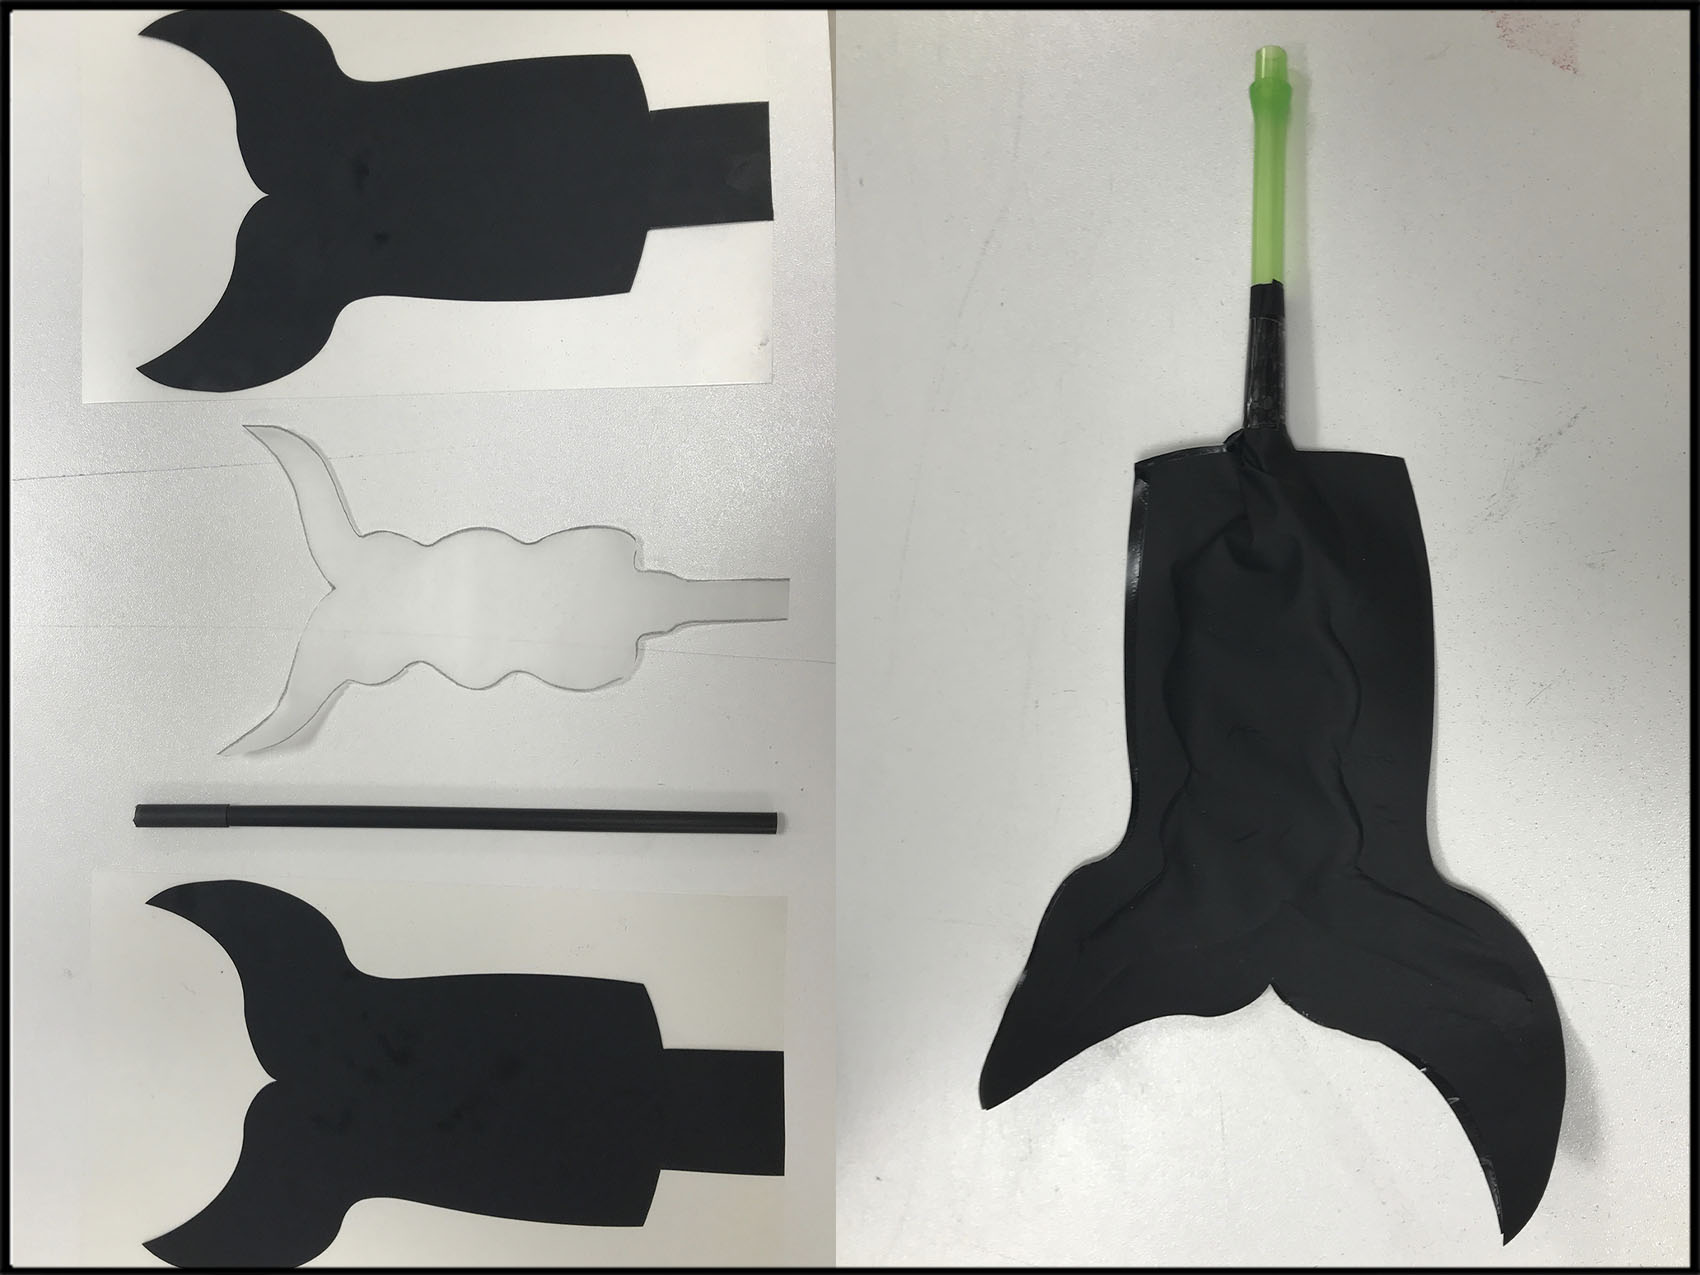
The paper baker has to be inside like a 100 mm from the border of the vinyl and the straw has to be protected for a heat shrink. Take care of not put so much straw inside the warming place. On my first try, even if I protected, got paste and impossible to blow air inside.
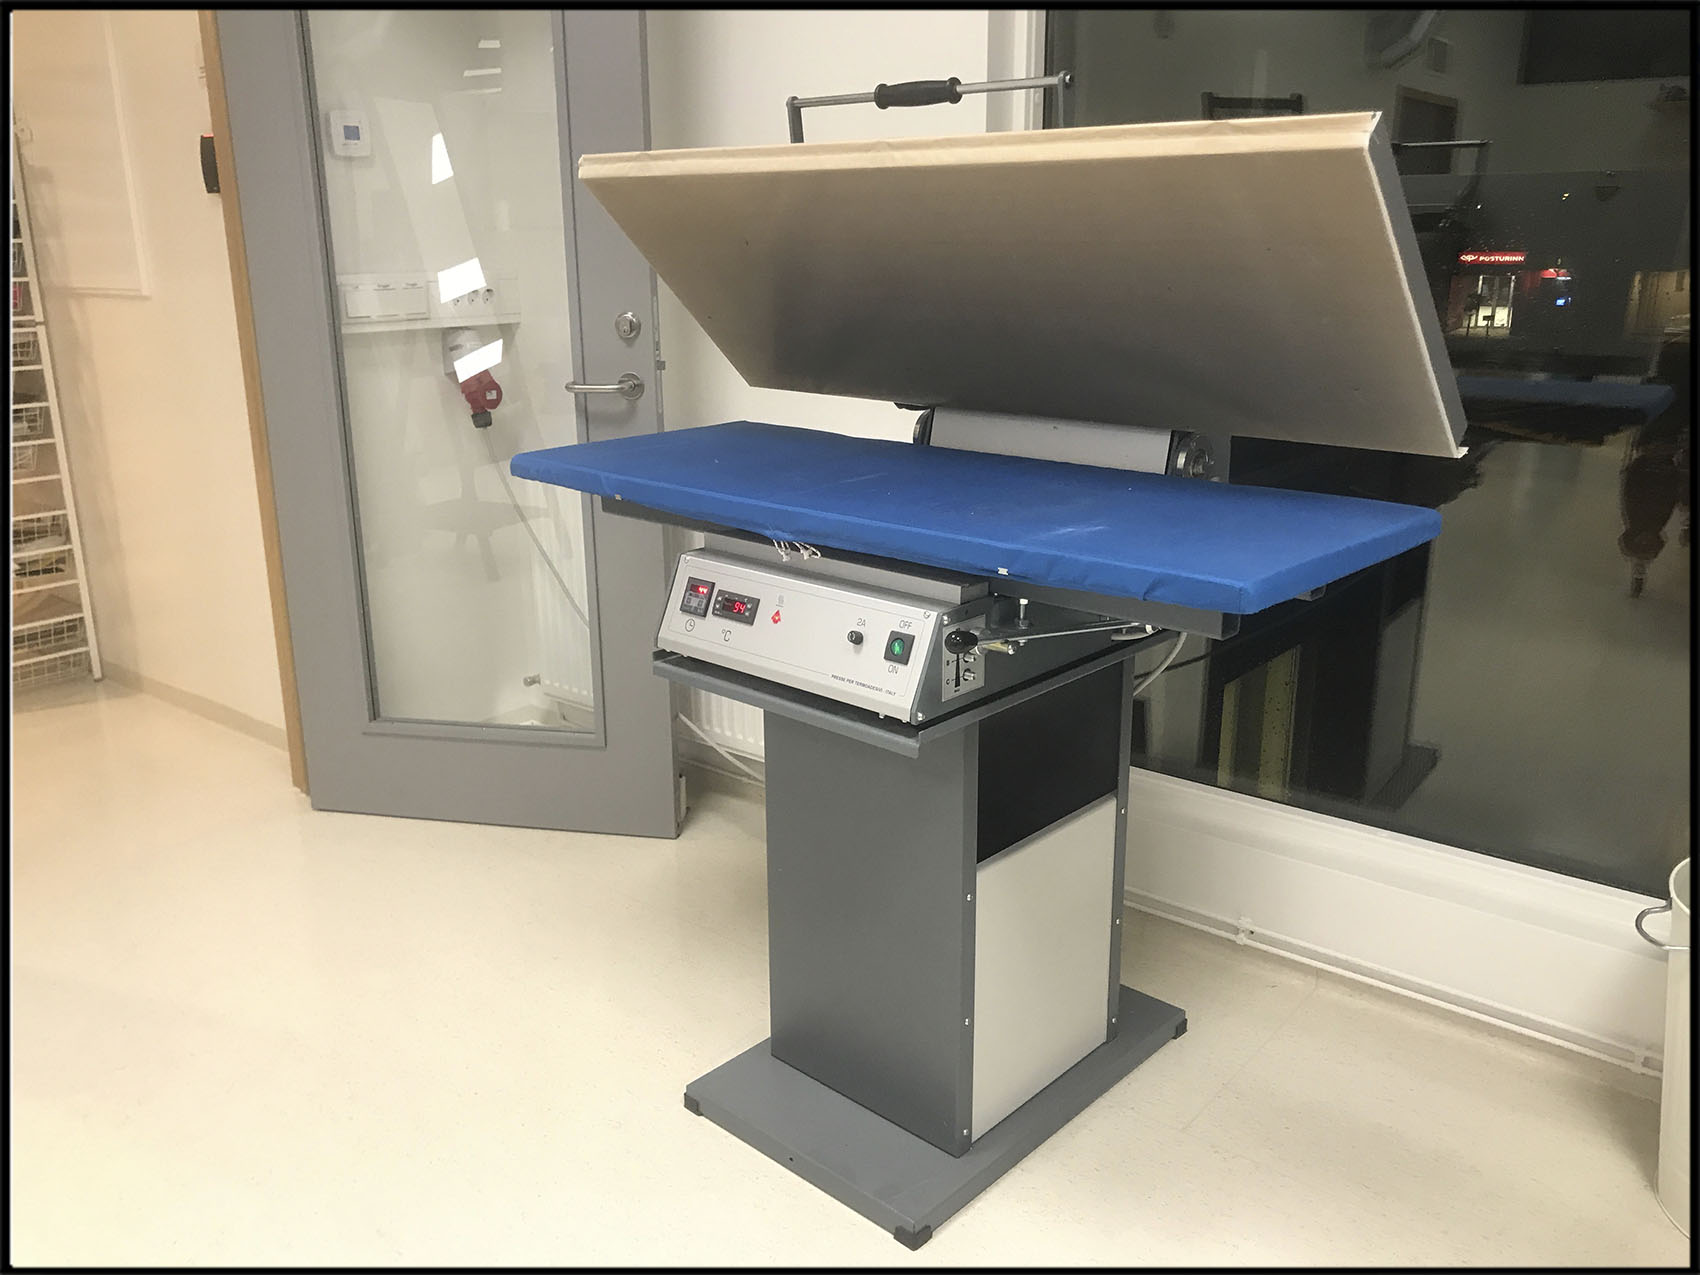
The next step is to iron the pieces. Remember, the material is mostly plastic so use a fabric to cover it and protect it from the warm. On my case I use the Presse per Termoadesivi that the lab has on the sewing area. This machine needs to get warm until reach the 180 degrees, after that, set the material and let it heat for 40 seconds.
Now, it is the time the results: