
Week 15
Molding and casting
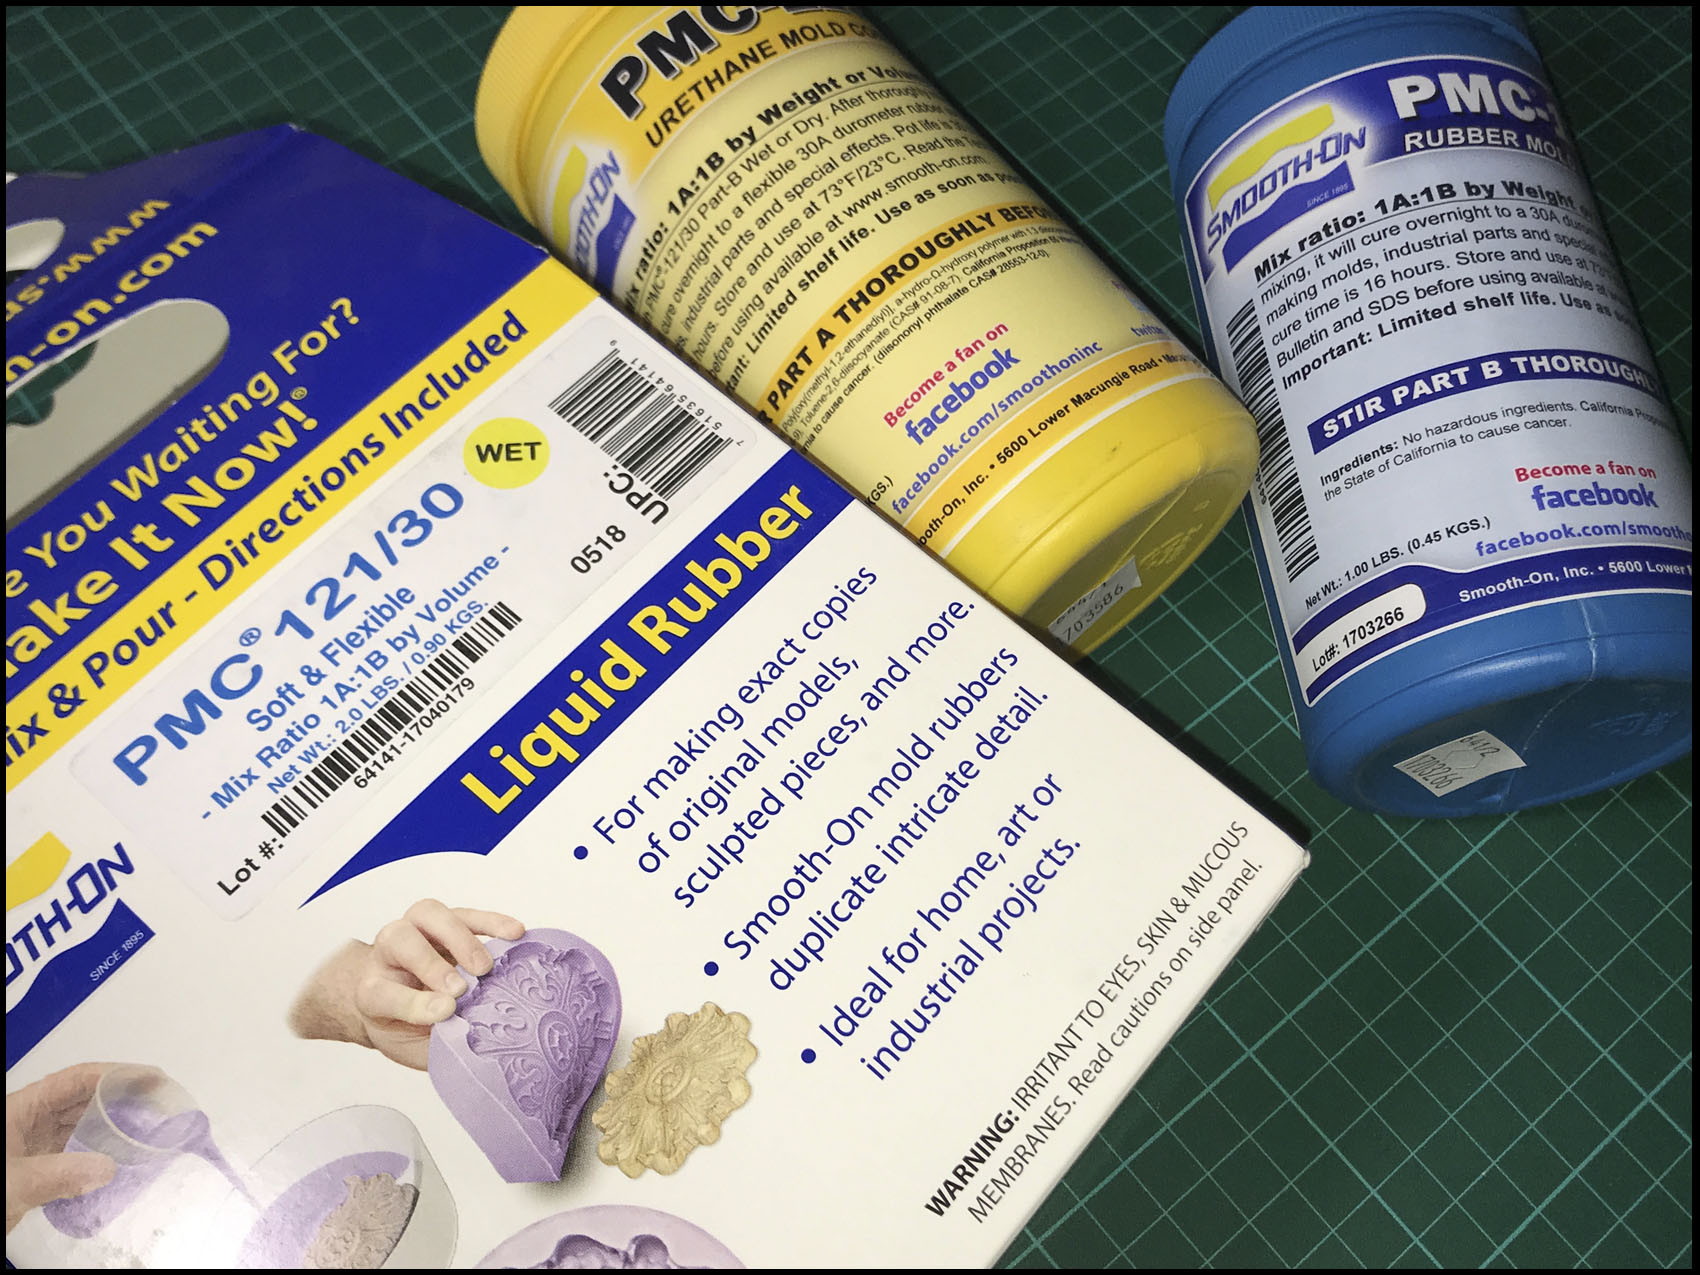
This week is the time to check the molding and casting tools and knowledge. For that, the product to use, on my case, was Smooth-on.
You have one product to mold and another one to cast. Before start pay attention to the security advice that is necessary to follow if you do not want to be intoxicated or have damage on your skin. Gloves and good ventilation keeping the balance of the temperature for the product is important.
- Keep the surrounded well.
- Protect your skin.
- Good ventilation.
- Follow the instruction of the box.
- Mix properly.
- Put it on the mold and wait.
- Take it out softly.
First, I designed on fusion360 a negative of the print I want to get. The design is so simple because it is just a rectangular box that will hold the mixed created with the Smooth-on. The result will be use on the final project to stabilize the mirror on his support.
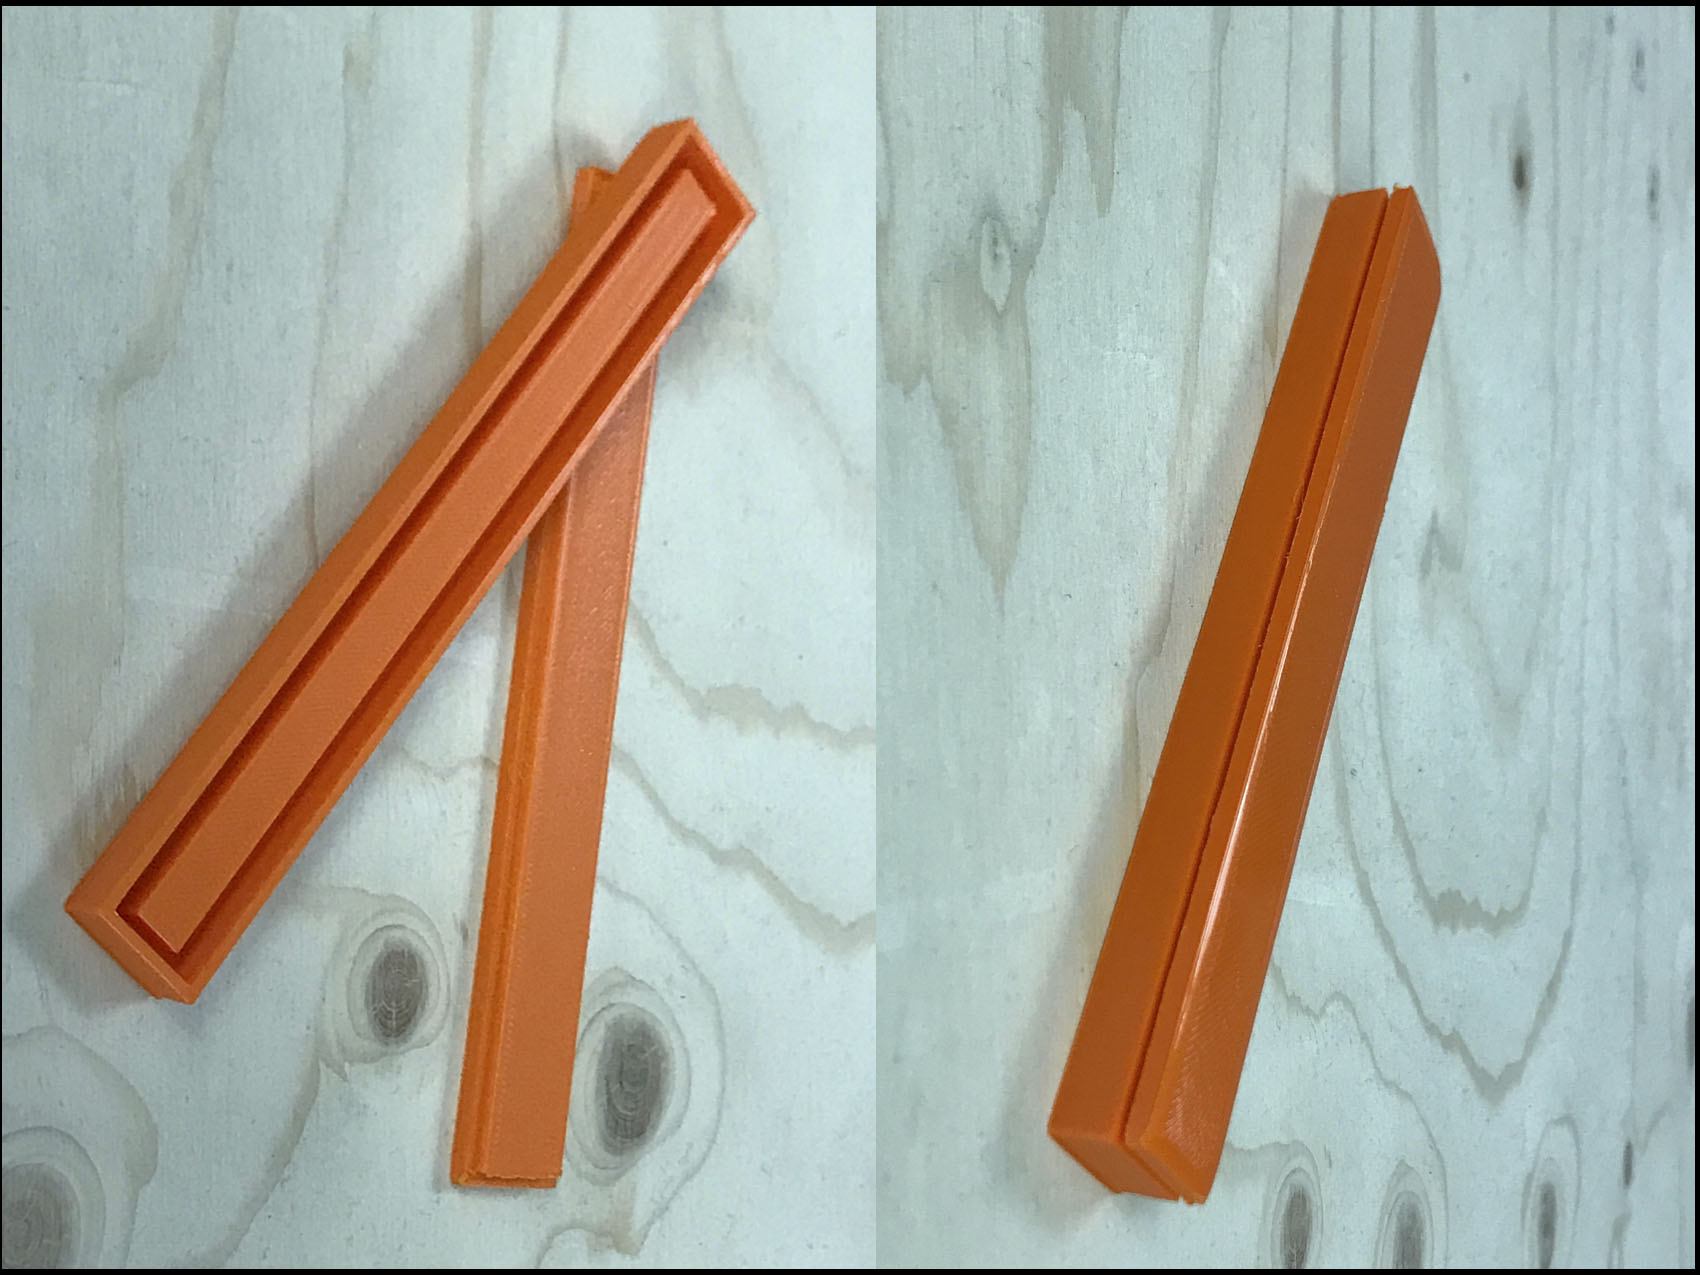
After that design it and print it in the 3D maker, it was the time to mix the liquid (the same quantity of part A and part B) put it inside and let it rest and dry for around 16 hours. On this example it was around four hours.
The fail taught me to use first non-adherent product, Kwikee Sprayer, to prevent the mixed to pasted and be easy to take it out.
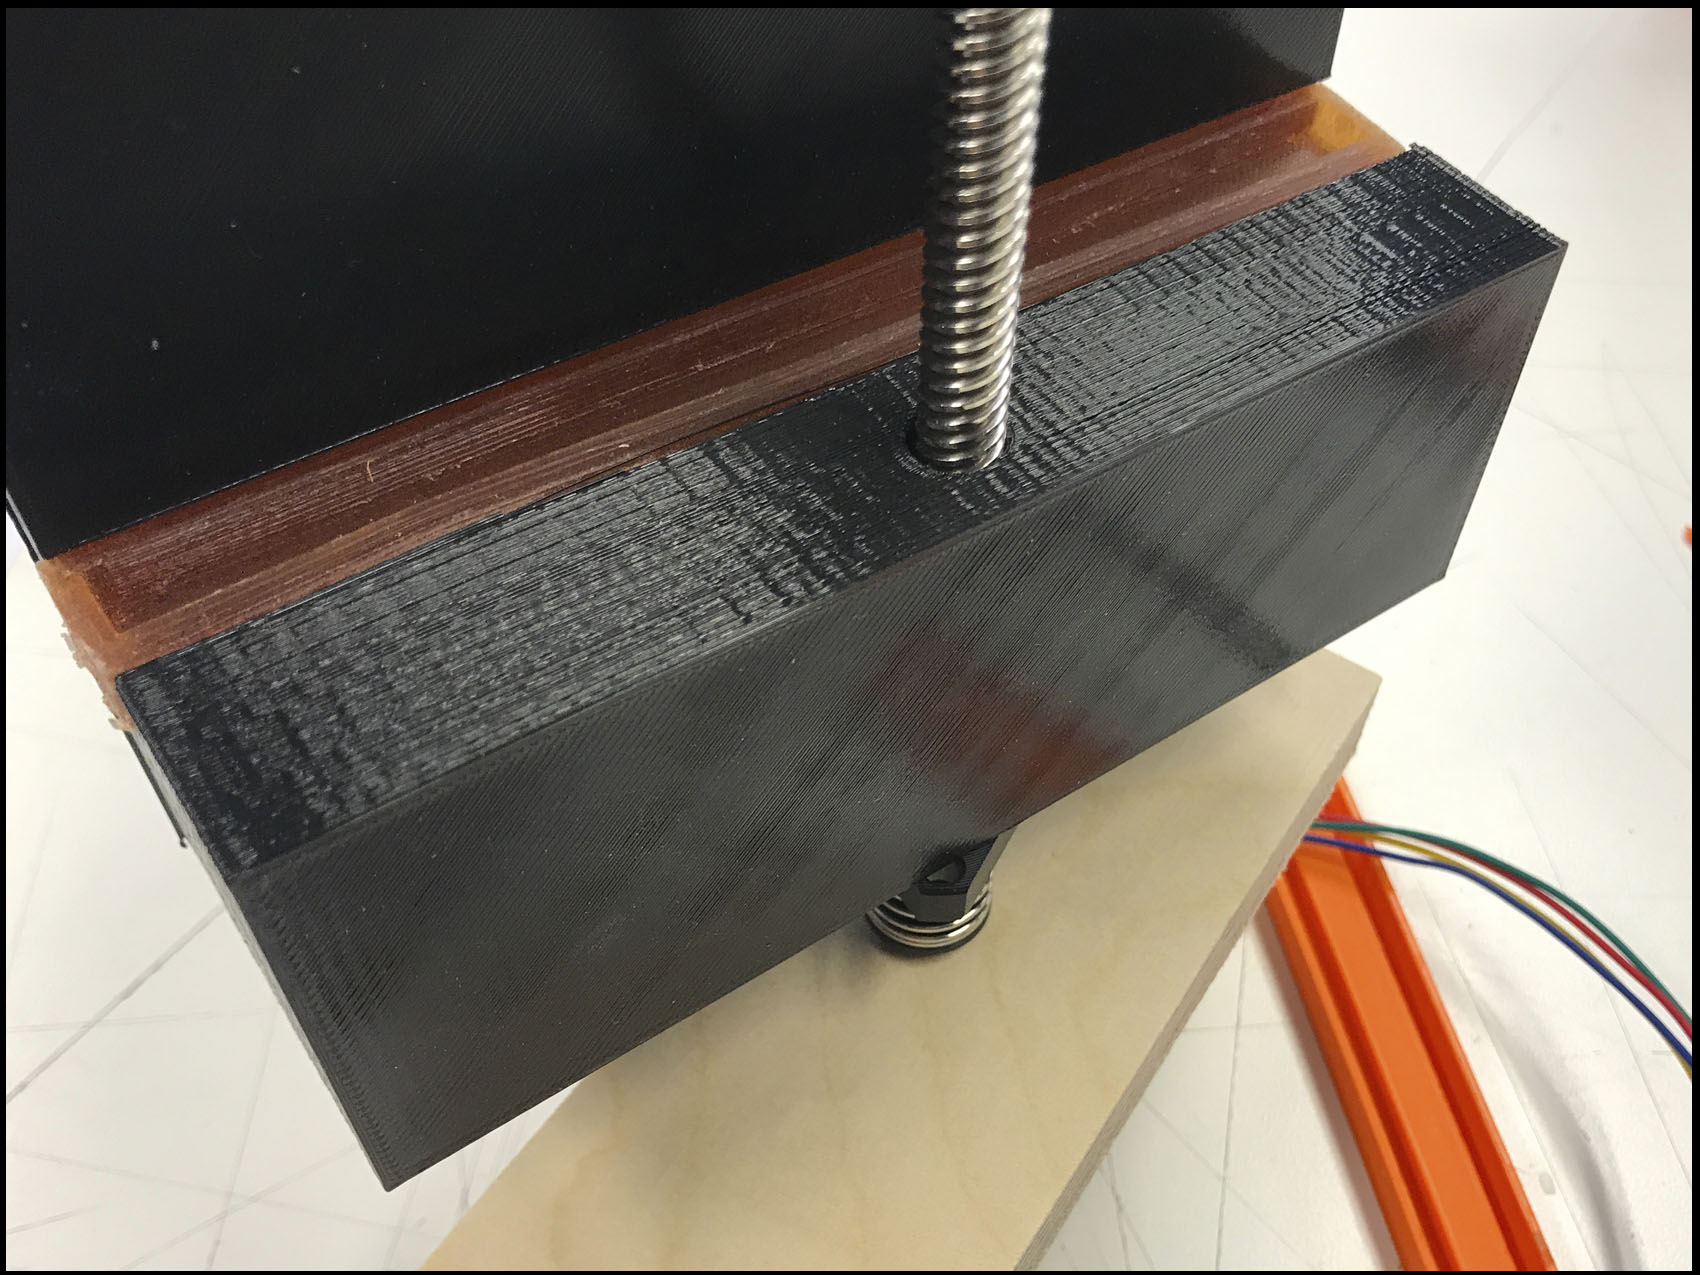
The results were not like I was expected because most of the material got stuck inside. I did not use the top and I left it for 16 hours. At the end, I had to break the mold because the PLA is to hard and thin, so, not easy to unmold.
This task is part of the final project and will be use it to hold and protect the bottom of the hided mirror, like you can see on the picture, on the second tried looked perfect and fitted on the gap. I had to break the 3D mold to be able to take the final art.
The next step it was to try to create a mold from an object. It spent the same time of resting like the first one. And the result still not good enough. So, I did not use the other liquid with this one.
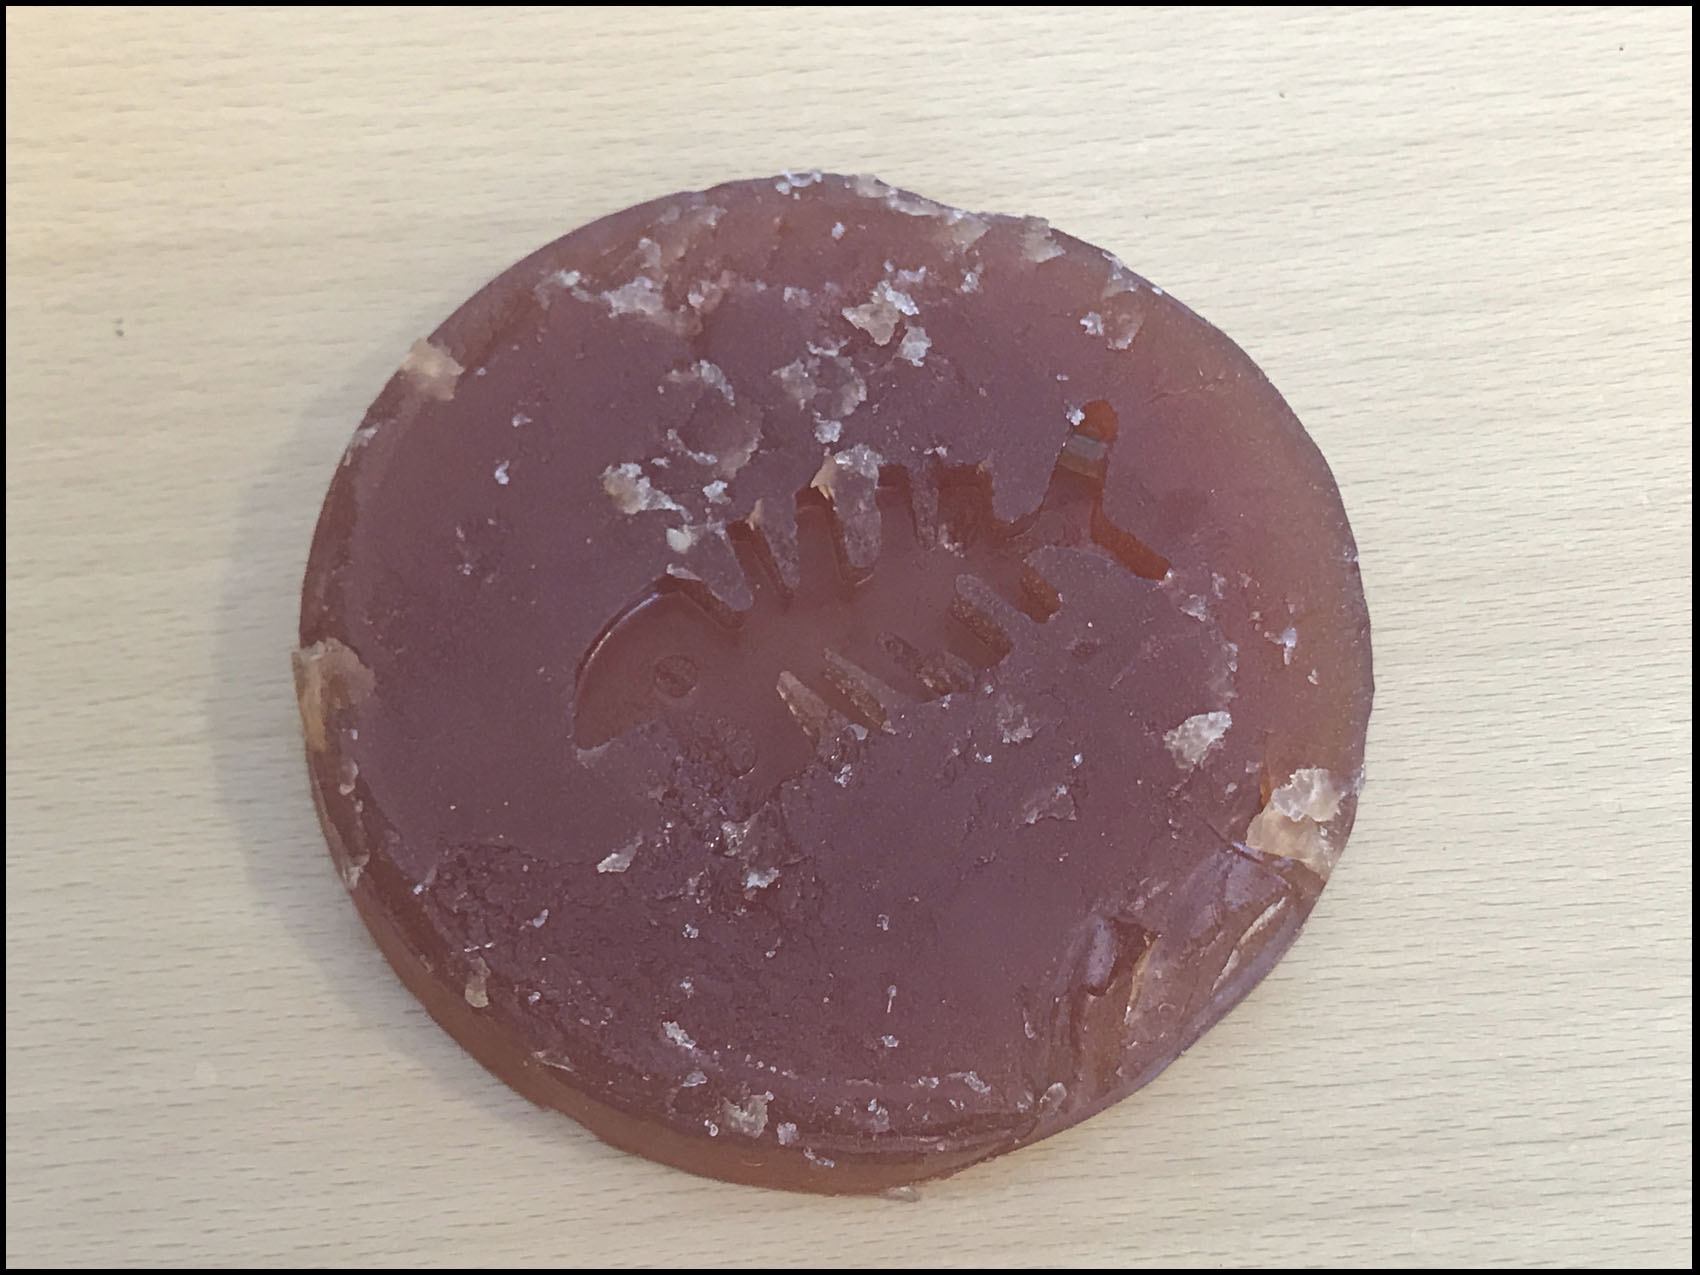
The problem was that you need to be patience and wait at least 16 hours to unmolded and get the results that you are looking for, do not take it before, better more than less.
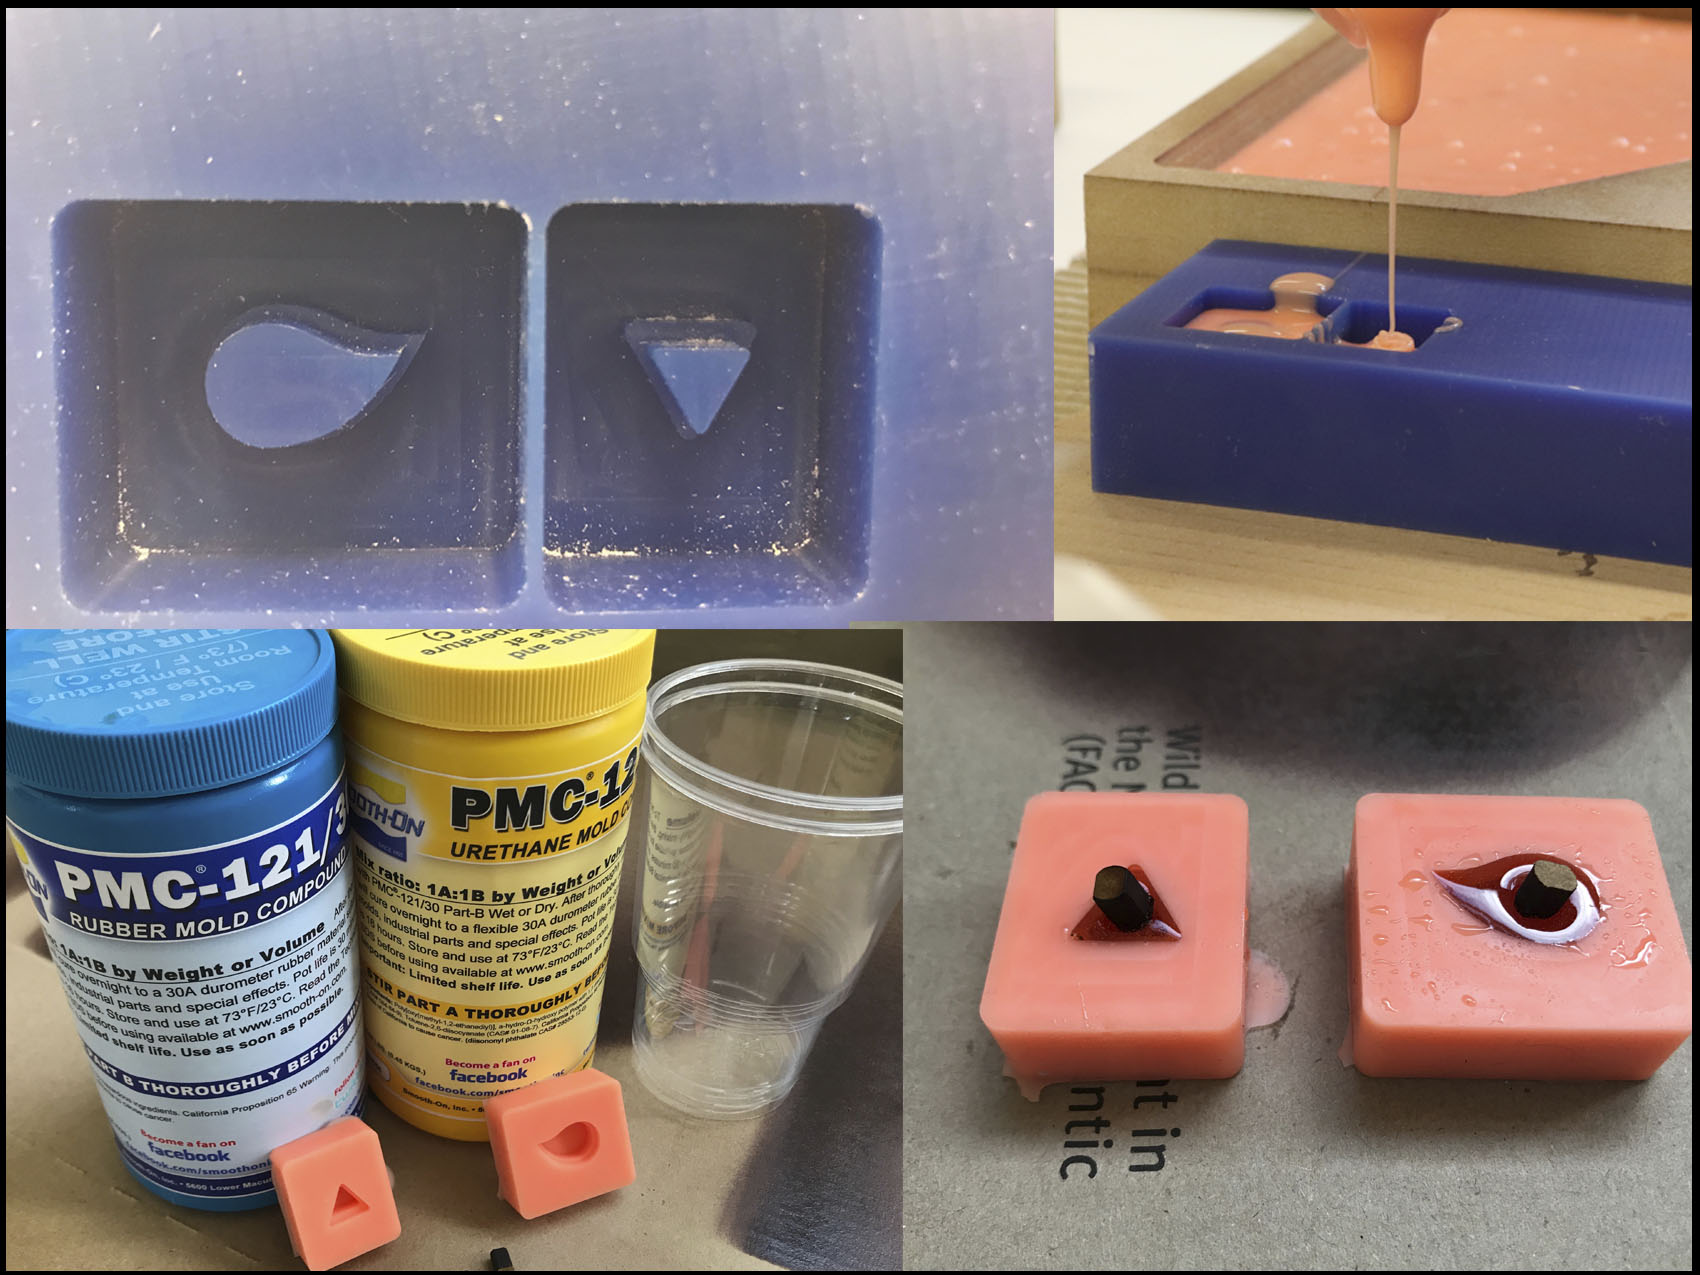
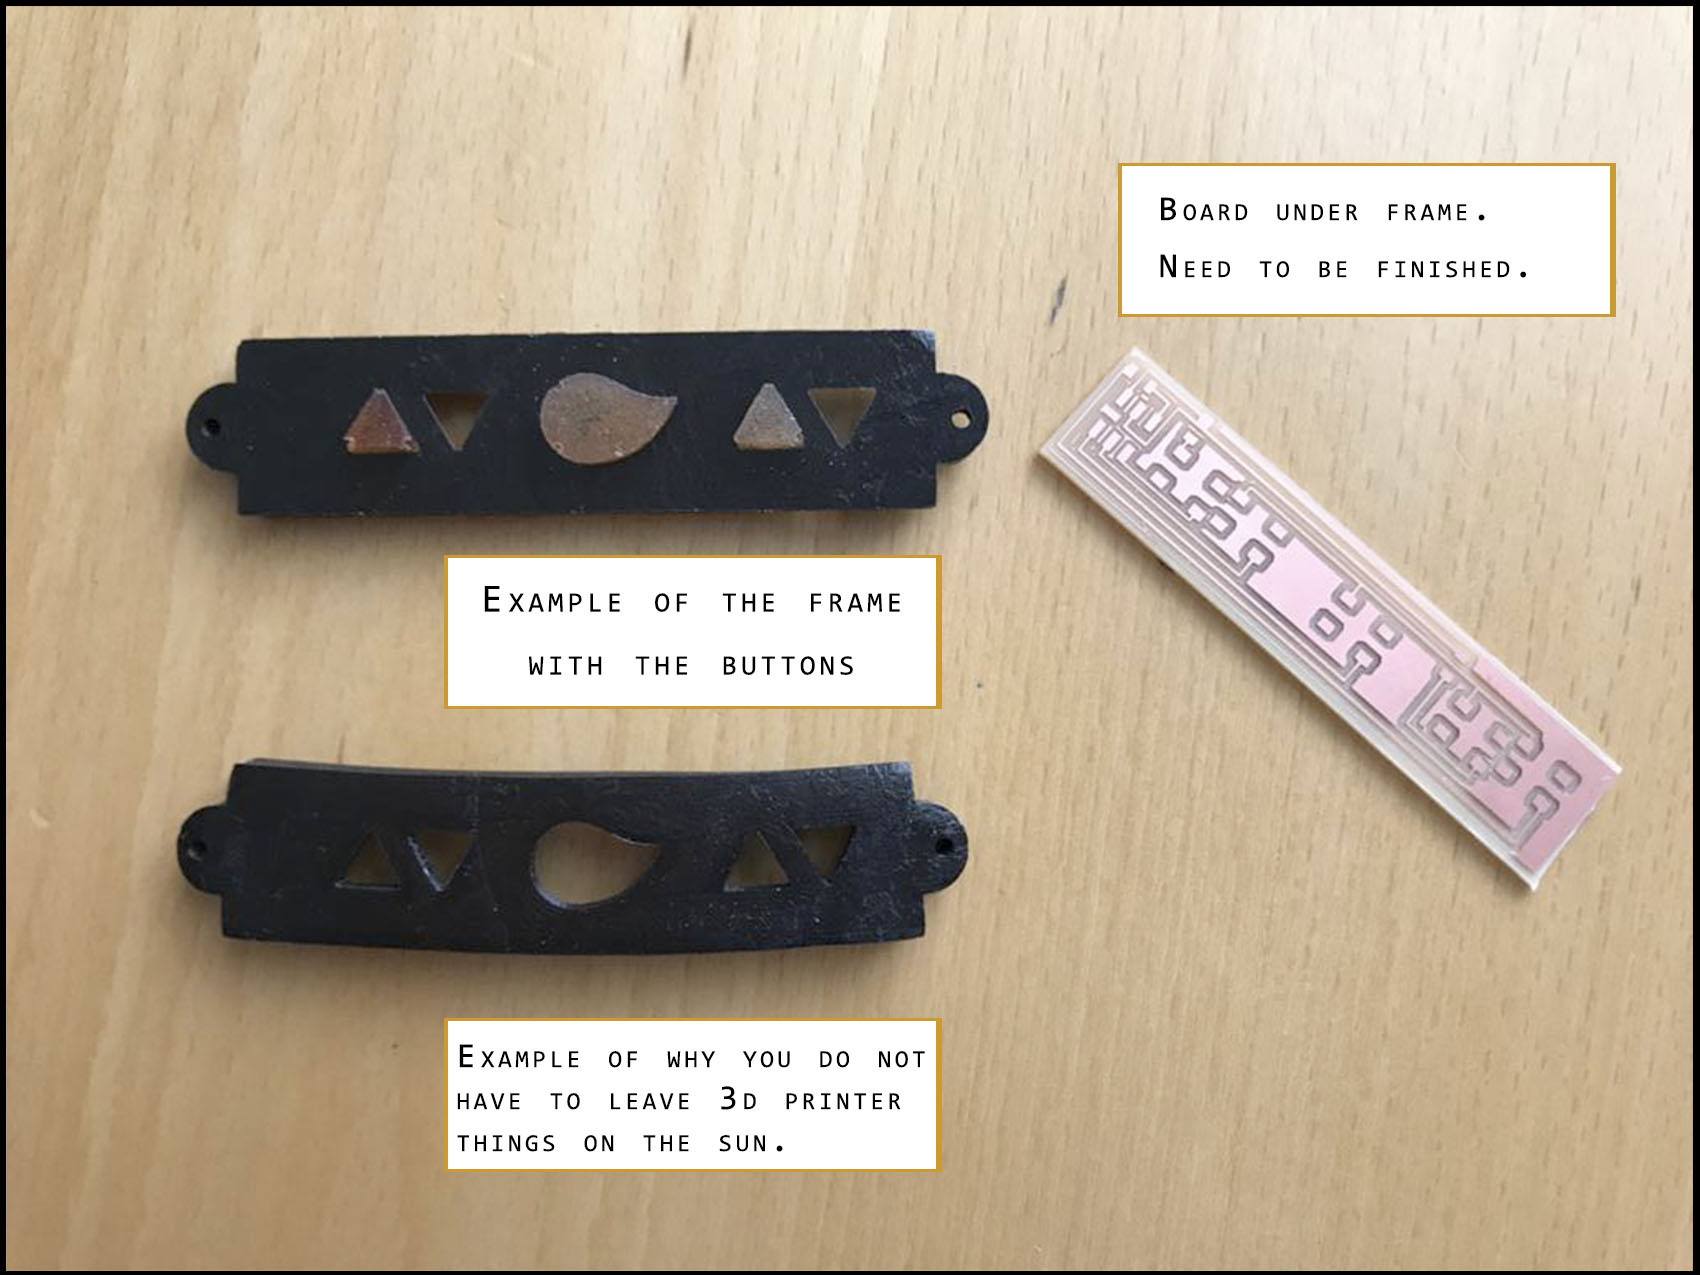
Another assignment for this week was done weeks later, and it was the button design that cover the button board. The dice was milled with the Roland Mill 40 in wax, then I create the negative mold with Smooth-on, 4 hours later I could take it out.
Normally, I design on Fusion360. On this case, I had the chance to learn how to use the manufacture part. For that I follow the next steps:
- Create a sketch with a scared with a size bigger that the button.
- Extrude that scared.
- Choose one of the faces and draw another scared to extrude inside with a depth of 10/15mm.
- On that face draw the final form of the buttons.
- Extrude the inside as big as you want but no more than the end of the box.
- Extrude the outside line around 3/4mm.
The result that you will get is a mold to create the negative with Silicone rubber tin cure. This material is a high-tear silicone mold rubber used for casting wax, gypsum, polymer modified gypsum, etc., but are best known for standing up to production casting of urethane, epoxy and polyester resins; they are also good for casting low temperature melt metal alloys.
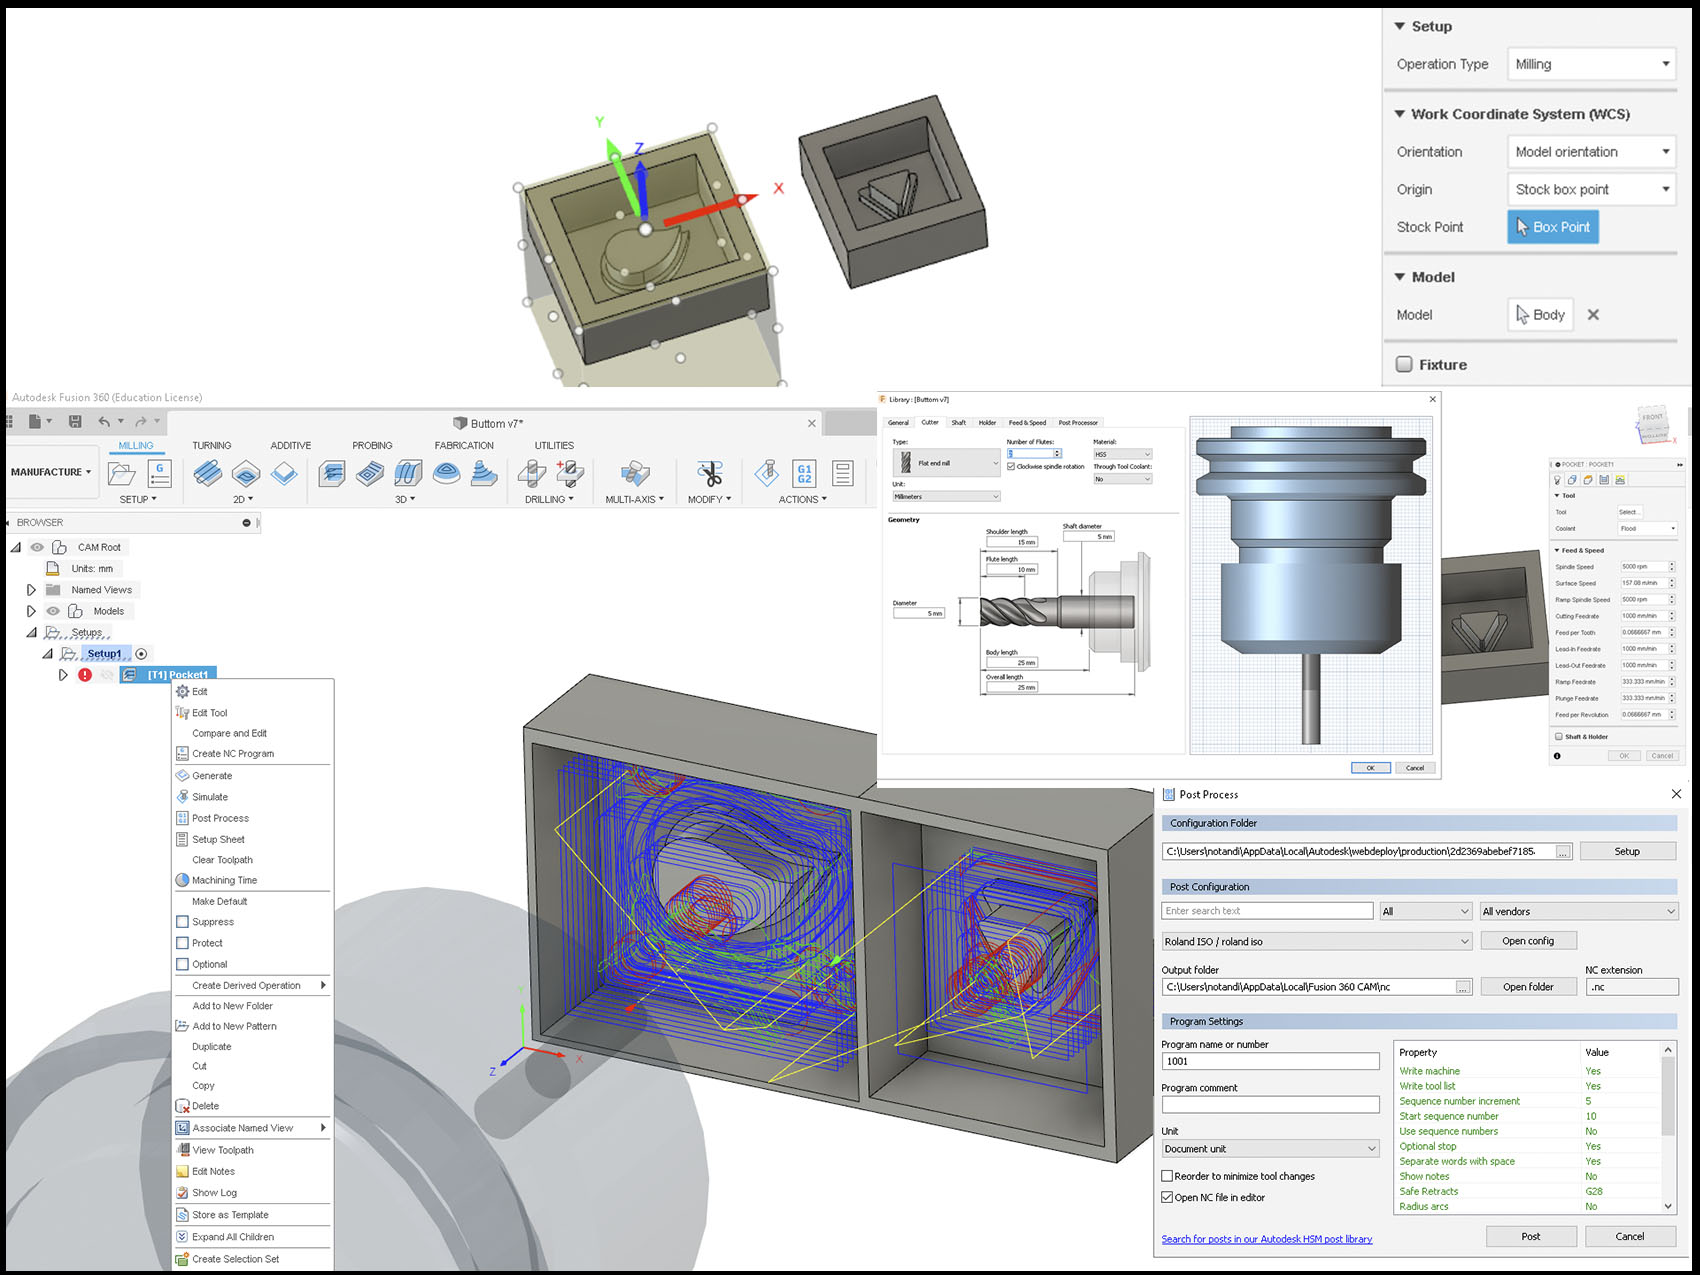
Turn to set the manufacture tools of Fusion360, with this you recreate de path of the milling machine will do and choose the beat (5mm).
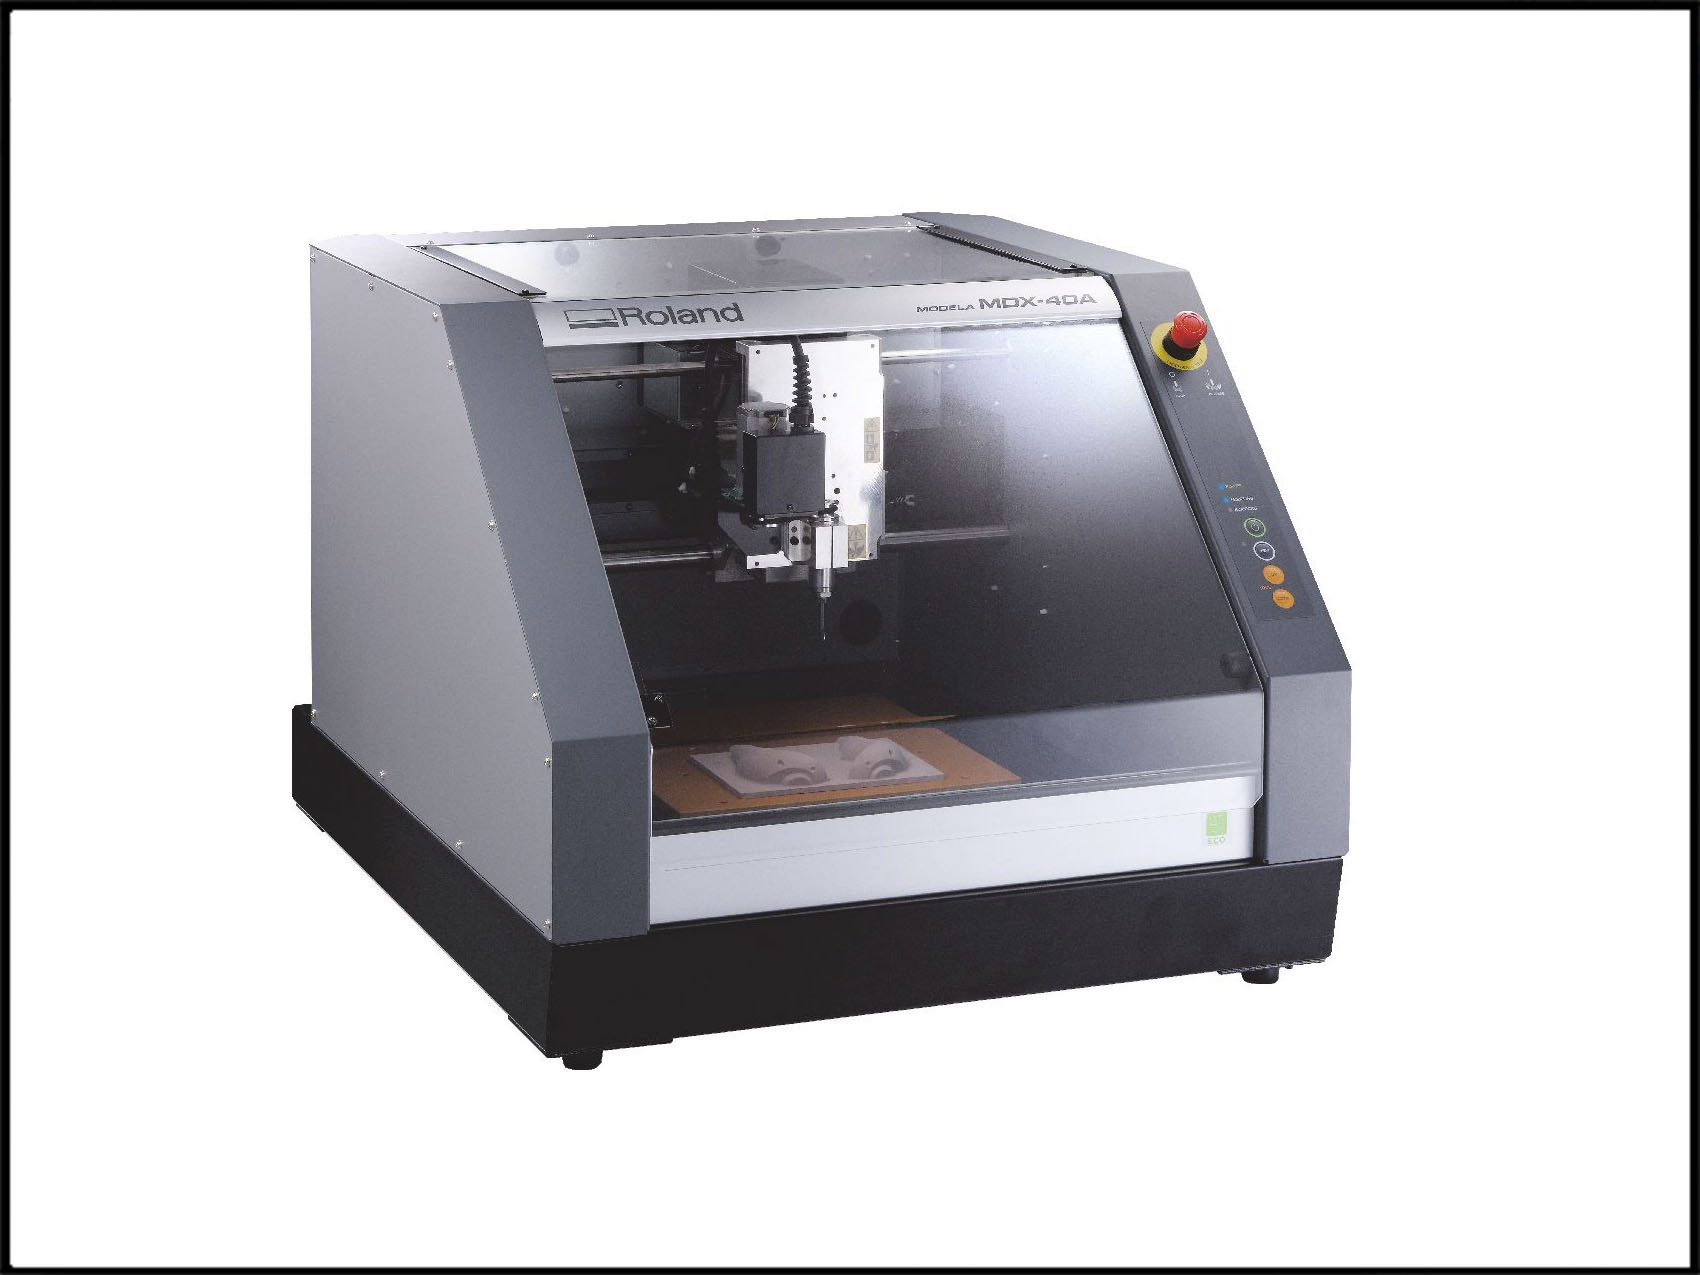
For this assignment, the material used was Machinable wax and the printer called Roland MDX-40.
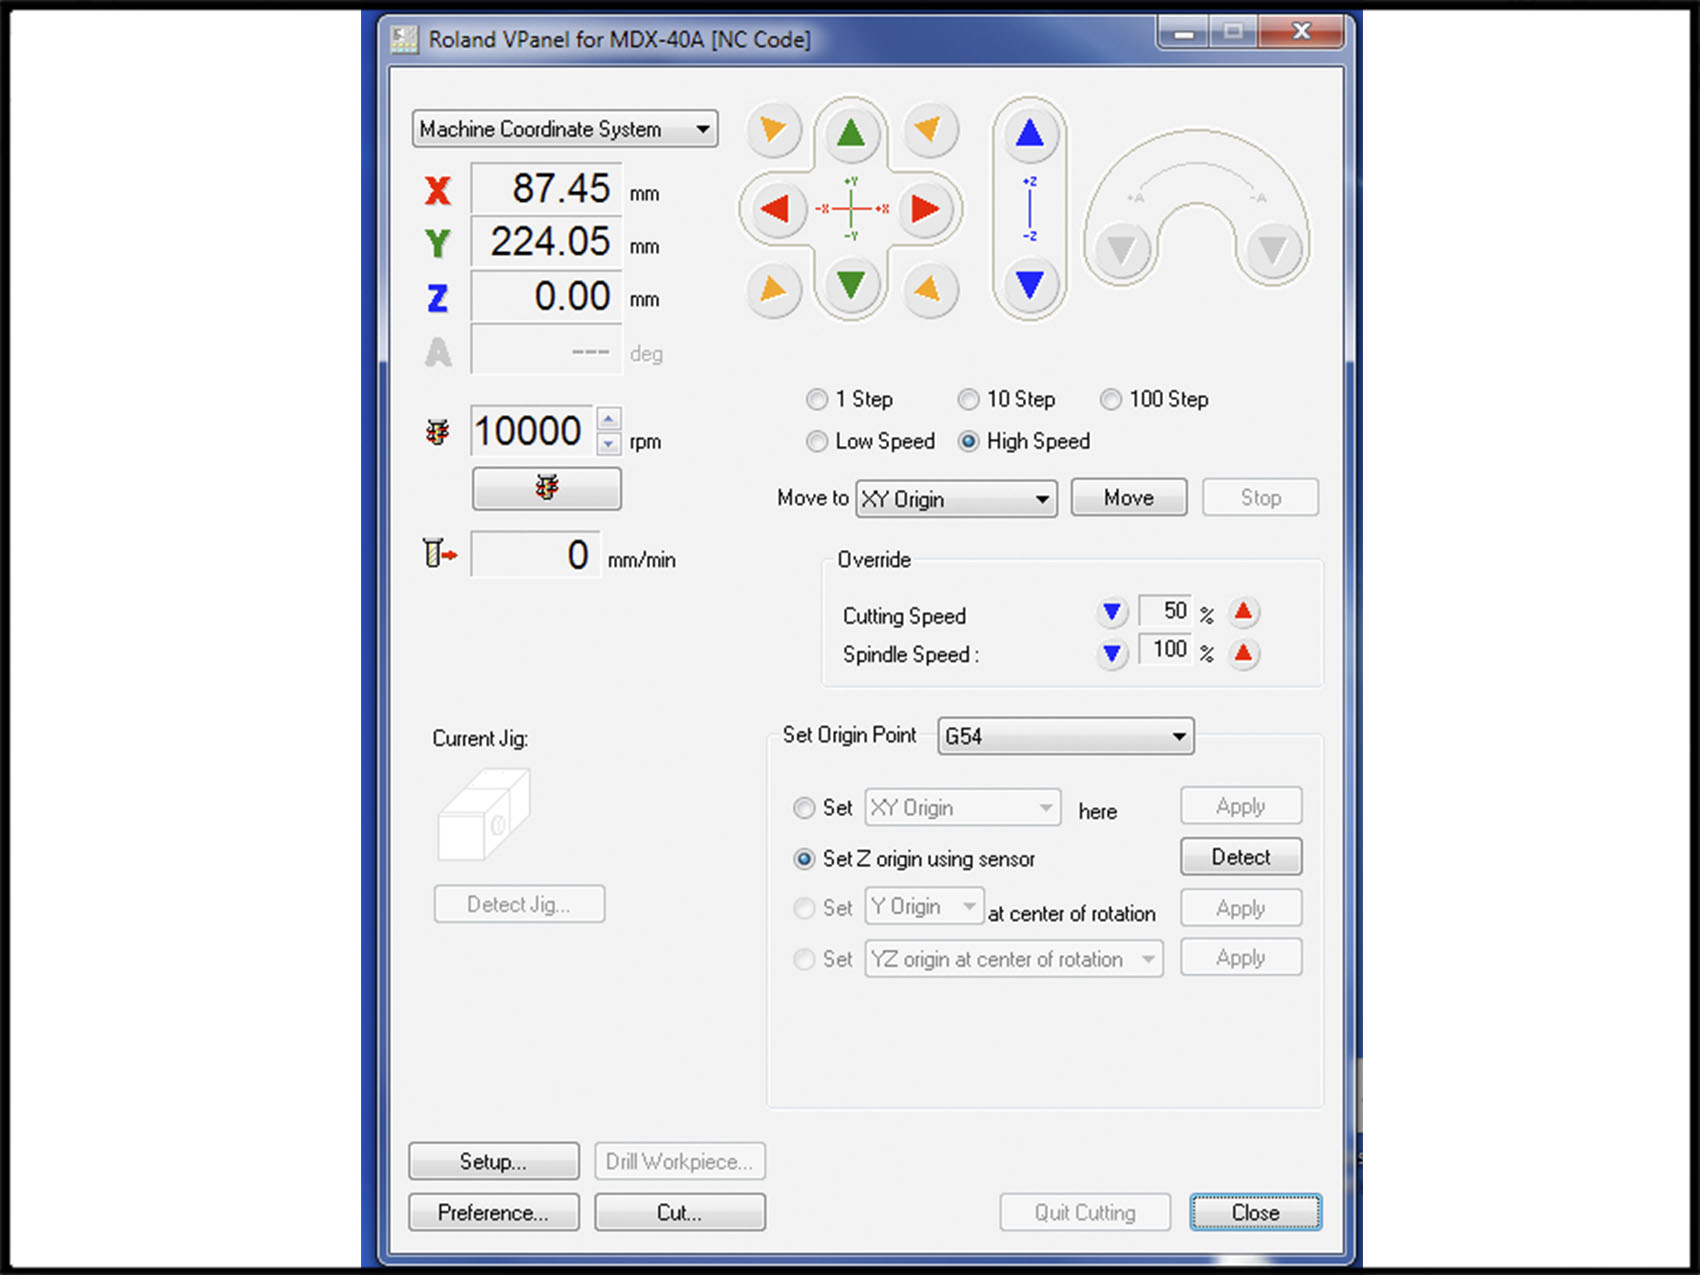
Like the other printers that we saw over these weeks, this one needs to set the origin Z, for that is control with this panel. Also, through the panel you can get the rest of the coordinate (Y, X), rpm, the speed for cutting and for the spindle. Of course, this kind of proceed has kerf and can lose material.
After that I casted the buttons with Liquid Rubber PMC 121/30. At the beginning I added a little piece that will help to press the button on the board. But, at the end, that pieces were not necessary.
On the video you can see that I tried to paste the stick on the button just when I set the liquid rubber but it did not work, so I waited until they were on half way to be done to put it in again. At the end, the frame of the buttons changed the measurements and the pieces of wood on the casts were not necessary.
To know more about this kind of product you can go to Smooth-on.
Files
Buttons. Fusion
Holder mold. Fusion