
Week 14
Networking and communications
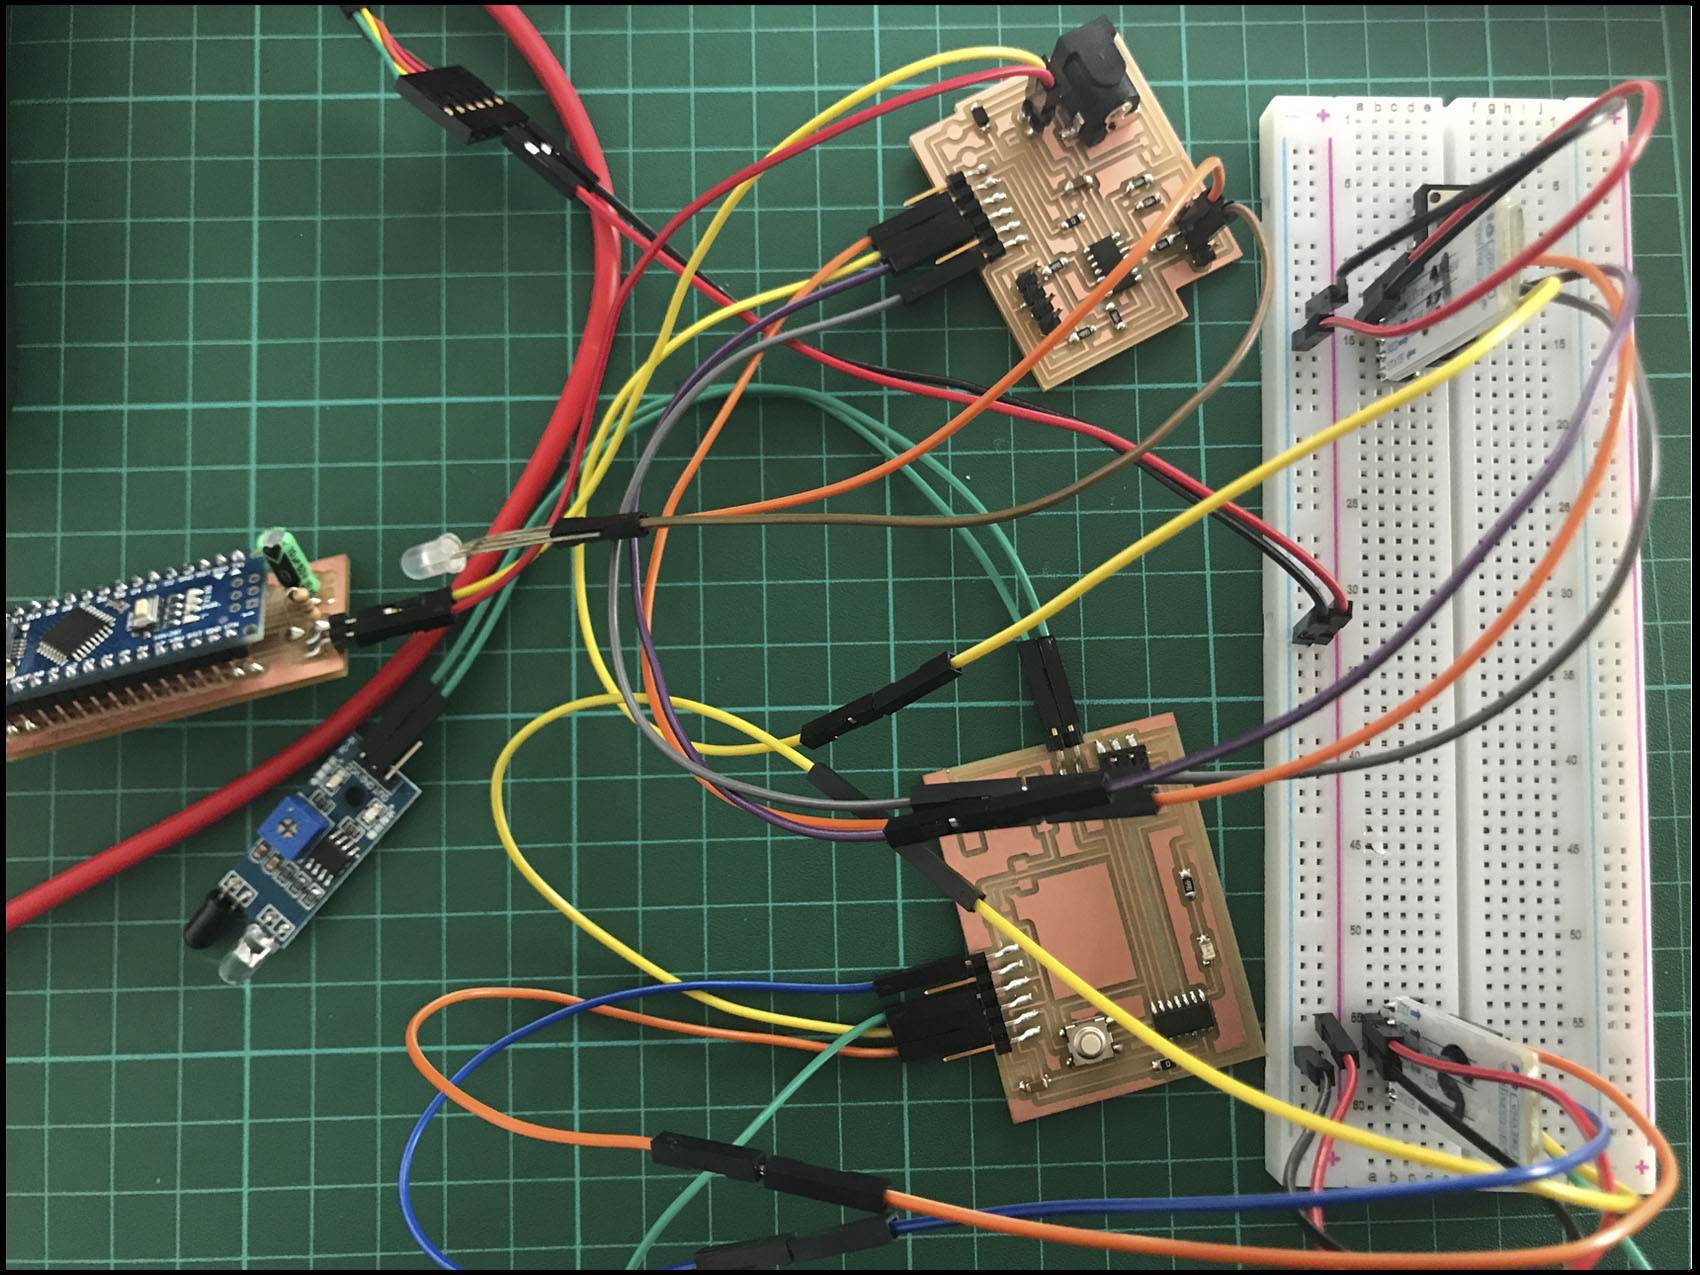
For the networking assignment I have been working on the connection between the infrared sensor of the chair and the lights on the table. For that I have a master and a slave Bluetooth sensor.
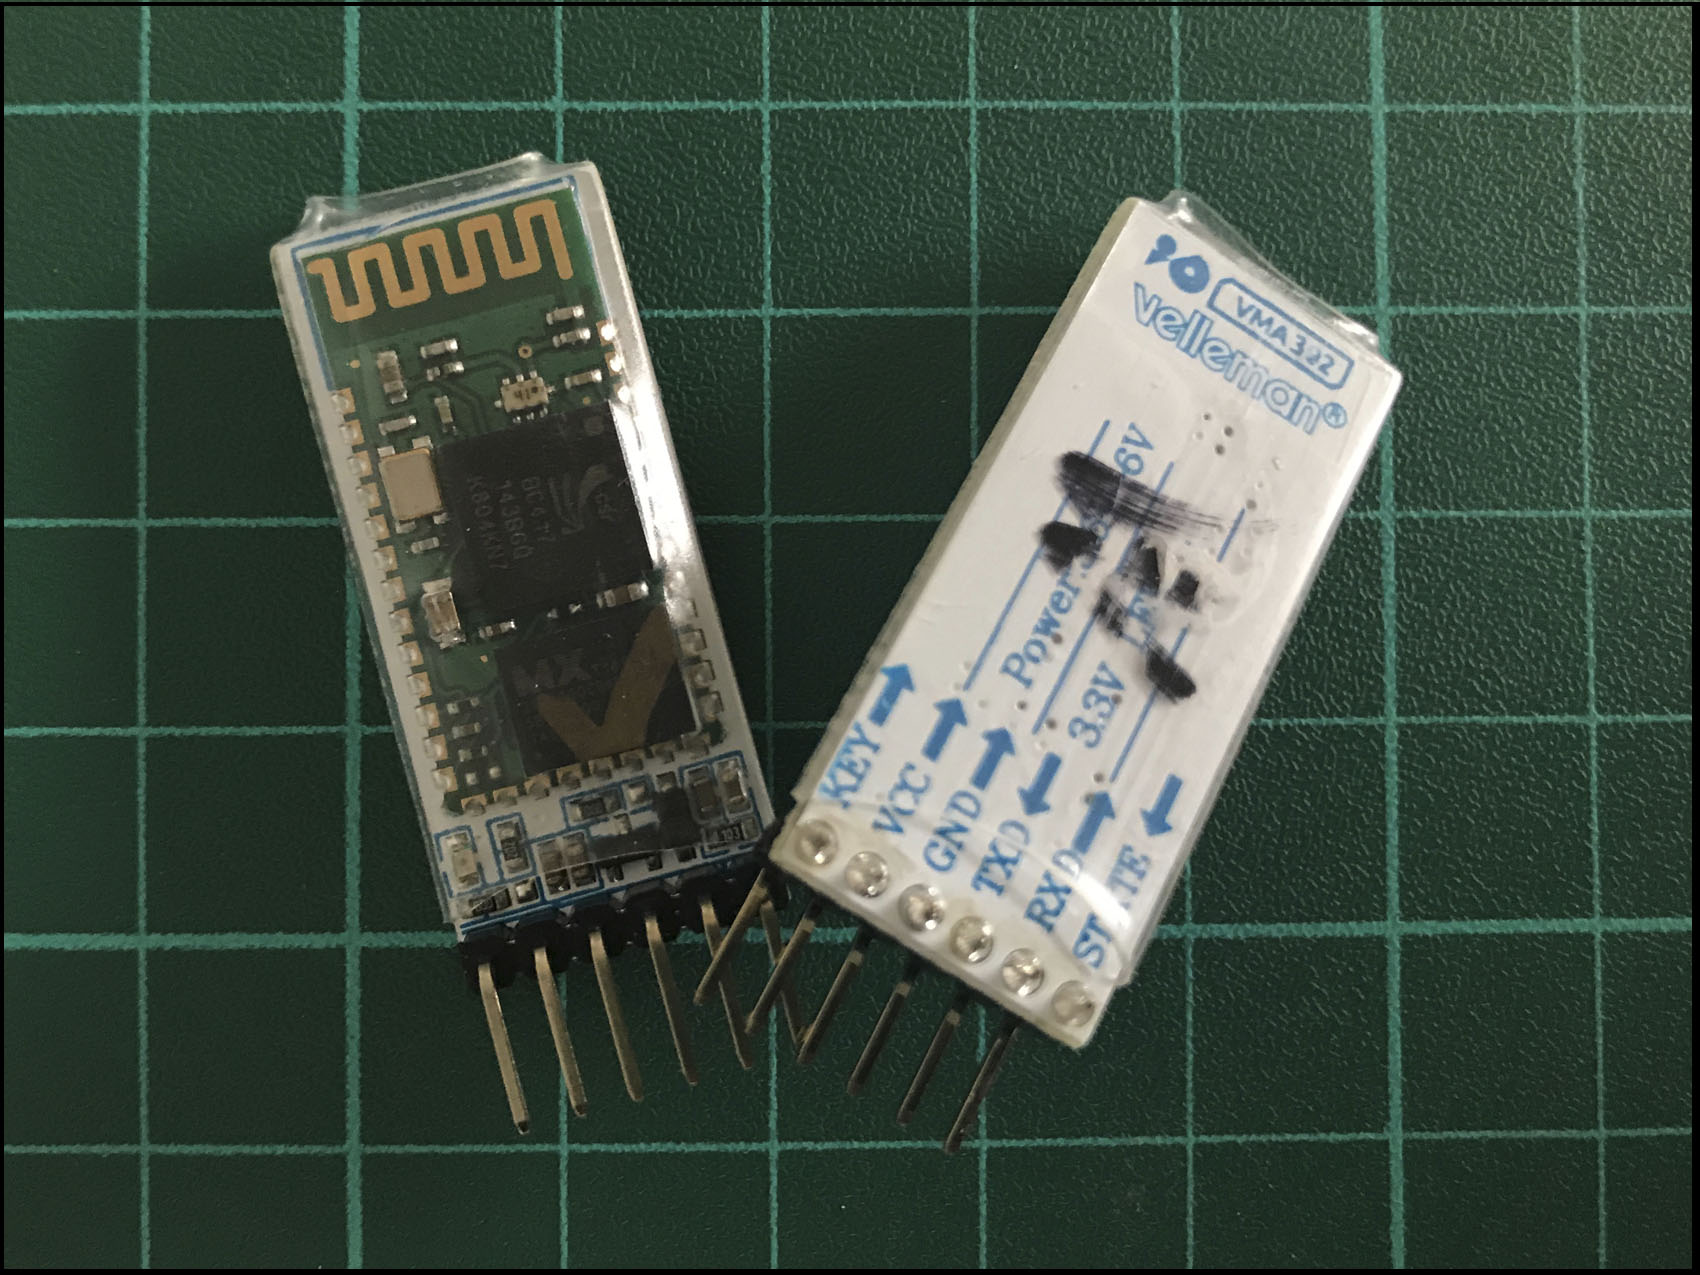
The code was written on Arduino and tested directly to the master and slave board that were milled on other assignments’ (input week and output week).
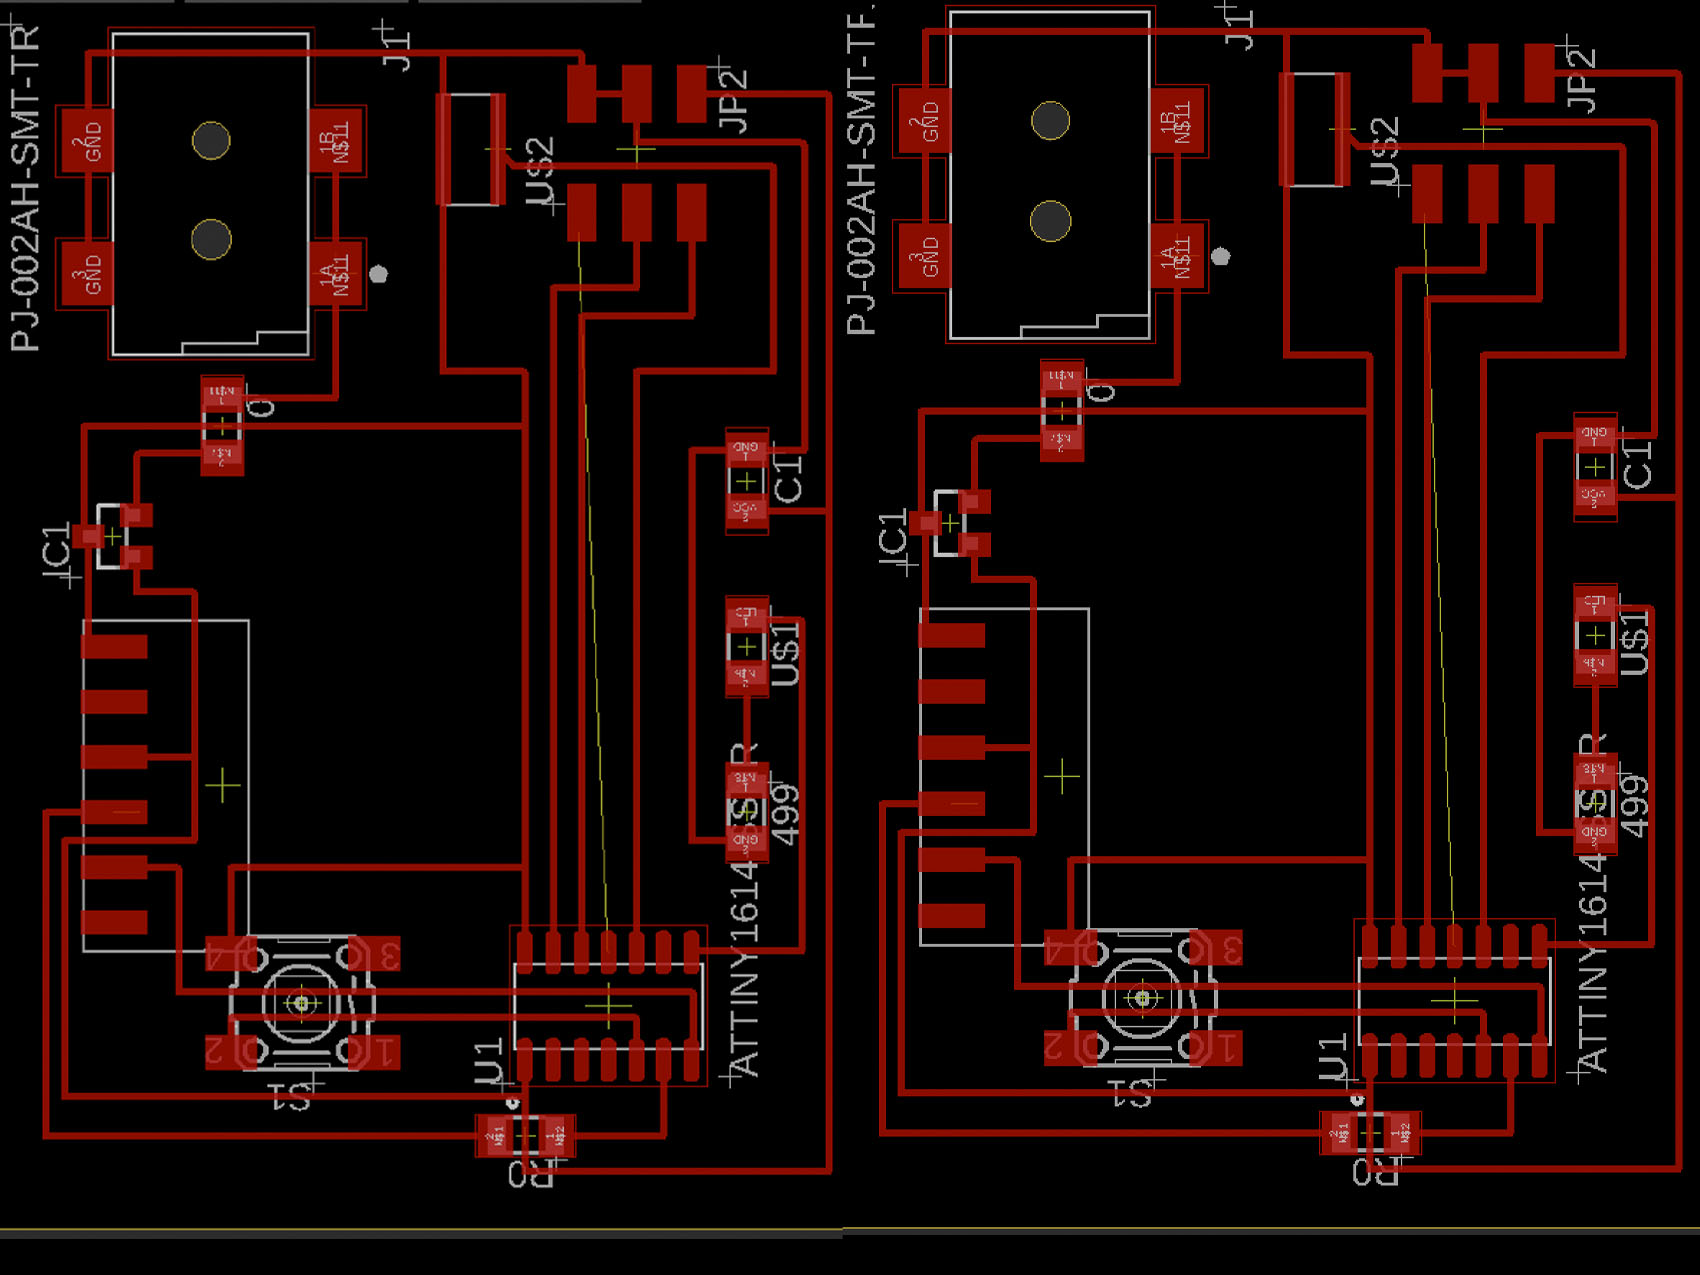
Too many cables to be connected, have a lot of responsibility so, it is important to be focus on what you are doing to not make a mistake and have a burnt ATTINY1614.
On my case, I burnt two things: the microprocessor and the Bluetooth (needed to check). After search and search between all the cables, the mistake was found it. The simplest thing became the most “stupid” mistake ever seen.Could you see what is wrong?
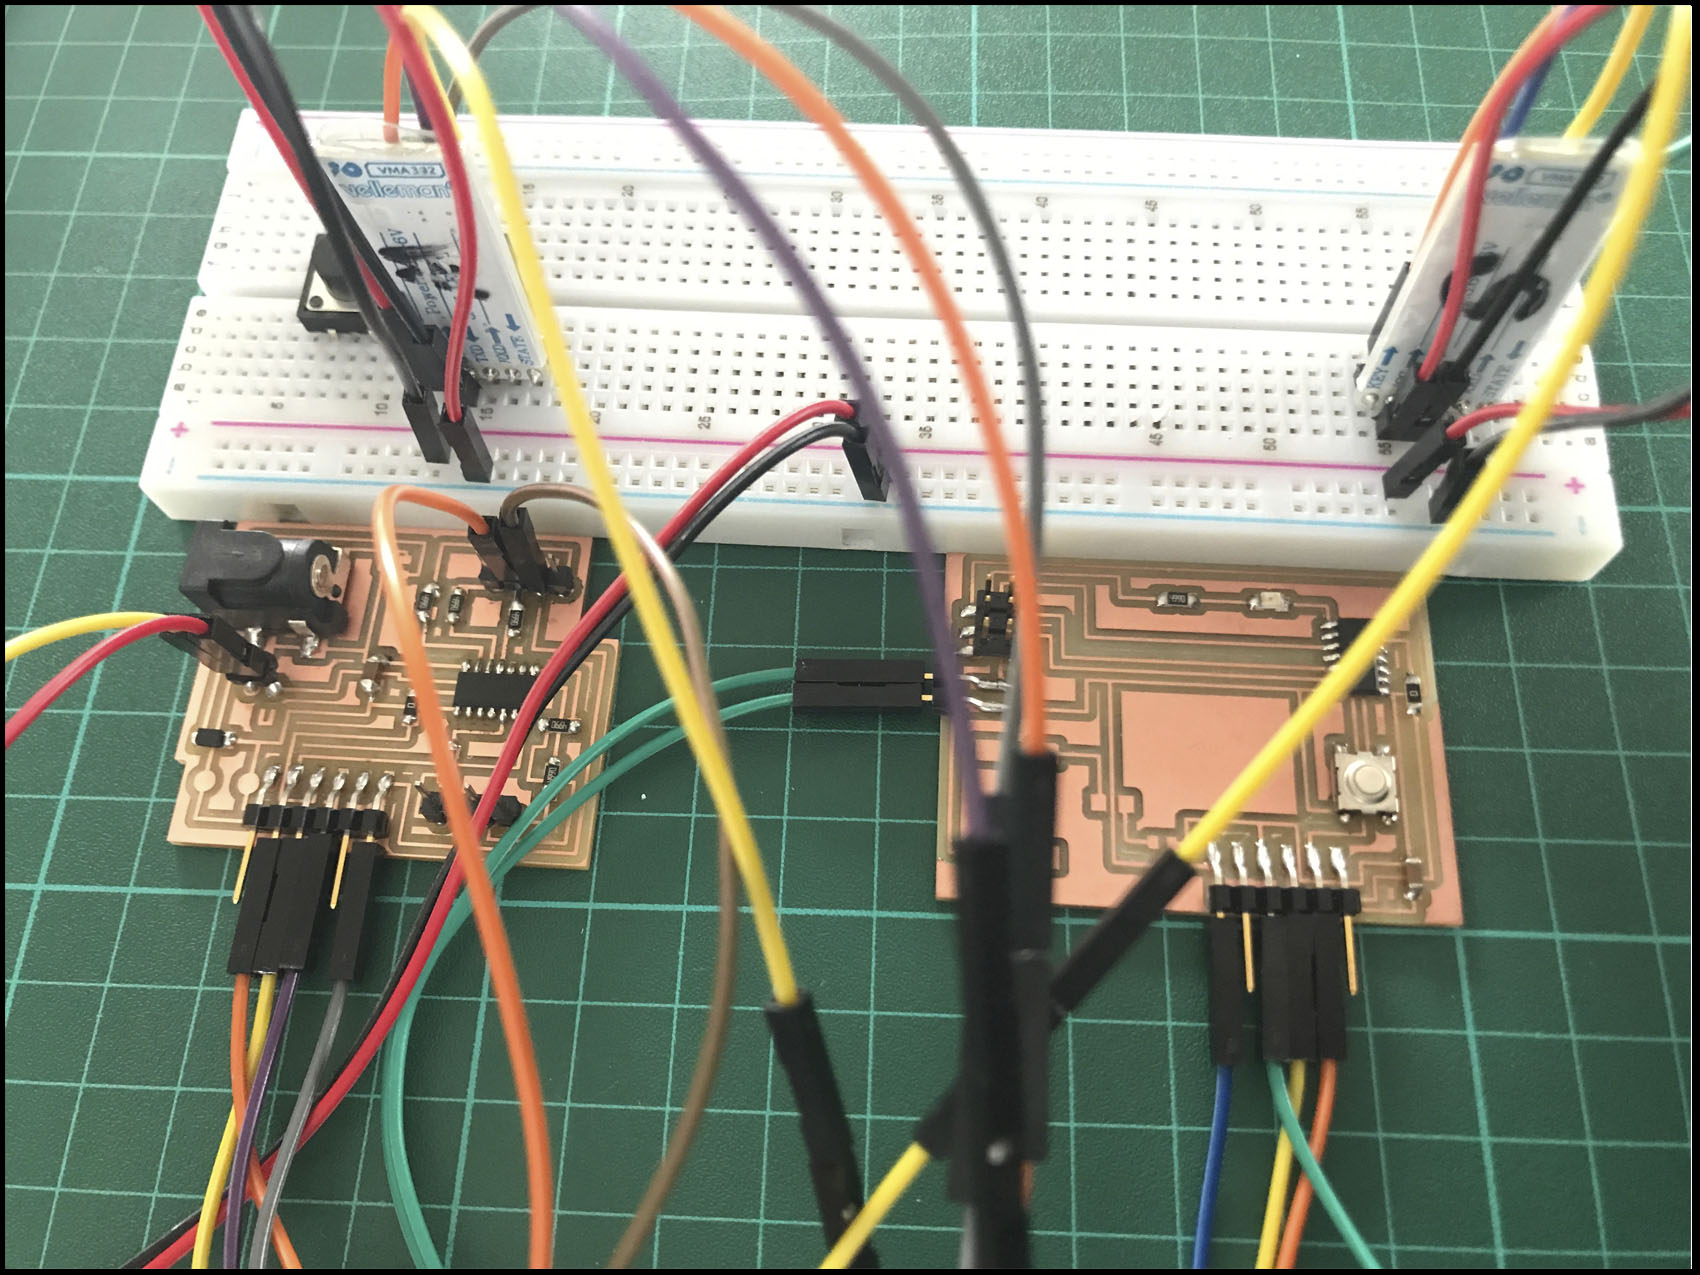
Take a look a little bit closer.
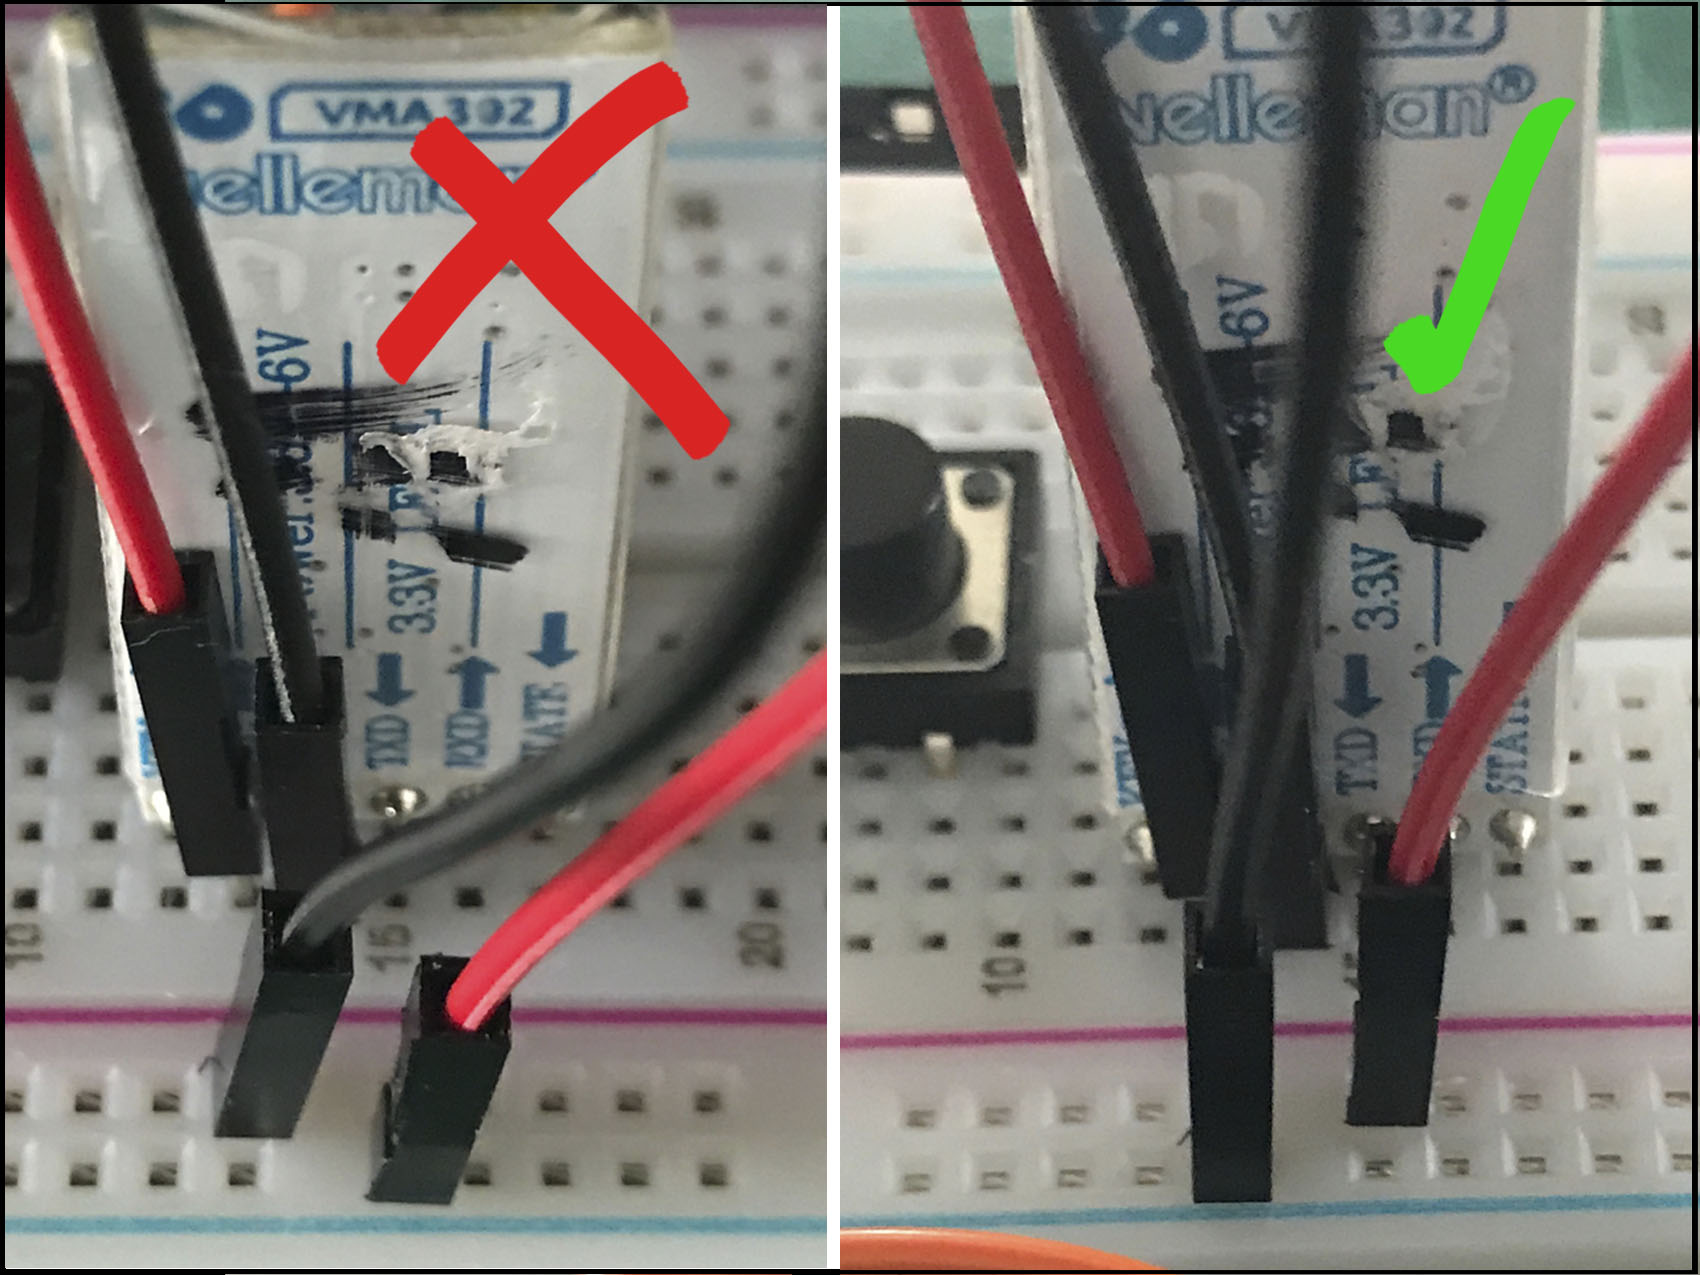
Before mill everything again we check with the boards to figure out what happen. When we were testing, we were doing it in distance so, when we had the chance we used a multimeter and we saw that everything works! Anyway, this lesson was so well learnt it.
It is important to indicate which pin are TX (Transmit Pin, which has 5V output) and RX (Receive Pin, which supports only 3.3V) because depend on the voltage it is necessary to be connected through a voltage divider in order not to burn the module. Once you recognize that in Attiny and name it on the code, we are ready to program it.
This is the programming codes used:
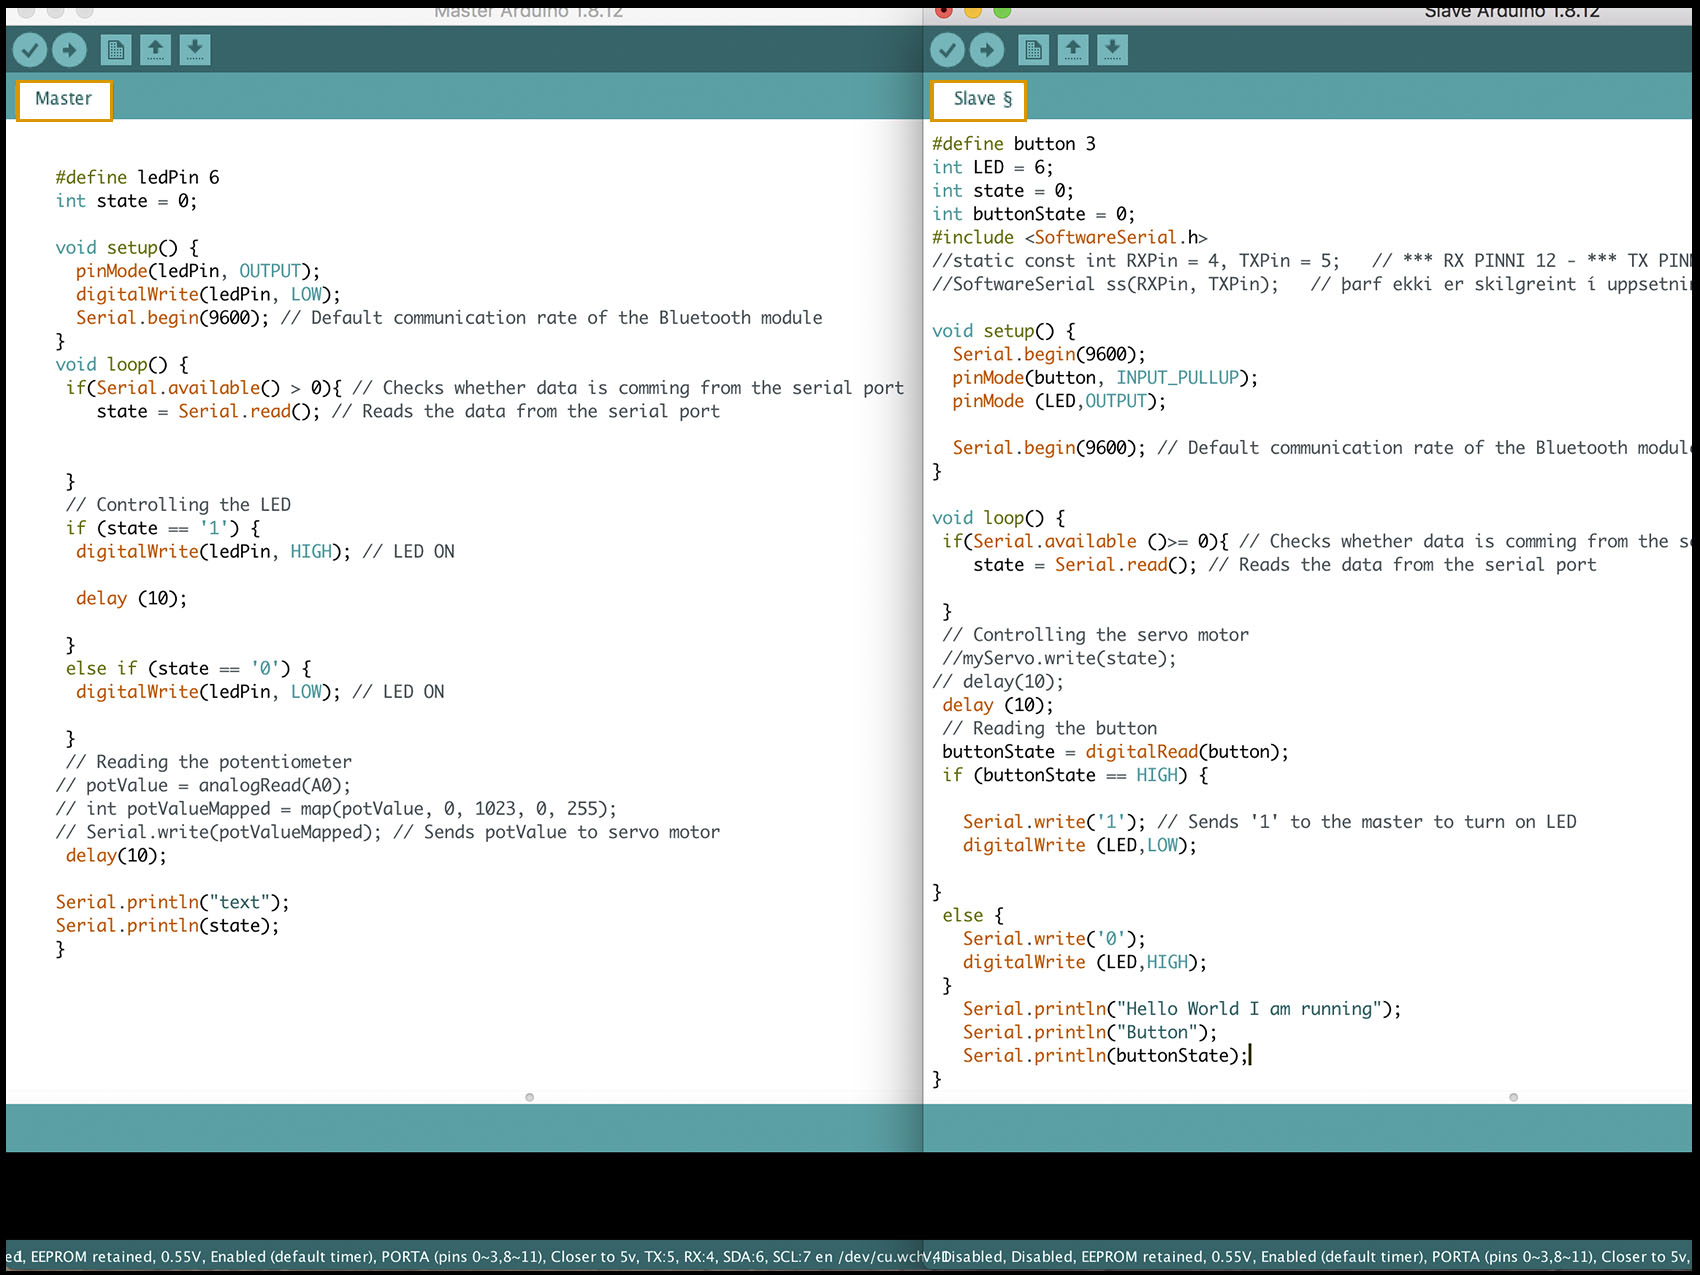
And this is how the communicate to each other:
On the video you can watch how after press the button the communication between the modules stars, resulting with the LED on.