
Week 11
Output
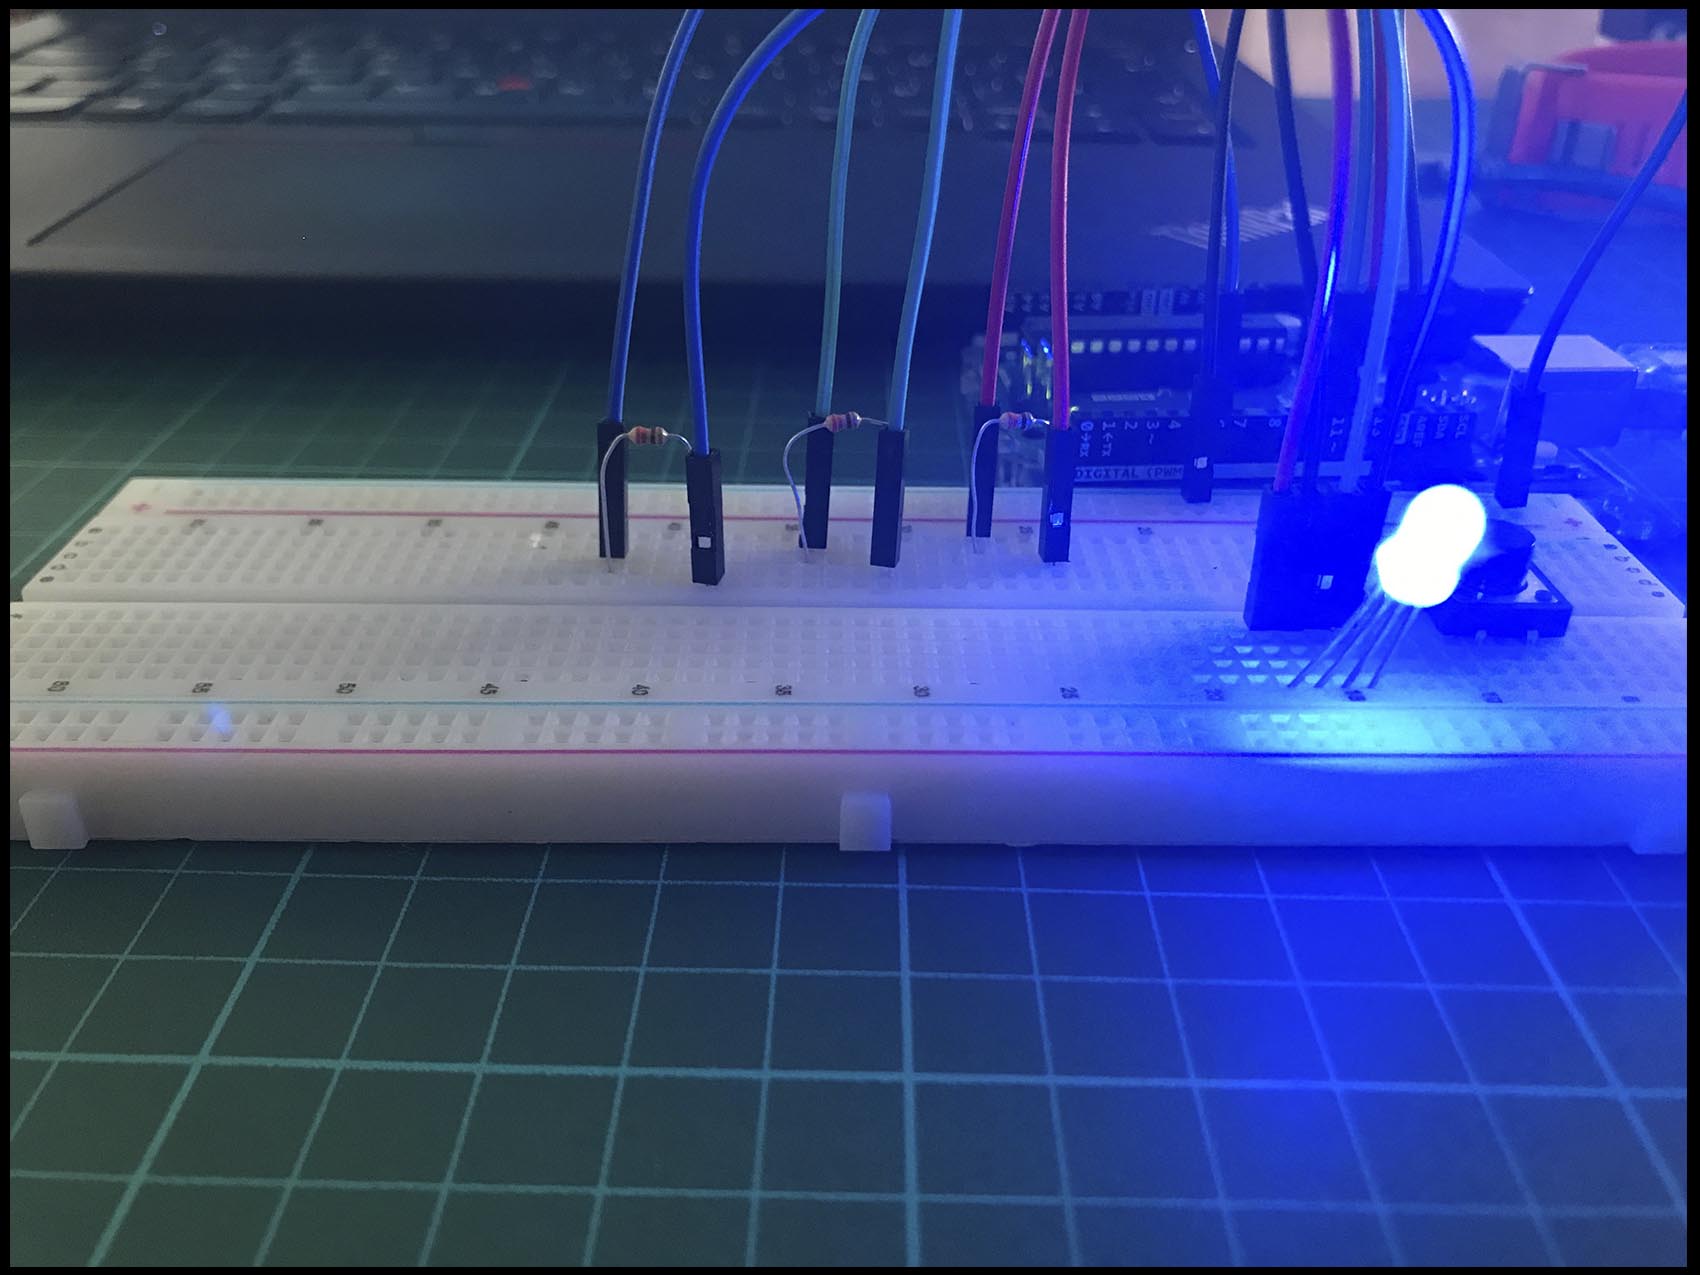
At this point of the course you have already realized that electronic is a huge world. Then, it is time to keep going digging in this knowledge.
The focus of this assignment is to get the lights working. At the beginning, like always, I tested the code with Arduino Kit using a simple code.
The focus of this assignment is to get the lights working. For my project was chosen RGB LED because the target is to be able to control the light and change the color from green, to orange and red at the end.
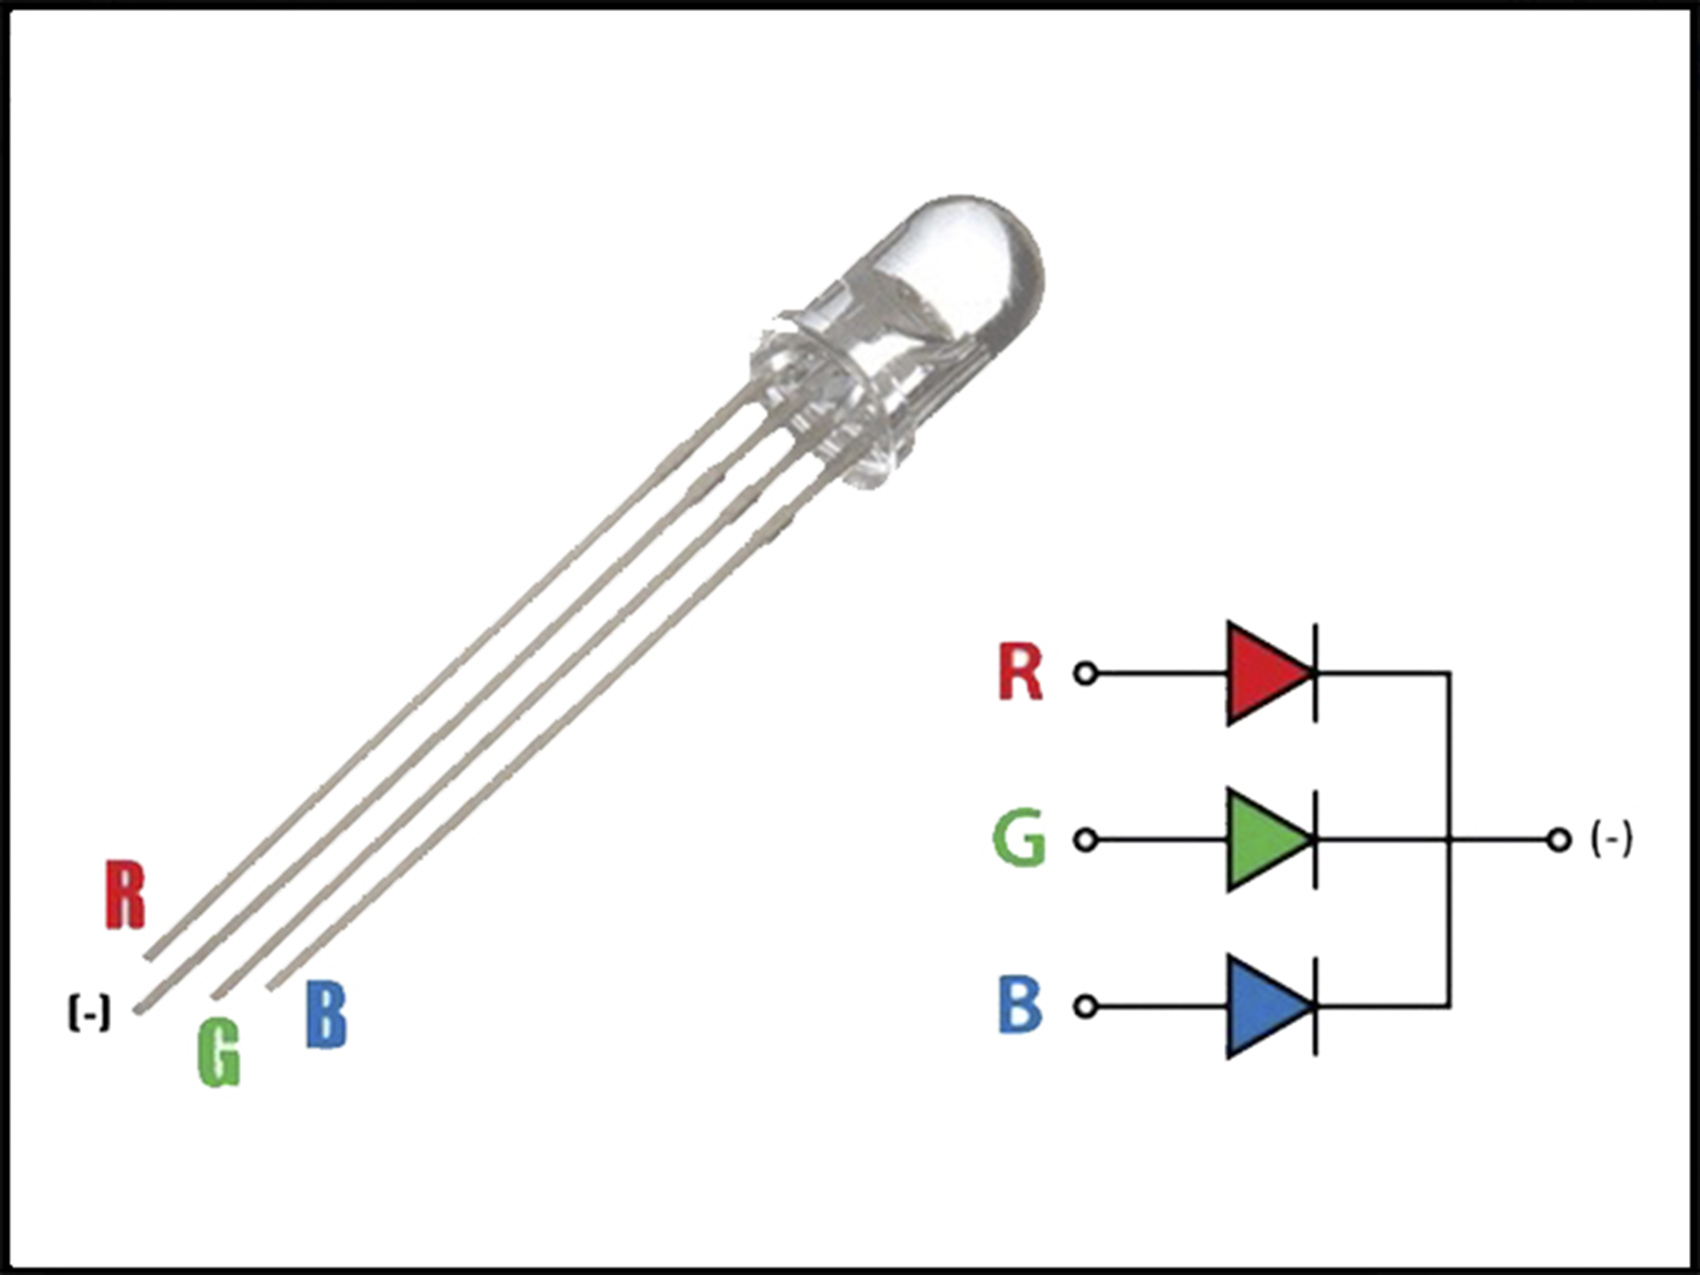
At the beginning, like always, I tested the code with Arduino Kit using a simple code.
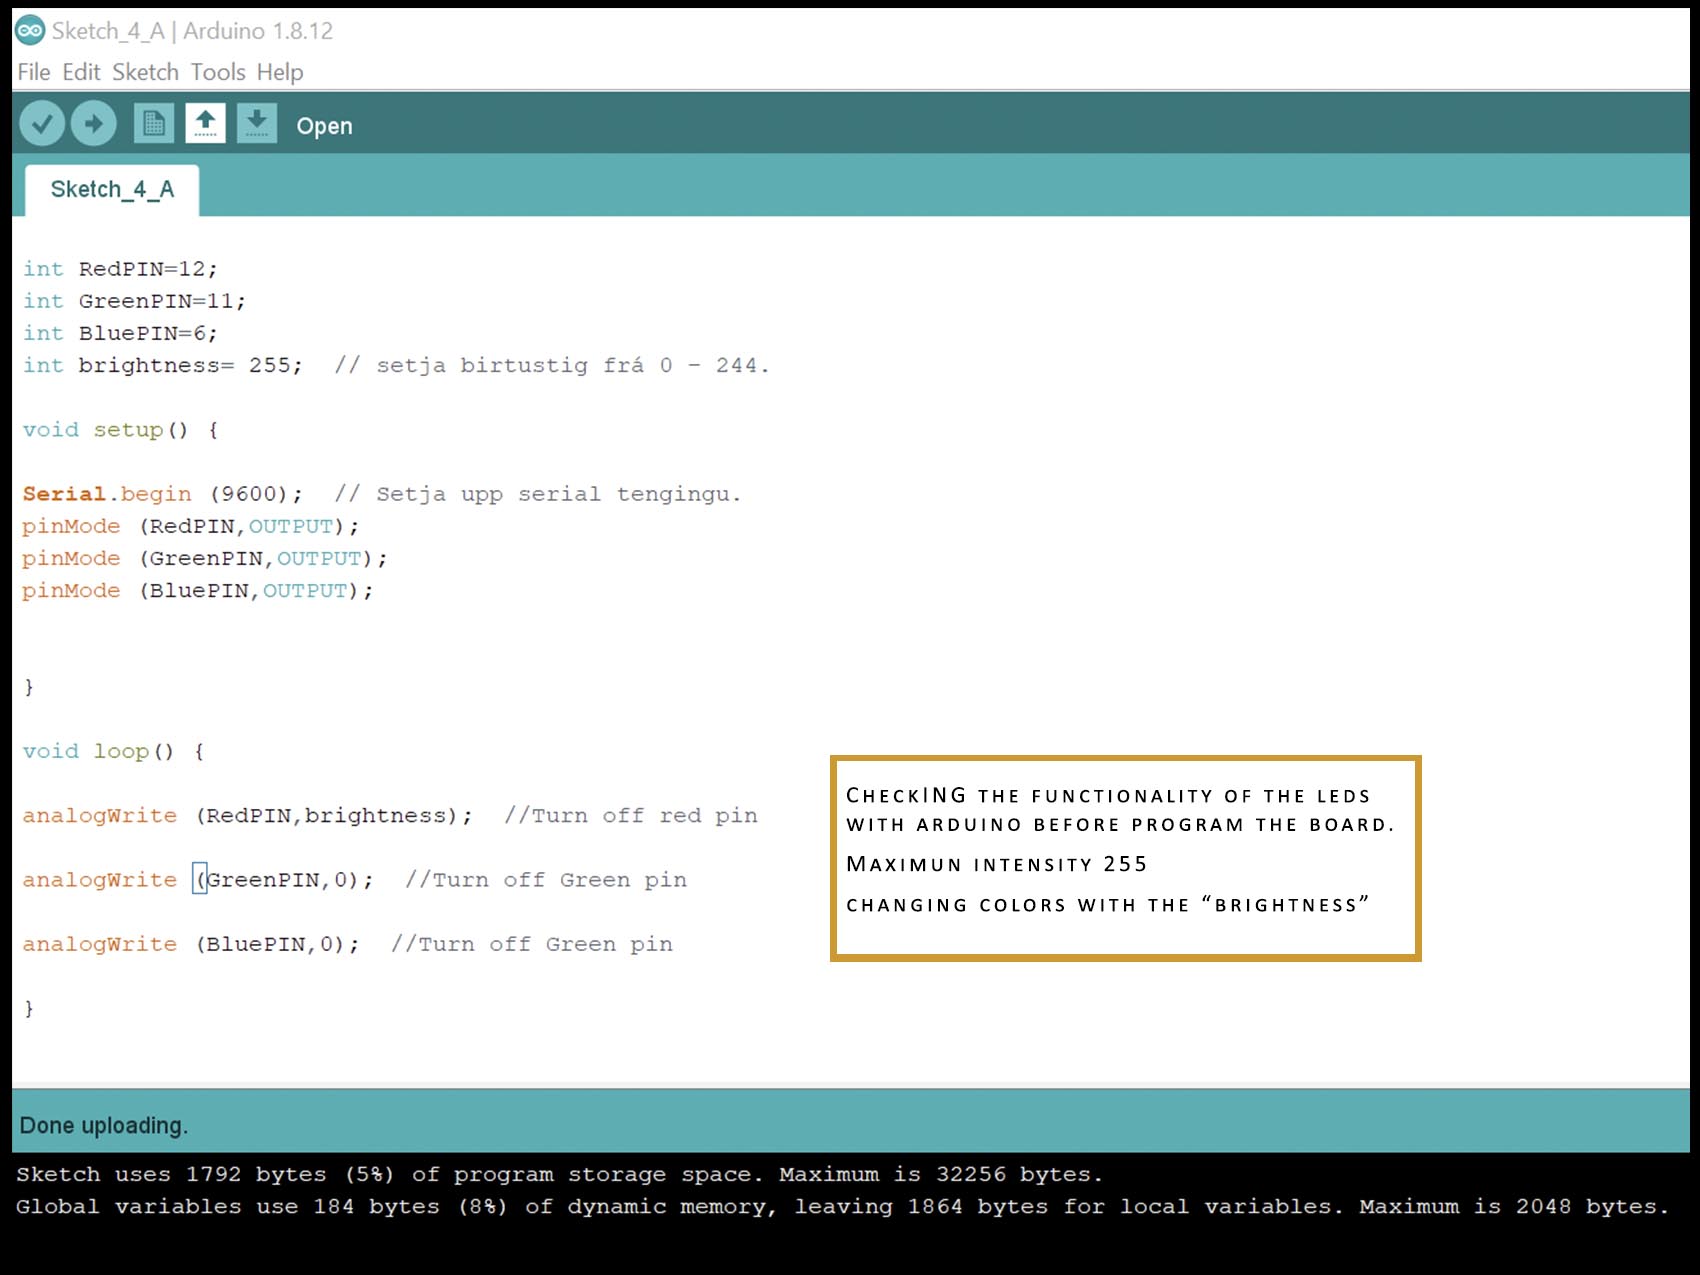
On this assignment, it was used the analog write instead of the digital light on the programming code. The reason is that, while the digital write just goes from 0 (0v) to 1 (5v), the analog write allow us to choose the brightness of the led going from 0 to 255 and controlling the voltage between 0 and 5.
On the video below, you can watch the test.
Now, you can start designing the board in Eagle and get ready the new board.To make the board follow the same structure that in week 4 and week 6:
- Design the board in Eagle: schematic and traces.
- Mill.
- Weld the components
- Chech that everything work.
Here you can se the traces and the outline of the board:
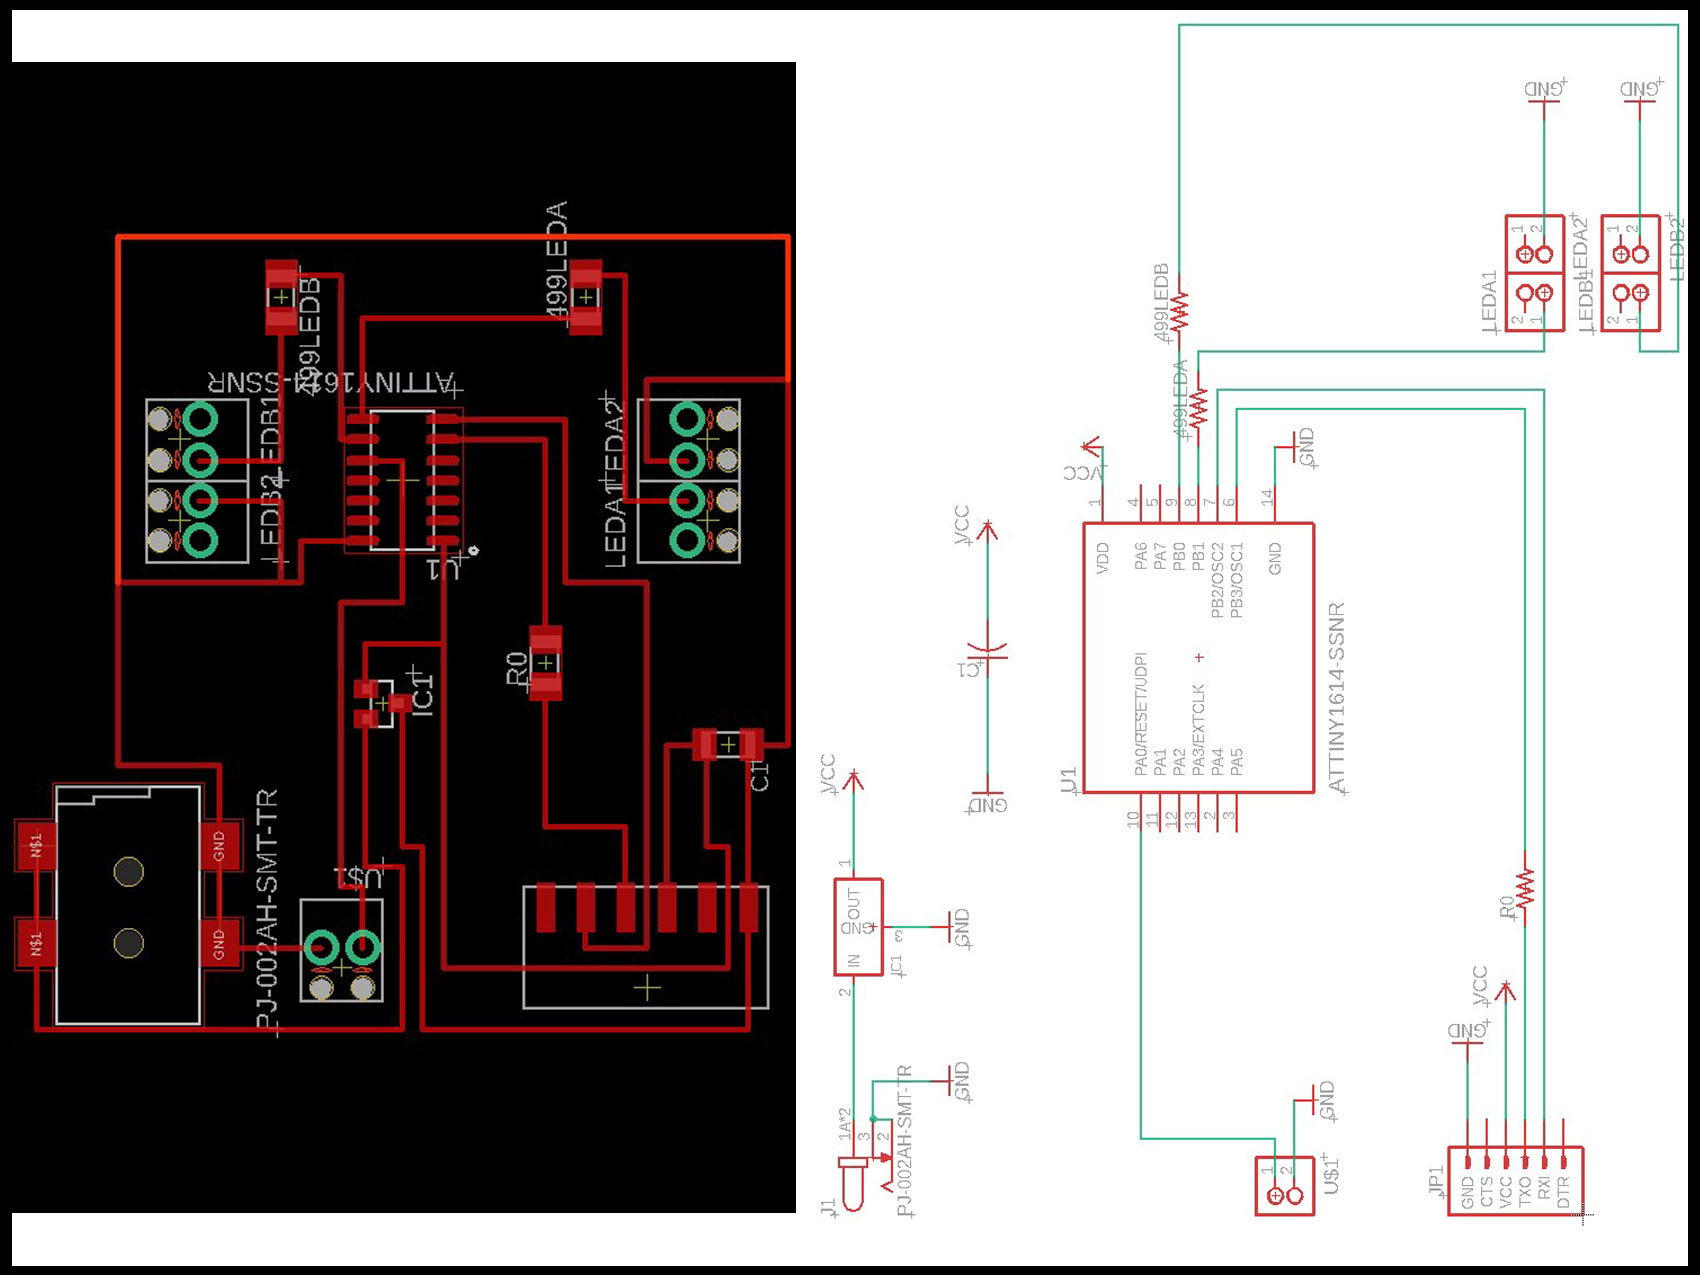
The boards elements are:
- 2x RGB LED. The board was designed with holes that go through it, so it will be possible to fit properly in to the lamp box of the final project. However, it was decided to not use it on that way because if we welded to the board and for some reason the led broke, we will need to change everything. So, instead of that, we add 4 PINS to connect the led with the wires.
- 1x capacitor
- 1x resistor 0 ohm
- 6x resistor 499 ohm
- 1x ATTINY1614
- 1x regulator 5v
- 1x power supply
- 1x 6 pins FTDI
- 1x 2 pins
- 4x 4 pins
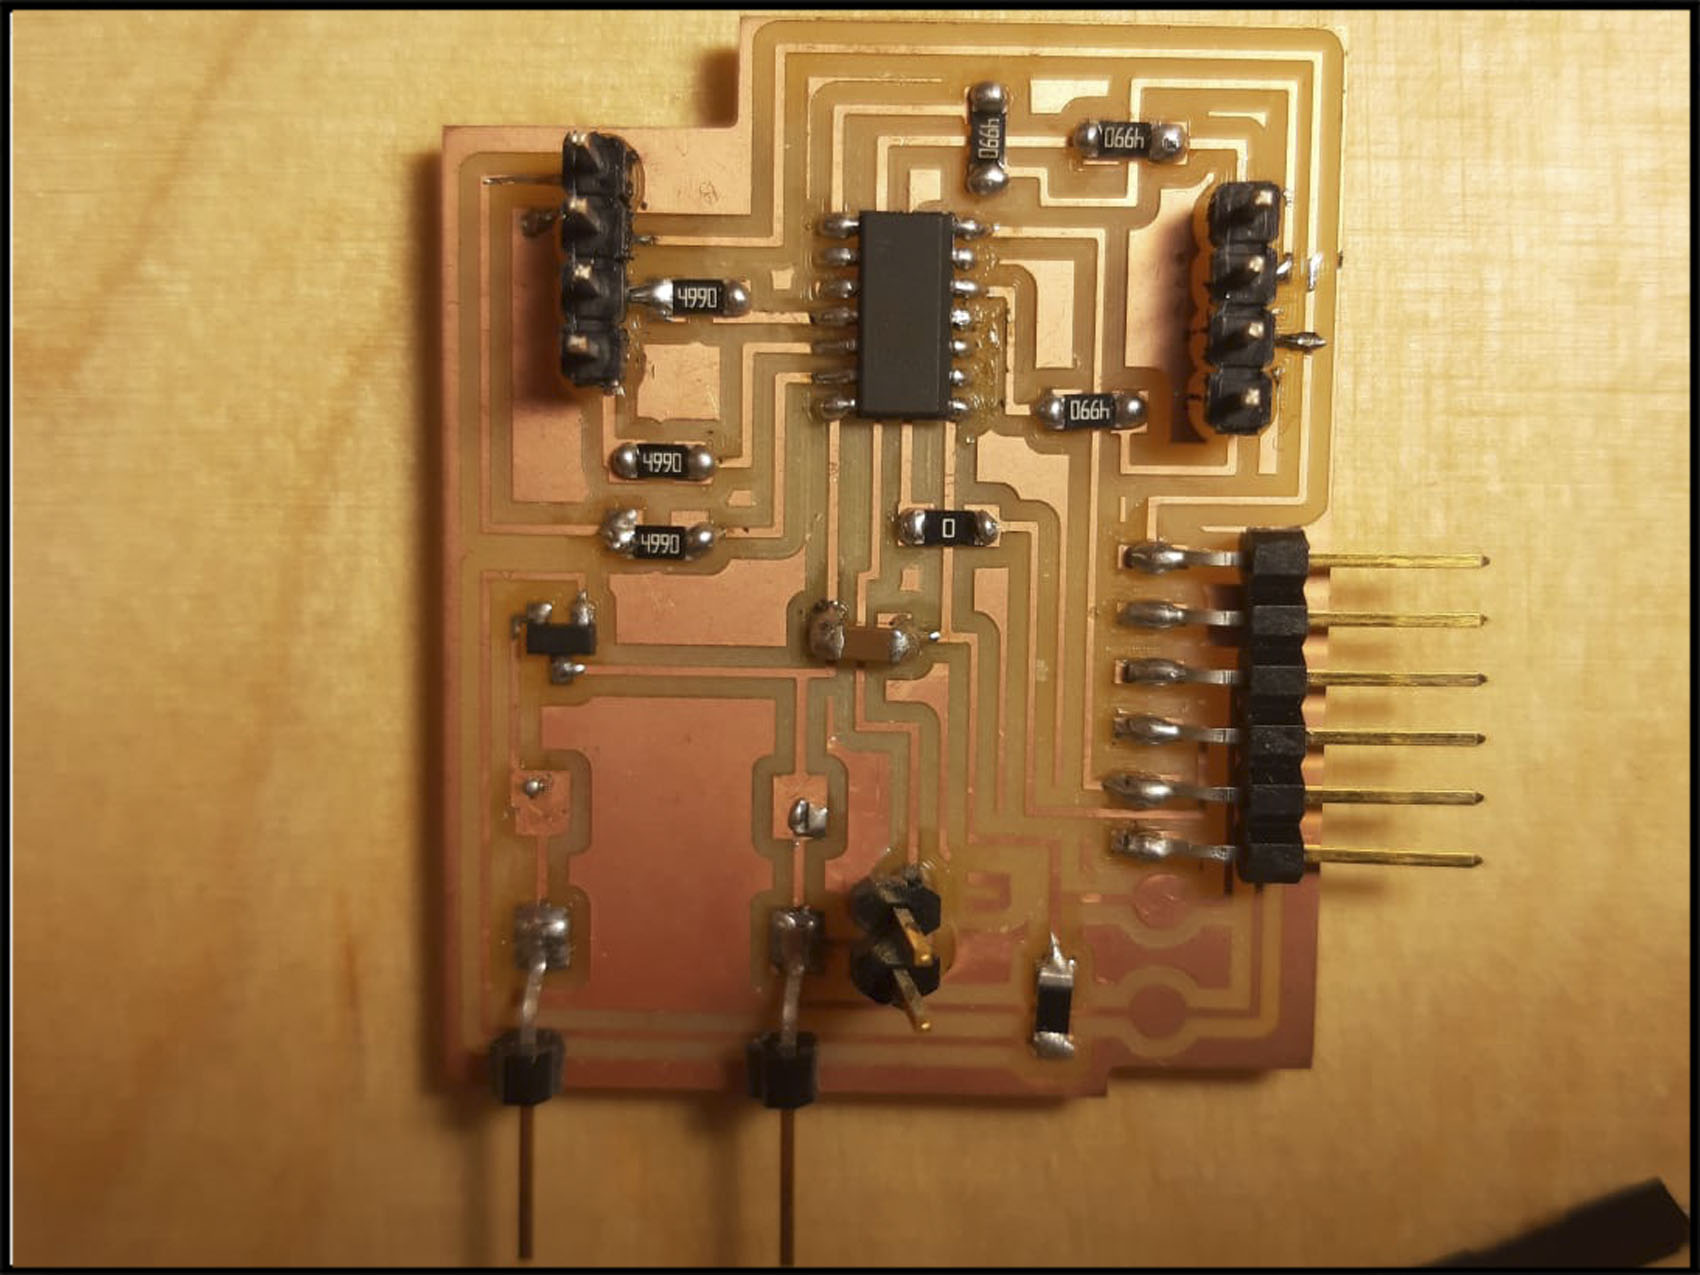
The structure of the board is similar to the one used for the infrared sensor, indeed, this one is the master board and the other one is the slave, because of that you can see on the picture some similarities like: ATTINY1614, the FTDI to connect the bluetooth, two pins to program, the power supply that change from a power jack to two pins that give GND and VCC and are connected to the Mother board (that is explained in other week after this one).
On the video below, it is a sum up of hours working in 2 minutes:
If you have a new microprocessor to program you need to burn it first. Then, you are ready to program it.
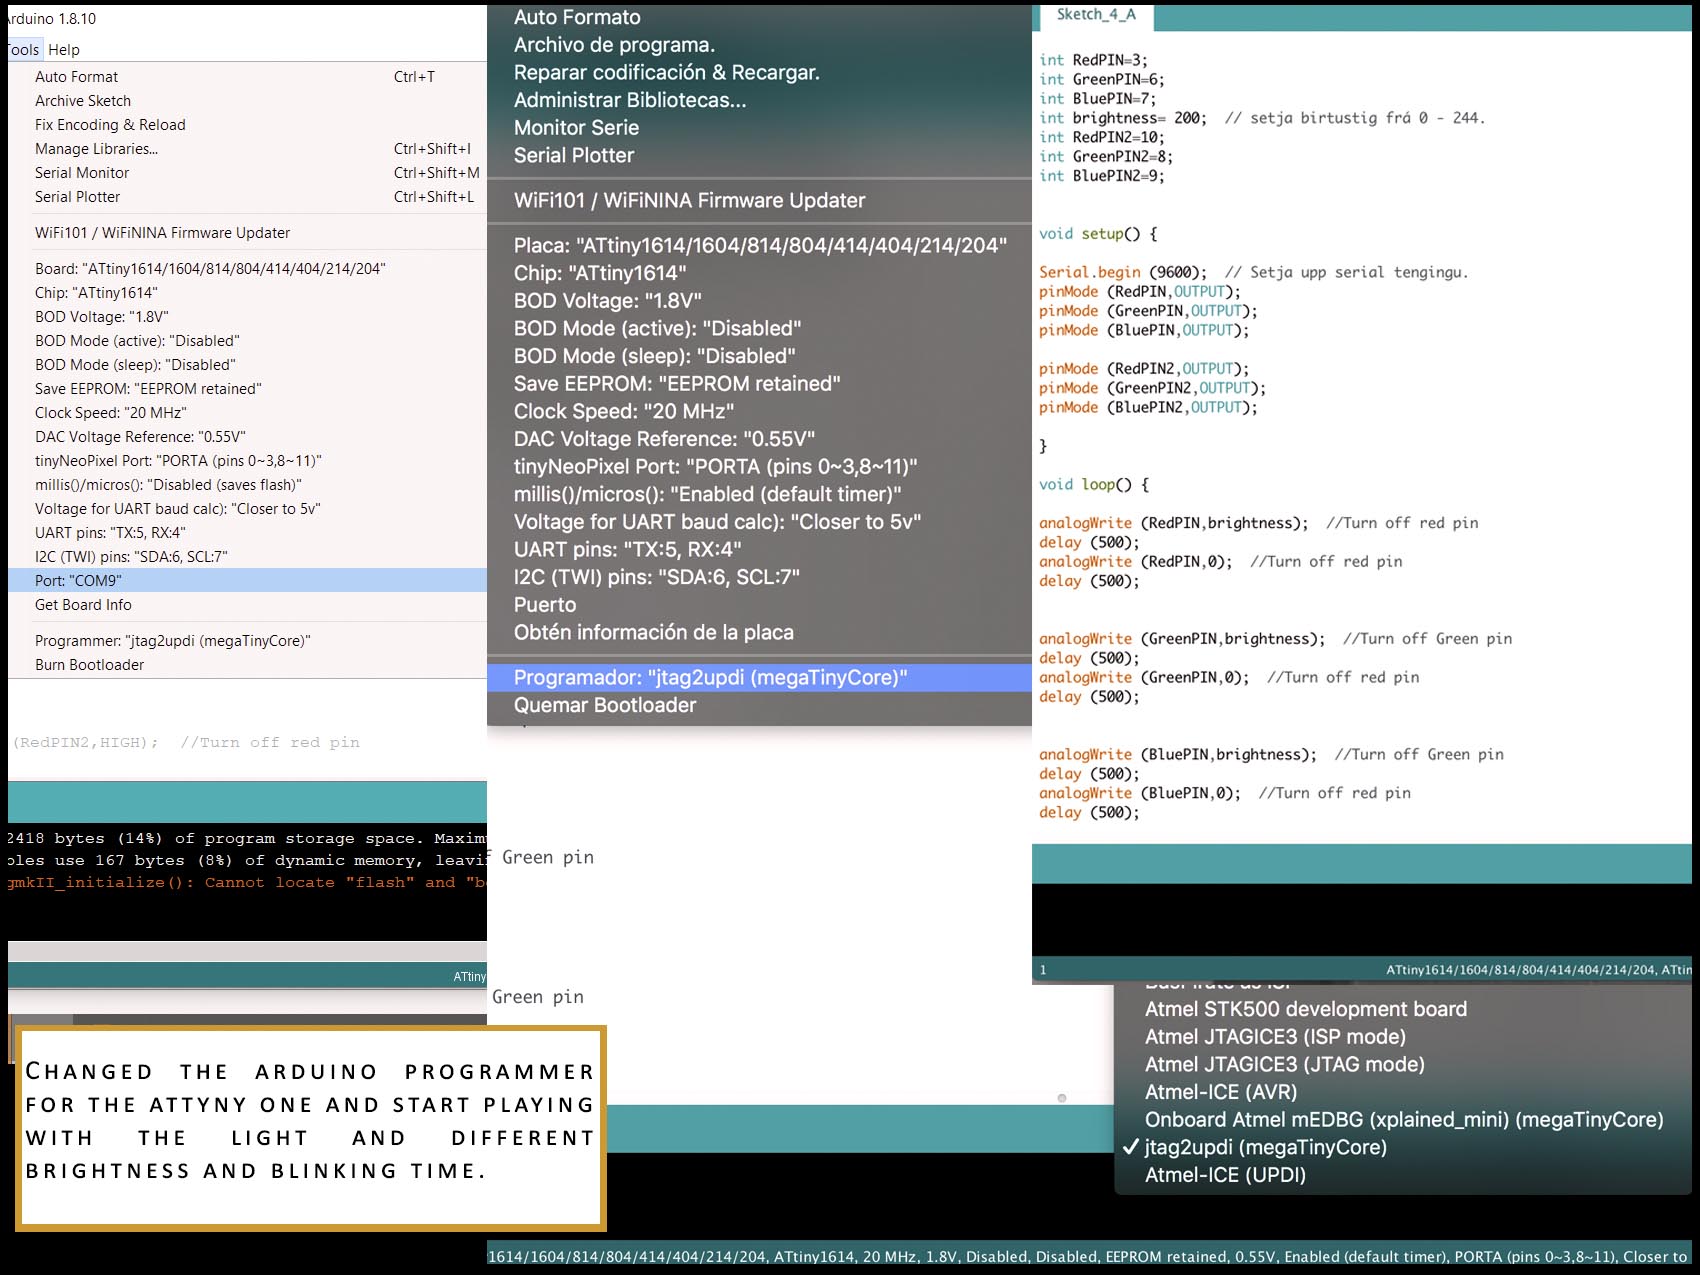
Do not forget to supply power to the boards or it will not work, it is just that does not have any energy.
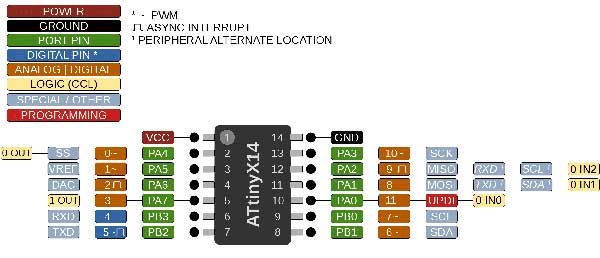
On the picture below you can see the equivalence names of the pin between Arduino and the ATTINY1614.
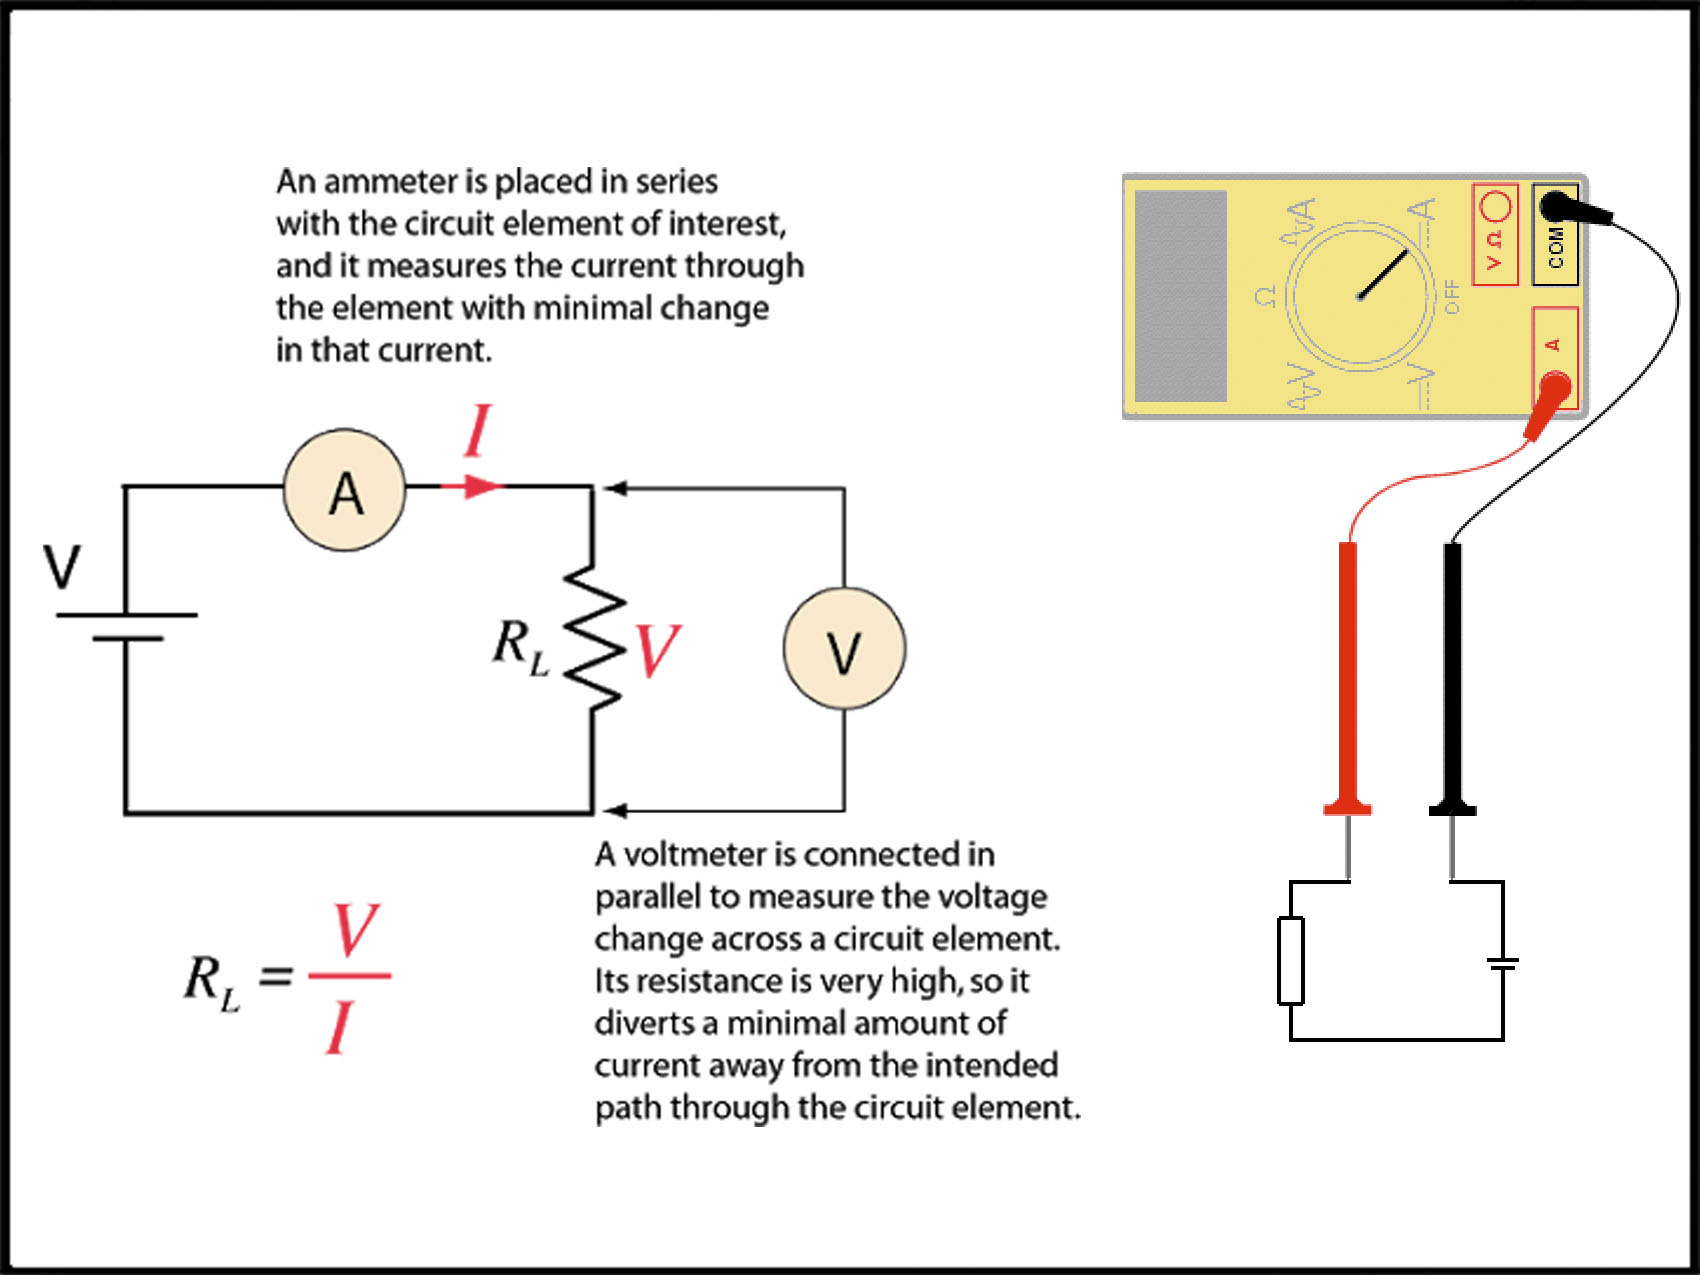
With the volmeter we can measure the amperes and the voltage.
Like this react to the blikinb RGB LED.