For the individual assignment we had to 3D print an object that could not be using subtractive methods. Additionally, we had to learn how to use the 3D scanner by scanning an object.
3D Printing
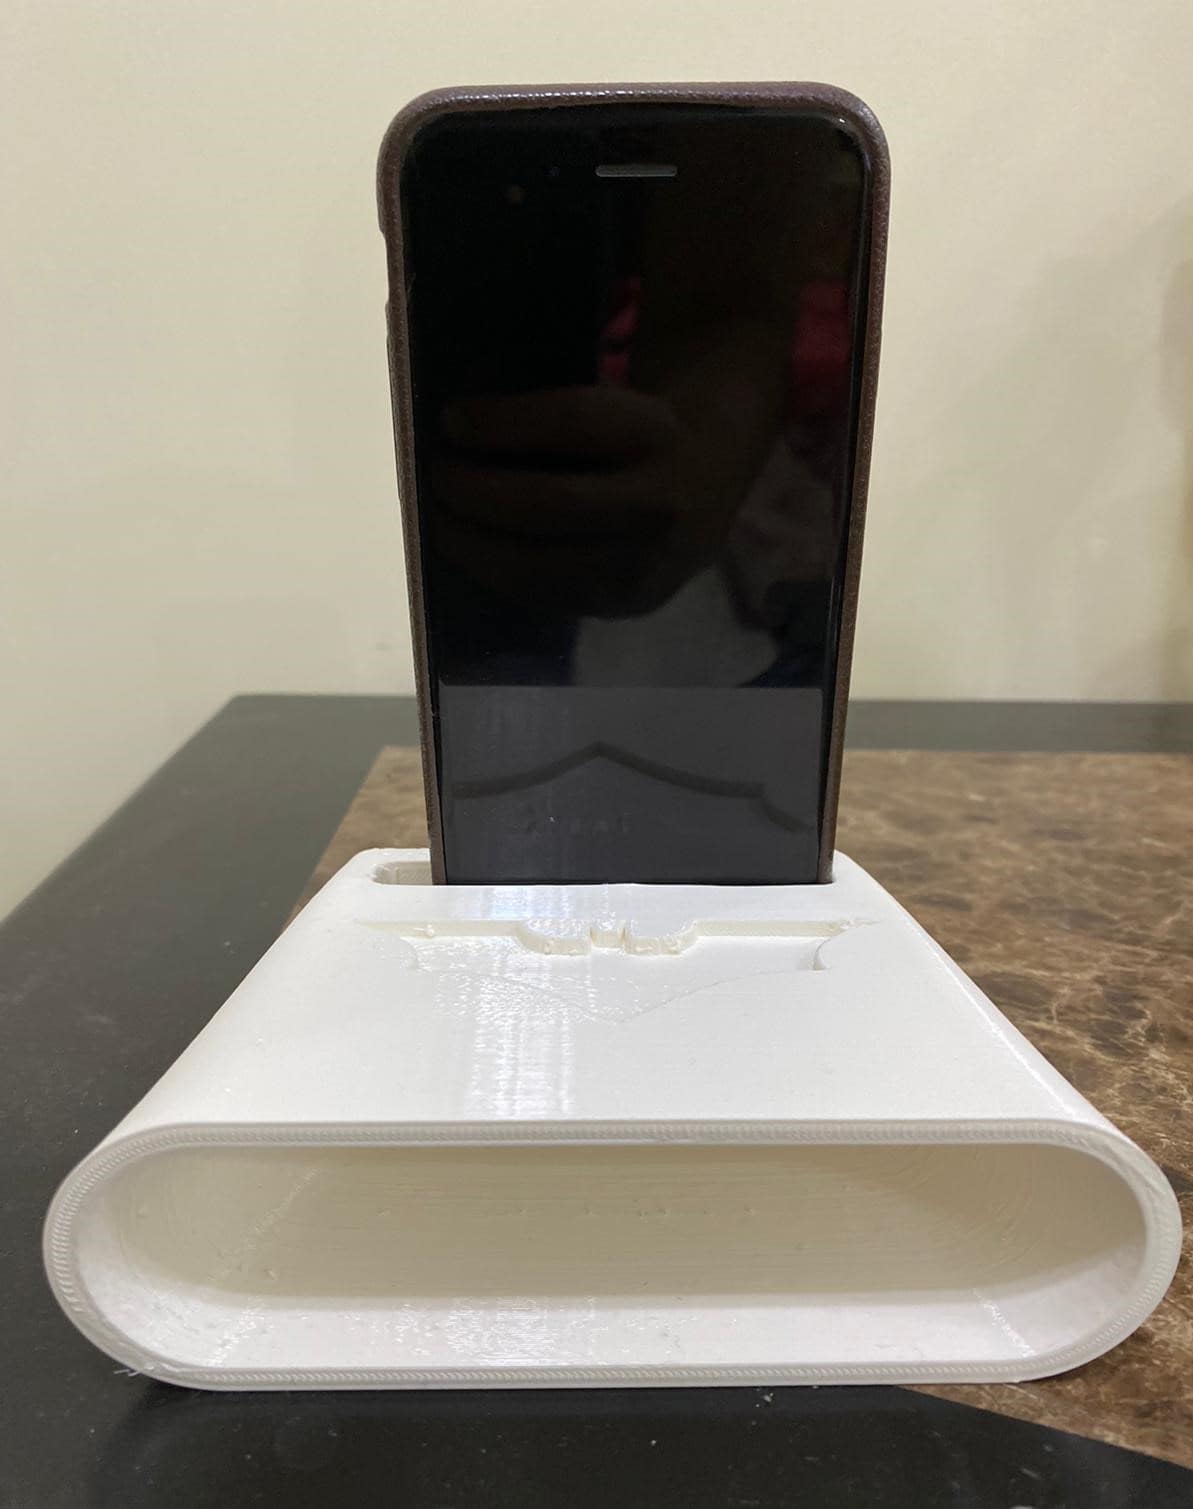
For the 3D printing assignment, I have decided to print a 3D Phone speaker. I have designed this speaker and used it as STEM workshop for students to teach them 3D modeling and 3D printing as well as teach them amplification of sound and how sound is measured.
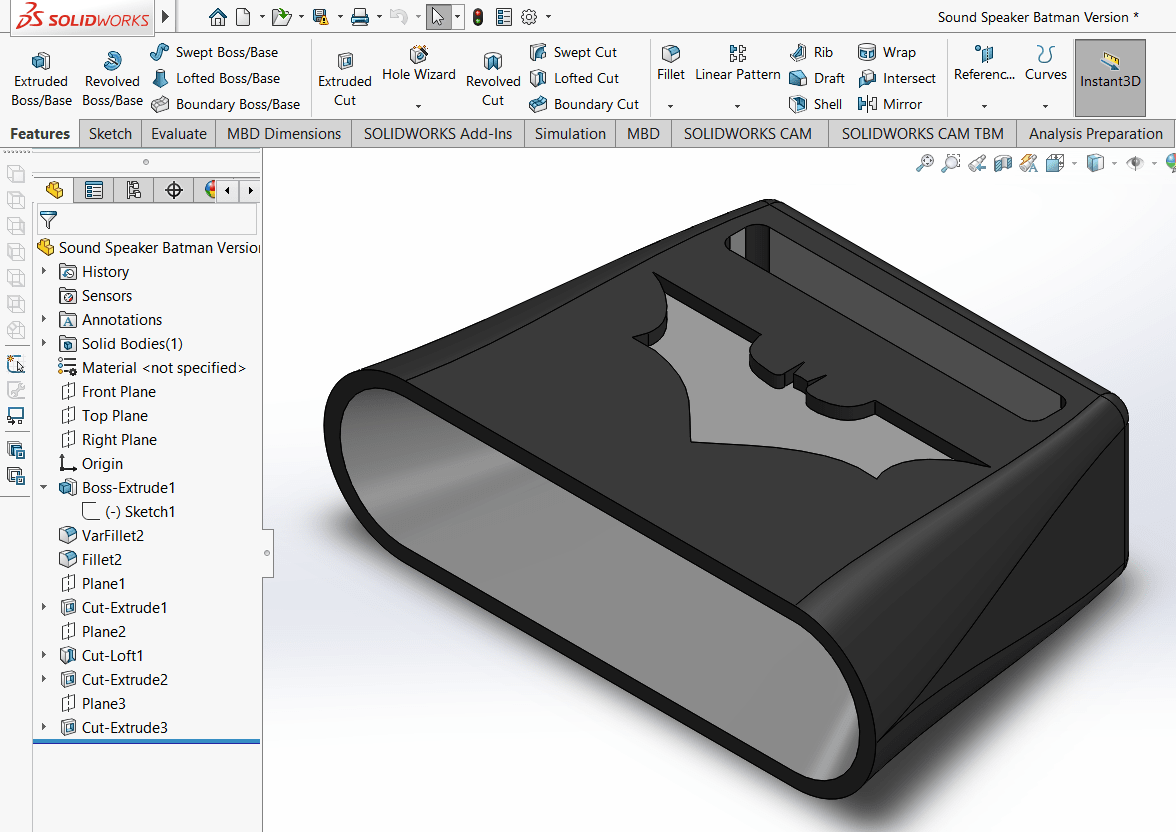
First step was the 3D modeling, I used Solidworks to design the object. I have related the modeled to a superhero theme so that I can add a fun touch for the student.
Shown below the 3D model, I have used different features such as extrude, extrude cut, fillet, loft and image tracing.
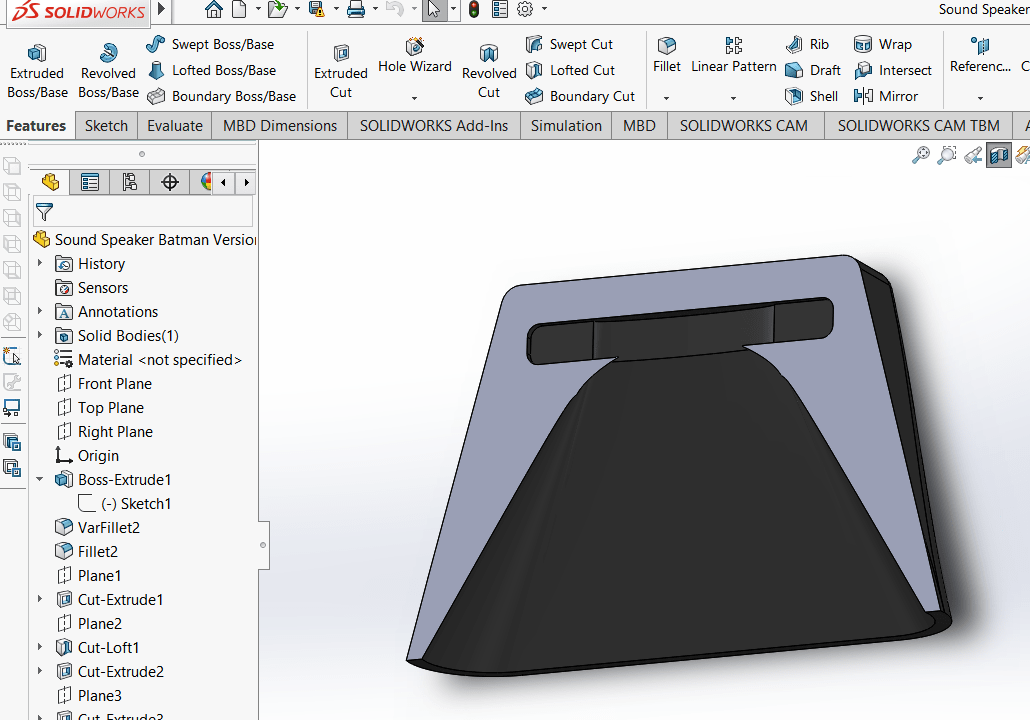
Shown below the section view, showing the sound waves amplification path.
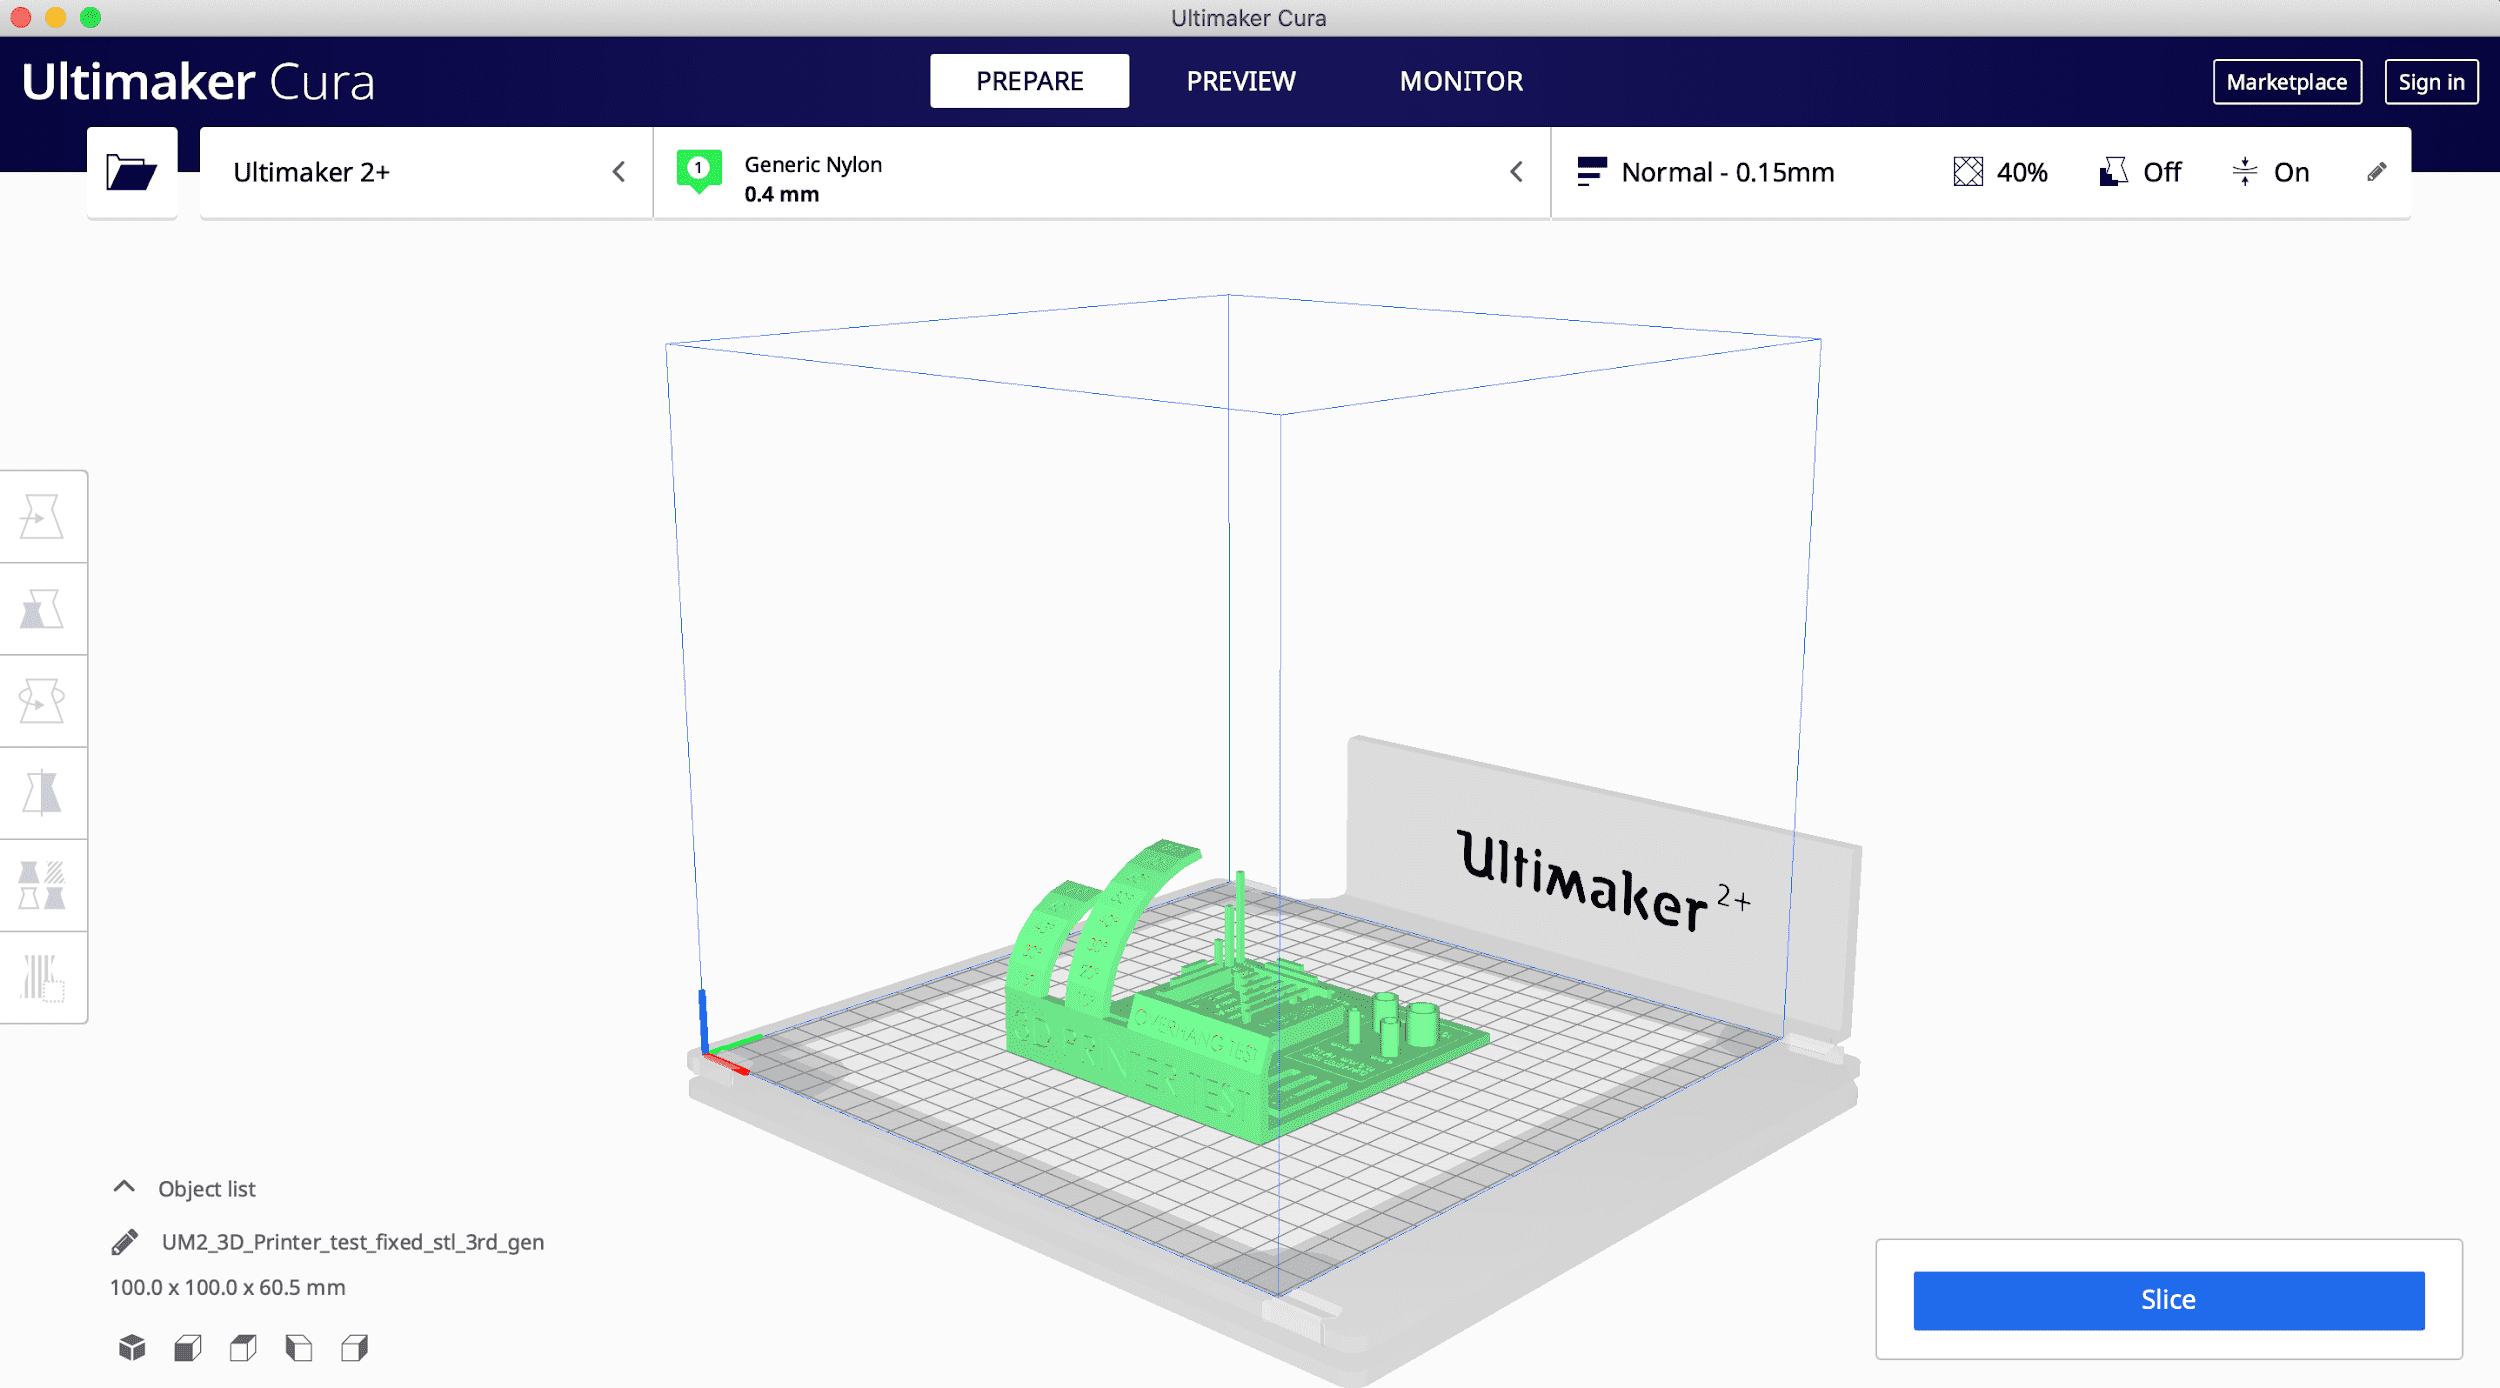
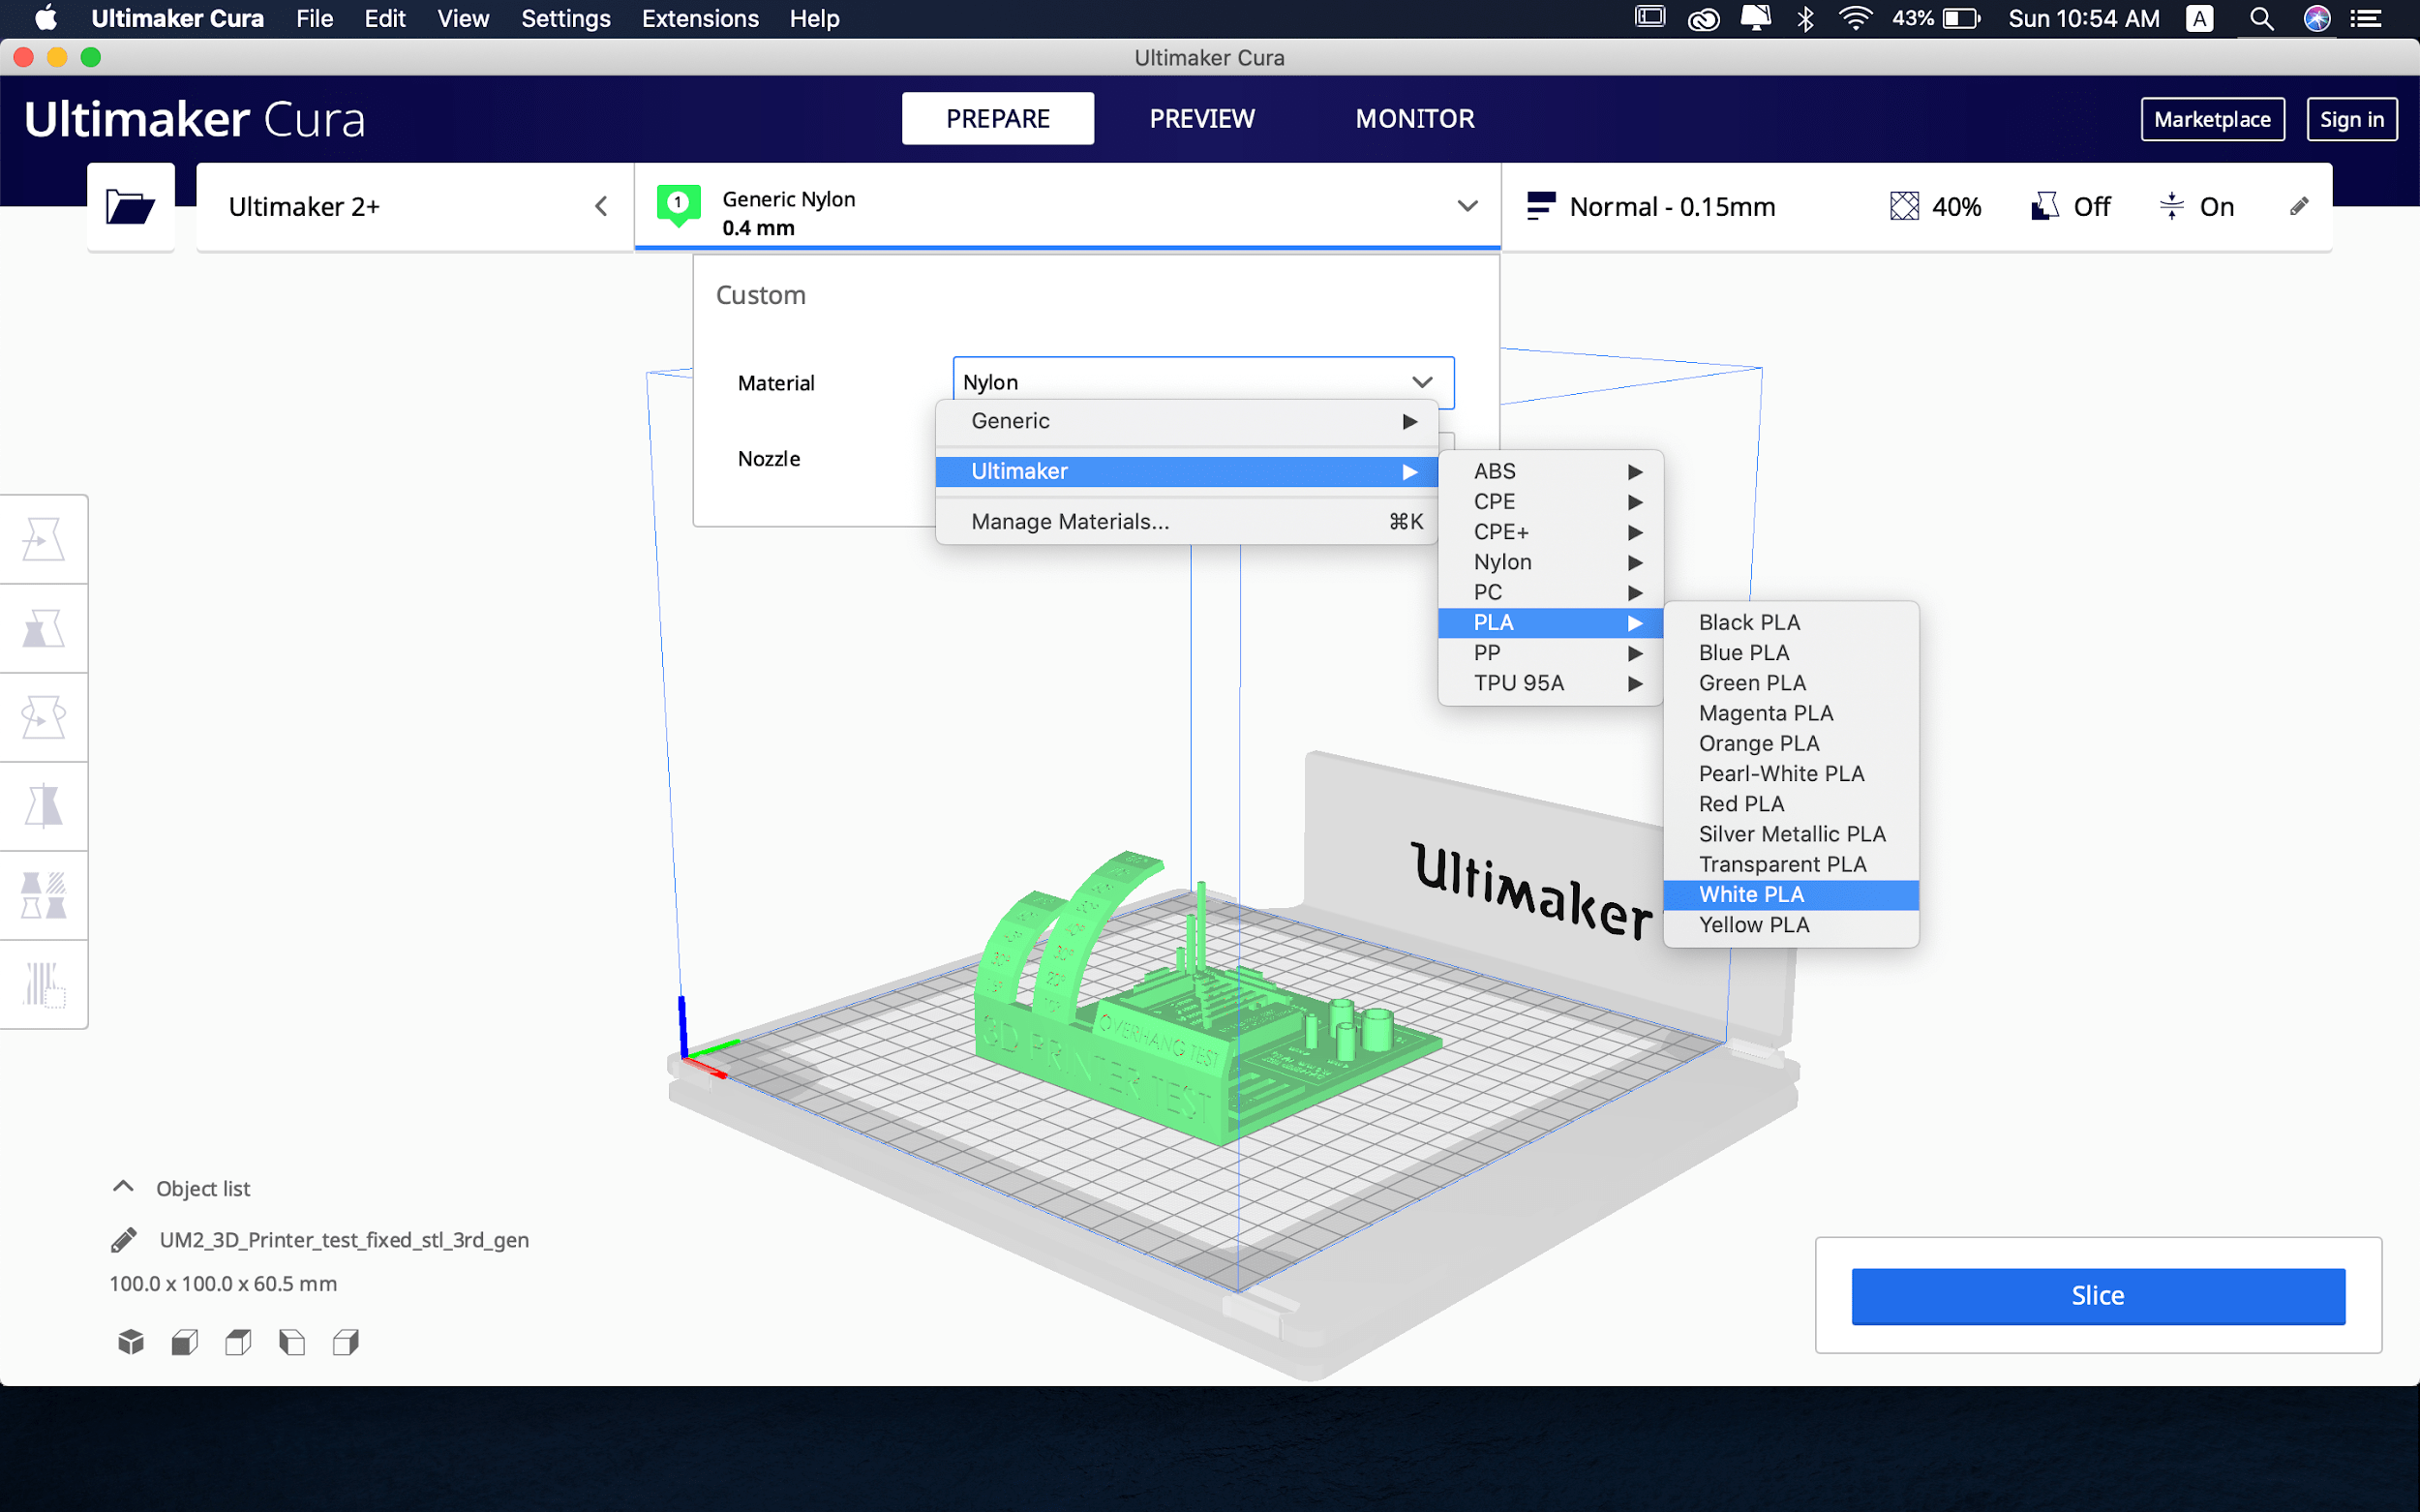
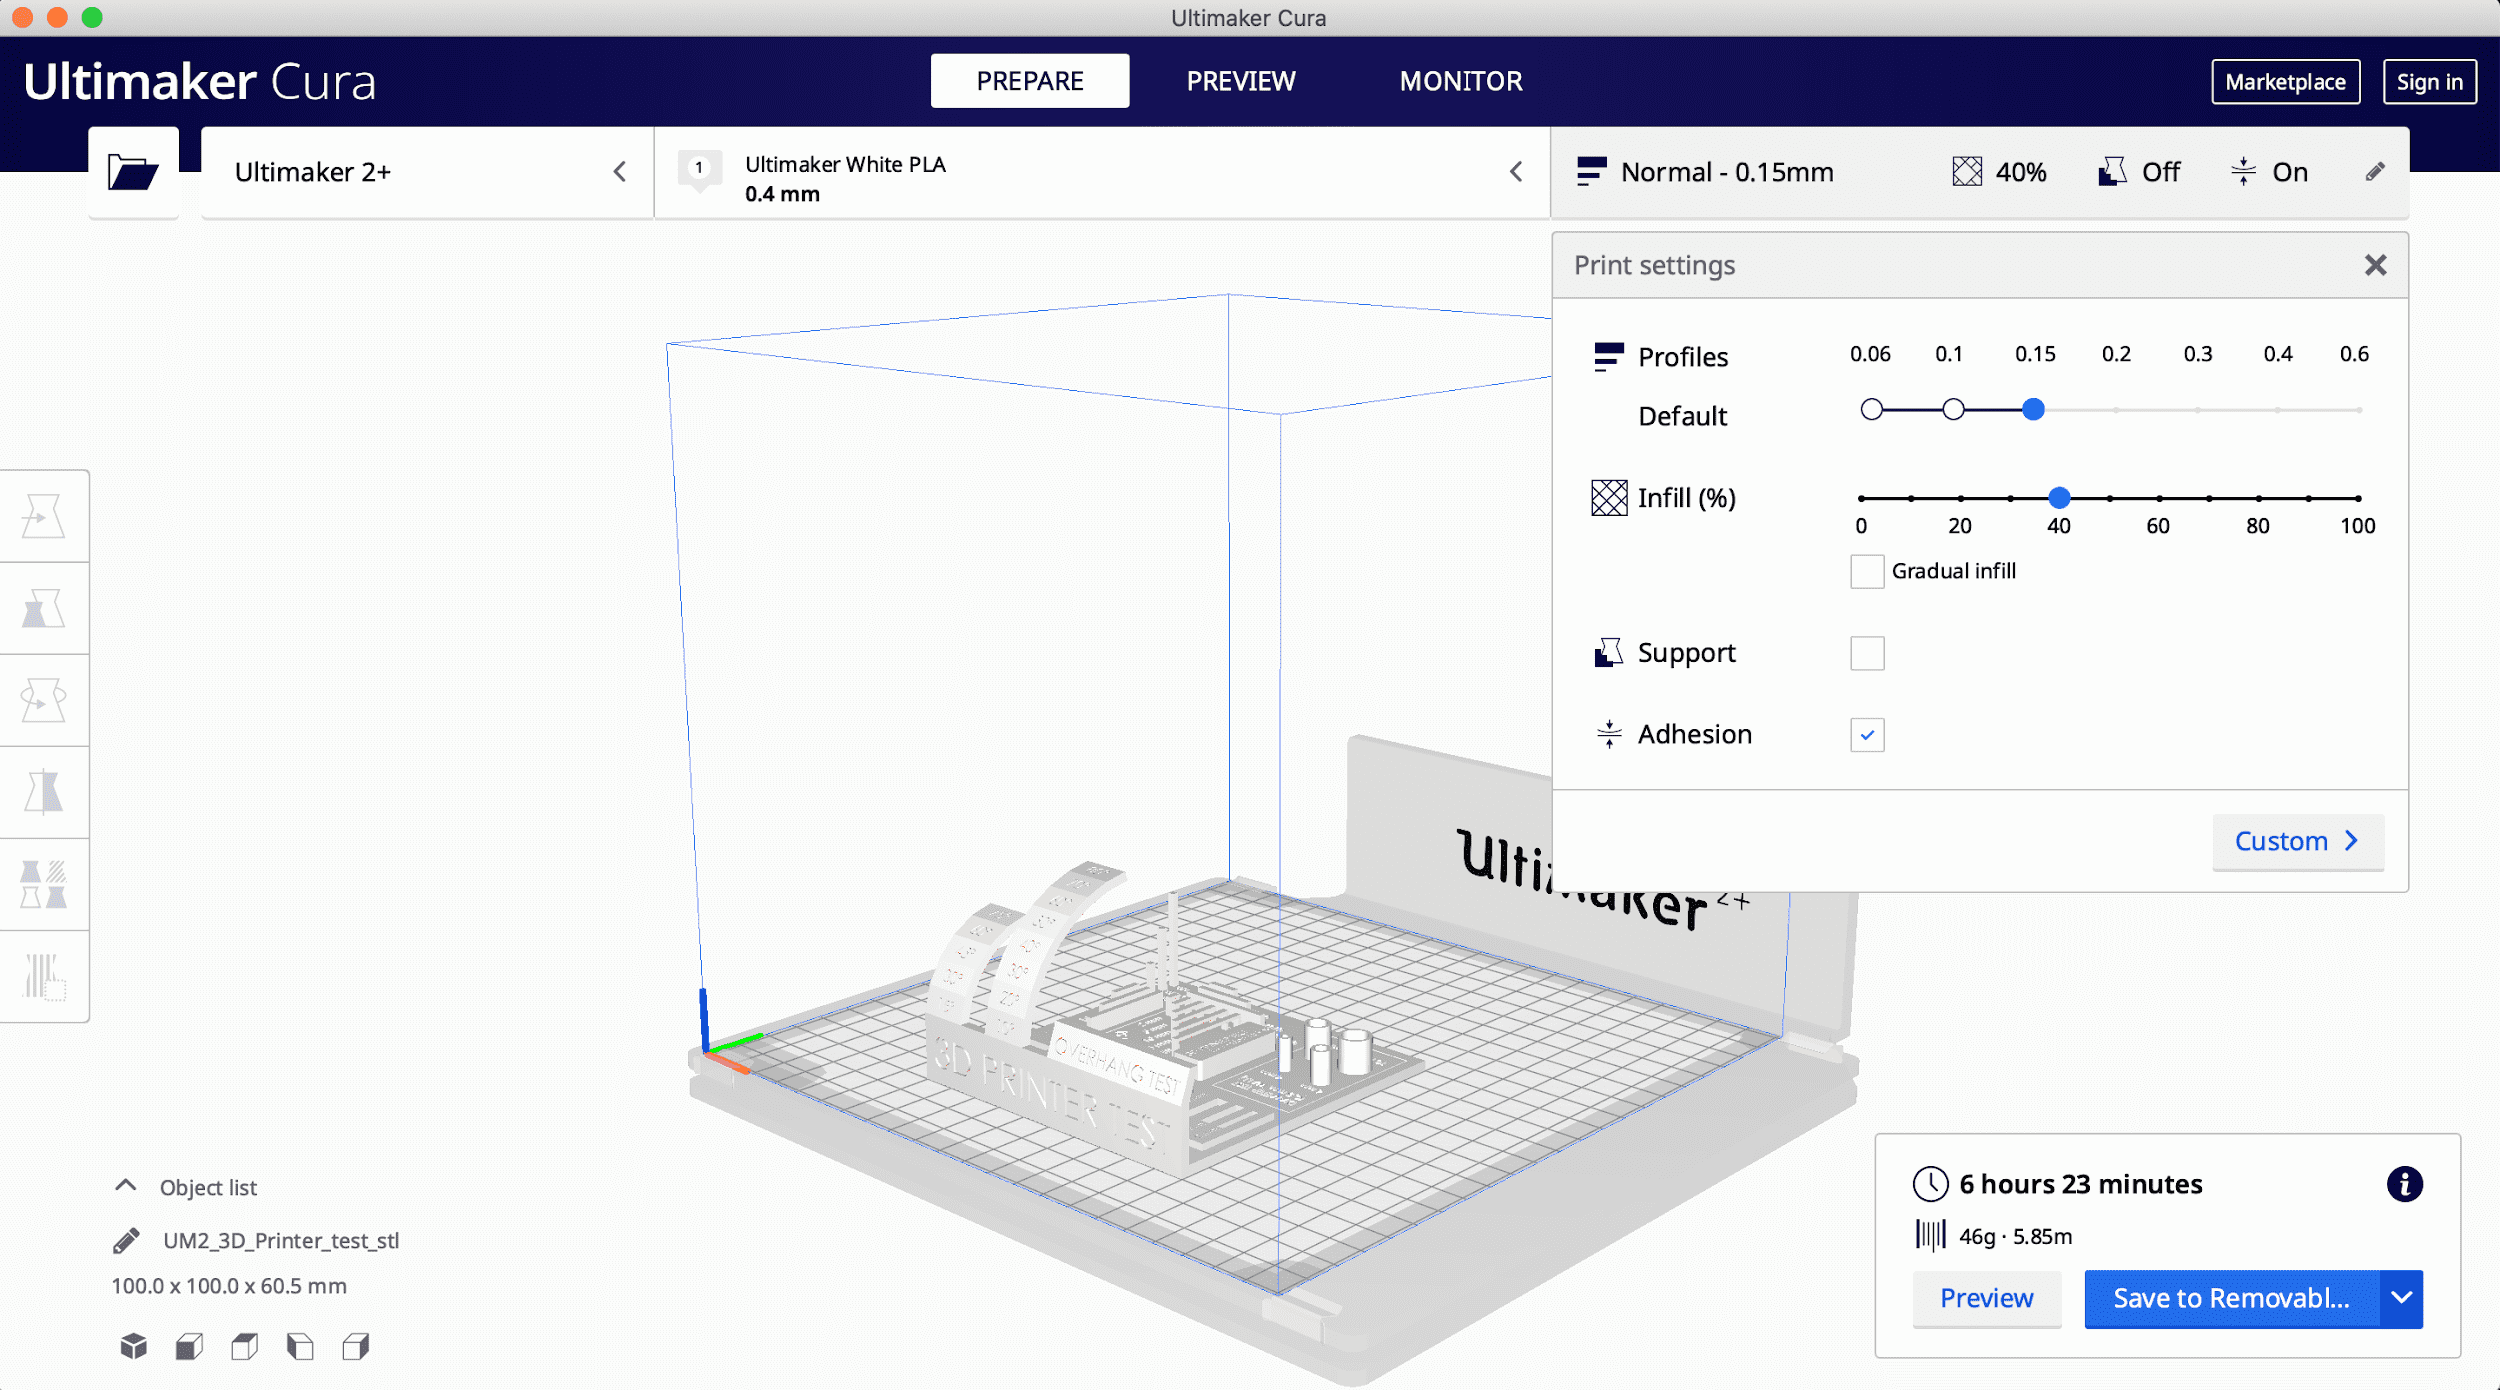
After that the file is saved as .stl file and uploaded to CURA software, as shown below.
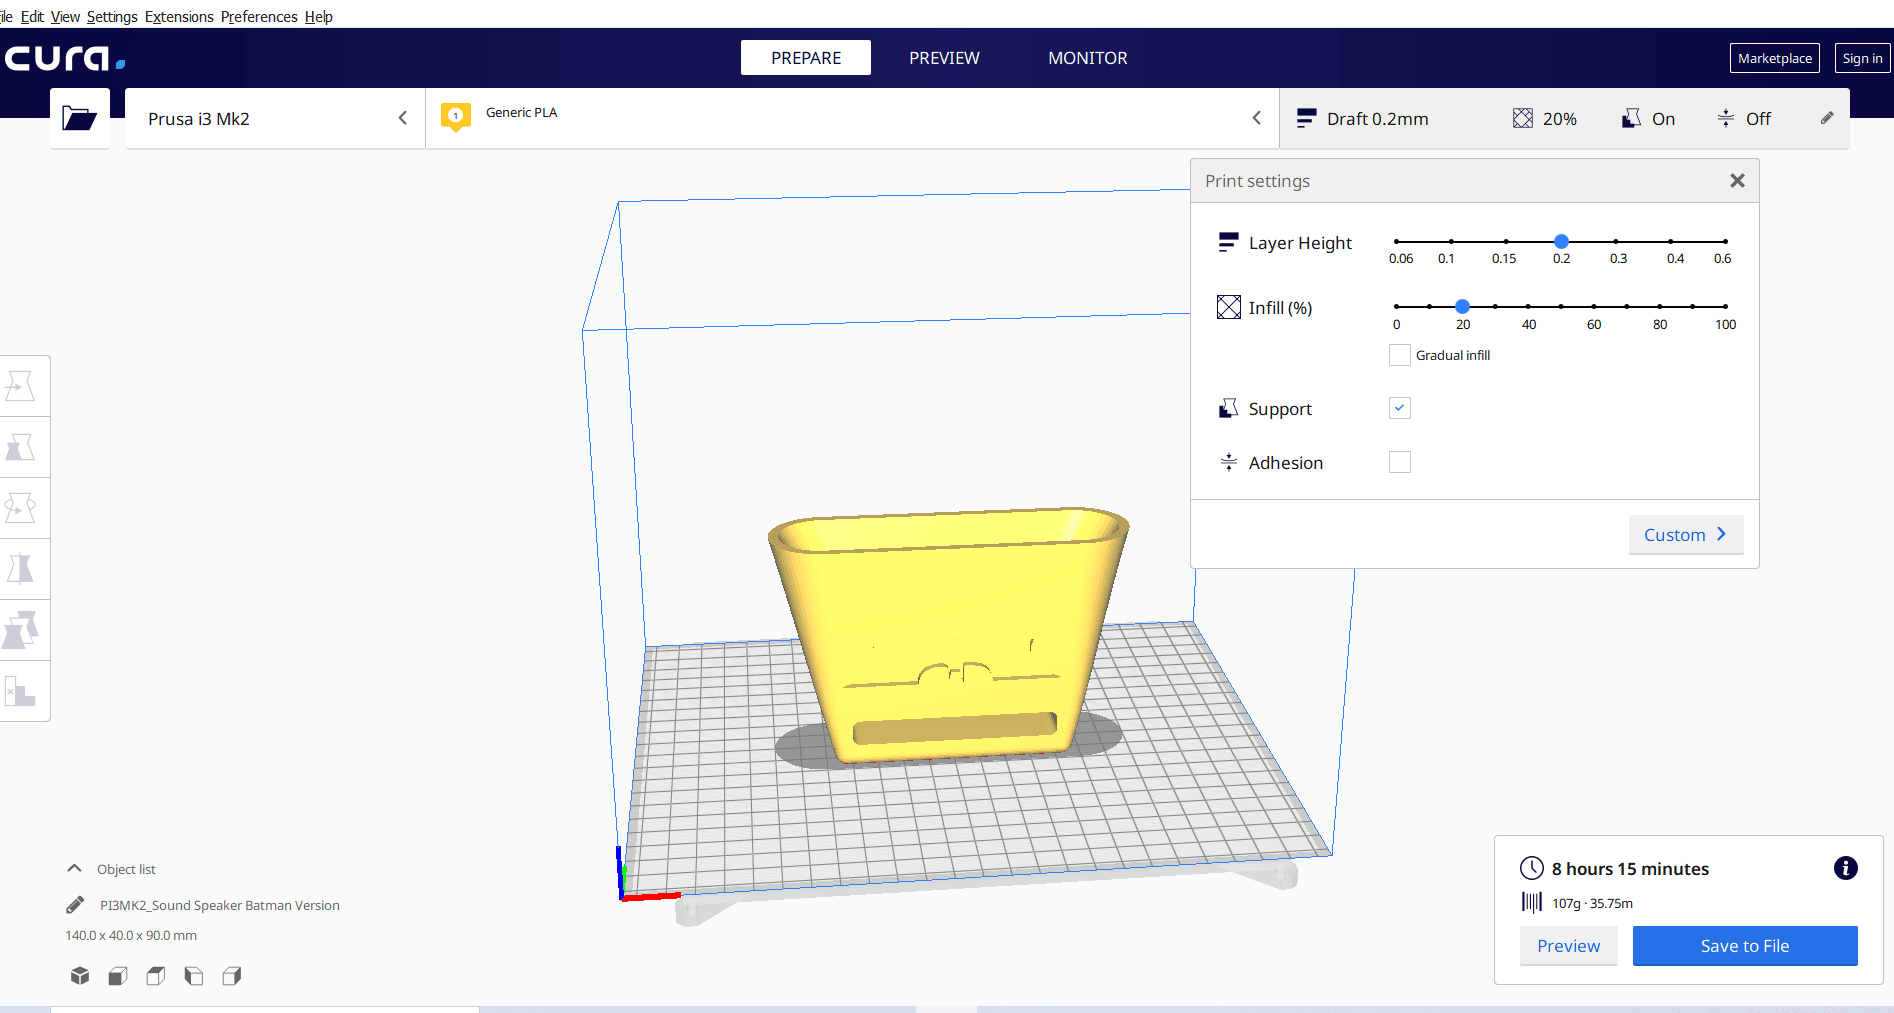
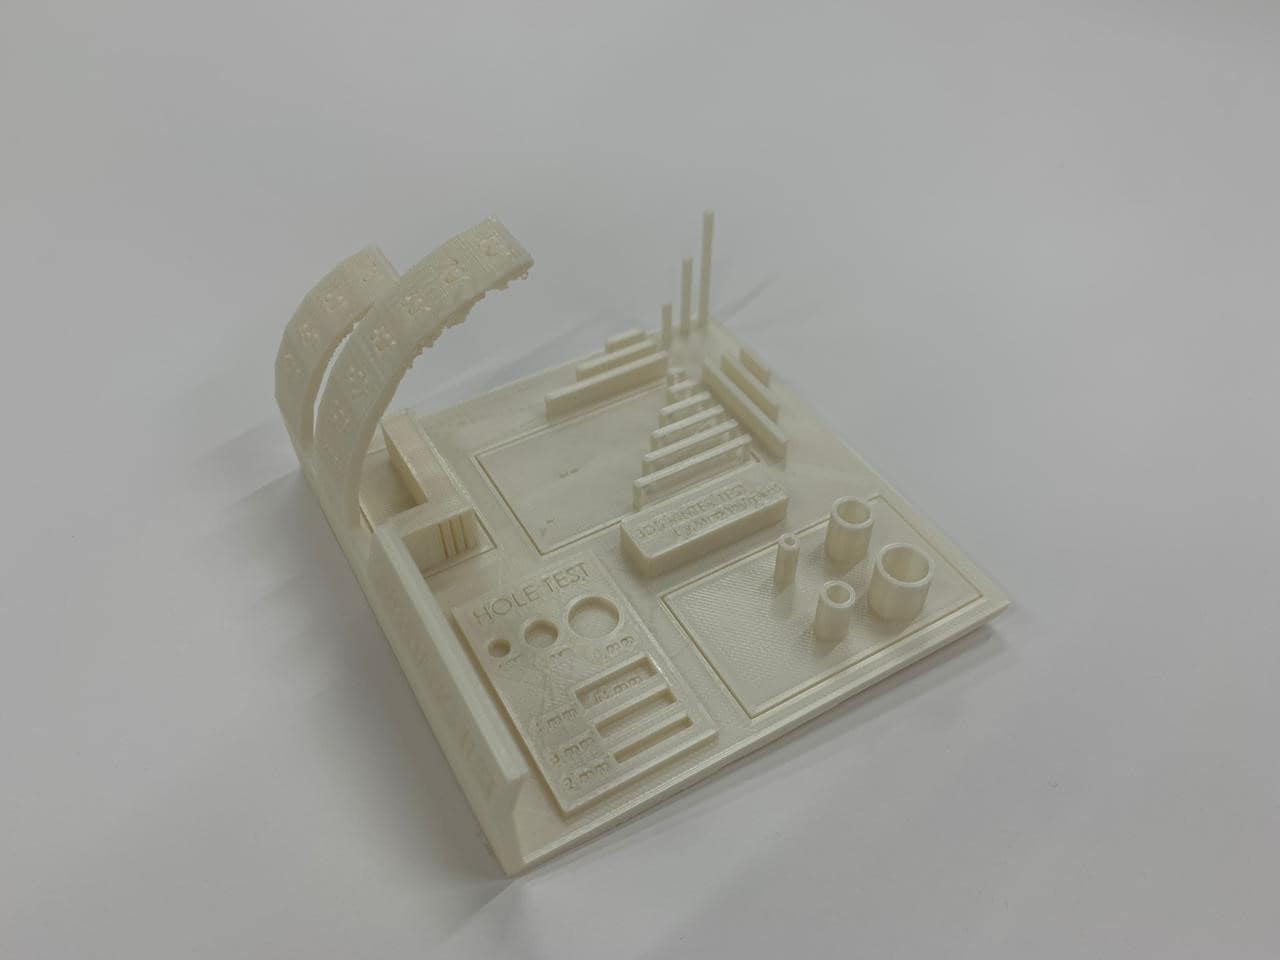
The printer was selected as Prusa i3 MK2, Layer height 0.2 and the infill percentage was 20. Shown below the result of printing using Prusa.
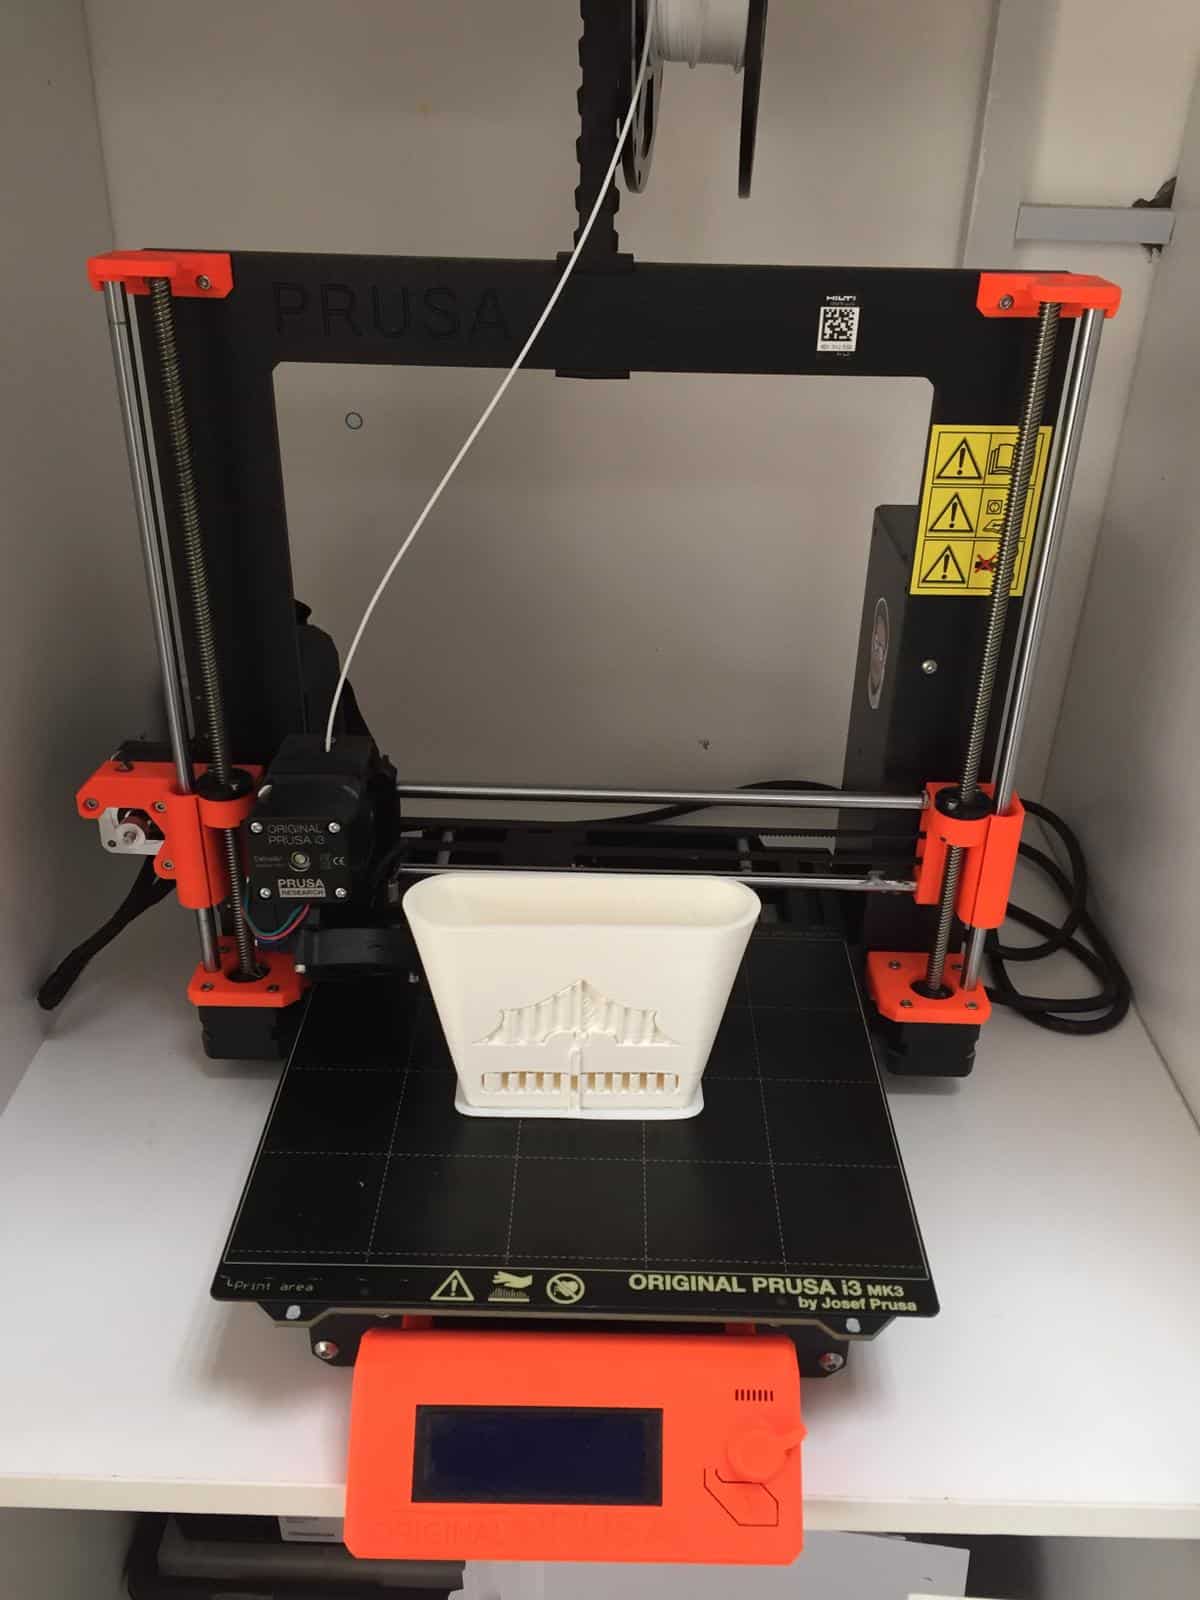
Challenges Faced
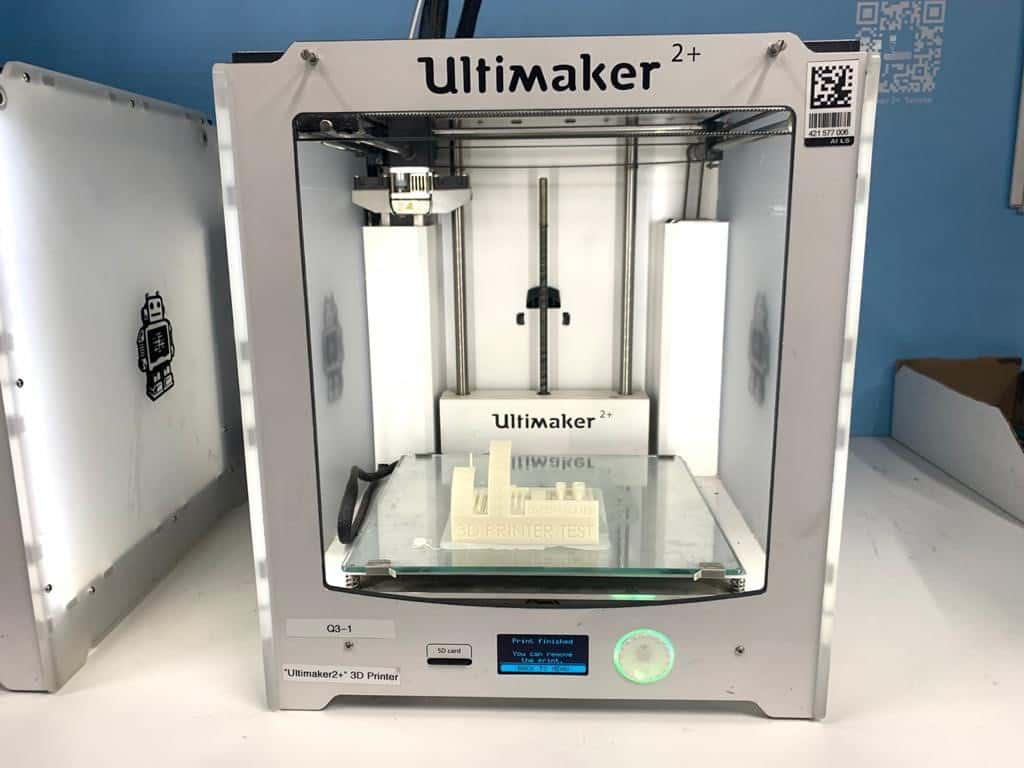
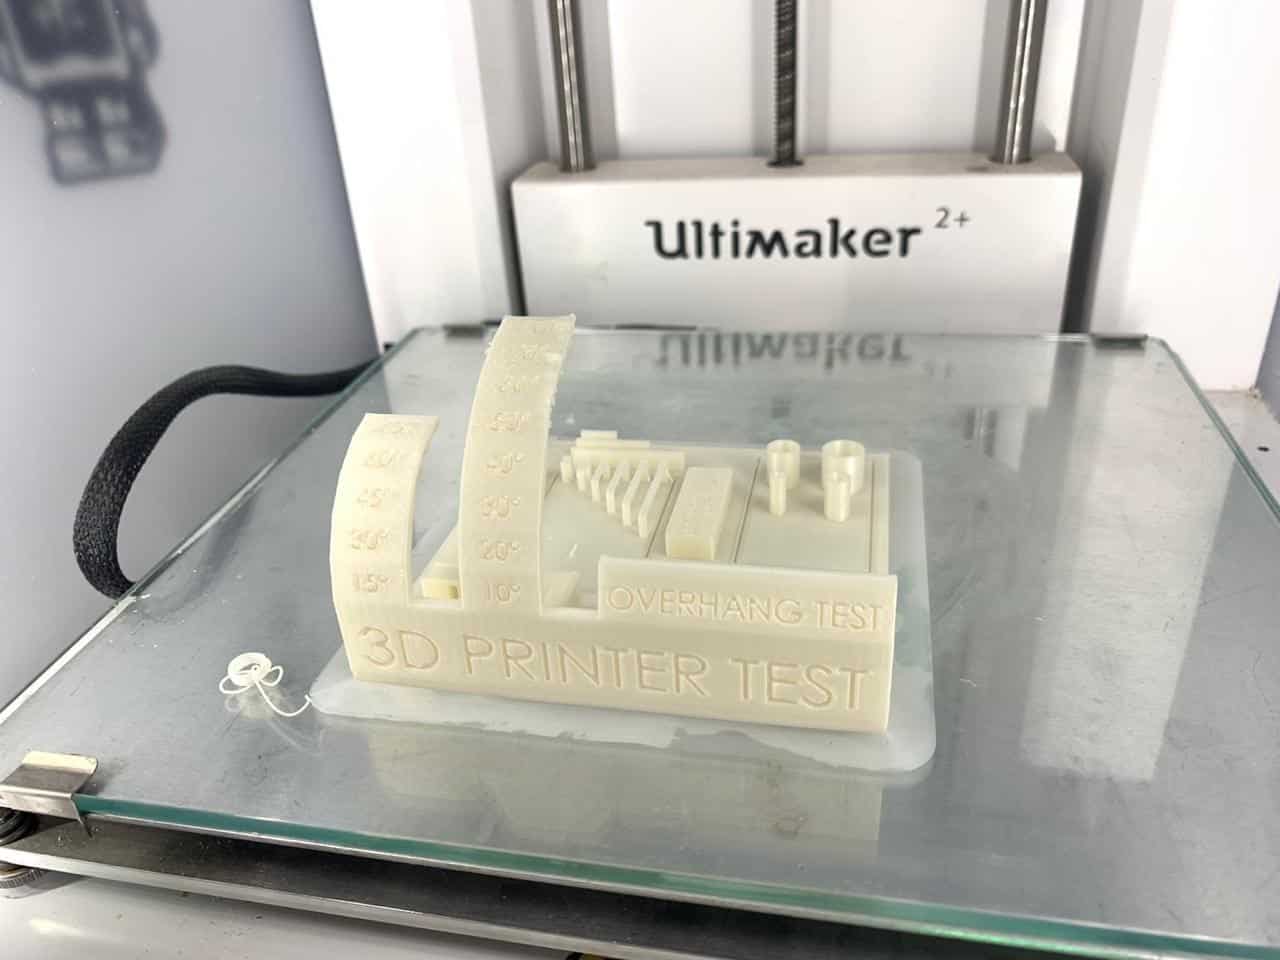
The experience during the group assignment using the Ultimaker 2+ was smooth and no challenges was faced. However, using the Prusa I had to repeat the process few times, since the print gets messy and filament does not stick on the build plate. Additionally, for few times the feeder gets slippery, so I had to clean it and repeat the process.
Comparing the Quality and time of printing, the Ultimaker is much better. On the other hand, comparing the price, Prusa has the much lower price than the Ultimaker.
.
Click on text to download 3D file:
- Sound Speaker 3D design file download link
Click on text to download .STL file:
- Sound Speaker .STL file download link
3D Scanning
For the 3D scanning assignment, I have decided to scan my face using the Kinect machine. The 3D scanning was a new process for me as I had to learn how to use it from scratch and get familiar with the software..
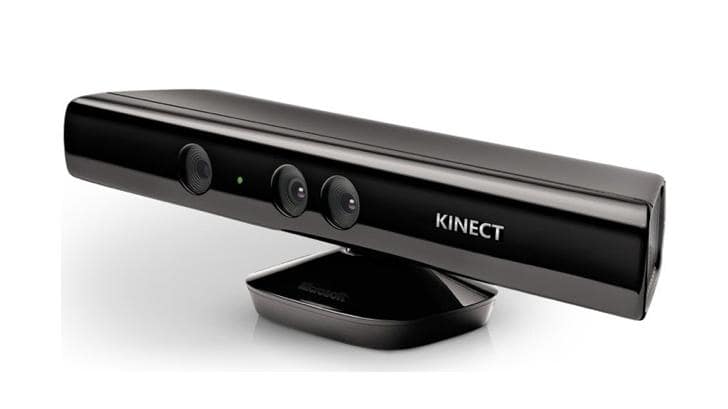
Kinect is a line of motion sensing input devices that was produced by Microsoft for Xbox 360 and Xbox One video game consoles and Microsoft window PC. Microsoft’s original Kinect for Xbox 360 has been responsible for the uprising of low-budget 3D Scanning. That sensor is still widely supported by many 3D Scanning apps like KScan3D, and Skanect.
Procedure of 3D Scanning
First step I Had to download the Kcan3D software that supports the 3D scanner. This software helps to control the parameters of scanning, choosing the number shots per second.
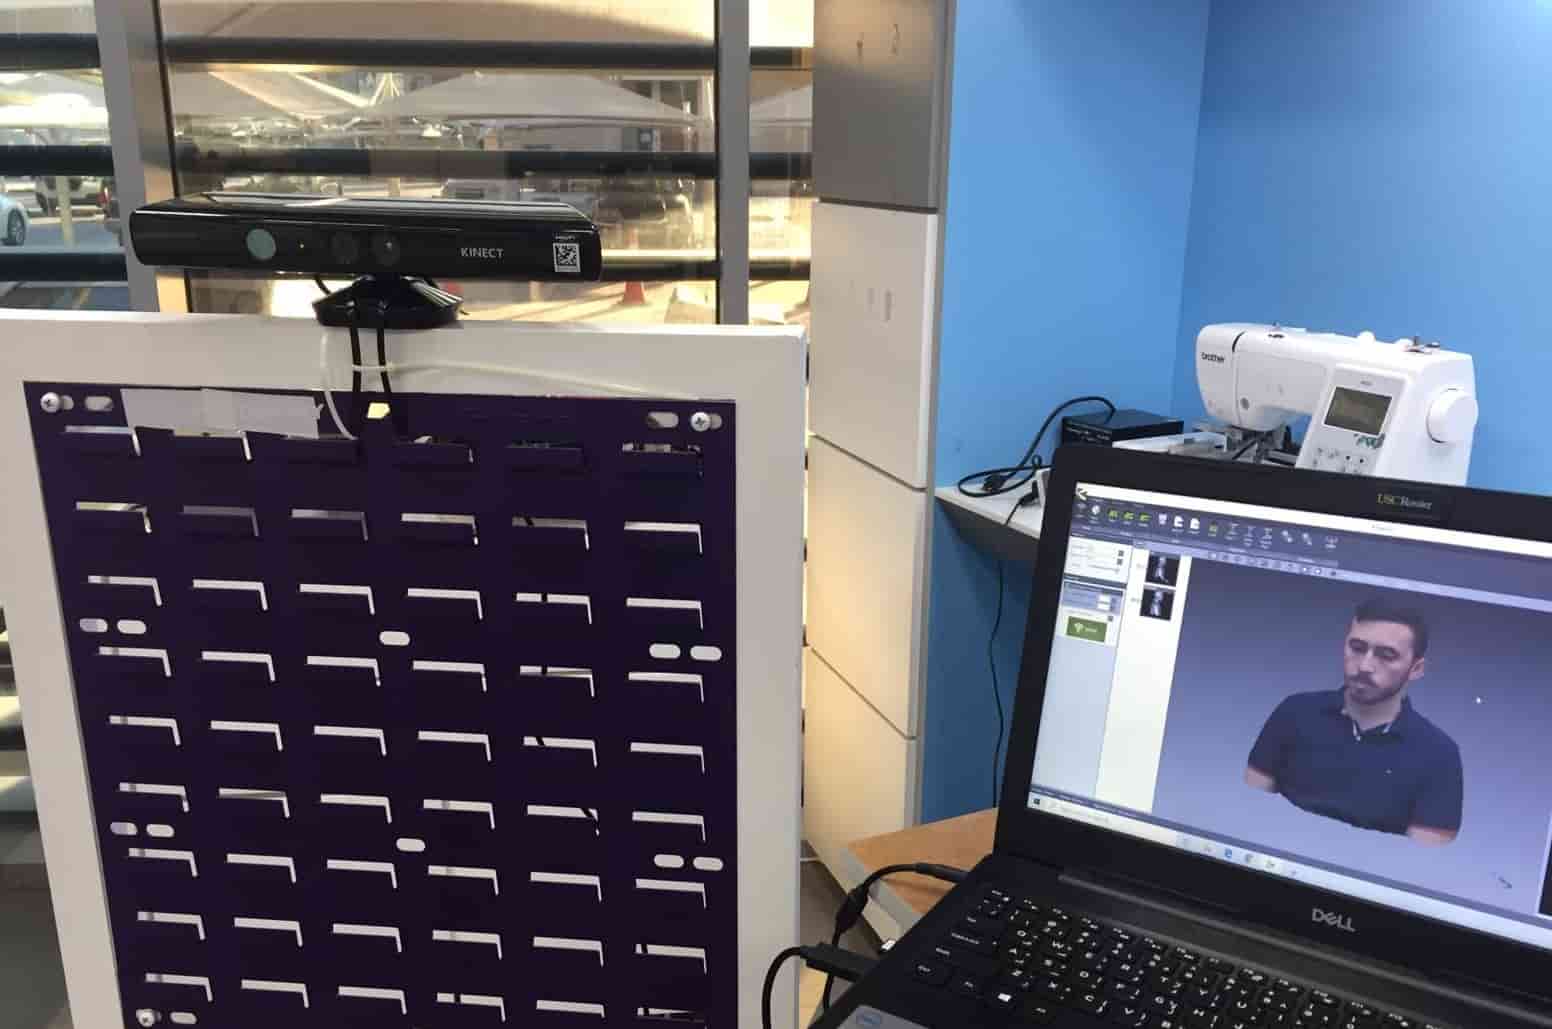
Then I had to connect the scanner to the laptop through a USB cable. Once the machine is recognized by the software.
Since it was my first time using the machine, I had to test it by scanning the brill machine as shown below.
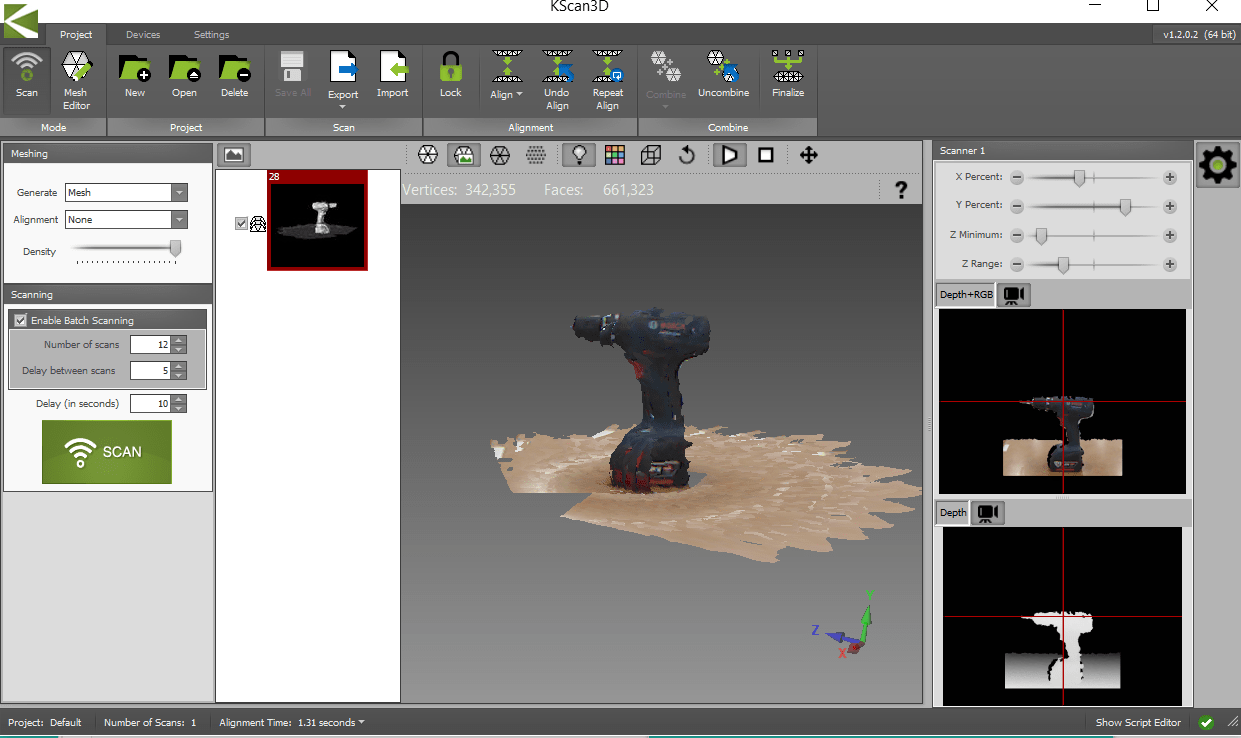
I understood that placing the object 50 cm from the scanner would result in a nice scan. As well I kept varying the XYZ scanner range, as this helped in specifying the exact scanning frame.
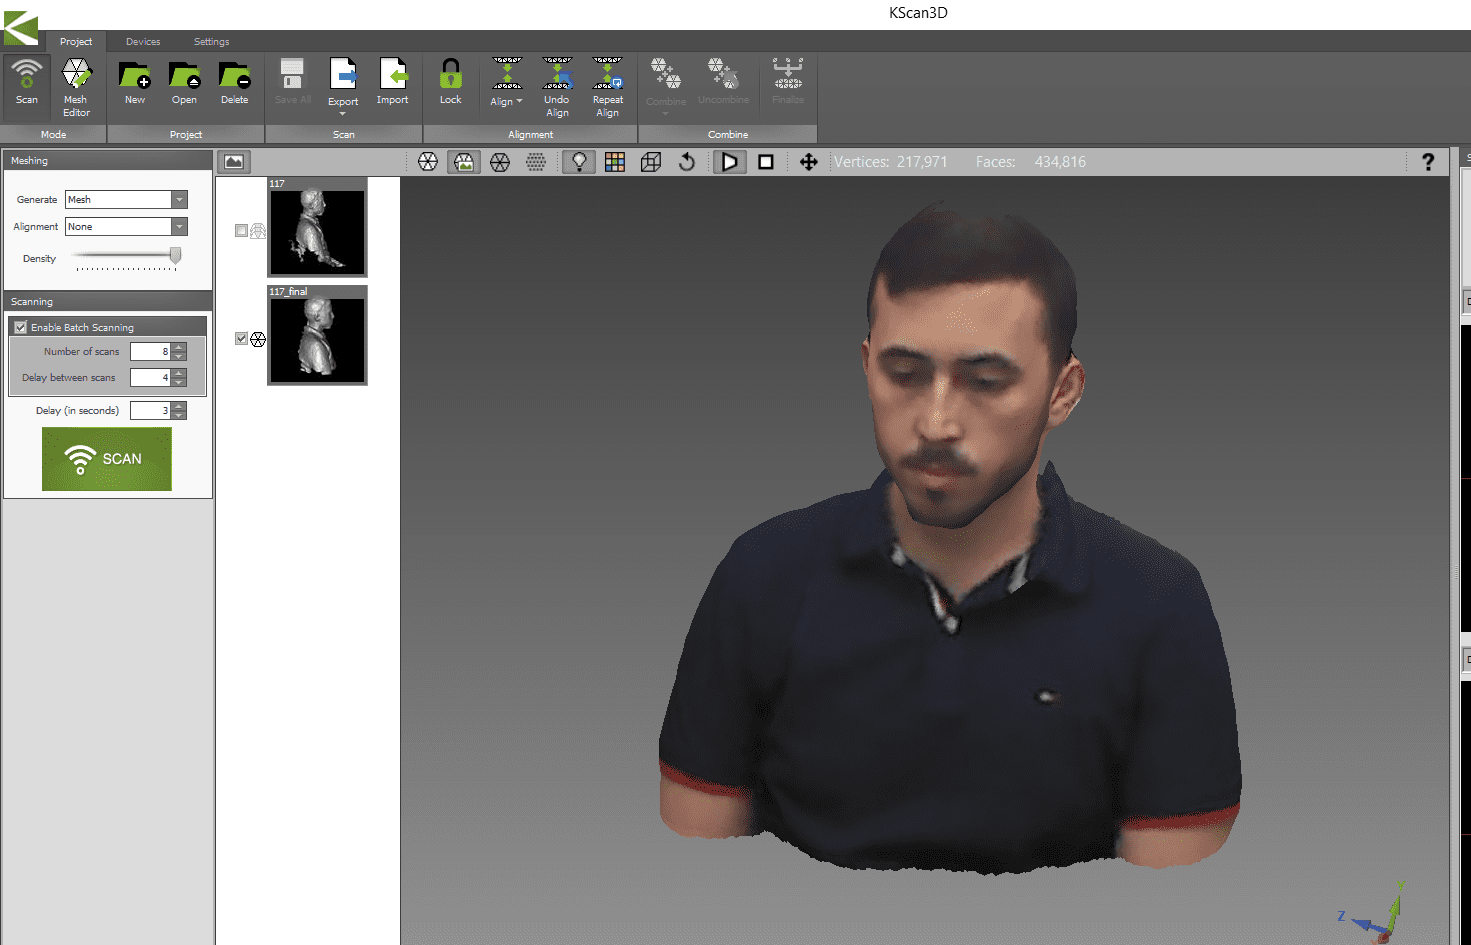
After my test trial, I have started scanning my face. I enabled the batch scanning by having 16 scans in 4 seconds each scan. Then I placed myself on rotating chair and started the scan.
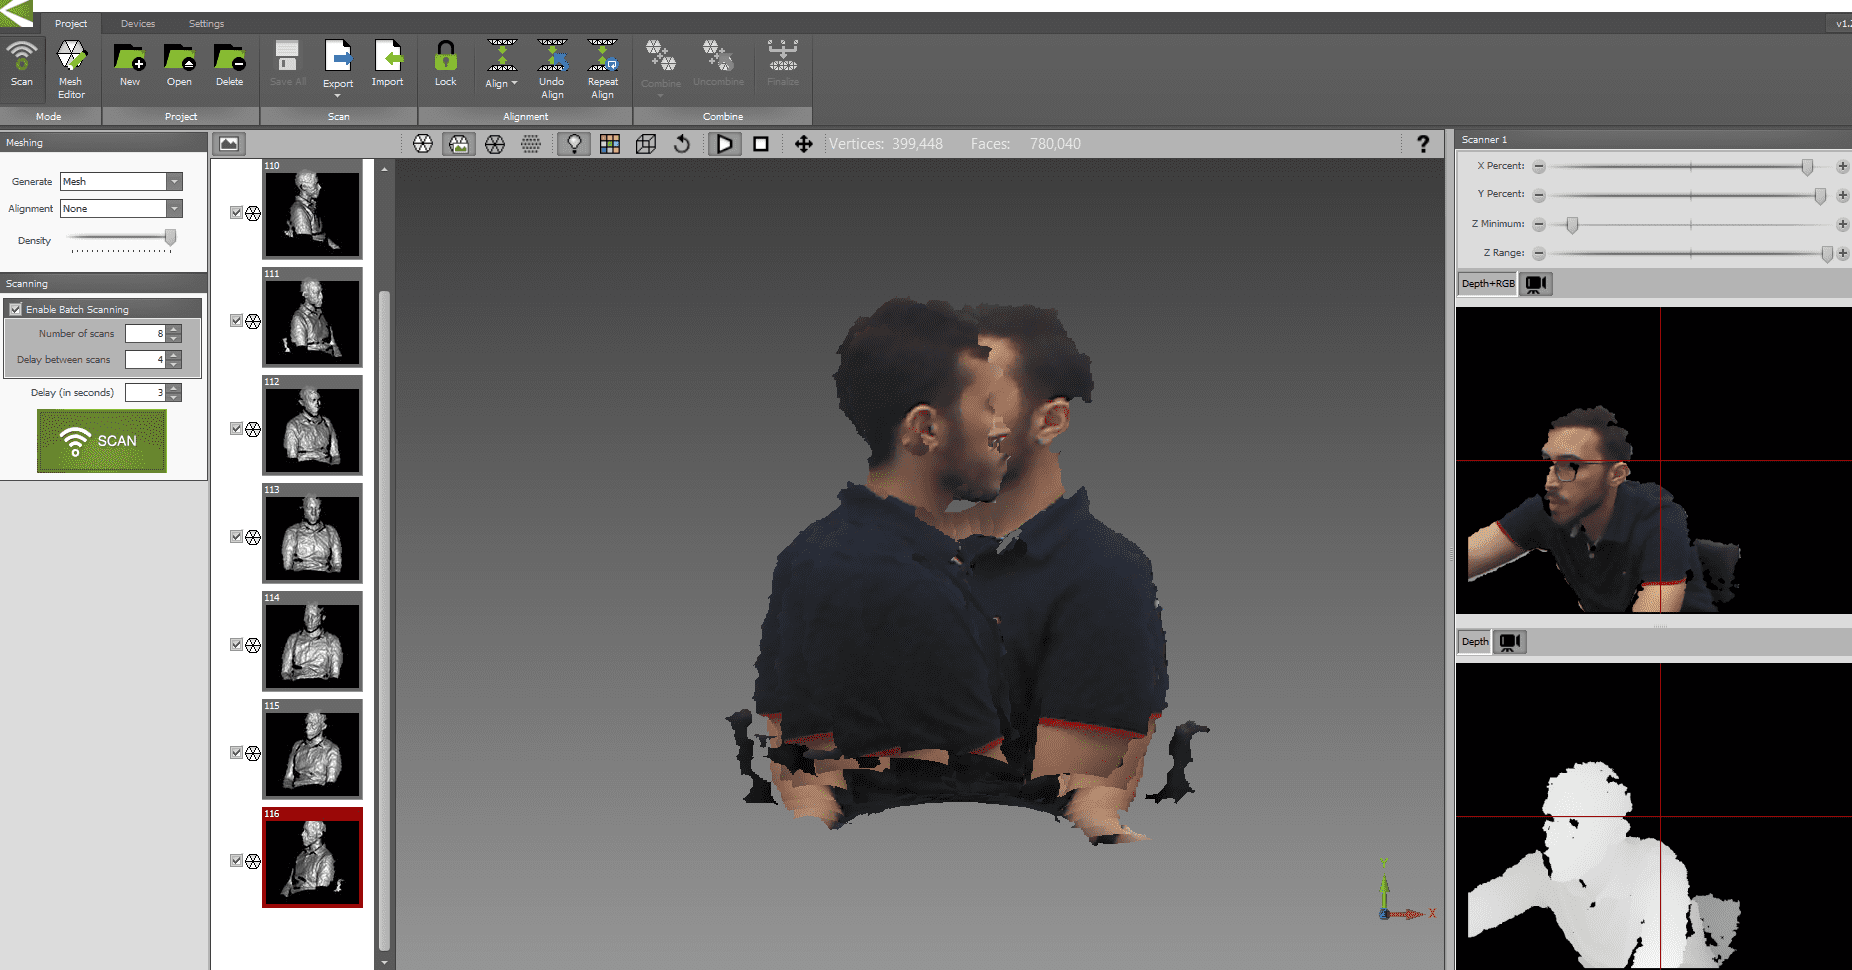
Once finished, the software lists down all scans captured. The I had to select and remove useless parts and then click on Align. Once I clicked on Align all captured scans were aligned then Combined to form the 3D object as shown below.