d FabAcademy - Achraf Ben Jamaa

Assignment 14 objective


This week assignment consists of two phases:

  1. Group Assignment:
    - Review the safety data sheets for each of your molding and casting materials.
    - Make and compare test casts with each of them

  2. Individual Assignments:
    Design a 3D mould around the stock and tooling that you'll be using, mill it (rough cut + (at least) three-axis finish cut), and use it to cast parts.

Learning outcomes:

  • Design appropriate objects within the limitations of 3 axis machining.
  • Demonstrate workflows used in mould design, construction and casting

      1. This week assignment is a fun week where I learned about molding and casting. During my university year I took a course of manufacturing process and we went through the process of Sand casting and Injection molding; both were fun and interesting skill to learn. Fortunately, during this week I was able to learn a different process which making the mold by the milling machine and use different material which is silicon rubber.

    1. Group assignment

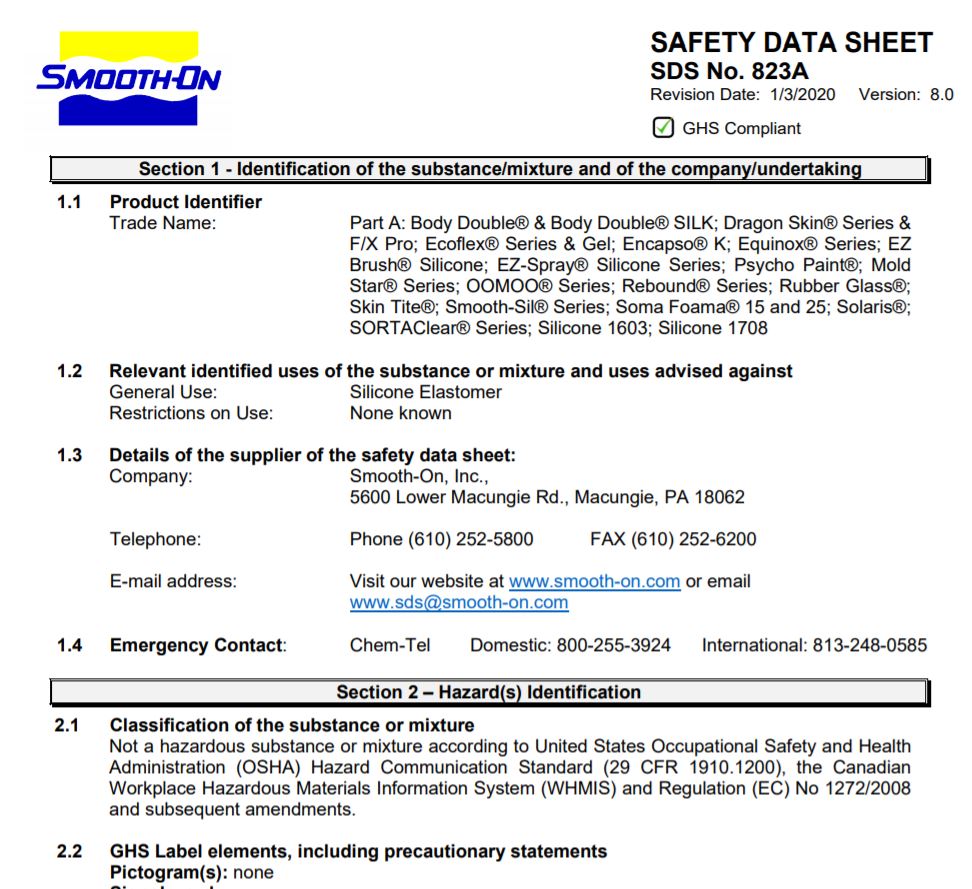
      For the Group assignment we had to review the safety data sheet for the molding and casting materials and compare different materials. So, at the lab we had the Smooth-on vendor material. The smooth-on vender is a well know brand and used in a variety of applications. I have downloaded Safety Data Sheet and went through the safety precautions and hazards instruction as shown below.


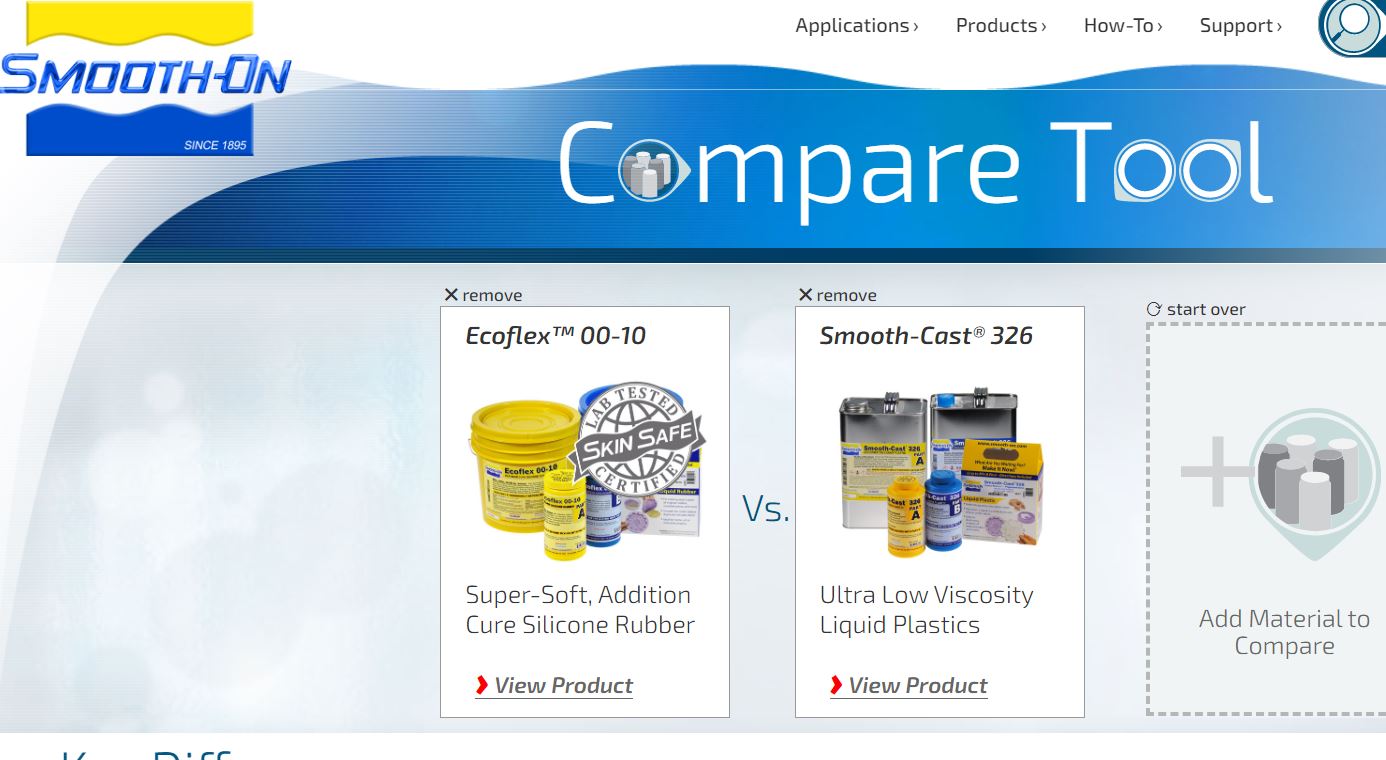
      Additionally, I have used the Comparison tool provided at the smooth-on website to discover different material properties and behavior. As shown below.


    1. Individual assignment

        For the molding and casting assignment I wanted to make a product related to the corona virus pandemic. So I decided to manufacture the adjustable face mask, since it could be produced using modeling and casting as well it is a very useful component that helps to tighten the face mask and increase human protection.


        Then I have extruded the sketch to get 3D object


        Important:It is recommended to create small steps surrounding the entire mold, this is to assure not to damage the mold while removing it. As well it is important to add a Runner and Gas Vent to the design. The runner is the funnel where the molten material will run through and fill the cast and the Gas vent role is let the air go out of the mold and reduce porosities.


      After creating the connection, next step was to start the routing process. The result was as the following

    Click on text below to download Solidworks Mold Design:

      - Mold Design

        STEP2: WAX MILLING PROCESS


        upload the .STL file to the milling software.


        Rough Milling pass.


        Finishing Milling pass.


        STEP 3: Negative mold from Wax using Resin


        Instruction of use was Ratio 2:1 (RESIN 2: HARDENER 1) .


        After preparing the resin, I poured it in the mold and it was very important to remove the air bubbles from the mold.


        below shown shown the result after few hours.


        once the negative mold was ready, I started preparing the ingrediance for my final product. I wanted it to be envirmental friendly


        Preparing the material.


        Cooking

        let it dry for 12 hours


        Shown below the result of the full experience


        Testing the result

        To conclude this was really fun experience. I learned alot throughout the process. The finishing can be improved and devoleped further. However I really like the idea of a environment friendly Mask extension support, since these items are widely used and can harm the environment if not disposed properly.