- Individual assignment
Introduction
For this week assignment, we had to create a Graphic User Interface (GUI) by implementing design and programming protocols. I decided to use the ESP8266 NodeMCU board
Below shown the steps I did to connect the ESP to the internet and test it.
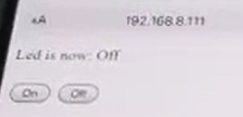
To test the ESP8266 I have generated an LED_WIFI code, where I connected the ESP to the internet and control the LED ON/OFF using my phone. The method to control the LED, was to generate a simple Web User Interface with a simple ON and OFF buttons
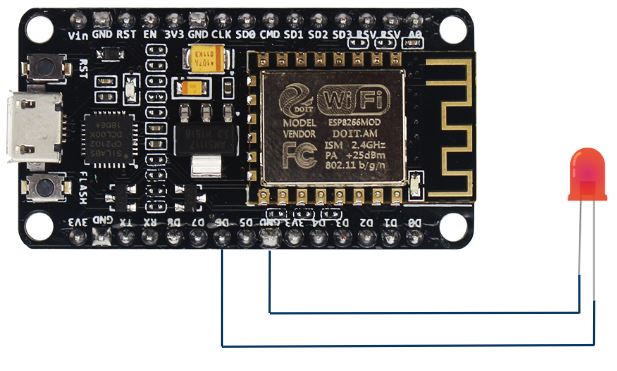
STEP 1: PIN connection
The connection was as the following
- Pin D6 ------> +LED
- GND ------> -LED
This step is to install the ESP8266 package as the following
- Open up Arduino IDE. Go to Files-> Preferences. Enter
- Go to Tools--->Boards--->Board Manager, search for ESP8266 and install the package.

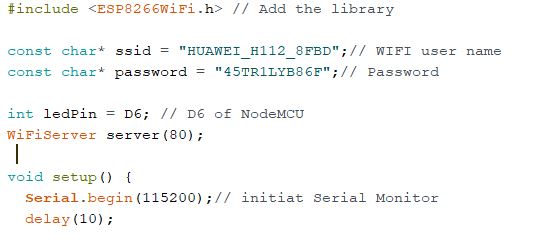
STEP 3: Start Programming
In the below figure, shown the steps of initiating the program of NodeMCU. It is important to add the package installed in step 2 as well as incerting the Wifi User Name and Passcode
In the below figure, The result of successfull wifi connection

Problems faced
The main problem that was facing was to connect the ESP to the internet. I was always reciveing an error while connecting. after several trials, I figured that I had an issue with the library and the connection. So problem was solved.Stepper Motor Website User Interface
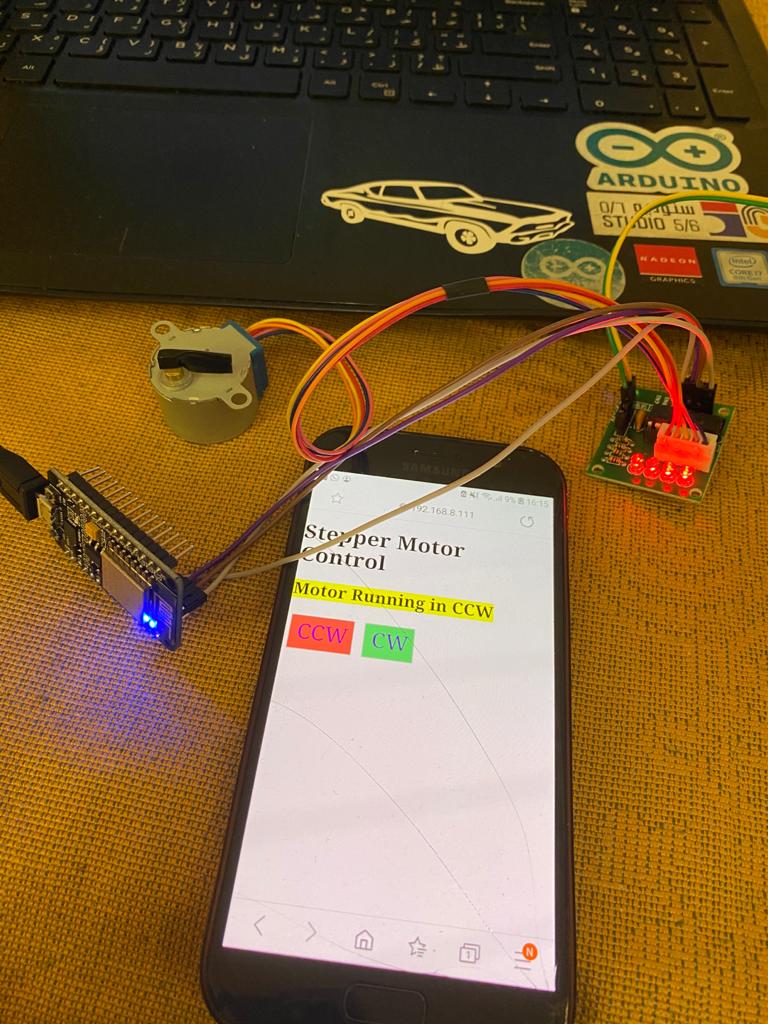
In this section I wanted to control Stepper Motor 28BYJ-48 using ESP8266 NodeMCU over WiFi using my mobile phone
STEP 1: ConnectionThe connection was simple as shown below
D1---->IN1
D2---->IN2
D3---->IN3
D4---->IN4
For the power supply the stepper motor requires 5V power, and the ESP8266 does not provide 5V outlet. So I had to provide an external 5V supply.
STEP 2: Programming
The most important part in the programming was the part of creating the USER INTERFACE. The UI an HTML coding integrated in Arduino as shown below
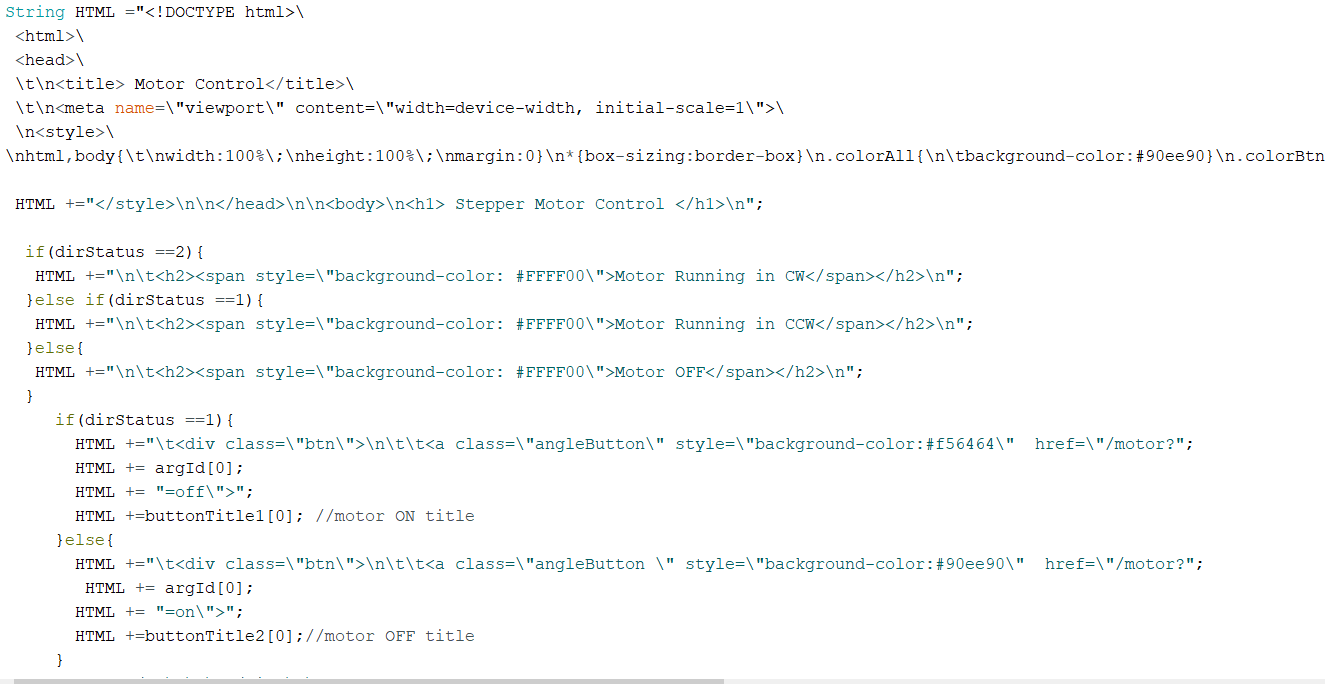
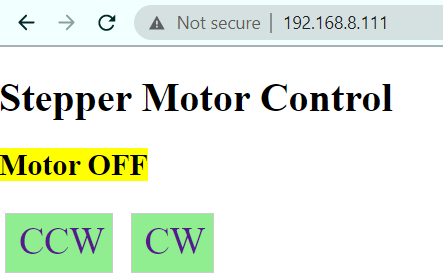
the result of the UI coding is shown below.
Arduino Code Download File
STEP 3: Testing
The most important part in the programming was the part of creating the USER INTERFACE. The UI an HTML coding integrated in Arduino as shown below