Week 16: wildcard week
Design and produce something with a digital fabrication process (incorporating computer-aided design and manufacturing) not covered in another assignment
Digital embroidery
I had opportunity to use embroidery machine at BusinessAsema so I chose digital embroidery for this week. In digital embroidery image or graphic is modified with a certain softwares in a way that embroidery machine is able to read and sew it. I planned from the beginning to use a design from internet for this week instead of making something simple myself. This was also great chance to learn how to use the machine for a later date.
I picked a vector-image from Vectorified with a title Face The Facts Episode. I chose one with a few colors so there would be correct colors of thread available.
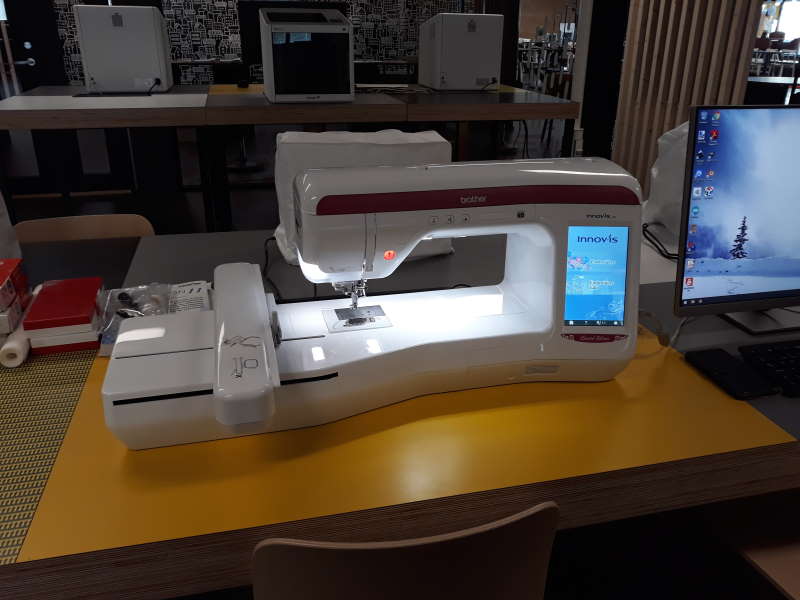
This is the machine at BusinessAsema. It is Brother Innov-is V3. This one has a great Manual as well.
Making the vector image ready for the machine
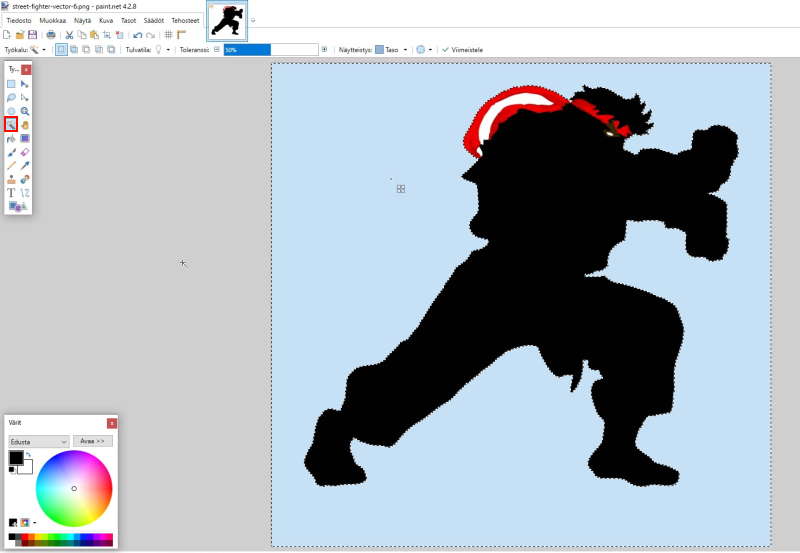
First deleted background from the image. To do this in paint.net -> select Magic wand -> click on background -> press delete. I made mistake first when I didn't delete background and it would have been sewed as well unless I had noticed.
Software we are using at BusinessAsema is called PE-DESIGN 11. With this it is possible to create the file for the machine from image-file.
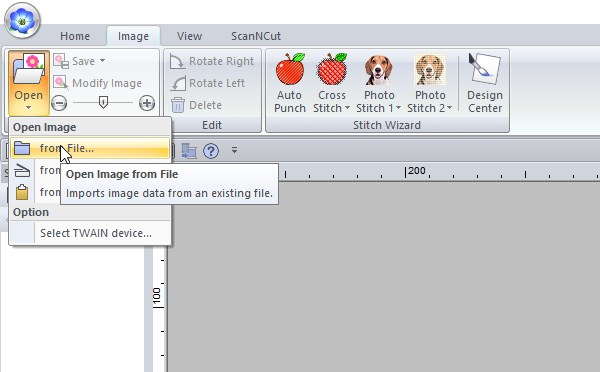
Open the file from image-tab. If you have a ready .PES design which you want to open, select open file from the home-tab.
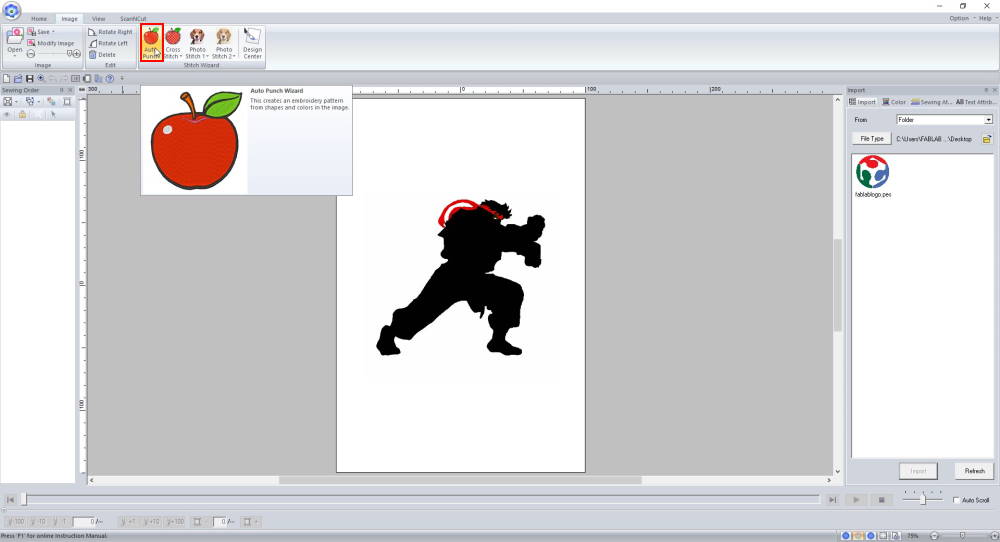
Next choose which stitch style to use. I selected Auto Punch Wizard. I tried with Photo Stitch as well, but didnt get it as good result with it as with Auto Punch Wizard.
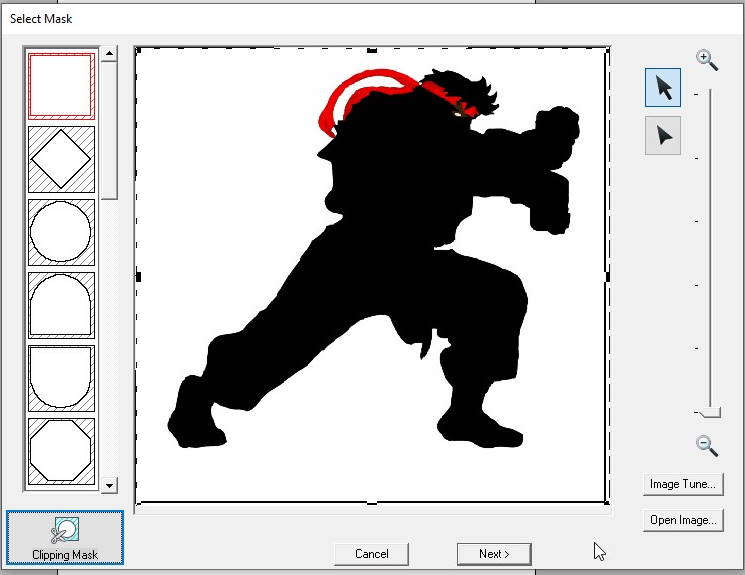
Next select a mask. I used the default square for this. With a clipping mask you can also only select a certain areas. This could probably be used to exclude background of a image from result. Press Next when satisfied with the mask.
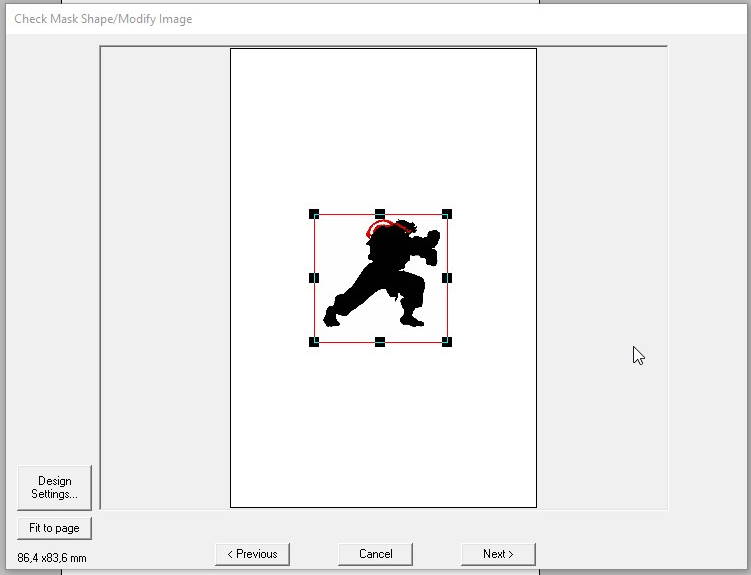
In this step you can resize the image and select the position. When ready press Next.
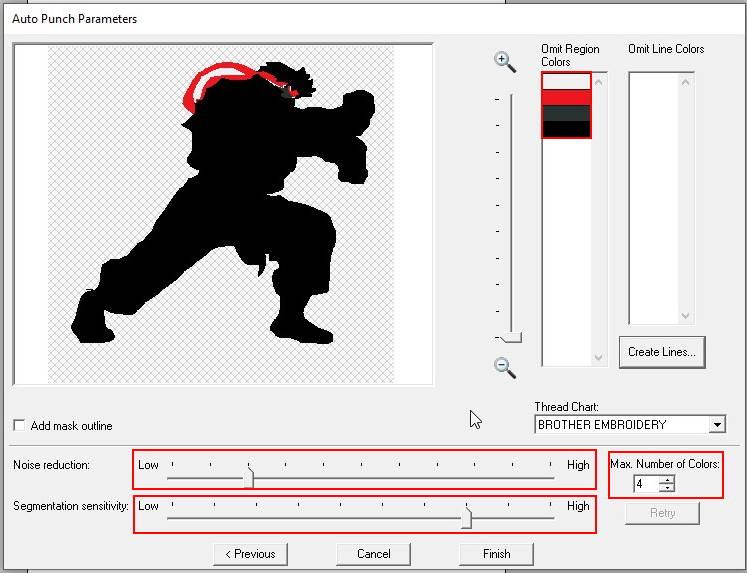
Here the magic is happening. Depending of the image, you might have a lot of colors in it. I dropped the number of colors to 4 because there were few "extra" colors which were just a slightly different tone of each other. With Noise reduction and Segmentation sensitivy you can play with how it looks. This part took longest in this process because it was difficult to get a nice balance with colors and settings.
There is a small gap of between black and red but this is as good as I was able to get it. I am not quite sure why this happened but I would bet my money on the eye-section of image. That section seemed to be problematic for software to get right anyway.
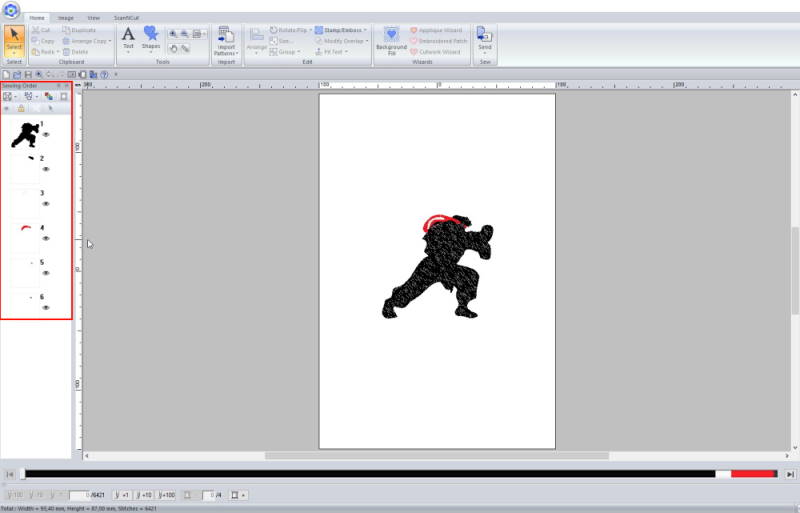
Now the file is ready. There is sewing order on the left. Order can be changed by dragging the parts.
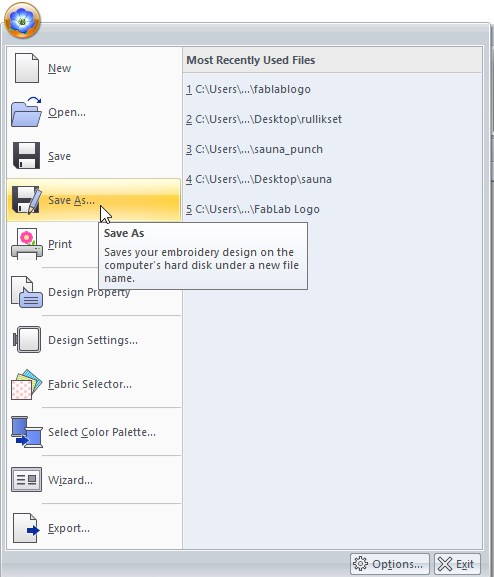
Lastly save the file. This can be done by clicking the flower icon and selecting save (as). This machine uses at least .PES-format.
Set up the machine
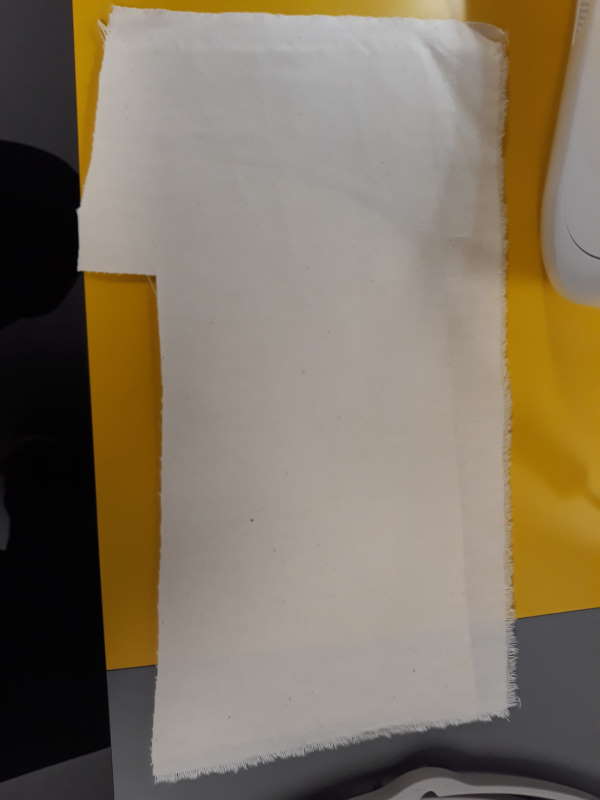
We have only some pieces of fabric with a stabilizer already installed at BusinessAsema. When the material doesn't have stablizier (which is most likely the case normally) it needs to be added. Good way to add it to a piece of fabric is to use adhesive spray, e.g. Gunold's kk100 adhesive spray, on the wrong side of the fabric and put the stabilizer on the fabric.
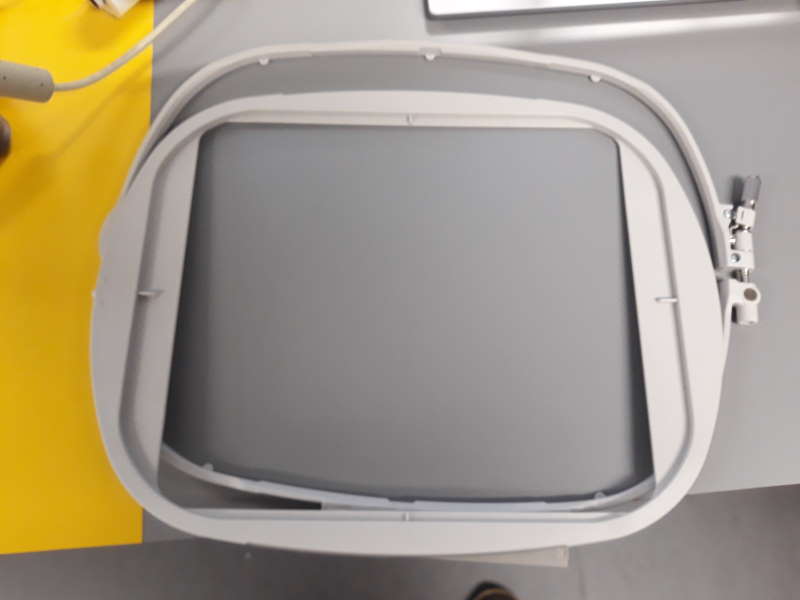
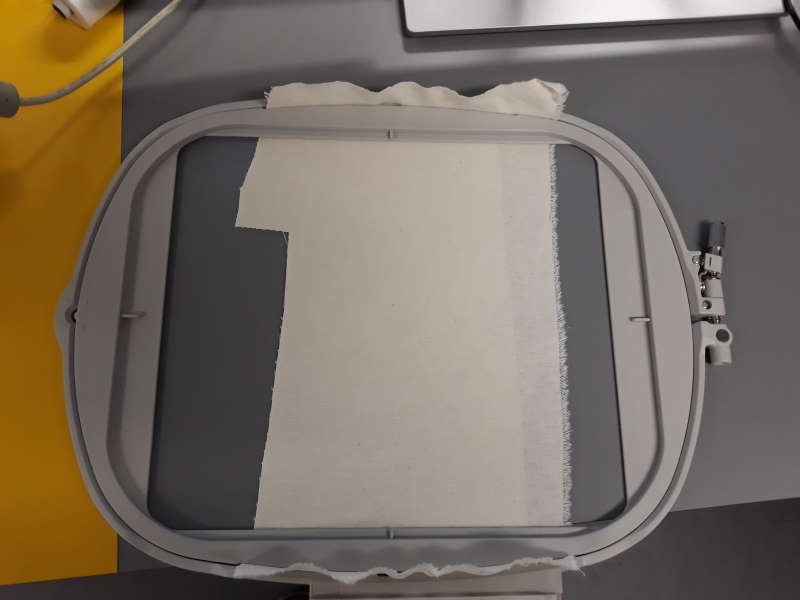
Next put the piece of fabric between the hoops and tighten the screw. Make sure fabric is firm.
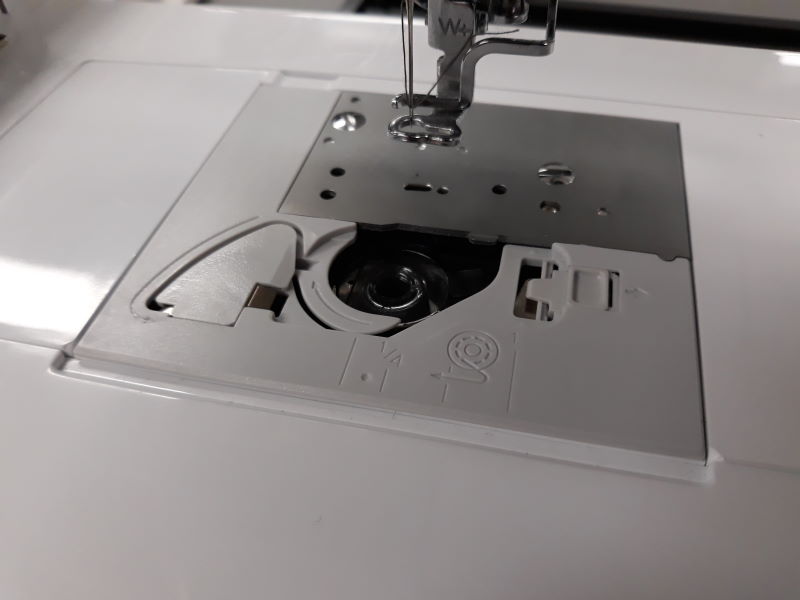
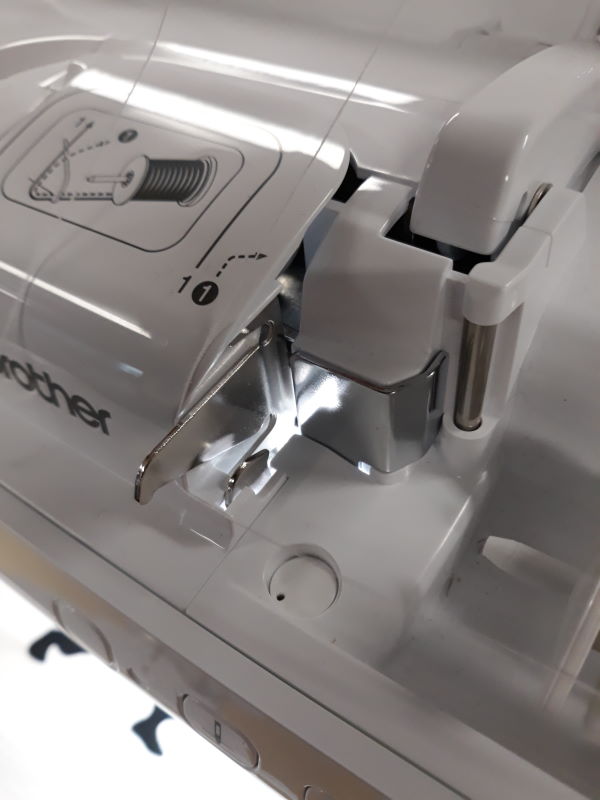
Check the bobbin thread. This machine has easy to follow steps marked on the platform how to install it.
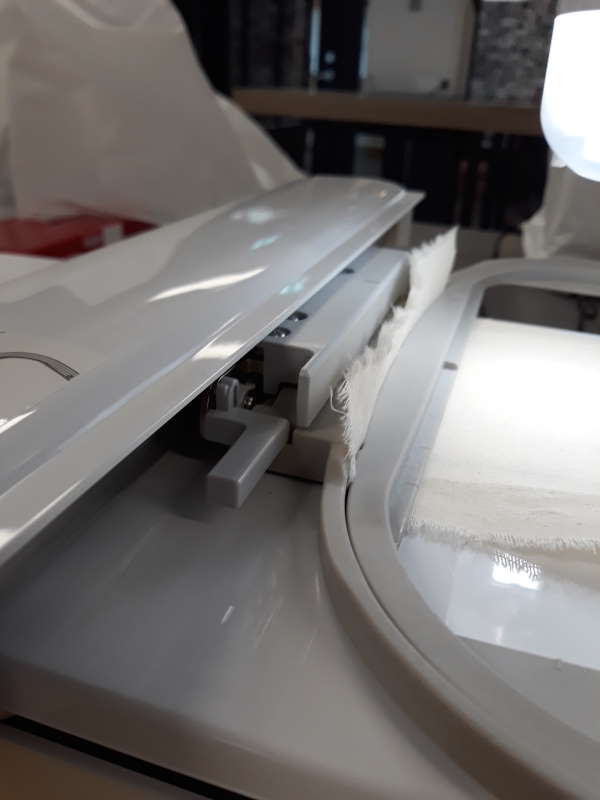
Insert the hoop at the embroidery frame holder. Push it as far as it goes. After this lock it by lifting up the frame-securing lever.
Here is the top of the machine. This machine has amazing step-by-step guide marked on the machine itself. Top right part can be used to make a bobbin thread if ran out of one.
Note: This time black was already installed so started with it instead of changing it first.
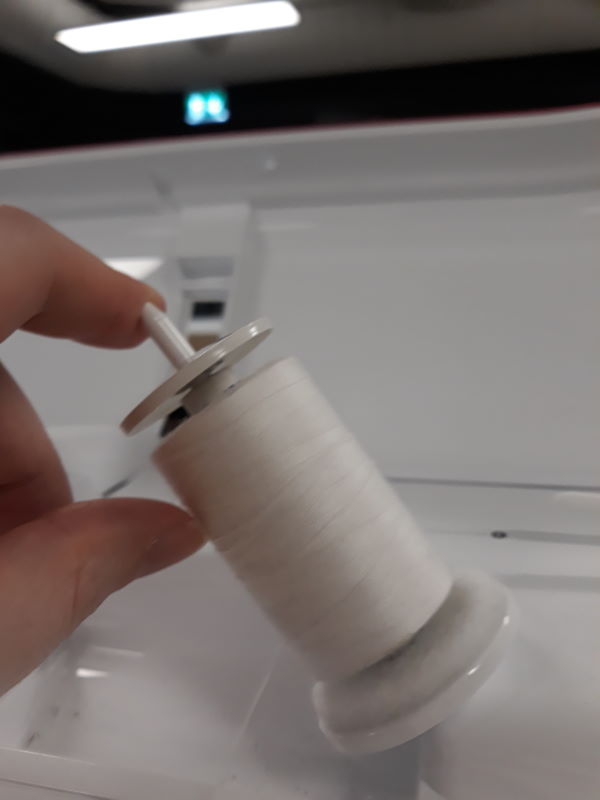
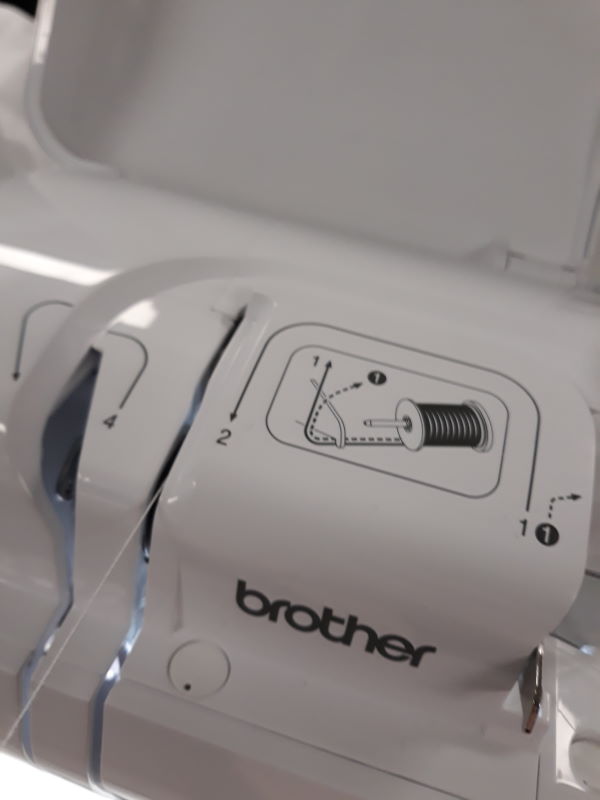
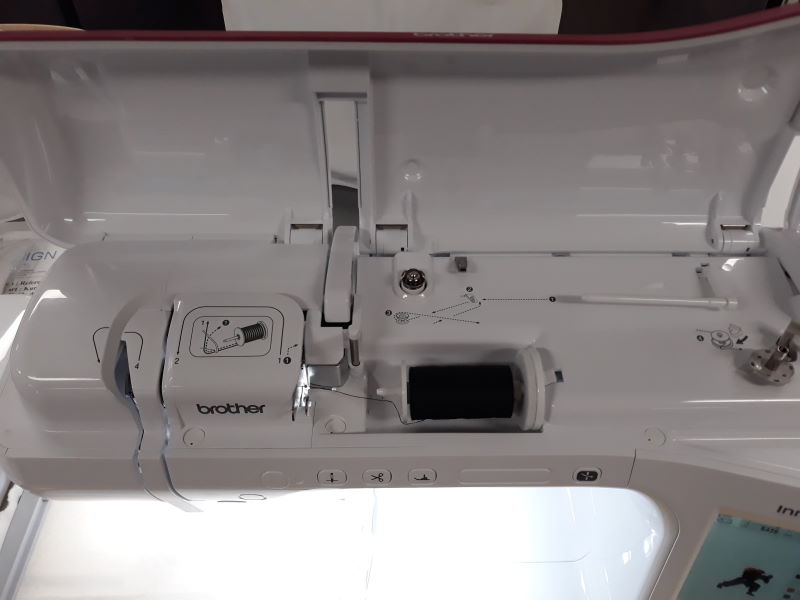
Set up a spool of thread on the pin. Don't put spool cap too tight on the spool of thread. It should be able to move a little bit. Steps 1 and 2.
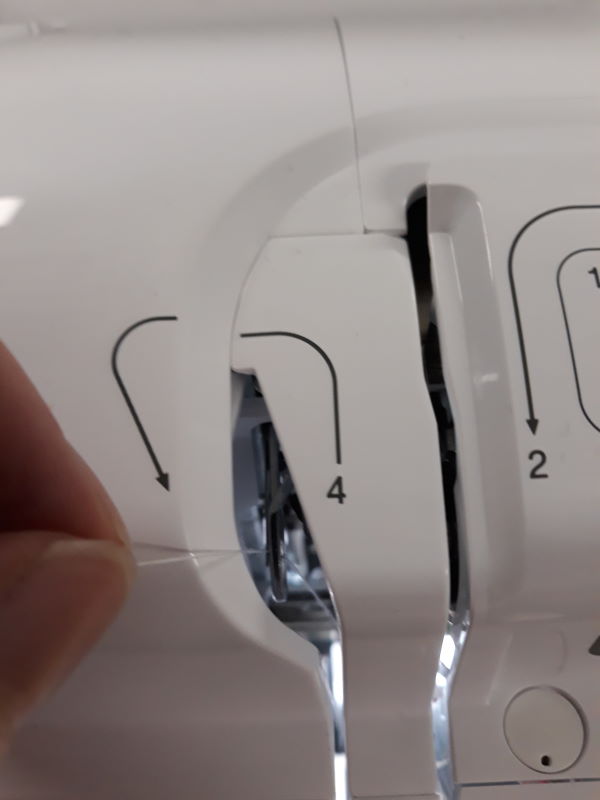
Steps 3 to 6.

Steps 7 and 8.
Machine is nearly set after cutting the extra piece of the thread on the step 8. Next push "Automatic Threading" -button which will thread the needle.
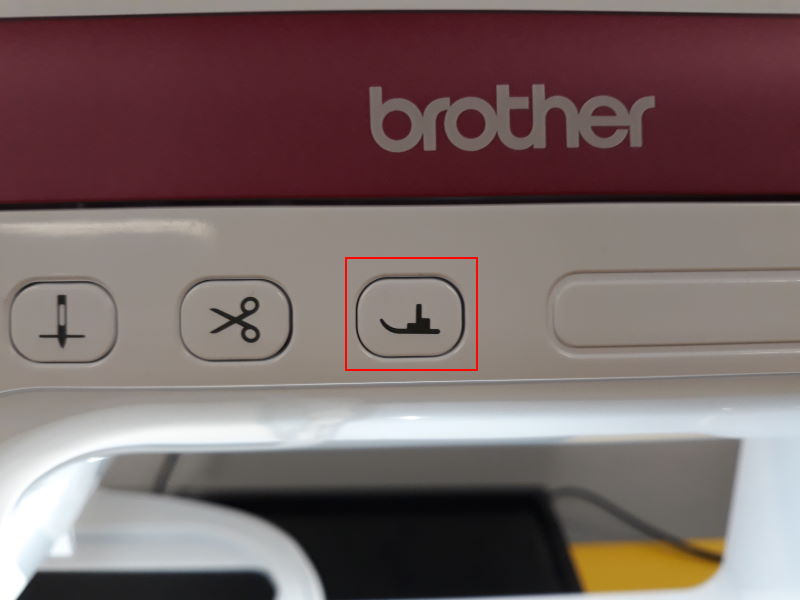
Lastly press the "Presser Foot Lifter" -button to lower the embroider foot and apply pressure to the fabric. At this point machine is ready to go.
When changing the thread just make steps (skip 7+8) in opposite order.
Embroidery
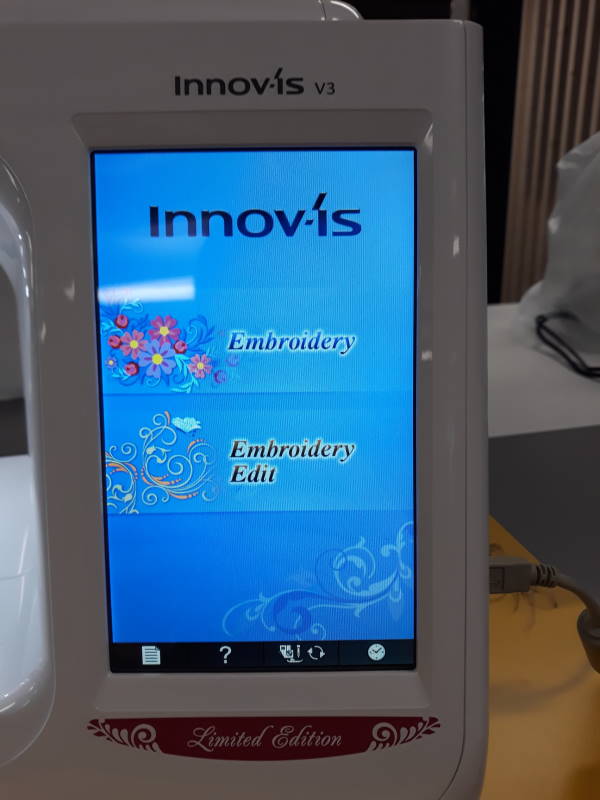
This is the user interface display. To get more instructions or advice how to use the machine, press the "?" at the bottom of the screen.
To start embroidery press the "embroidery".
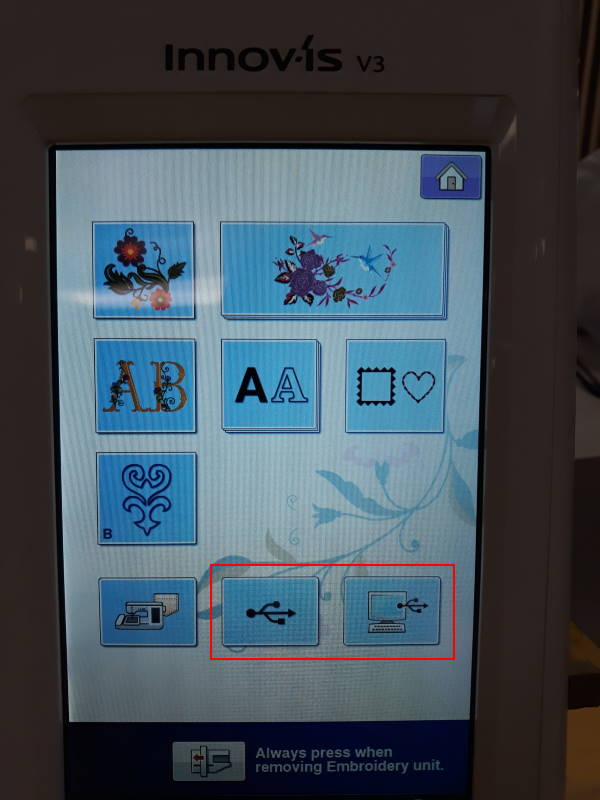
At the bottom you have options to open the file you have already created. At BusinessAsema the machine is attached to a PC with usb cable so don't have to use usb stick.
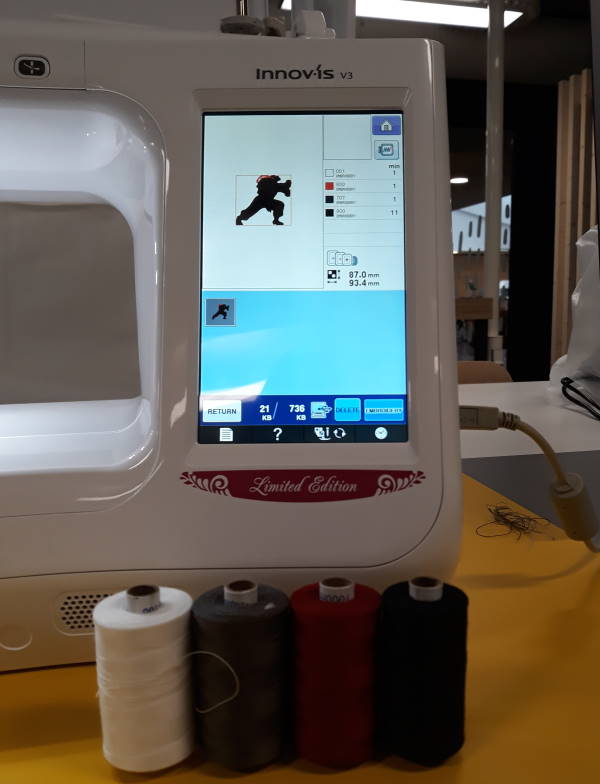
Set of colors which I am going to use.
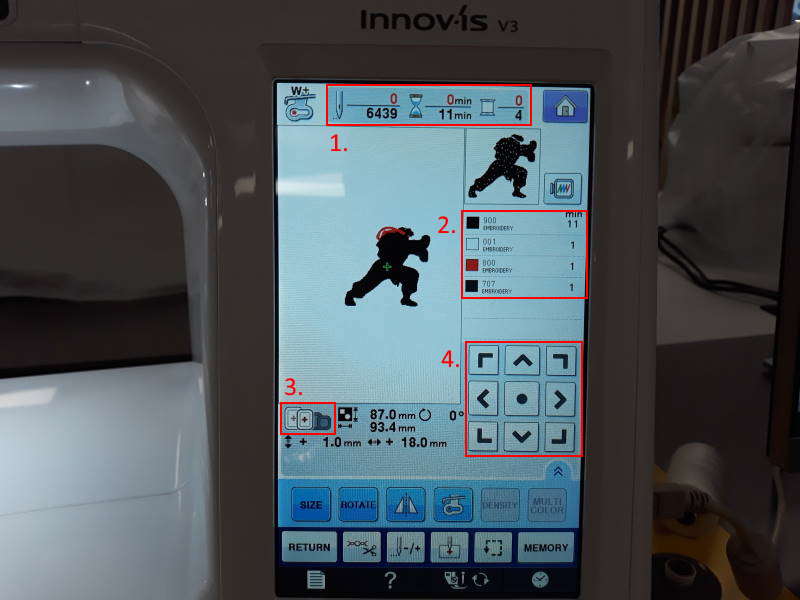
Close up of the embroidering screen.
- From left to right: shows number of stitches, amount of time spent and amount of colors.
- Sewing order.
- Shows the embroidery frames which can be used for the selected pattern. This will depend on the position and the size of the pattern.
- Arrow keys to move the pattern. This can also be done by dragging the pattern.
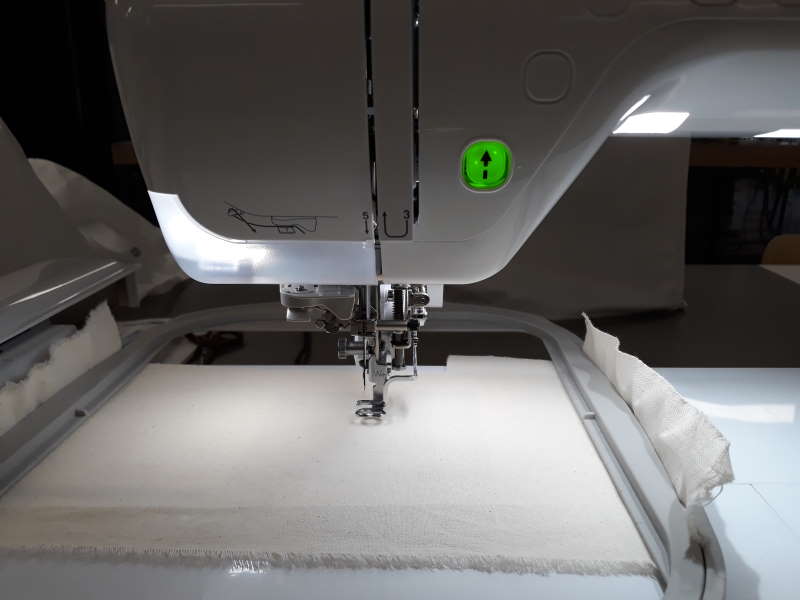
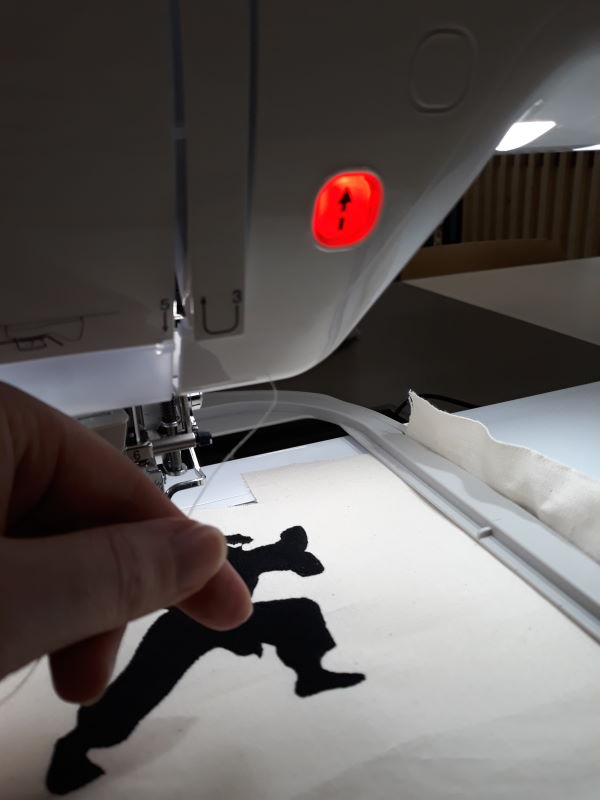
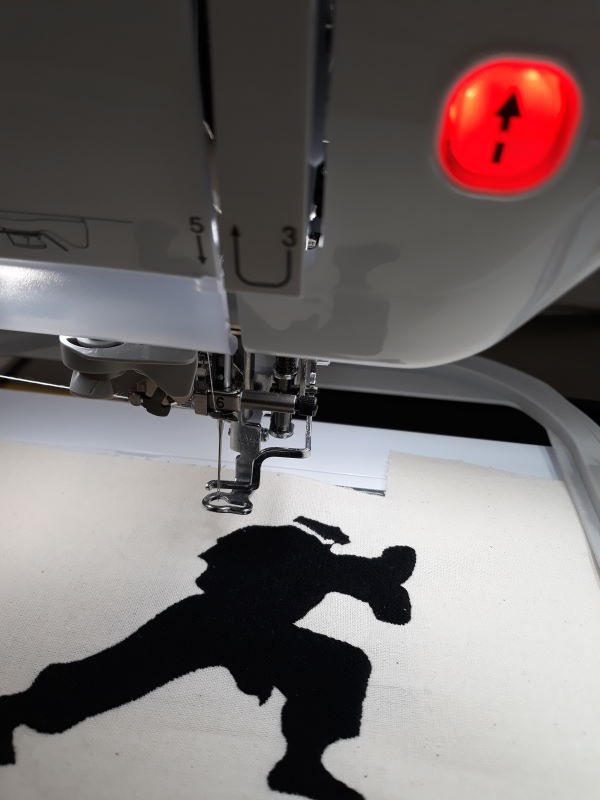
When you are ready to start sewing, press the green up-arrow button. This will start process from the one on the top and will stop automatically when it is time to change thread.
Short video of the process.
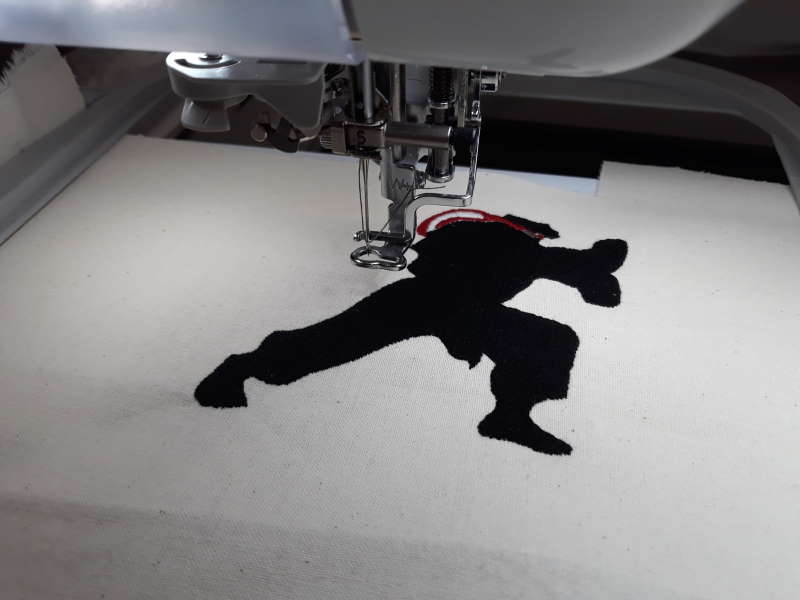
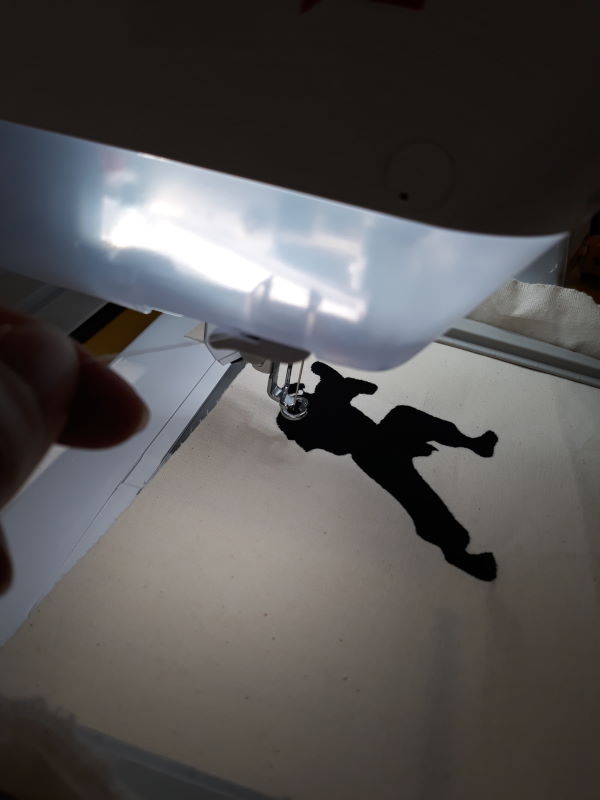
Here is the final result.
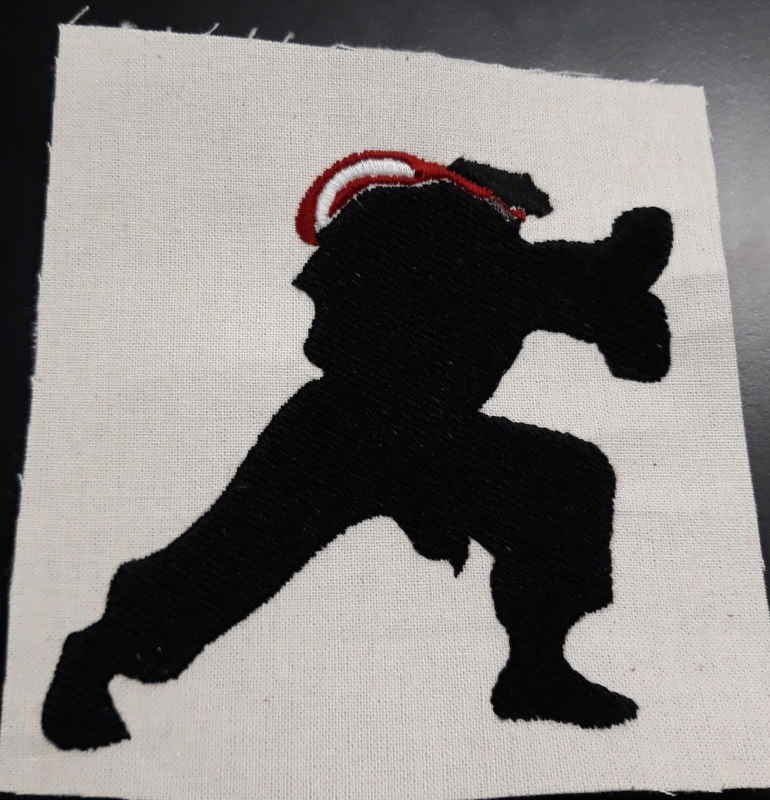
Close up after removing it from the larger piece of fabric. It looks much better than I thought it would.
Thoughts of the week
I must say this week didn't look so interesting beforehand but it really exceeded my expectations. Final result was great and the machine was straightforward to use. We are heavy users of cloth bags with my partner so I will probably add interesting patterns on the bags in the future.