Molding & casting 📋
🕘 Date / Time:
Heyyy lovely fellows ^^. It's 22.07.2020 and here I am trying as hard as I can to complete my weekly tasks in "Injury Time" just like they say in football. :D
In the begining I thought that this week will be for manufactuing my final project marionette puppet, but after all what happened and the huge loss of time I decided against that because of:
1- The complexity of the molding and casting process.
2- The time it consumes.
3- The errors that may happen.
So I chose to make something simple as a tribute to my dear friend Anan Adel Ali ❤️️.
Part I: Design & machining
First trial: (Failed)
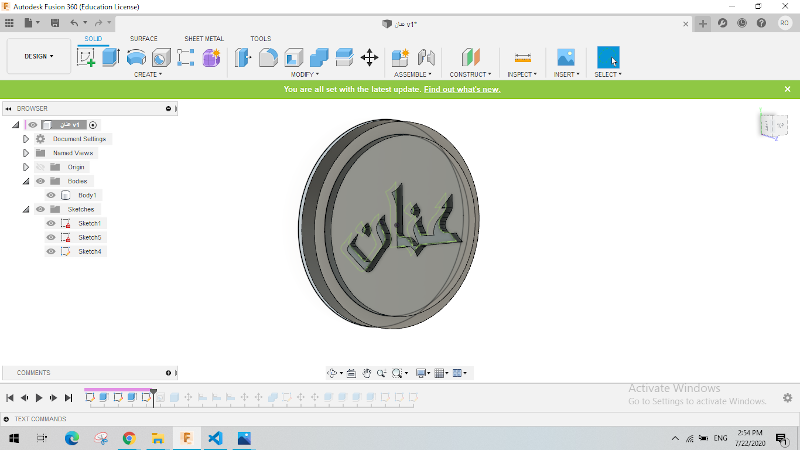
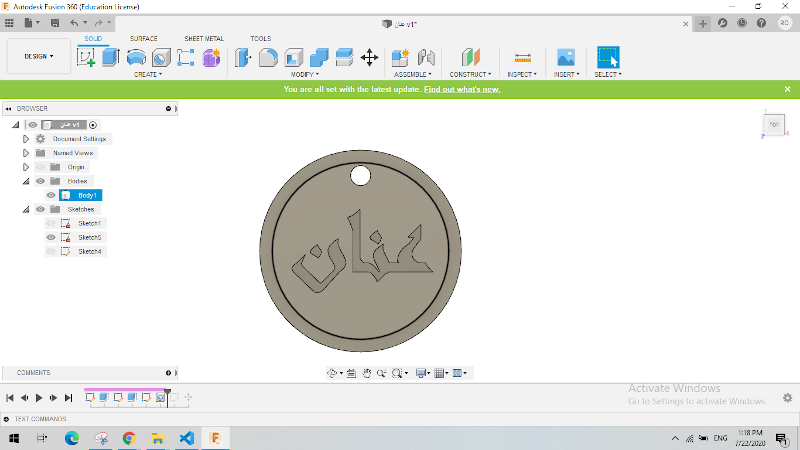
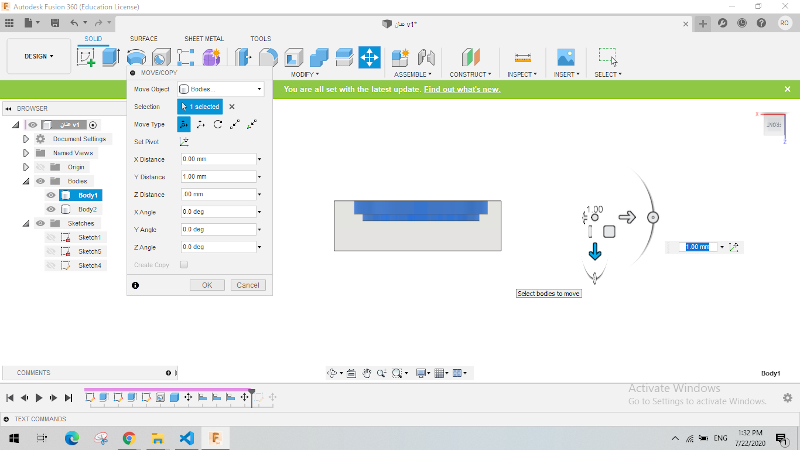
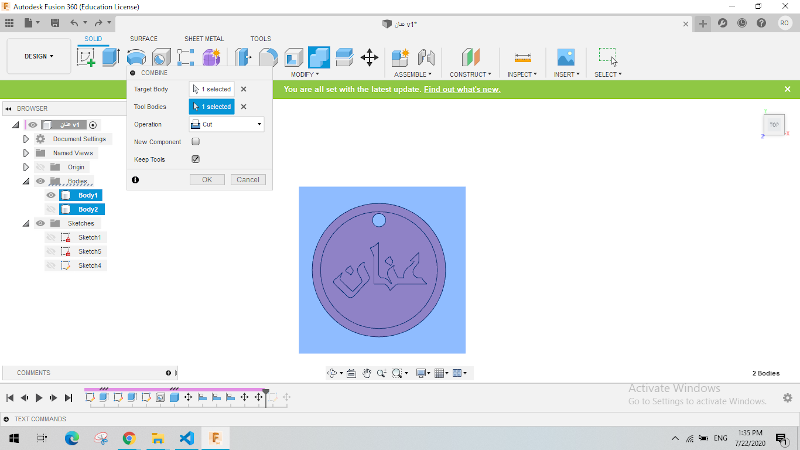
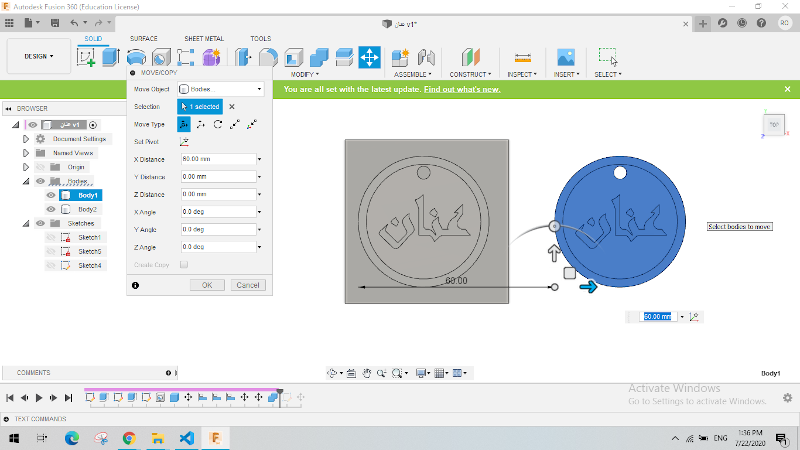
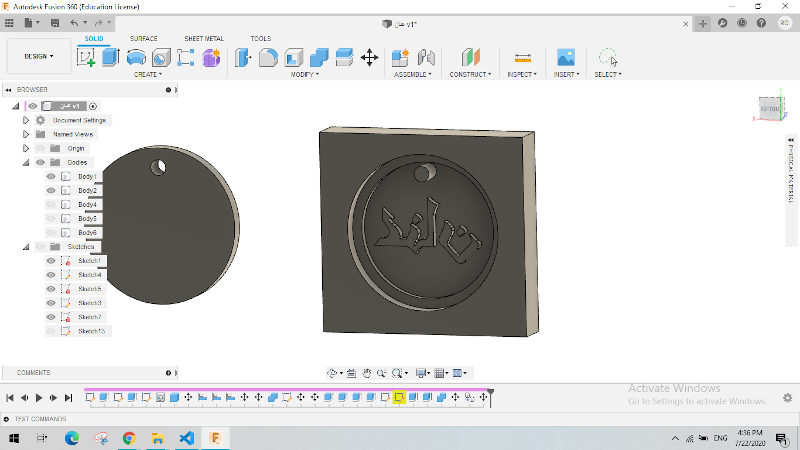
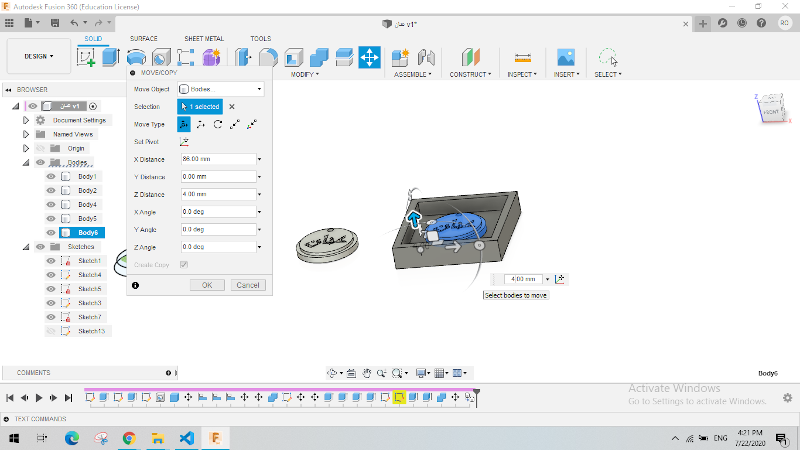
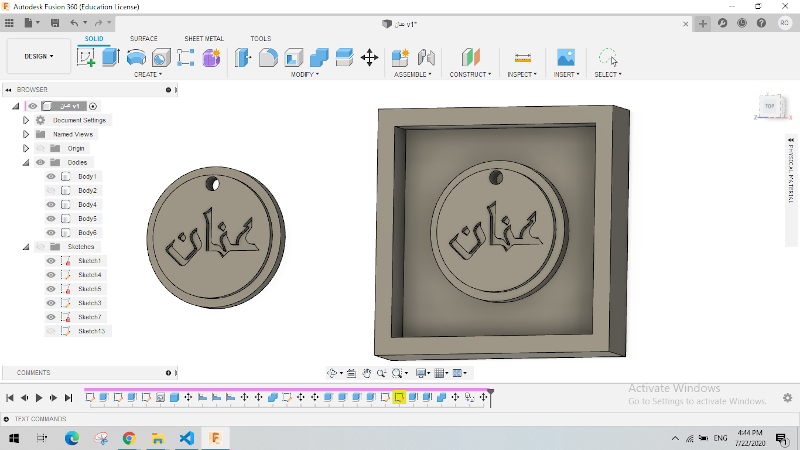
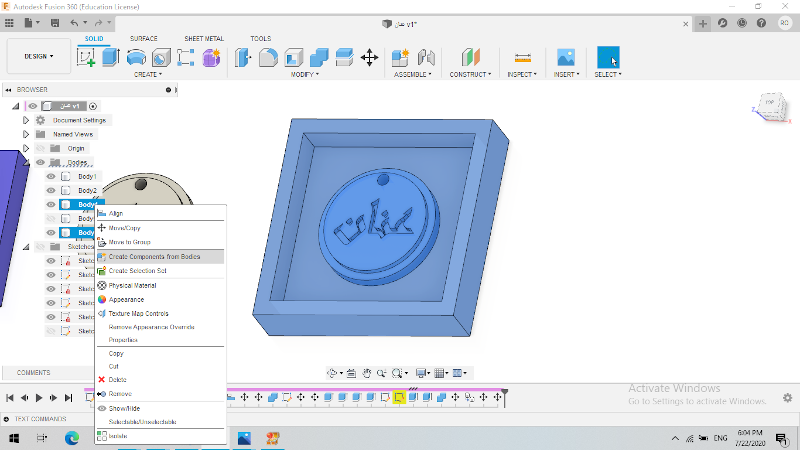
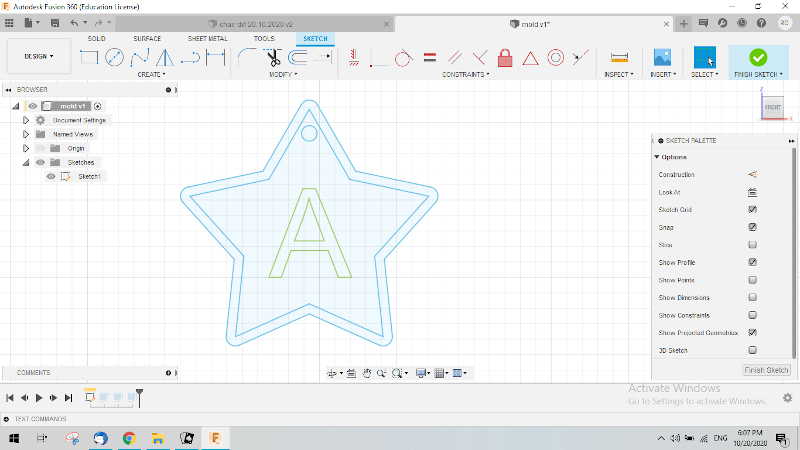
Design (Fusion 360):
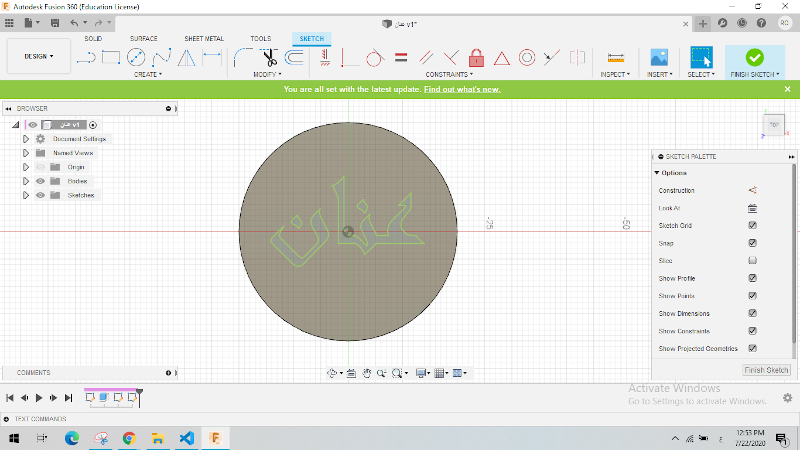


Then it was time for learning about the software I needed to produce the gcode for milling the mold of my mold :D.
I was advised to visit a 2018 fab academy student Mr. Haitham Abdelkhalek and it was of a great help for that matter.
I learnt all I needed to know about SRP Player and one sided milling from that video he included in his documentation.
Generating gcode (SRP Player):
I downloaded, installed and upgraded SRP player easily. I then opened my .stl file and started following the really ice steps the program provides.
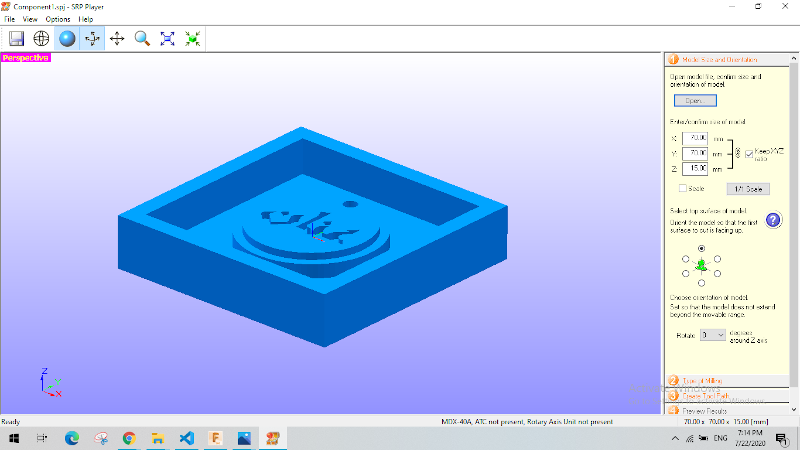
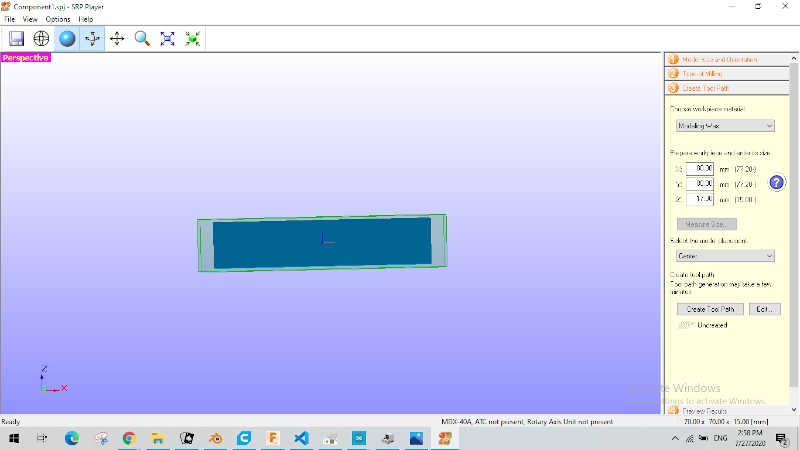
Note:
that I was of a really little experience with that software and the whole process that uptill this point I thought it was going to mill the locket only on a really small corner as I chose smaller "work piece size" than the piece of material we had in the lab
But that was Really wrong ⚠️ because (as you may know by now or you are going to discover in a couple of steps later) I did not know that it was going to mill the outside box as well and I shouldn't have put the locket on any boxes (in fusion) in the first place..
Machining (MDX-40A):
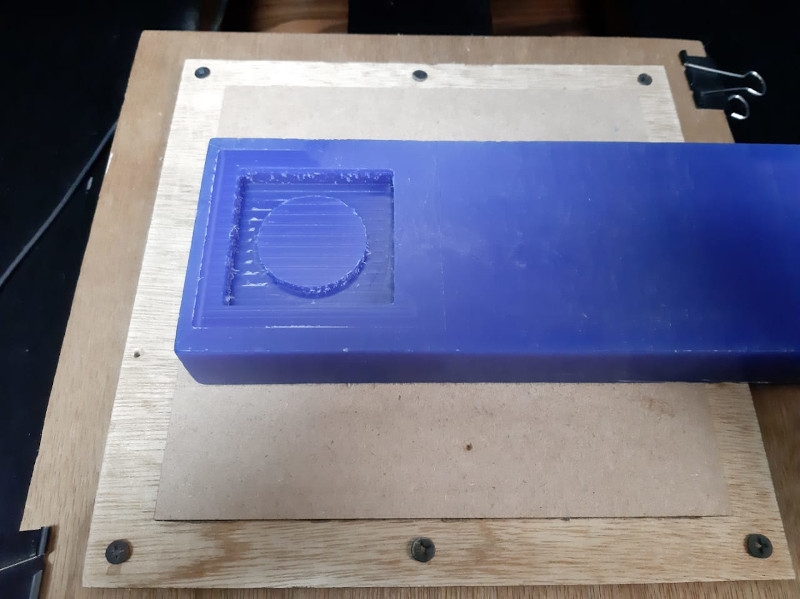
First I installed the 4 mm flat (ZHS-400) end mill for roughing.
Then I fixated my piece of modeling wax to the machine working bed usig double tape.
Then using Roland V Panel I assigned the (X, Y & Z ) origin pont in the middle of an (80 x 80) square I marked on one side of the wax.
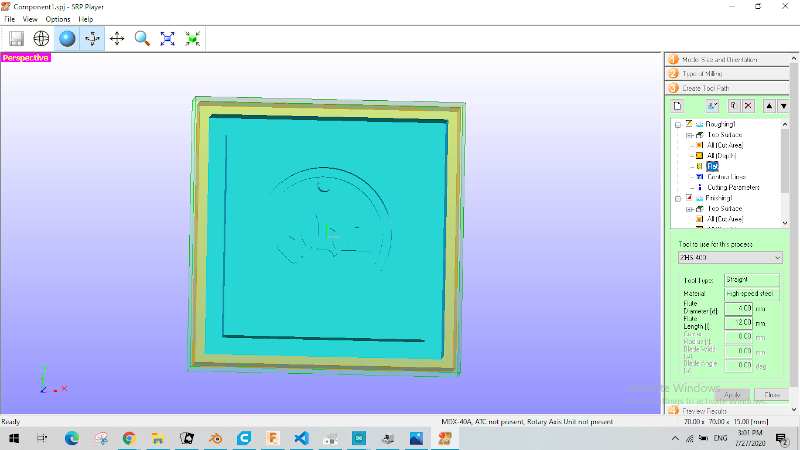
Then it was time for the finishing file.
I installed the ball nose end mill and I was confused whether to set the Z origin on the new surace or on the old one. I asked one of my colleages and he confirmed that both of the tool paths for finishing and roughing must have the exact same Z origin.
and there was when I discovered the stupid mistake It was going to be milling the box I had put around the locket too.😭
Decision:
At this particular point of time I needed to decide quickly whether to continue milling or abort the mission, remove the box from my design and start over again.
My decision was to continue milling my mold even though it was going to waste a whole load of time milling the box around the locket, given the fact that I was going to get the locket itself either ways.(I was proven to be naive one more time. 😏😂)
Because as I let the milling being finished and after hours of waiting I noticed the other mistake I'd made 😂.
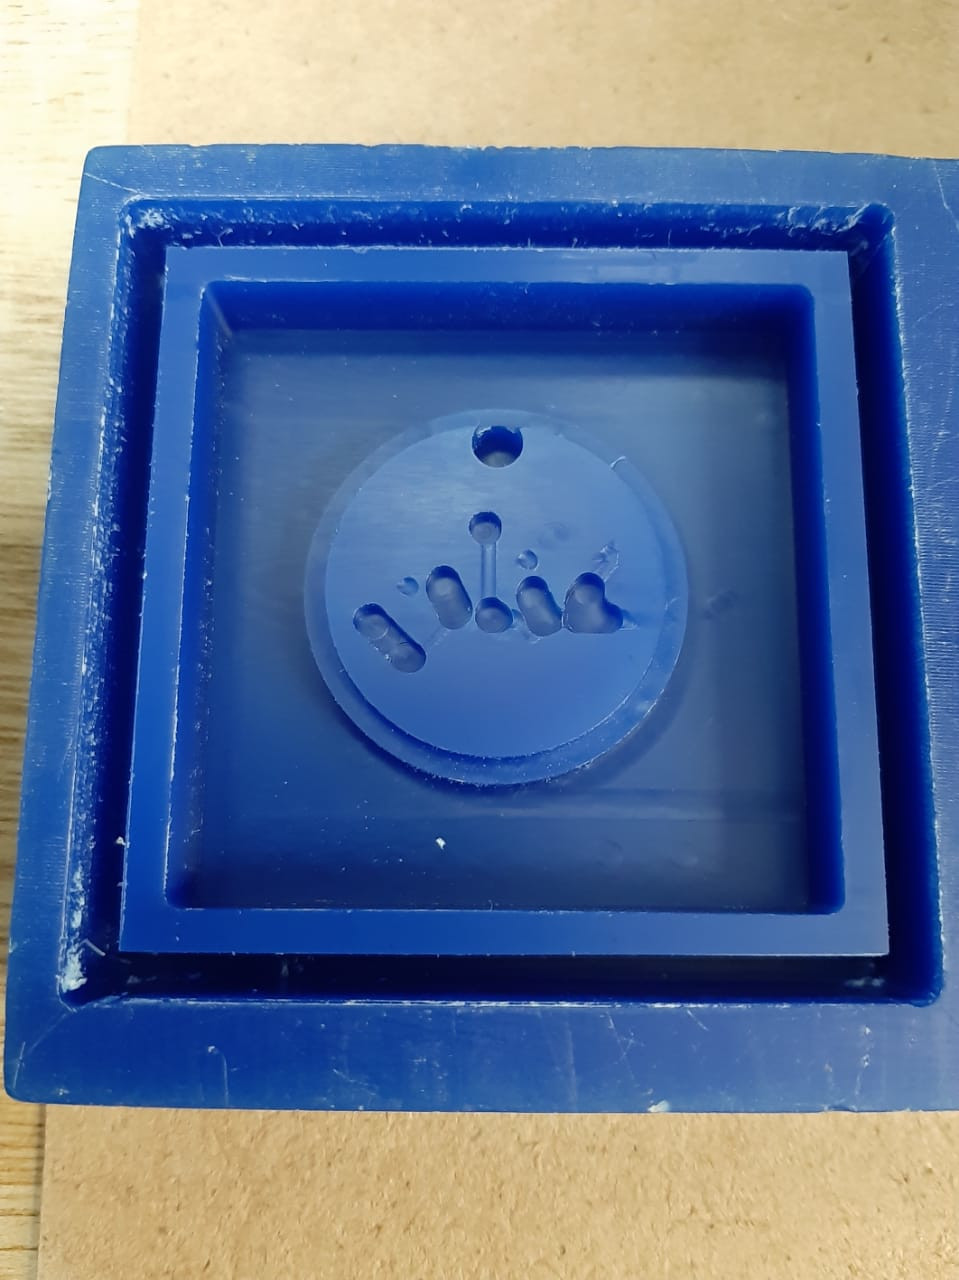
The 4mm ball nose end mill was so large that it missed all the small detailes of the name and that destroyed the output model. How on earth can I be that brainless! 😩😩
Second trial: (succeeded)
This trial was conducted almost 3 months after the first one for reasons of final project and COVID-19 lab lockdown for the millionth time.
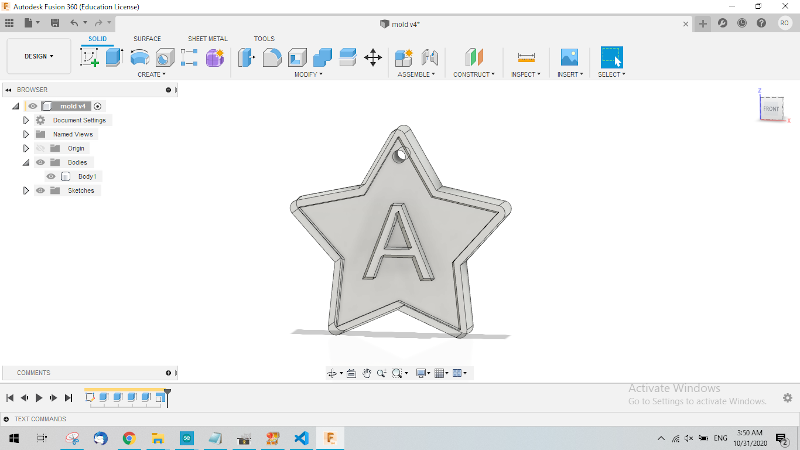
Design (Fusion 360):
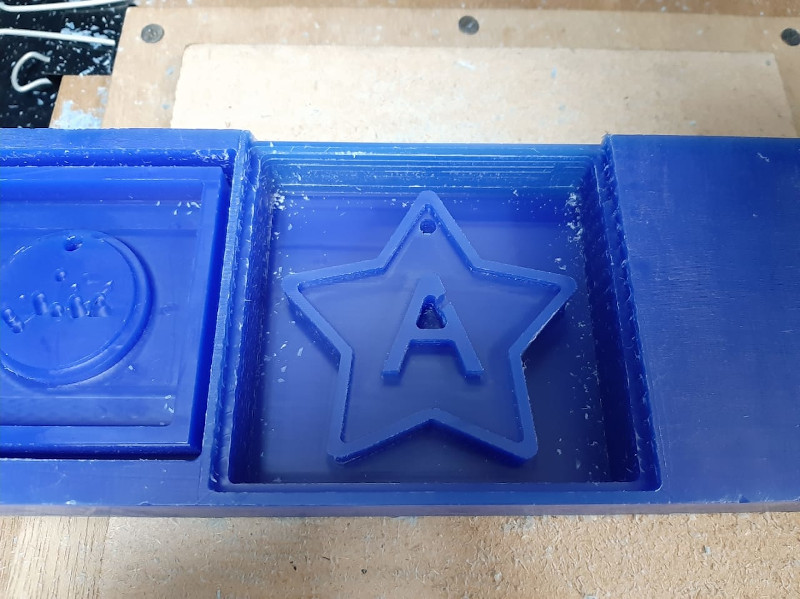
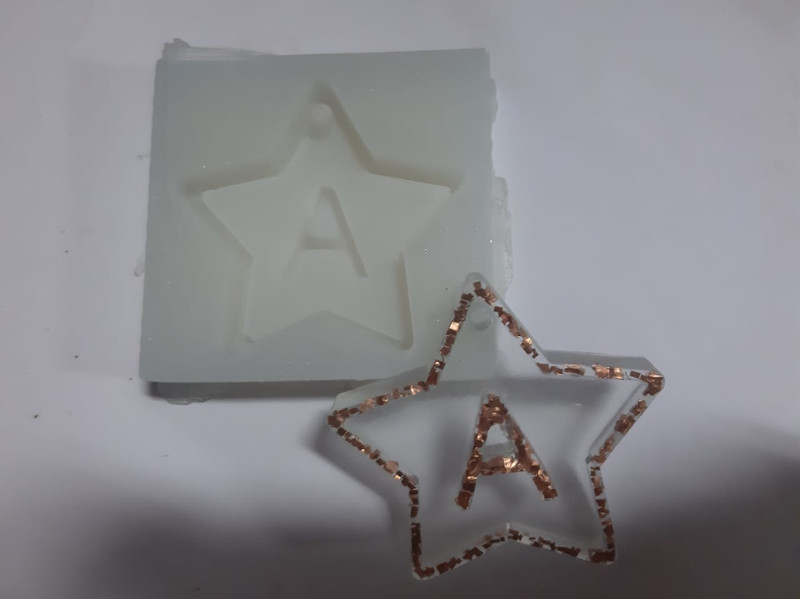
I decided to make another keychain lockdown for Anan that only a star that has the letter "A" (for fewer complications).
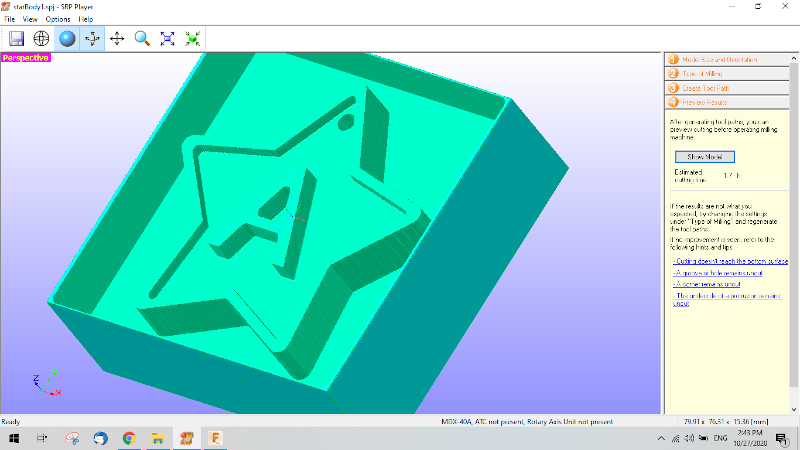
Generating gcode (SRP Player):
I followed the same steps with SRP Player except for the following:
1. I scalled my model down by 95% in order to fit the size of the piece of wax.
2. I chose faster cutting time.
3. For roughing I used 4 mm flat end mill (ZHS-400).
4. For finishing I used 3 mm flat end mill (ZHS-300) no ball nose this time :D.
Machining (MDX-40A):
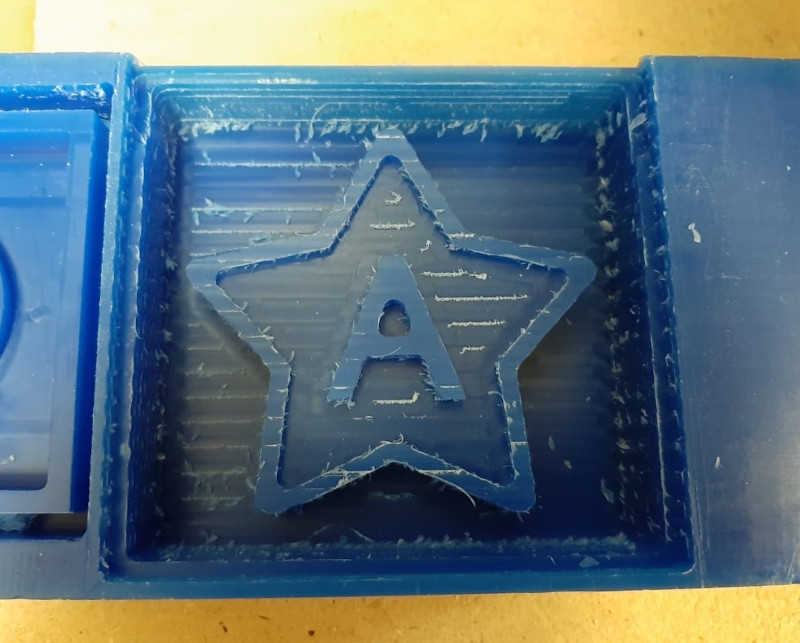
As per the old saying: "with new design come new mistakes :'D"
Once the roughing was done, it was time that I installed the other end mill for finishing. An here was the mistake I forgot that the Z origin was to be set on the original surface not the new one.
I realised what I've done wrong about 10 seconds after the machine started milling in a really loud sound. I pressed the emergency stop button at once.
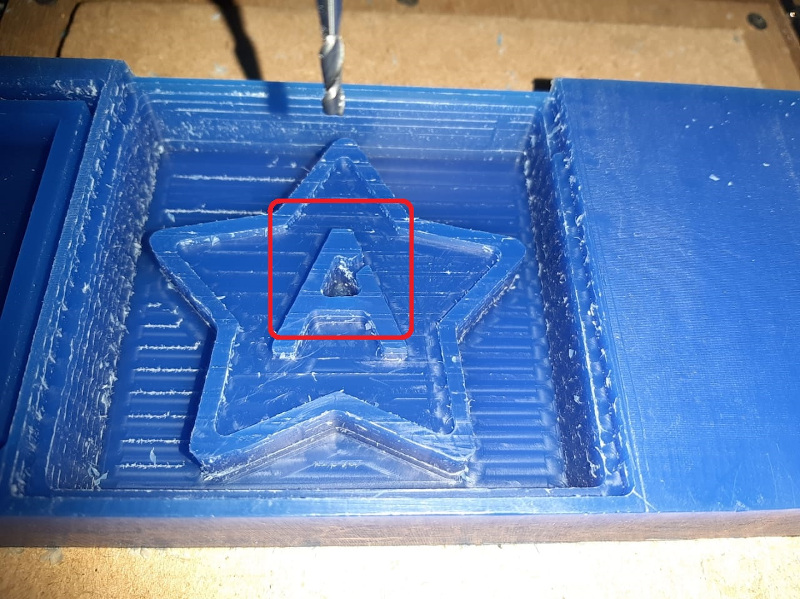
Despite what happened I set the finishing Z origin in the right palce and proceeded milling.
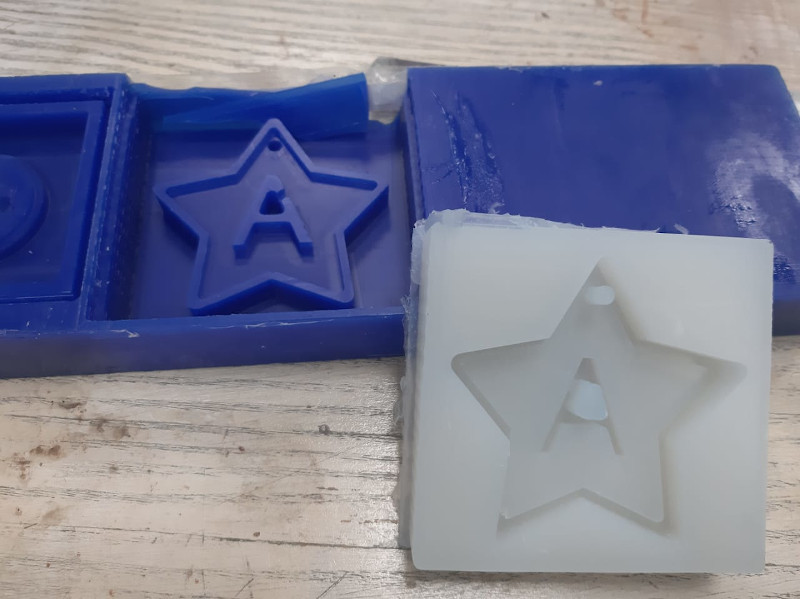
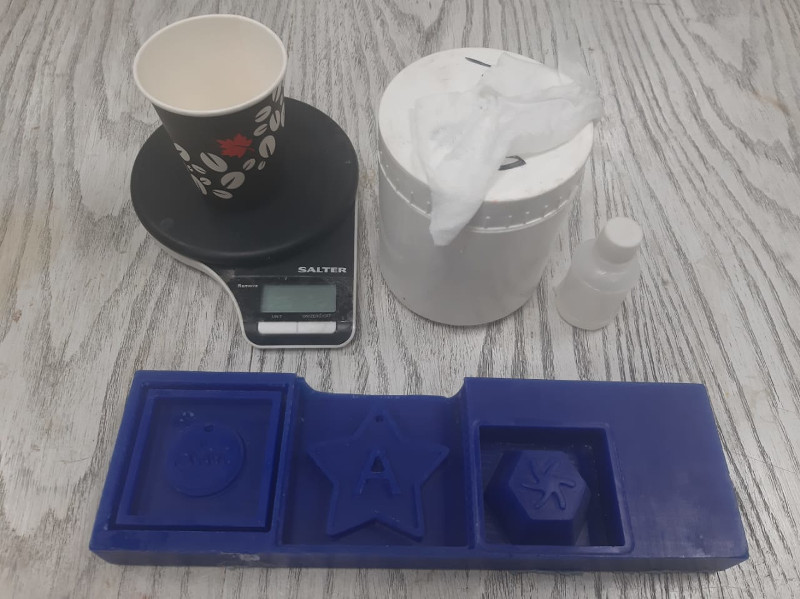
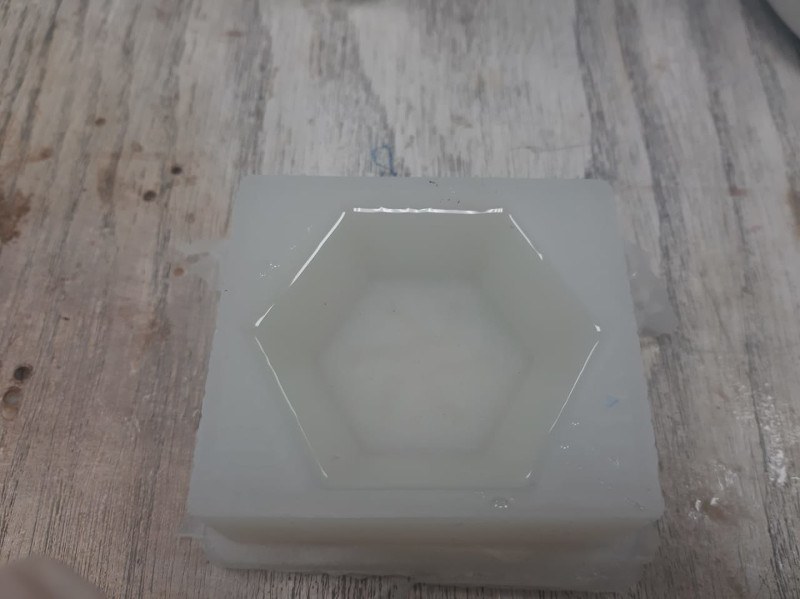
Part II: silicone Rubber
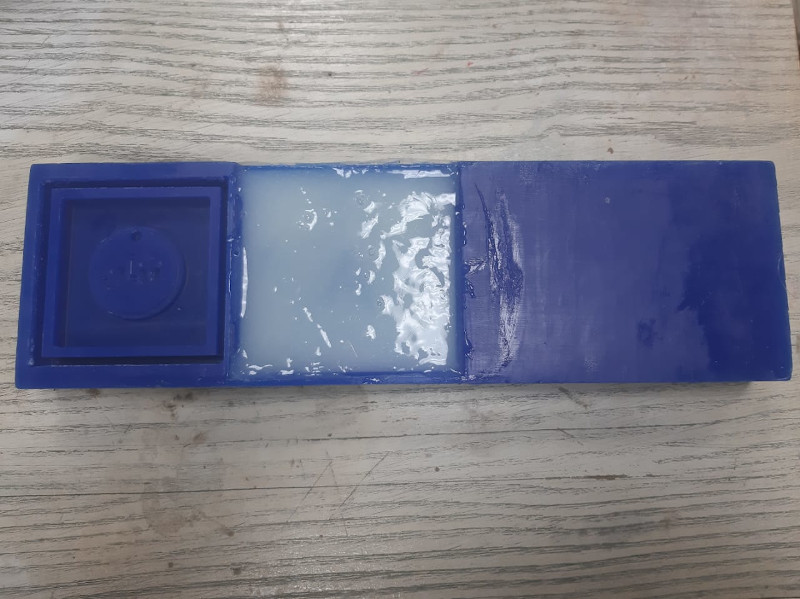
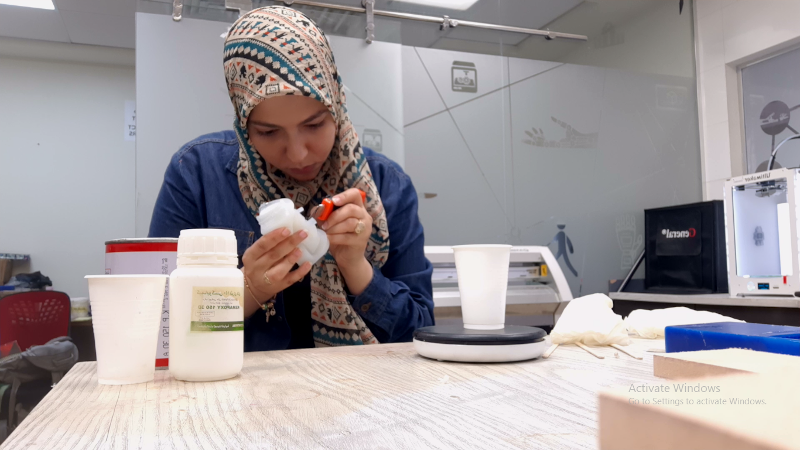
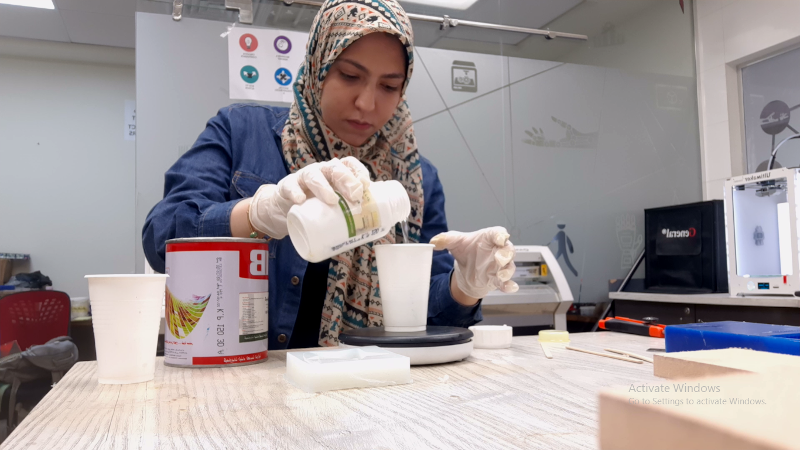
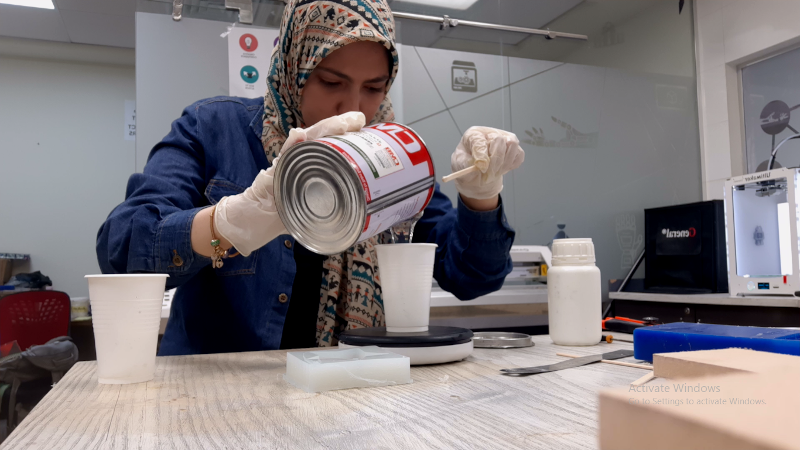
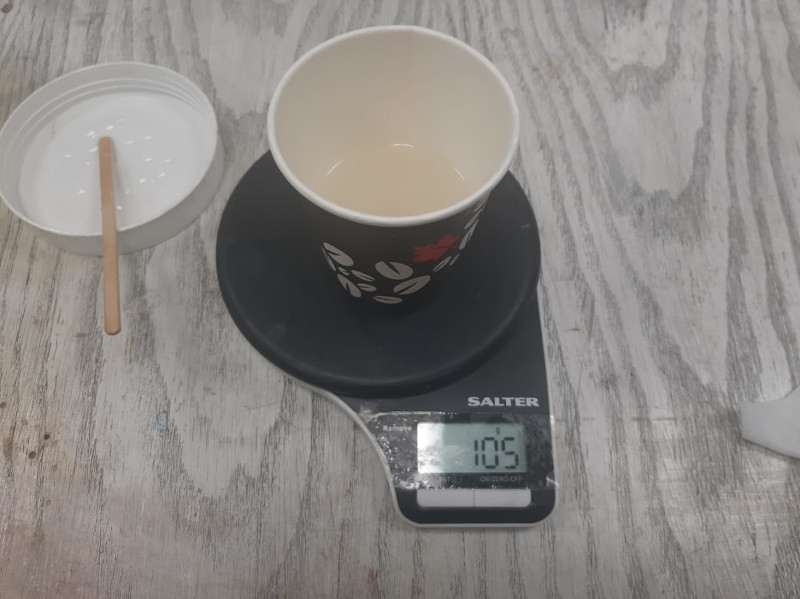
It was time to mix some silicone rubber with some hardner 😄. Because we ran out of silicone stock in our lab I bought some from a stationary store, the silicone an hardner jars they had had no labels on.😅
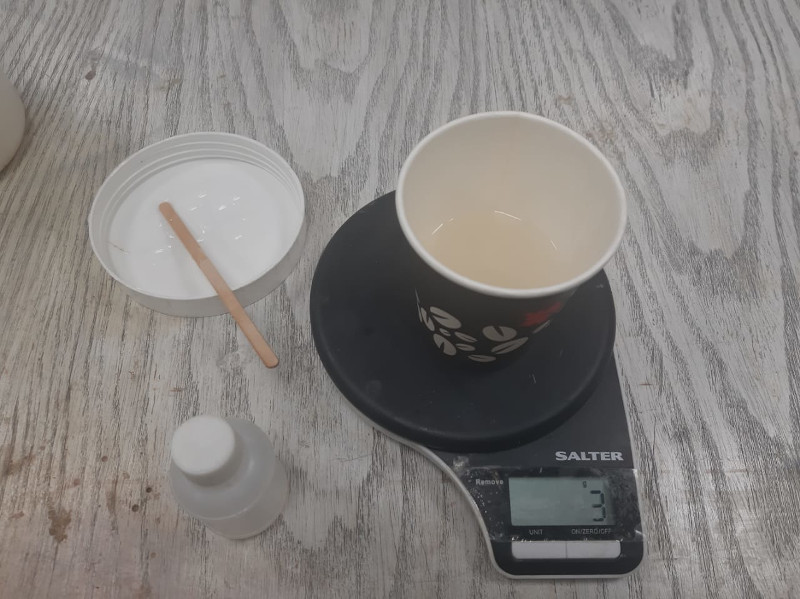
Almost every one on every documentation / video I reviewed before starting this procedure said that the mixing ratio is 10 silicone to 1 hardner. Unfortunately mine did not upply to that ratio. 😅 And I had to learn that the hard way when it totally solidified within 1 minute of mixing. 😂
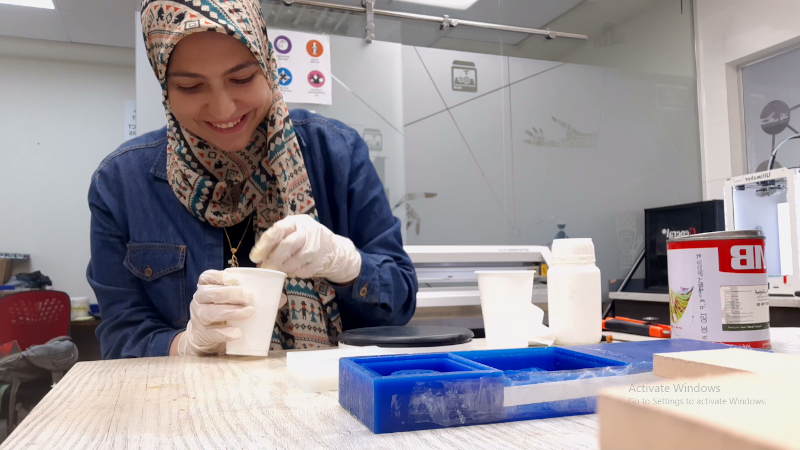
For that matter I had to improvise I mixed the next batch in hardner to silicone ratio of 1:40.That was also relatively thick but it worked. 😄
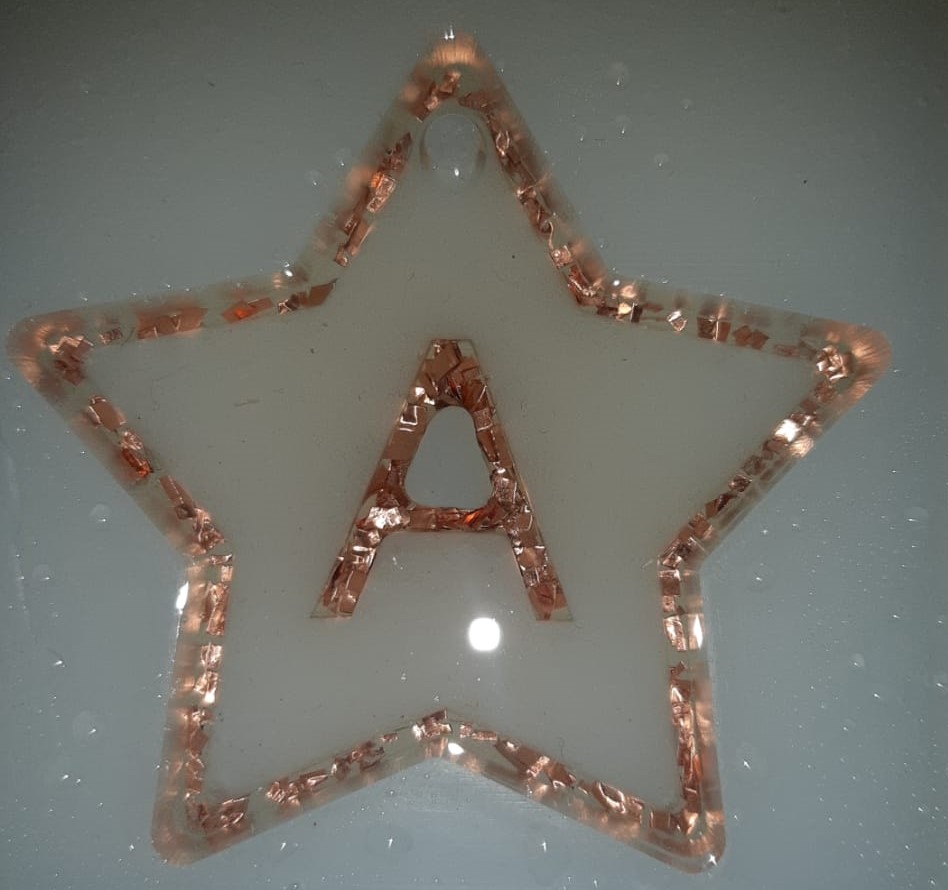
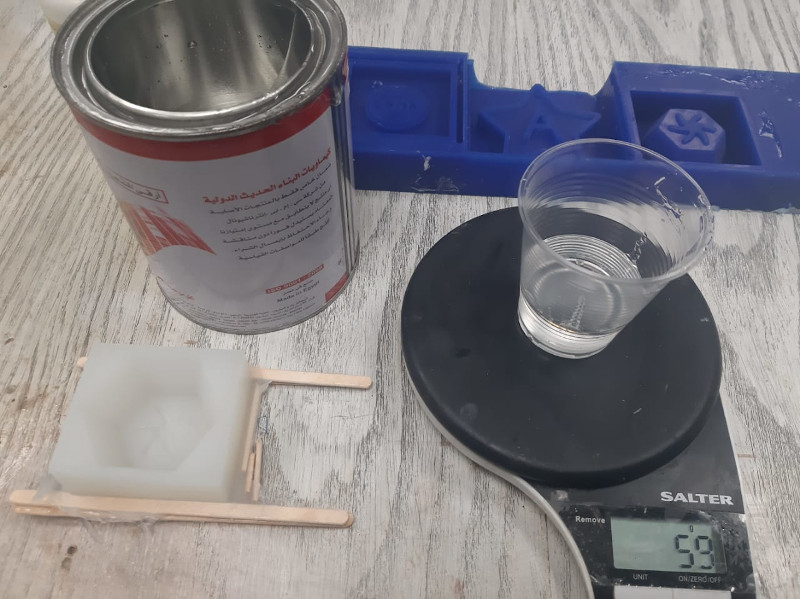
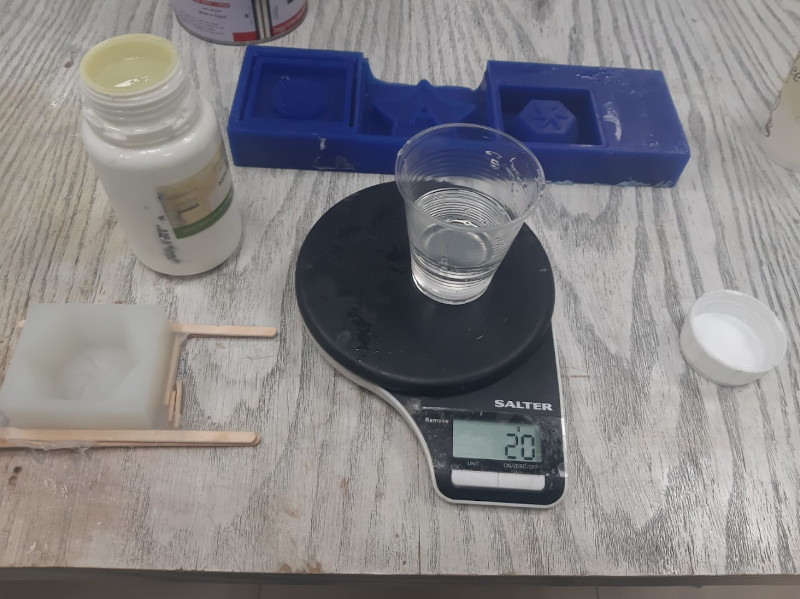
Part III: Epoxy Resin
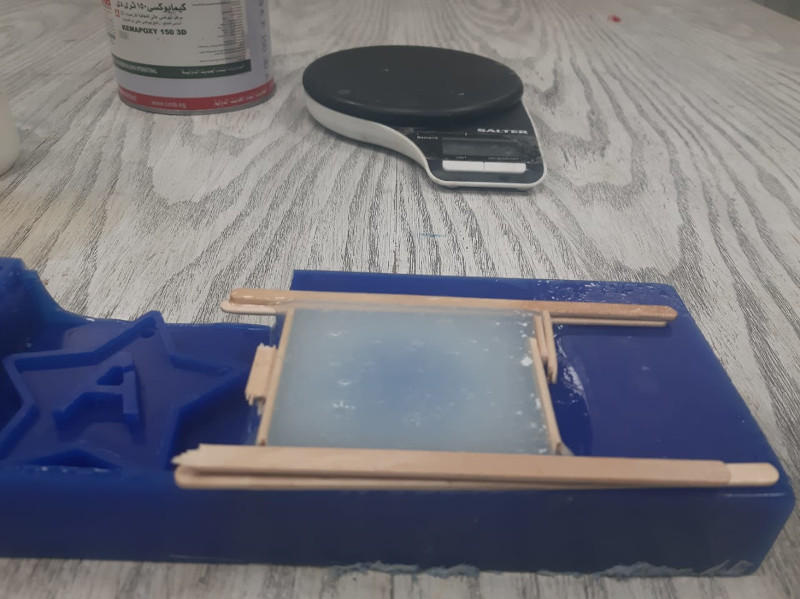
I let my silicone mold solidify over night and went to the lab next morning for the next step. Casting my staaaaar.😍
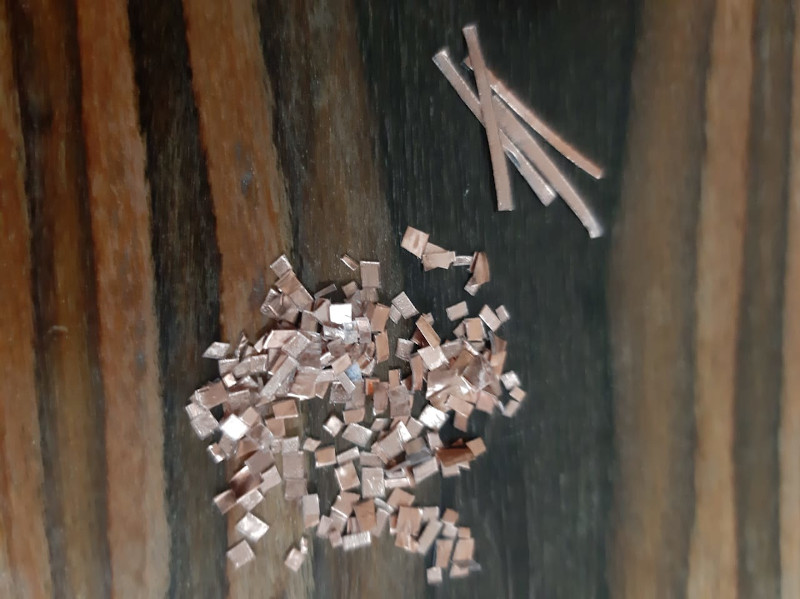
As I wanted to decorate my friend's keychain yet forgot to get some glitter before getting to the lab. So I had to improvise as usual 😂.
I searched the lab for shiny stuff 😂 and found a roll of copper foil sheet. And that was it.😂
YOU THINK I AM DONE !! ABSOLUTELY NOT 😂
Starting my evaluation it seemed like I missed a part of what was required from this task. I was supposed to design an object that needed 3 axis milling. Which means that it should have smooth tilted or curved surfaces instead of steps towards Z axis. So here we go again for a 3rd design.
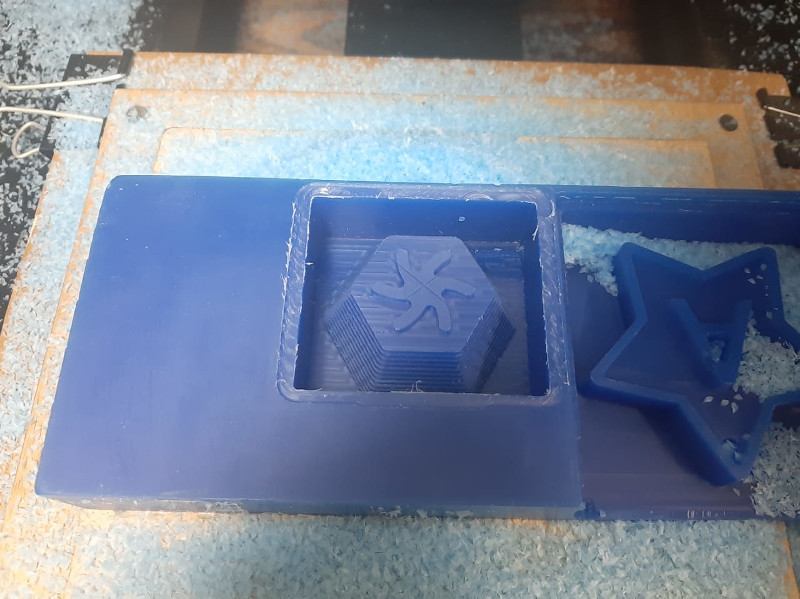
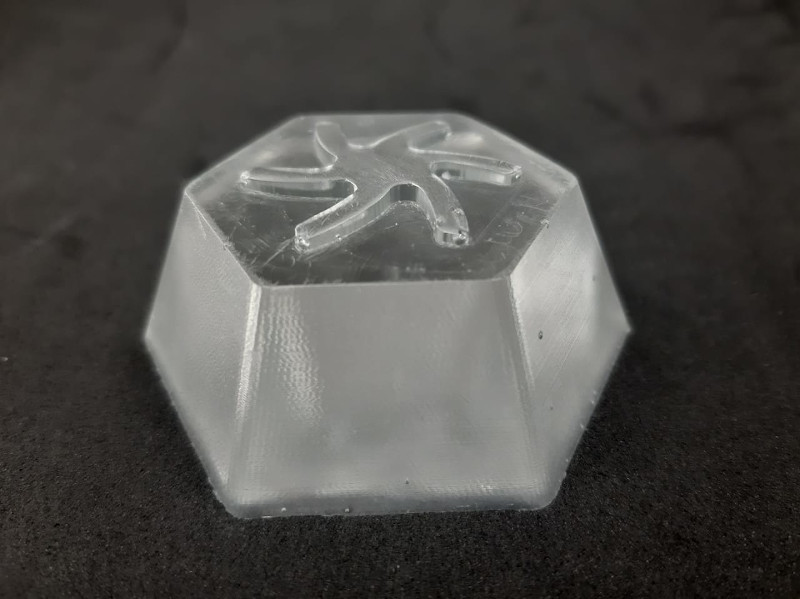
Part IV: Redoing the whole process
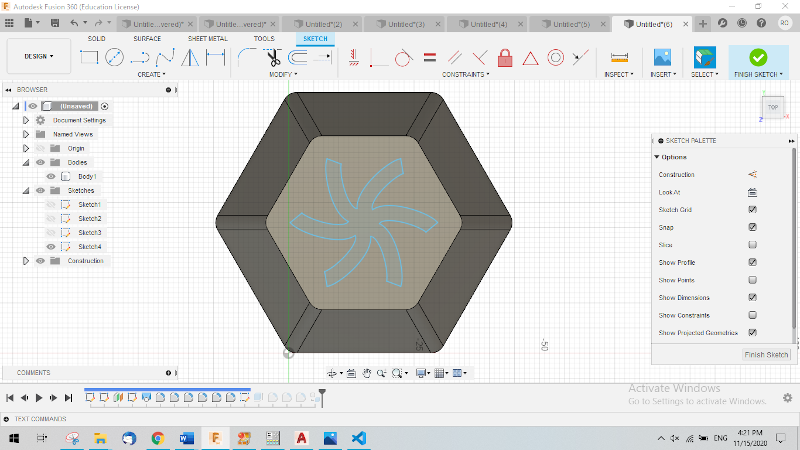
I decided to make some kind of a flower design and I made it already then I knew that we do not have a collet that can support an end mill that is less than 3 mm in daimeter. I chose against complicated desgines and went for something simple that would do.
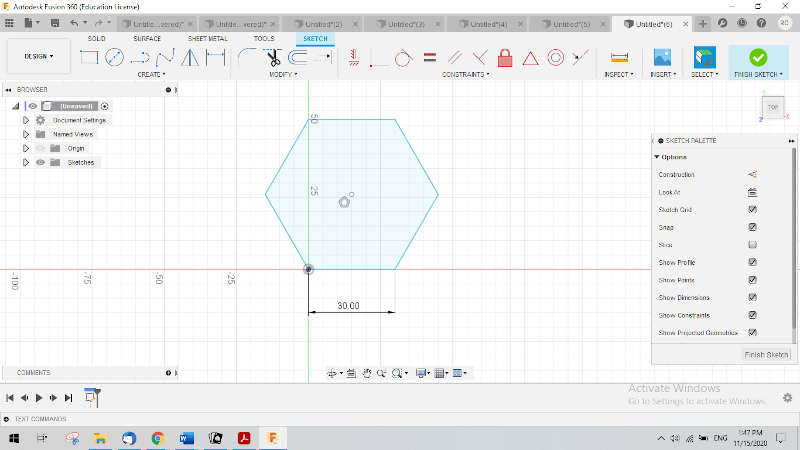
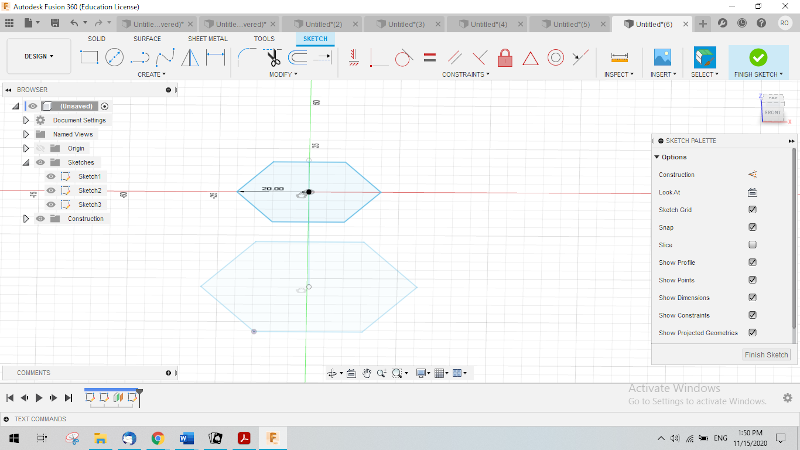
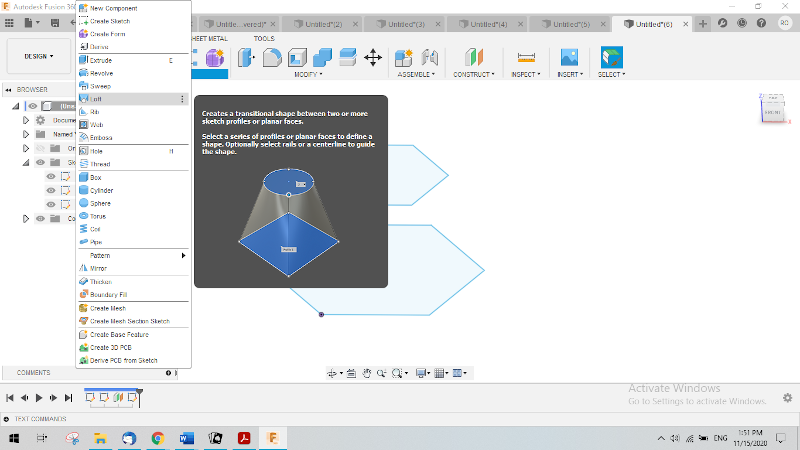
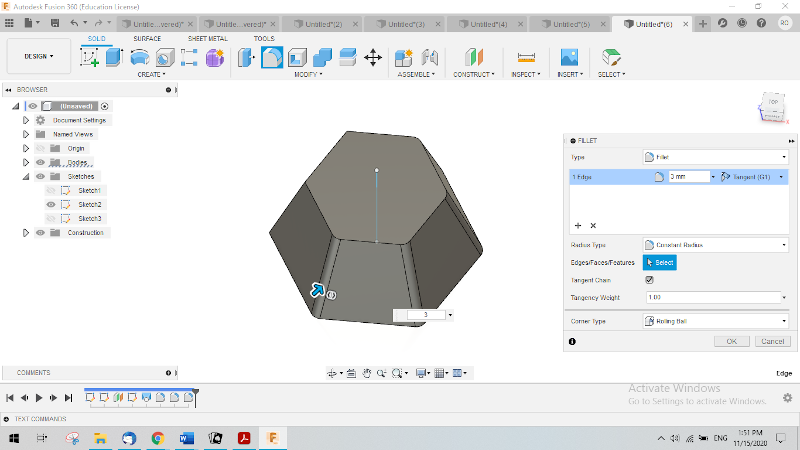
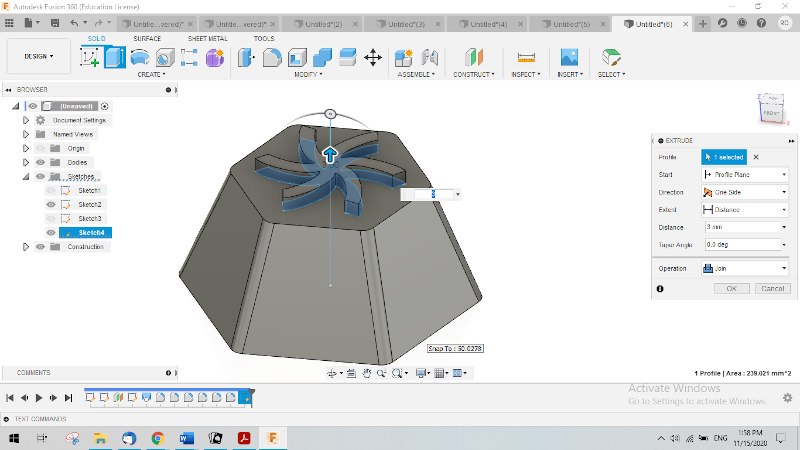
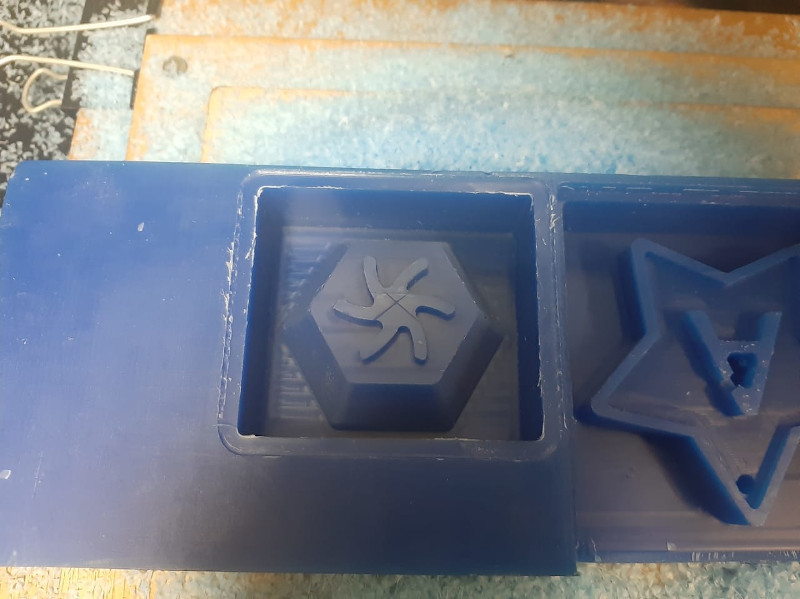
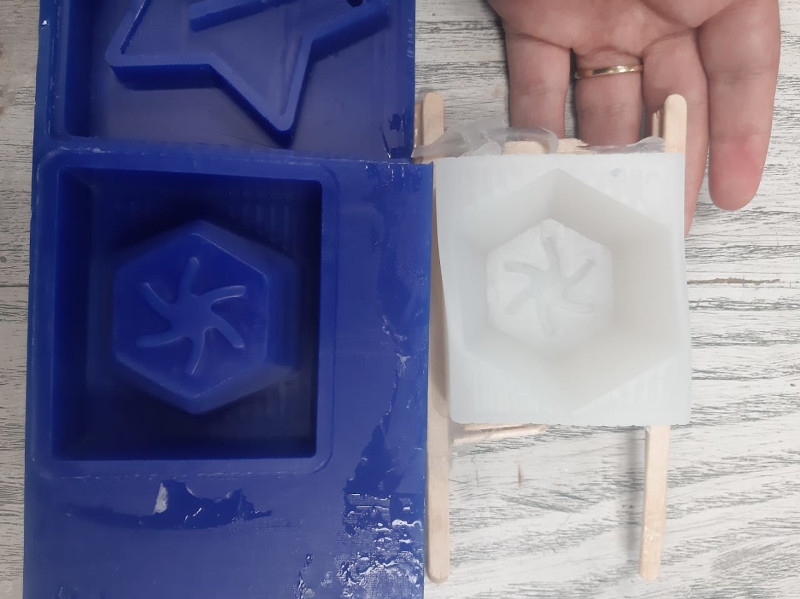
So I started designing a hexagonal chocolate mold.
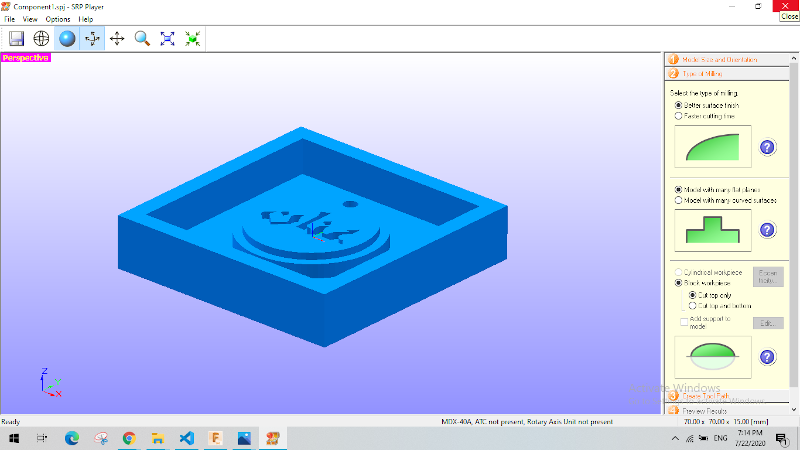
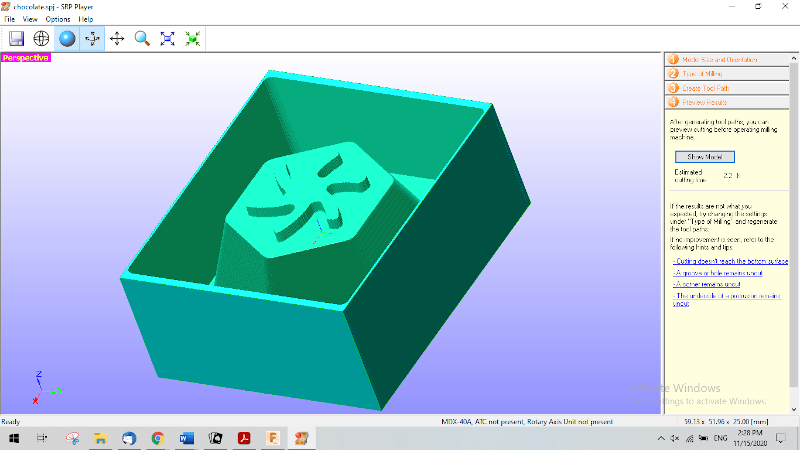
Generating gcode (SRP Player):
1. Better surface finish.
2. Model with many curved serfaces.
3. Cut top only.
4. Modeling wax.
5. Align top.
6. For roughing I used 3 mm flat end mill (ZHS-300).
7. For finishing I used the same 3 mm flat (ZHS-300) as I had no 3mm ball nose end mill.

Downloadables: 💾
Star Fusion 360 .f3d file, .stl file, roughing and finishing .prn files Here
Chocolate mold Fusion 360 .f3d file, .stl file, roughing and finishing .prn files Here
___________________________________________
©️ Row'a M. M. Othman - Fab Academy 2020