Demonstrate 2D design development for CNC production
Describe workflows for CNC production
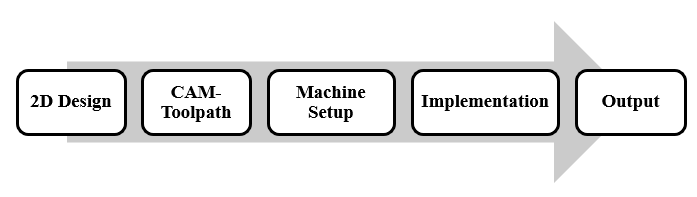
Stages:
Design
Toolpath creation
Implementation
In this
assignment, I tried to work on something challenging which includes
different features to adjust the milling machine accordingly and know
more about how it works. I choose to build an innovative books
shelves design from scratch. The workflow below shows the stages I
went through from designing to implementing and finishing.
Workflow
2D-
Design
Design
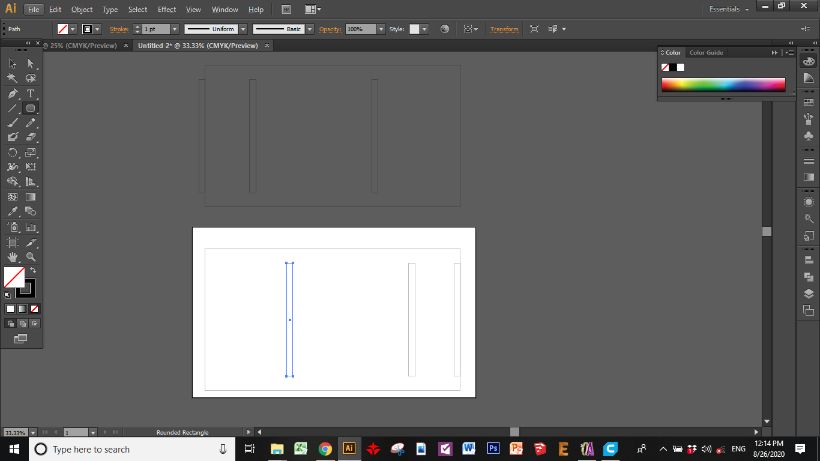
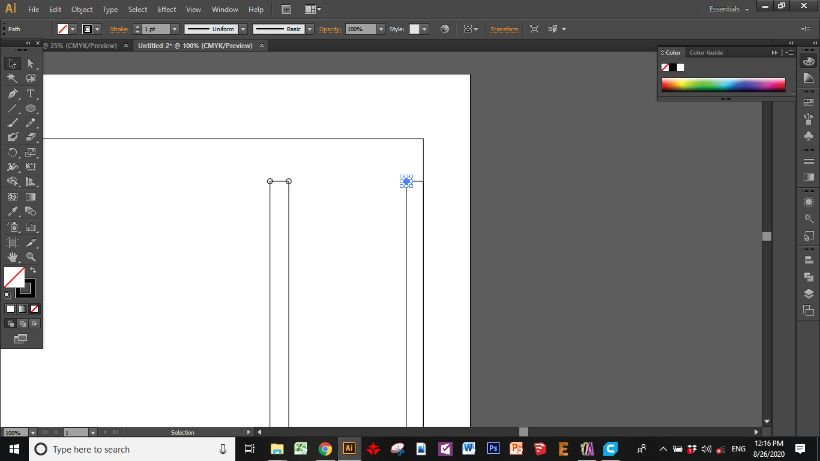
First
step I made was doing the 2D design using Adope Illustrator software
for the shelves separately, then put them in one sheet to be easily
set up for the cutting using the CNC machine. The challenging part in
the design was being very consistent with the edges and the holes in
which the shelves will be connected and fitted in.
I've made the design with Adobe illustrator beacuse it's easy to me in using and i can make a quick design on it
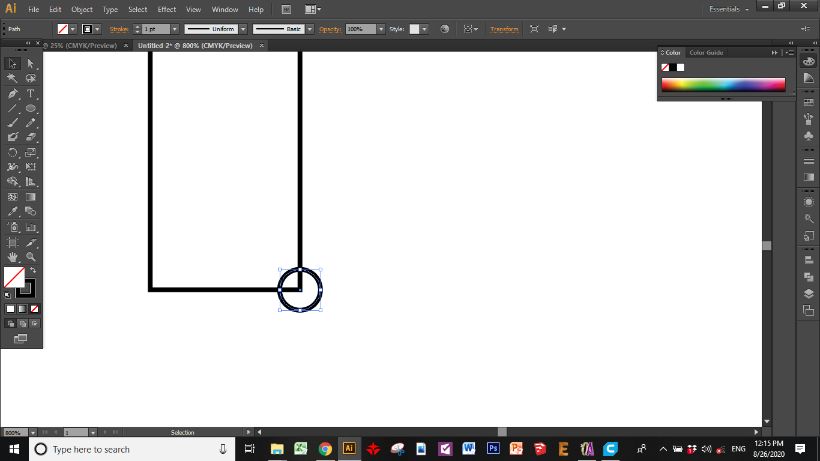
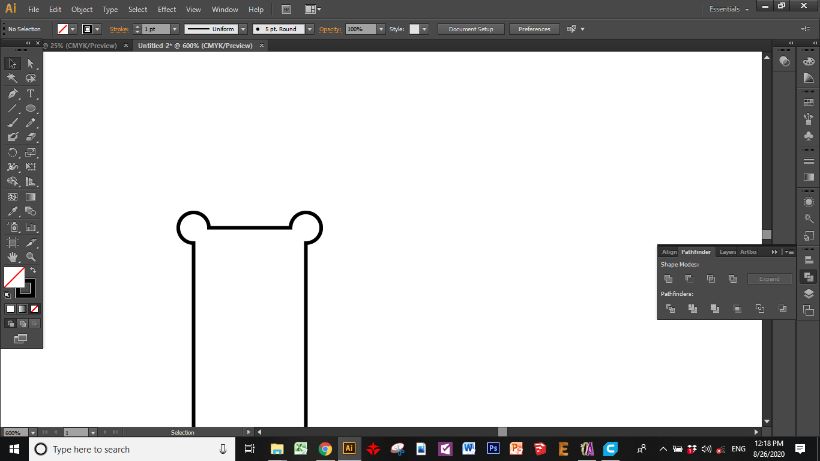
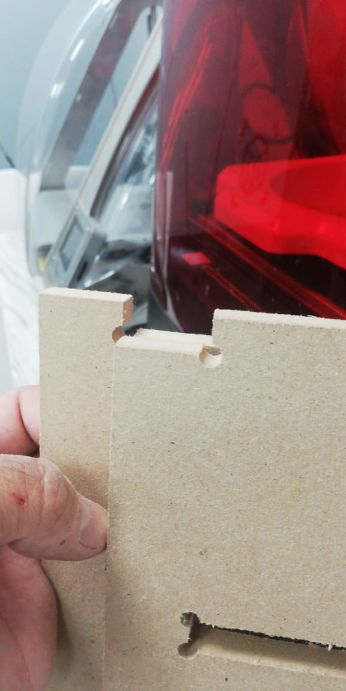
Also i made the dog bone on it
Dog bone is a technique used to avoide the curve in the corners that the cutting tool left it in the implementation
Dog bone different shapes you can add it on the design
Iknow it's crazy, But i've made the dog bone manually (there's an automatic methods in different softwares) but i've chose to make it on Illustratot because it was easy to me and faster
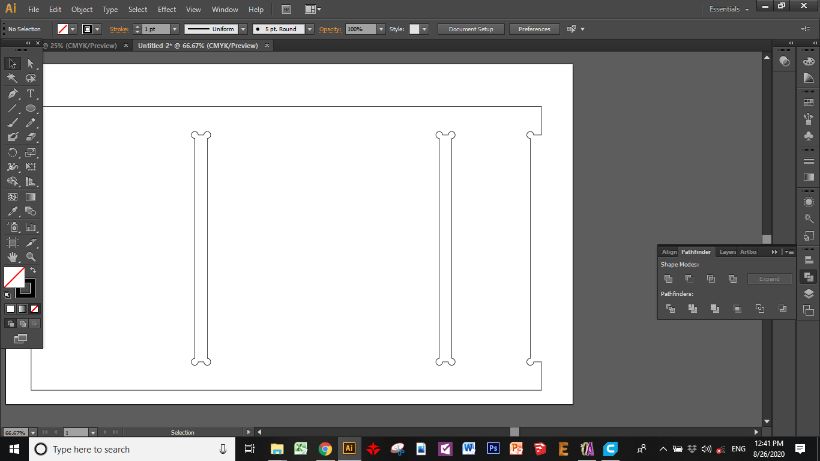
After adding a circles in the corners and merge it with the chape to get this output
Final result, Let's export the file to go for toolpath creation
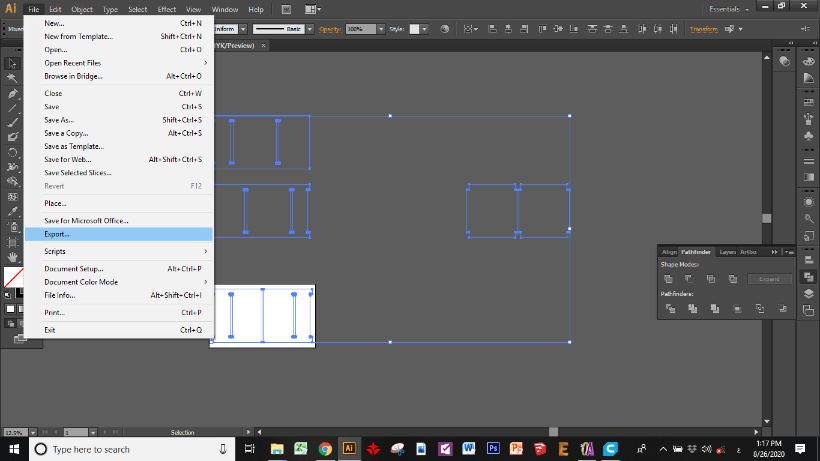
Export
File-->Export, then select extension .dxf
CAM
Toolpath and Machine Setup
This part of the assignment I made
up the design ready for implementation and set up machine parameters
using software ArtCam as shown in the figures below.
Also you can see how to start with ArtCam trough this tutorial
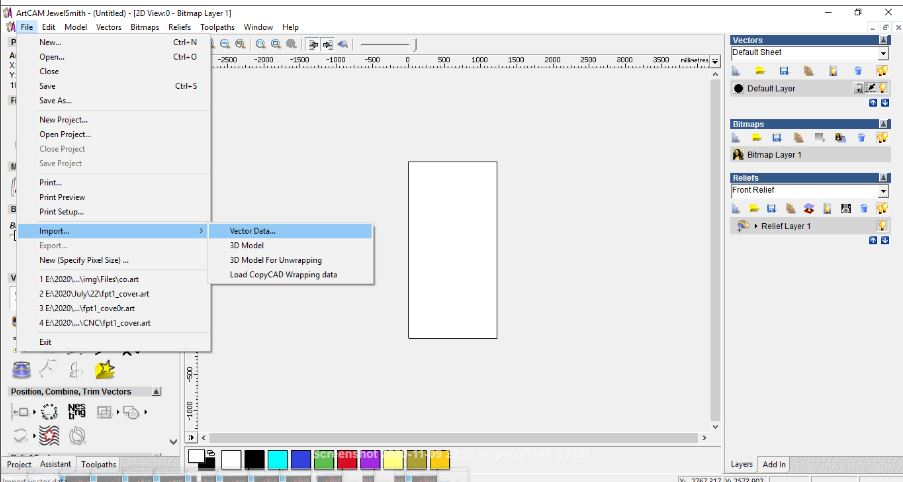
Import the filesFiles are in now
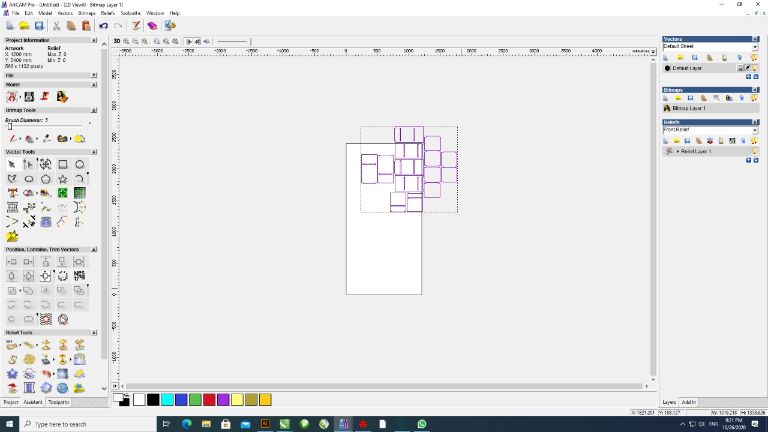
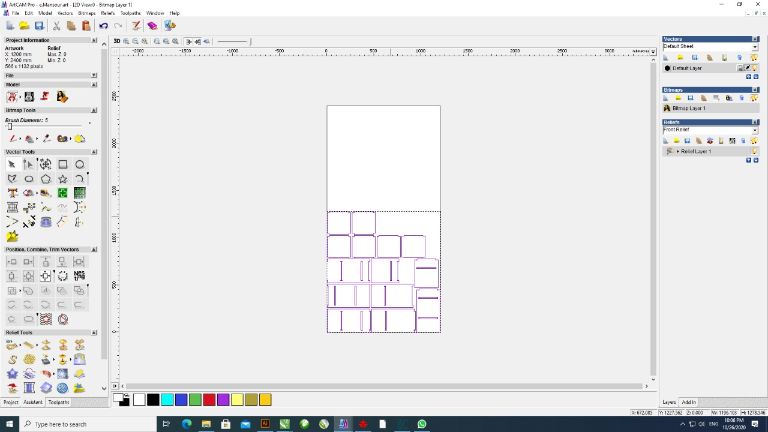
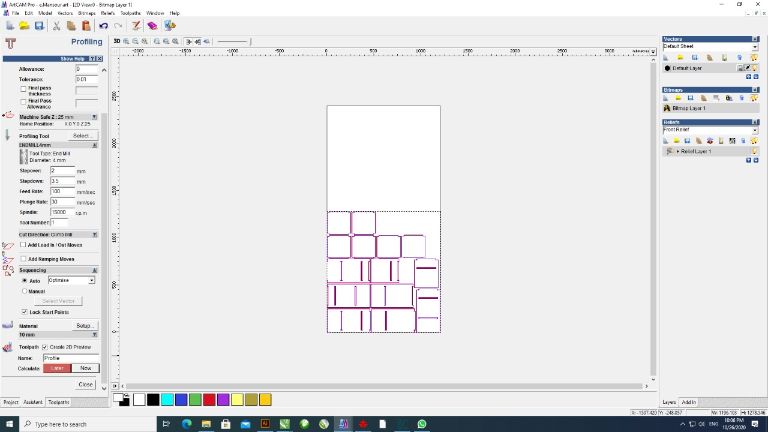
Nesting phase, Where we need to arrange the files to take smaller space can take
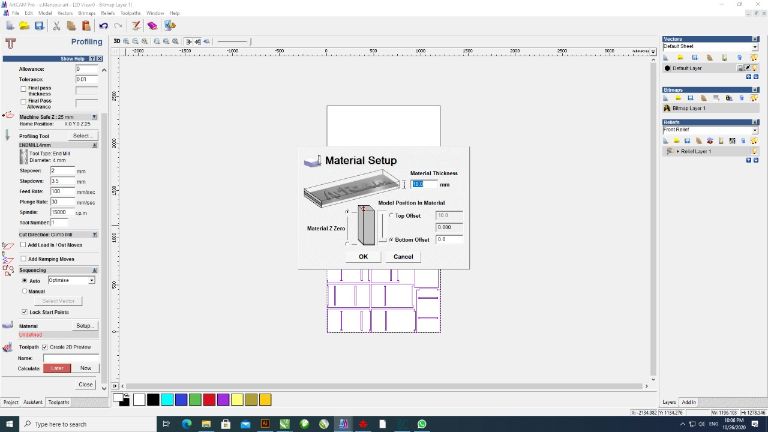
Material setup, where we setup the start orgin in implementation on the sheet
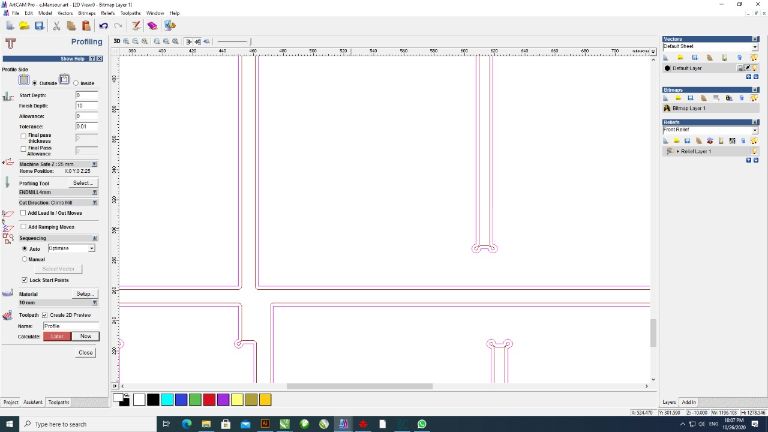
Set the tools, Step over, step down and machining details to make the toolpath
You can see here the other line of toolpath around the vector shape
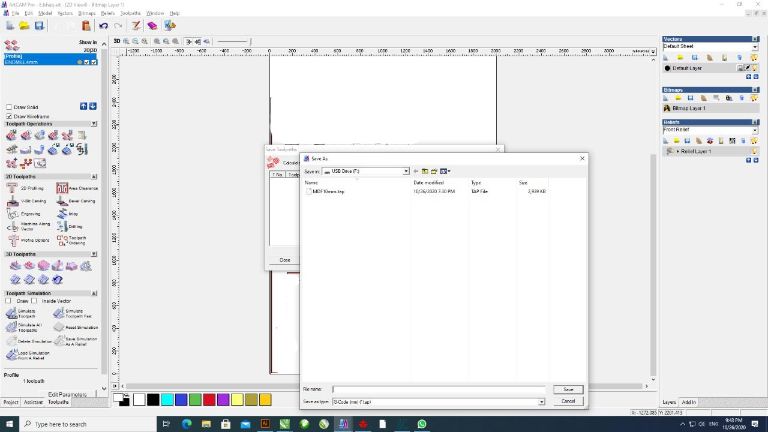
Toolpath-->save toolpath, select.tap extenstion and let's take it to the machine
Implementation
In this phase of the assignment, I
started implementing the design that has been converted to be ready
for machining on the CNC milling machine. The video below shows the
implementation process step by step.
Output
Finish
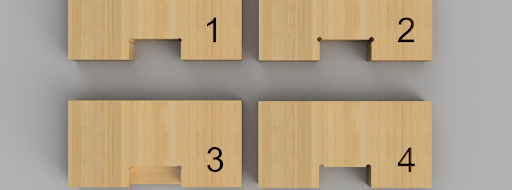
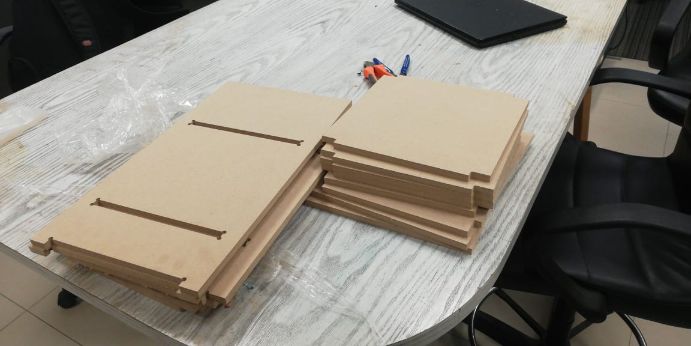
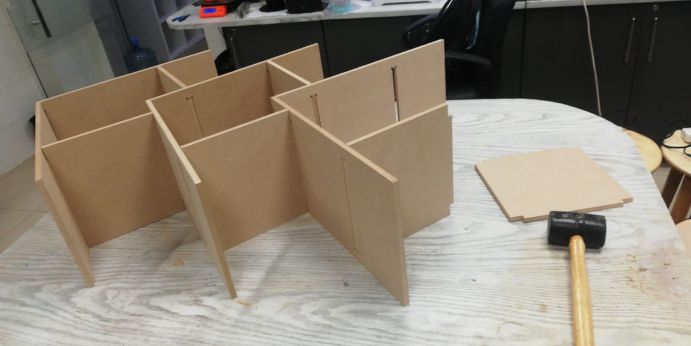
After obtaining the shelves parts
from the CNC milling machine after processing, I started the assembly
process and product final touches for finish
The output
The result of the dog bone in reality
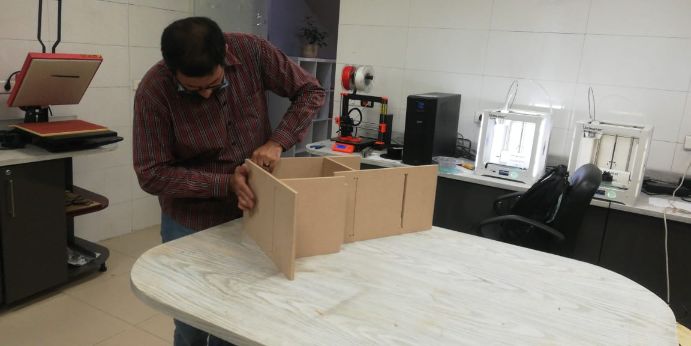
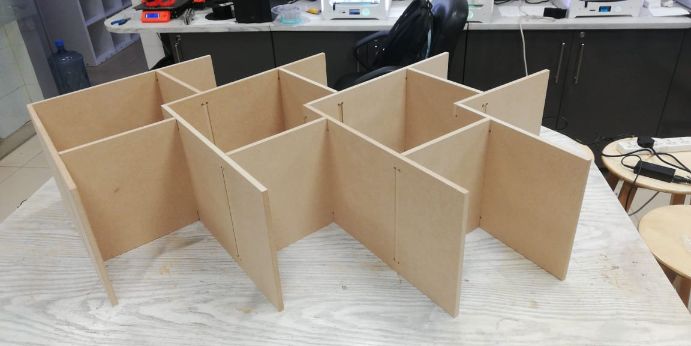
Let's start the assembly phase
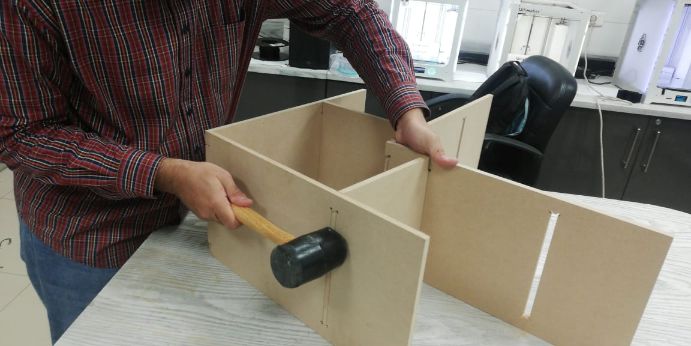
I've used the artelon or flixable hummer to avoid any breaks in the wood from hitting while i trying to fit it
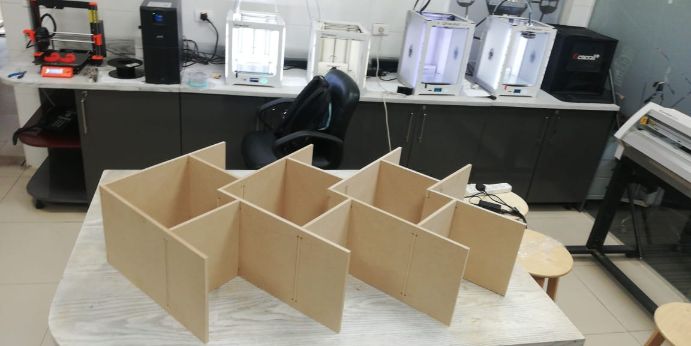
It's growing and get bigger
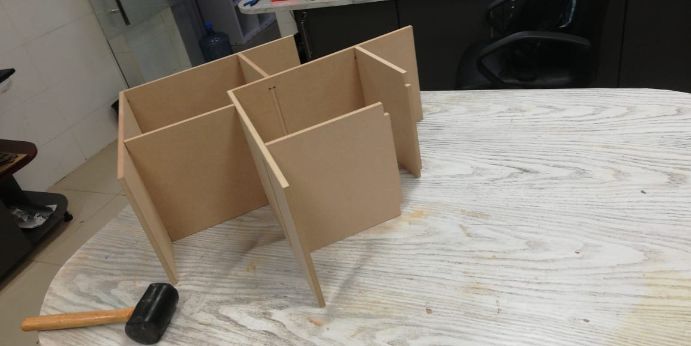
Almost done, I found it bigger than i expected honesly xD
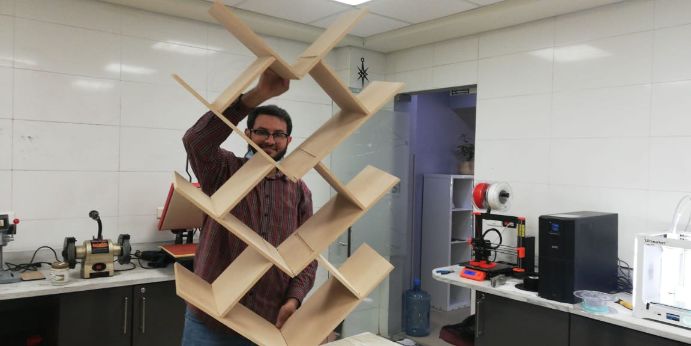
The final result!
Final
Product
And finally, the final product
(BOOKSHELVES) is now ready to use