Datasheet is was very helpful to me to decide wich microcontroller i gonna use, I've used Atmega328 beacuse i've found that its memory is big enough for my code
Also another further information
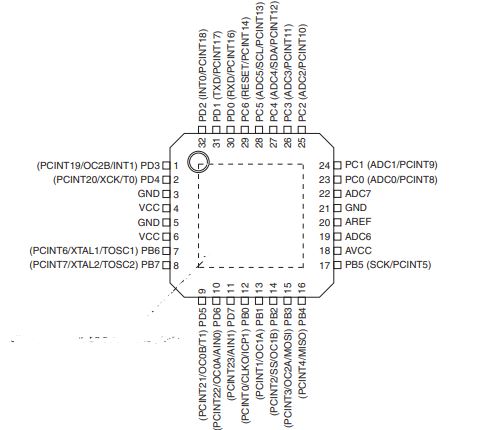
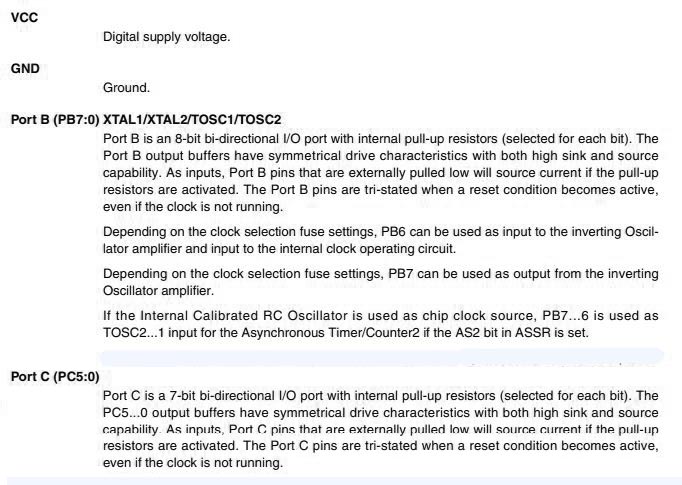
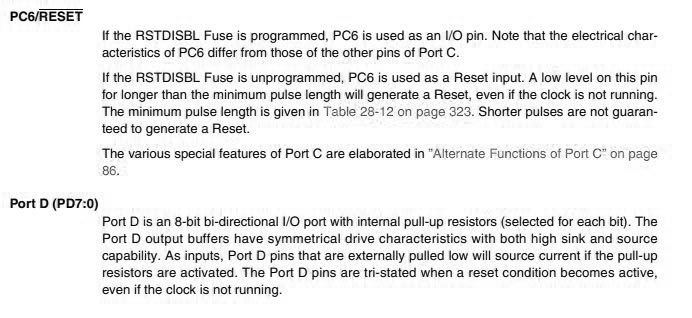
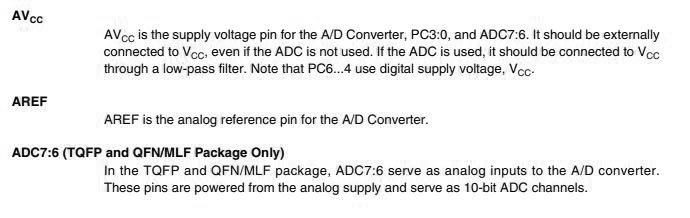
Pin descreption:
Also The block diagram: that contains the content of the microcontroller to figure out the capabilities of it and how to communicate
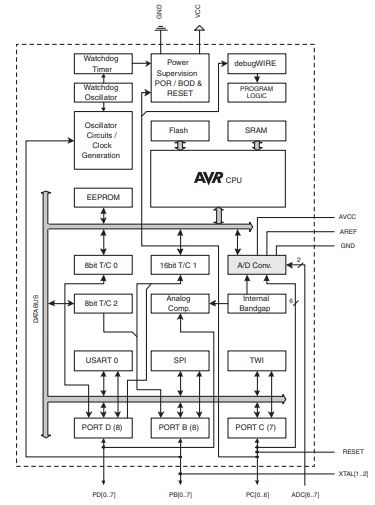
And offcourse the drawings for it and its dimensions to use that in designing your circuit

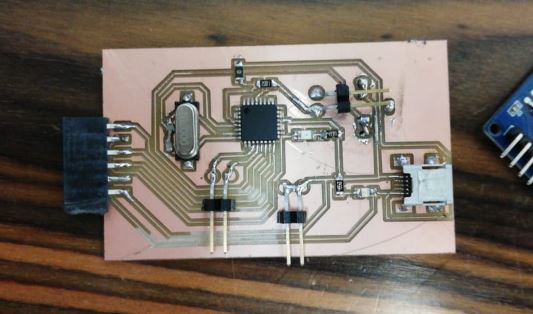
This is the circuit i've used Atmega328 in it, Let's start programming.
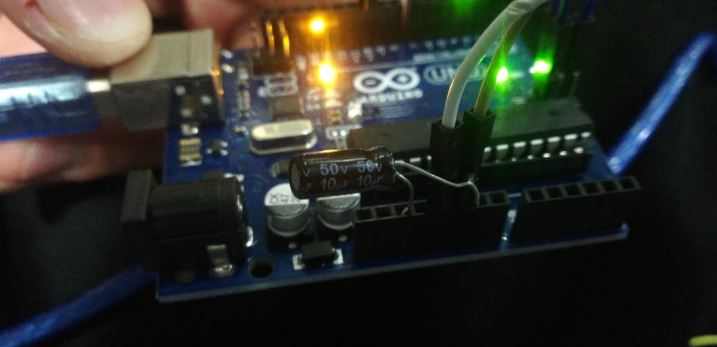
Get an Arduino and connect it with the board, VCC connected to 5V and GND connected to GND.
Slave reset: 10
MOSI: 11
MISO: 12
SCK: 13
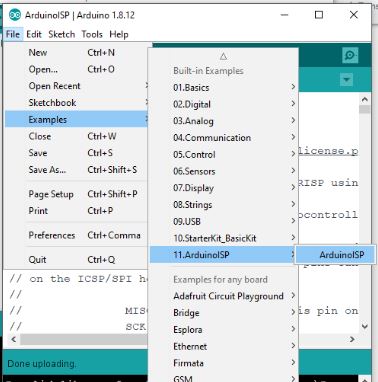
Prepare my own board by burn on it the bootloader to be ready for programming
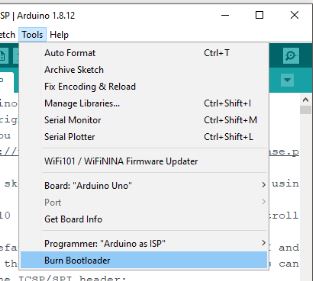
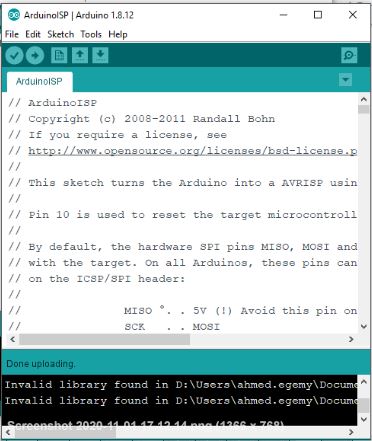
Uploaded Arduino ISP code on the Arduino board to make it a programmer.
Then I've uploaded my code on board
#include#include #include #include "SD.h" #define SD_ChipSelectPin 4 #include "TMRpcm.h" #include "SPI.h" #define trigpin 7 #define trigopin 8 TMRpcm tmrpcm; void setup(){ pinMode (trigpin,INPUT_PULLUP); pinMode (trigopin,INPUT_PULLUP); tmrpcm.speakerPin = 9; Serial.begin(9600); if (!SD.begin(SD_ChipSelectPin)) { Serial.println("SD fail"); return; } } int flag=0; int flag1=0; void loop(){ int sp; int sp1; sp=digitalRead(trigpin); sp1=digitalRead(trigopin); if (sp==LOW&&flag==0) { tmrpcm.setVolume(5); tmrpcm.play("diags.wav"); delay (5000); flag=1; } else if (sp1==LOW&&flag1==0) { tmrpcm.setVolume(5); tmrpcm.play("Africa.wav"); delay (5000); flag1=1; } else if (sp==HIGH&&sp1==HIGH){ flag=0; flag1=0; delay (500); } }
Now lets test it
Arduino code source
Let's try another programming enviroment
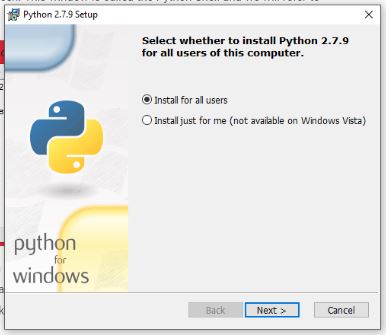
python

It was a good experience for me to try a new programming enviroments and how to deal with it, Where python is very user friendly language and east to learn it's principles.
I've started with this tutorial, It's simple and easy to follow and organized well to learn from
I will control the LED by sending a signal number.
First, i will write Python code on Python IDLE

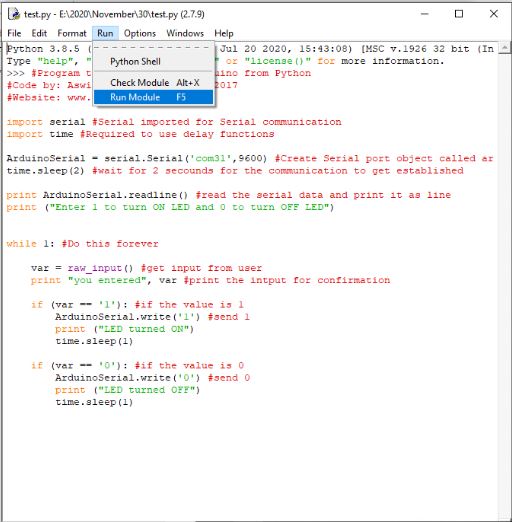
python code:
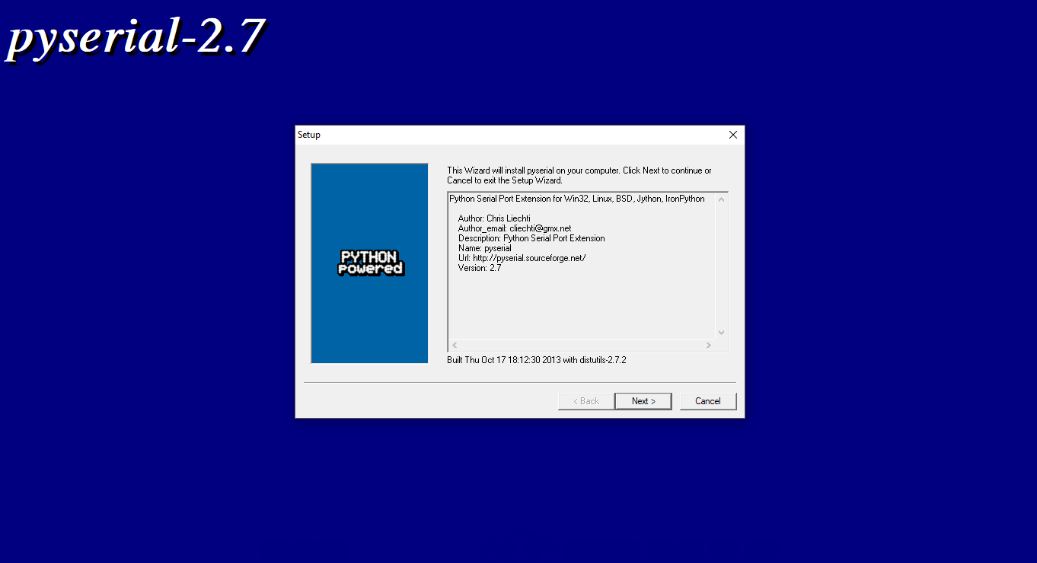
import serial #Serial imported for Serial communication
import time #Required to use delay functions
ArduinoSerial = serial.Serial('com18',9600) #Create Serial port object called arduinoSerialData
time.sleep(2) #wait for 2 secounds for the communication to get established
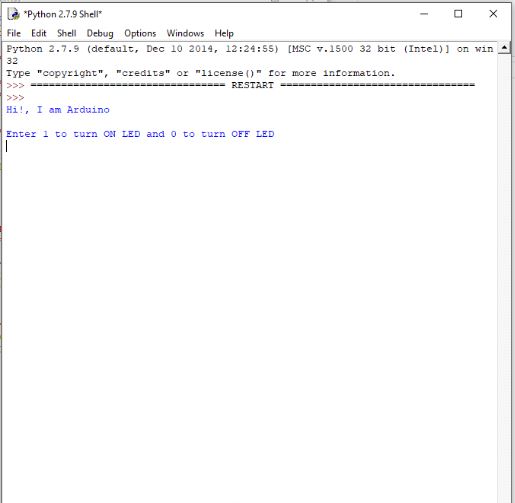
print ArduinoSerial.readline() #read the serial data and print it as line
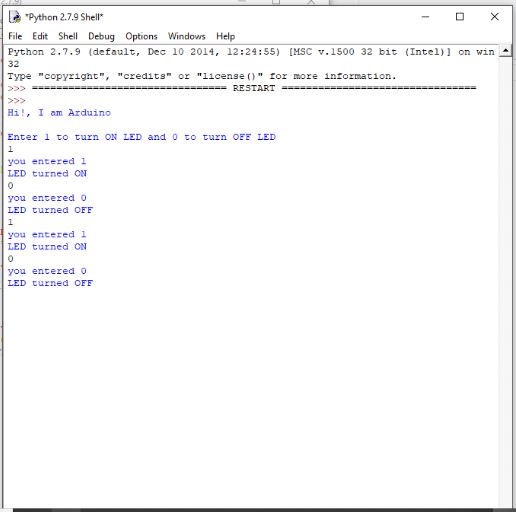
print ("Enter 1 to turn ON LED and 0 to turn OFF LED")
while 1: #Do this forever
var = raw_input() #get input from user
print "you entered", var #print the intput for confirmation
if (var == '1'): #if the value is 1
ArduinoSerial.write('1') #send 1
print ("LED turned ON")
time.sleep(1)
if (var == '0'): #if the value is 0
ArduinoSerial.write('0') #send 0
print ("LED turned OFF")
time.sleep(1)
Testing video:
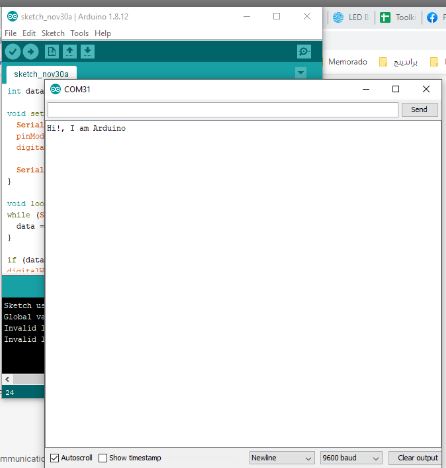
Now the Arduino step and it's testing video that i've made to test the code before

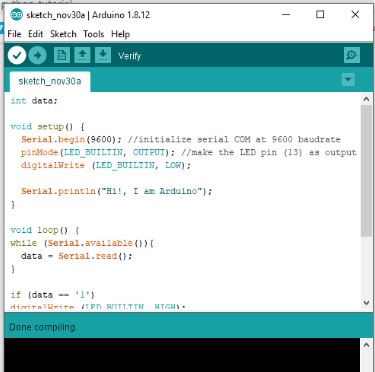
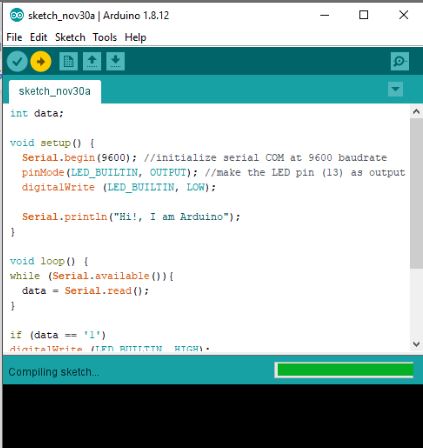
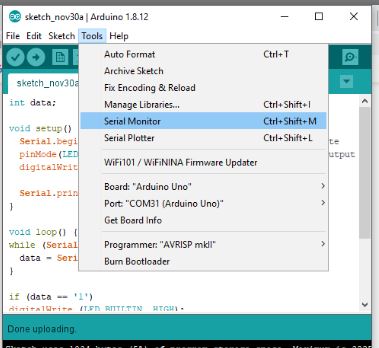
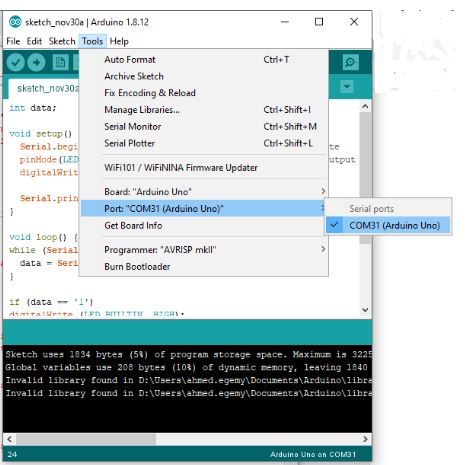
Arduino code
           	void setup() {
  Serial.begin(9600); //initialize serial COM at 9600 baudrate
  pinMode(LED_BUILTIN, OUTPUT); //make the LED pin (13) as output
  digitalWrite (LED_BUILTIN, LOW);

  Serial.println("Hi!, I am Arduino");
}

void loop() {
while (Serial.available()){
  data = Serial.read();
}

if (data == '1')
digitalWrite (LED_BUILTIN, HIGH);

else if (data == '0')
digitalWrite (LED_BUILTIN, LOW);

}
Testing video:
Files:
Python code.pyArduino code