Described the process of milling, stuffing, de-bugging and programming.
Demonstrate correct workflows and identify areas for improvement if required.
Stages:
Know about electronics generally.
Try to Manufacture a PCB.
Soldering time.
Know about electronics generally
With my architectural background i strongly need to start to understand the electronics basics fisrt, So i went through some tutorials
This was a good start to understand the components functions and the differance between them
Then i went through this series to know more
Try to Manufacture a PCB.
This group assignemnt was ammazing, We also made a trials on Modella MDX-40 and SRM-20 and you can see more in our group assignment page
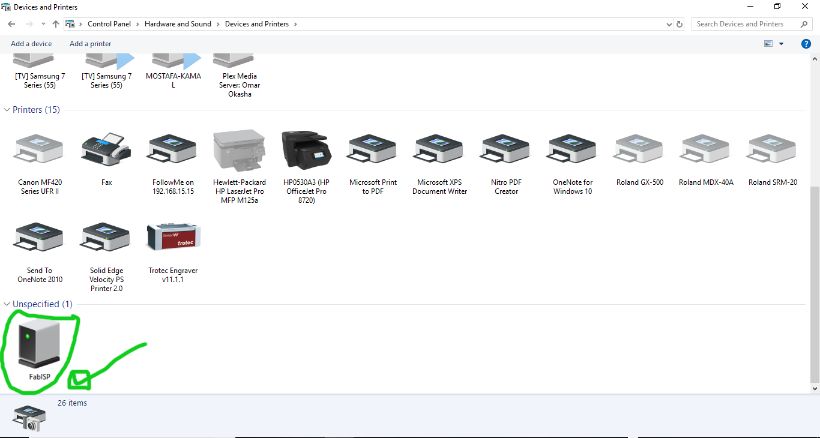
I've used SRM20 to fabricate Fab ISP
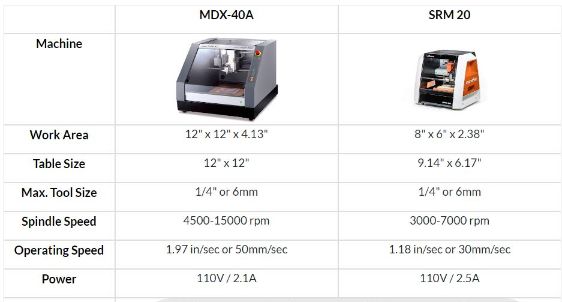
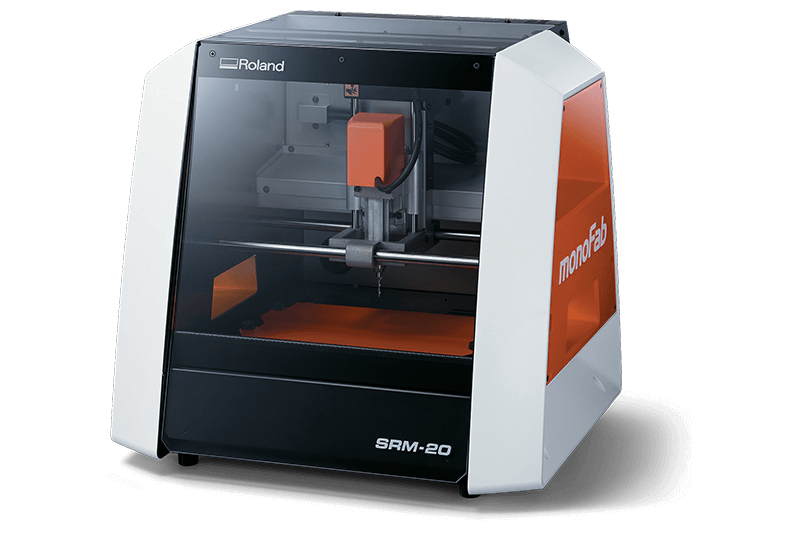
SRM20
Roland SRM-20 MonoFab is a small milling machine that capable of 3D milling,2D Milling, and Engraving. The SRM-20 is ideal for a variety of product designs tasks such as model making, create realistic 3D prototypes and rapid prototyping.
Technical specs:
Material: Modeling Wax, Chemical Wood, Foam, Acrylic, Poly acetate, ABS, PC board
Work area: 203.2 (X) x 152.4 (Y) x 60.5 (Z) mm
Distance From Collet Tip to Table: Maximum->(130.75mm)
Max Tool Size: 6mm
Spindle Speed: 3000-7000 rpm
Operating Speed: 30mm/sec
Computer Interface: USB
Power: 110V / 2.5A
Fabrication
Use double tape to secure the copper board on-top of the sacrificial plate, But don't ovelap the tape or leave bubbles under it to keep the board straight.
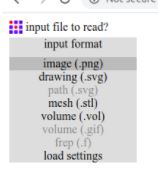
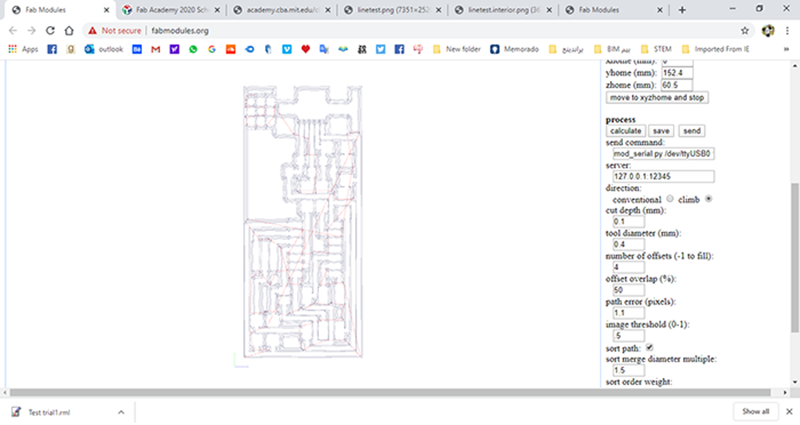
If you used another cercuit, make it a PNG picture with black&white(monochromatic) and check the distances between traces to be bigger than the diameter of tool you will use.
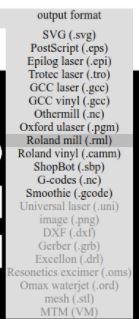
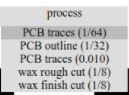
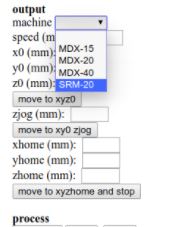
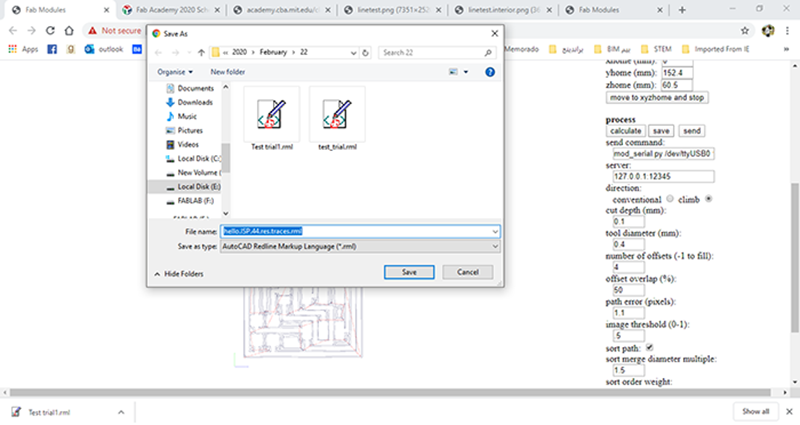
Import(after importing the picture will appear in the page) --->.rml(the extension of Gcode for roland srm) ---> Traces (chose the process you want to make) --->SRM-20(choose the machine from the list) ---> Calculate(will calculating the code and traces) ---> Save(save the file in your computer to use it)
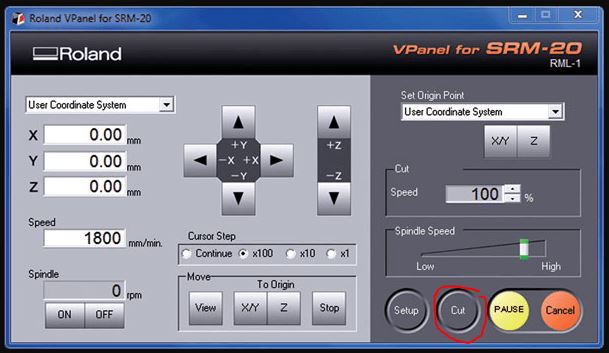
Import in cutting Vpanel for SRM20(This website will be helpful
V-tip 30degree*0.2 in the traces and 0.1 endmill in cutting outlines
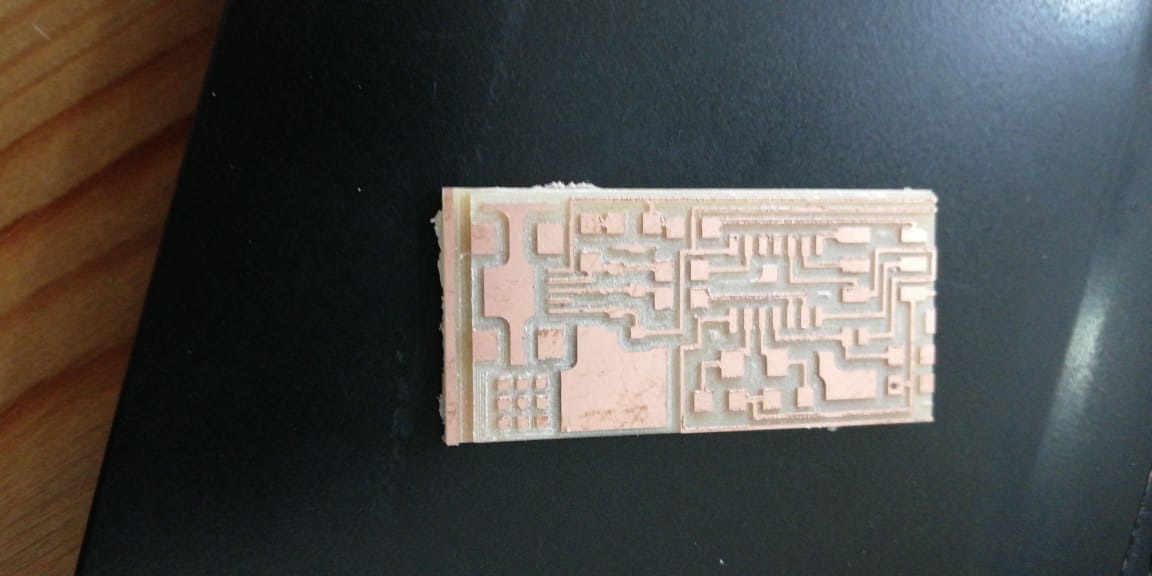
After the milling, Sold be cleaned by a vacum or smooth brush to avoid any damages in traces3
After the milling
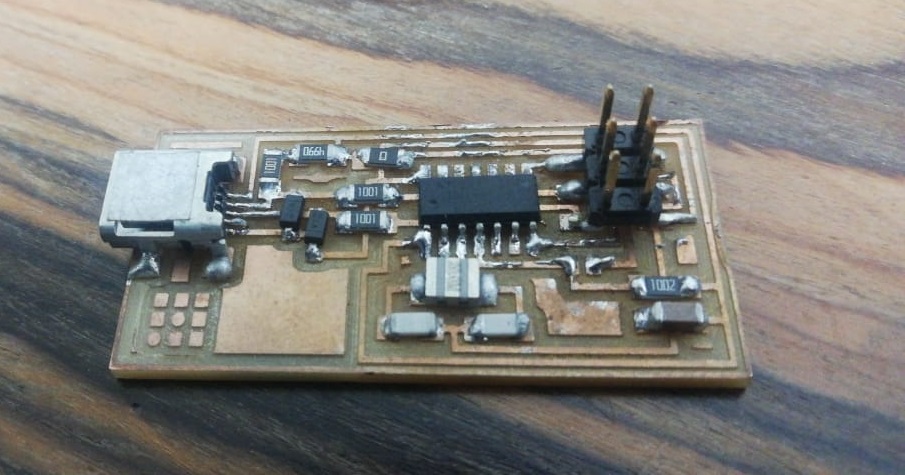
Soldering the components
Components list
1 ATTiny 44 microcontroller
1 Cystal 20MHz
6 pin header
2 Resistor 100 ohm
1 Resistor 49 ohm
1 Resistor 1K ohm
1 Resistor 10K
1 Capacitor 1uF
1 Capacitor 1uF
2 Capacitor 10 pF
2x 3.3V zener diodes
Soldering the SMD components not easy at all, So this video can be helpfull
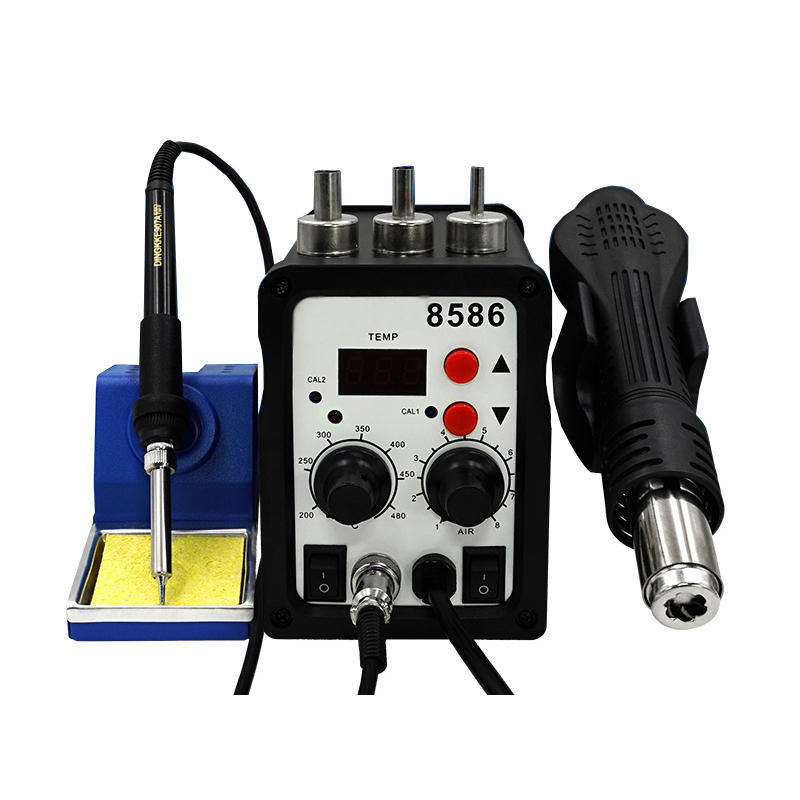
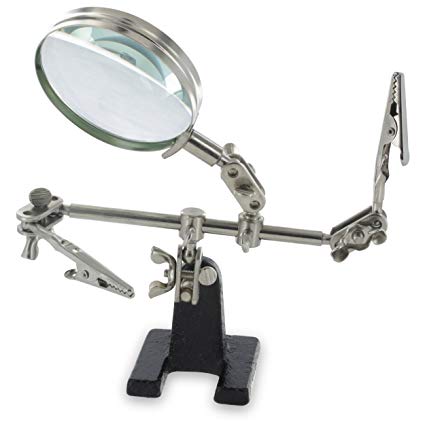
Tools needed
Soldering station
Magnifying lens
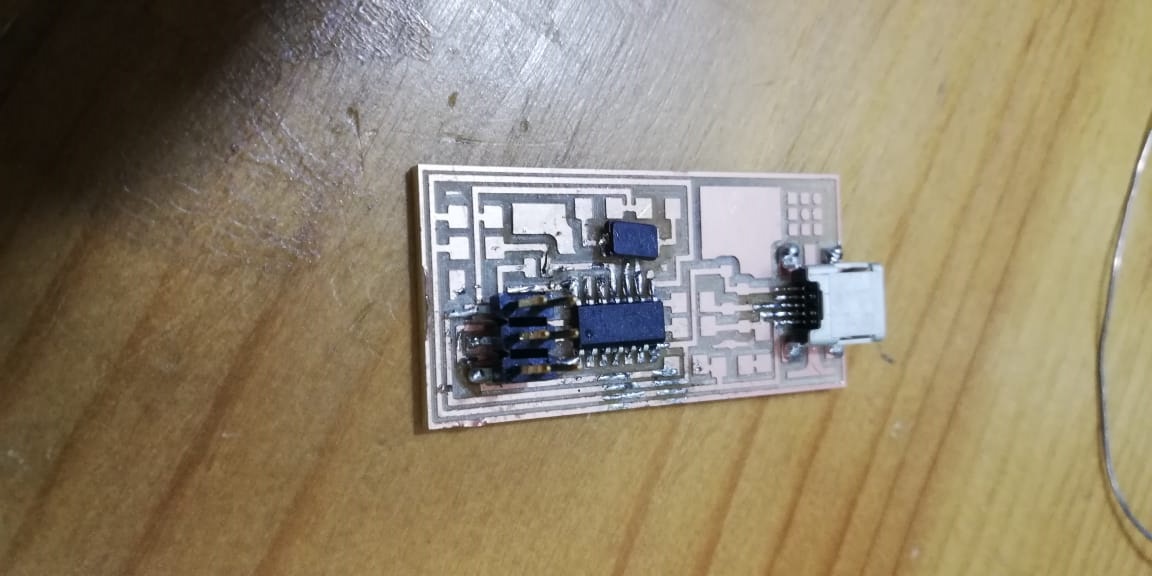
After Some soldering
Final result
Lets test it:
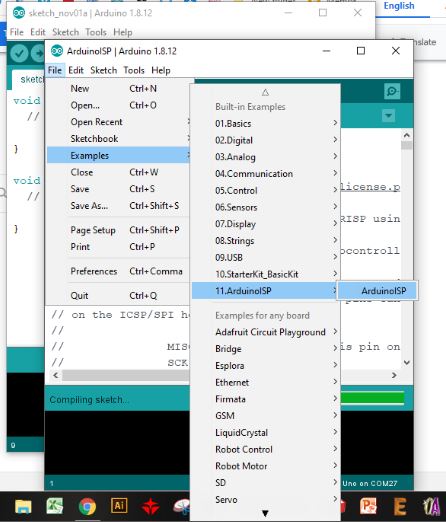
For windows(not linux) it's not easy at all but i've found this great tutorial to follow.
Steps:
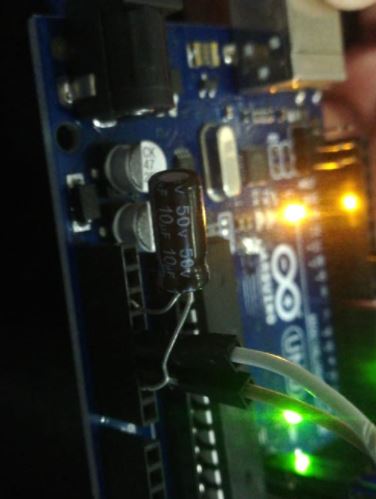
Arduino as ISP.
Connect a 10 uF capacitor between RESET and GND.(to start programming)
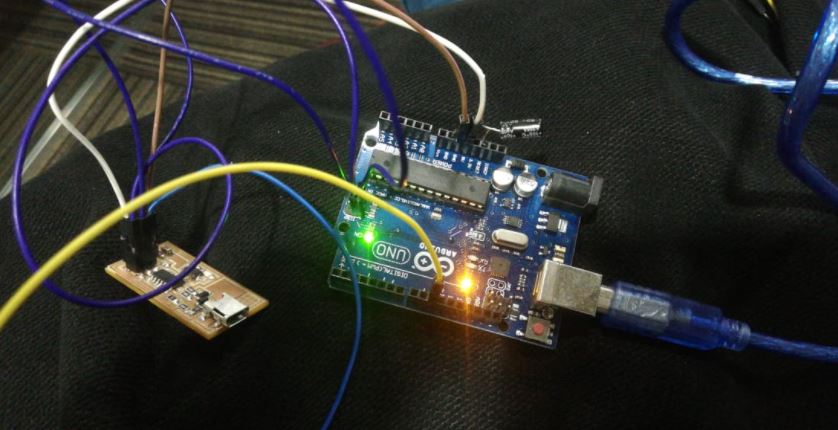
Connecting Fabisp now
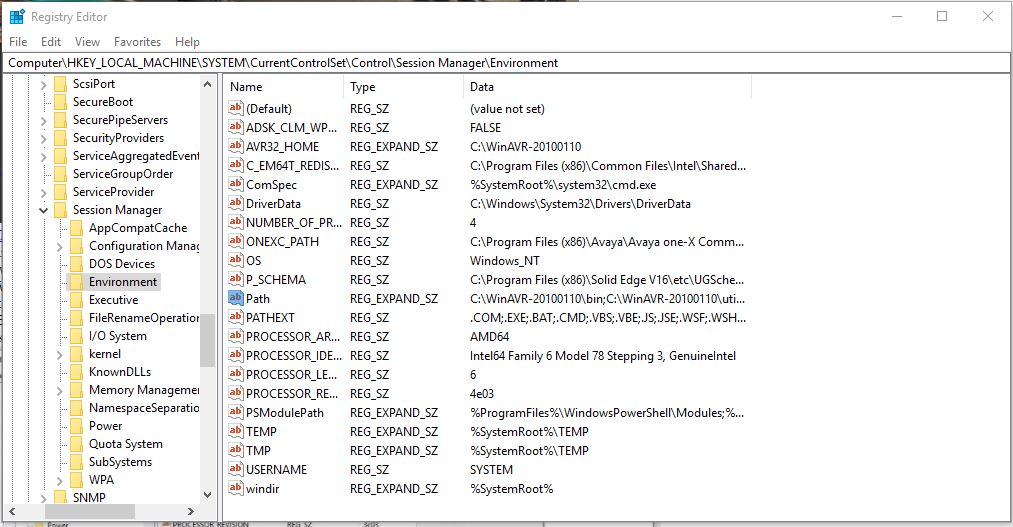
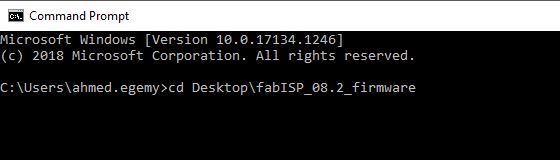
Backup your path enviroment
Download AVRDude
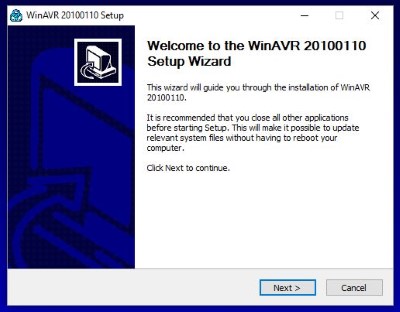
Download Fabisp firmware
Download fabISP_08.2_firmware.zip.Find a file called "Makefile" & open it with any text editorReplace (AVRDUDE = avrdude -c avrisp2 -P usb -p $(DEVICE) # edit this line for your programmer
) with (AVRDUDE = avrdude -c stk500v1 -b19200 -P COM3 -p $(DEVICE)
) and save
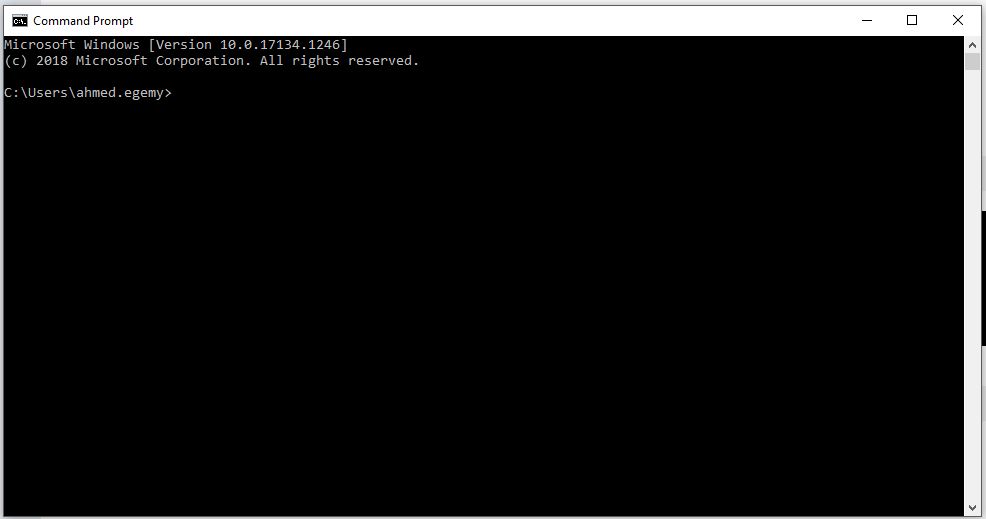
Open CMD to add some commands
Check for confermation in the control panel on your computer
Done
Make the G-code for modella.
Implement and operate on MDX40 and SRM20.
Soldering.
New Learned
What's electronics components.
How to export a G-code for PCB milling.
Difference between SRM-20 and MDX40 in the operation.
.jpg)