3D Scanning & Printing
1 - 3D printing.
2 - 3D Scanning
During few years, the additive technologies make a lot of progress, Now you could find a nice 3D printer for some hundred euros.
At the Fablab we have different printer solutions.
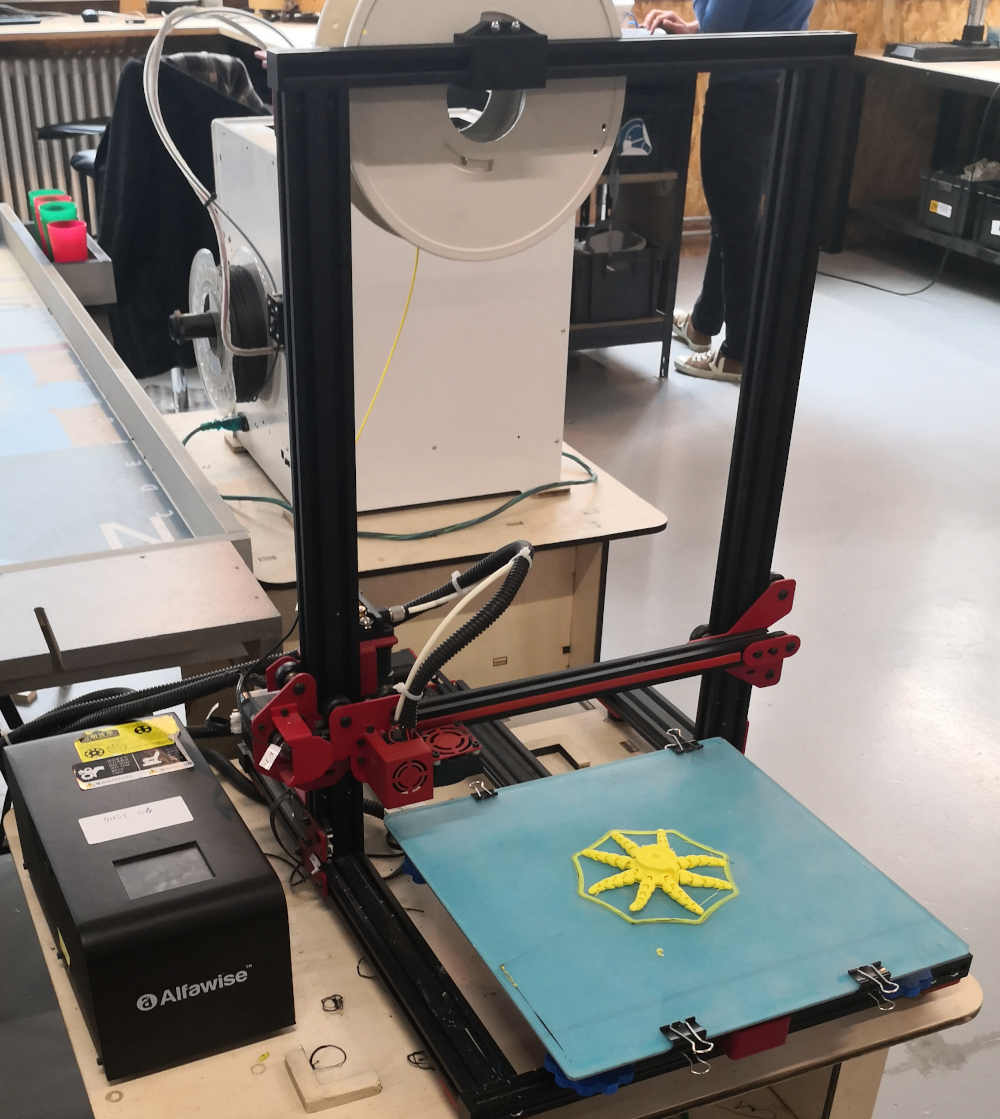
the U20 is a Fuse deposition modeling printer, it work by fusing a plastic filament and deposit it on a thin layer.
layer after layer it print the 3d model we want. On this Alfawise printer we have a 300*300*400mm place to work and modelize.
I start by testing the design rules for the printer.
For this i dowload the "MICRO"All in One 3D printer test by Marián Trpkoš.
This piece test the capacity of a 3D printer in:
- - Bridging
- - Stringing
- - Sharp corner
- - Scale / Diameter
- - Tolerance
- - Overhanging
I working with the Volcano PLA filament by Formfutura, this a great result filamant with a lot of capacity.
Before the print i do a bed leveling with a simple papersheet, i pinch it betwin the nozzle and the bed, the paper have to show a little resistance to move but not to be stuck.
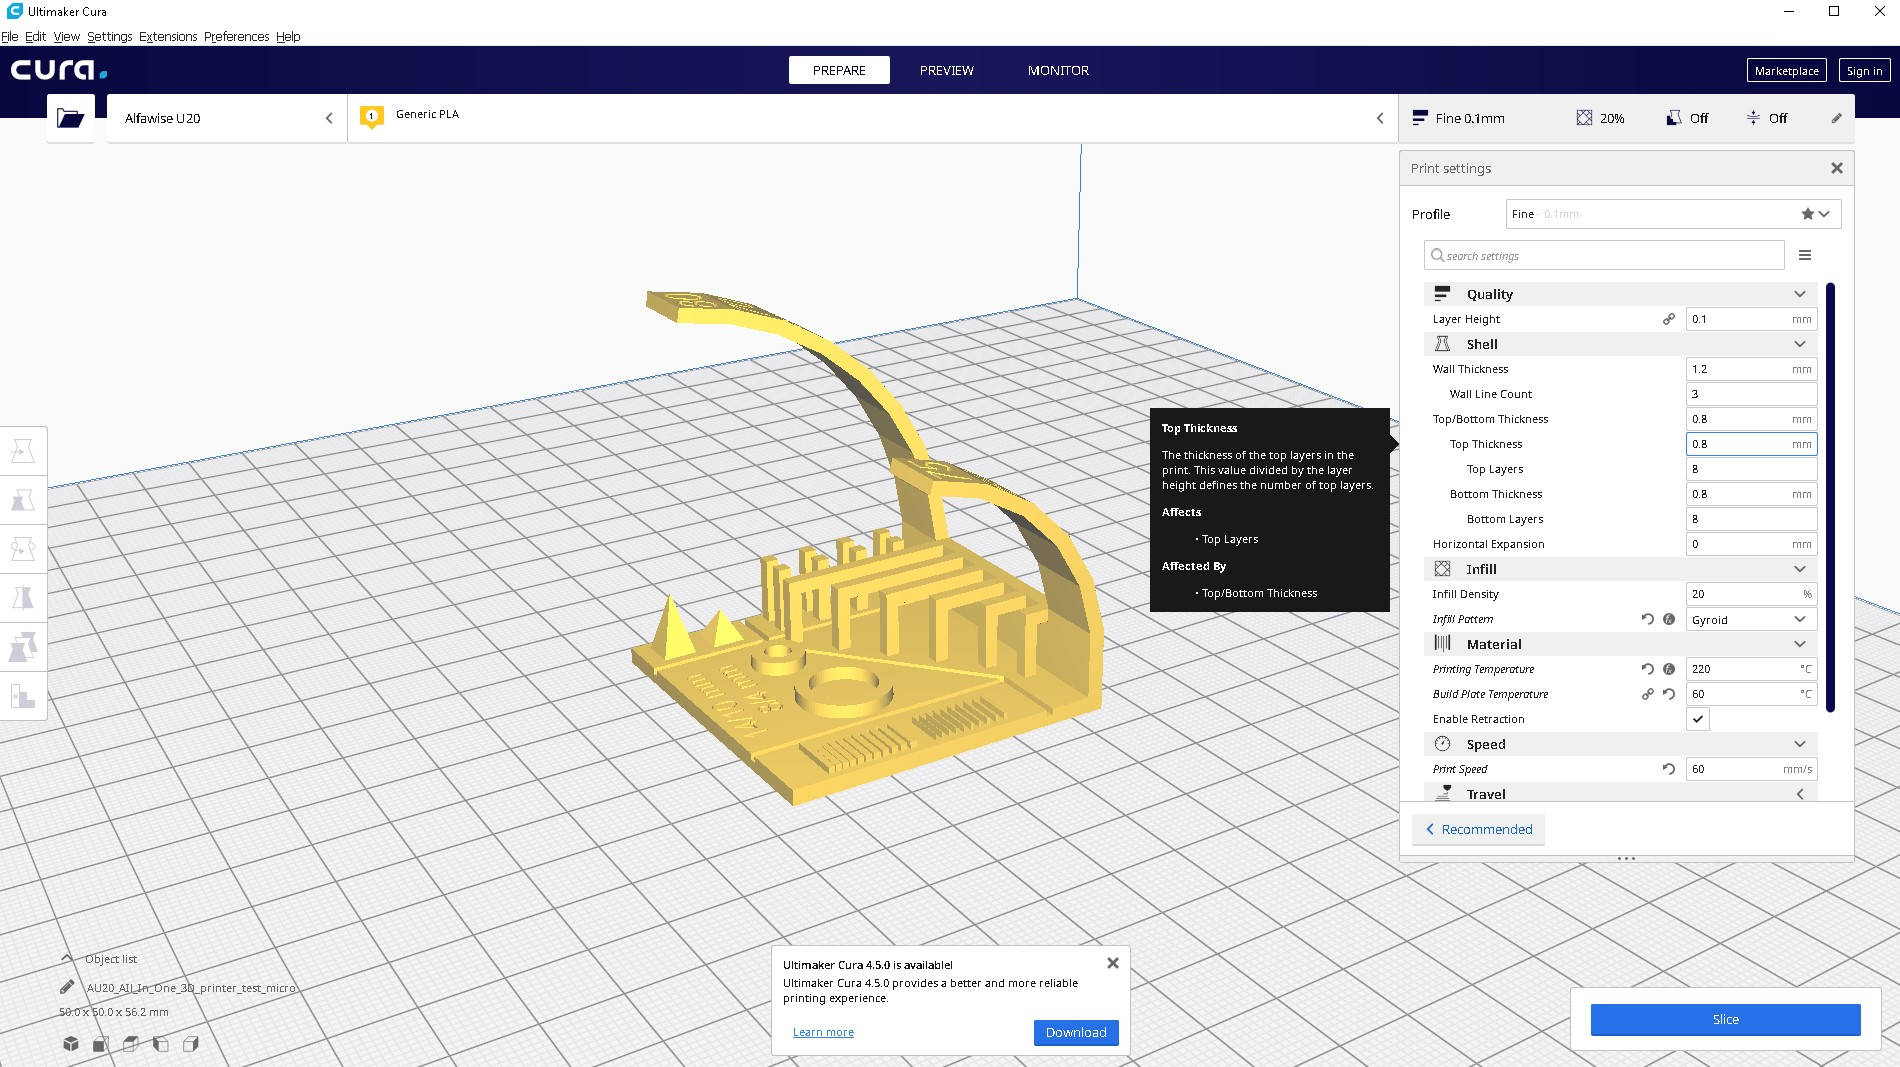
I use Curafor slicing my STL file. After i set all my parameter on it, he gonna create a multi-layer slicing of the object & convert it on a GCode, able to move the printer.
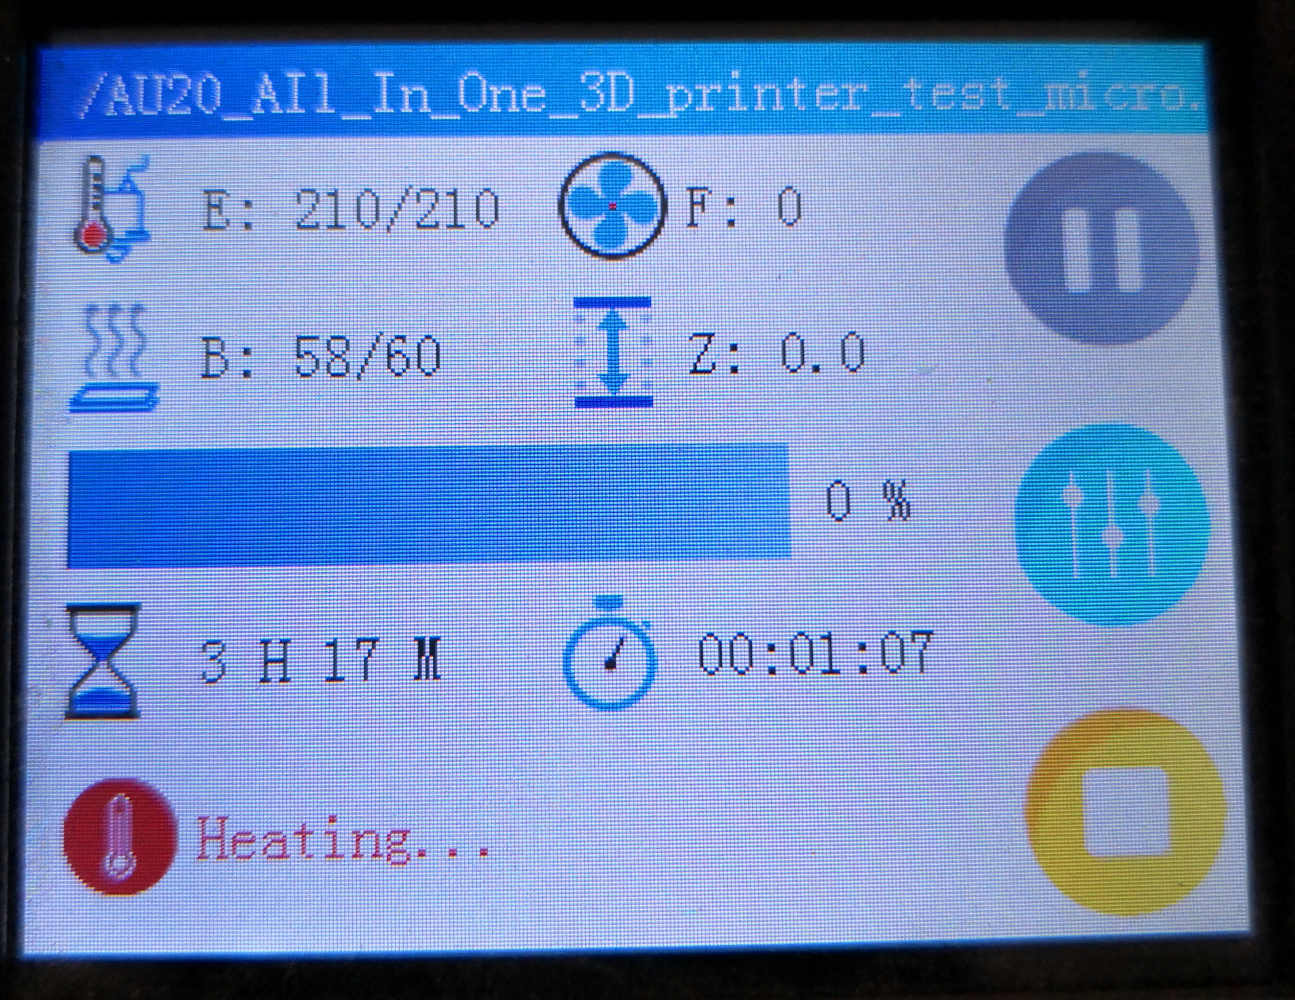
Go to launch the print.
Setting:
- layer height: 0.1mm
- Wall width: 1.2mm
- Top & Bottom thickness: 0.8 mm
- Infill: 20% with a Gyroid pattern
- Nozzle temperature: 220°C
- Bed temperature: 60°C
- Print speed: 60mm/s
- Build adhesion: None
- Support: None
The printing starting well,wait a few moment.... (3 hours later) Oh it's finish.
the result looking very nive, clever surface finish, no stringing, a very small warping, overhang ok and bridging looking not so ugly
Let's check the measurment.
- - tolerance test wall: 0.45 & 0.50 mm only (about 0.01mm), she don't print the other.
- - tolerance hinge : nice on the 0.5 & 0.45 mm (again about 0.01mm and all the other hinge was not usable.)
- - Scale & diametre : 13.77/14mm; 7.83/8mm outside. 9.42/10mm ; 3.34/4mm inside
An object that could not be made subtractively.
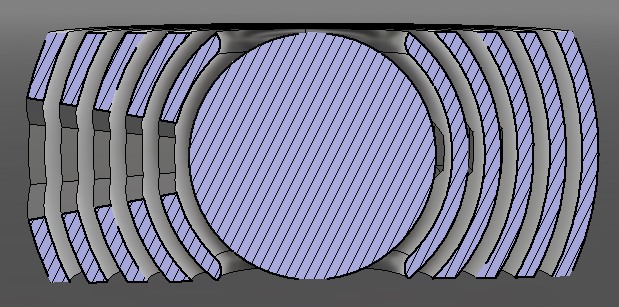
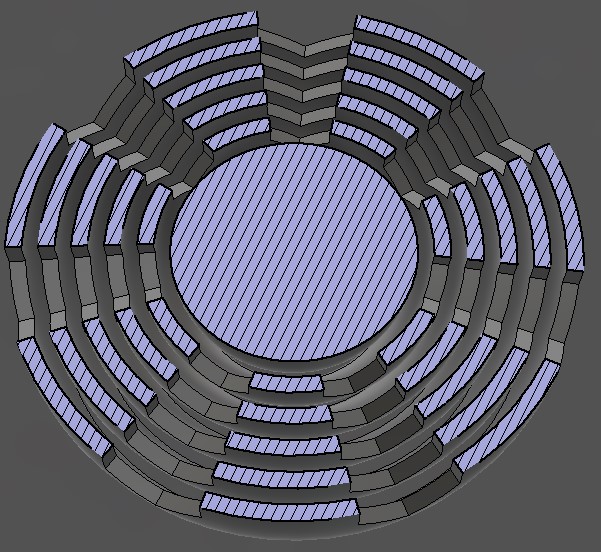
I starting this project with the idea of a gyroscopique modules & when i start to sketch it on fusion, this idea become a "ball on ring" gyroscopique fidget-toy.
"ballring files"
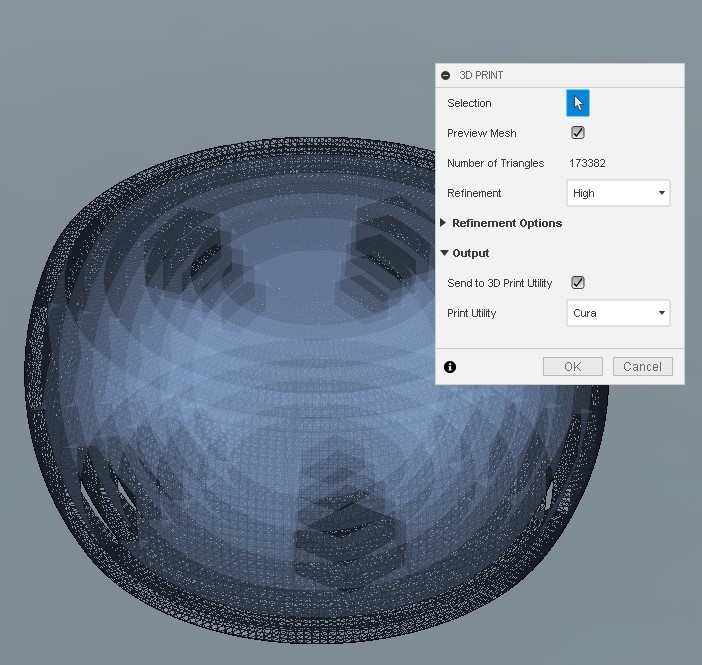
Ok design finished i use the "tool-> make-> 3D print" in fusion for directly send the STL to Cura, set the print and let's go.
Setting:
- layer height: 0.1mm
- Wall width: 2mm
- Top & Bottom thickness: 0.8 mm
- Infill: 0% (no infill needed du to the wall thickness)
- Nozzle temperature: 220°C
- Bed temperature: 60°C
- Print speed: 60mm/s
- Adhesion: None
- Support: None
Nice print & really fun toy ^^.
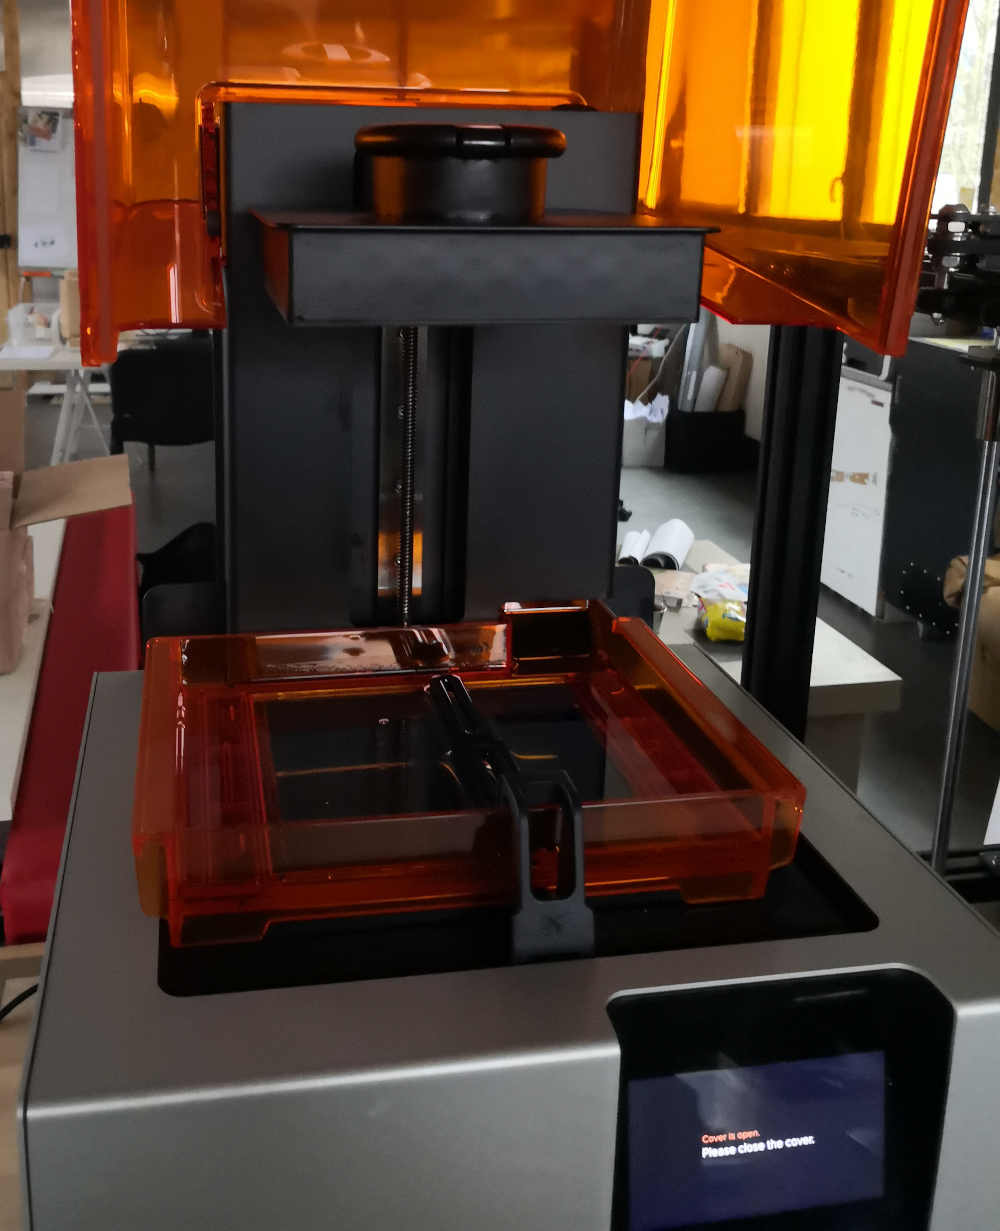
Let's try to print this on resin with the Formlab2.
This Printer is a SLA (StereoLithography Apparatus) technologies, it use a laser to polymerize a resin in very precise layer.
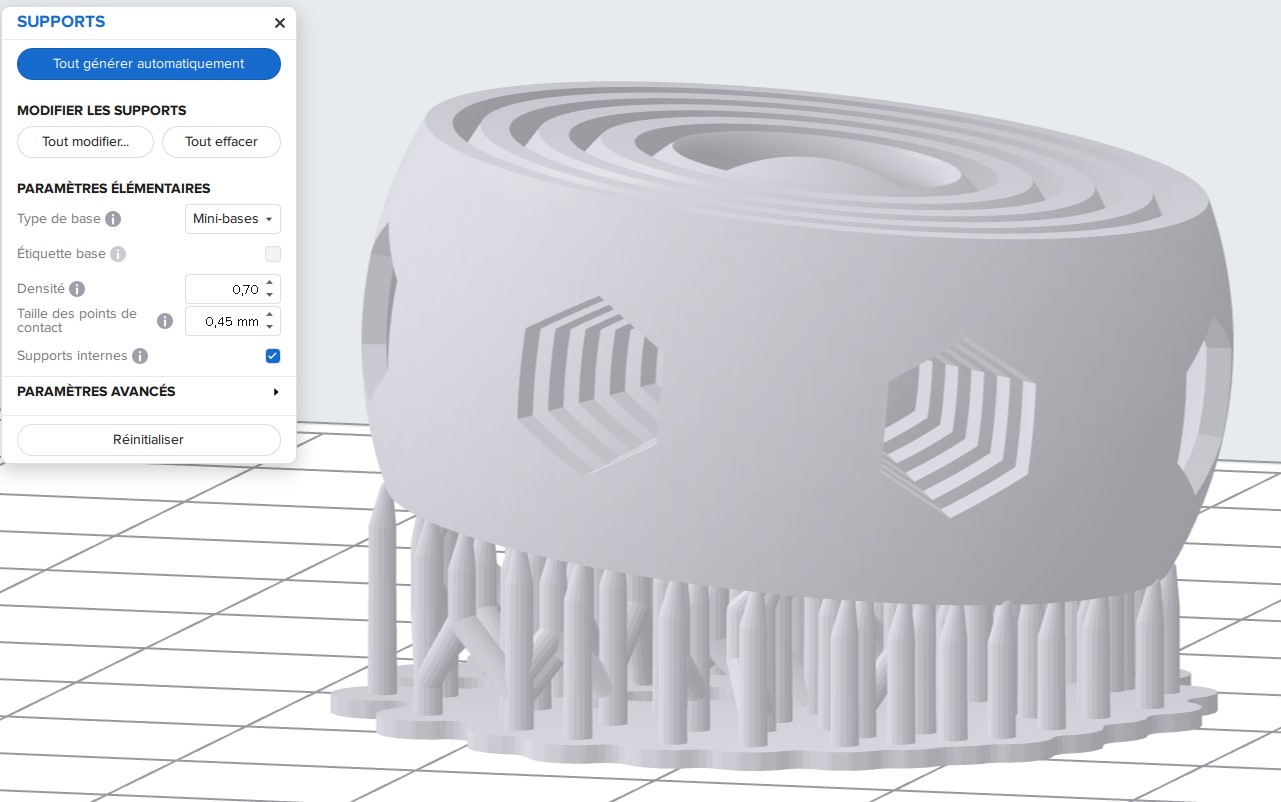
I use, again, the "tool-> make-> 3D print" of fusion to imports my STL on "Preform". For a good result i have to inclinate a little the piece & place some supports, after that i launch the print.
Setting:
- layer height: 0.05mm
- Support density: 0.70
- Contact point size (support): 0.45mm
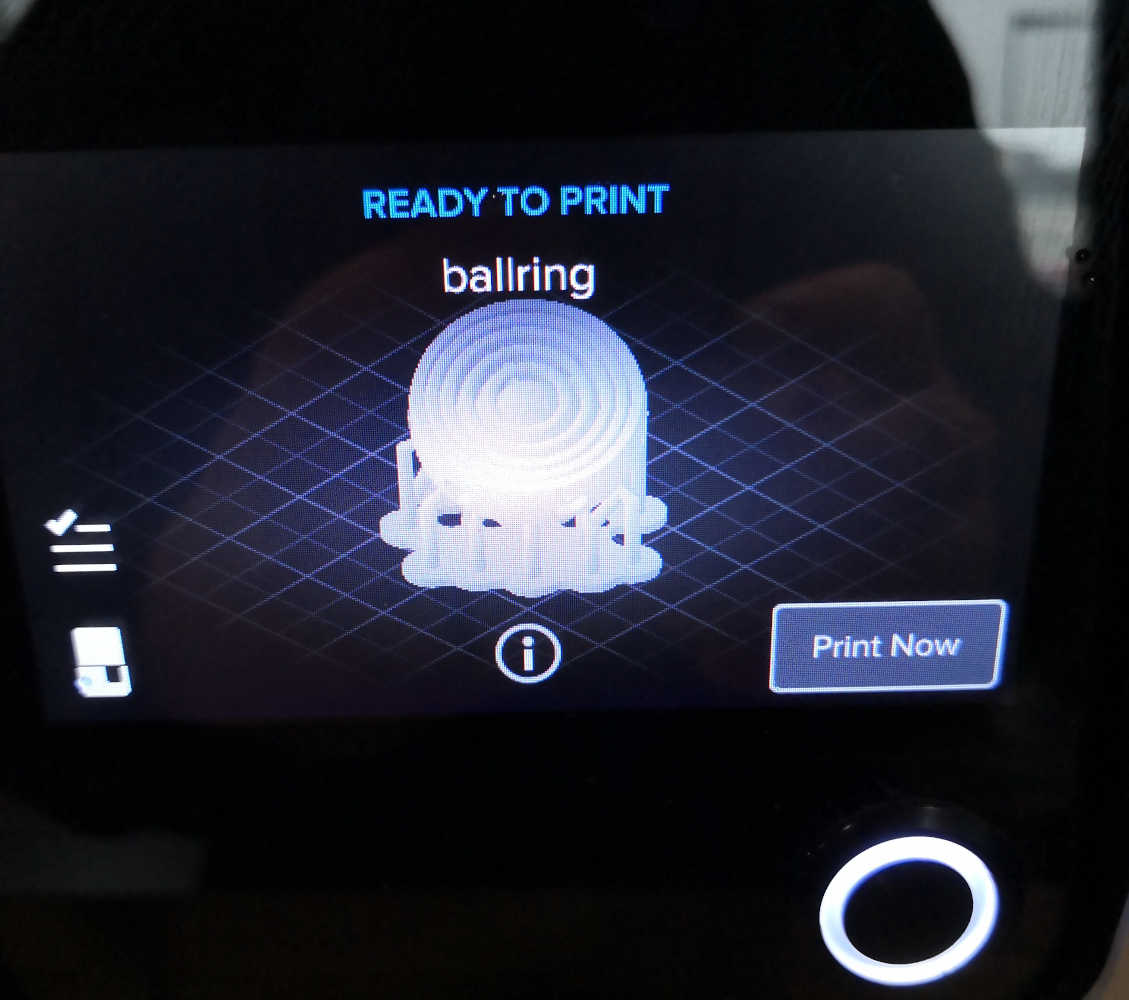
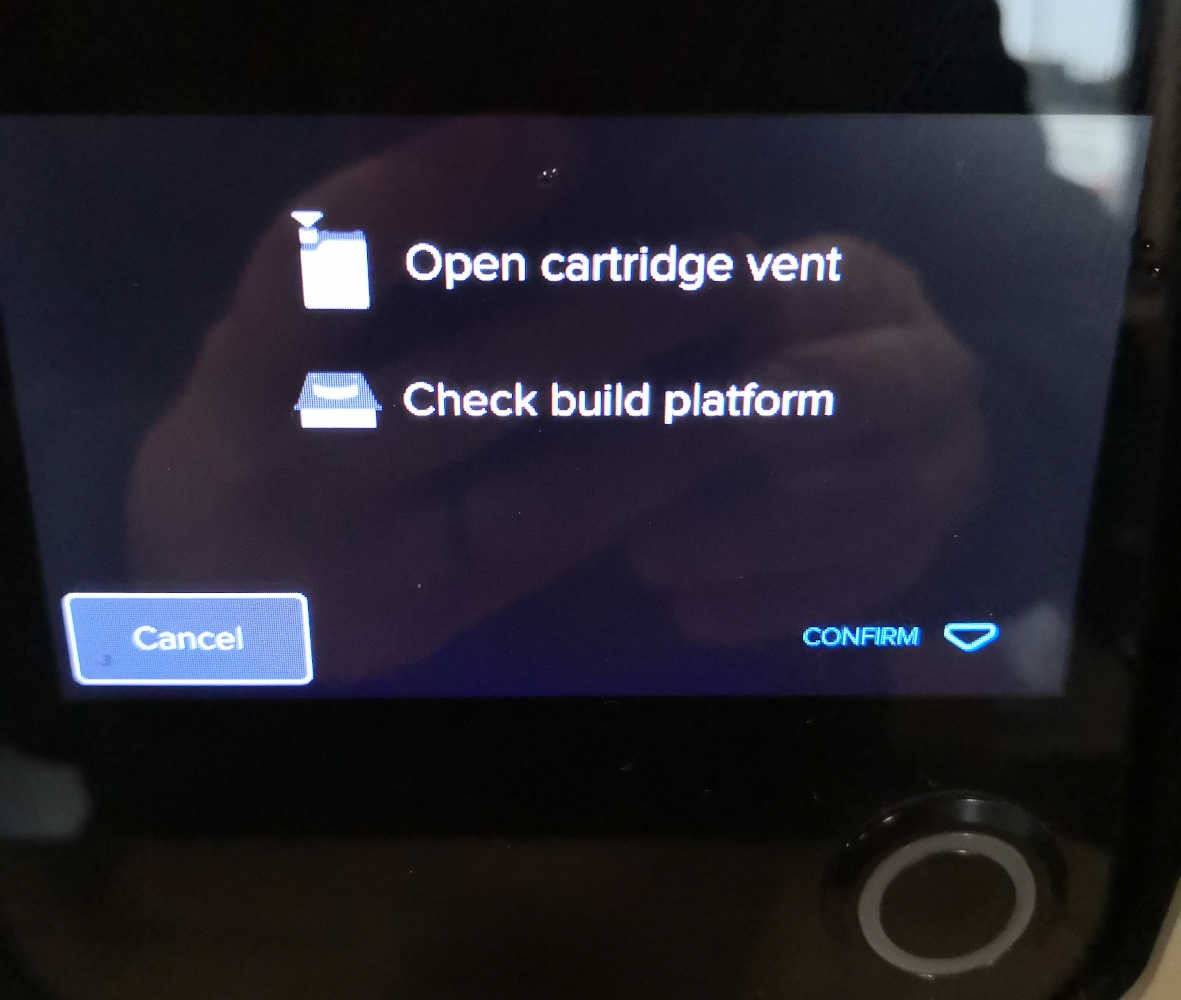
The Formlab2 have a autofilling resin system, just check the vent of the cartridge is open before launch.
"With Resine Wearing gloves,mask & glass are recommanded"
In contrary of The FDM system, here the piece is print Upside-down, it's the bed going down to dive on the resine bath, the laser light the bed to polymerize & the bed go up. Betwin each cycle the machine move the resin to have no deposit.After the print the piece look full of resine, now i have to clean, for this i use a "ultrasonic isopropanol bath machine", it take off all the no-polymerize resine off the printed pieces.
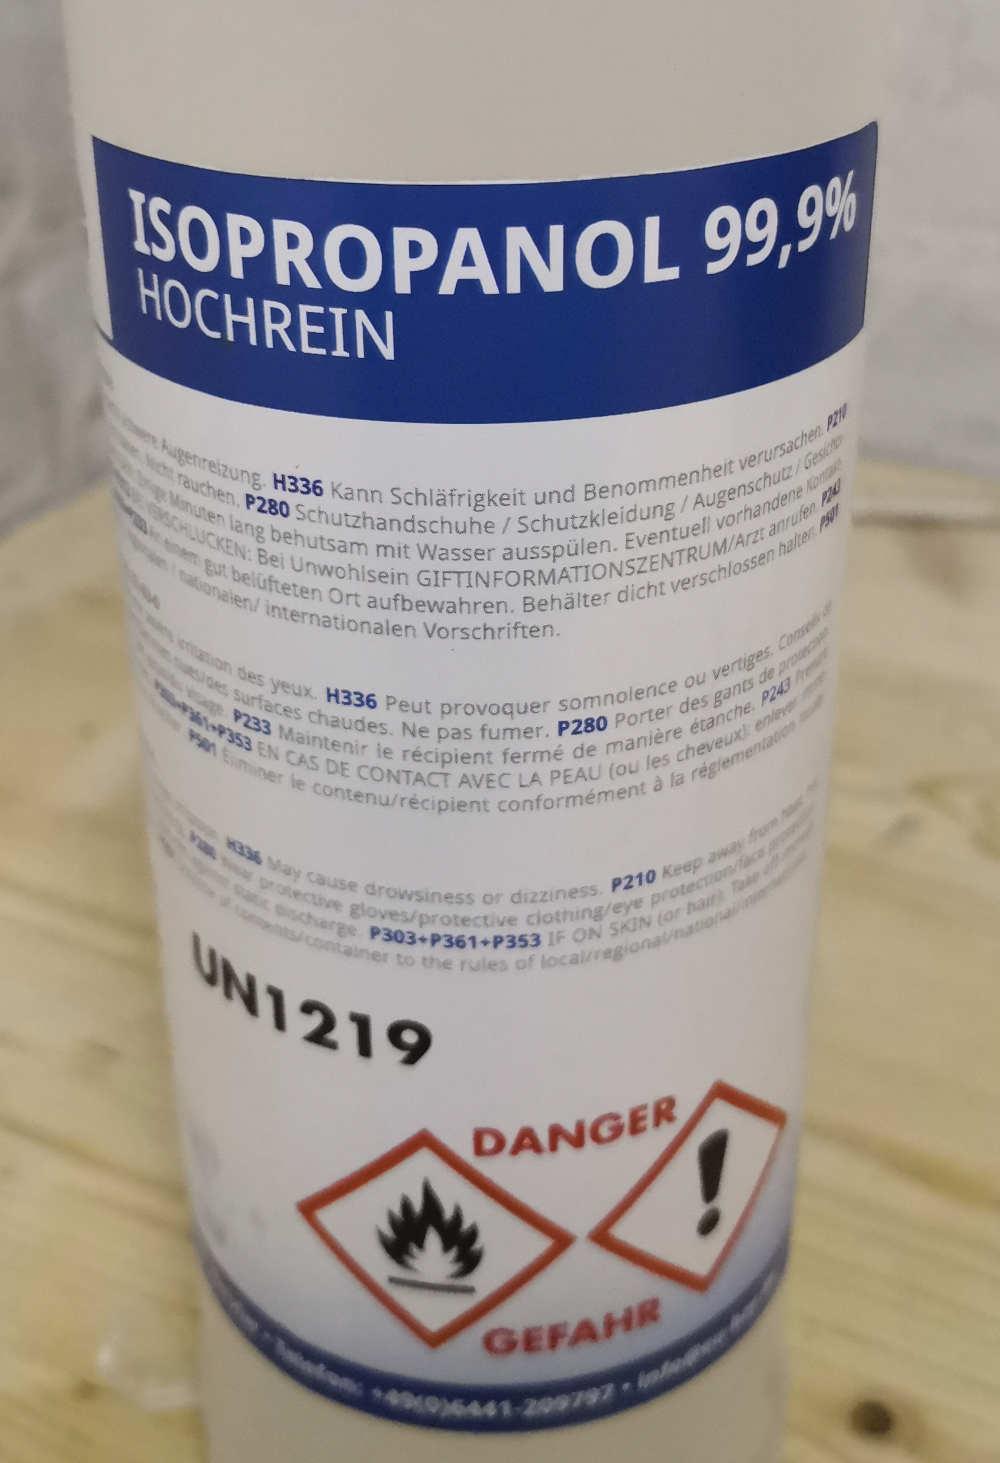
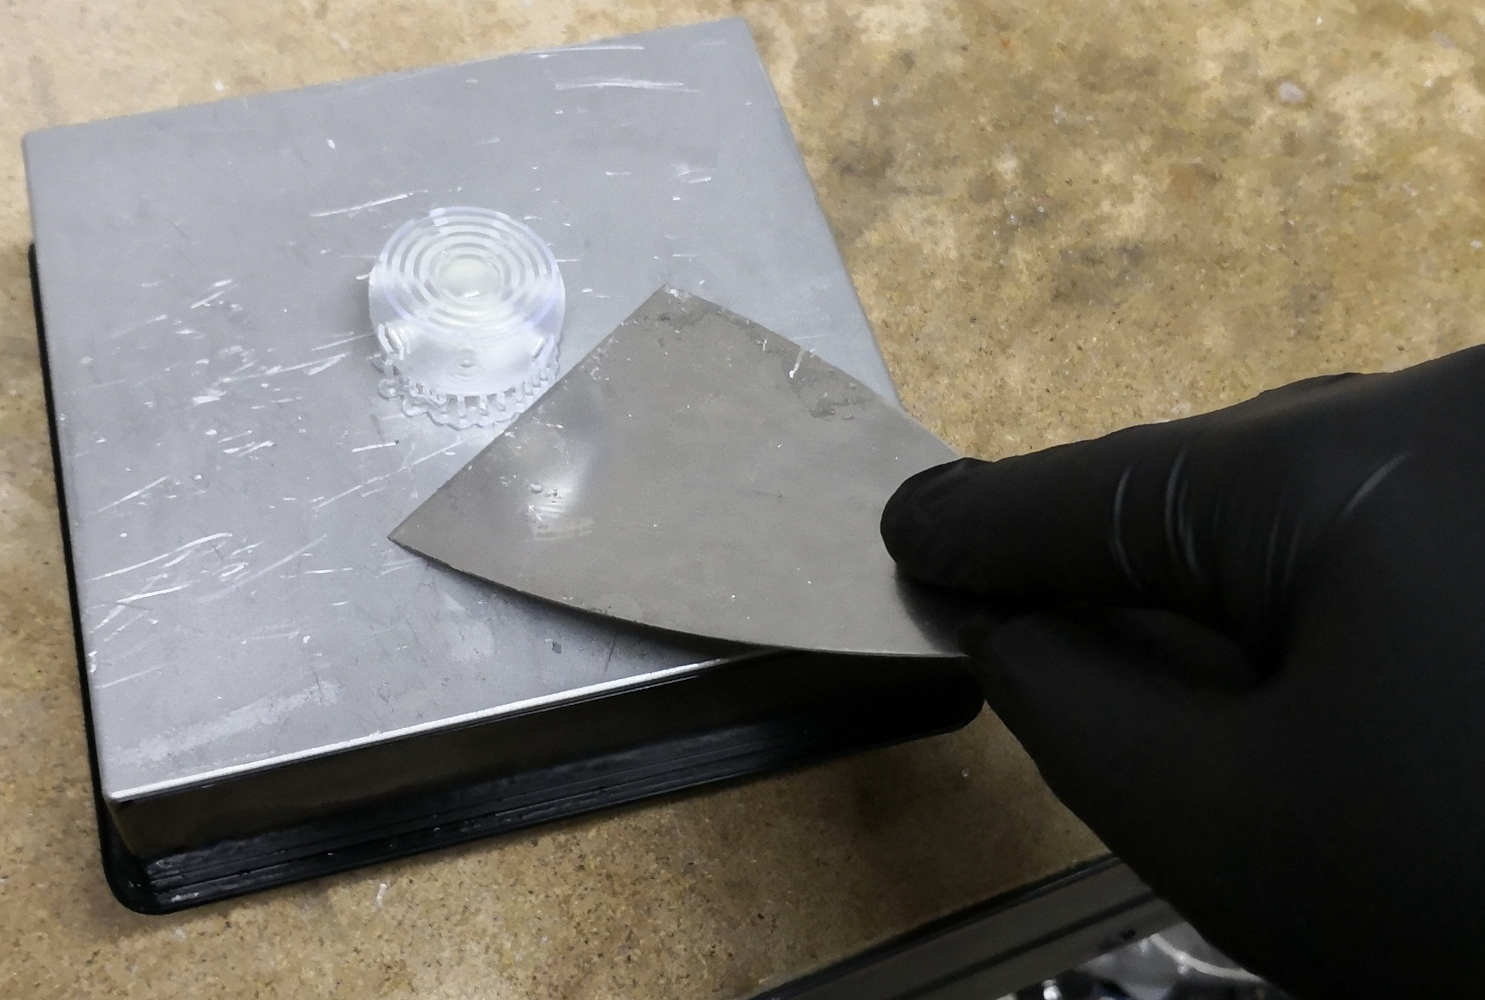
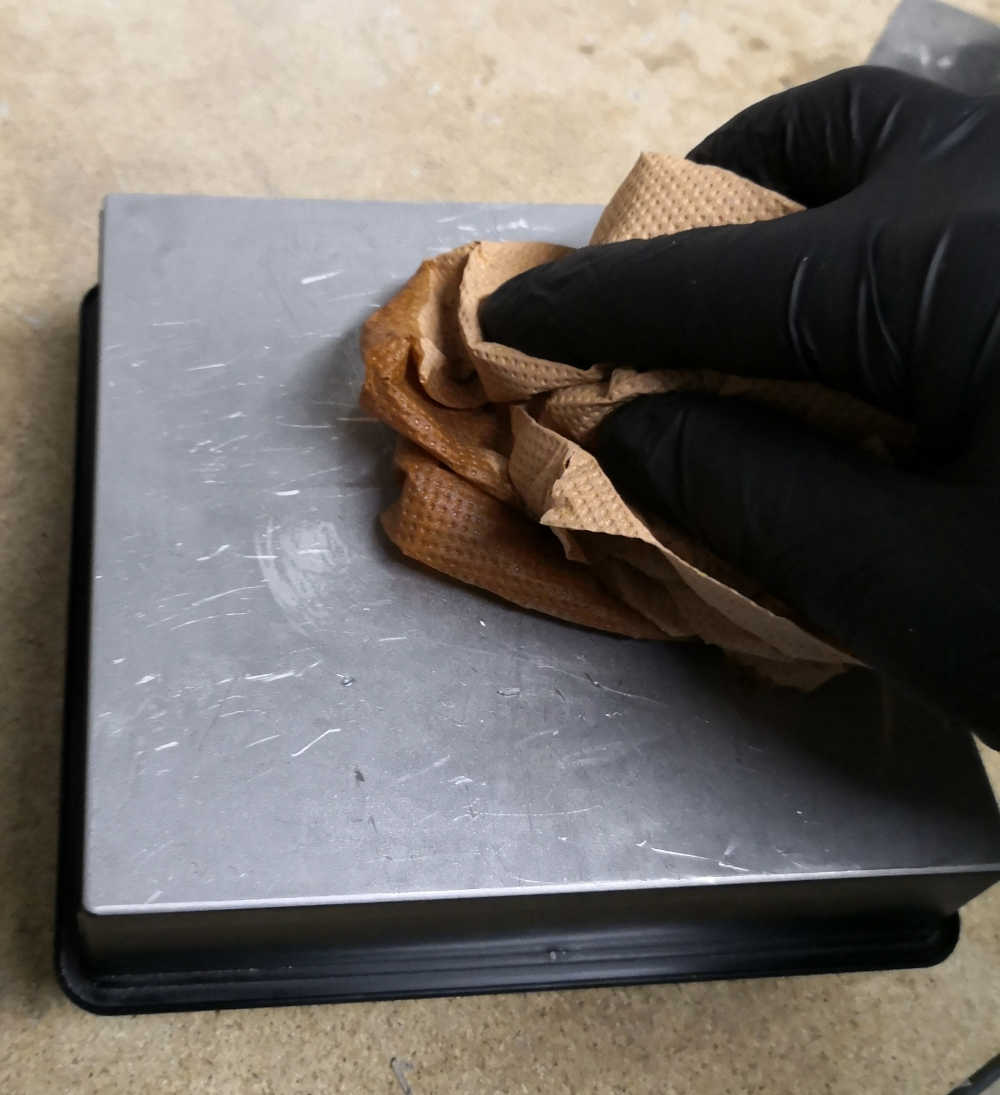
After this bath i take the piece off the printerbed,for finished the resine polymerization process i have to put the pieces on a UV oven for an hour, in the same times i clean the printerbed with somme isopropanol.
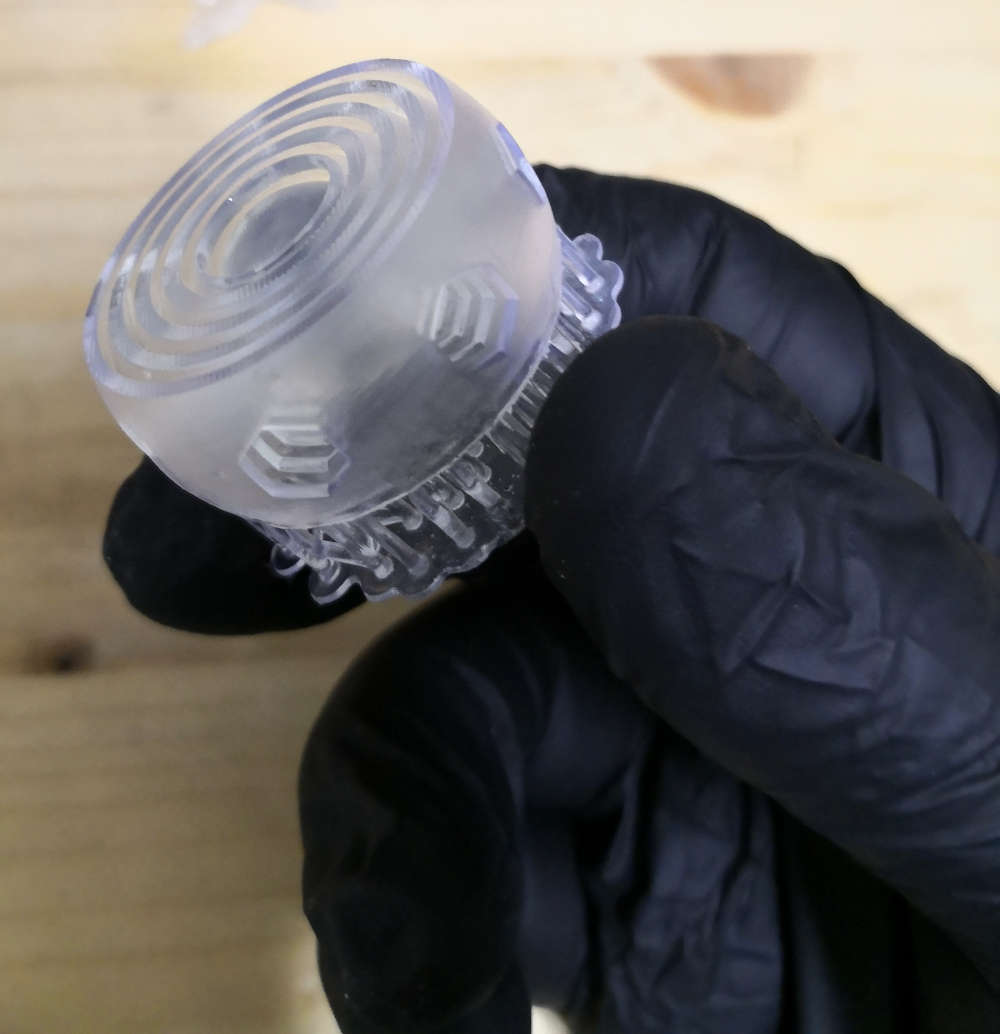
After his UV bath the piece is not finish, i have to take off all the support and a little off post processing to be clean.
But the result is a very smoth and clear "ball-ring" fidgettoy ^^


.jpg)
.jpg)
.jpg)
.jpg)
.jpg)
.jpg)
.jpg)

.jpg)
.jpg)

.jpg)
.jpg)
.jpg)
.jpg)
.jpg)