Design and 3D print an object (small, few cm3, limited by printer time) that could not be made subtractively.
Group Assignment
Test the design rules for your 3D printer. view page
Learning Outcomes
1) To understand the working of 3D Printer. 2) To know about different filament material used for 3d printing. 3) To understand the design rules of the 3D Printer. 4) To understand the print settings. 5) To understand 3D Scanning.
Individual Assignment
Ultimaker Cura 2+
The 3D Printer in our lab is a Cura Ultimaker 2+. At the front there is a SD card slot, a small screen and a rotatable button for navigation and selection. The power switch is placed at the back, and also the filament roll is mounted at the back. The extruder can move along the X-axis & Y-axis and the bed moves in the Z-axis. This machine has an option for mounting a second extruder. It has got a layer resolution upto 20 microns.
1) Design and 3D print an object that could not be made subtractively.
For the assignment I thought of designing and 3D print an ordinary whistle.
Why I chose the whistle is because, conventionaly a plastic whistle or a metal whistle is made of 3 parts and these parts are joined together to make a whistle. The video shows how brass whistle and plastic whistles are made.
I wanted to change this manufacturing process, So I designed the same whistle that can be made as a single part using a 3D printer.
My Design
I designed the whistle as a single part and placed the ball inside the shell of the whistle.
Slicing
Then I saved the file as .stl, and exported the .stl file into the cura slicer.
Printer Settings as follows
I then sliced it without any supports
3D printing
I copied the sliced file into a SD card and inserted it into the 3D printer and gave it for printing
Without giving any supports, I got a perfectly printed whistle with all the surfaces smooth, and the sphere inside the whistle aslo came up good. When the printing finished, using a tweezer I detached the sphere from the shell through the small gap at the top.
The whistle I made is not just a 3D printed object, It actualy works!
2) 3D Scanning
XBOX 360 KINECT
Kinect is Microsoft’s motion sensor add-on for the Xbox 360 gaming console. The device provides a natural user interface (NUI) that allows users to interact intuitively and without any intermediary device, such as a controller.
The Kinect system identifies individual players through face recognition and voice recognition. A depth camera, which “sees” in 3-D, creates a skeleton image of a player and a motion sensor detects their movements.
Speech recognition software allows the system to understand spoken commands and gesture recognition enables the tracking of player movements. Although Kinect was developed for playing games, the technology has been applied to real-world applications as diverse as digital signage, virtual shopping, education, telehealth service delivery ,Robotics ,3D mapping etc
For this week I used kinect for creating a 3D model of a helmet.
I placed the helmet on a monitor stand that was available in our lab and I placed the stand on top of a cello tap roll, so that while scanning I can easily rotate the setup.
Then I placed the KINECT in front of the helmet and paired it to the computer for scanning.
I used KSCAN3D application for scanning.
I adjusted the X PercentY percentZ MinimunZ Range to capture the helmet completely by the scanner
I used 20 successive images to complete the scanning
After completing the scanning click the align button to align all scans in the corresponding places
After completing the align press the combine button this will combile all the individual scans in to a single model
Press the finalize button to complete the whole process.
This is the final model generated.
The model we obtained during the last process is a 3D mesh geometry .Since we didn't scanned the bottom area there is a hollow section under the model .We need to clear the void and need to convert it in to a solid model.
I used an application called Autodesk Meshmixer to edit the mesh geometry.
I imported the scanned file to Meshmixer.
The scanned model had some unwanted projections, so using the Select tool I selected those projection.
Then go to Editand select Discard.
Now all the unwated projections are removed. To make the model a solid piece go to the Edit option in the toolbar and select Make Solid.
Now I obtained a solid model of the helmet which can be printed using the 3D Printer.
Then I saved this as .stl file and imported it into the Utimaker Cura slicer.
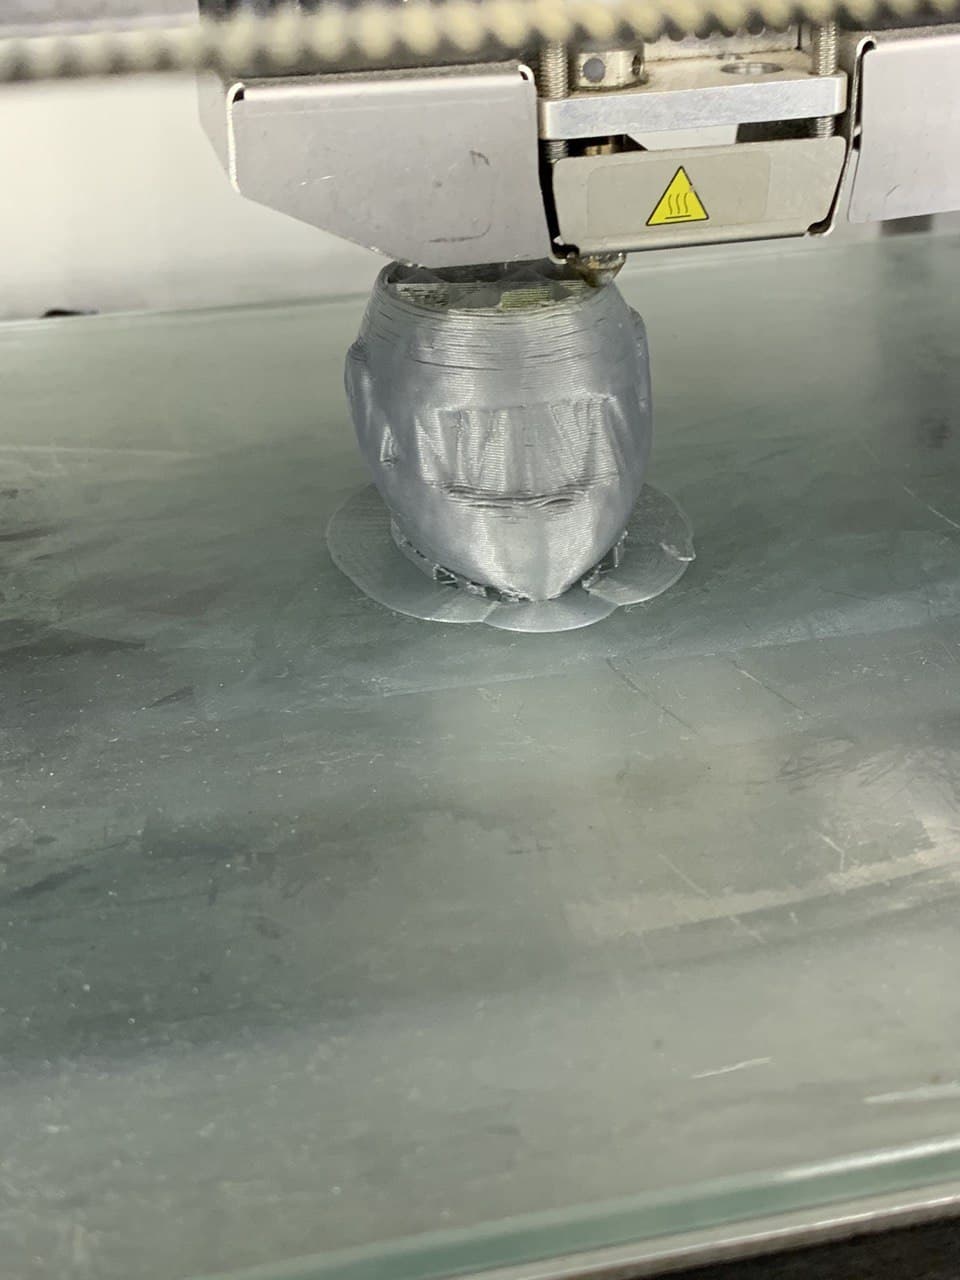
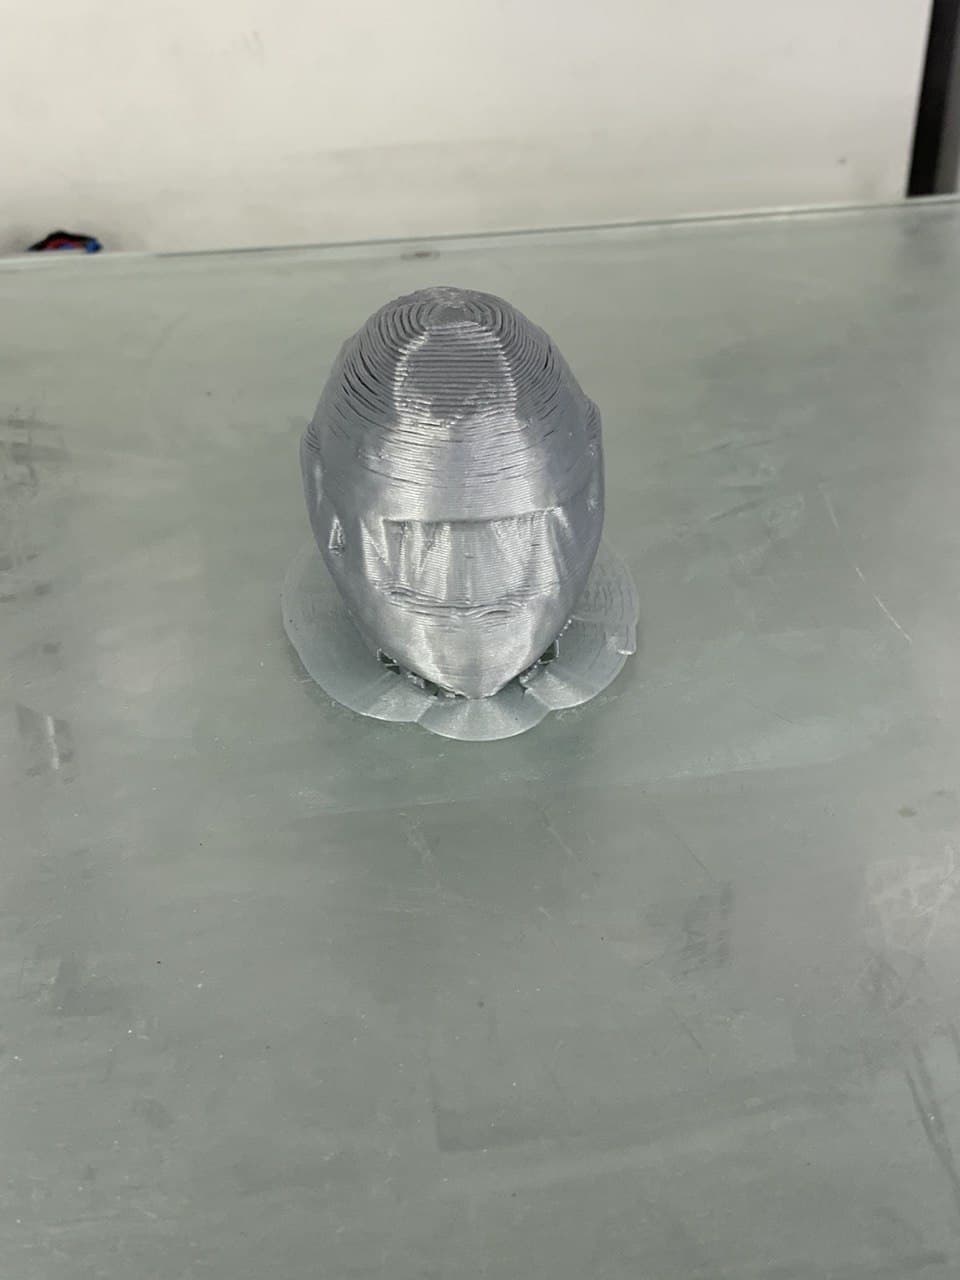
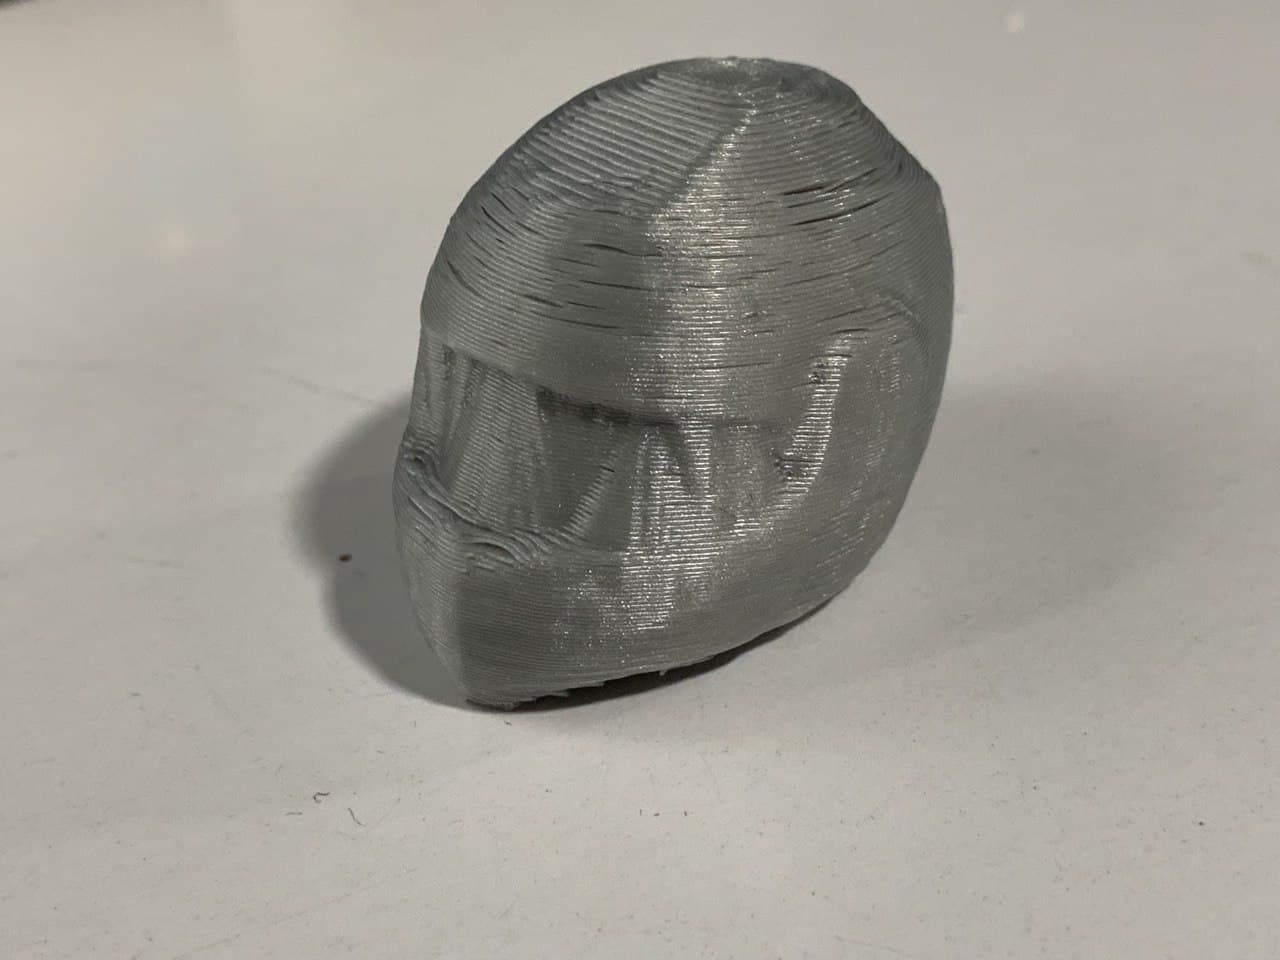
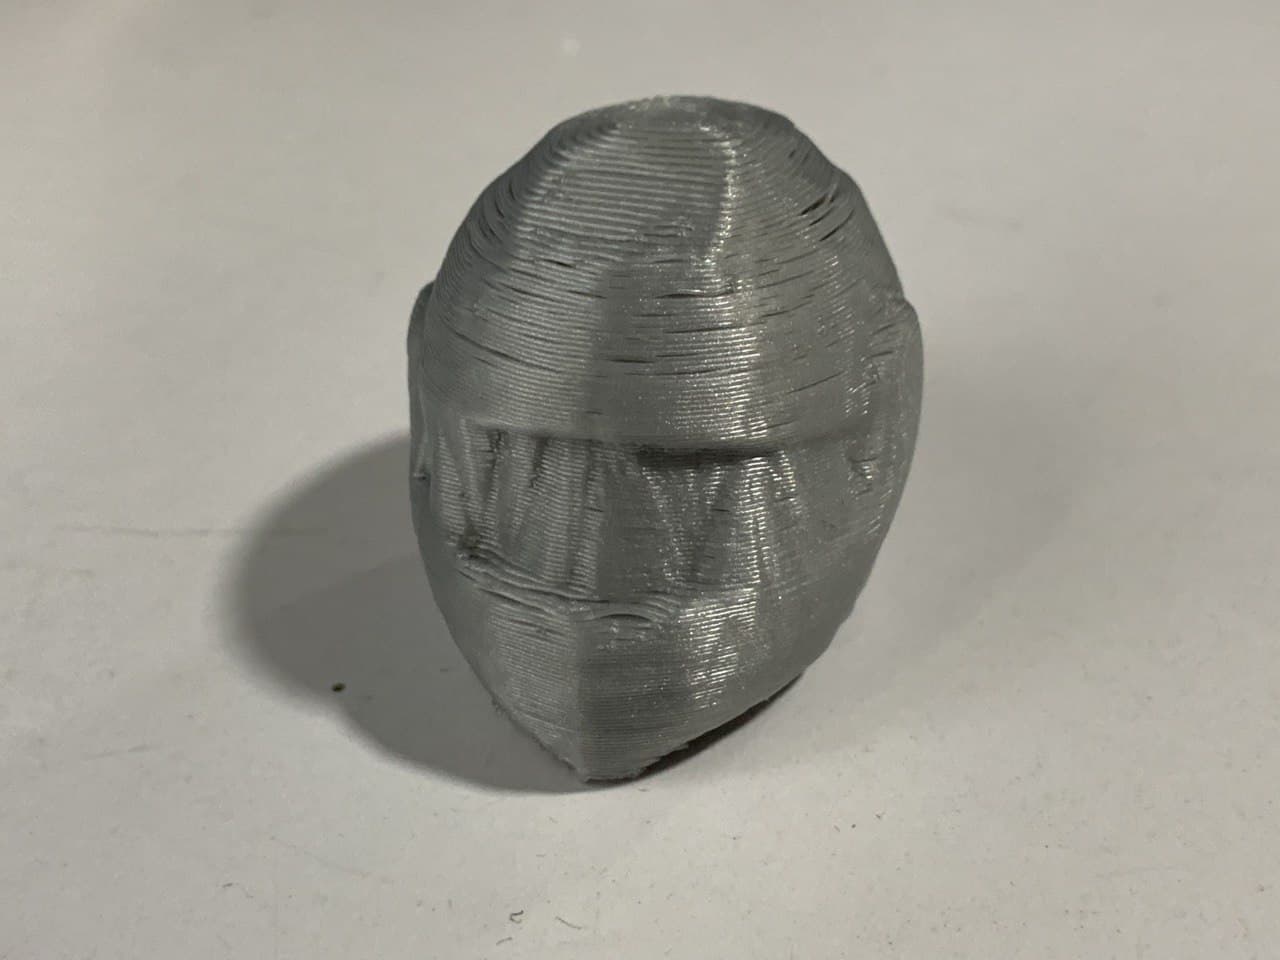
Then I 3D printed the scanned model.
This is how the scanned model came out.
Artec Leo
Leo is an ergonomic, handheld 3D color scanner with automatic, onboard processing, released in 2018. The Leo features a touch screen panel so users can watch in real-time as a 3D replica of the scanned object comes to life.
By rotating and zooming the model, the user can see if any areas were missed, thus allowing full coverage in one scan. With a working distance of 0.35 – 1.2 m, Leo is a professional, high-speed scanner, designed for capturing everything from small parts all the way up to large areas such as heavy machinery.
It has an angular field of view of 38.5 × 23° and a 160,000 cm3 volume capture zone. Data acquisition speed is up to 3 million points/second. No need for target markers, and Leo can operate effectively in broad daylight or complete darkness, and everything in between.
Fully mobile and entirely wireless, no cables needed. SSD memory cards make possible unlimited captures. Built on the NVIDIA® Jetson™ platform, with a TX1 Quad-core ARM® Cortex-A57 MPCore CPU, NVIDIA Maxwell™ 1 TFLOPS GPU with 256 NVIDIA® CUDA® Cores; a built-in 9 DoF inertial system, with accelerometer, gyro and compass, so Leo always understands its physical position and surroundings.Wiki
We where fortunate to have one such highly advanced 3D scanner in our lab.
The Artec Leo have 1 physical on/off button and a touch sensitive screen.
When it turns ON select New Project
Using the scanner I scanned Tom.
It took around 3mins to scan him completely.
When compared to XBOX 360 KINECT, Leo was very easy to use and very user friendly. Since Leo was a new addition to our lab and there was some issue with the software part, I could'nt obtain the output of the scanned model.