Assingment: Design and fabricate a 3D mold and produce a fiber composite part in it with resin infusion and compaction
In this week i want to make fiber composite bowl. For this I start working in Solidworks to make it's mold. Following are steps to make 3D mold of bowl.
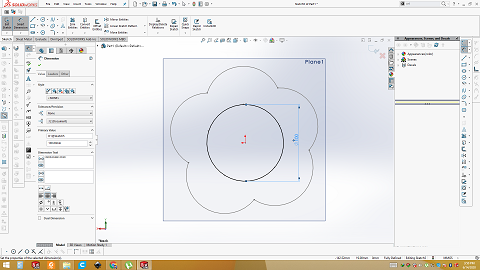
3D designing in solid works.
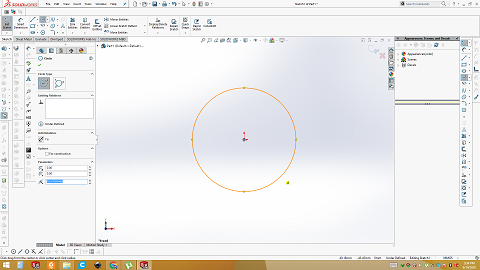
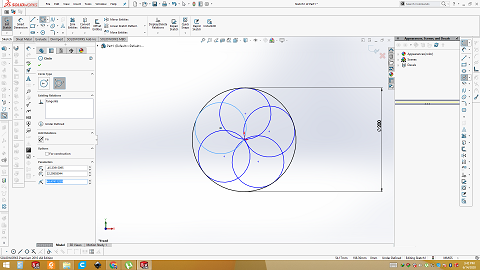
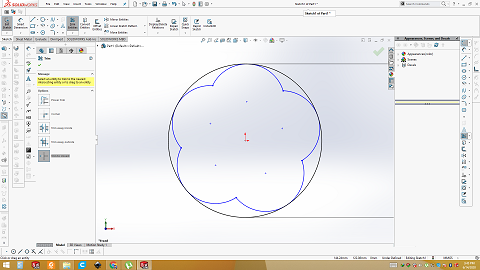
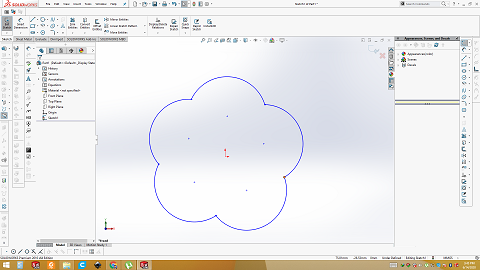
Starting with 2D designing of top part of bowl. Select the top/front place and make circle, give them dimensions. use more circles then use trim command.
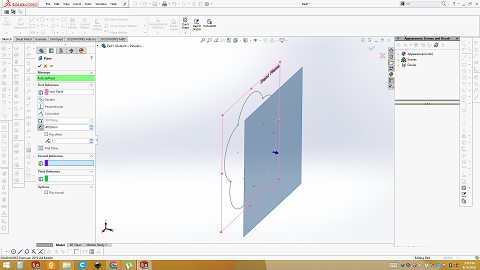
Create plan
Go to reference gomentry plan. Select the plan in which drawing of top part is made. Then select the offset and give the value. I have given 40mm. Then click ok. Now new reference plan is created. We can draw bottom part of bowl in it.
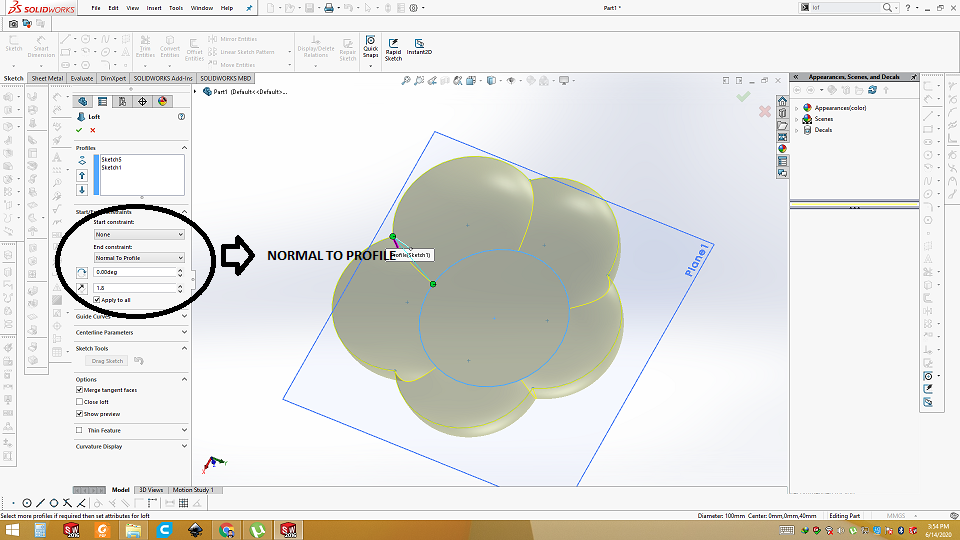
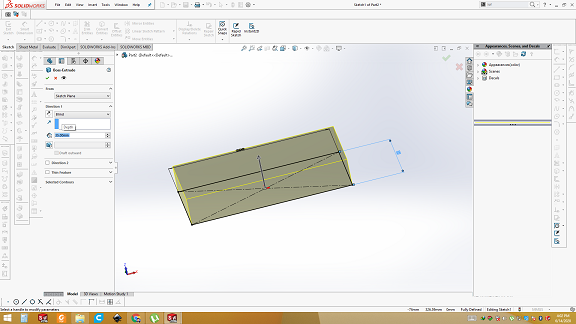
loft base
Select the loft base/boos then select the drawing of top part of bowl and drawing of bottom part of bowl. It will extrude with profile.

Vary the start/end constrains
Click on Start/End constrain. Select normal to profile and adjust the degree and value. You can see change is shape by adjusting these value.
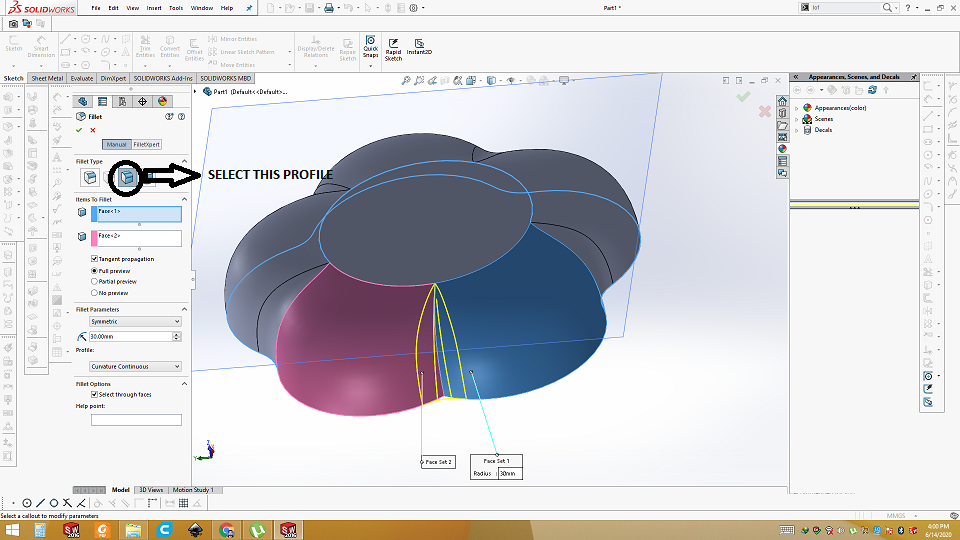
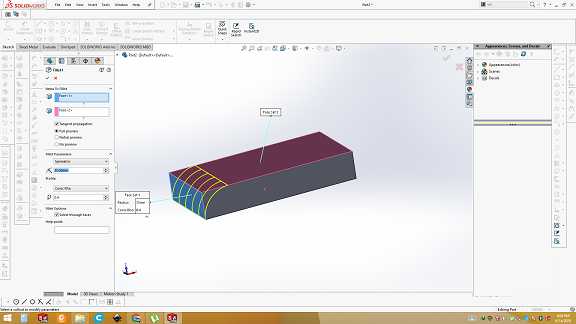
use Fillet command to smoothen the corners
Using fillet command and adjust the value. Now corner are not too sharp. And give us perfect result
After design is ready then save as .STl.
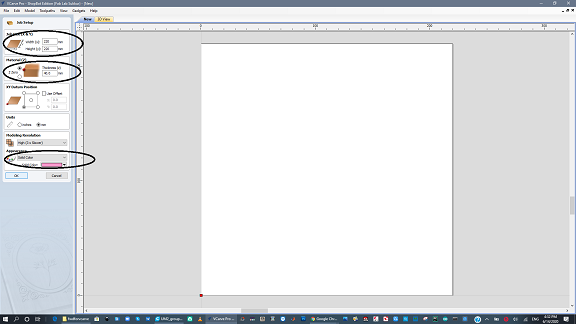
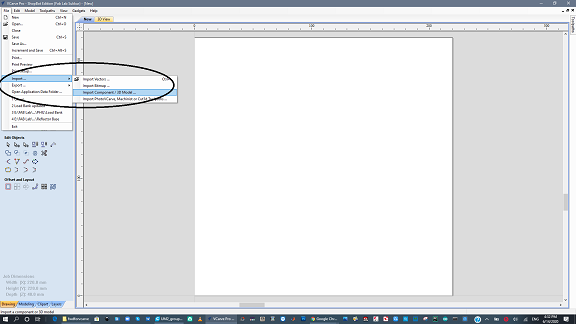
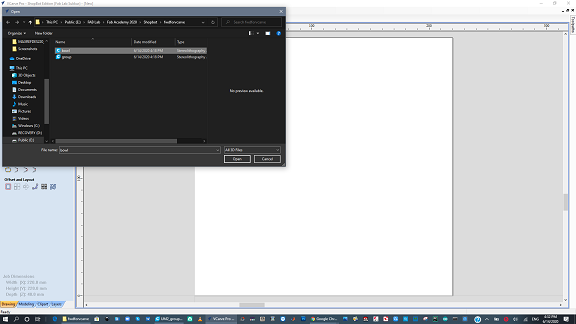
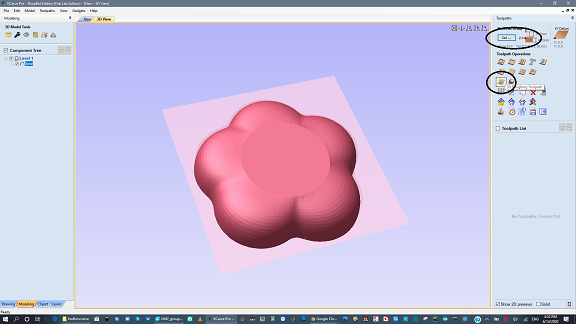
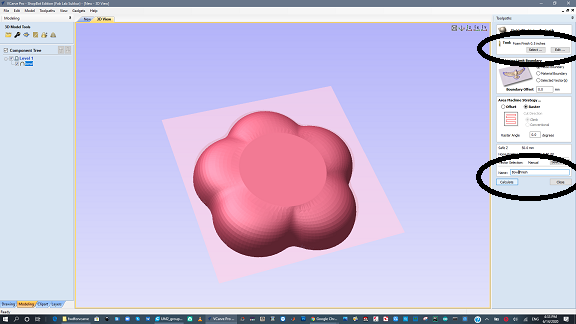
Open Vcarve software for tool path generation and simulation
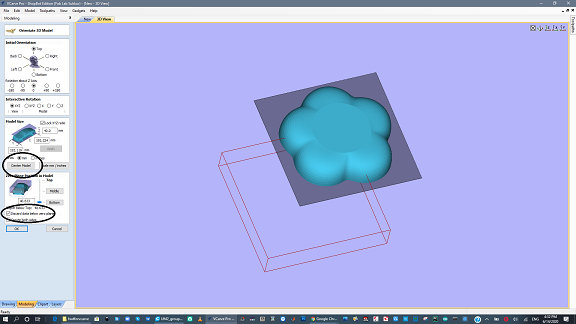
Open the Vcarve software and put the size of object that we have designed. Put the thickness of material and color for simulation. Then import the .stl file into Vcarve. After importing the 3D model, click on "center model" and uncheck the "discard data below zero plan"
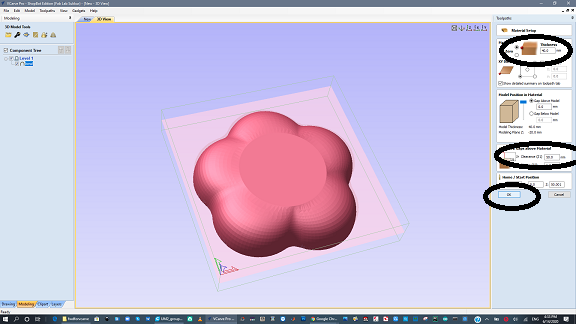
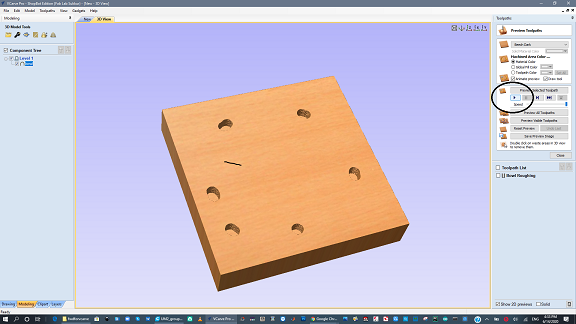
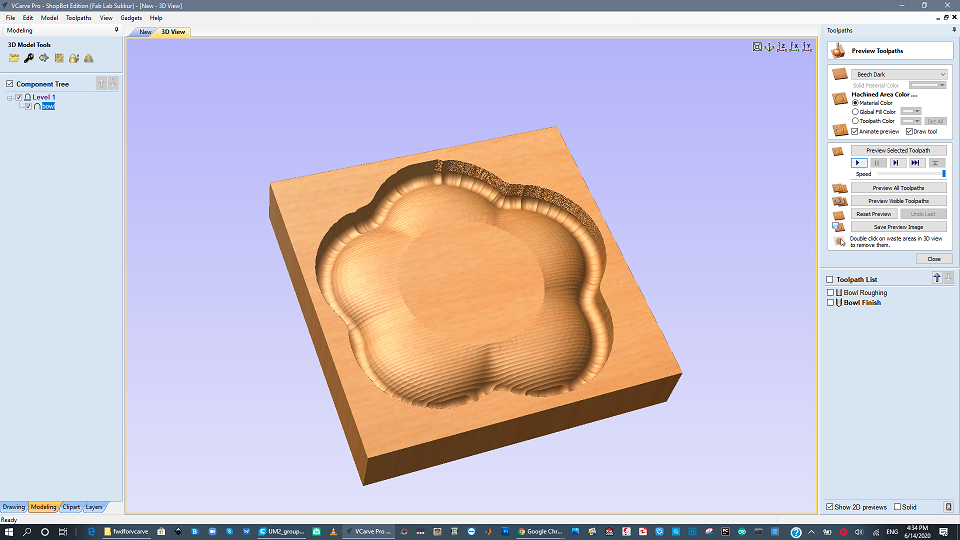
Create toolpath for roughing
Select the toolpath and pin to tab. Click on 3D roughing toolpath. Then go to material setting and give the thickness of material. Set the safe Z-axis then click ok. After that choose the bit for this toolpath. For this task i am using "Foam rough 0.5 inch" tool. Finally give the name to job. Then click calculate. It will create the roughing job. We can also play simulation. Click on Play button will run the simulation of roughing.

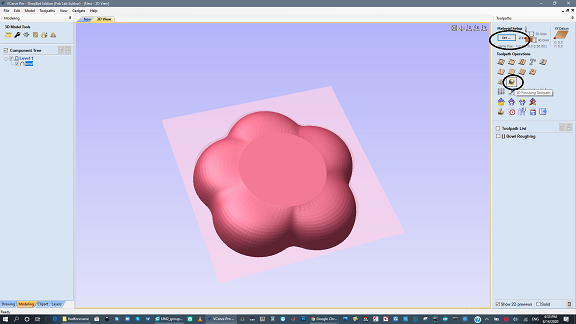
Create toolpath for finishing
repeat the same above step for finishing. Select the Finishing toolpath then select "foam finish 0.5inch tool" and generate the tool path. Run the simulation.
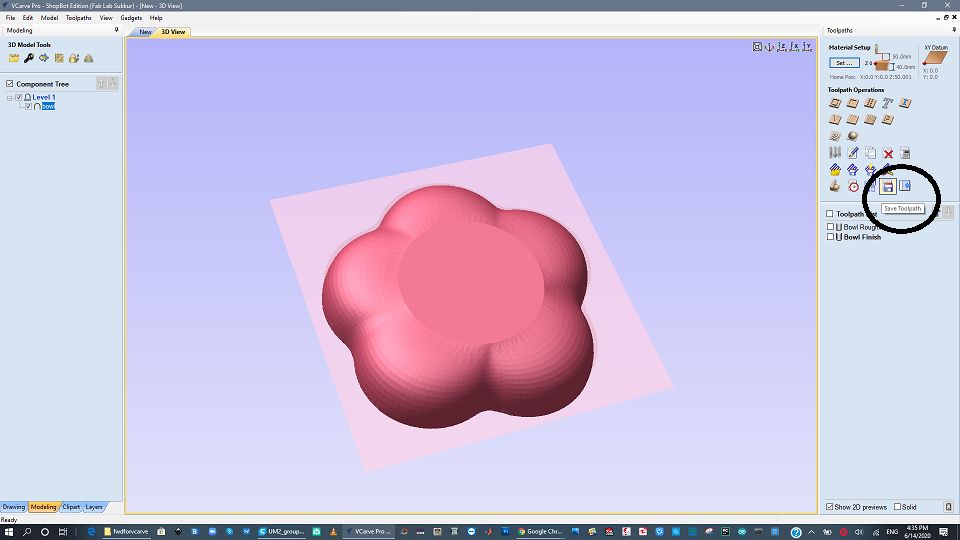
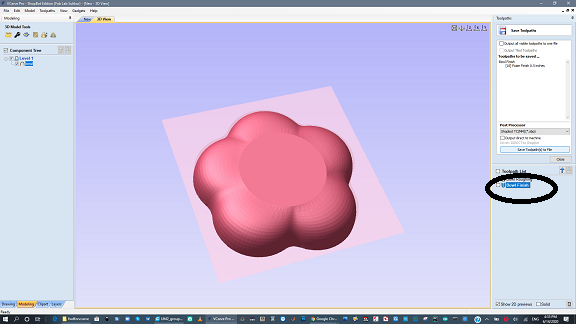
Save the tool path
Go to toolpath menu and click on save the tool path. Both roughing and finishing tool path will be visible. Click to highlite the roughing tool path and save it to your pc. Similary click to highlight the finishing tool path and save to your pc. Now files are generated. These go to shopbot to cut.

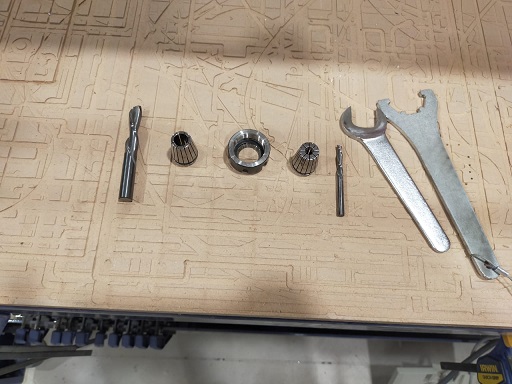
Changing the tool of machine and doing Z-axis zero
After generating shopboat file, first thing is to change the tool bit of machines. Remove the old tool bit and insert the foam rough 0.5inch tool bit. Also the colit of machine. After Changing the tool bit now it time to origin. First set X and Y by jogging the machine. When tool bit is start of foam make the X, y zero. Then it is time to make Z zero. For that we use the Z-axis build plate. Put this plate exactly underneth the tool bit and click the z axis zero on software. It will automatically calculate and make the Z axsis zero.
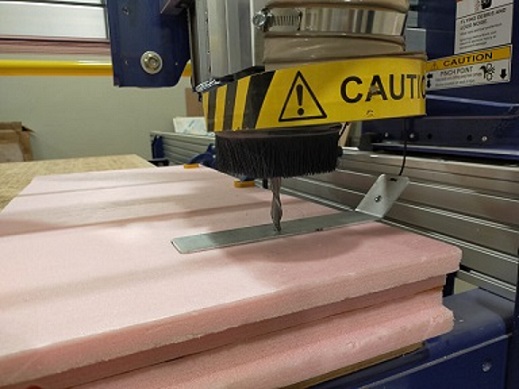
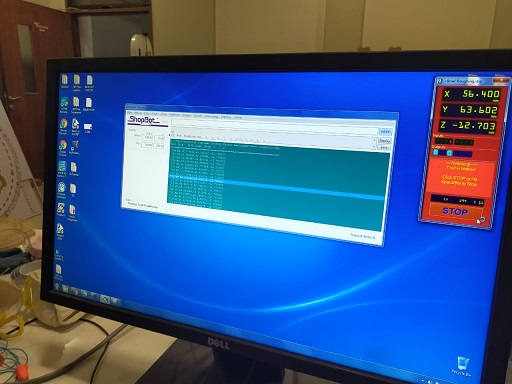
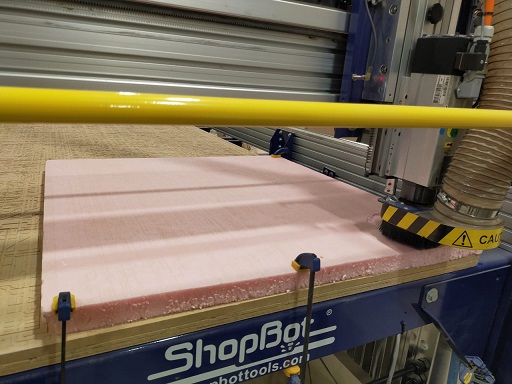
Machining
After setting all it's axis, give the machine rough file and select the cut. Machine start the rough job. After rough is complete follow the above steps to tool changing then making z zero using build plate. then give it finishing file.
Here is Final Mold

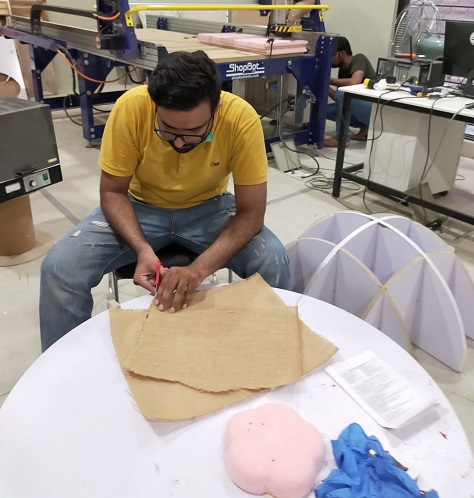
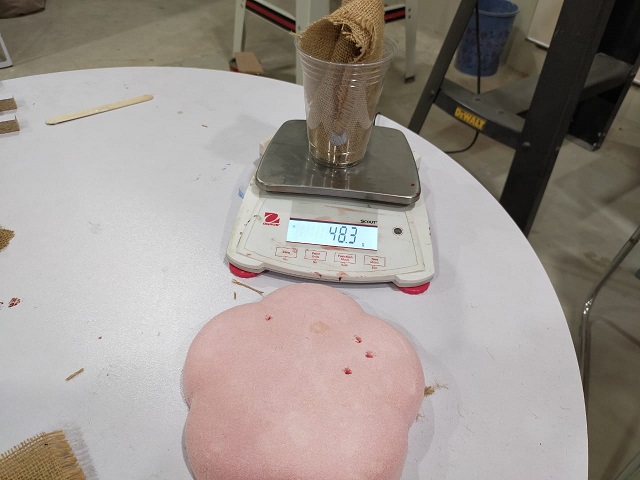
Fabric and Composite
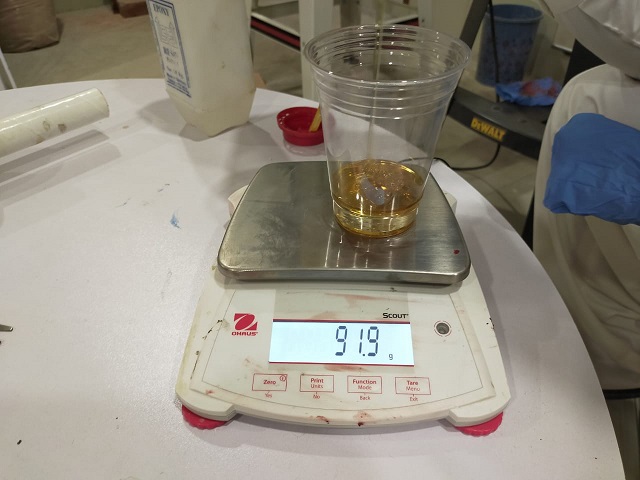
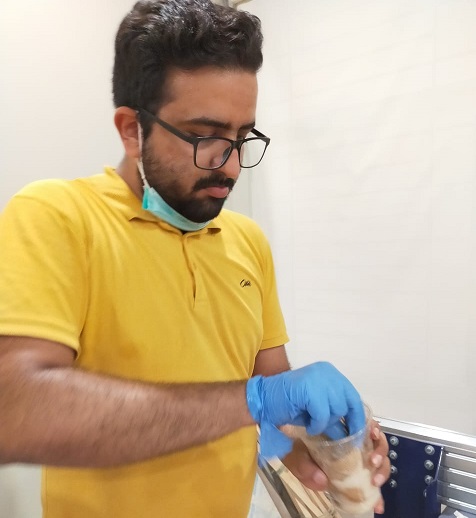
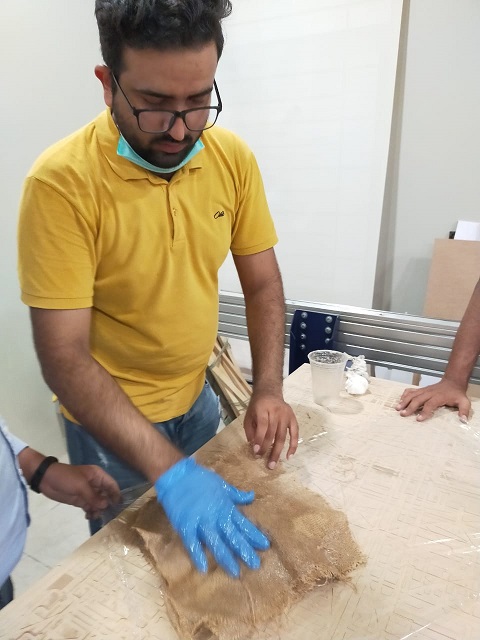
I am using double layer fabric. Layers are at 45degree tilt so holes will not be visible. Measure the fabric so we can find the quantity of resin and hardner. The ratio of rasin and harder are 2:1. means 100 grams of resin and 50 grams of hardner. After mixing for 10-12 mints the hardner and resin then dip the fabric. try to mix the fabric and resin and hardner so liquid may diposite on fabric evenly.
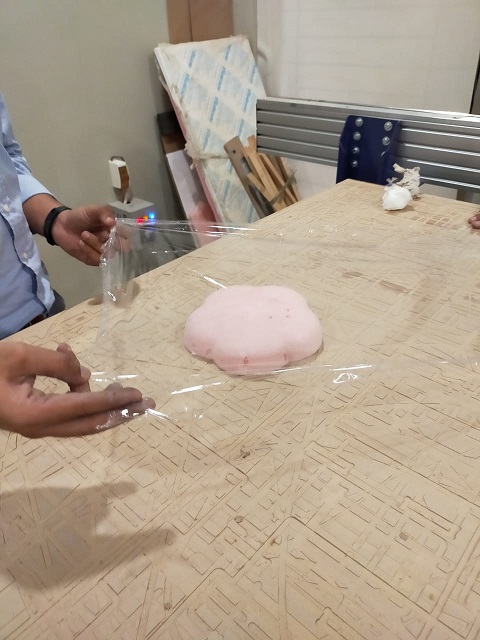
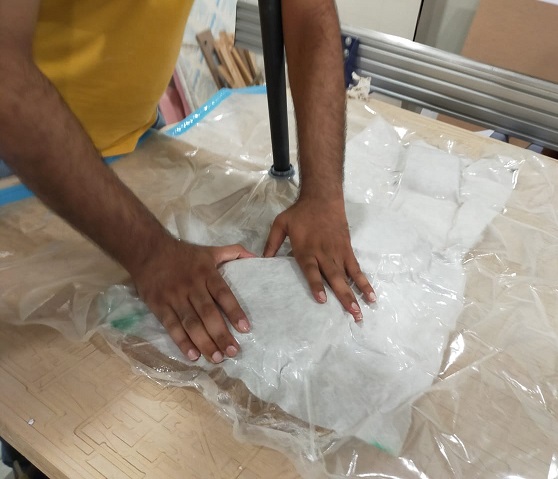
Put fabric on mold
Cover the mold with fabric plastic layer. Then put resin dipped layer on mold and again put plastic layer on it. Put whole experiment into air tight bag which is used as vaccum. Put breather on the mold and connect the vaccum pump with air tight bag. Pump create vaccum then press the mold so it take its desired shape. Then close the valve of bag then close the vaccum pump. Leave whole expereiment for atleast 12-24 hours.

Final result(Hero Shot)
Group Assingment
Produce test coupons for your composite fabrication process.
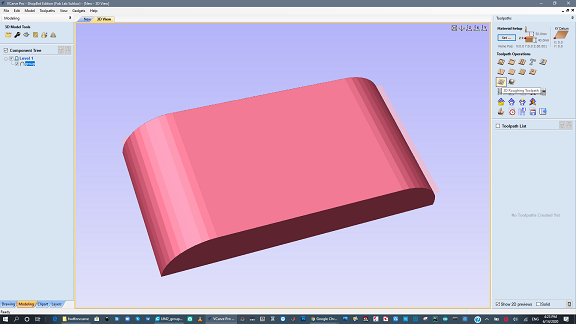
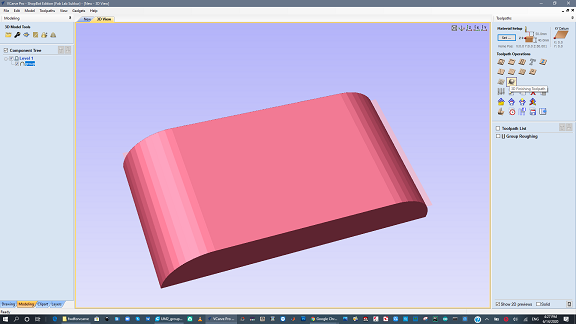
For test coupin, we made simple design in solid works. It is simple curvy shape and saved as .stl
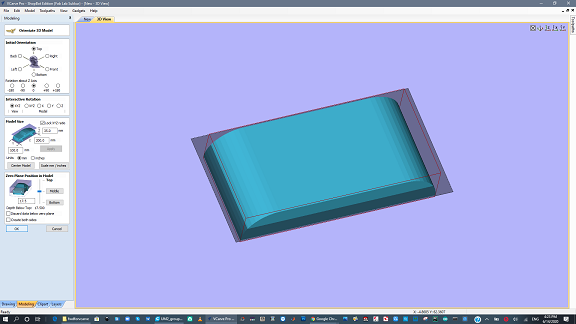
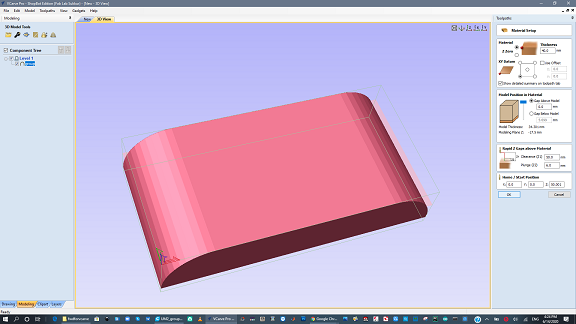
Open Vcarve and generate tool path for Roughing
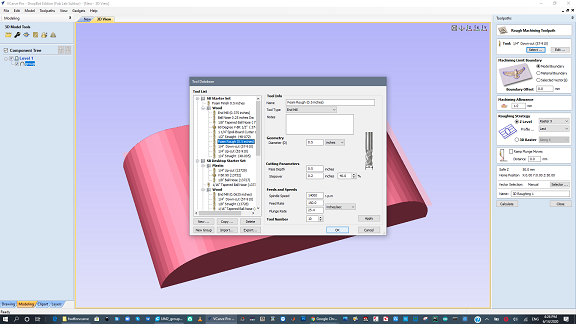
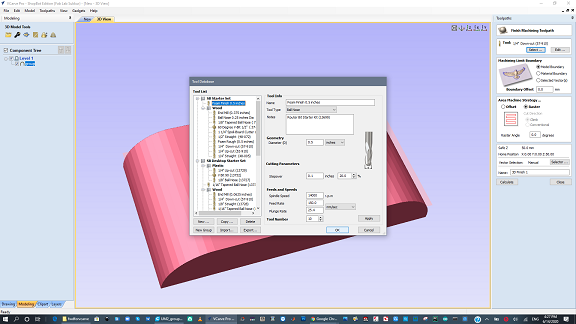
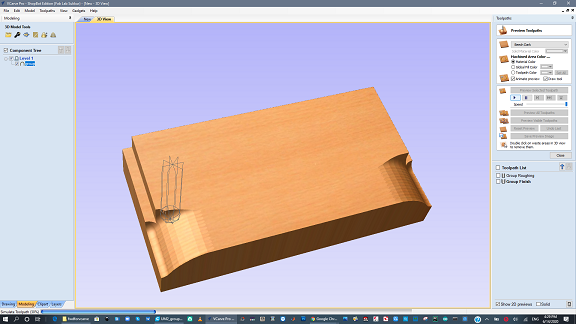
Open Vcarve software and import the .stl file. Give the dimensions(200mmx100mm) then click on "Center model" and uncheck the "discard data below z-axis" then click ok. Then Click on 3D roughing and give the material thickness and safe Z axis. Click on tool bits and select Foam rough 0.5 inch. Click ok. Tool path is generated. Run the simulation to see the tool path.
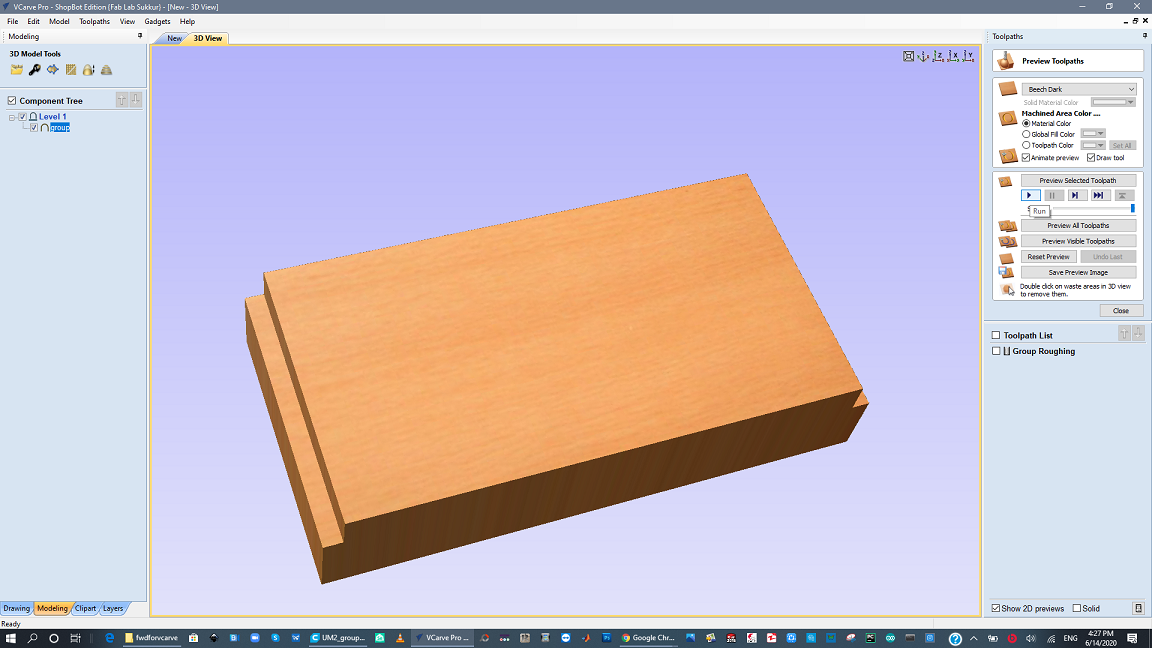
Open Vcarve and generate tool path for Finishing
Repeat the same above process and select the 3D finishing. Give the dimensions(200mmx100mm) and give the material thickness and safe Z axis. Click on tool bits and select Foam finish 0.5 inch. Click ok. Tool path is generated. Run the simulation to see the tool path. Then Click on save the tool path and save both rough and finishing tool paths

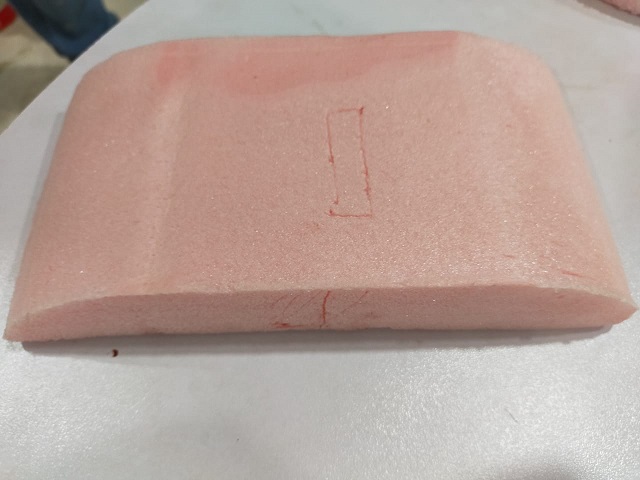
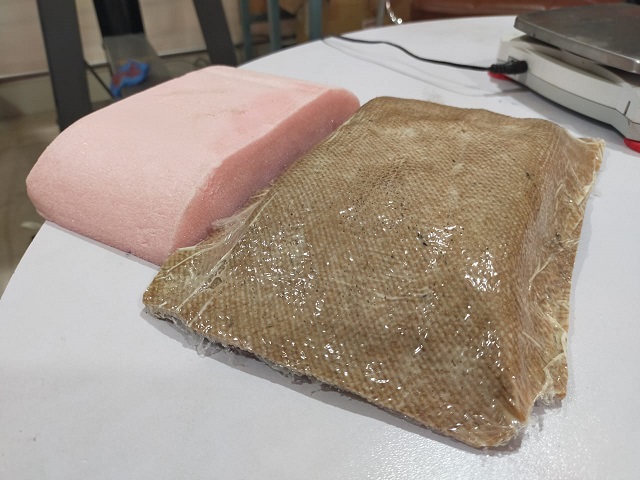
Mold
Tool paths are given to machine and we got this result.
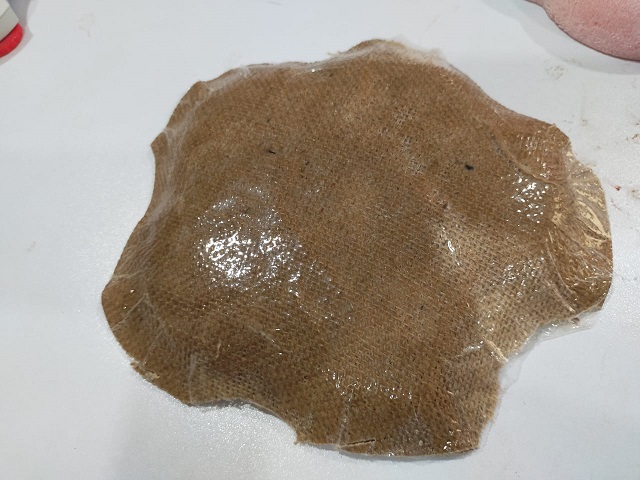
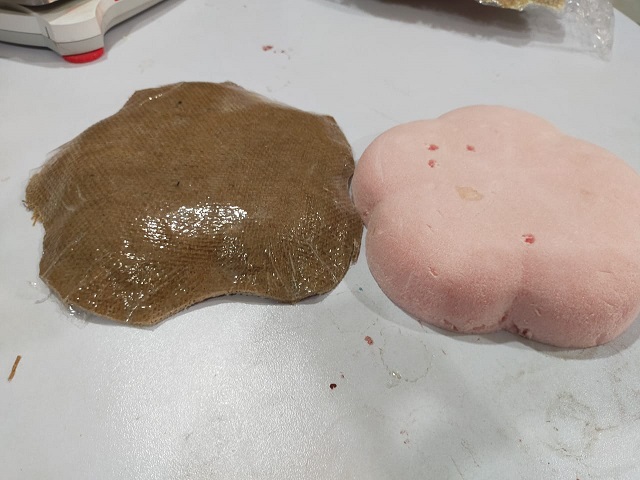
Final result
After making mold, we applied all the above steps to make the composite. And finally we got this result.
Download all files from here

This work is licensed under a Creative Commons Attribution-NonCommercial-ShareAlike 4.0 International License.