Wildcard
For the Wildcard Week assignment, I decided to make soft robot-human finger that will be convenient for me because my hole research is about prosthetics so I believe soft robotics will make a huge change in the prosthetic industry one day
So moving on so it’s my first time with soft robotics so as usual, I will start with searching on the internet and fab academy archive.
So after a lot of tutorials, most of them were about octopus Graber ْX”D very cool, if you like to check them out ------ ------.
Now I have the main consent of how to make soft robotics that makes simple consent like grabbing and relieving but I need to decide what I will make at my design, like any features I like to add and how it will lock at the end.
So after a little bit of thinking and skitching, I ended up with this shape.
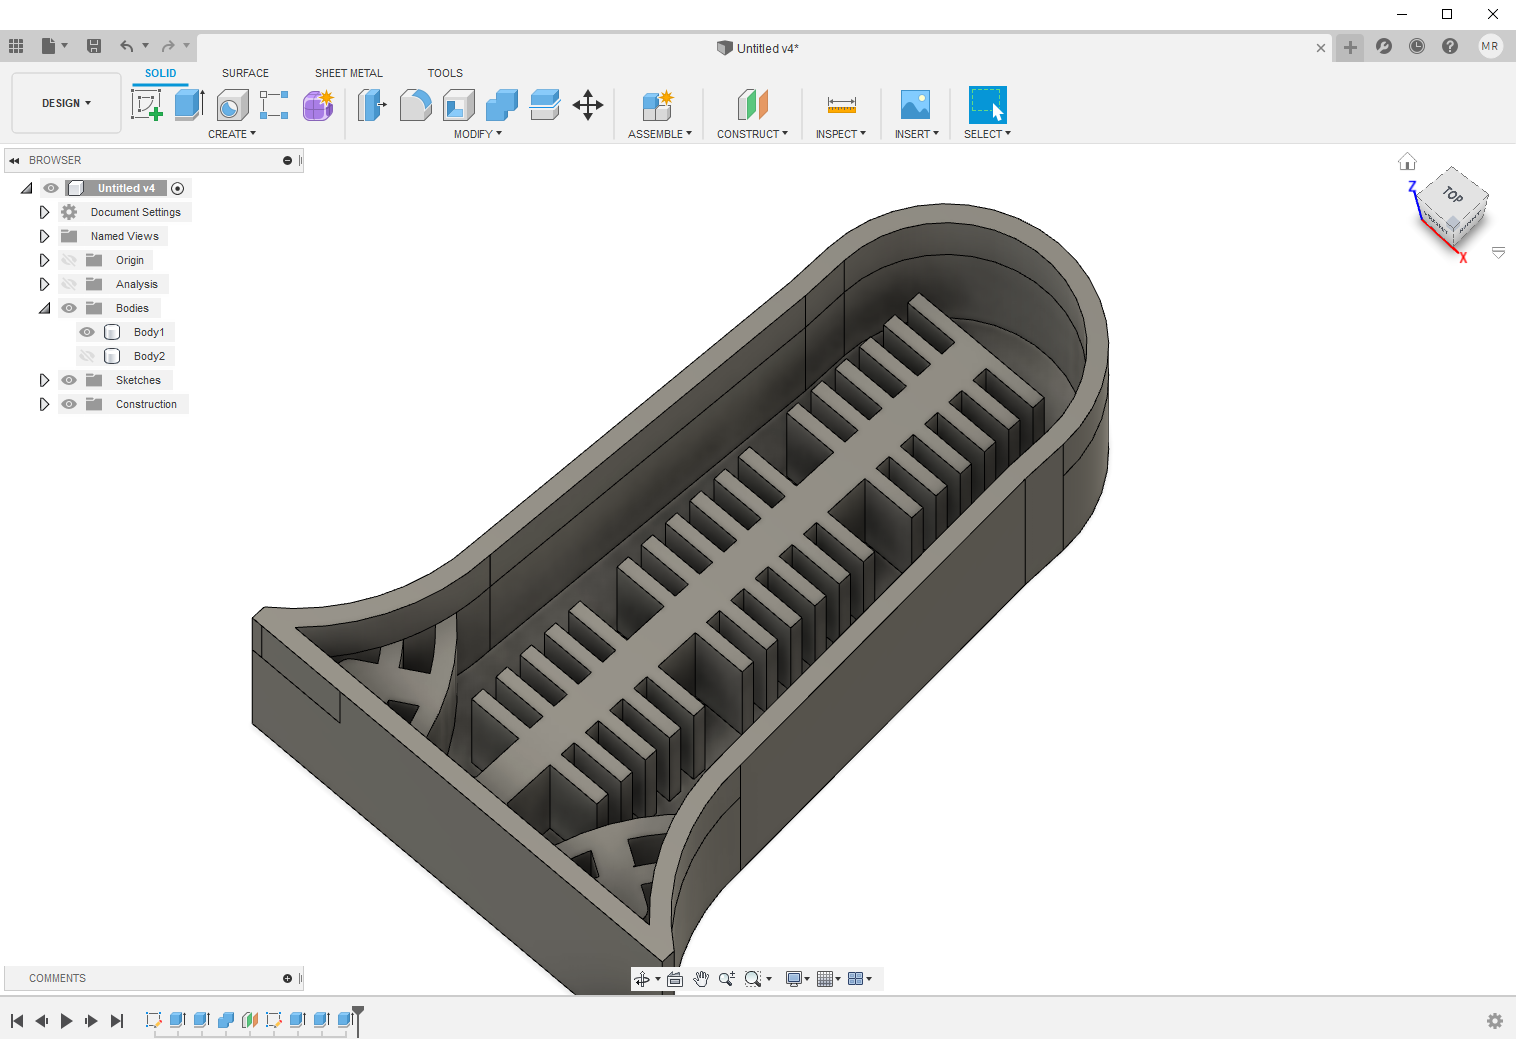
So my idea is to mimic the octopus soft robot so my plan is to modify the griper a little bet to mimic the finger rotational movement.
So now for the implementation at first I made the part a little bit small so I can print and mold and cast on the same day. After reading the silicon material datasheet thy Recommend as a safety precaution to wear a glove throw the process, so at this time I didn't have gloves so I waited until I get the one because I don’t wanna end with skin rash.
For my first try, I failed miserably for multiple reasons.
- most of the times the silicone tear down when I try to release it from the mold
-
wall distance was very close to each other
- because I don't have access to a vacuum, the silicon has a lot of air bubble inside
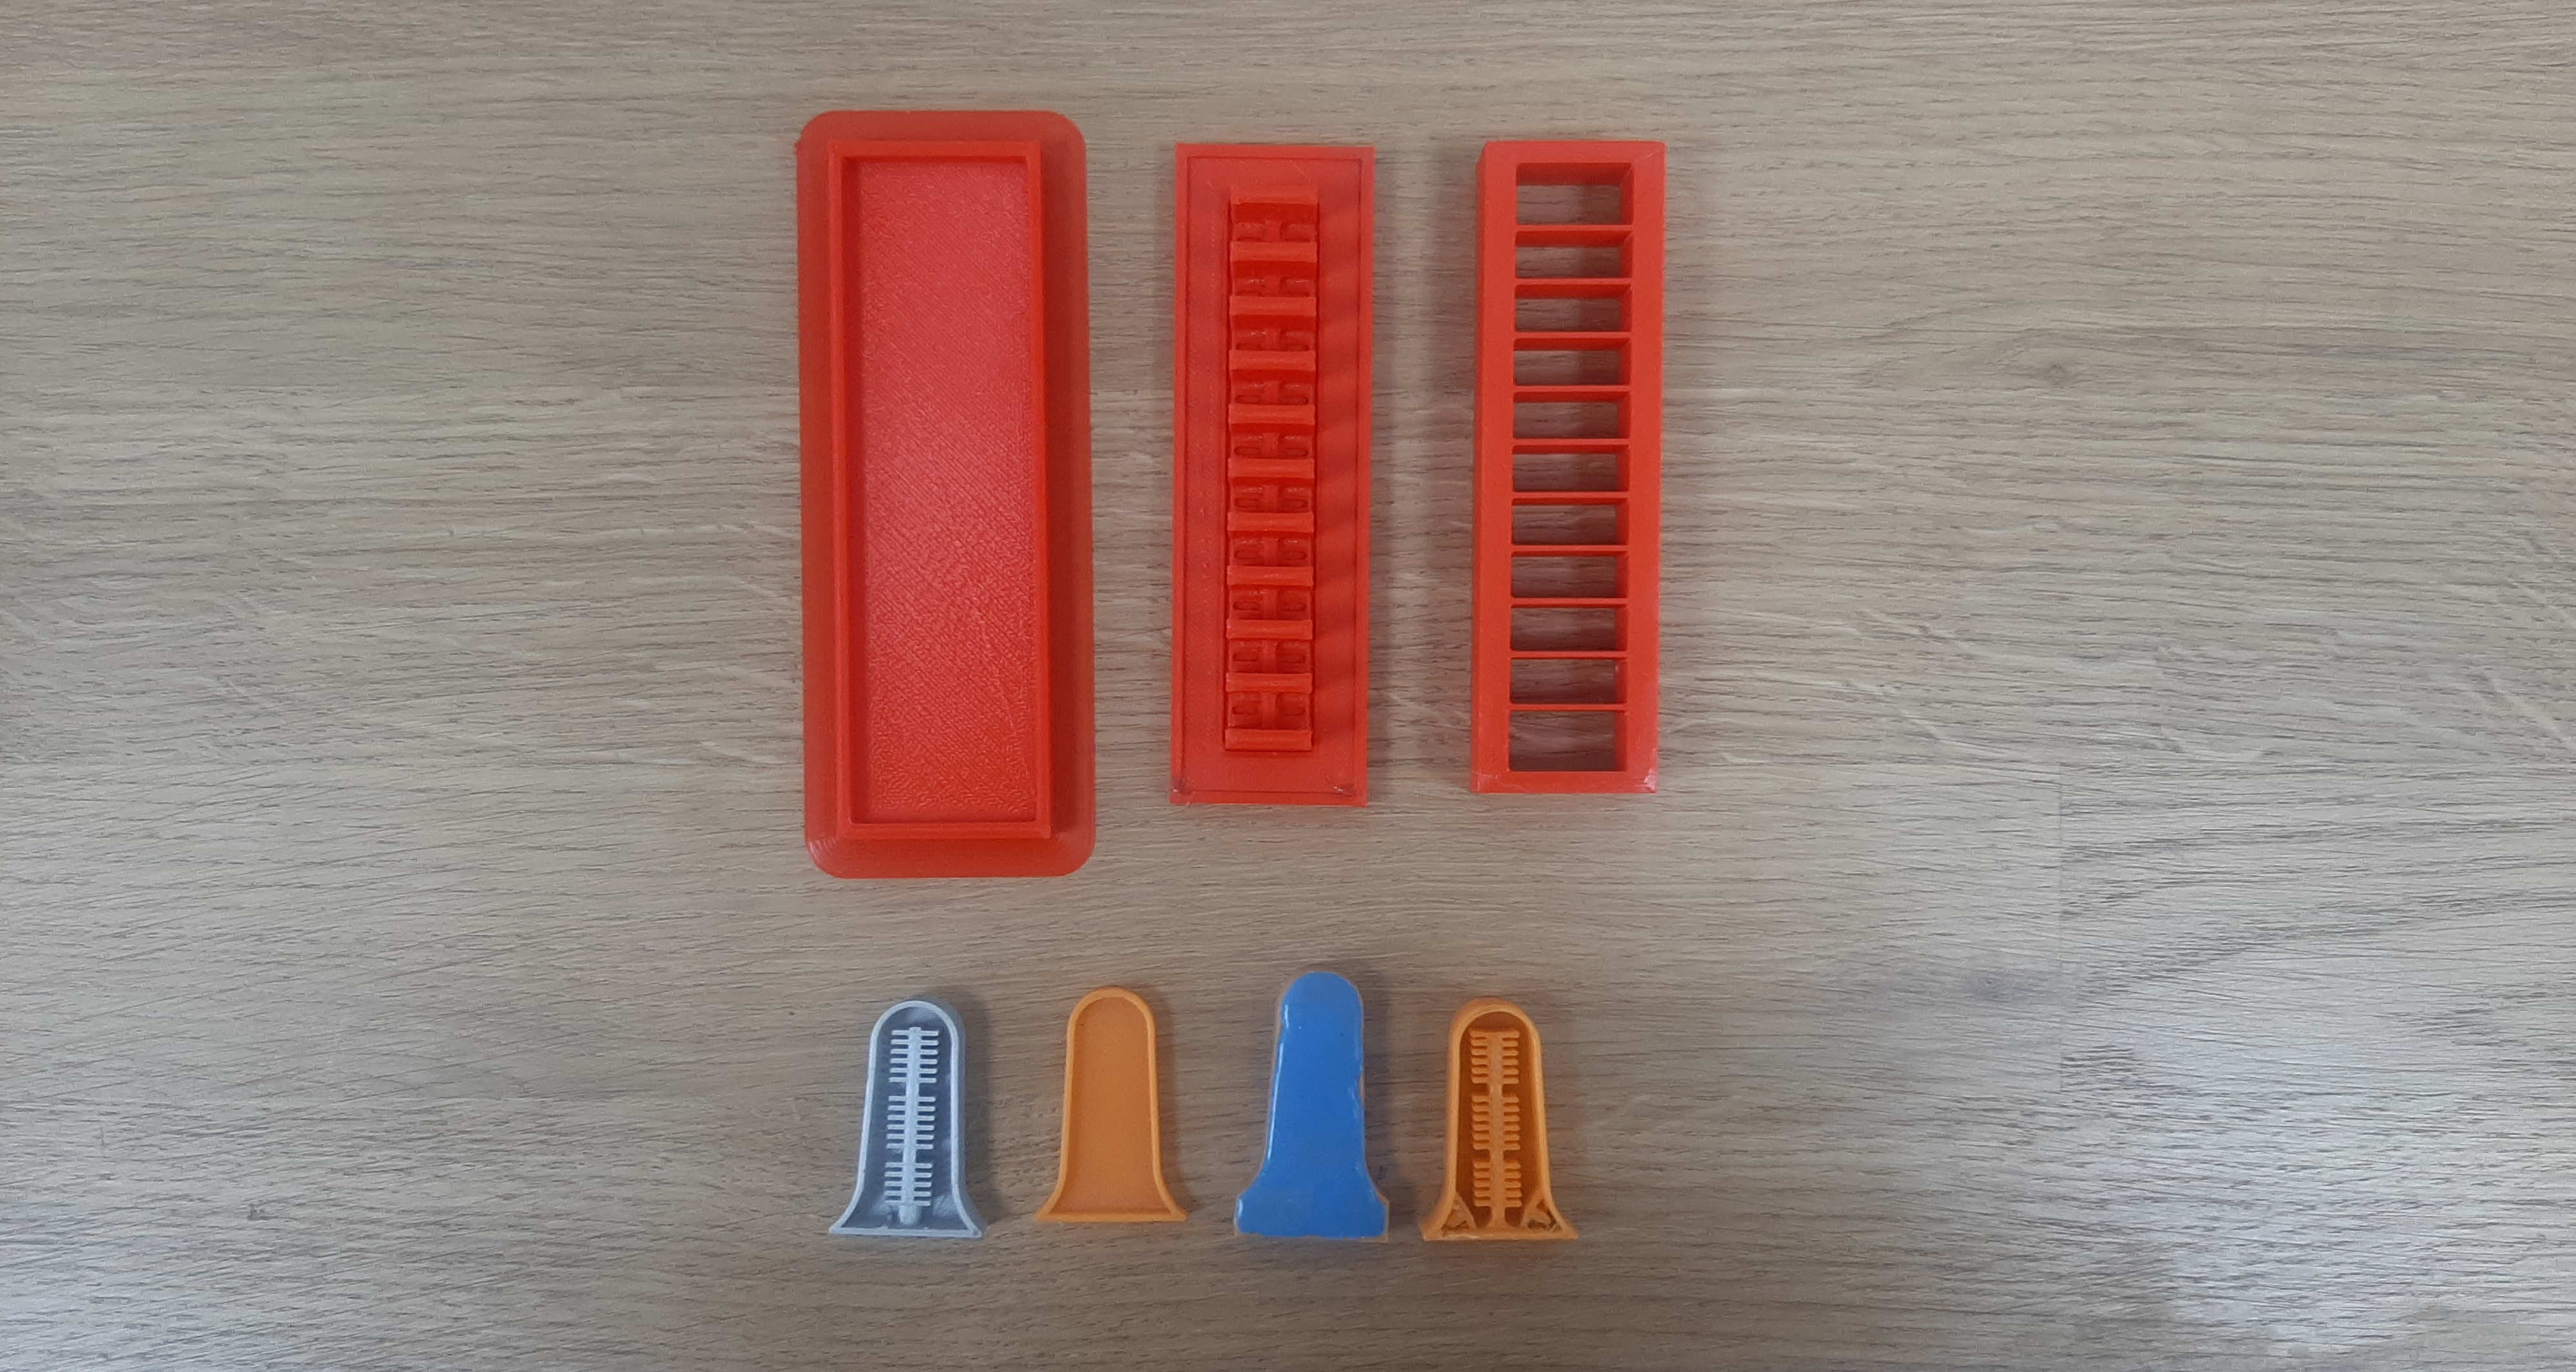
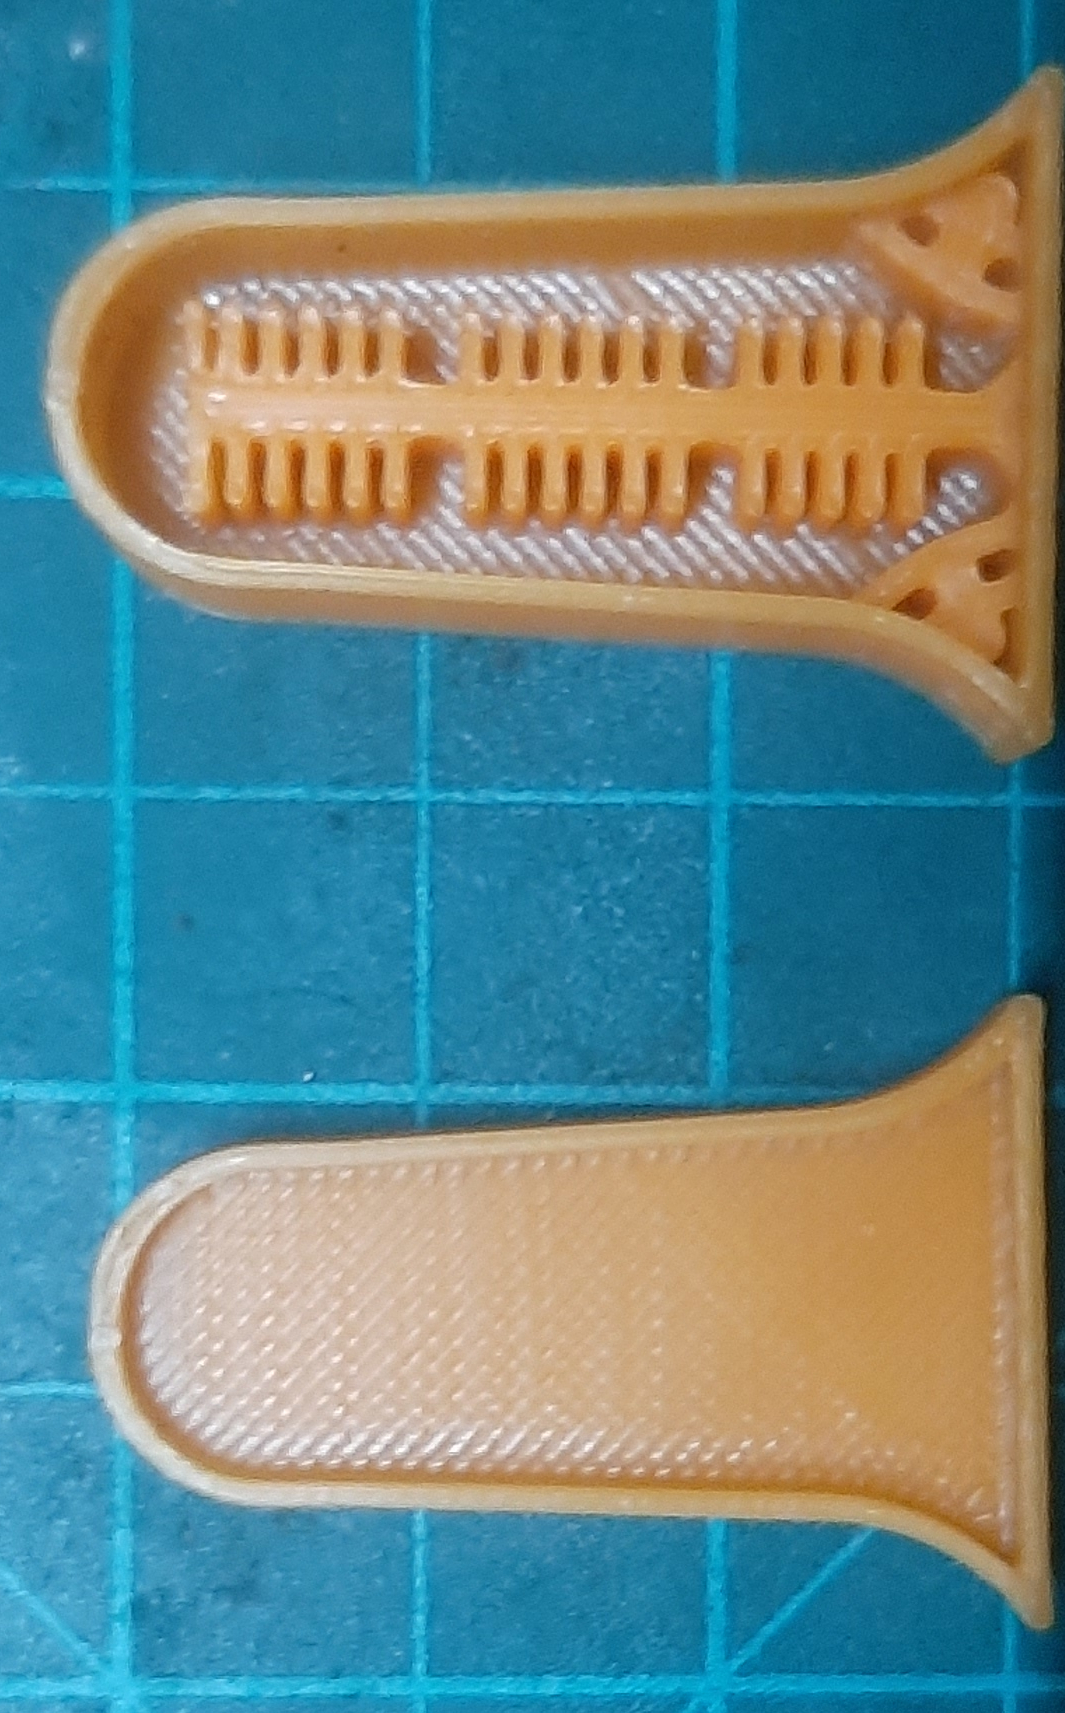
I decided to remake the design from scratch and make it a lot bigger and I was thinking to make the mold with multiple parts to make it easier to cast and release the silicon part.

After printing the parts you can see how bigger than the first test
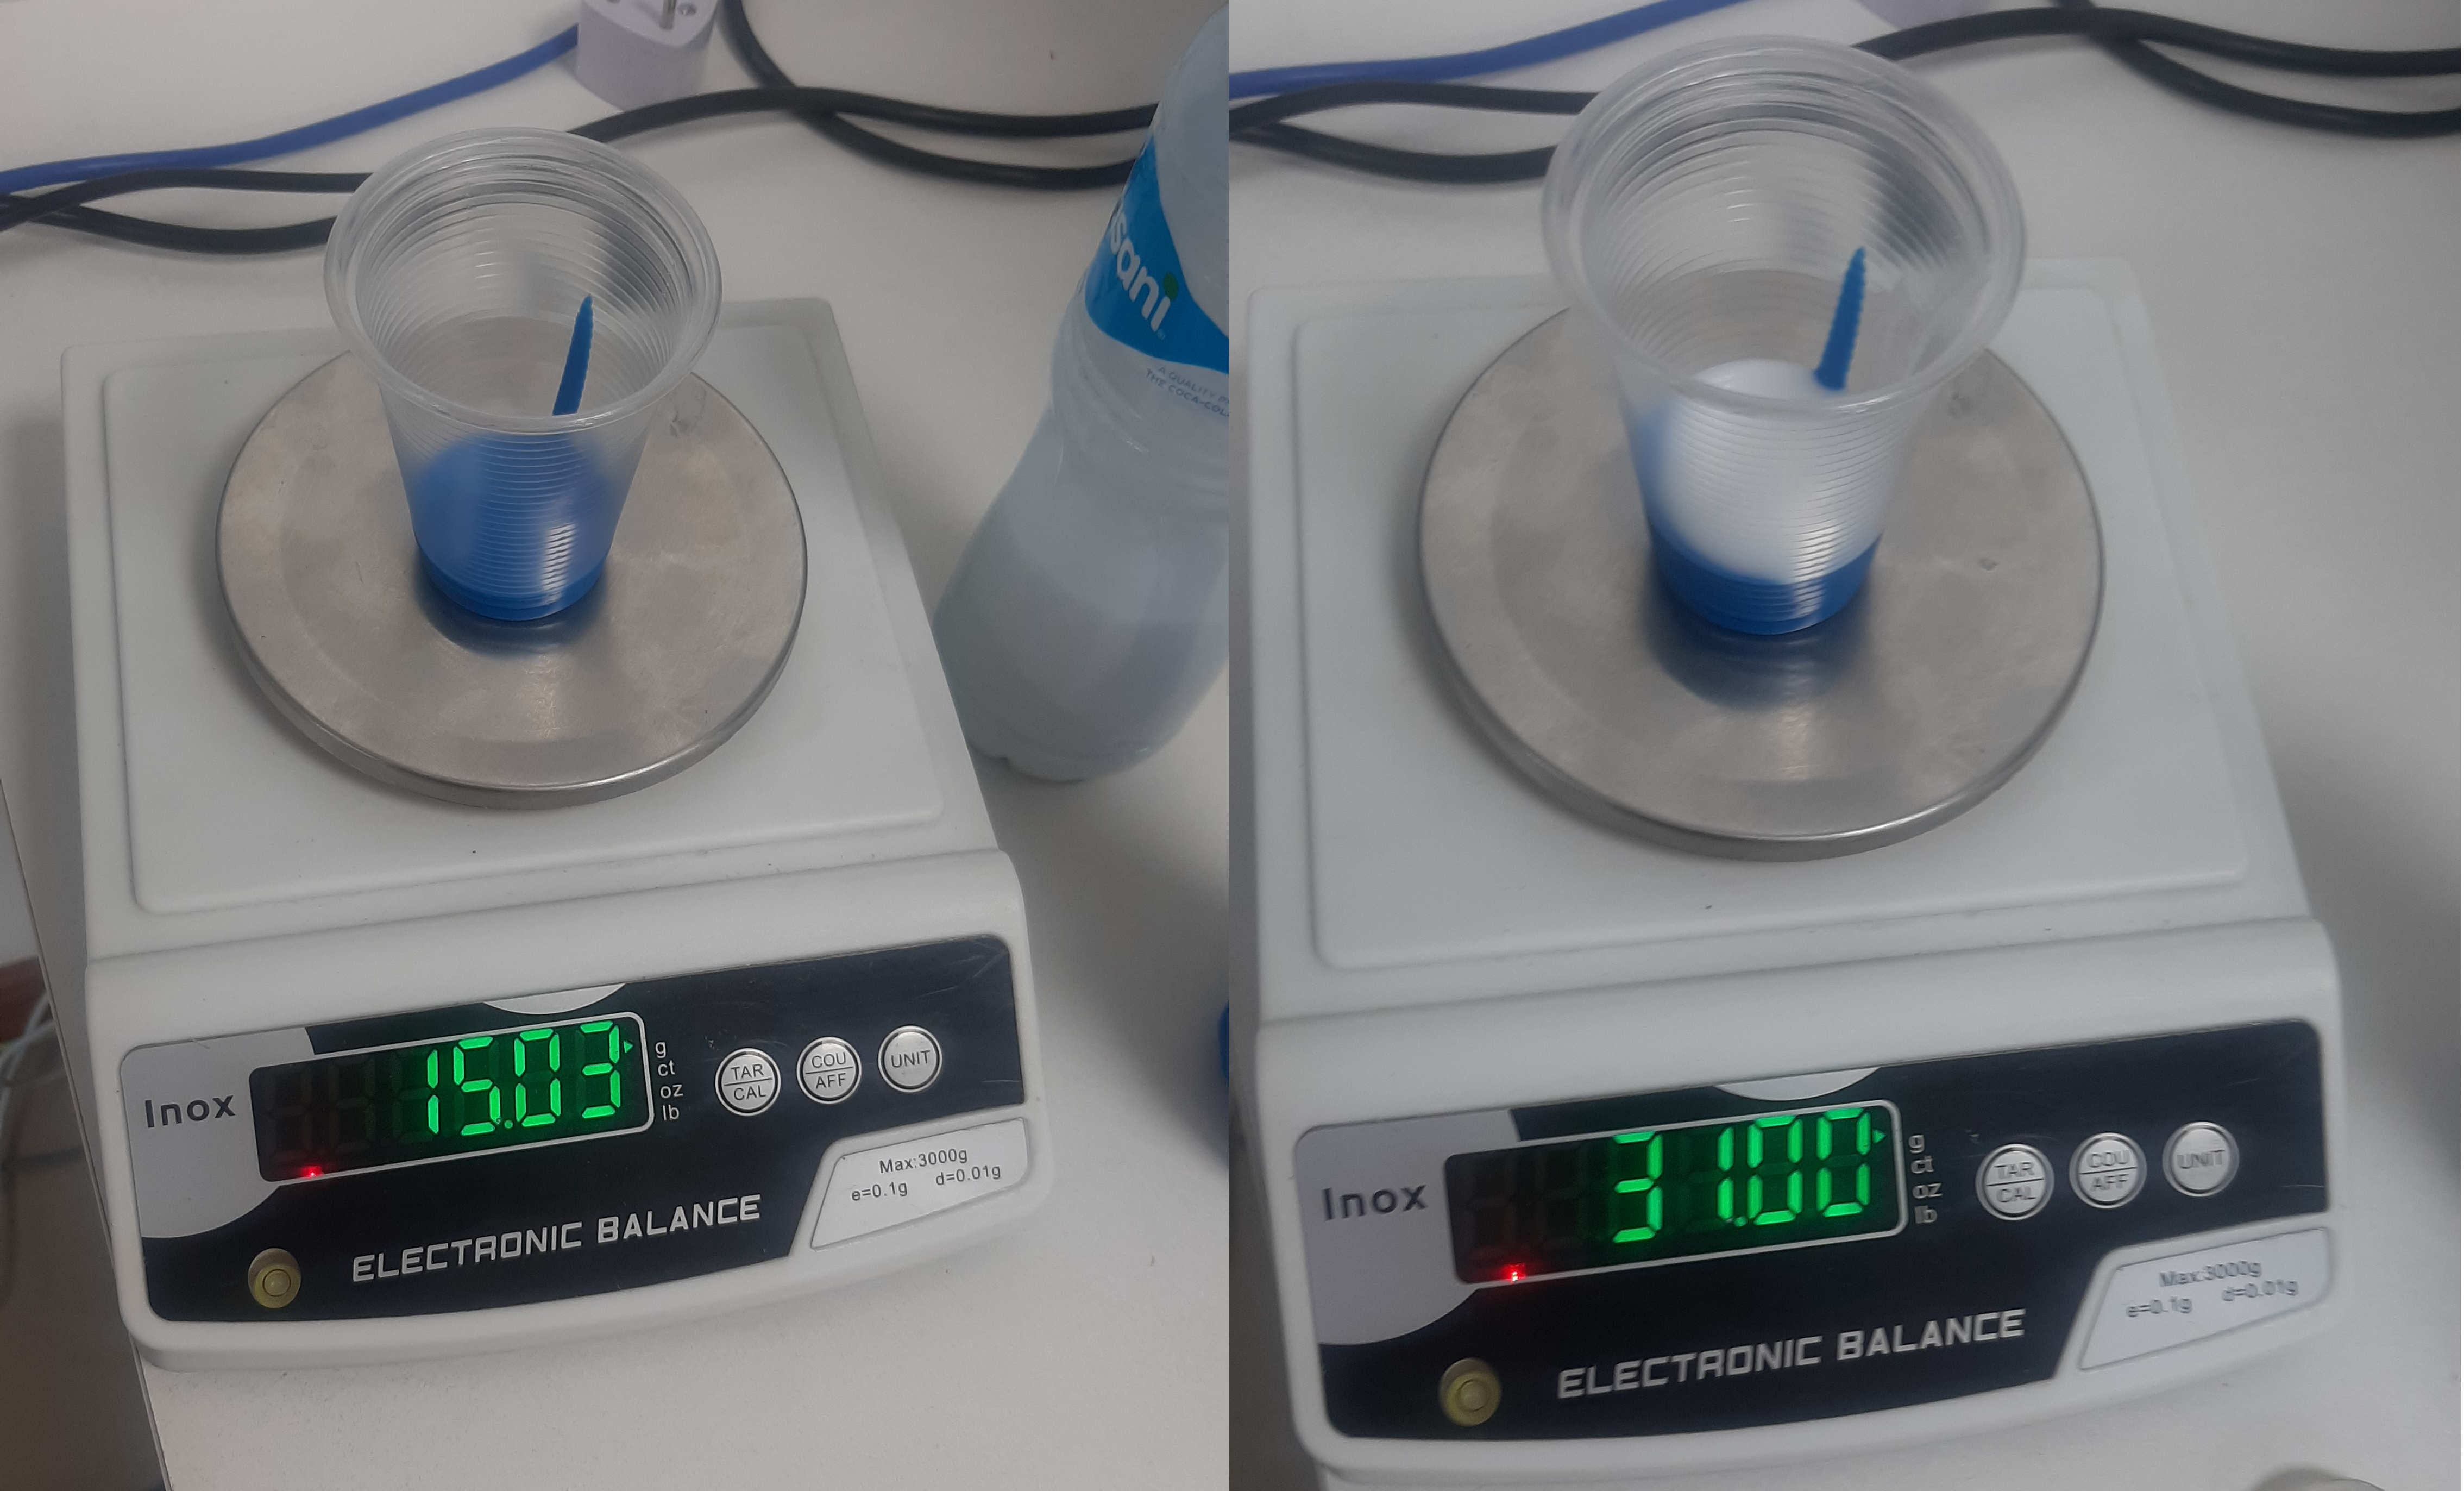
Mixing the silicon the solution that I use need to mix half part of each substance
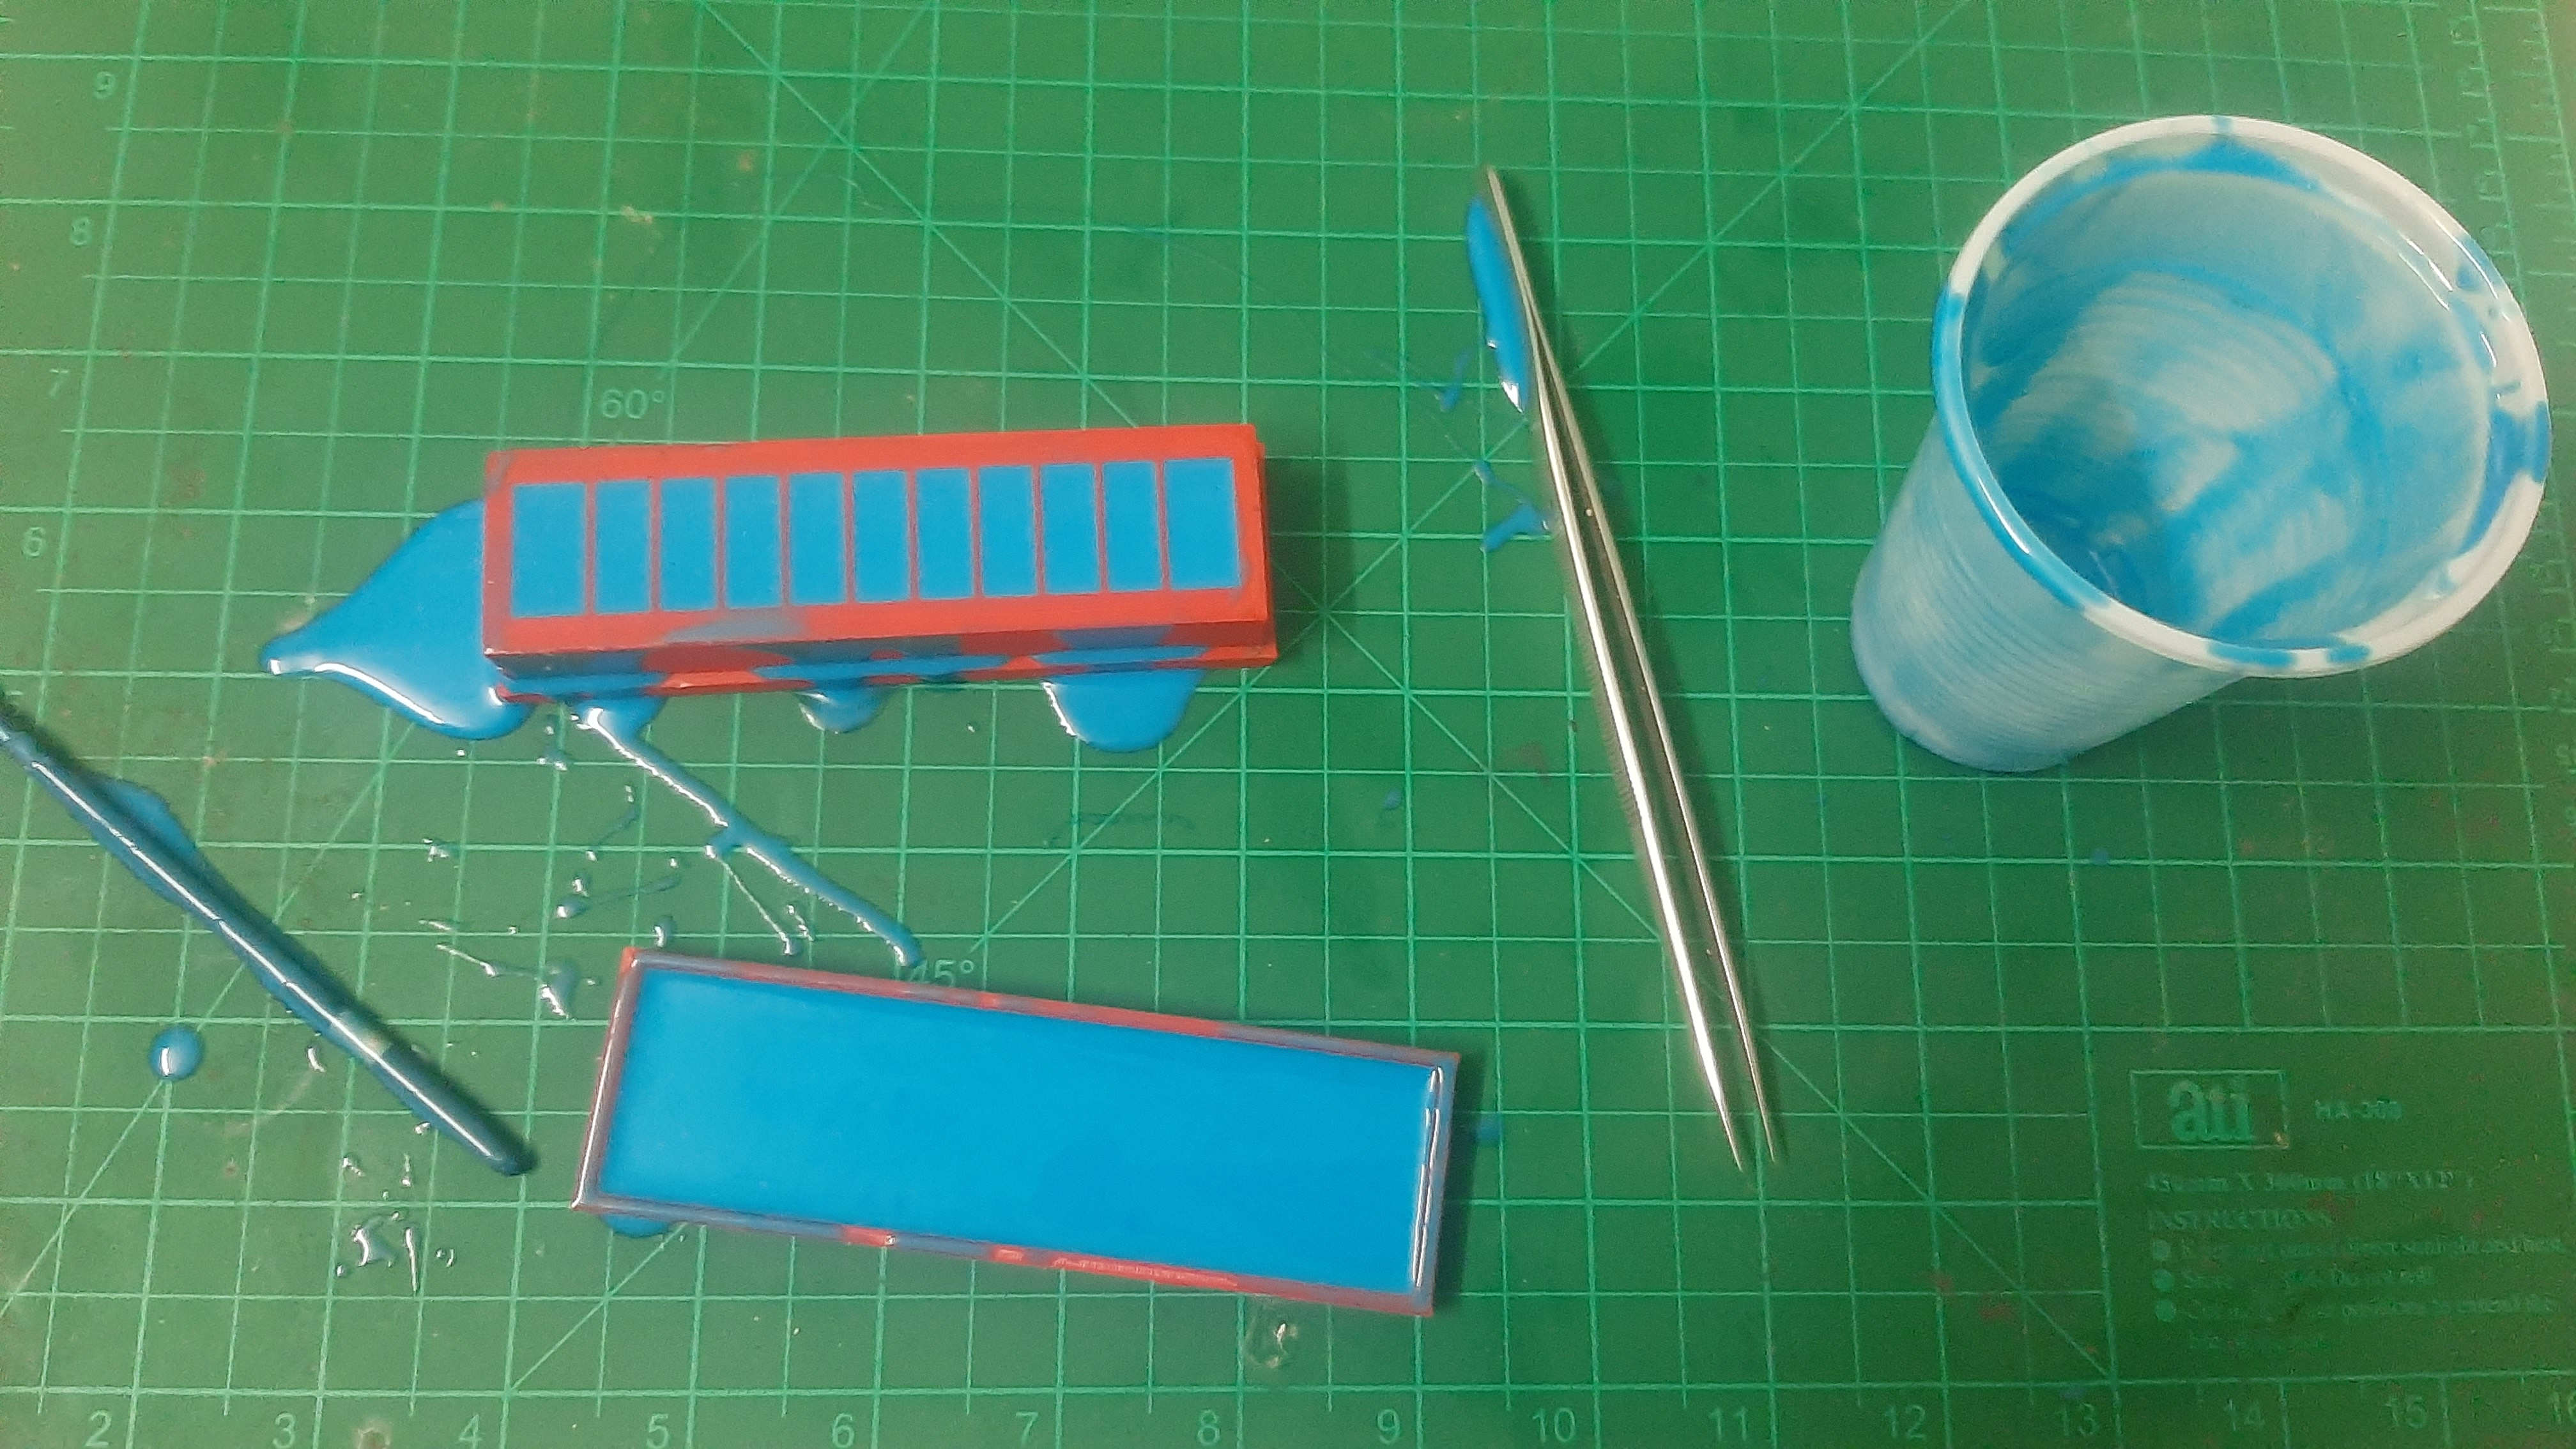
After filling my printed molds with silicone I need to pop every air bubble that reaches the surface and tray to move it slowly to make sure that there's no bubble trapped inside
Next for the base, I just need to fill it for the half
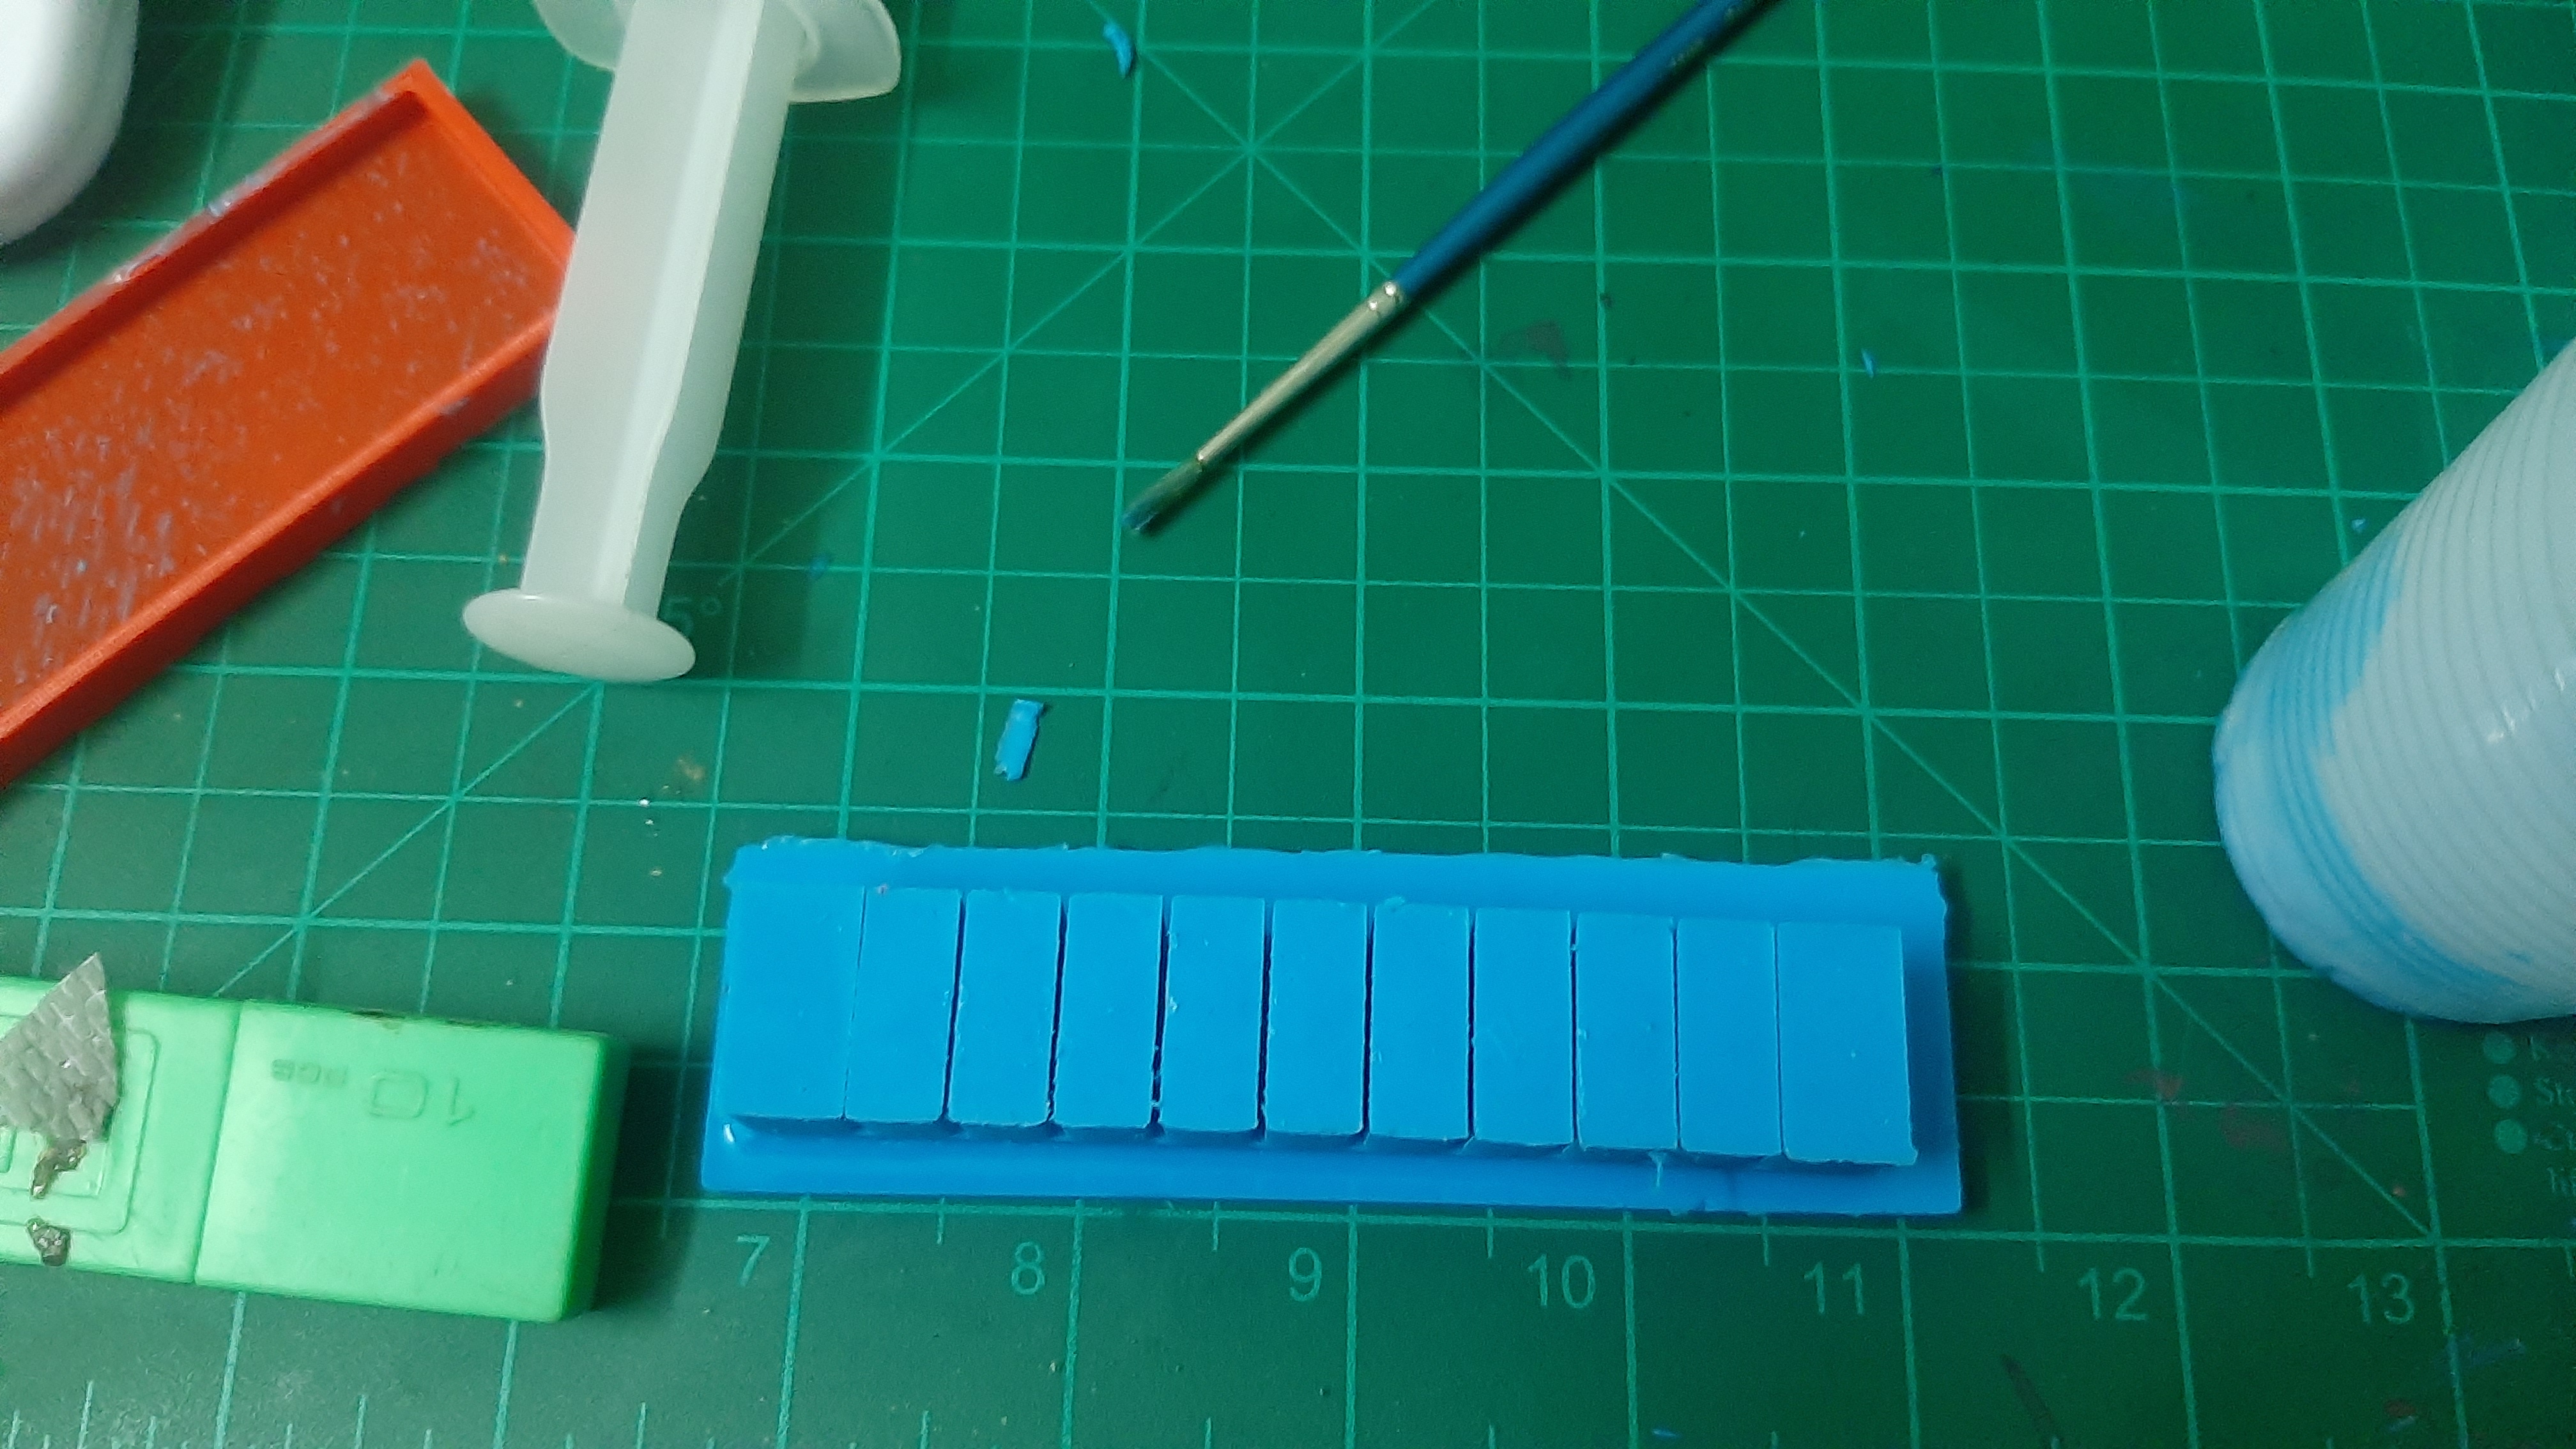
Releasing the part was a little bit harder than I thought but eventually, I managed to release it
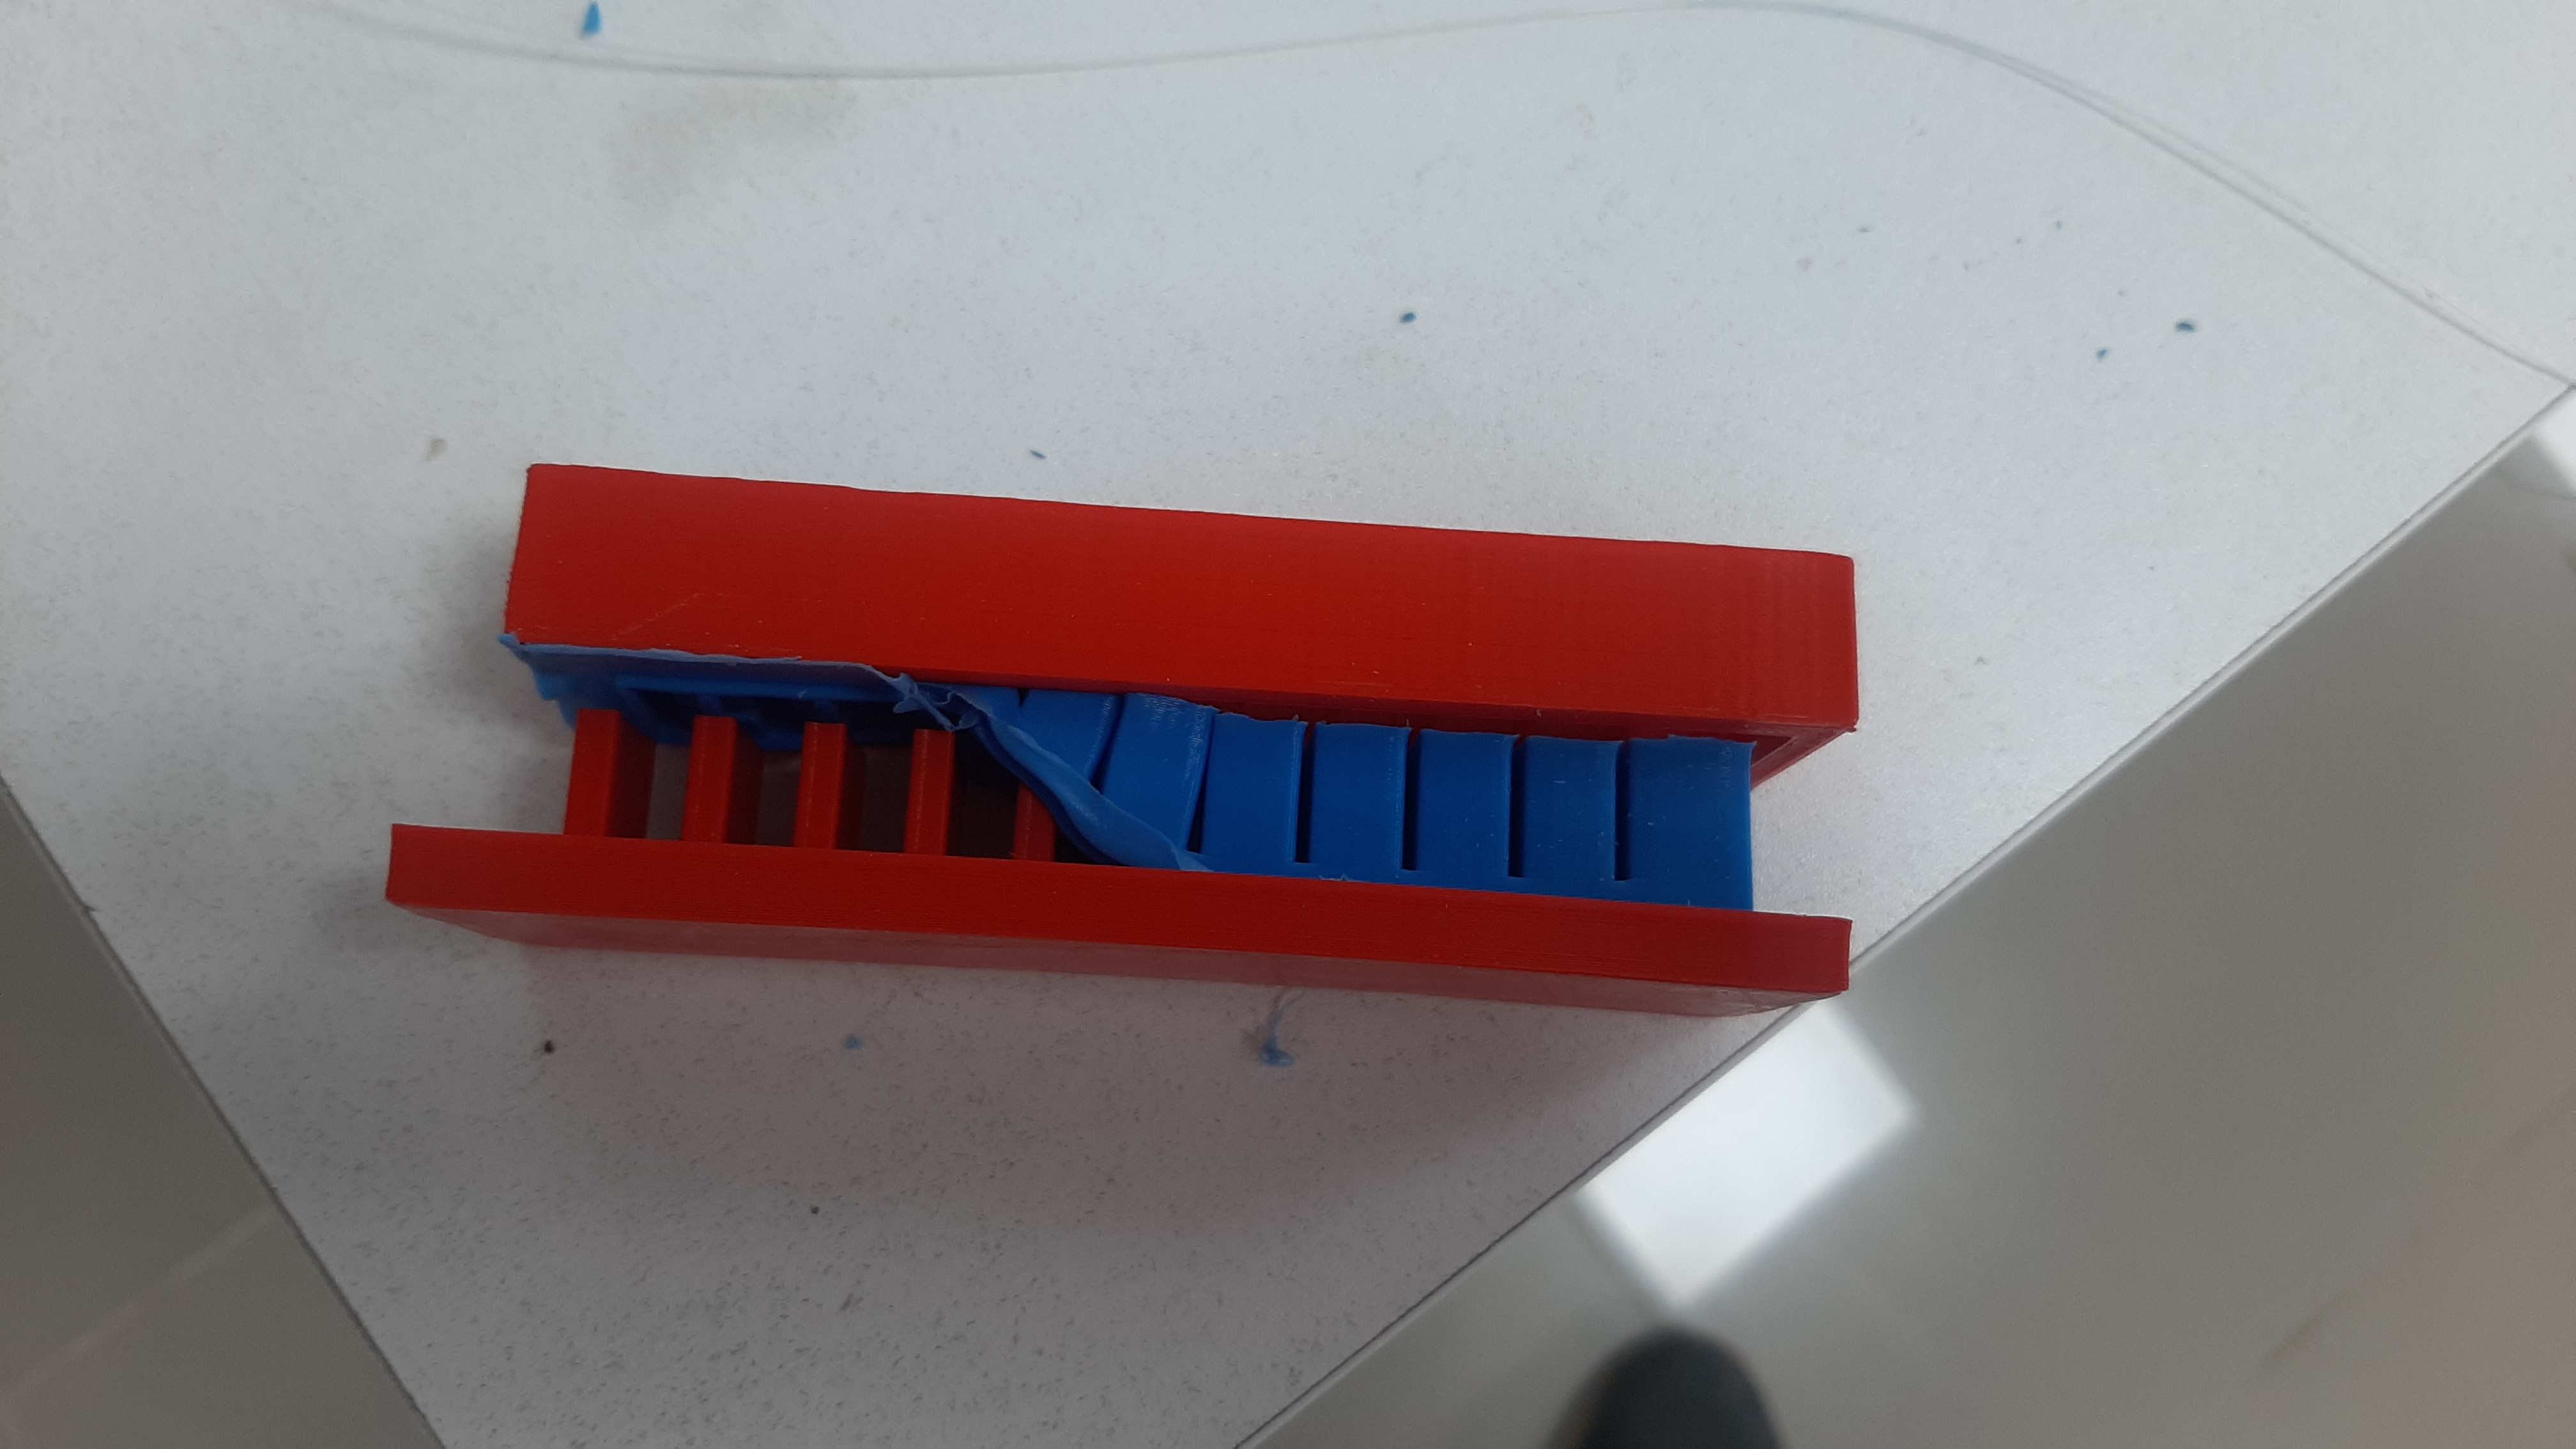
So the result was betty good and as you can see I made this simple structure be harder to fill the air tunnel with silicon when I connect the top with the bottom together

Ps before I connect the two parts together I need to make a small mark for the needle so I don't puncture the part accidentally
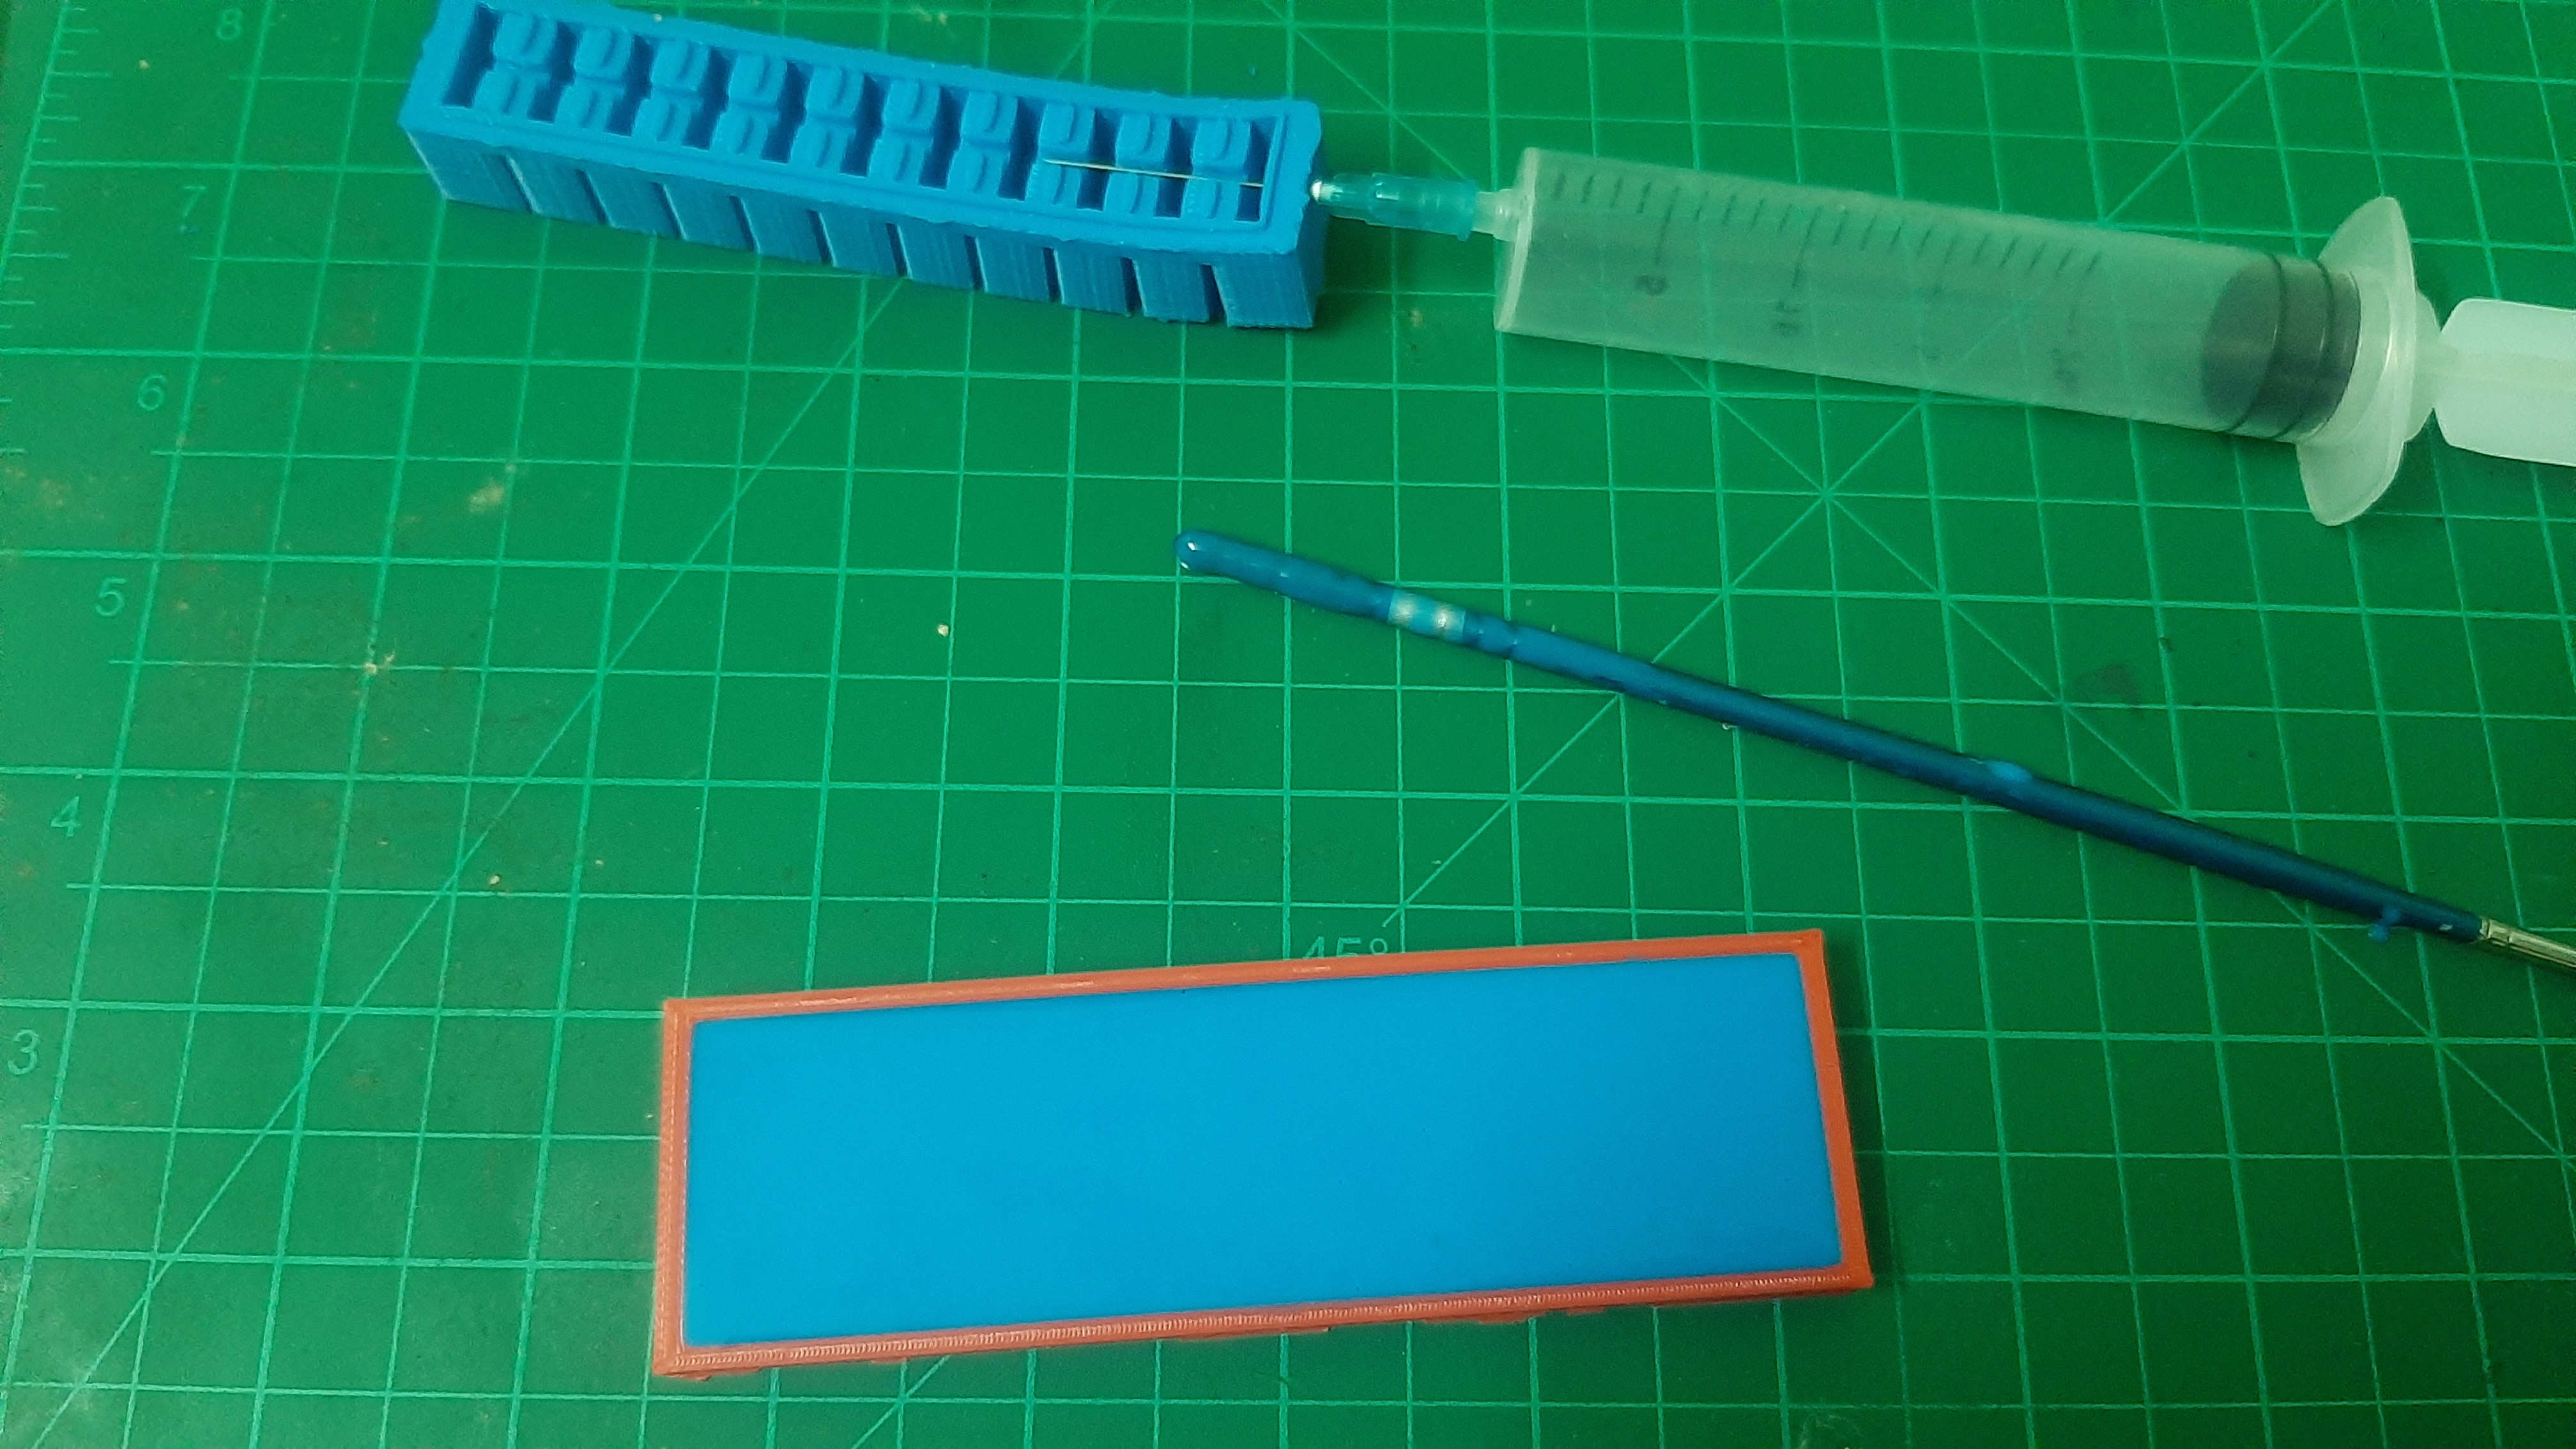
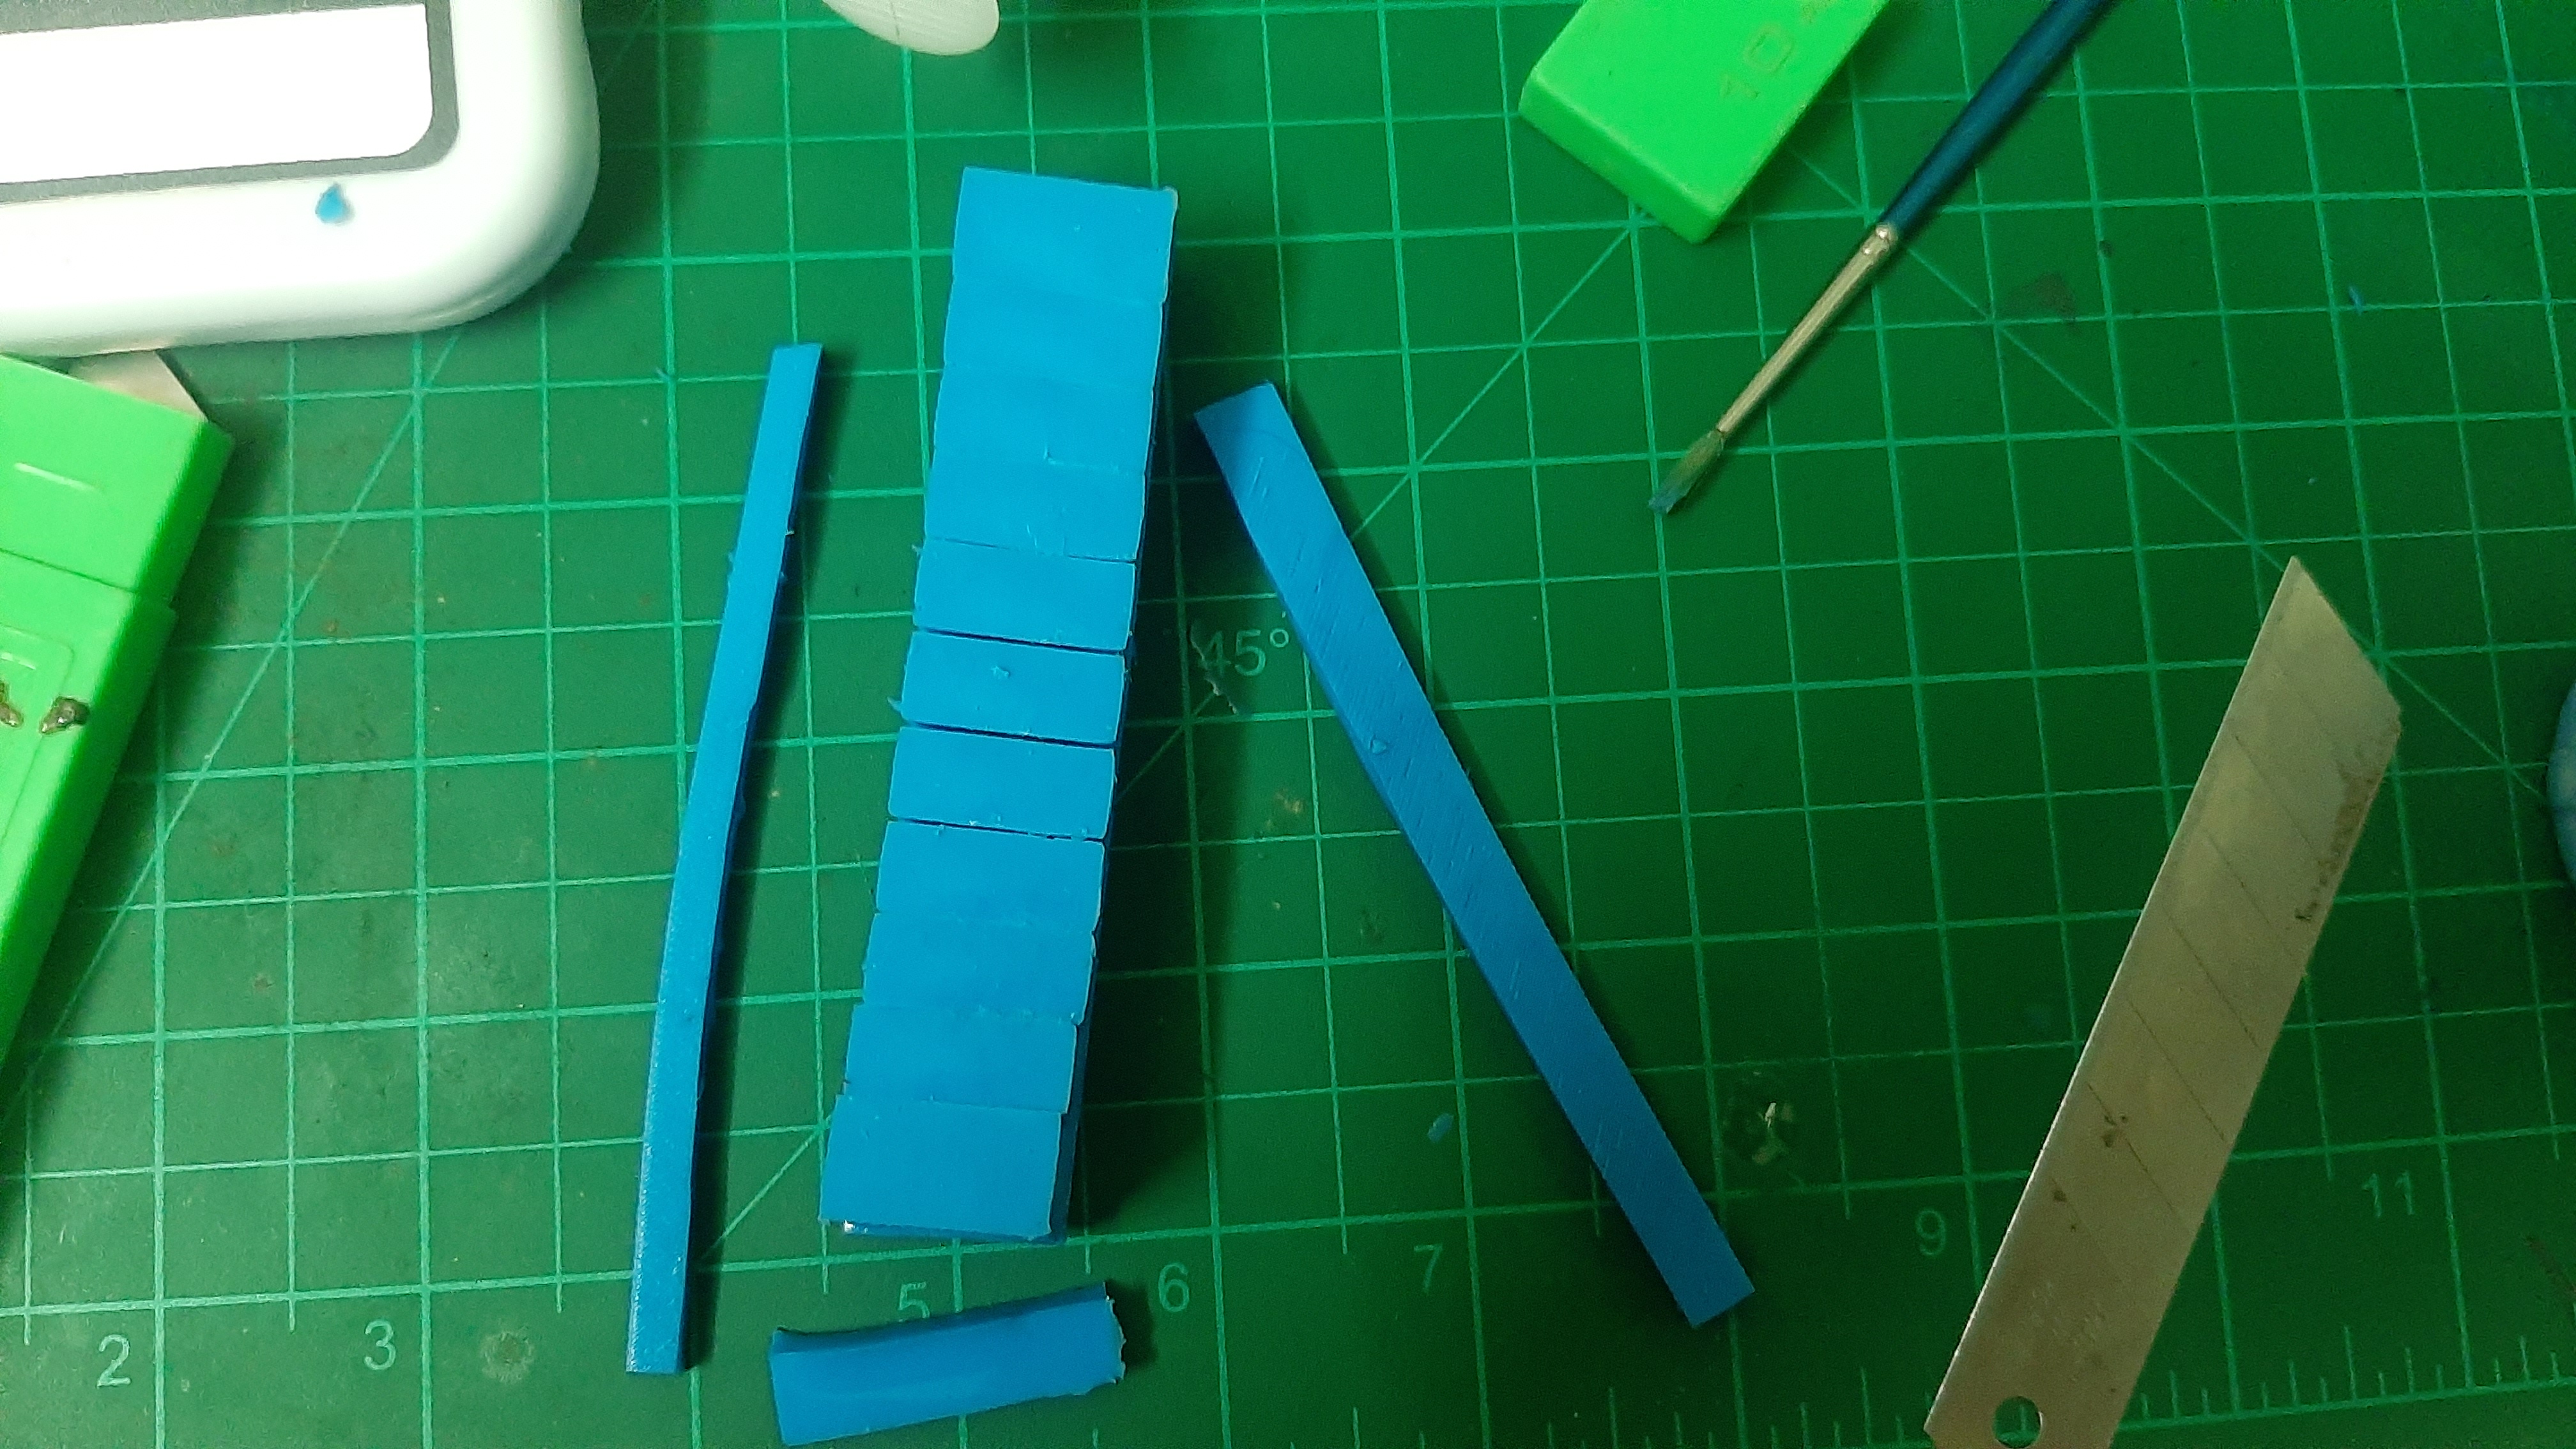
The last step is to trim the excess parts now for testing the part