Molding and Casting.
Group Assignment:
- Review the safety data sheets for each of your molding and casting materials.
- Make and compare test casts with each of them
Individual Assignment:
- Design a 3D mould around the stock and tooling that you’ll be using, mill it (rough cut + (at least) three-axis finish cut), and use it to cast parts.
Group assignment.
Individual assignment
For molding and casting week I will design a gym weight because after the quarantine I couldn't go to the gym and the gym equipment has a high price so I decided that I will make dumbbells weight wheel for this week.
So professor Neil told us to not be grade in using the CNC for this week so I will make this project at the work and let my colleges use the machines at fab lab Egypt.
Now for designing the weal shape but there was a trick this time I will make dumbbells weight so I need to make it have weight and I need o make my mold to have a specific shape with a specific weight so first, I need to be settled with the material that I will use as a dumbbells weight, and after a lot of thinking I think Cement will be a perfect choice for my project because it has a low cost and have a medium density and it could work as a dumbbells weight.
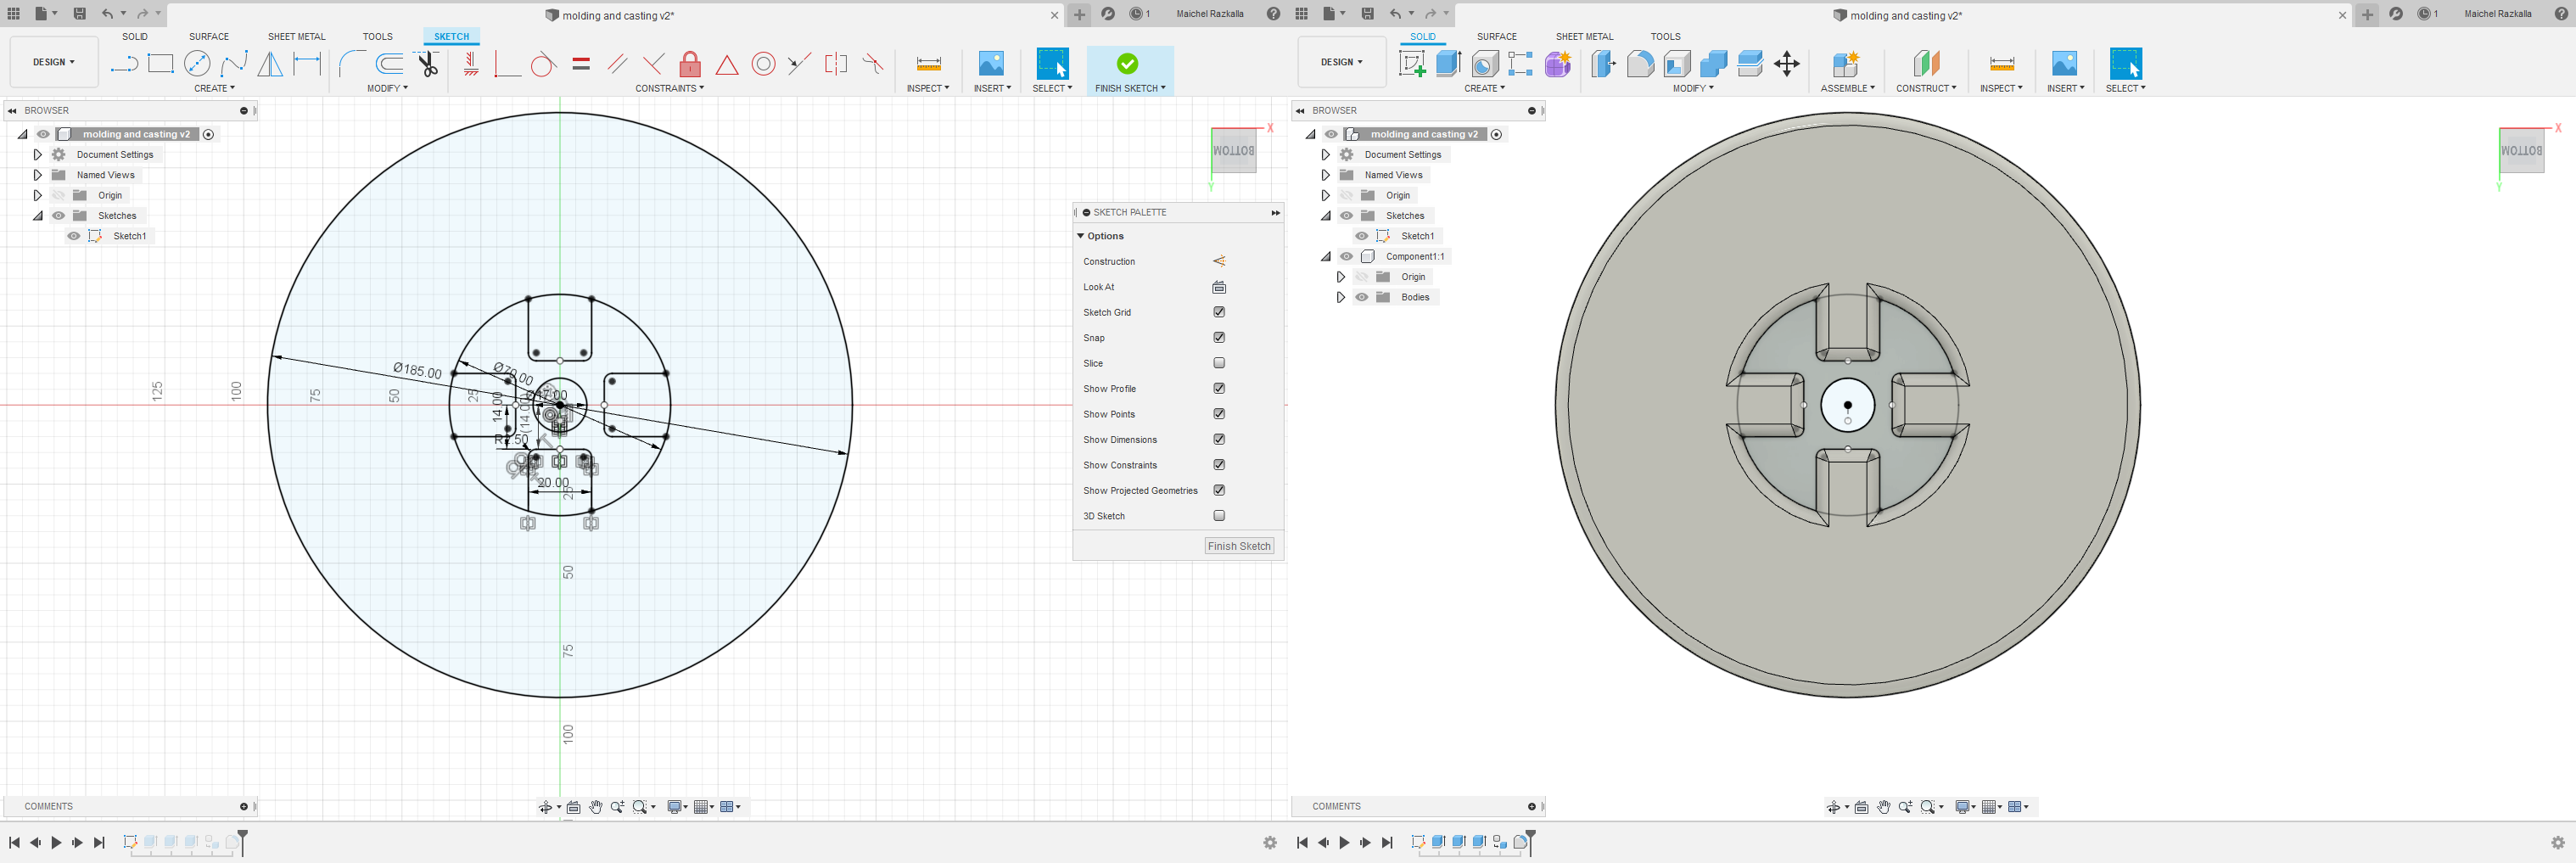
Now for the mold design.
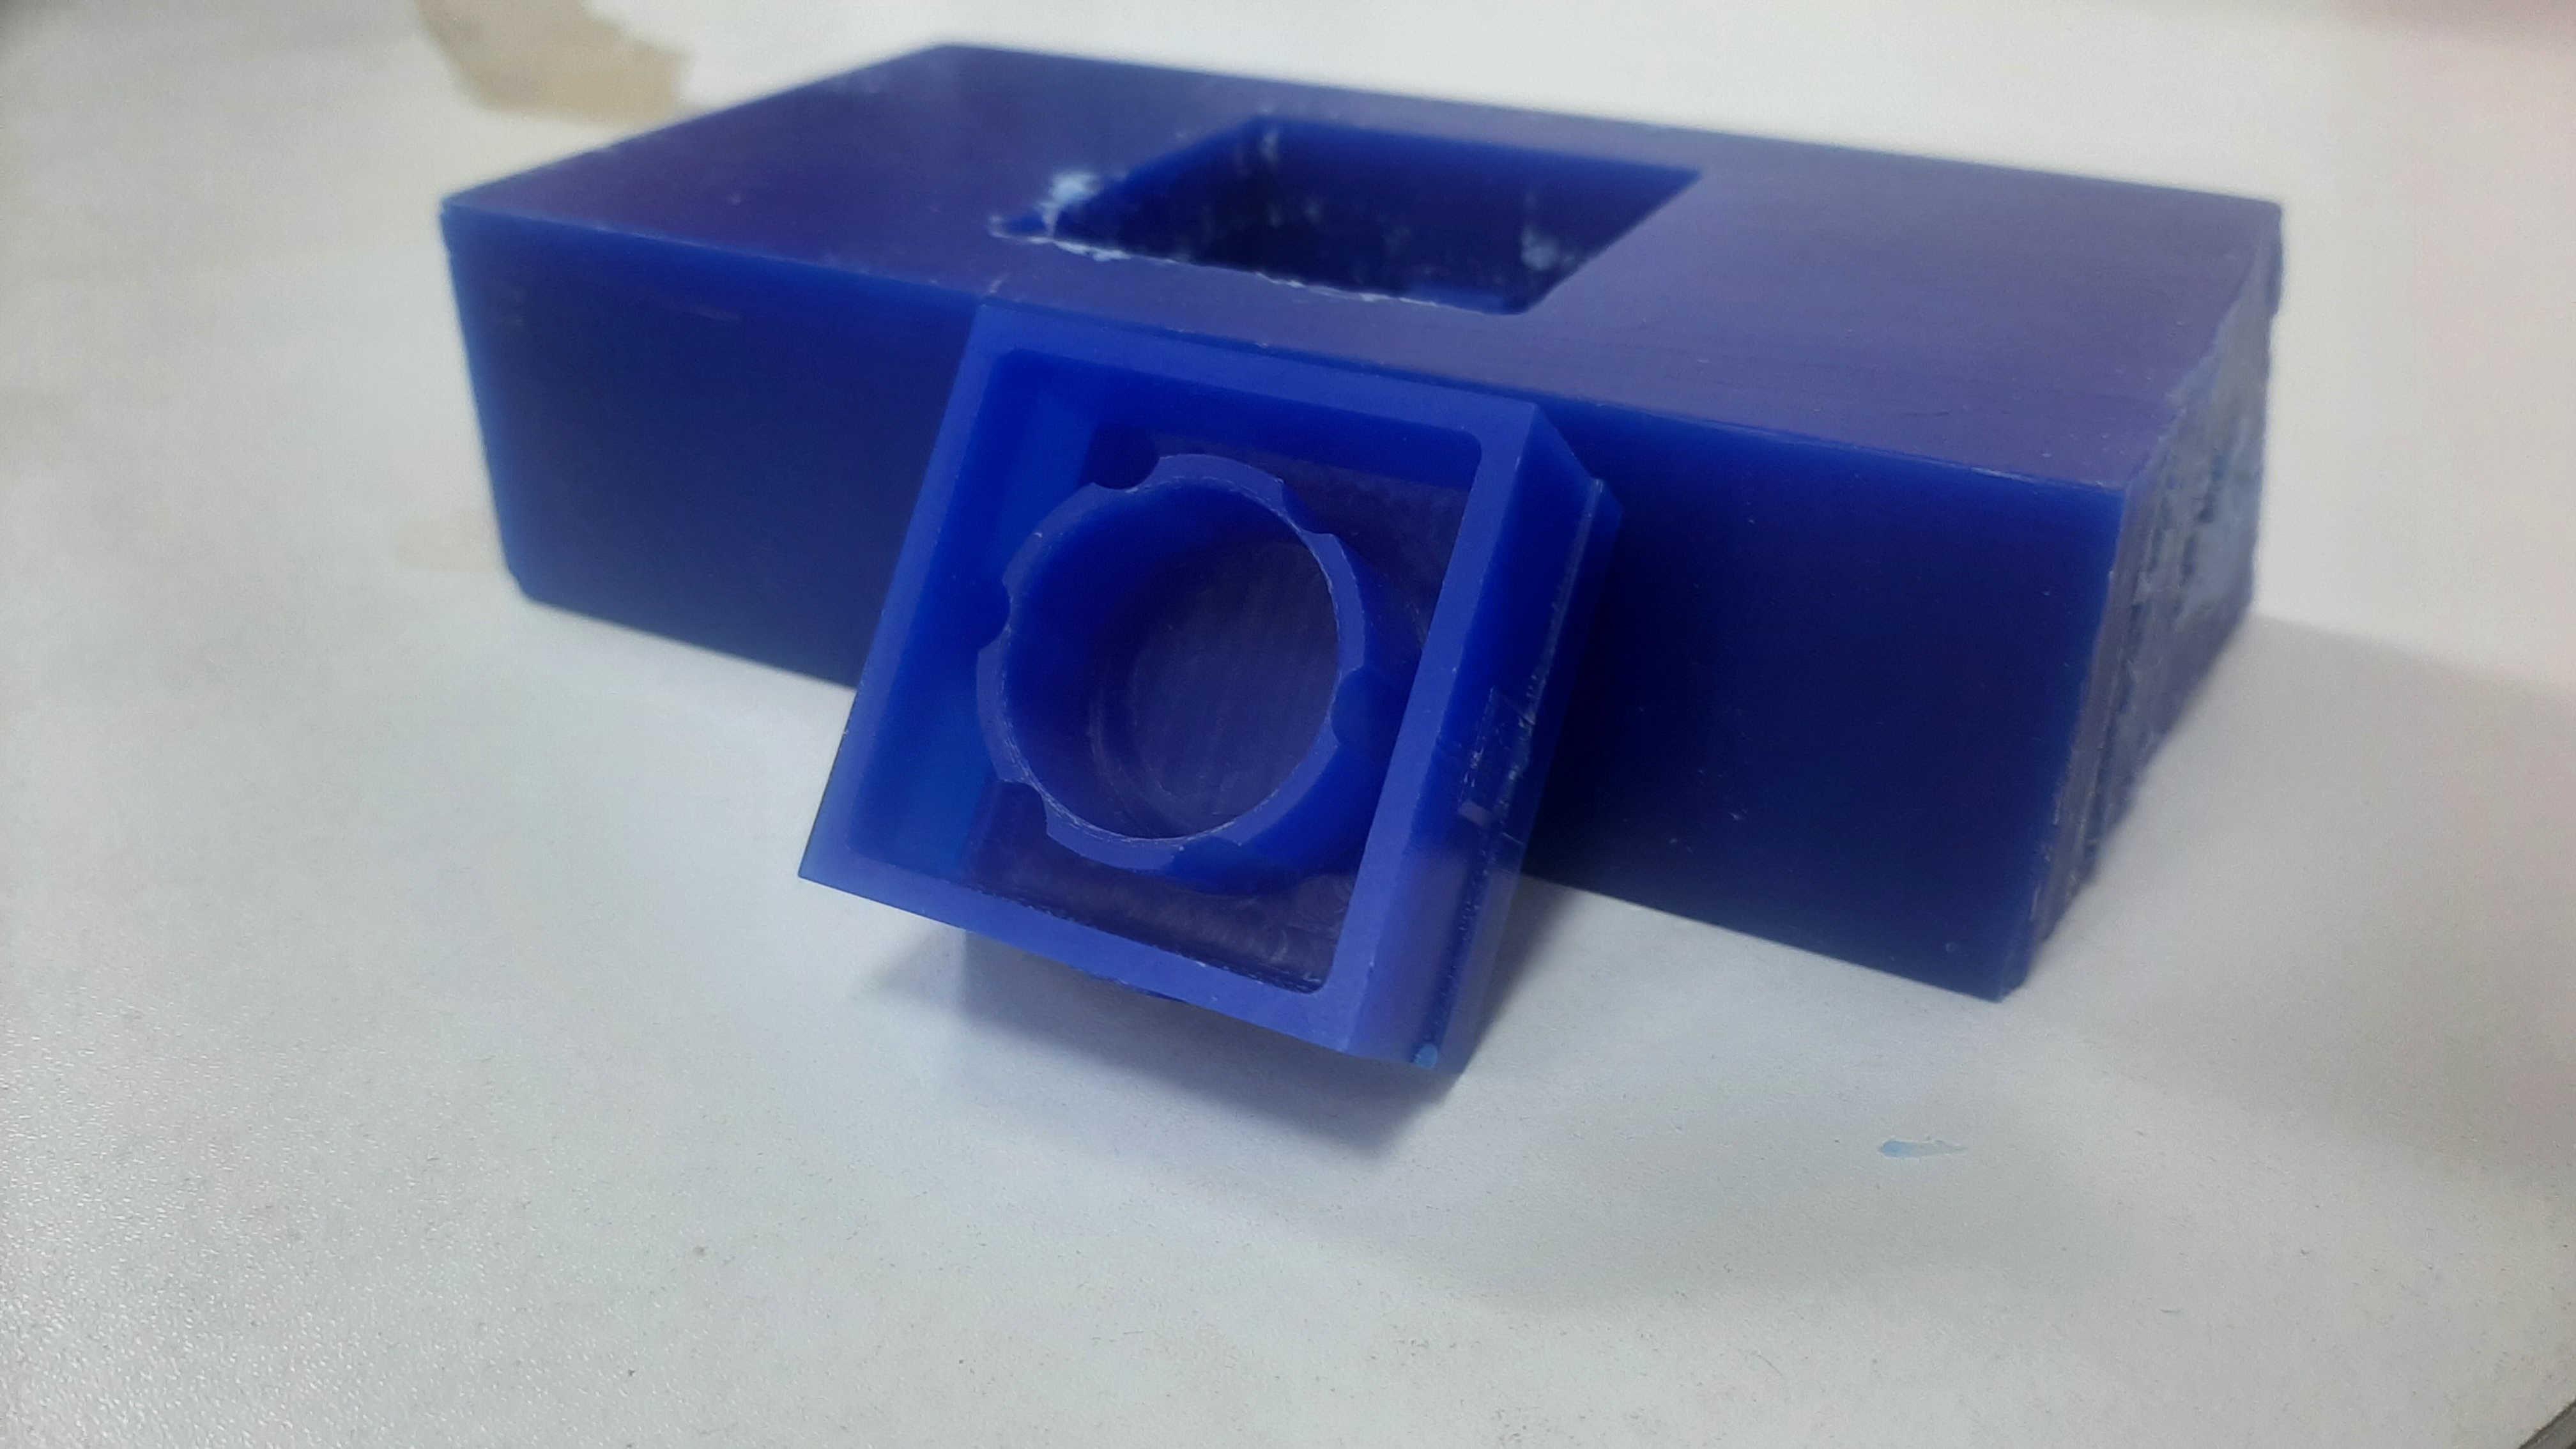
So after a lot of youtube mold design tutorial, I found an easy way to make a mold is to make a square body slightly bigger than the design and but it in the center of the design last is to extrude the main body from the square.
with few tweaks now I have my mold.

Note.
usually when anyone makes mold he makes 3 steps first to make his main design next to make his mode last to make a mold of his mold so it injects it with a soft material like rubber silicone mold so to be easier to release the main body after injecting our material into the rubber silicone mold, but in my case, because I don't have that match time I decided to make my main mold with wood and I will explain later how but because every injection to the mold takes 1-day latest to cure so to make the prosses faster I will inject my main material to the wood mold and I hope to work fine.
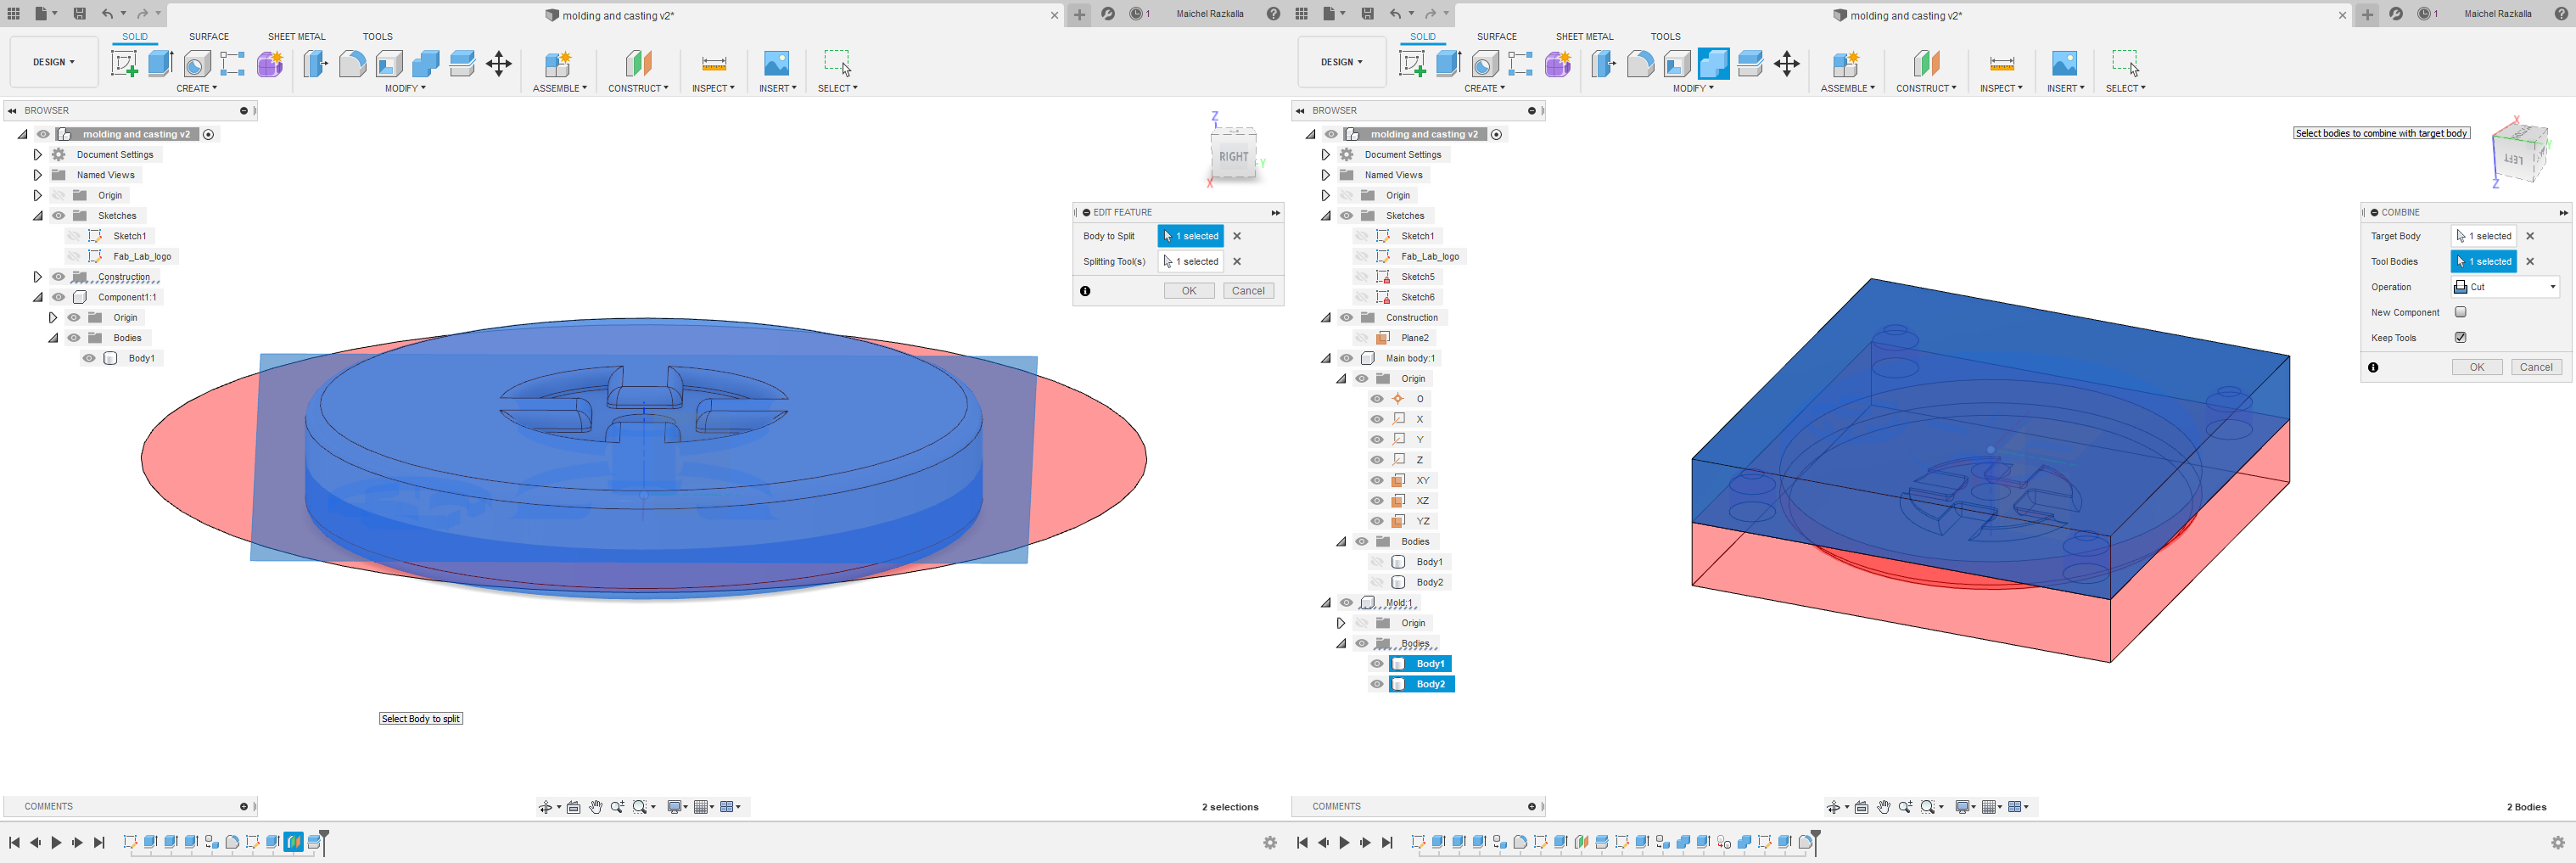
Next for changing the wheel size, I didn't make parameters but I was modifying the part from the fusion 360 timeline tracker bar, I found this way easier for me to accomplish but first, I need to apply the material density to the body so I can scale the design, so I used the cement as the material I will inject my mold with it and I will explain more at the cam process
so now to select the material and play it to the body first I need to open tool call "APPEARANCE" from MODIFY in it I found a lot of different materials but I didn't found cement at fusion library, so to easily fix that I select one of the materials and changed its properties to match cement.
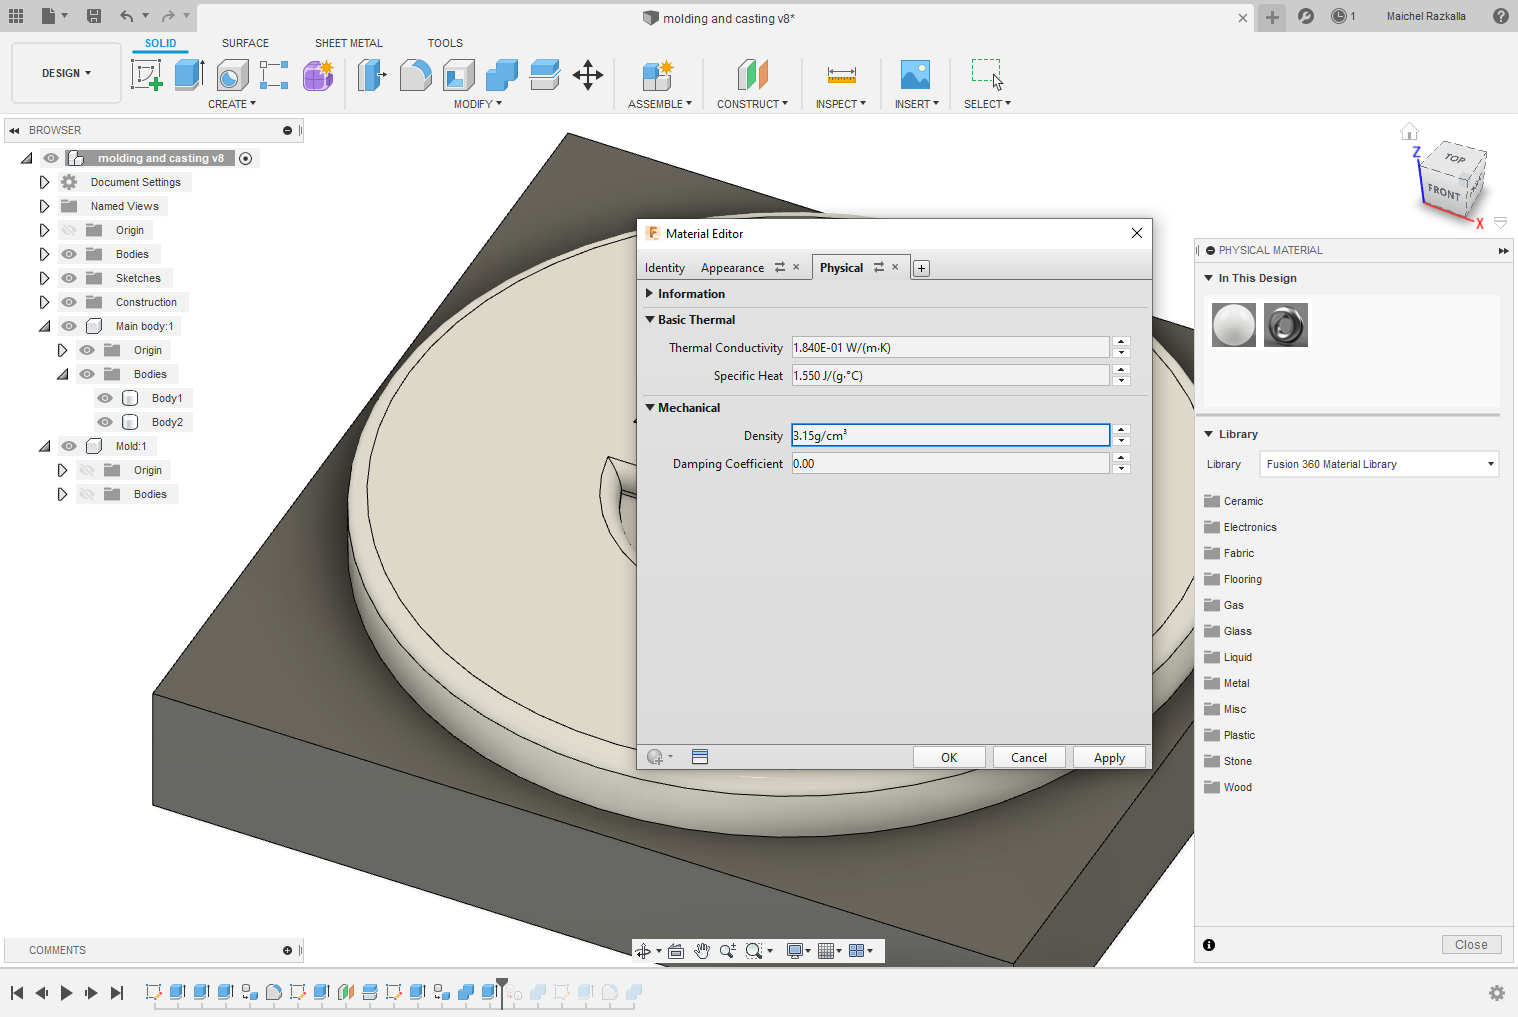
The next step is to back in history and modify everything untell I get the density I want and in my case that will be 2.5 KG .

cam process.
Now for the cam process so I used the aspire cam tools so in the 3d cam it was very different than the 2d street cut, So because it’s was my first time to cam 3D so I chose the cheapest material I could found, Next is to set the management of the wood that I have in aspire and the thickness
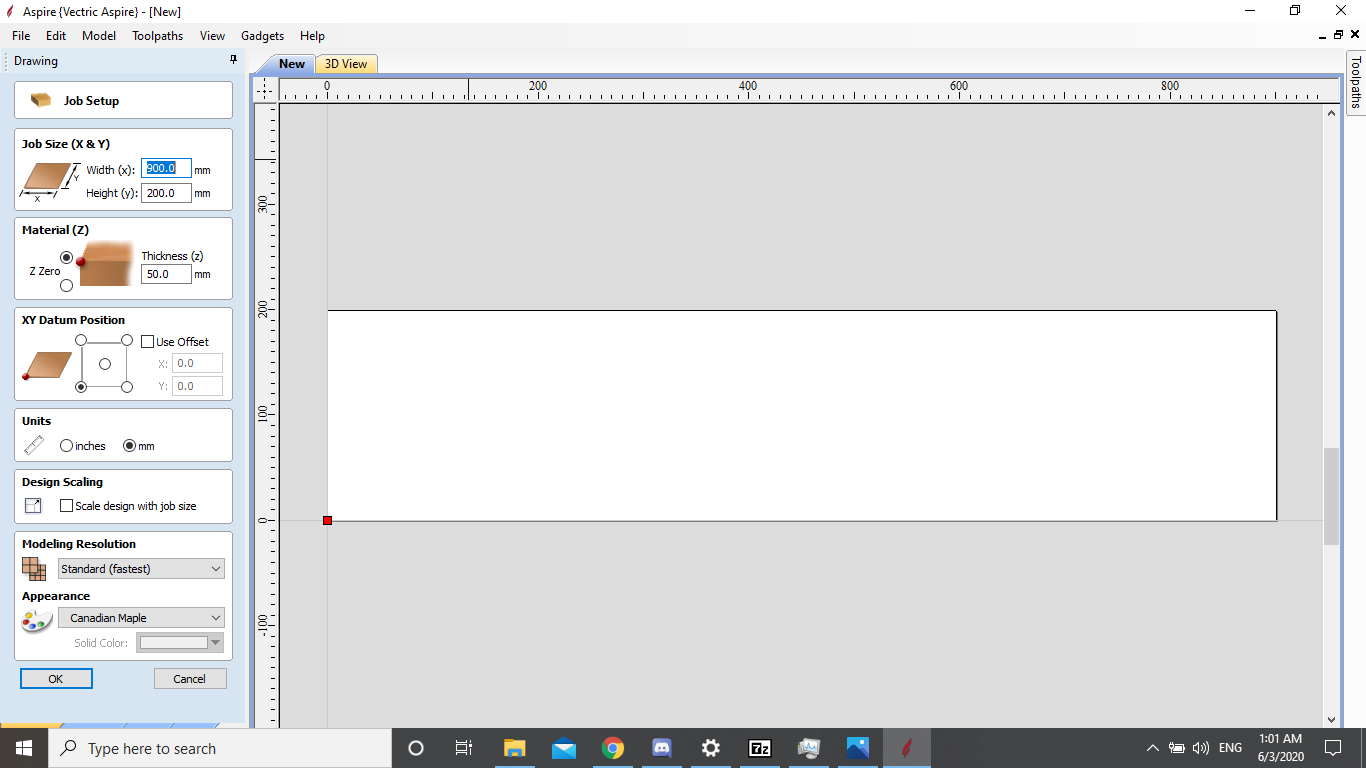
so the cheapest material I found can suits the job was Beechwood so now for preparing the g-code, So after exporting the STL file from fusion I will import it to aspire, next to set the origin of the STL file "Zero place position in model" and I set it at the Bottom.
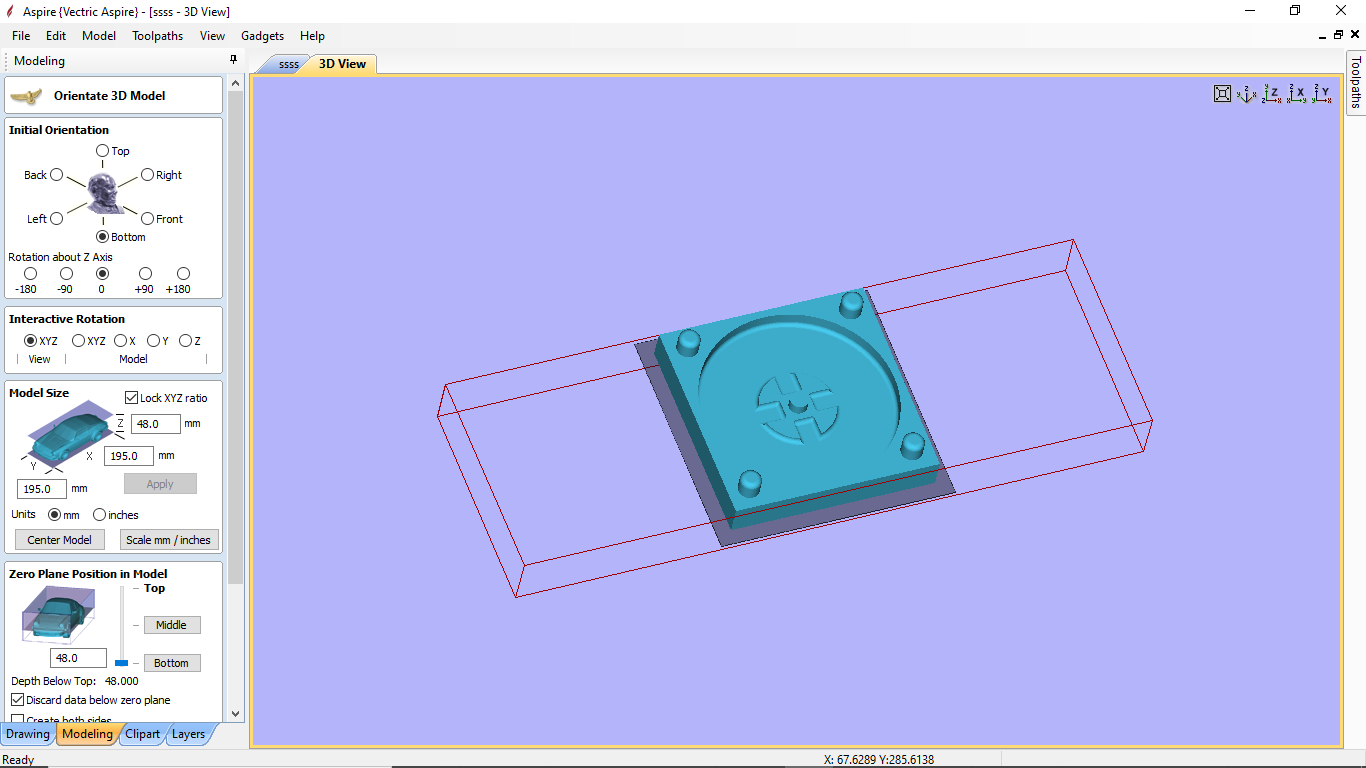
Now I will explain what I'm going to do in a fast way so first, I will use a tool called "Rough Machining Toolpath" basically it will cut all the Excess wood in a fast way so it wants to take match time if I used big endmill Next tool will be "3D Finishing toolpath" that will finish the part with the ball end mill to give the most smooth finish to the wood last to make a square have the same size as the model to cot the outline then we have finished the cam process X"D
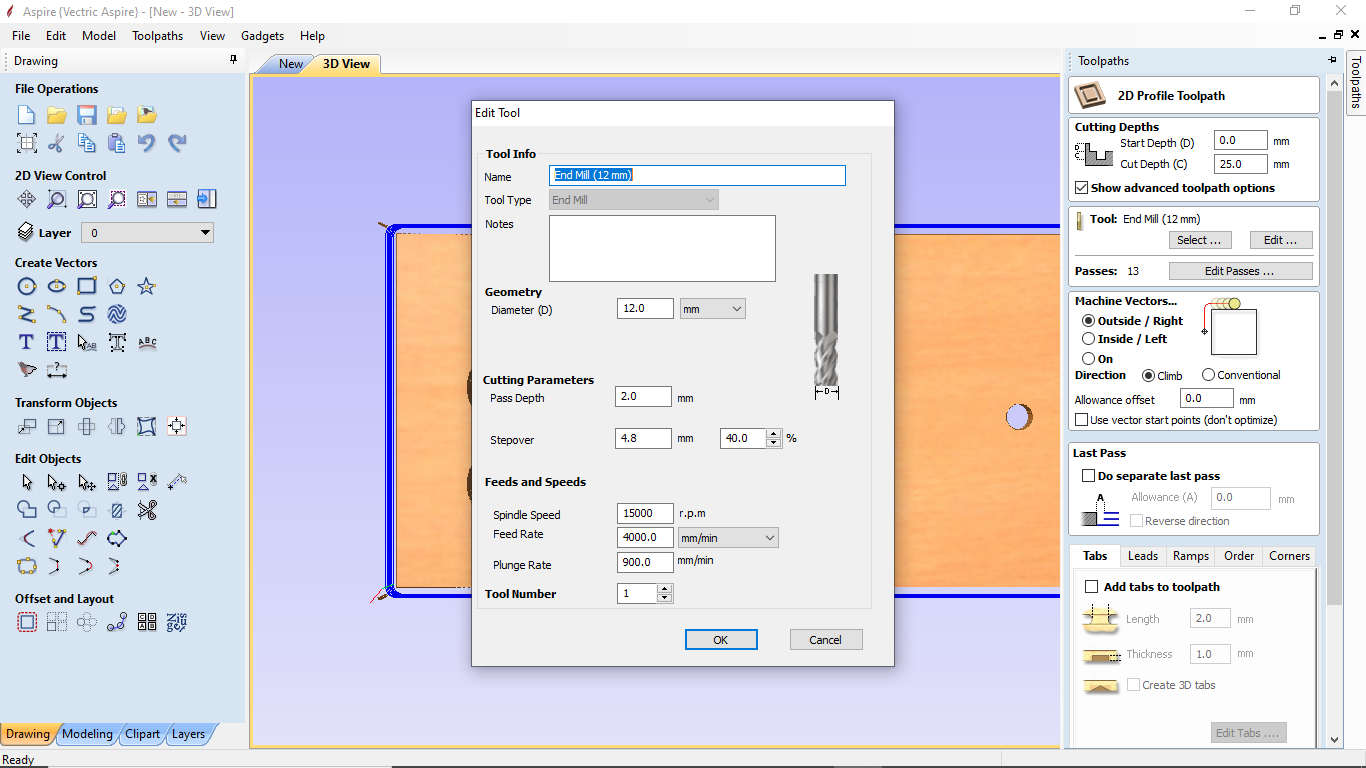
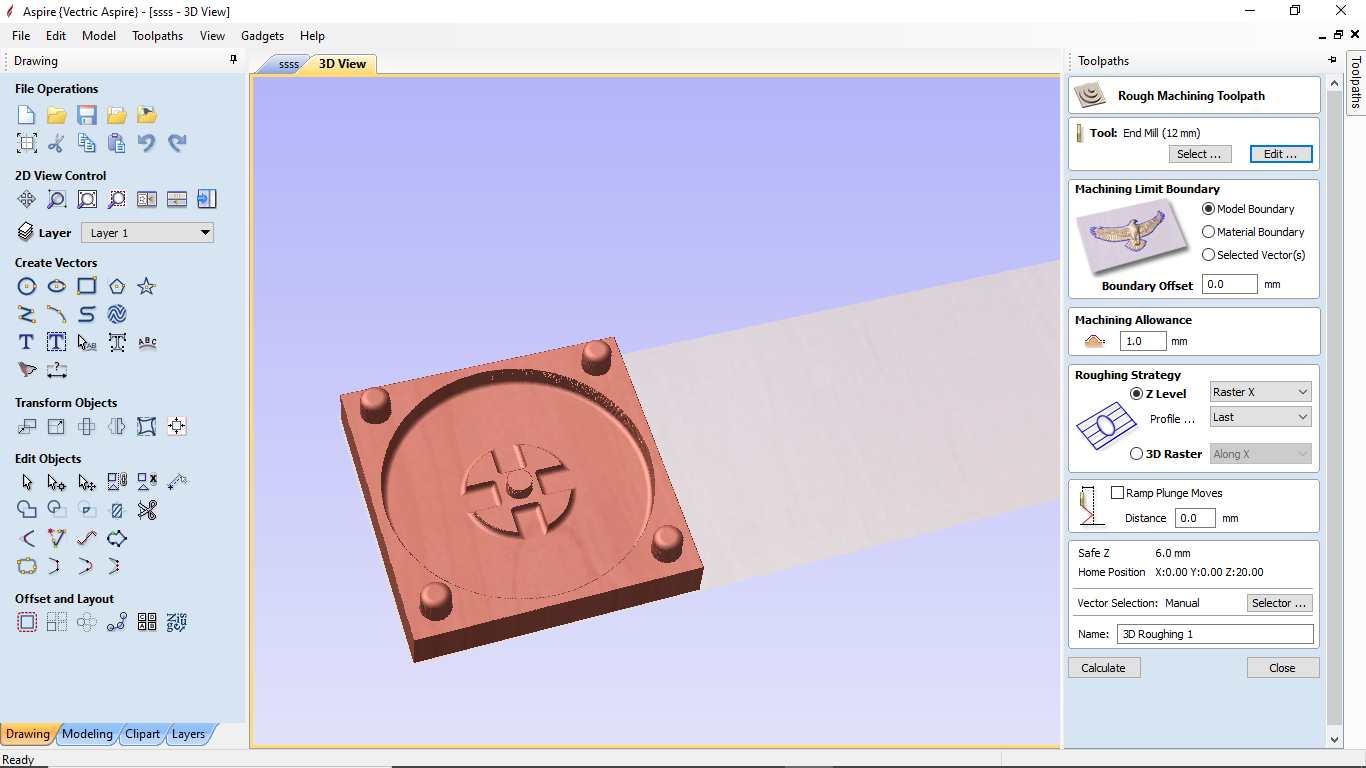
Now I will explain how to set the tools, first with Rough Machining Toolpath. first is to set the endmill size from the tools so to make everything go faster I will use 12 MM endmill because they don't have a lot of details, next to set the endmill tool cutting parameters and feeds and speeds as you can see in the pic.
now to run the simulation to see how everything will go.
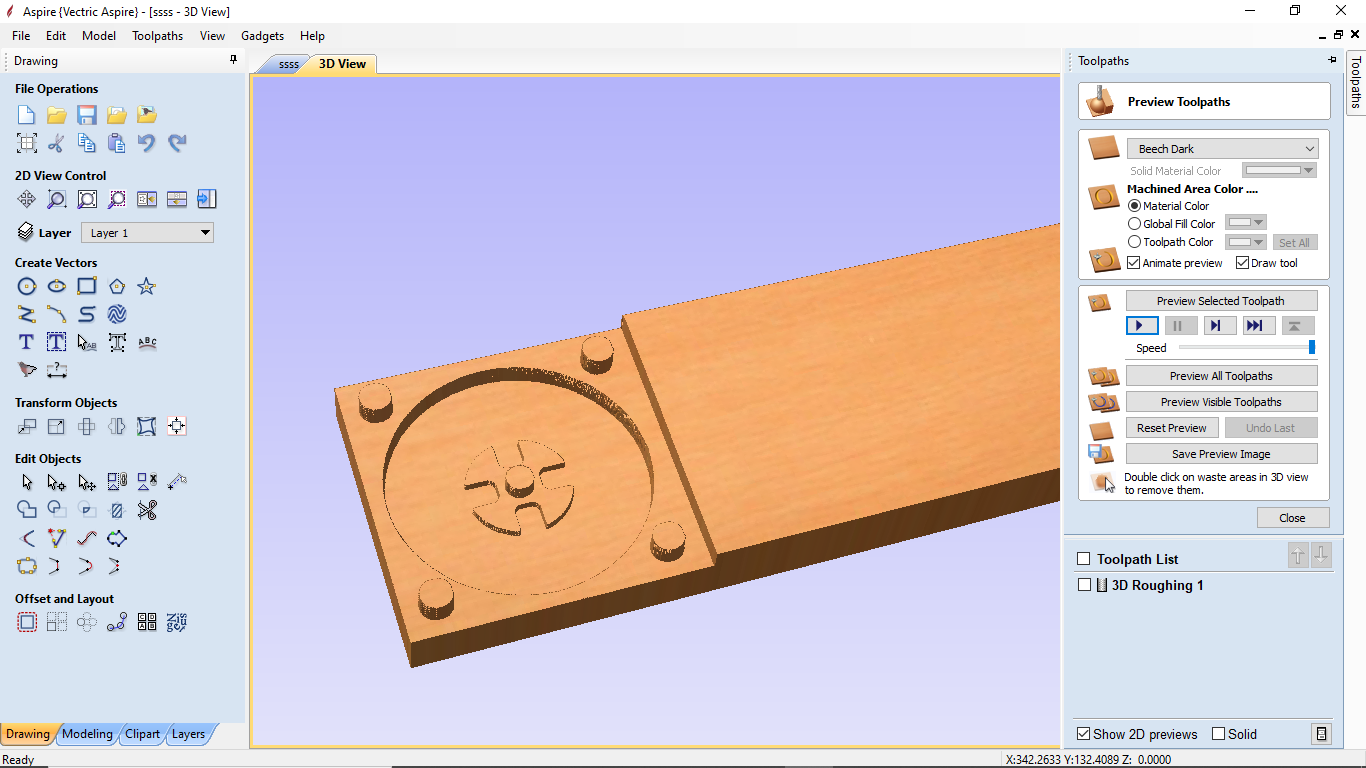
so everything looks good to now lat's use the 3D Finishing toolpath, so for the finishing, I will use a 3 ball-end mill to make everything smooth.
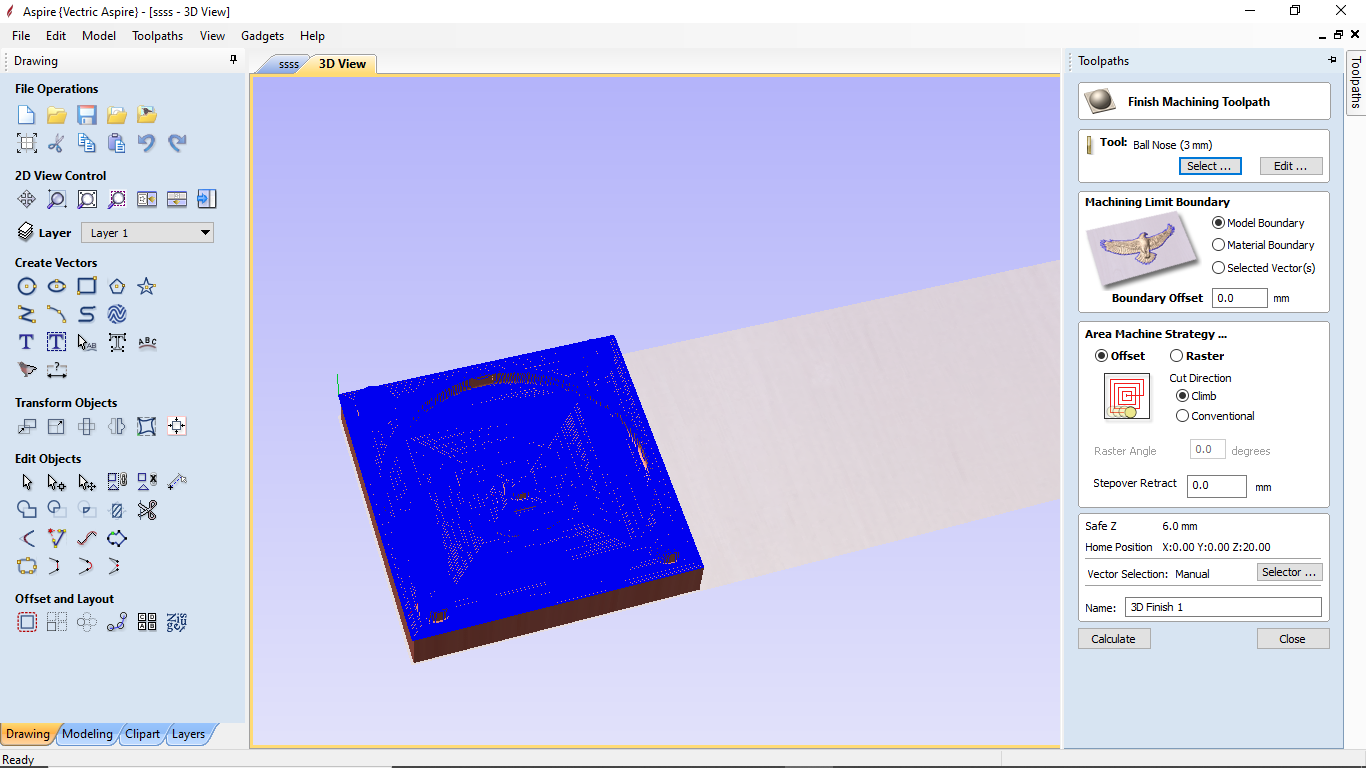
the last step is to make a square with the same parameter of the model and use the profile toolpath as I explained in "Computer-Controlled Machining" week to cut the part so now we have finished lastly is to export the g-code to execute it.
casting process.
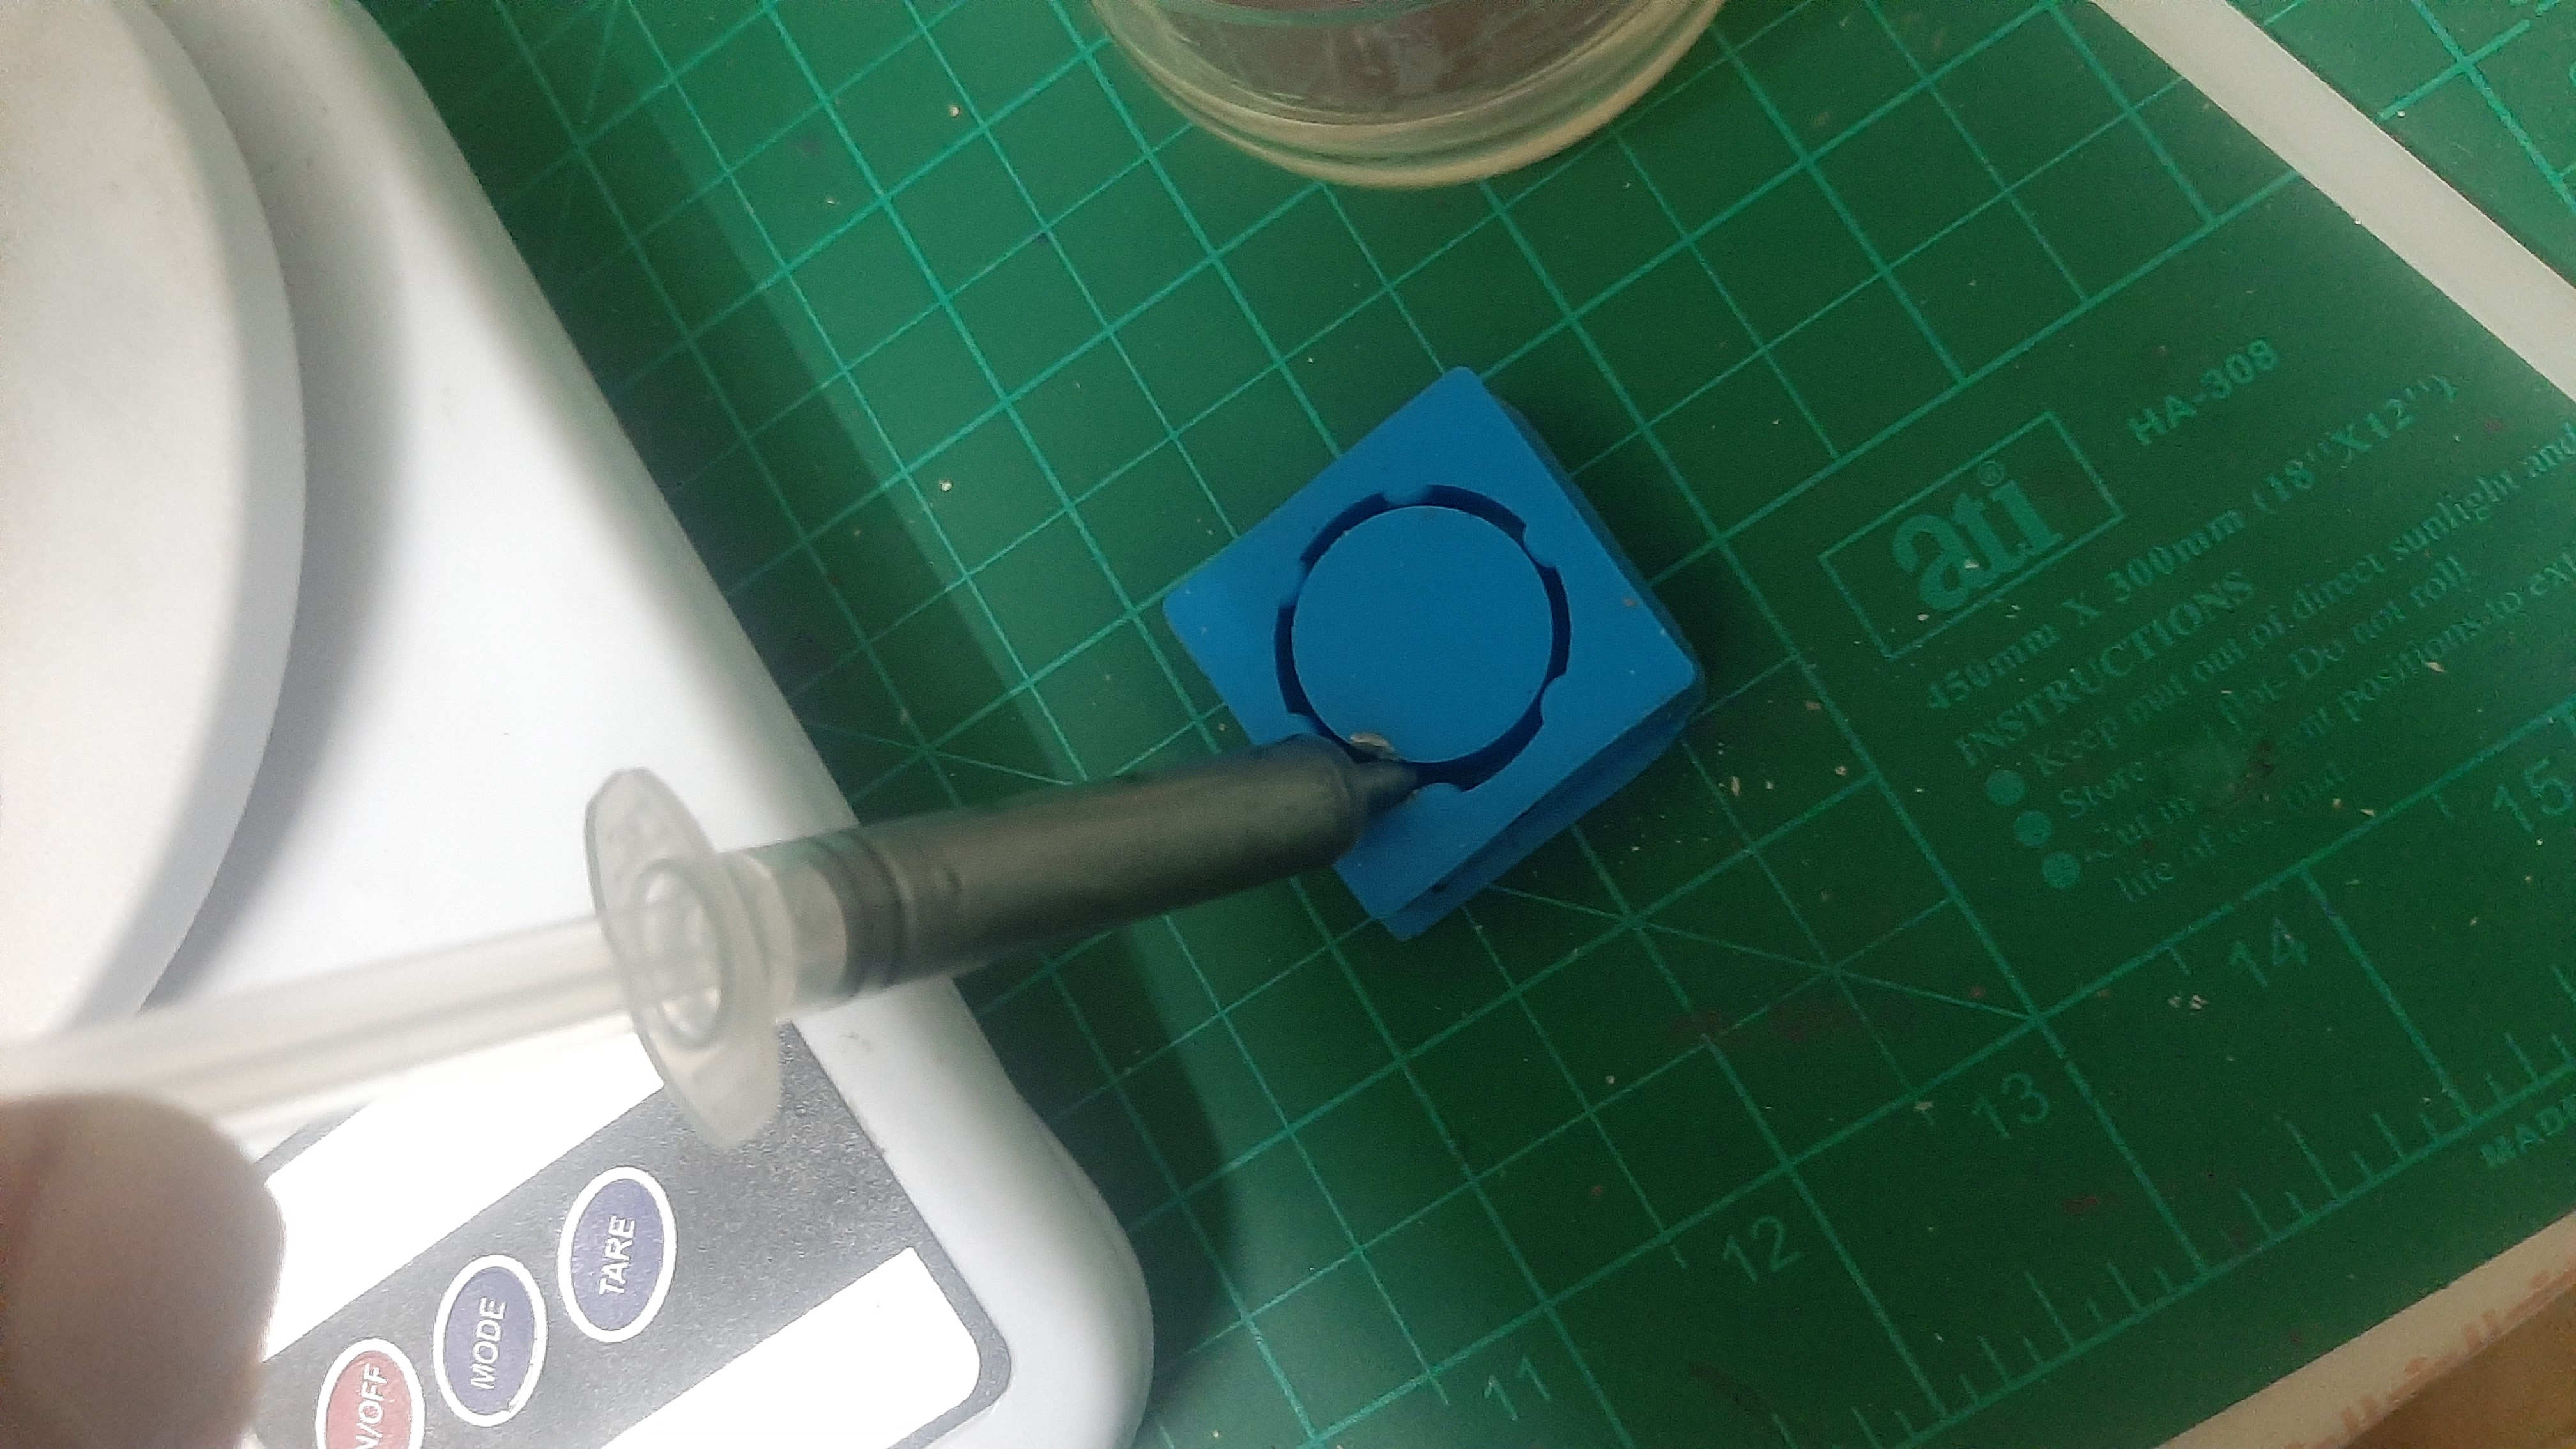
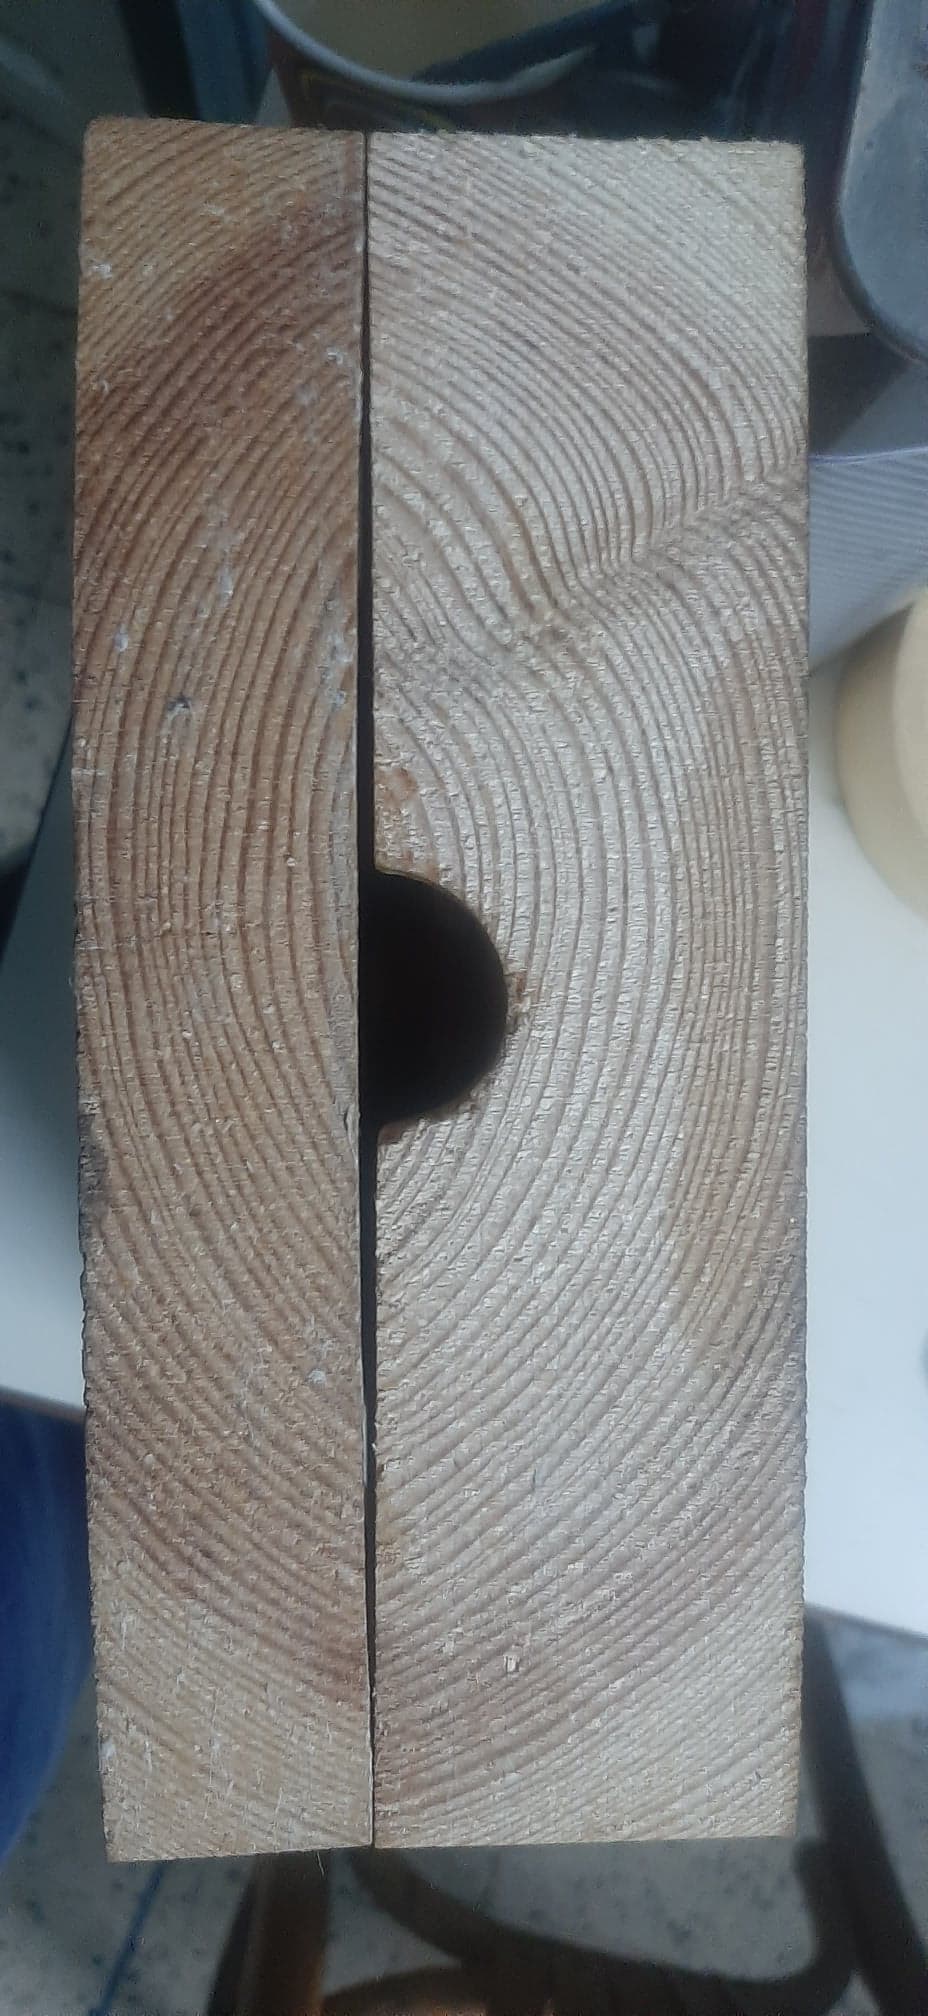
Now for the casting process so I decided to cast directly to the wood after Treated wood pores with a wood sealer to close the wood pores and provide cement from sticking to the wood anyway I will test only with half of the mold to see if the cement will stick or not so if I’m wrong about it I don’t waste a lot of time and material.

First try was kind of success but I didn’t know the mixing ratio between the sand and the cement so I put 3 parts of sand with one part of cement and that makes The mixture a bit weekend fragile but my concept was right and the cement didn't stick with the wood
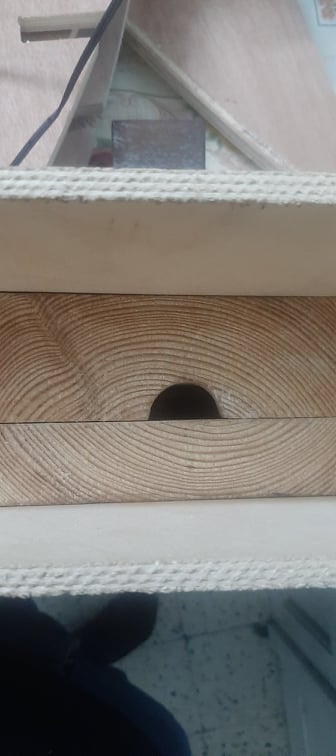
so now I will end the Second half of my mold.
After repeating the last process of the cam and prepare the part it’s time to see if everything will go, Unfortunately, the first part I cast in it gets a little bit warped and there was an easy way to fix the problem with 2 pieces of Plywood and help with the vise tool the wood damage has been fixed
now for mixing the cement with sand, so now I have changed my mixing method I put 1 part sand and 3 parts cement now I have mixed the cement with sand and adding water until gets a smooth texture so to be easy to add it to the mold
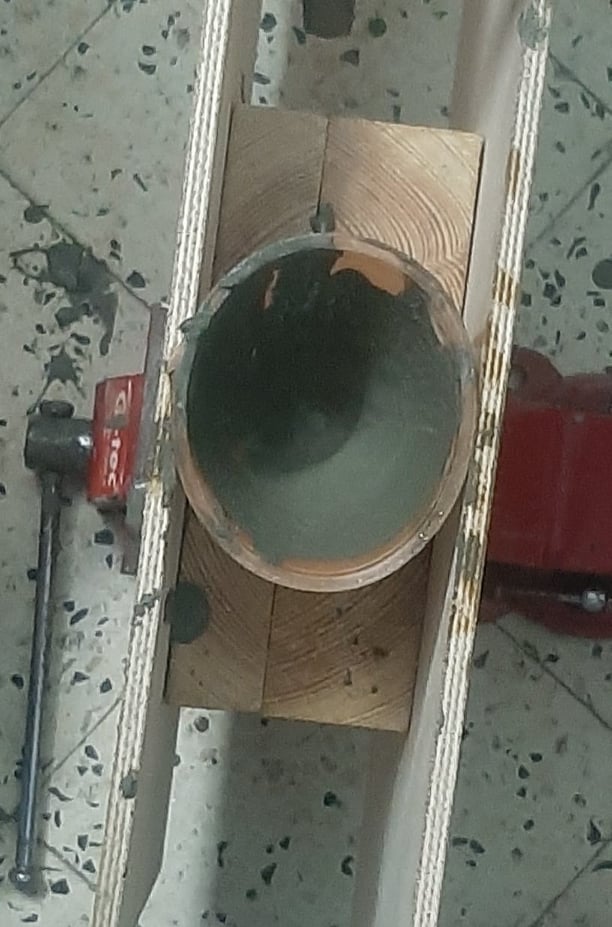
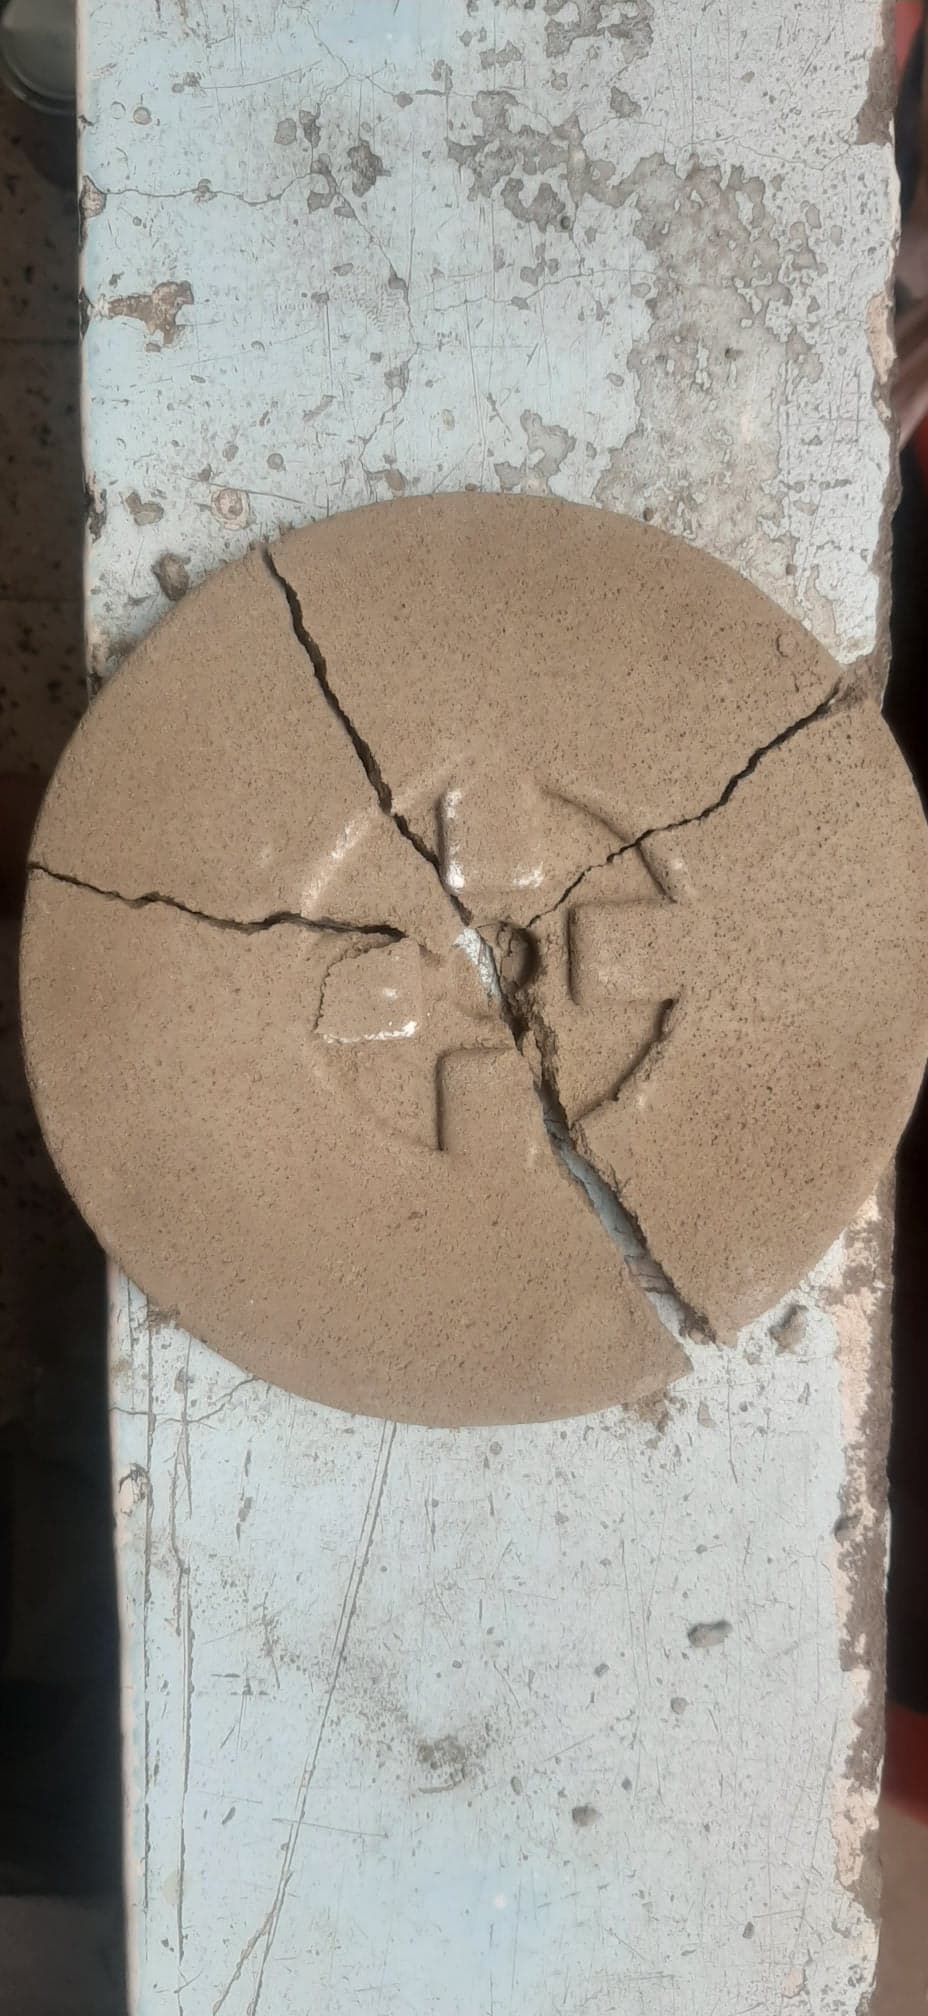
so the result was great but there was one problem so the cement density was a little bit off because the wheel weight was 1.7 kg instead of 2.5 kg.
so at this point, I didn't know if I'm going to scale my original design and try to calculate the right weight this time or cut my losses and move on so I need now to finish the Hanson Dumbbell Bar part and if everything goes well I will remake my mold.
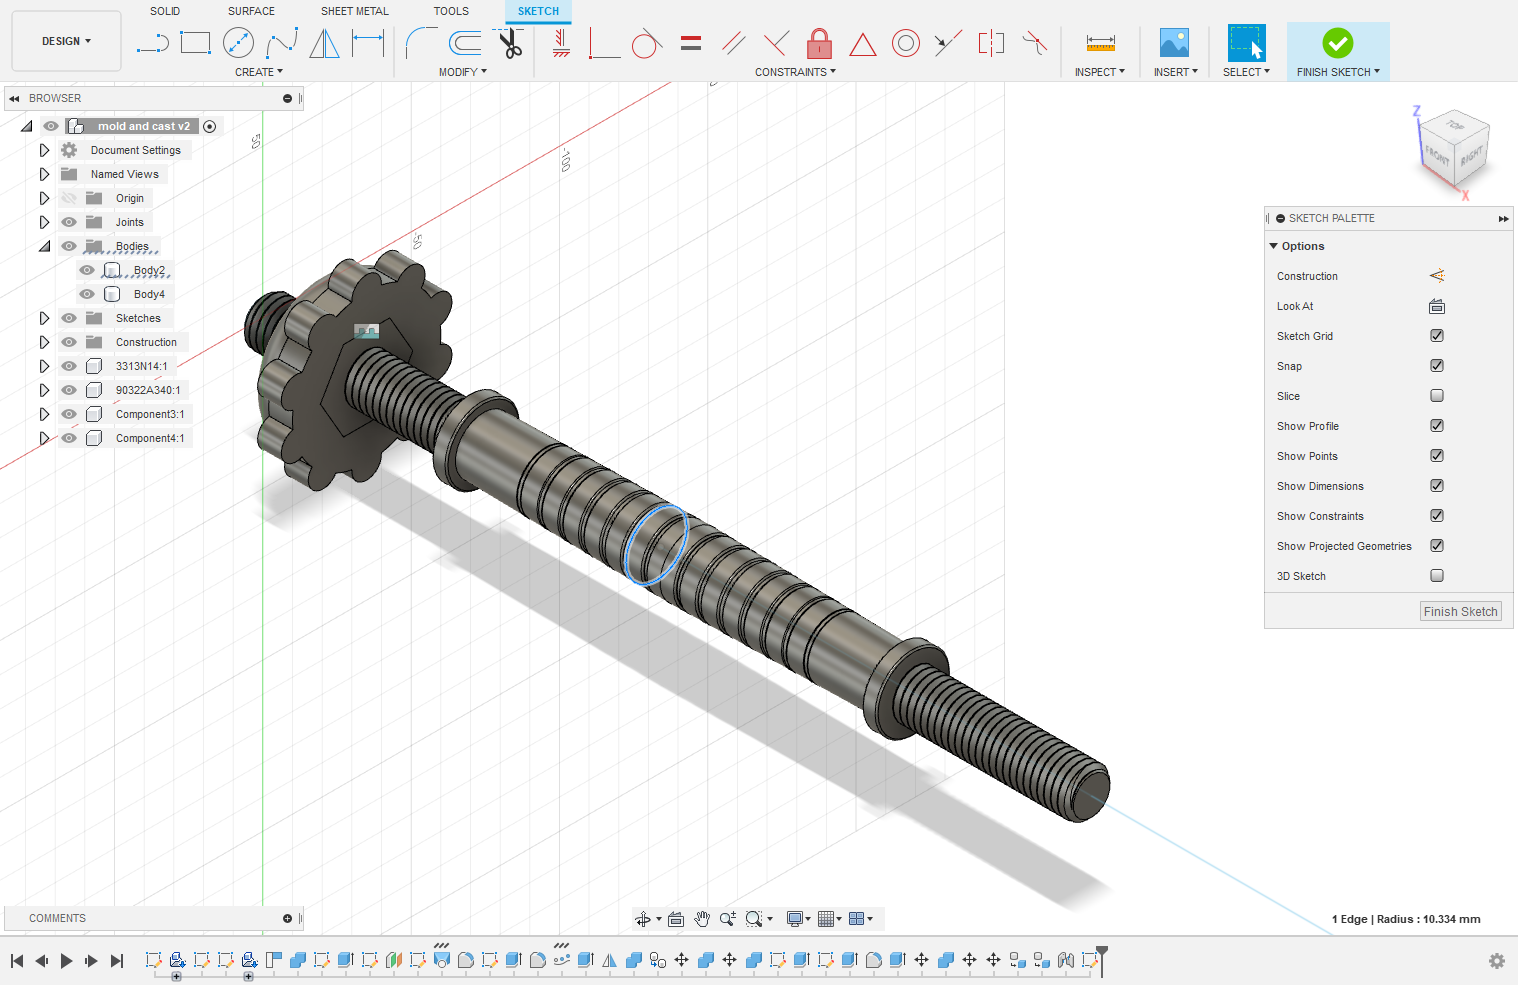
So I found 5/8 inch Threaded Rods and I thought it will be perfect for this project so I started with growing the handle and i ended up with this and it's lock good
I did a big mistake that I didn't understand from this assignment at the beginning that I have to make 3 steps without shortcuts.
- make the mold.
- casting a flexible negative.
- use the soft negative mold to make a hard positive product.
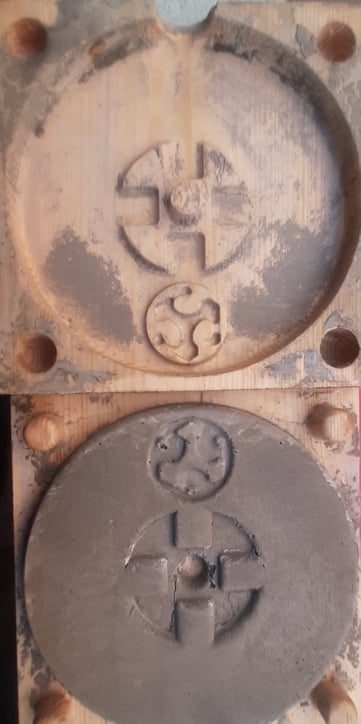
but in the previous trial, I skipped the casting of a flexible negative and that was wrong because using the flexible negative I can cast more than 100 times but when I used the wood to cast my material directly I damaged the mold after using it for 5 times.
So now I have to repeat the process all over again X"D
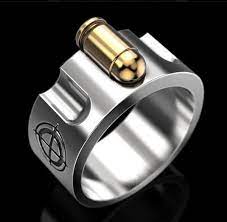
I decided to make a small ring this time using MDX 50, oh this is a pic of the ring that I attended to make X"D
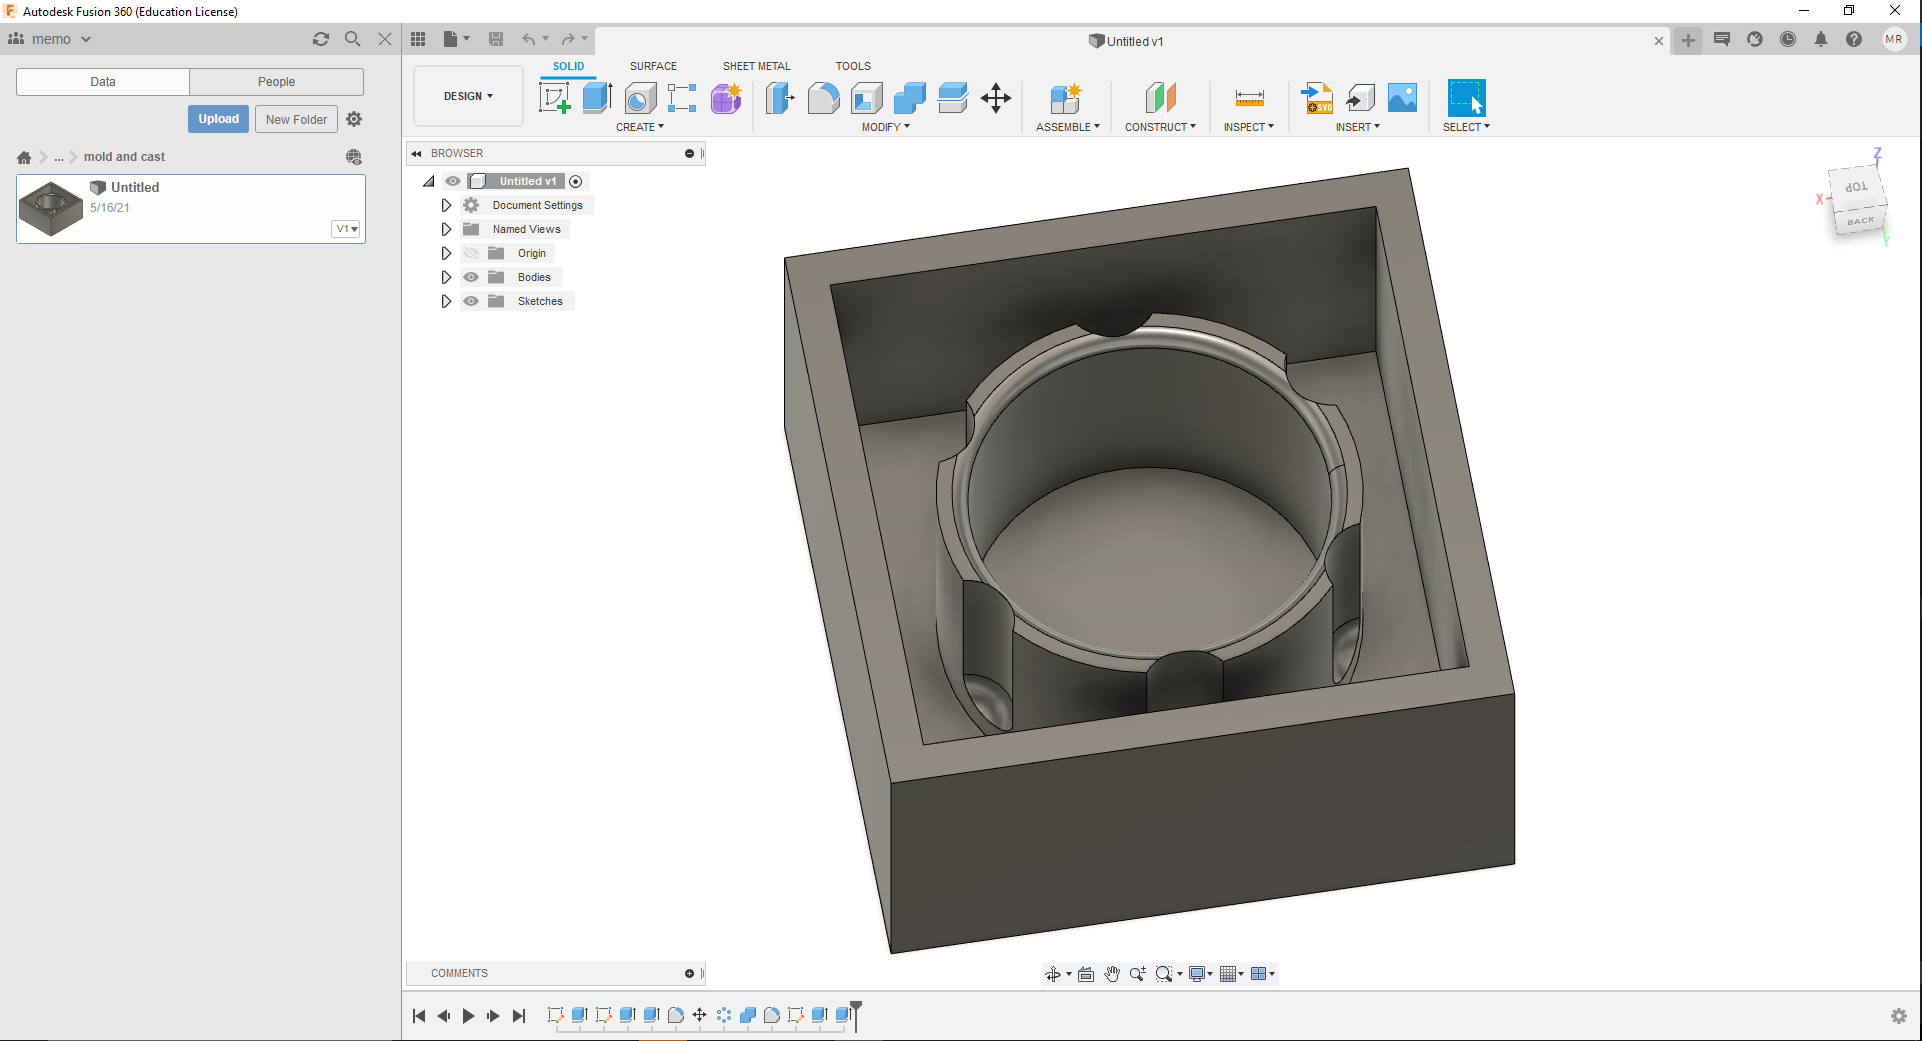
after a while, with fusion 360 I ended up with this design I think it's pretty similar to the pic right X" D, now for the milling process.
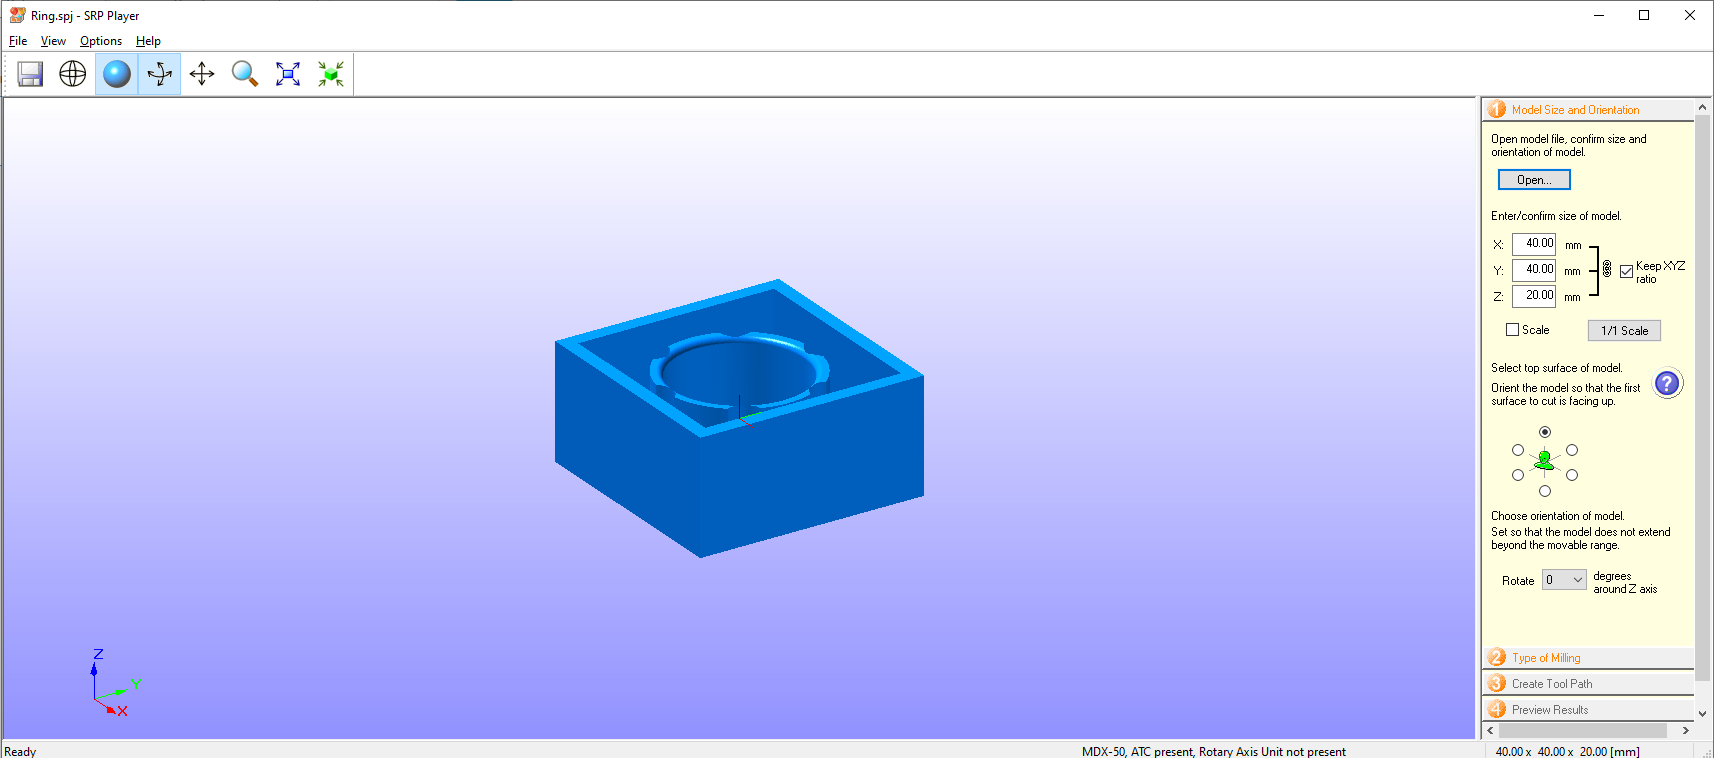
SRP Player
In SRP Player just open the STL file
On the next screen, you can scale the model and put it in the direction, how the object should be milled.
Type of milling:- Here you can choose if the model has flat planes or many curves. For this easily shaped object, I took the Faster cutting time and Model with many flat planes option.

Create Tool Path:- set the workpiece material and size. With the Edit button, we can adjust the roughing and finishing settings.
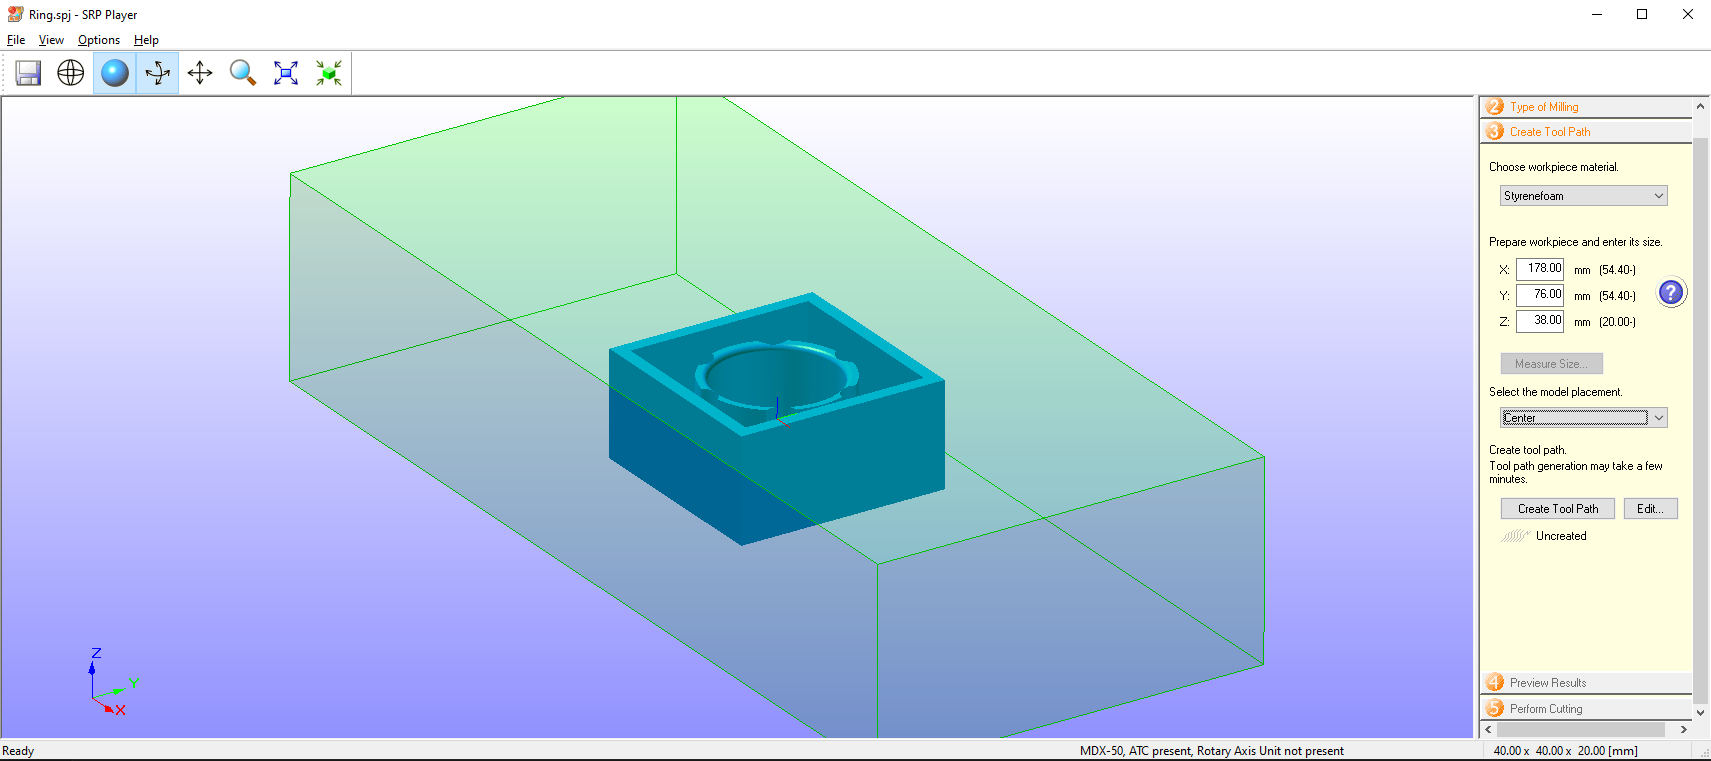
Edit Tool Path:- In the Finishing section, I changed the milling tool to a 2mm square. That gave me smaller rounded corners

Then I’ve to Apply and Create Tool Path

The preview shows me an estimated cutting time from 1h
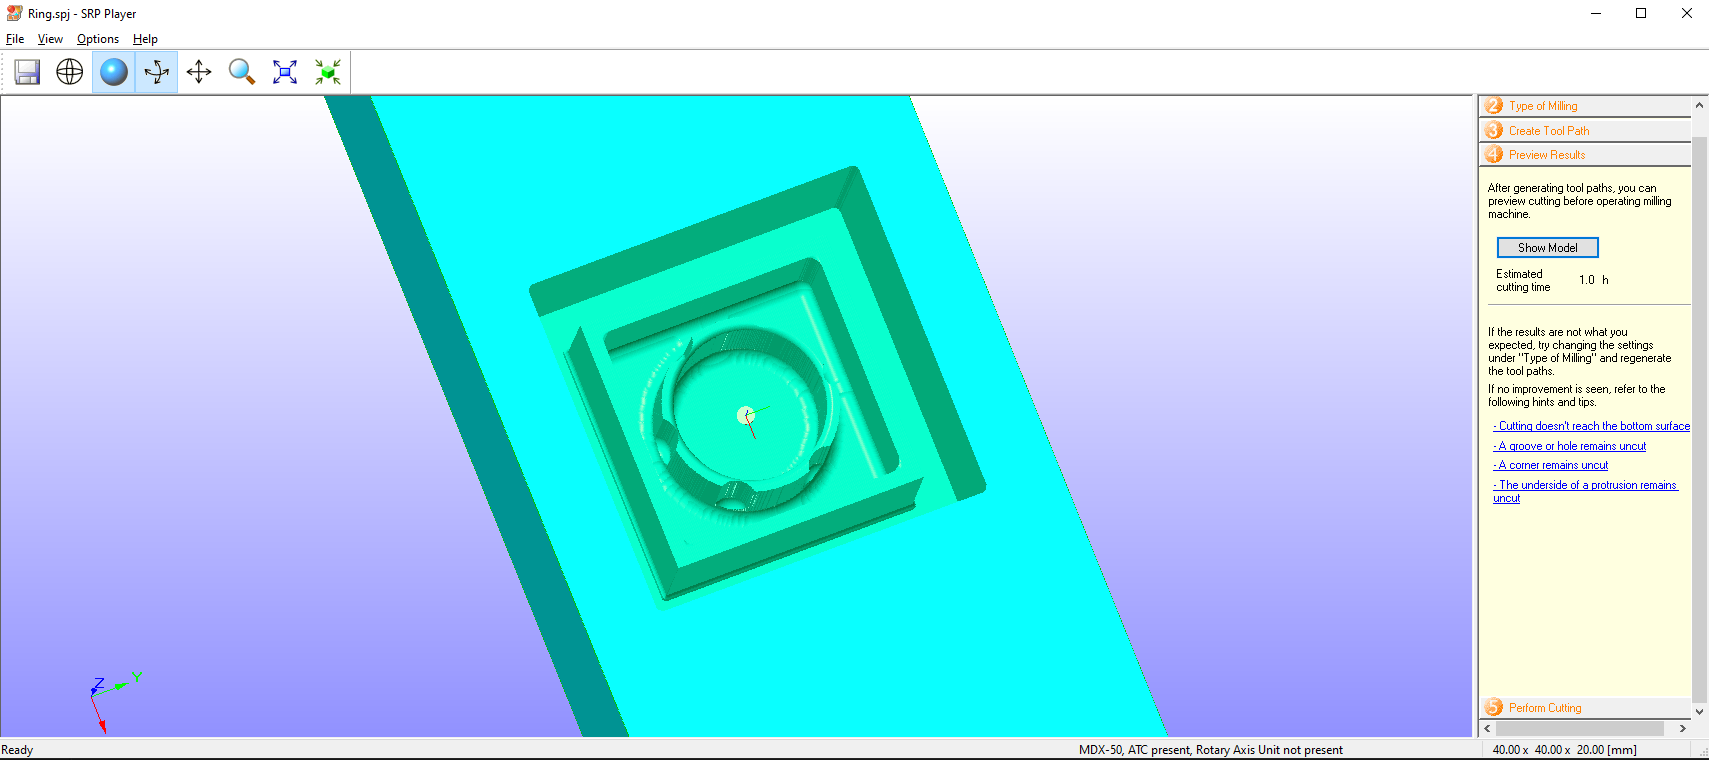
preview of the finished cut
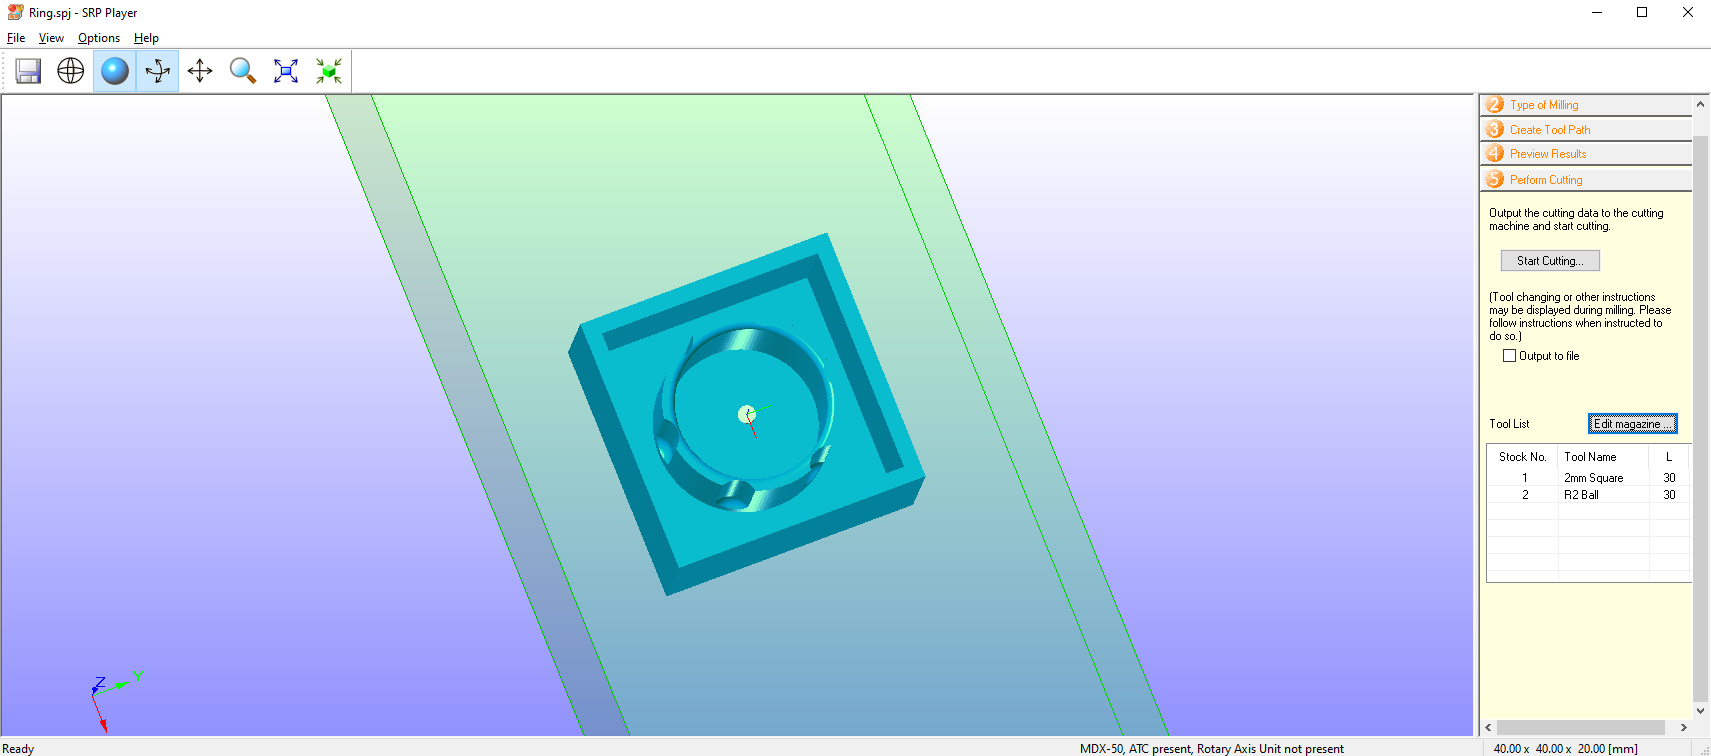
Perform Cutting:- The Perform Cutting part show me, which tools in which Stock of the automatic tool changer magazine is expected
VPanel
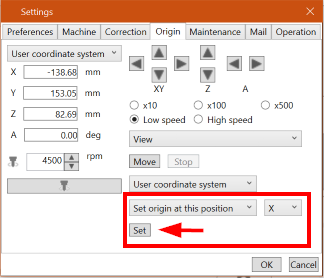
Setting the zero point:- Now it’s time to switch to the Roland VPanel software, go into settings.
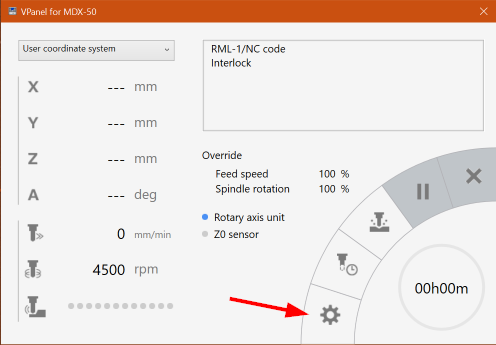
move the spindle to the right side of the workpiece, you want to start milling. The SRP Player adds some ‘secure space’ on both sides. That’s the reason, why the zero point is a view centimeter to the right of my start point. Confirm with Set.
start the milling process
The full cut process.
final result
Casting
I'm gonna use rubber silicone for casting the mold, for mixing with silicone It came in 2 bottles 1 part from each bottle.
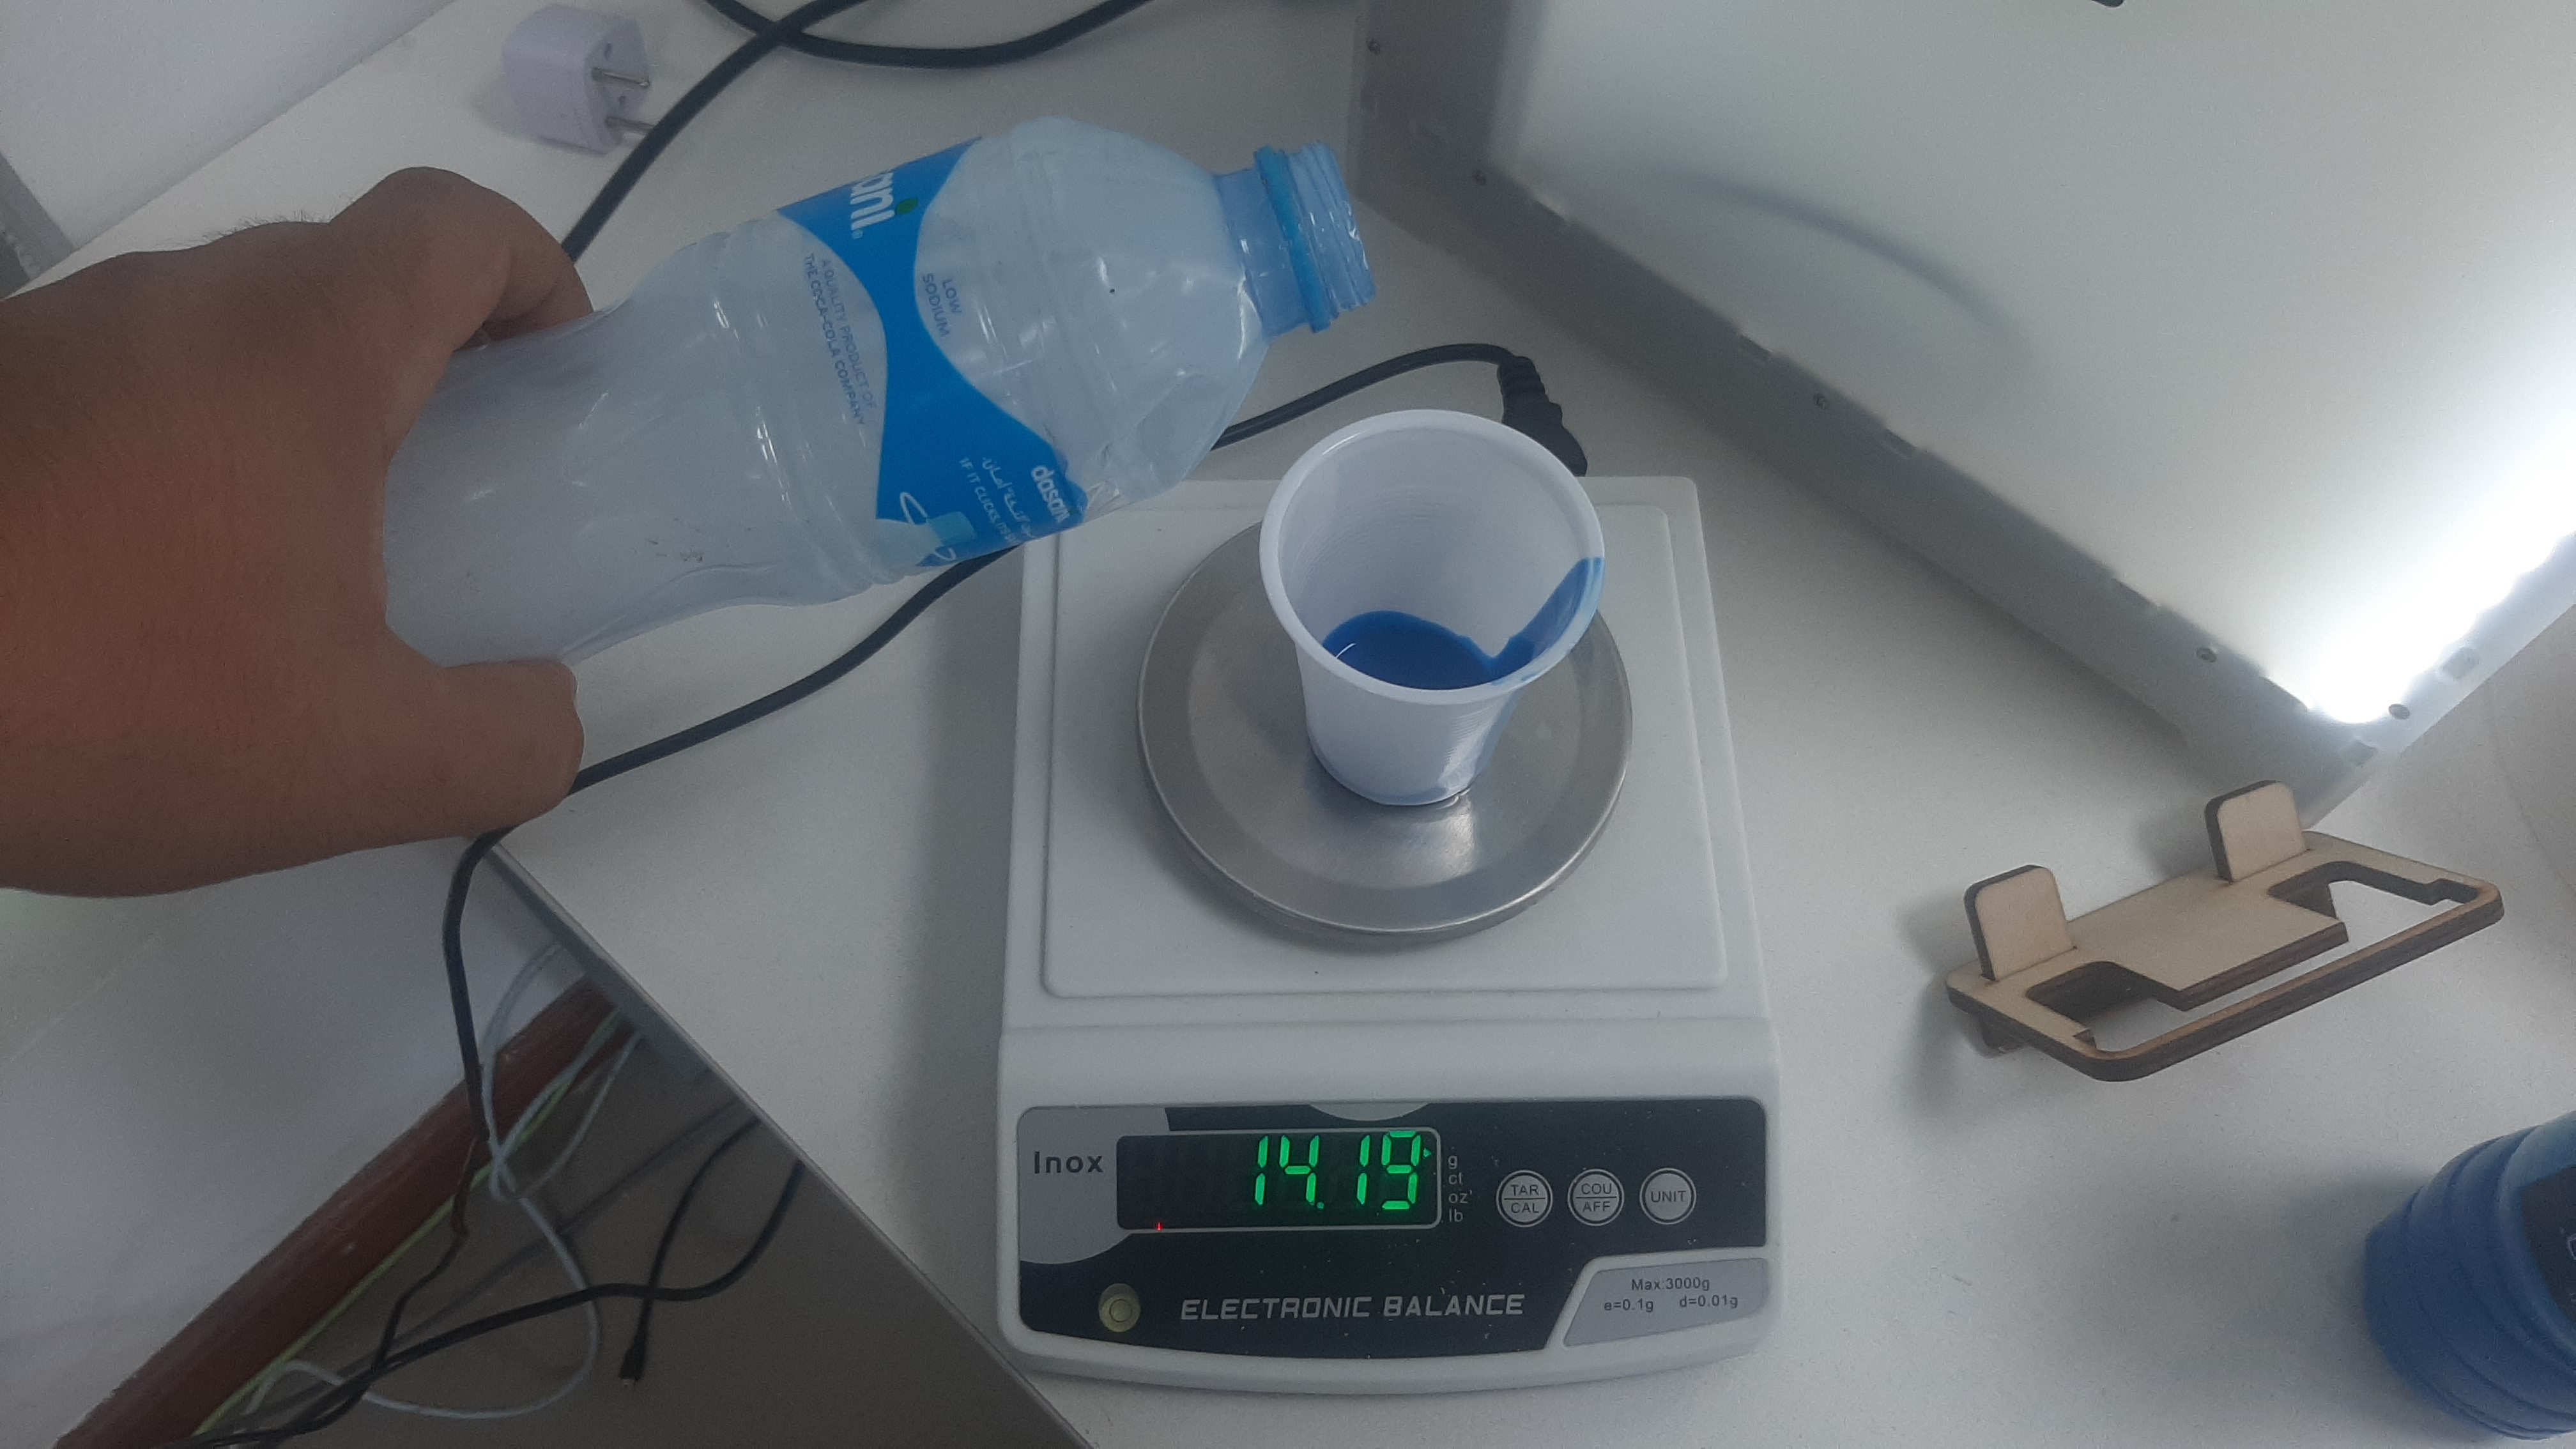
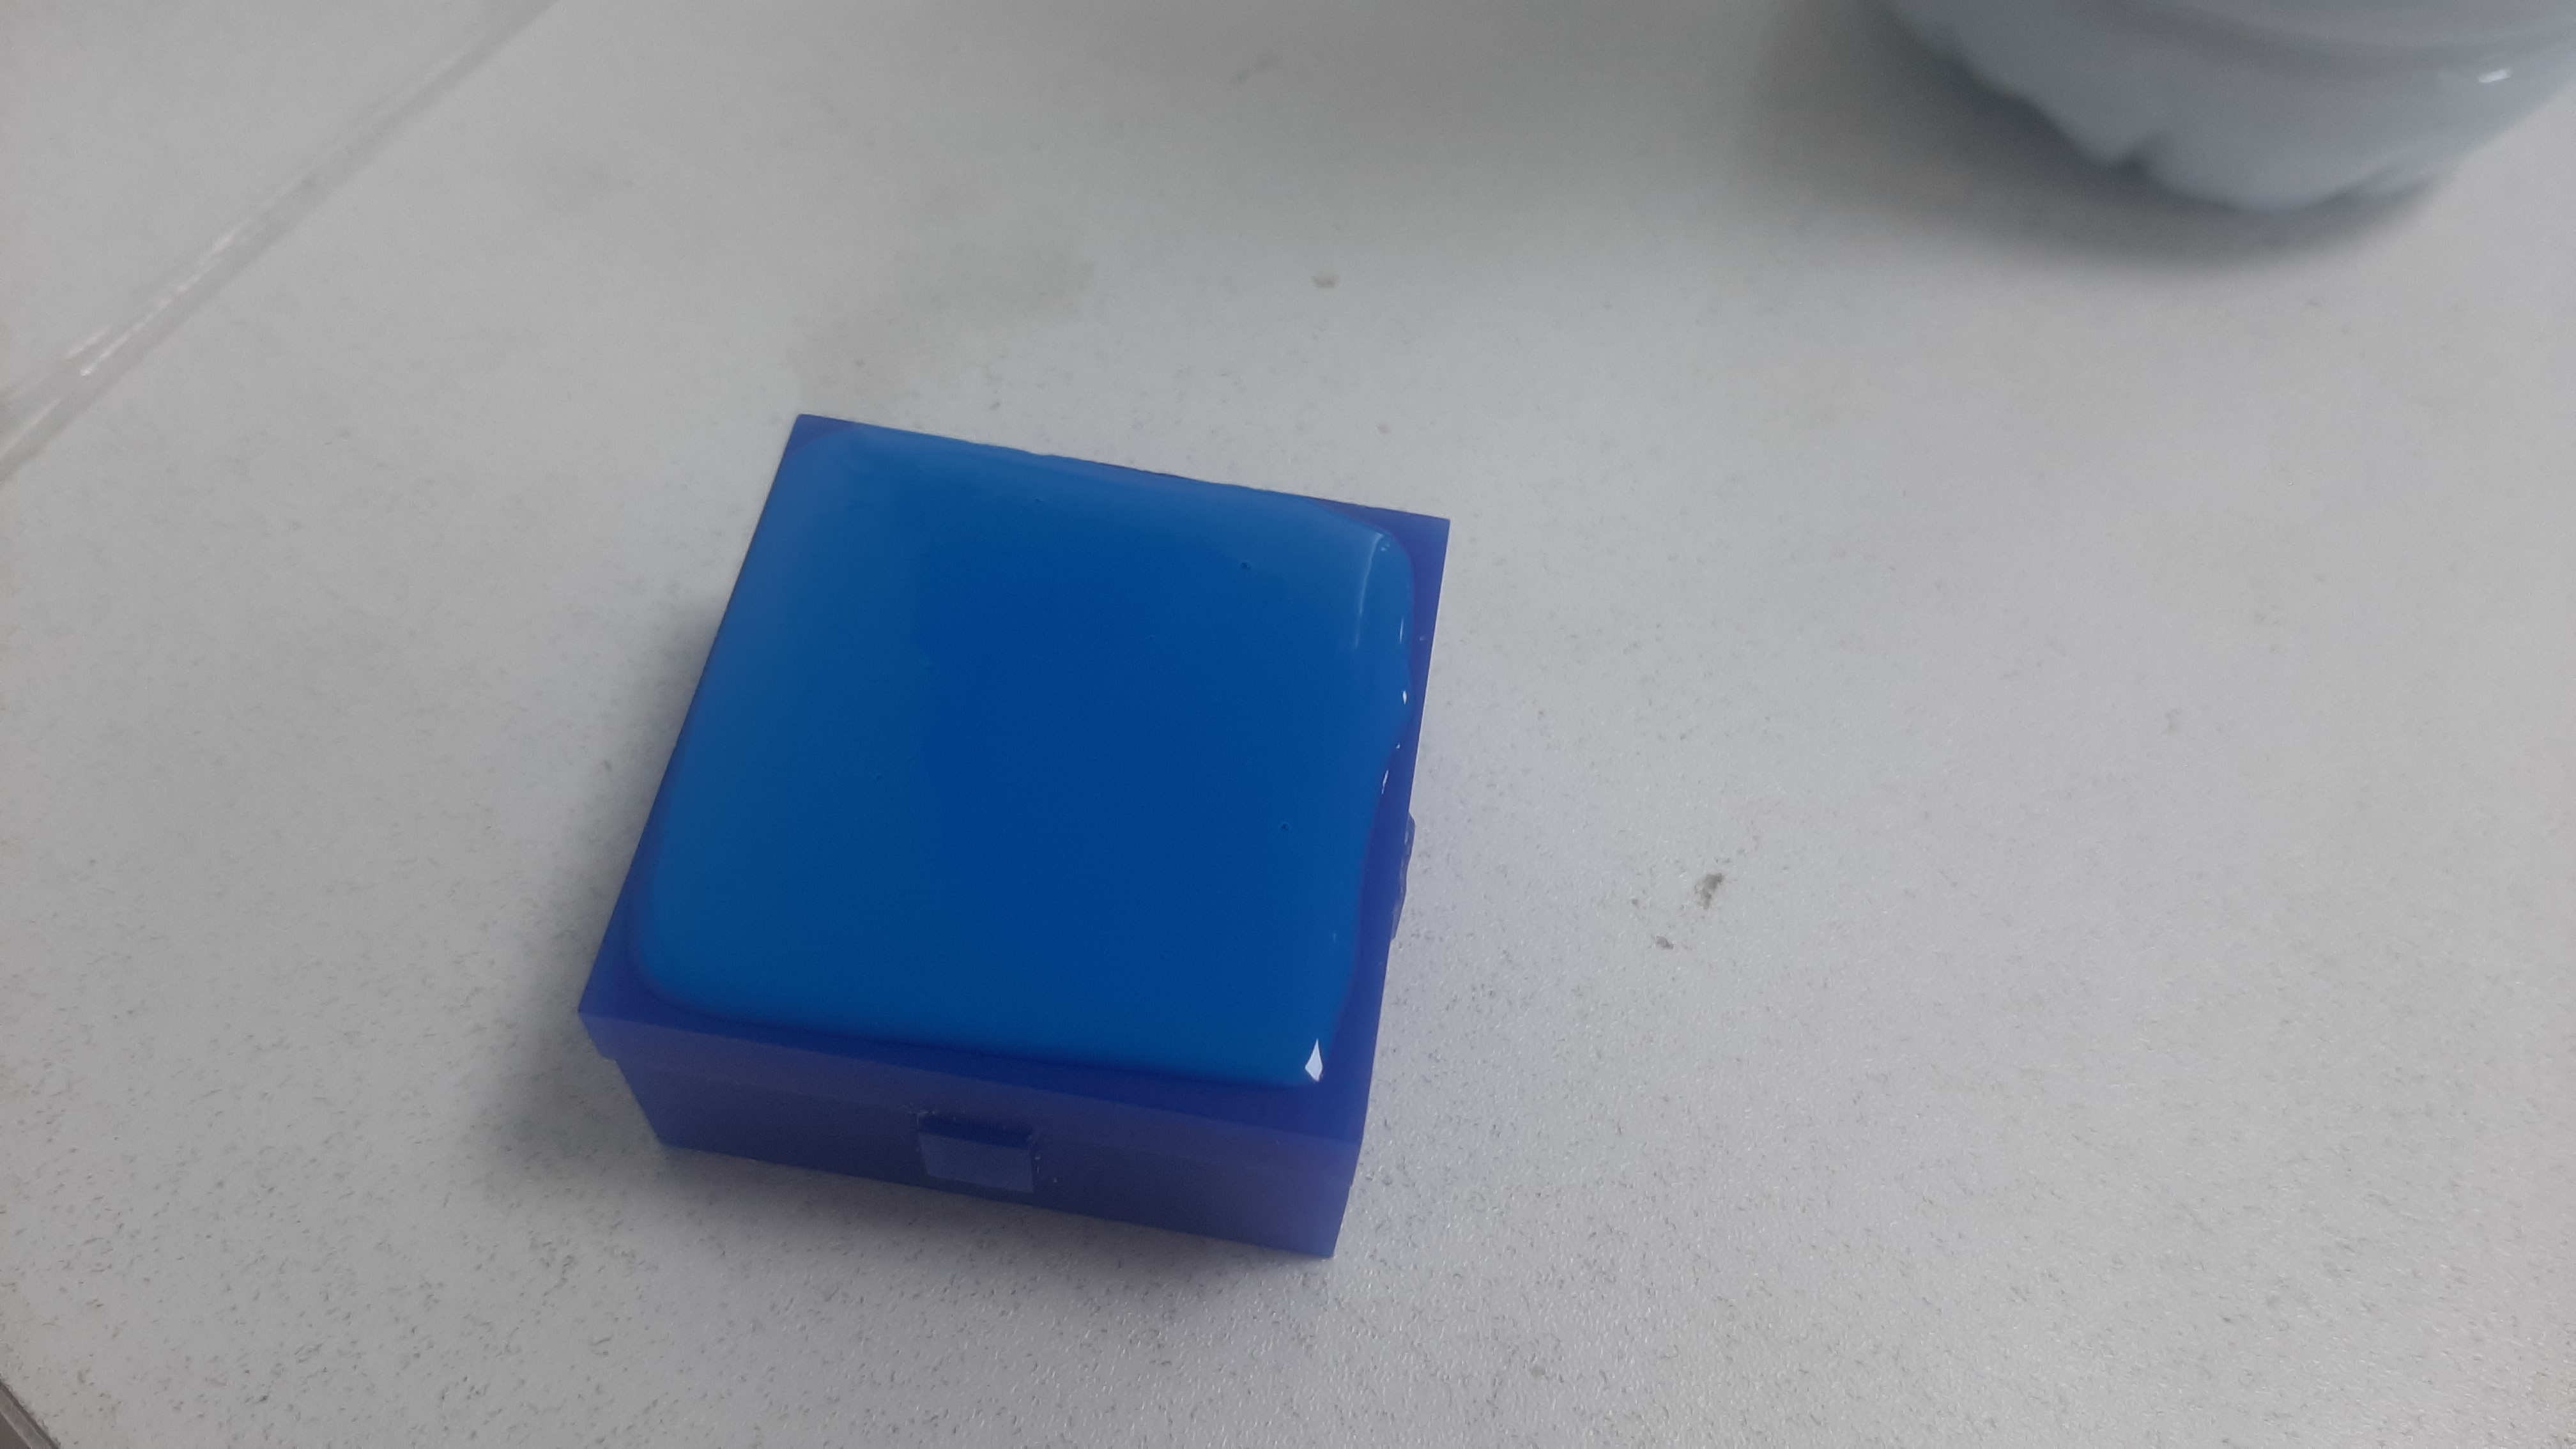
last is for casting the epoxy resin, after I mixed the resin with the hardener I add a little bit of water cooler powder and the final results was really great