Embedded Programming
Group Assignment:
In the group assignment, I decided to experiment with ESP12E
I started with reading the esp12 datasheet to see the difference between Esp family and Attiny family
The following is the main features:
- 802.11 b/g/n
- Integrated low power 32-bit MCU
- Integrated 10-bit ADC
- Integrated TCP/IP protocol stack
- Integrated TR switch, balun, LNA, power amplifier, and matching network
- Integrated PLL, regulators, and power management units
- Supports antenna diversity
- Wi-Fi 2.4 GHz, support WPA/WPA2
- Support Smart Link Function for both Android and iOS devices
- SDIO 2.0, (H) SPI, UART, I2C, I2S, IRDA, PWM, GPIO
- Deep sleep power <10uA, Power-down leakage current < 5uA
- Operating Voltage:2.7 – 3.3V
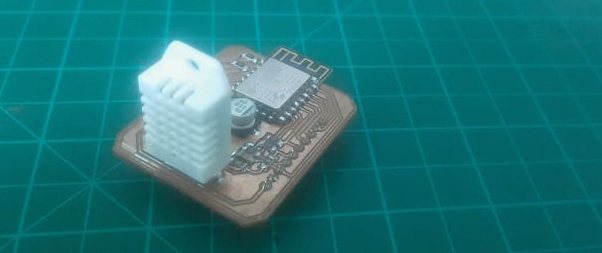
I was fastened with the esp family It was much stronger than the Attiny family addition to that it supports wifi, So because I was not familiar with the chip I decided to make a small sheld so I can easily test and makes any change I want.
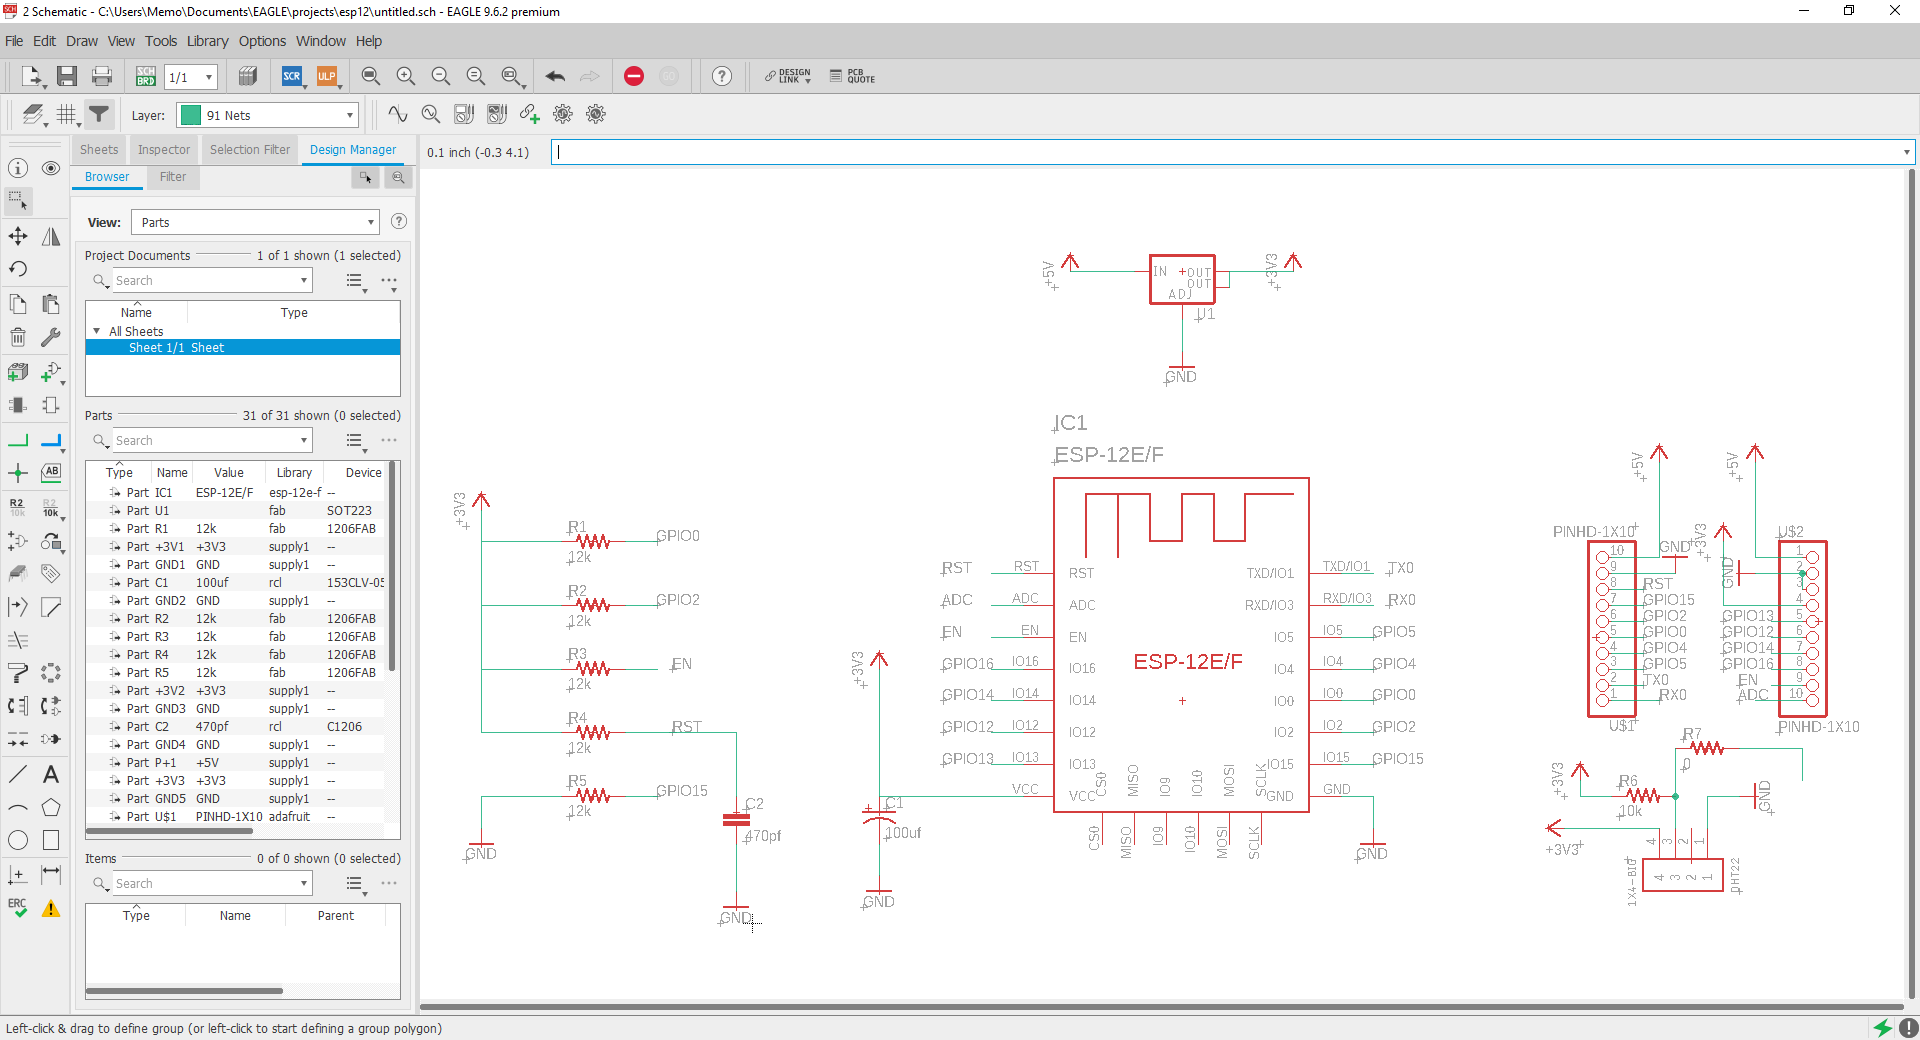
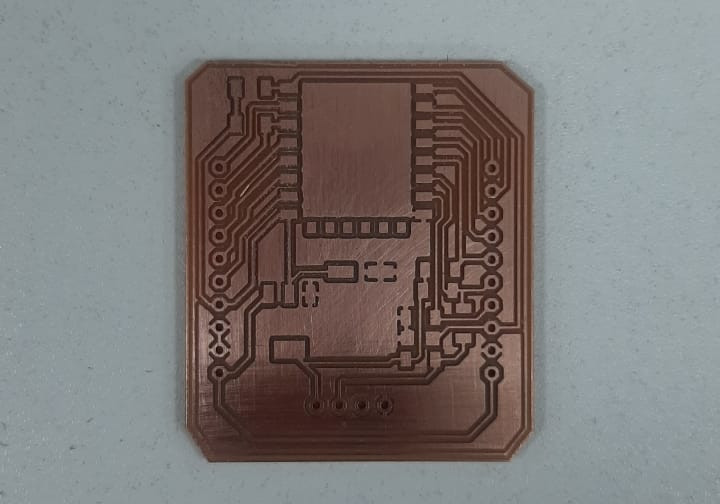
The pcb fabrication was a smooth process.
Now for testing and programming the esp, so after surfing the web for examples, I found DHT sensor library by Adafruit.
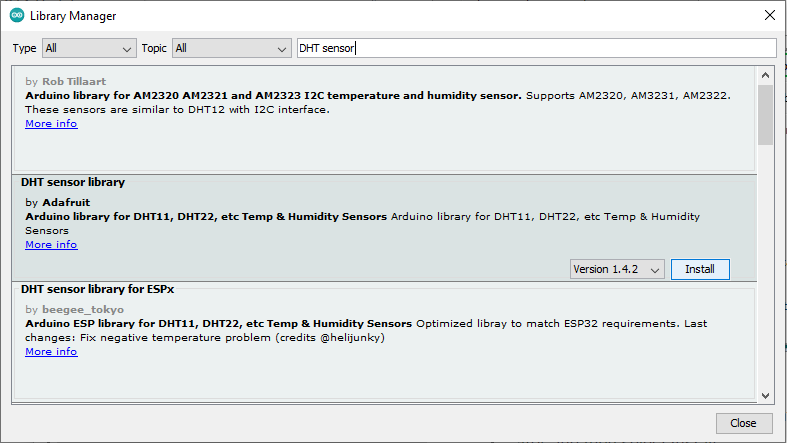
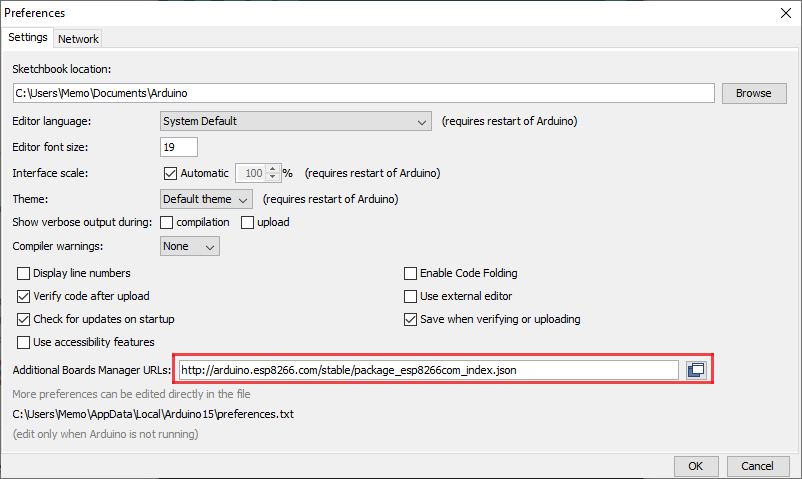
To program the ESP using Arduino IDE it's not supported by default, so I need to download this library first, a easy way to install the library by adding this link to Arduino preferences "http://arduino.esp8266.com/stable/package_esp8266com_index.json"
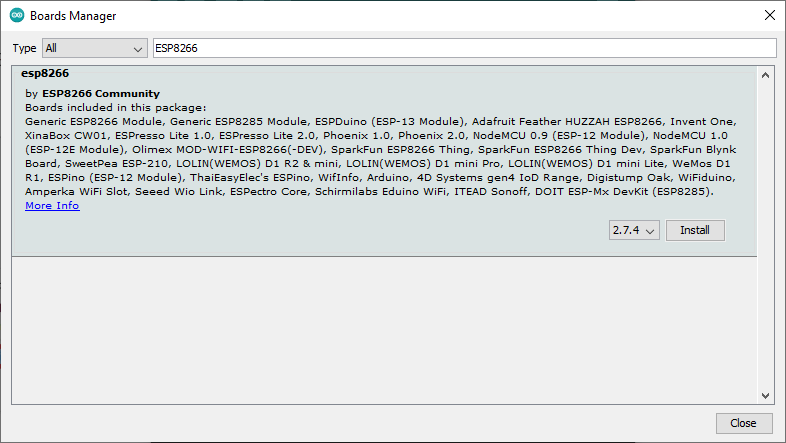
Last to download the library from the Boards Manager.
After downloading the required libraries I chose to use this code below, basically, it will connect to wifi and it will present the values of the humidity sensor accessing the Web Server
#include <ESP8266WiFi.h>
#include <ESP8266WebServer.h>
#include "DHT.h"

// Uncomment one of the lines below for whatever DHT sensor type you're using!
//#define DHTTYPE DHT11   // DHT 11
//#define DHTTYPE DHT21   // DHT 21 (AM2301)
#define DHTTYPE DHT22   // DHT 22  (AM2302), AM2321

/*Put your SSID & Password*/
const char* ssid = "memo";  // Enter SSID here
const char* password = "qwer1234";  //Enter Password here

ESP8266WebServer server(80);

// DHT Sensor
uint8_t DHTPin = D4;

// Initialize DHT sensor.
DHT dht(DHTPin, DHTTYPE);

float Temperature;
float Humidity;

void setup() {
  Serial.begin(115200);
  delay(100);

  pinMode(DHTPin, INPUT);

  dht.begin();

  Serial.println("Connecting to ");
  Serial.println(ssid);

  //connect to your local wi-fi network
  WiFi.begin(ssid, password);

  //check wi-fi is connected to wi-fi network
  while (WiFi.status() != WL_CONNECTED) {
  delay(1000);
  Serial.print(".");
  }
  Serial.println("");
  Serial.println("WiFi connected..!");
  Serial.print("Got IP: ");  Serial.println(WiFi.localIP());

  server.on("/", handle_OnConnect);
  server.onNotFound(handle_NotFound);

  server.begin();
  Serial.println("HTTP server started");

}
void loop() {

  server.handleClient();

}

void handle_OnConnect() {

 Temperature = dht.readTemperature(); // Gets the values of the temperature
  Humidity = dht.readHumidity(); // Gets the values of the humidity
  server.send(200, "text/html", SendHTML(Temperature,Humidity));
}

void handle_NotFound(){
  server.send(404, "text/plain", "Not found");
}

String SendHTML(float Temperaturestat,float Humiditystat){
  String ptr = "<!DOCTYPE html> <html>\n";
  ptr +="<head><meta name=\"viewport\" content=\"width=device-width, initial-scale=1.0, user-scalable=no\">\n";
  ptr +="<title>ESP8266 Weather Report</title>\n";
  ptr +="<style>html { font-family: Helvetica; display: inline-block; margin: 0px auto; text-align: center;}\n";
  ptr +="body{margin-top: 50px;} h1 {color: #444444;margin: 50px auto 30px;}\n";
  ptr +="p {font-size: 24px;color: #444444;margin-bottom: 10px;}\n";
  ptr +="</style>\n";
  ptr +="</head>\n";
  ptr +="<body>\n";
  ptr +="<div id=\"webpage\">\n";
  ptr +="<h1>ESP8266 NodeMCU Weather Report</h1>\n";

  ptr +="<p>Temperature: ";
  ptr +=(int)Temperaturestat;
  ptr +="°C</p>";
  ptr +="<p>Humidity: ";
  ptr +=(int)Humiditystat;
  ptr +="%</p>";

  ptr +="</div>\n";
  ptr +="</body>\n";
  ptr +="</html>\n";
  return ptr;
}
I figure out that it will be much easier to program the circuit using Nodemcu because it contains a very important function "Self-resetting device" which means I don't have to add multiple pushbuttons to make the ESP enter the programming mode, so I drow this diagram to explain the pin connection.

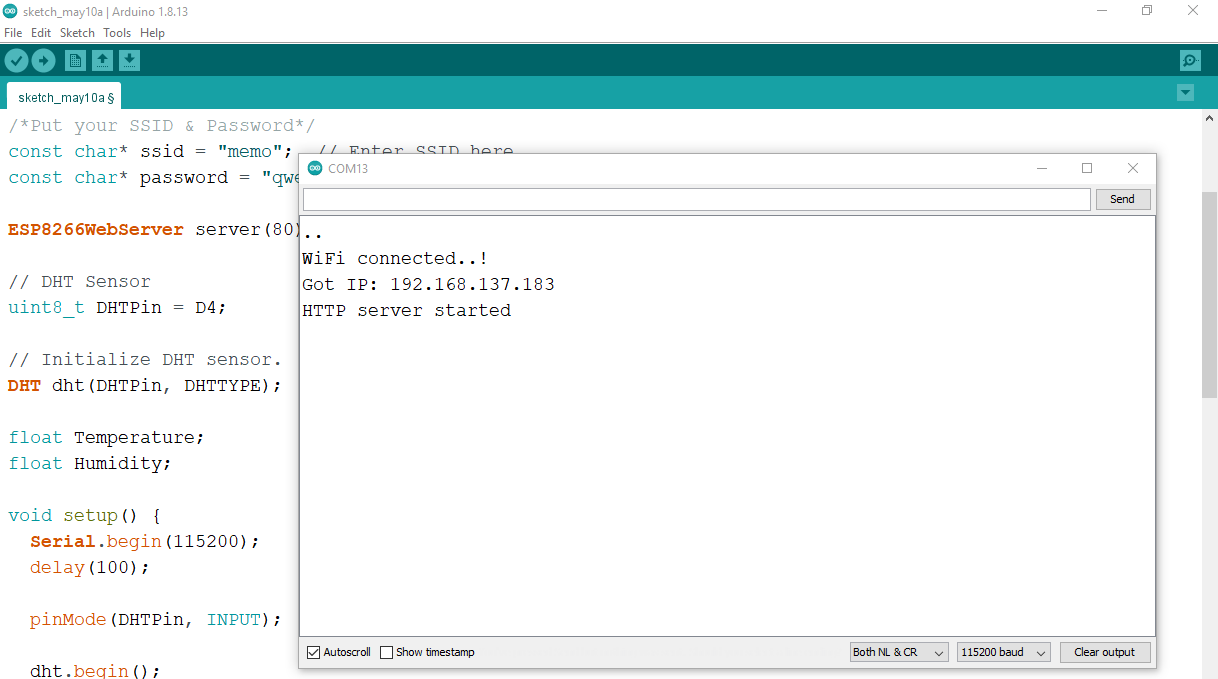
After programming the board U should get the HTTP server IP from the Serial monitor.
The final result the air is hot everything look's ok X"D
