Computer-Controlled Cutting
Group Assignment:
First, I will start with “testing the machine”.
At first, we have been introduced to the “Big red button ” AKA “emergency stop” so if anything wrong just happened first thing to do is to push the emergency button.
Next is how to use the machine.
So as I did understand we will use “CorelDraw” to import and prepare the “DXF” extension and we will use a plugin called “Laser work” to interface with the machine.
So now I will explain how to interface with the laser cutter control panel after we download the file to the machine, I will explain more about the downloading prosses down below But now for the panel interface.
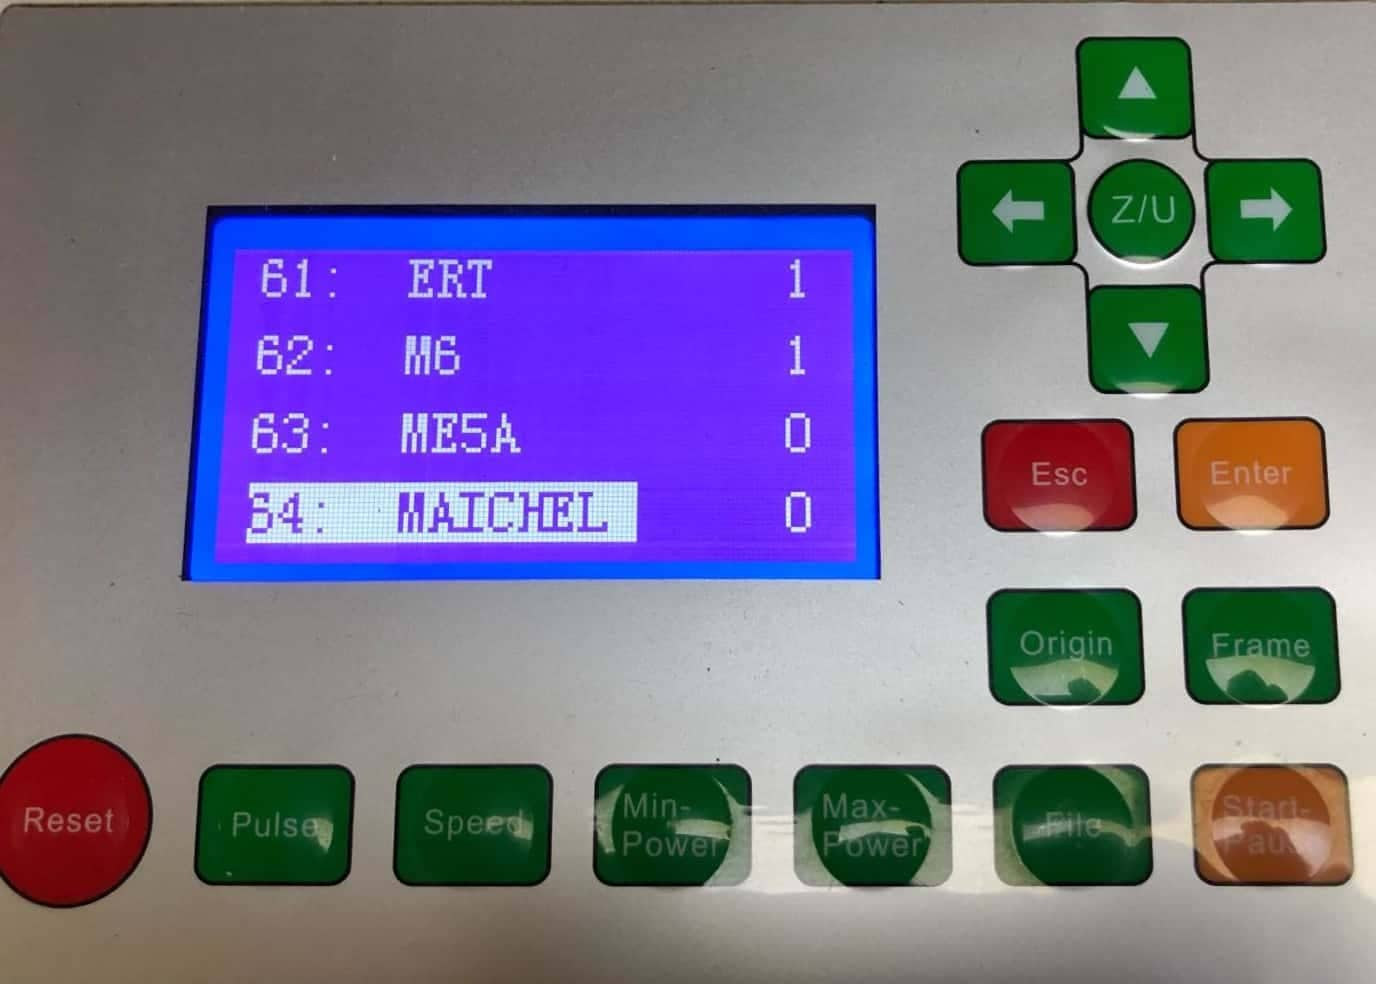
1- Frist you will press File

2- Then select “Memory Files”
4- select “TrackFrame” to make sure the design fit the wood sheet
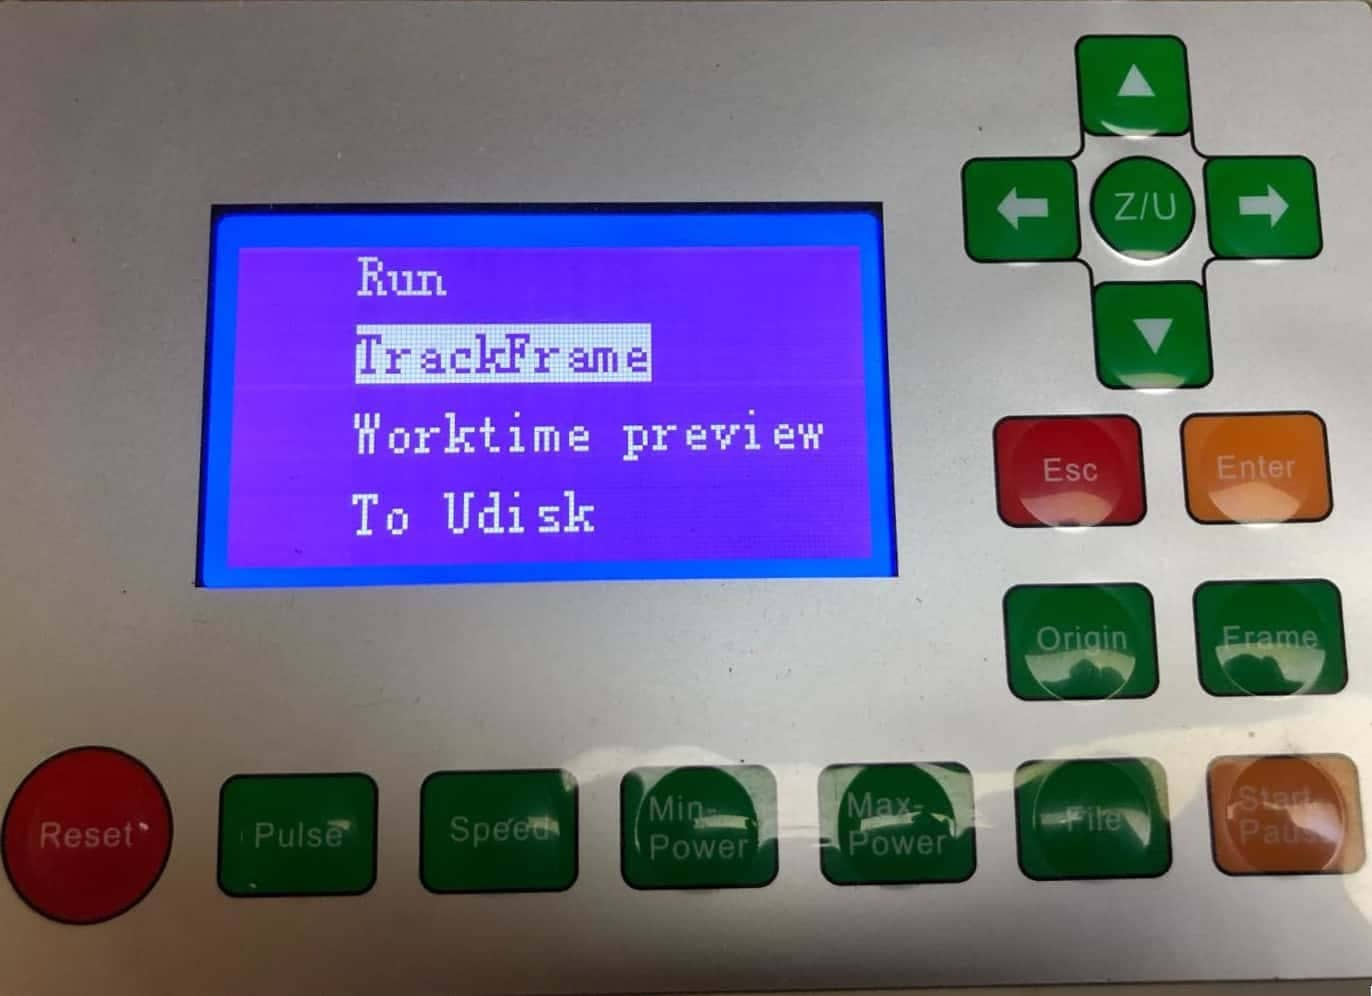
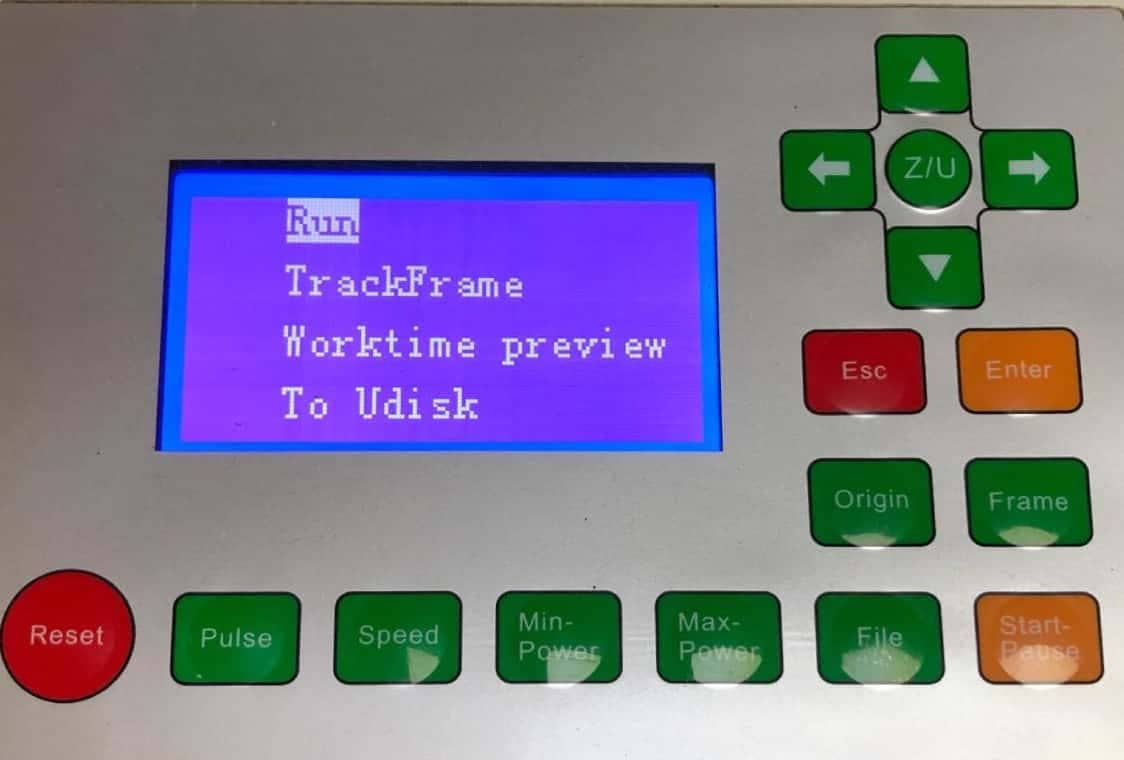
5- select “Run” and the machine should start cutting
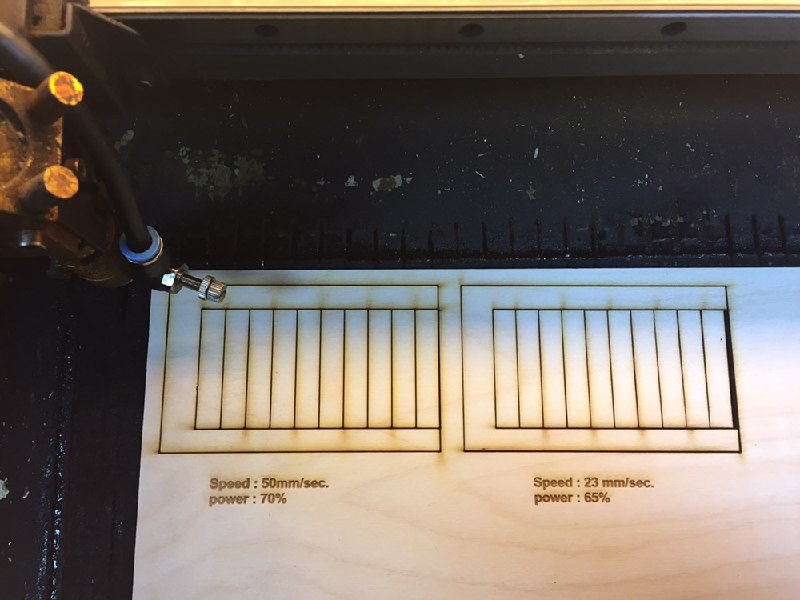
Second, is to figure out laser kerf, focus, power & speed
So at the maker space, they have engraved piece of wood above the machine that has the exact power and speed for to operating machine.
But we have tried to change the settings to see what will happen, as expected the modified settings didn't work well.
And for the laser kerf, we draw a simple design with multiple rectangles so it would be easy to measure the laser curve.
So to calculate the laser kerf that we need to measure the design width before and after cutting the design and subtract the values the last step is to divide the result with the number of cuted lines
that's all now we have the laser cutter kerf value