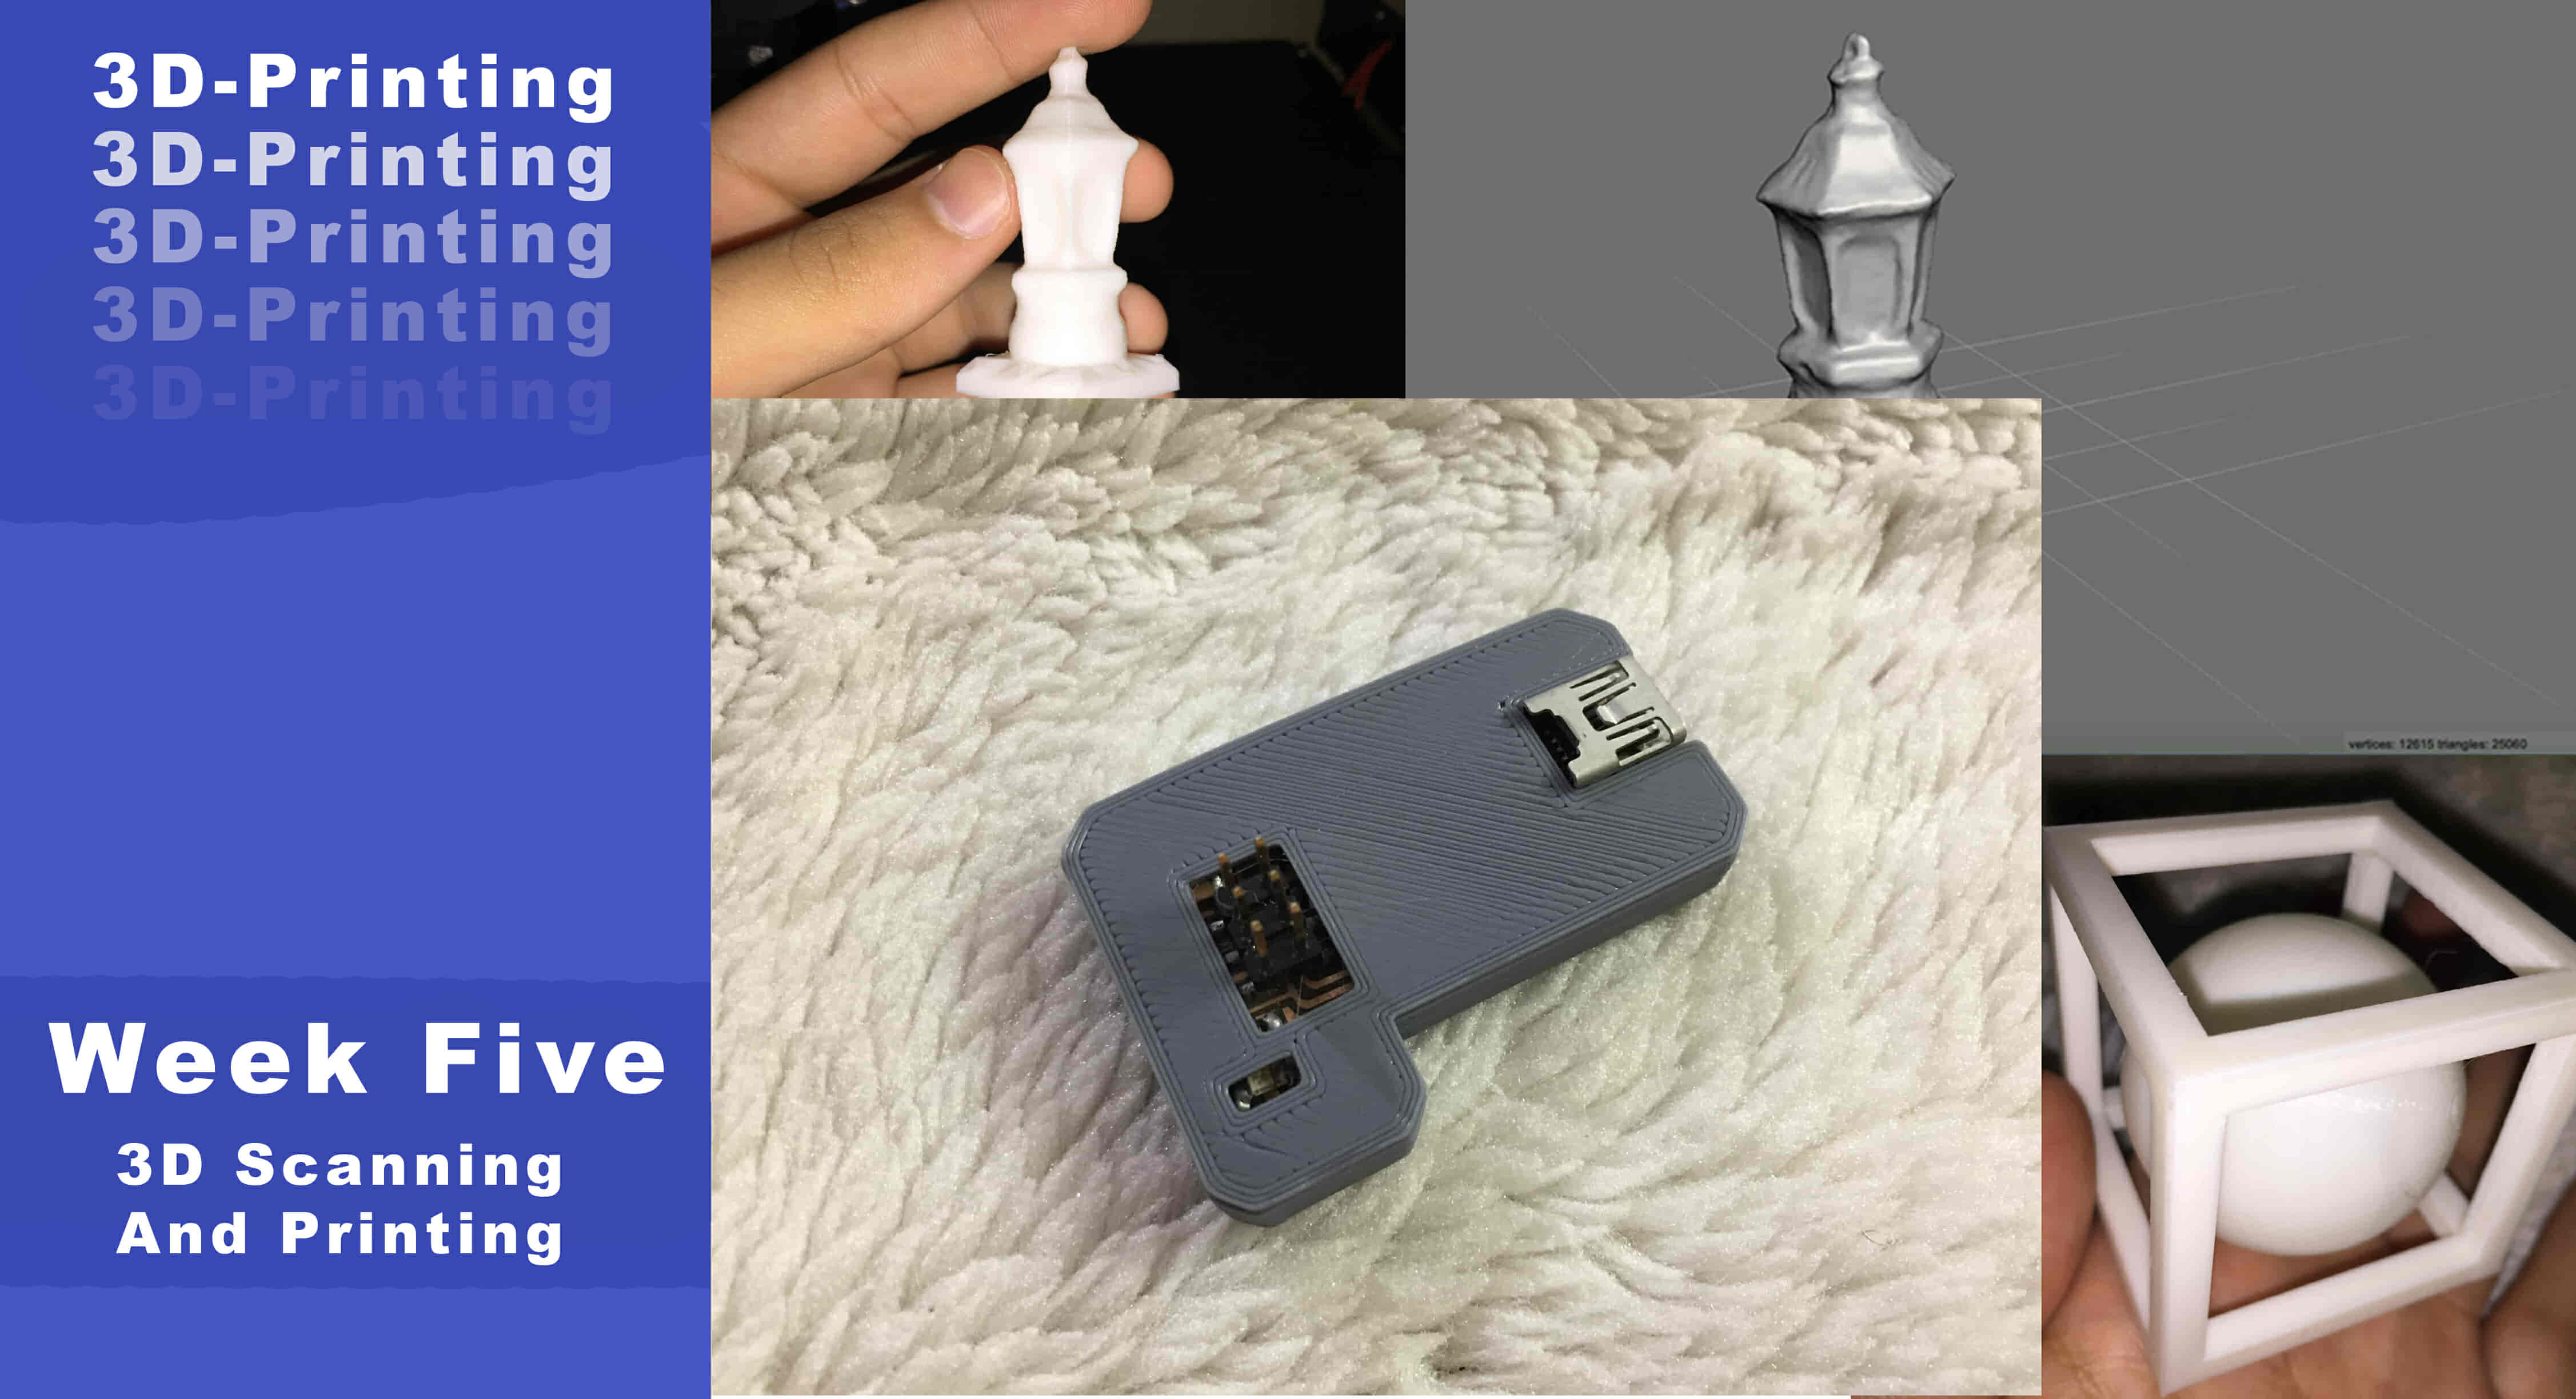
3D-Scanning And Printing
What’s going on?
This week is all about 3D printing and 3D scanning. As Neil said, it’s a creative week. I’m planning to make an enclosure for the AVR ISP that we made in the electronics production week. And, I wanna design and 3D print another thing that can’t get fabricated with a subtractive method like the CNC milling machines. Meaning the model should has some features or a structure that a CNC milling endmill can’t reach.
But first, we need to know our machine, what are its capabilities, features, and design rules. That is what we are gonna do in the group assignment!
Group Assignment: Knowing our machine
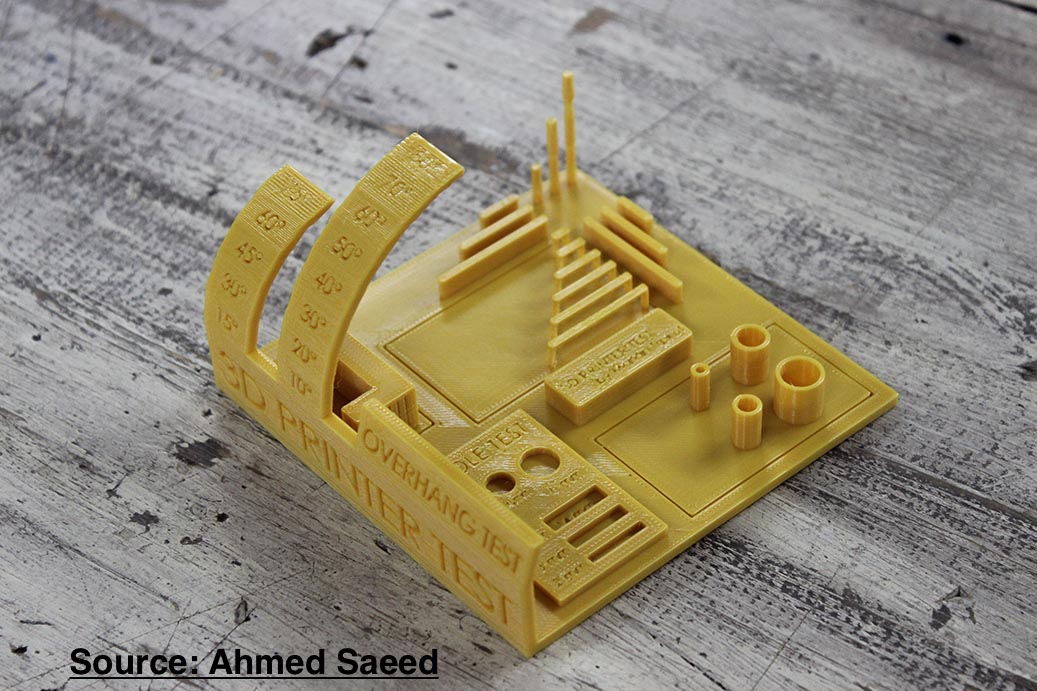
We need to print a model that tests the machine capabilities, I searched on the internet for that kind of models, I found a lot. I settled on that one.
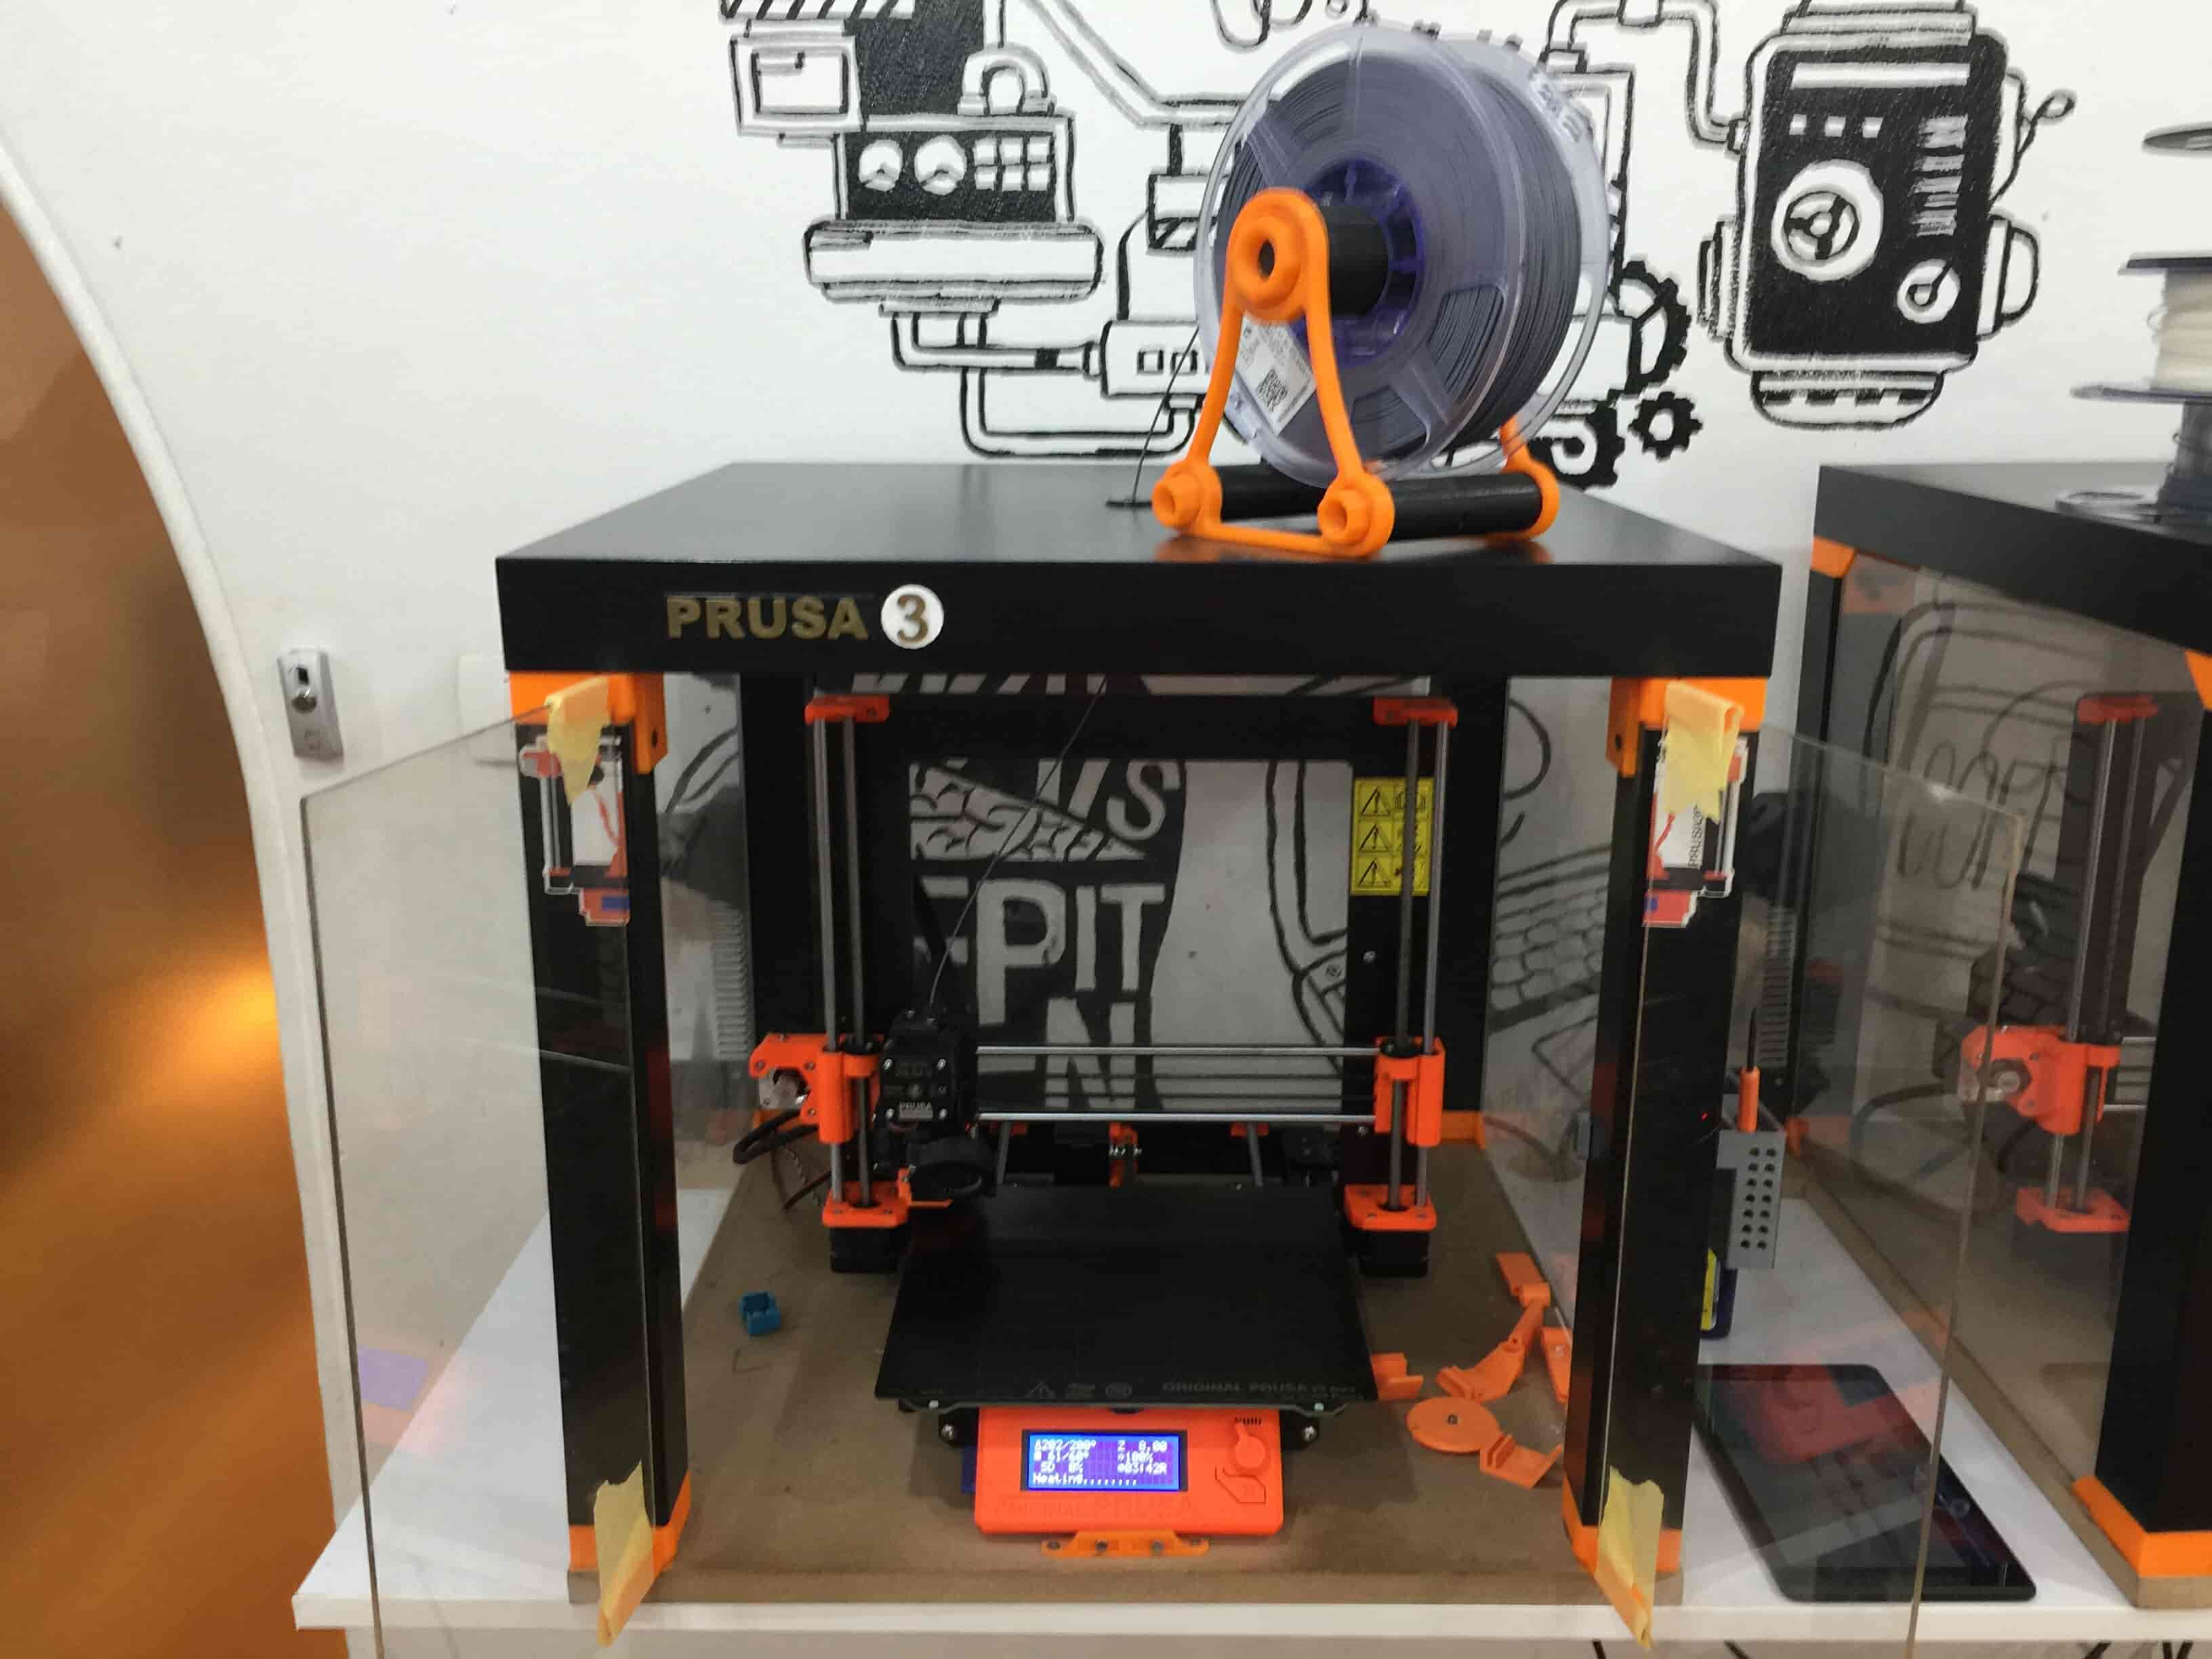
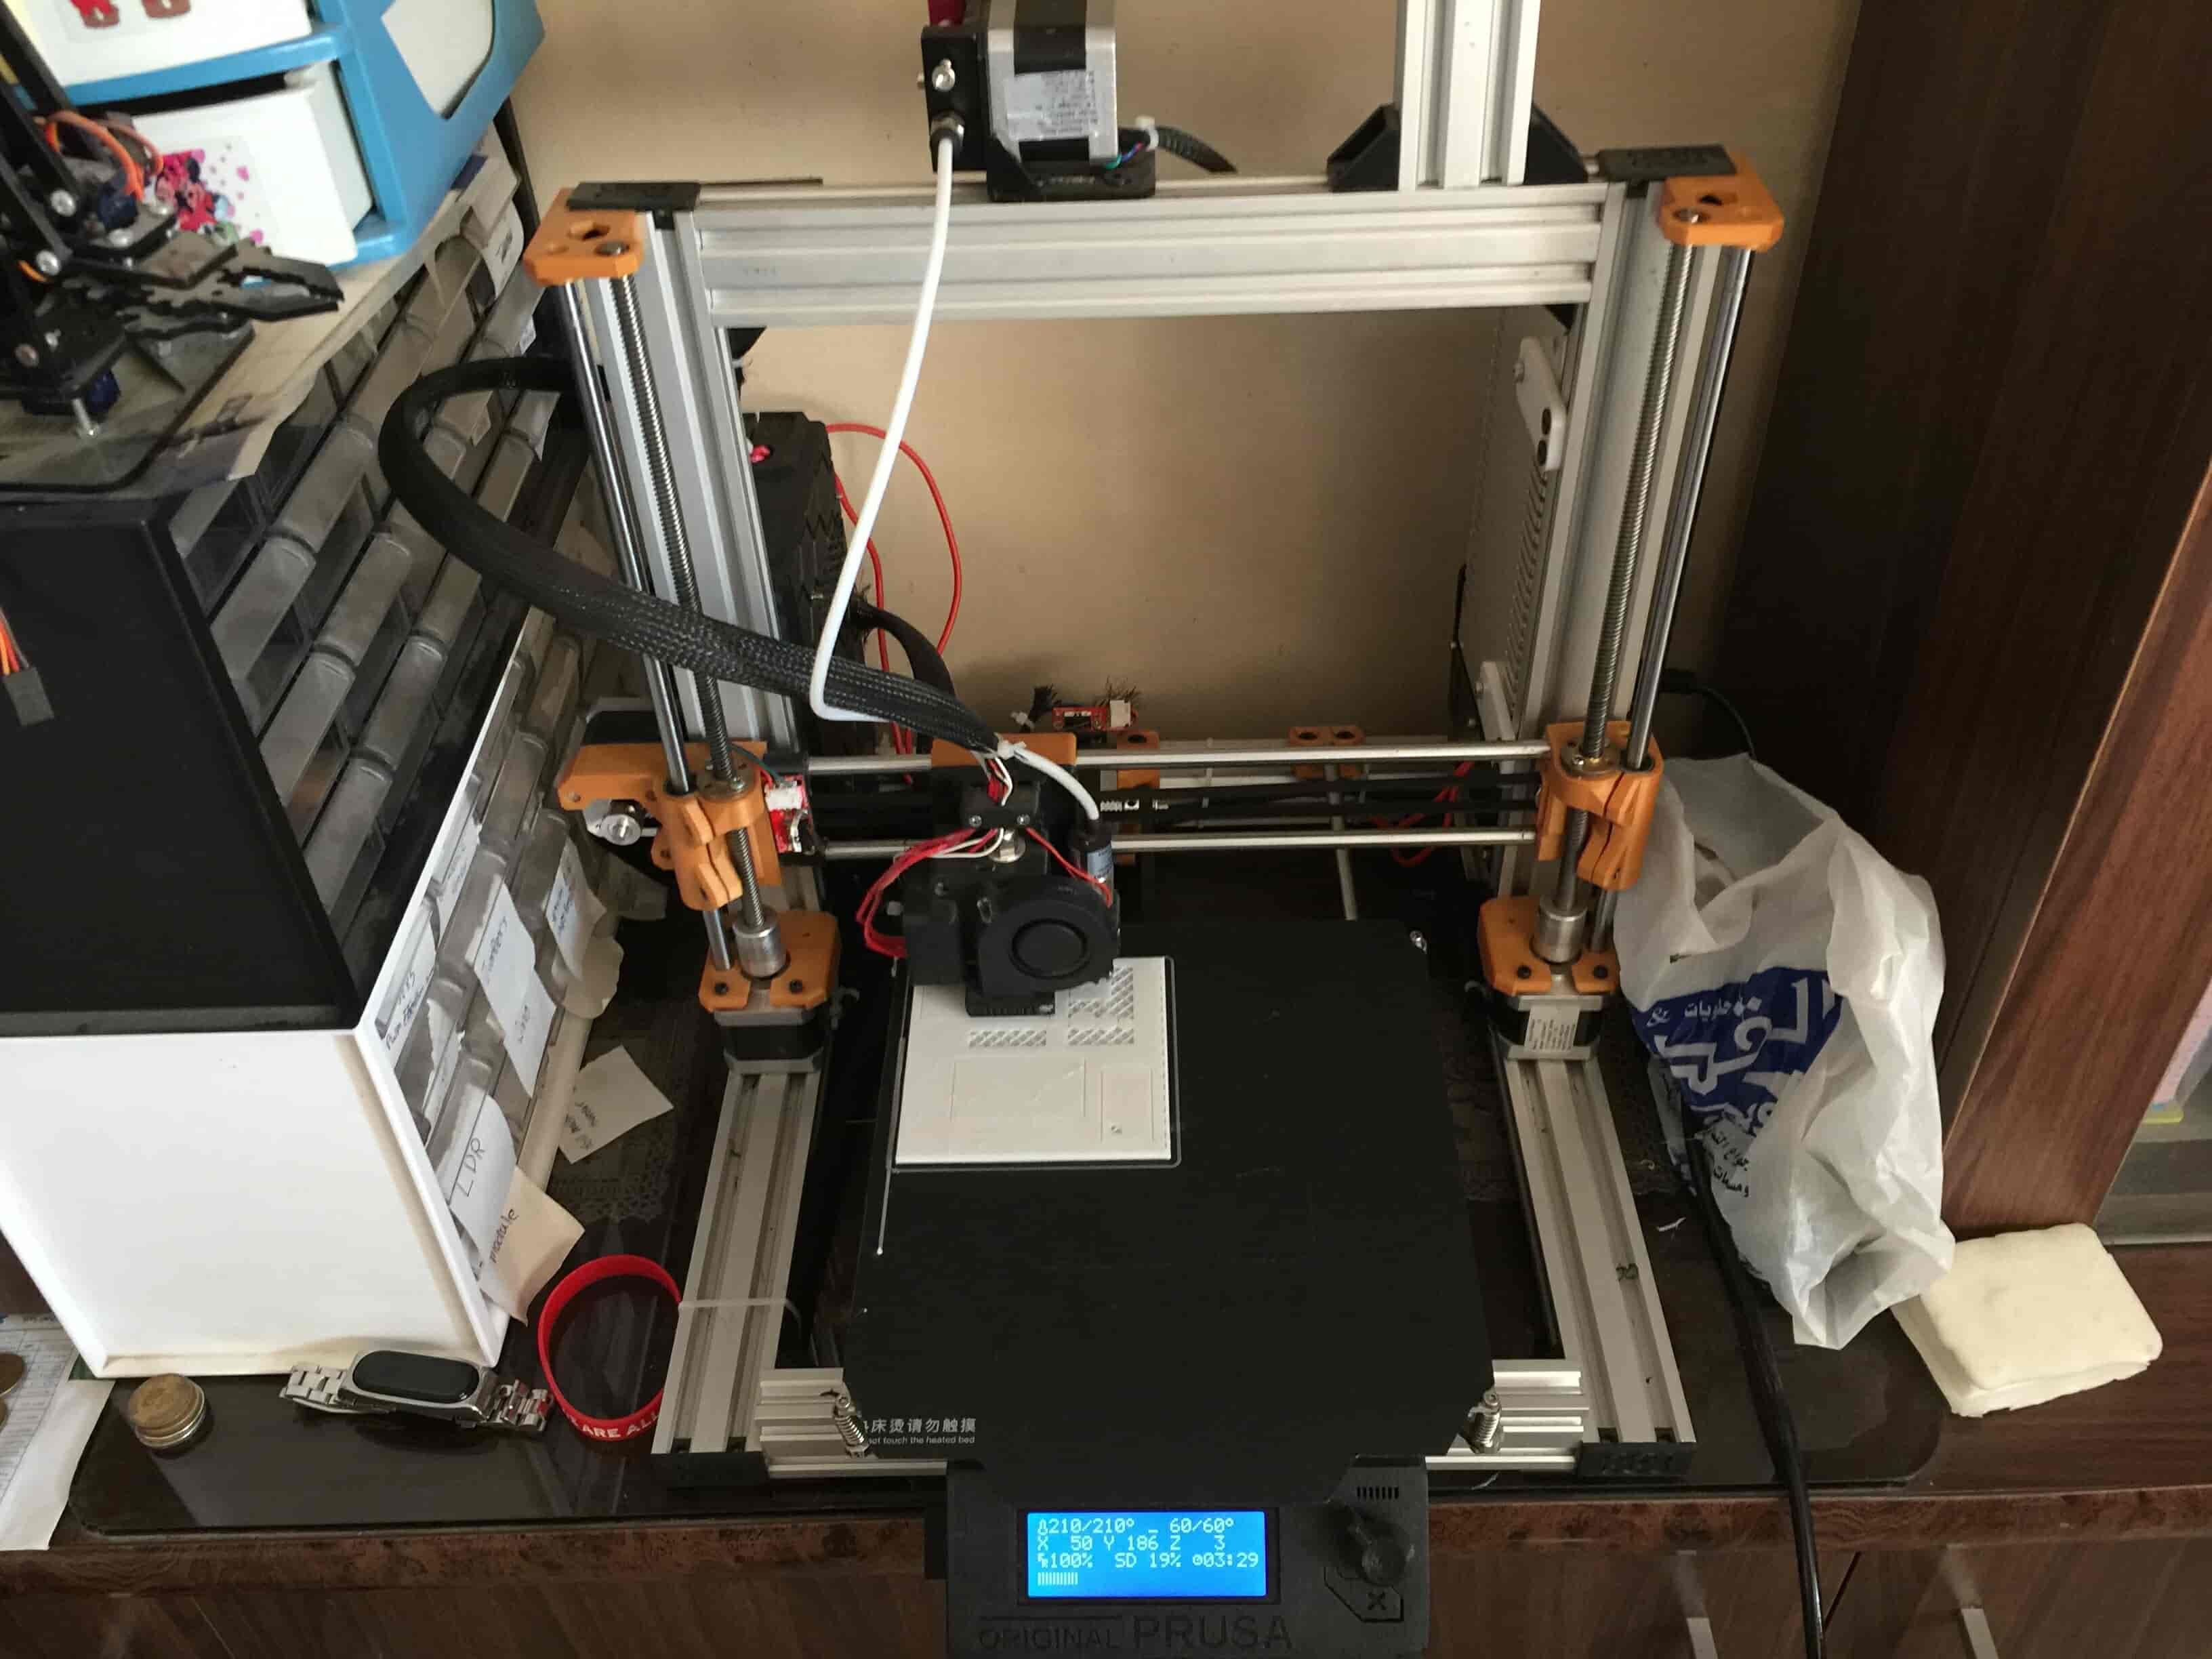
In Fab Lab Egypt, we have two OriginalPrusa MK3 3D printers, one Original Prusa MK2S 3D printer, and a Makerbot Replica 2. Four months ago, I assembled a RepRap Prusa I3 3D printer with my friend. I will print the test model on it too and see how things will go. But, let’s start with the Original Prusa MK3 3D printer
| Spec. | Value |
|---|---|
| Build Volume | 25 X 21 X 21 CM |
| Layer Height | 0.05mm : 0.35mm |
| Nozzle Diameter | 0.4mm |
| Max heatedbed/ Hot End | 120 / 300 |
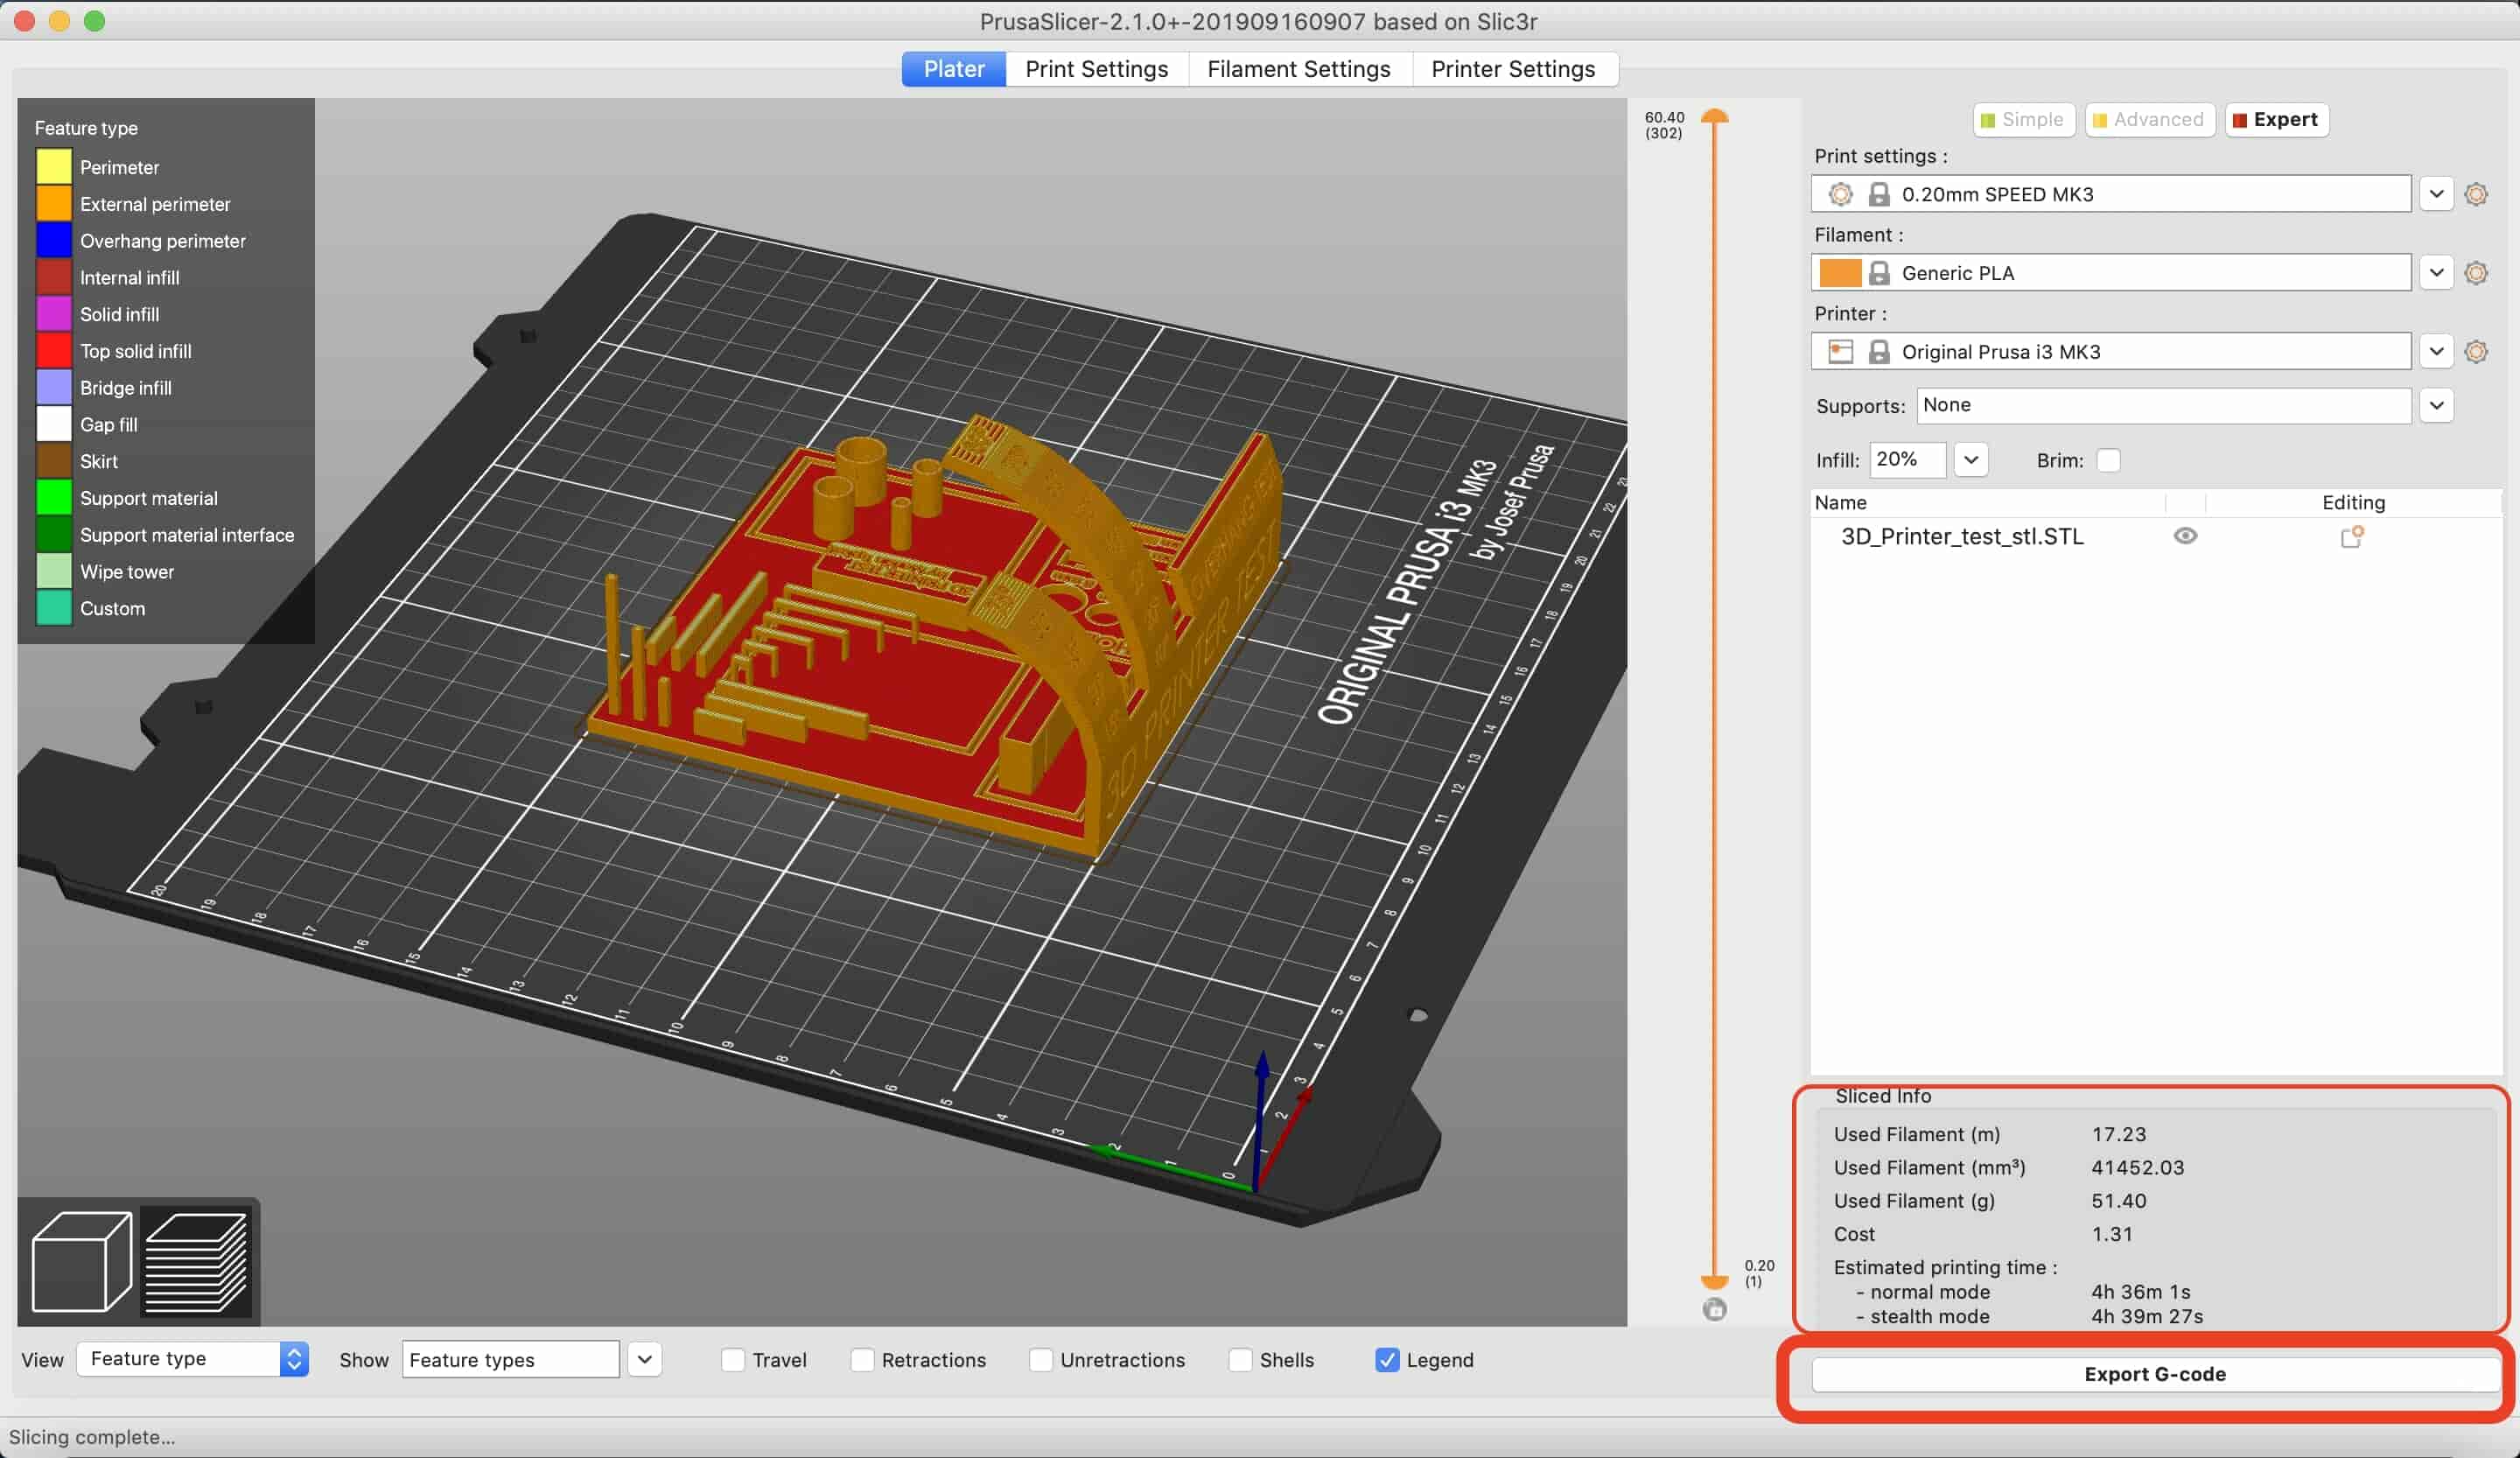
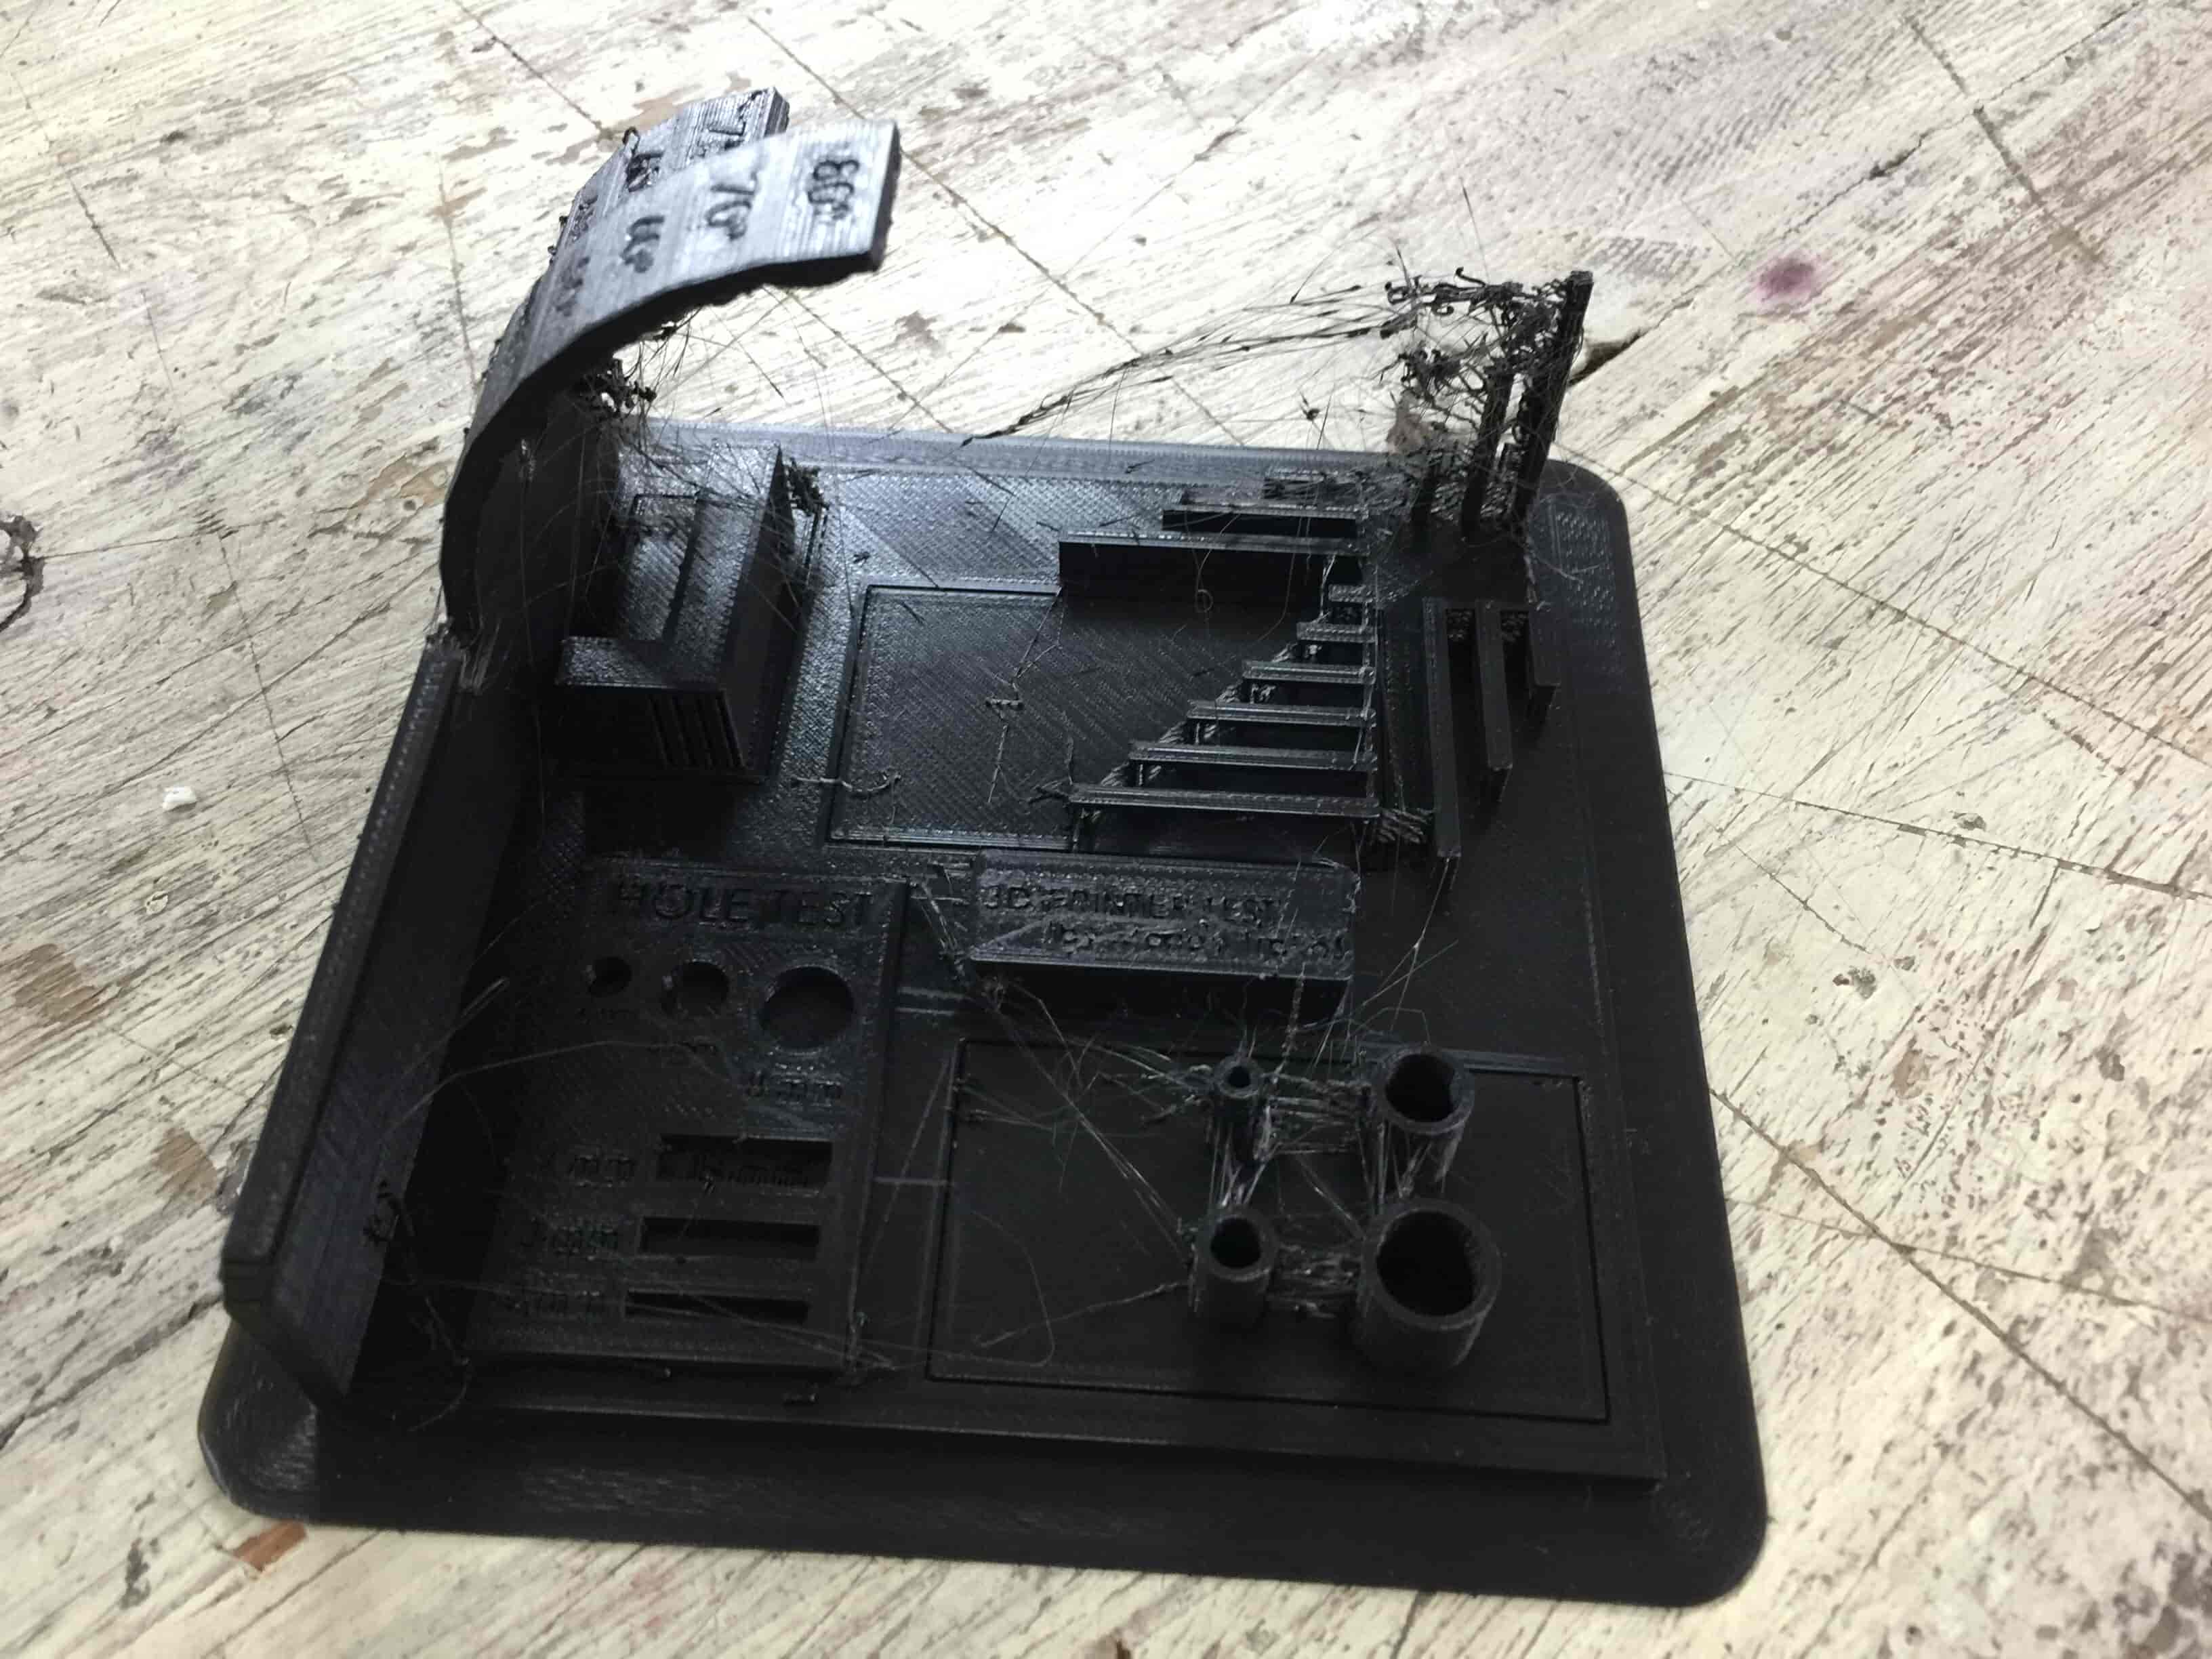
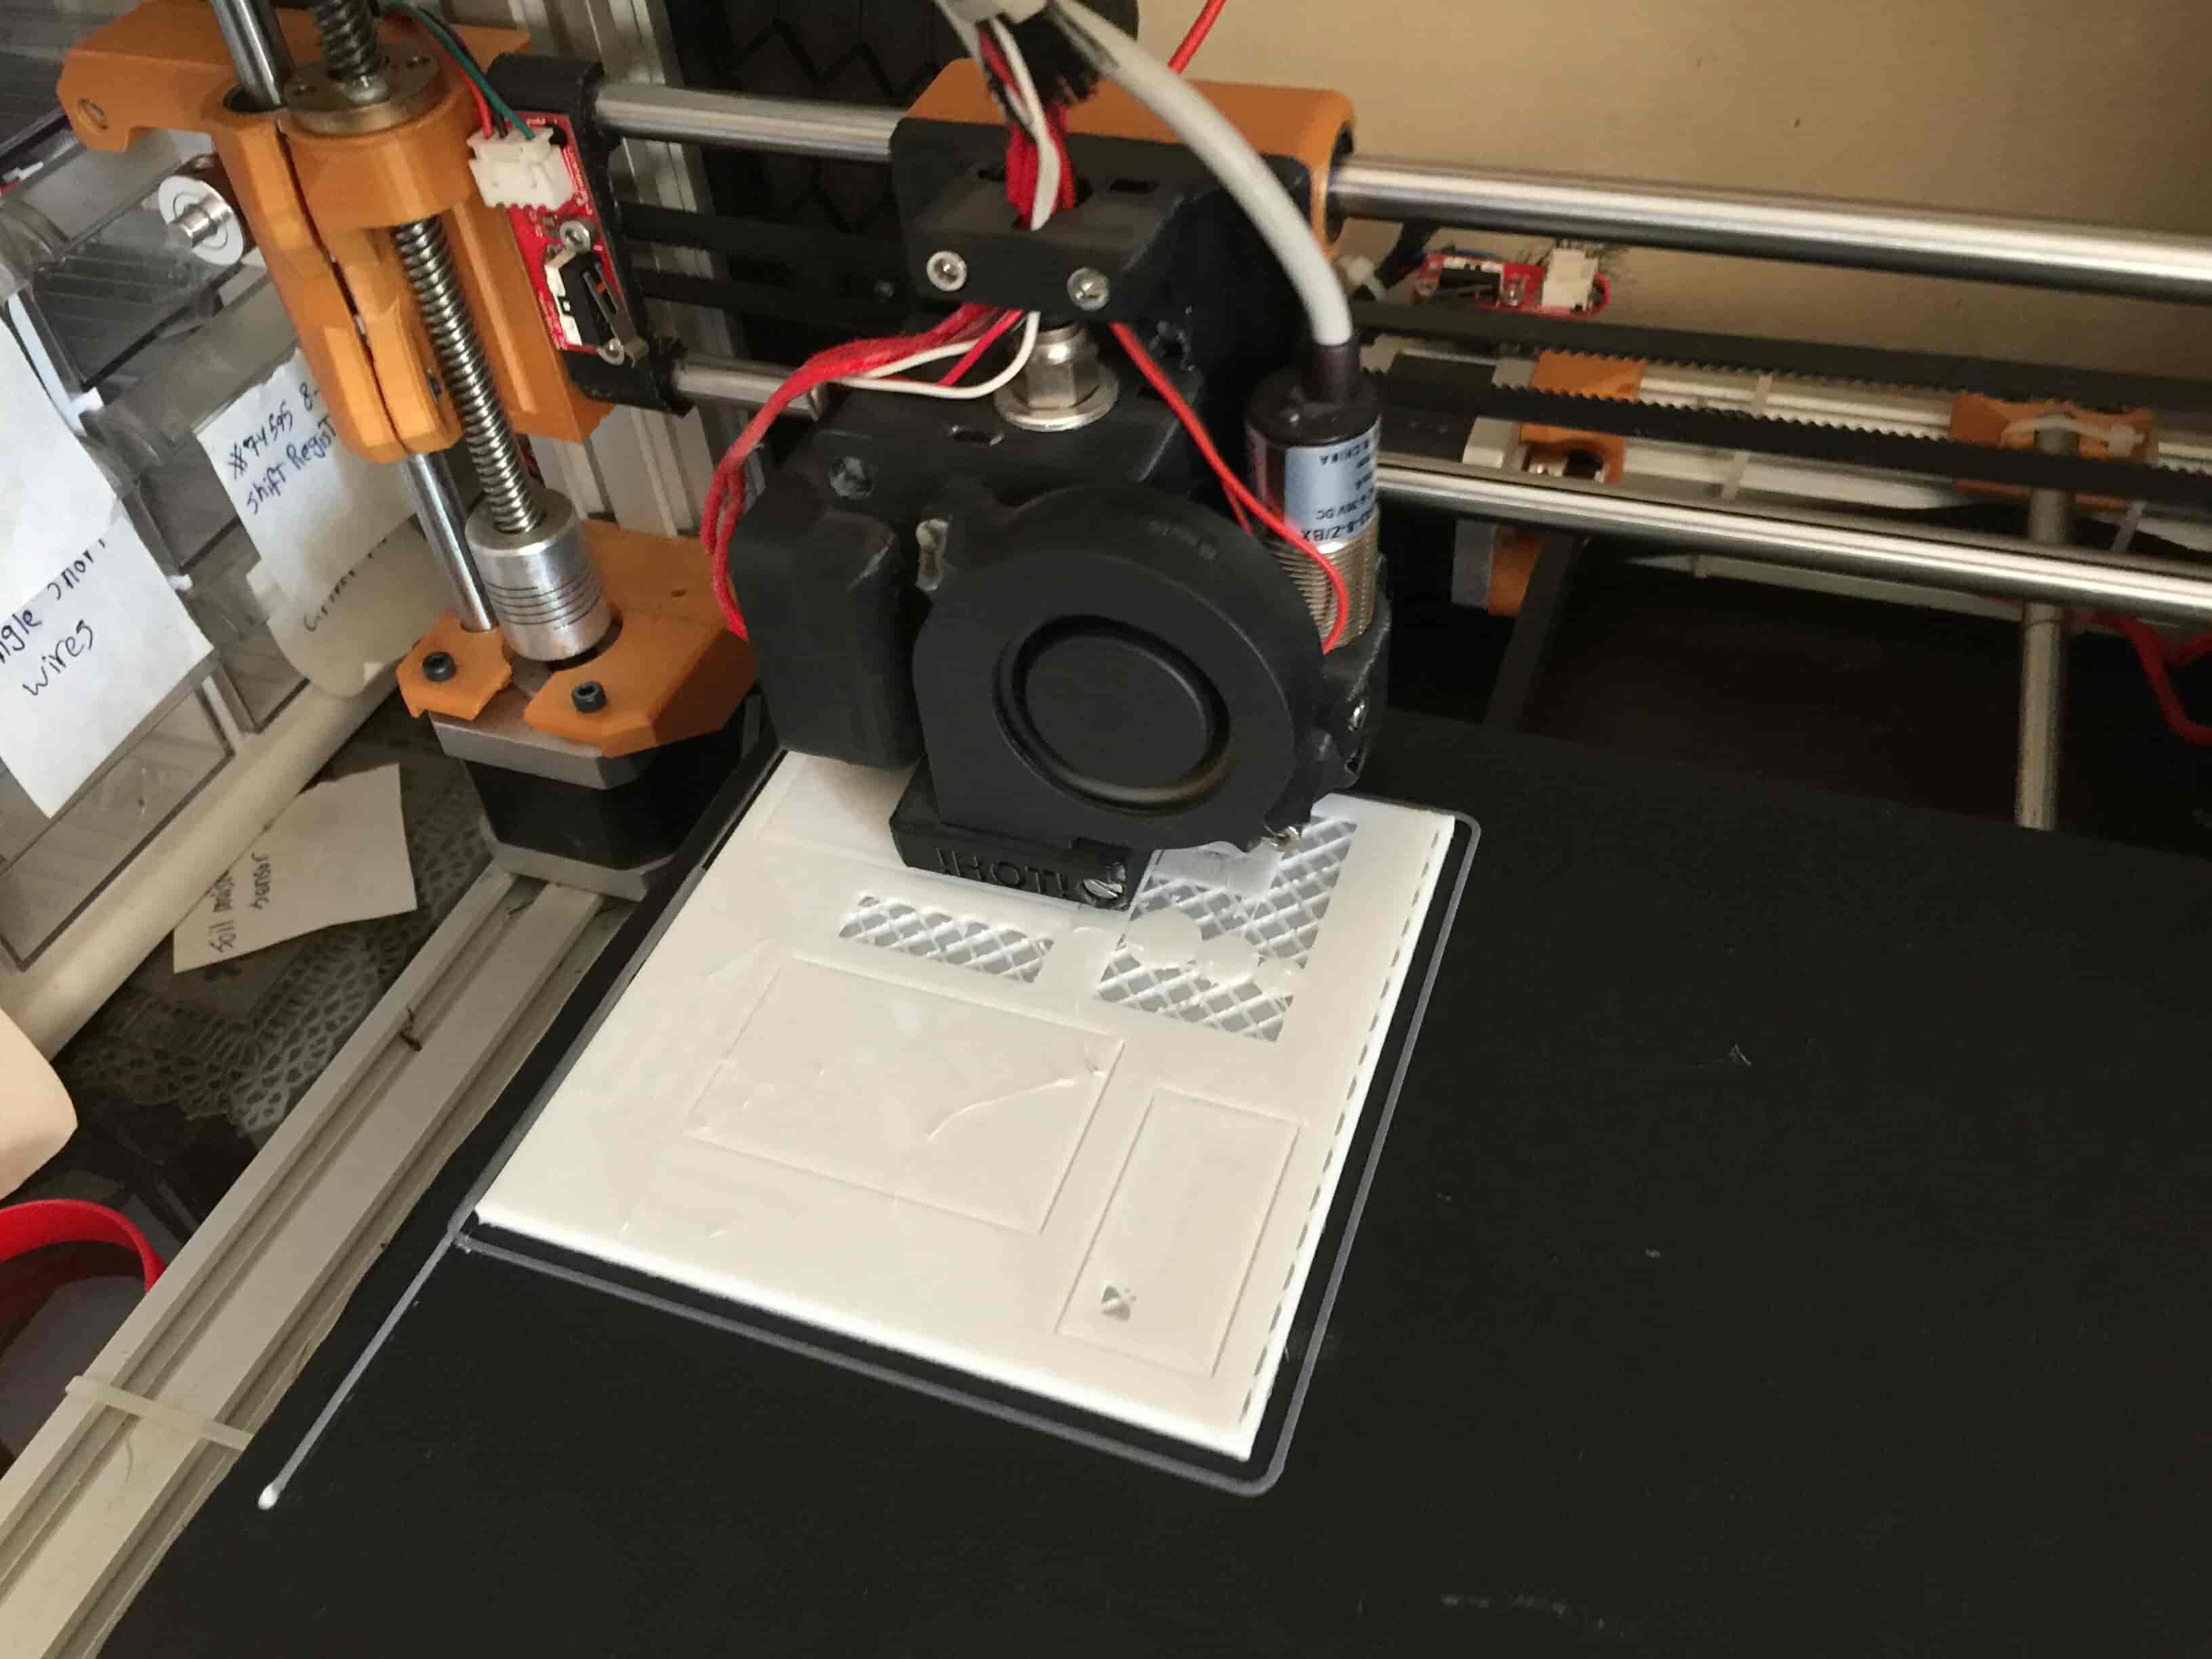
First, I downloaded the model from Thingiverse, I sliced the model using the Prusa slicer software. I printed it with layer height 0.2mm, 20% infill, and of course without any supports. This model should test the maximum overhang angle that the machine can print smoothly, the maximum bridging length, clearance, stringing, and hole diameter test.

Now, export the Gcode file to the printer memory card, the Gcode file describes and tells the machine how to move and behave to print the model. Then insert the memory card back into the machine and start printing!
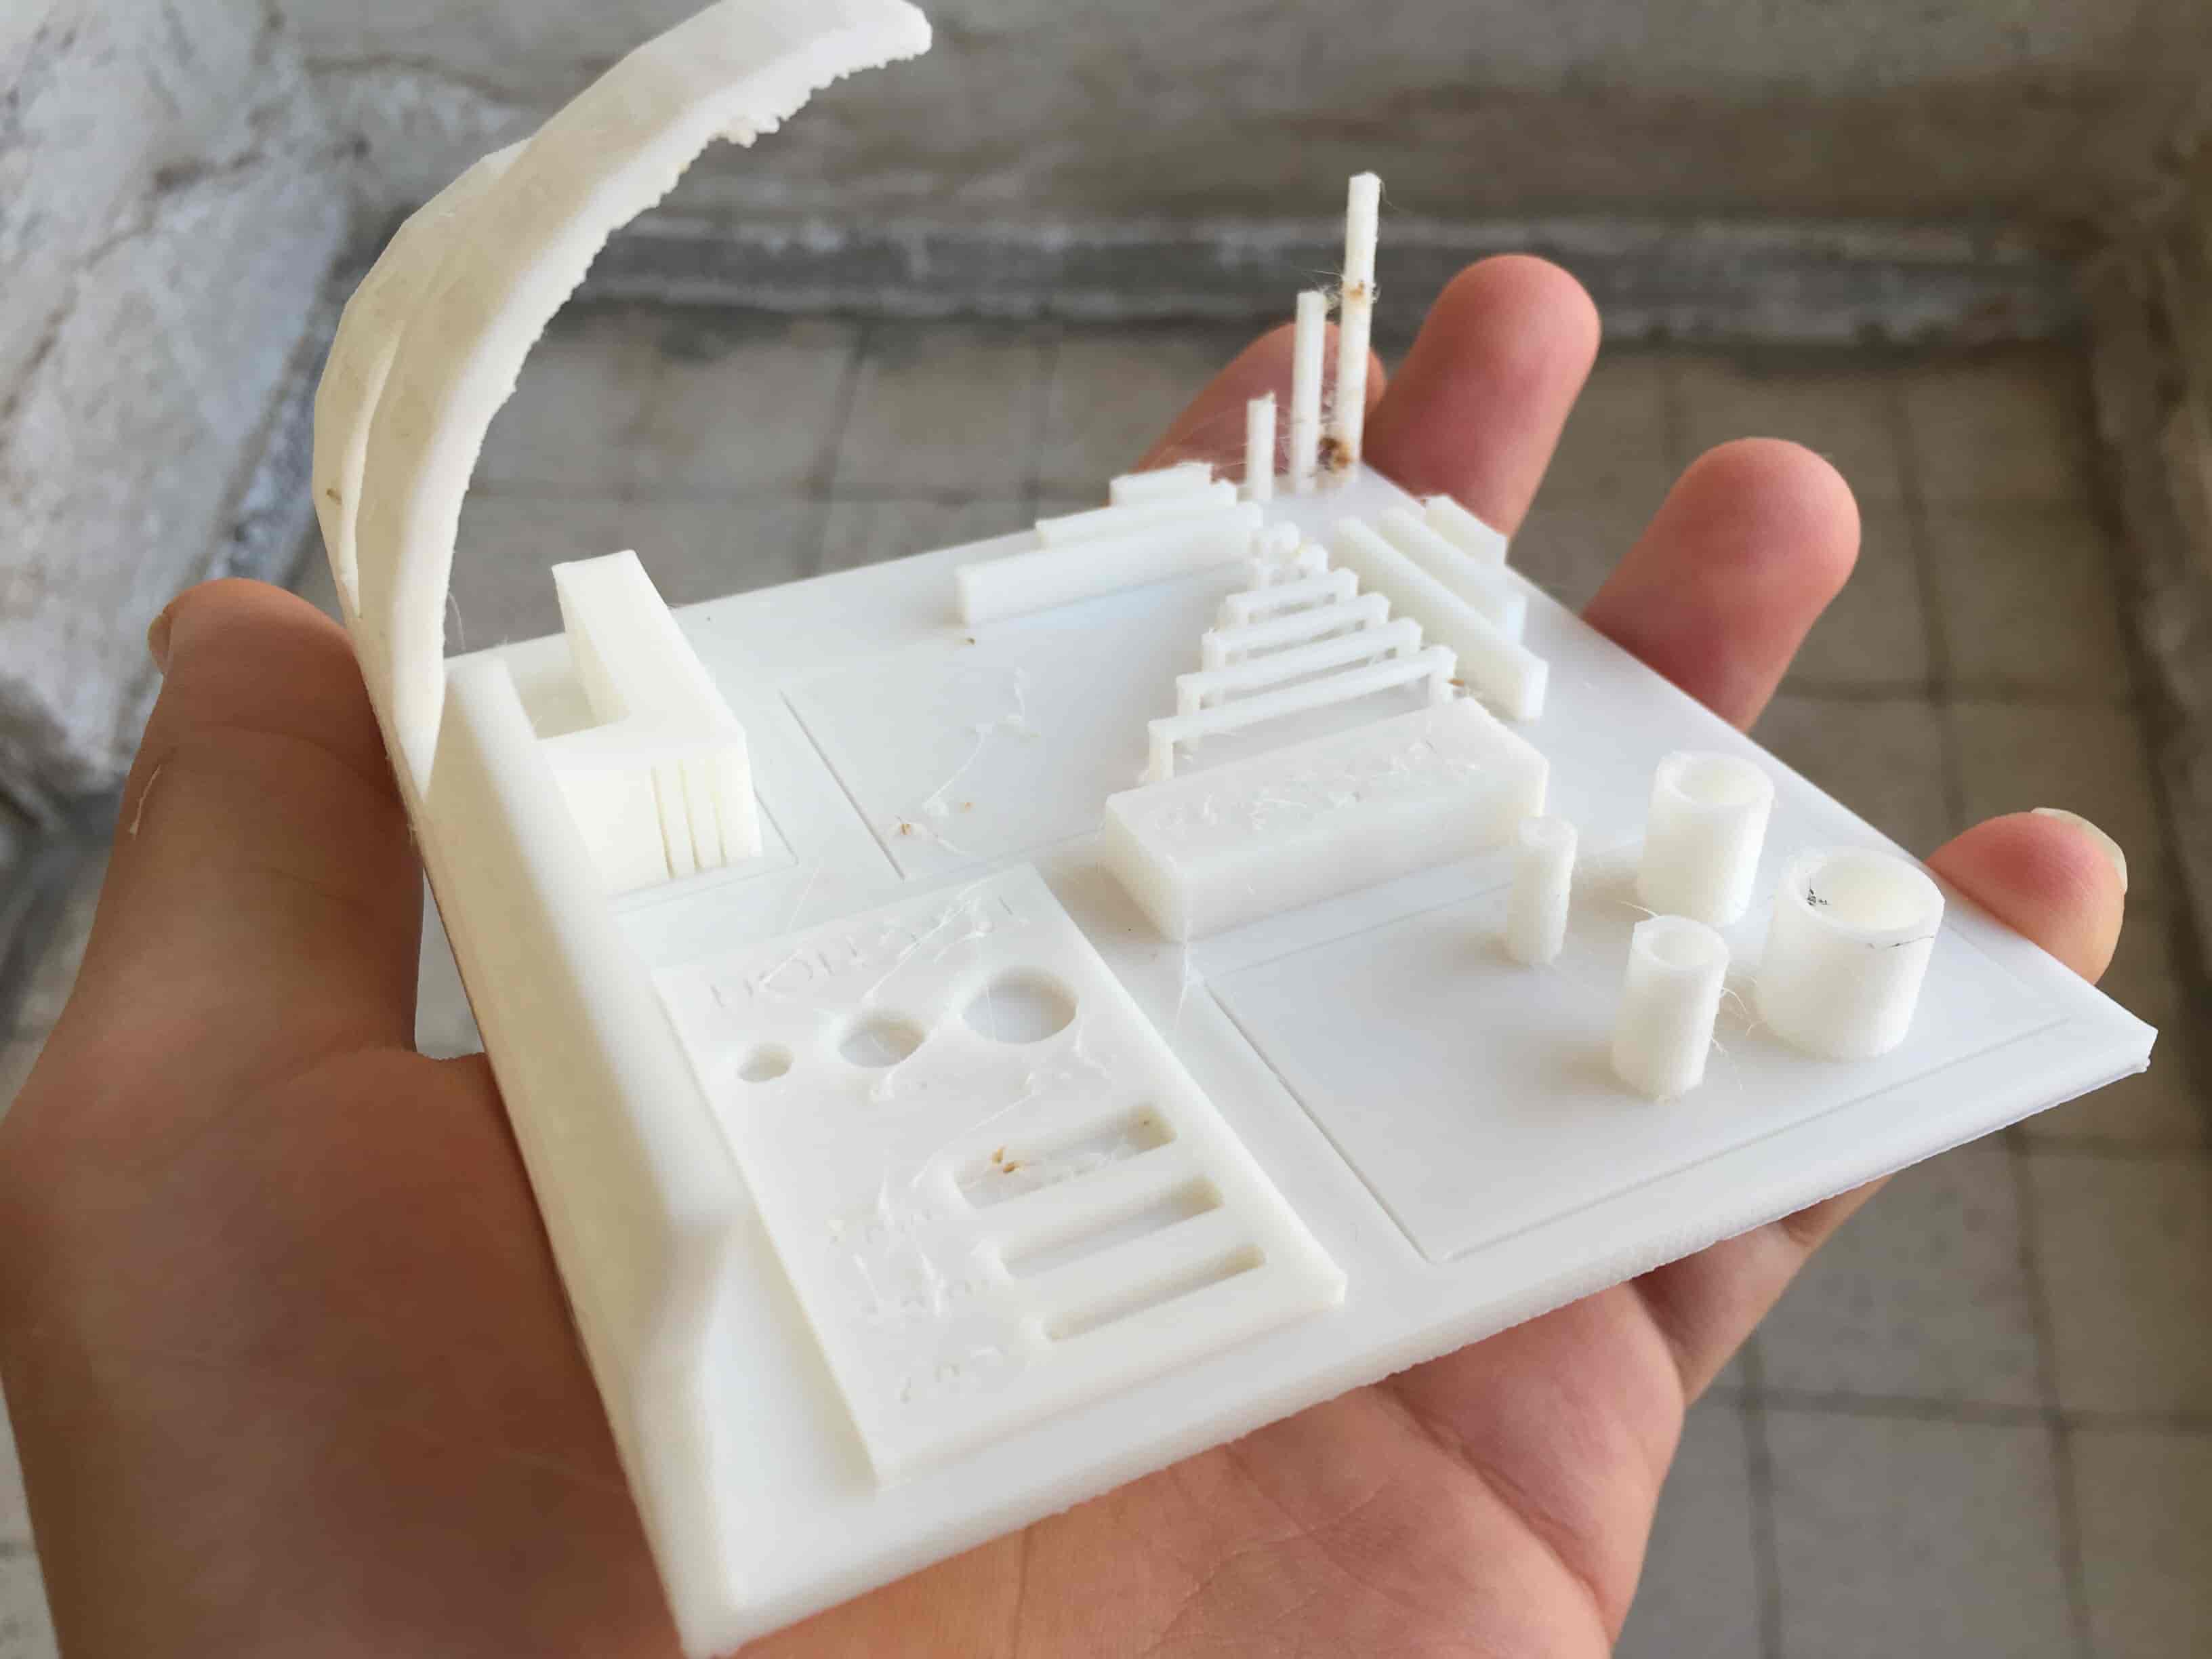
Unfortunately, the model didn’t come out very well! It has a lot of stringing and the long towers are kinda broken. I’m sure that the problem is in my slicing parameters. Because MY colleague Ahmed Saeed did the same test with the same model on the same machine and he gets results better than mine. I will reprint that model again on my RepRap Prusa printer with my slicing parameters and will see the difference.
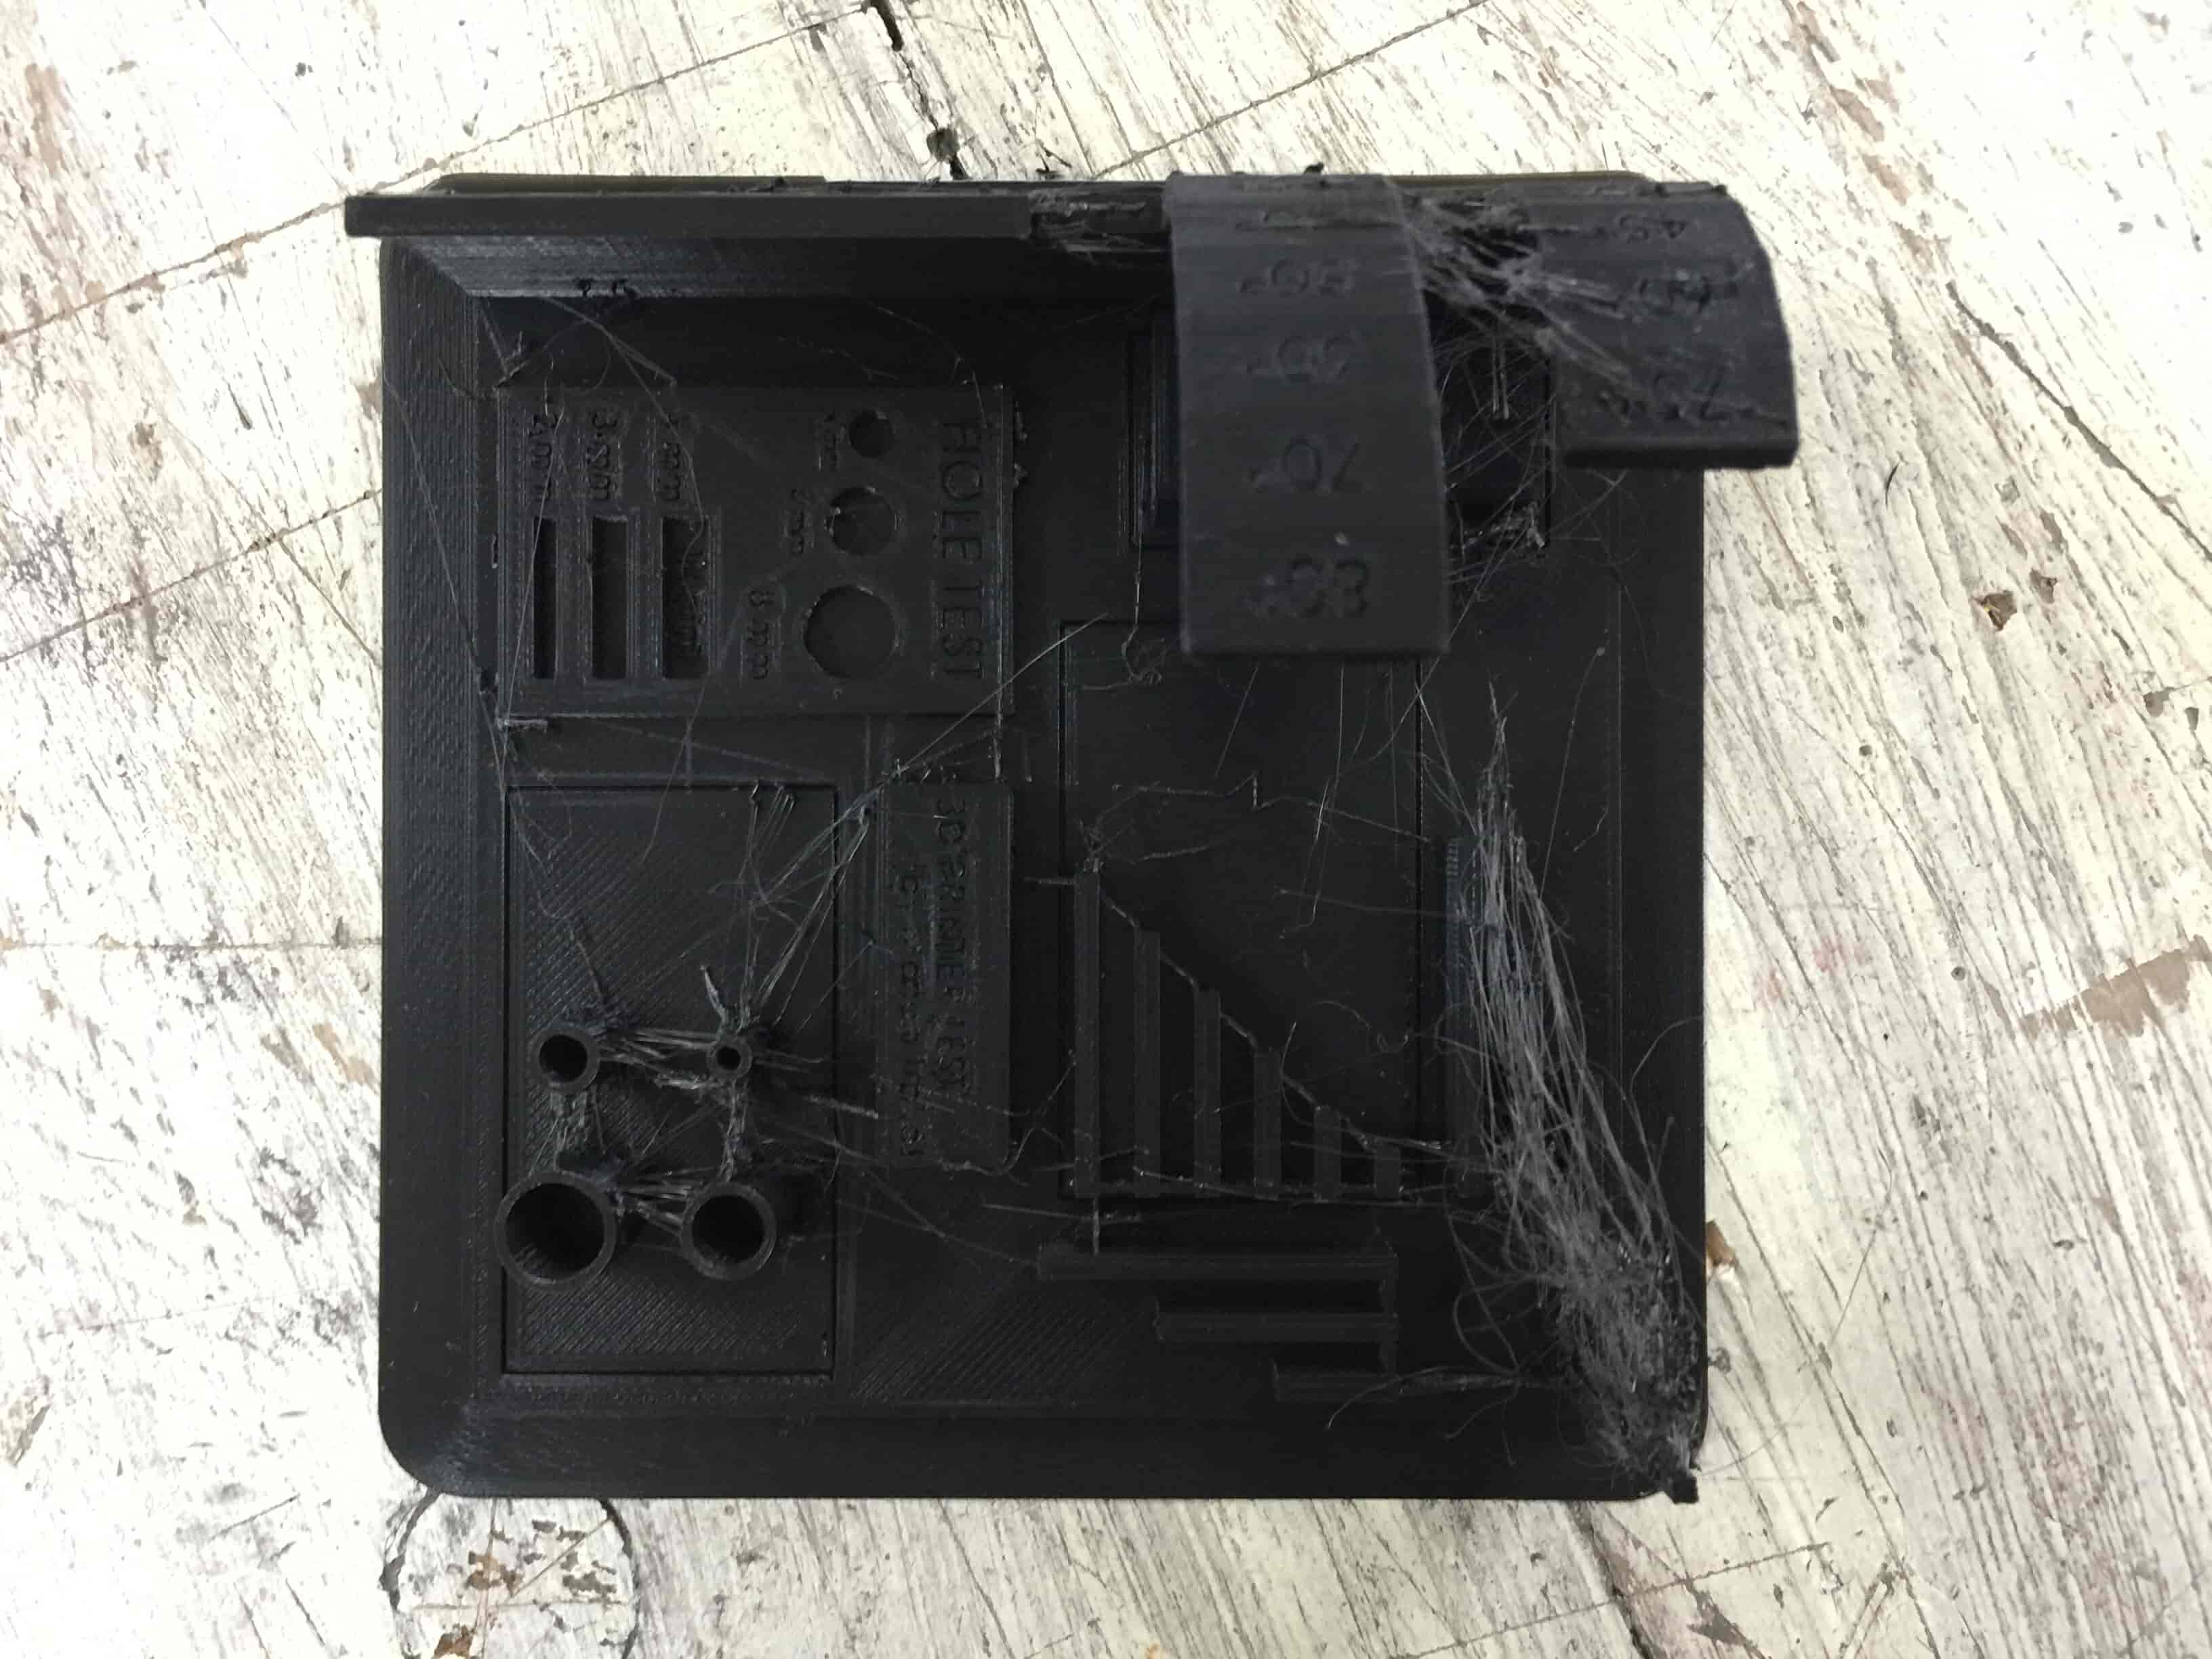
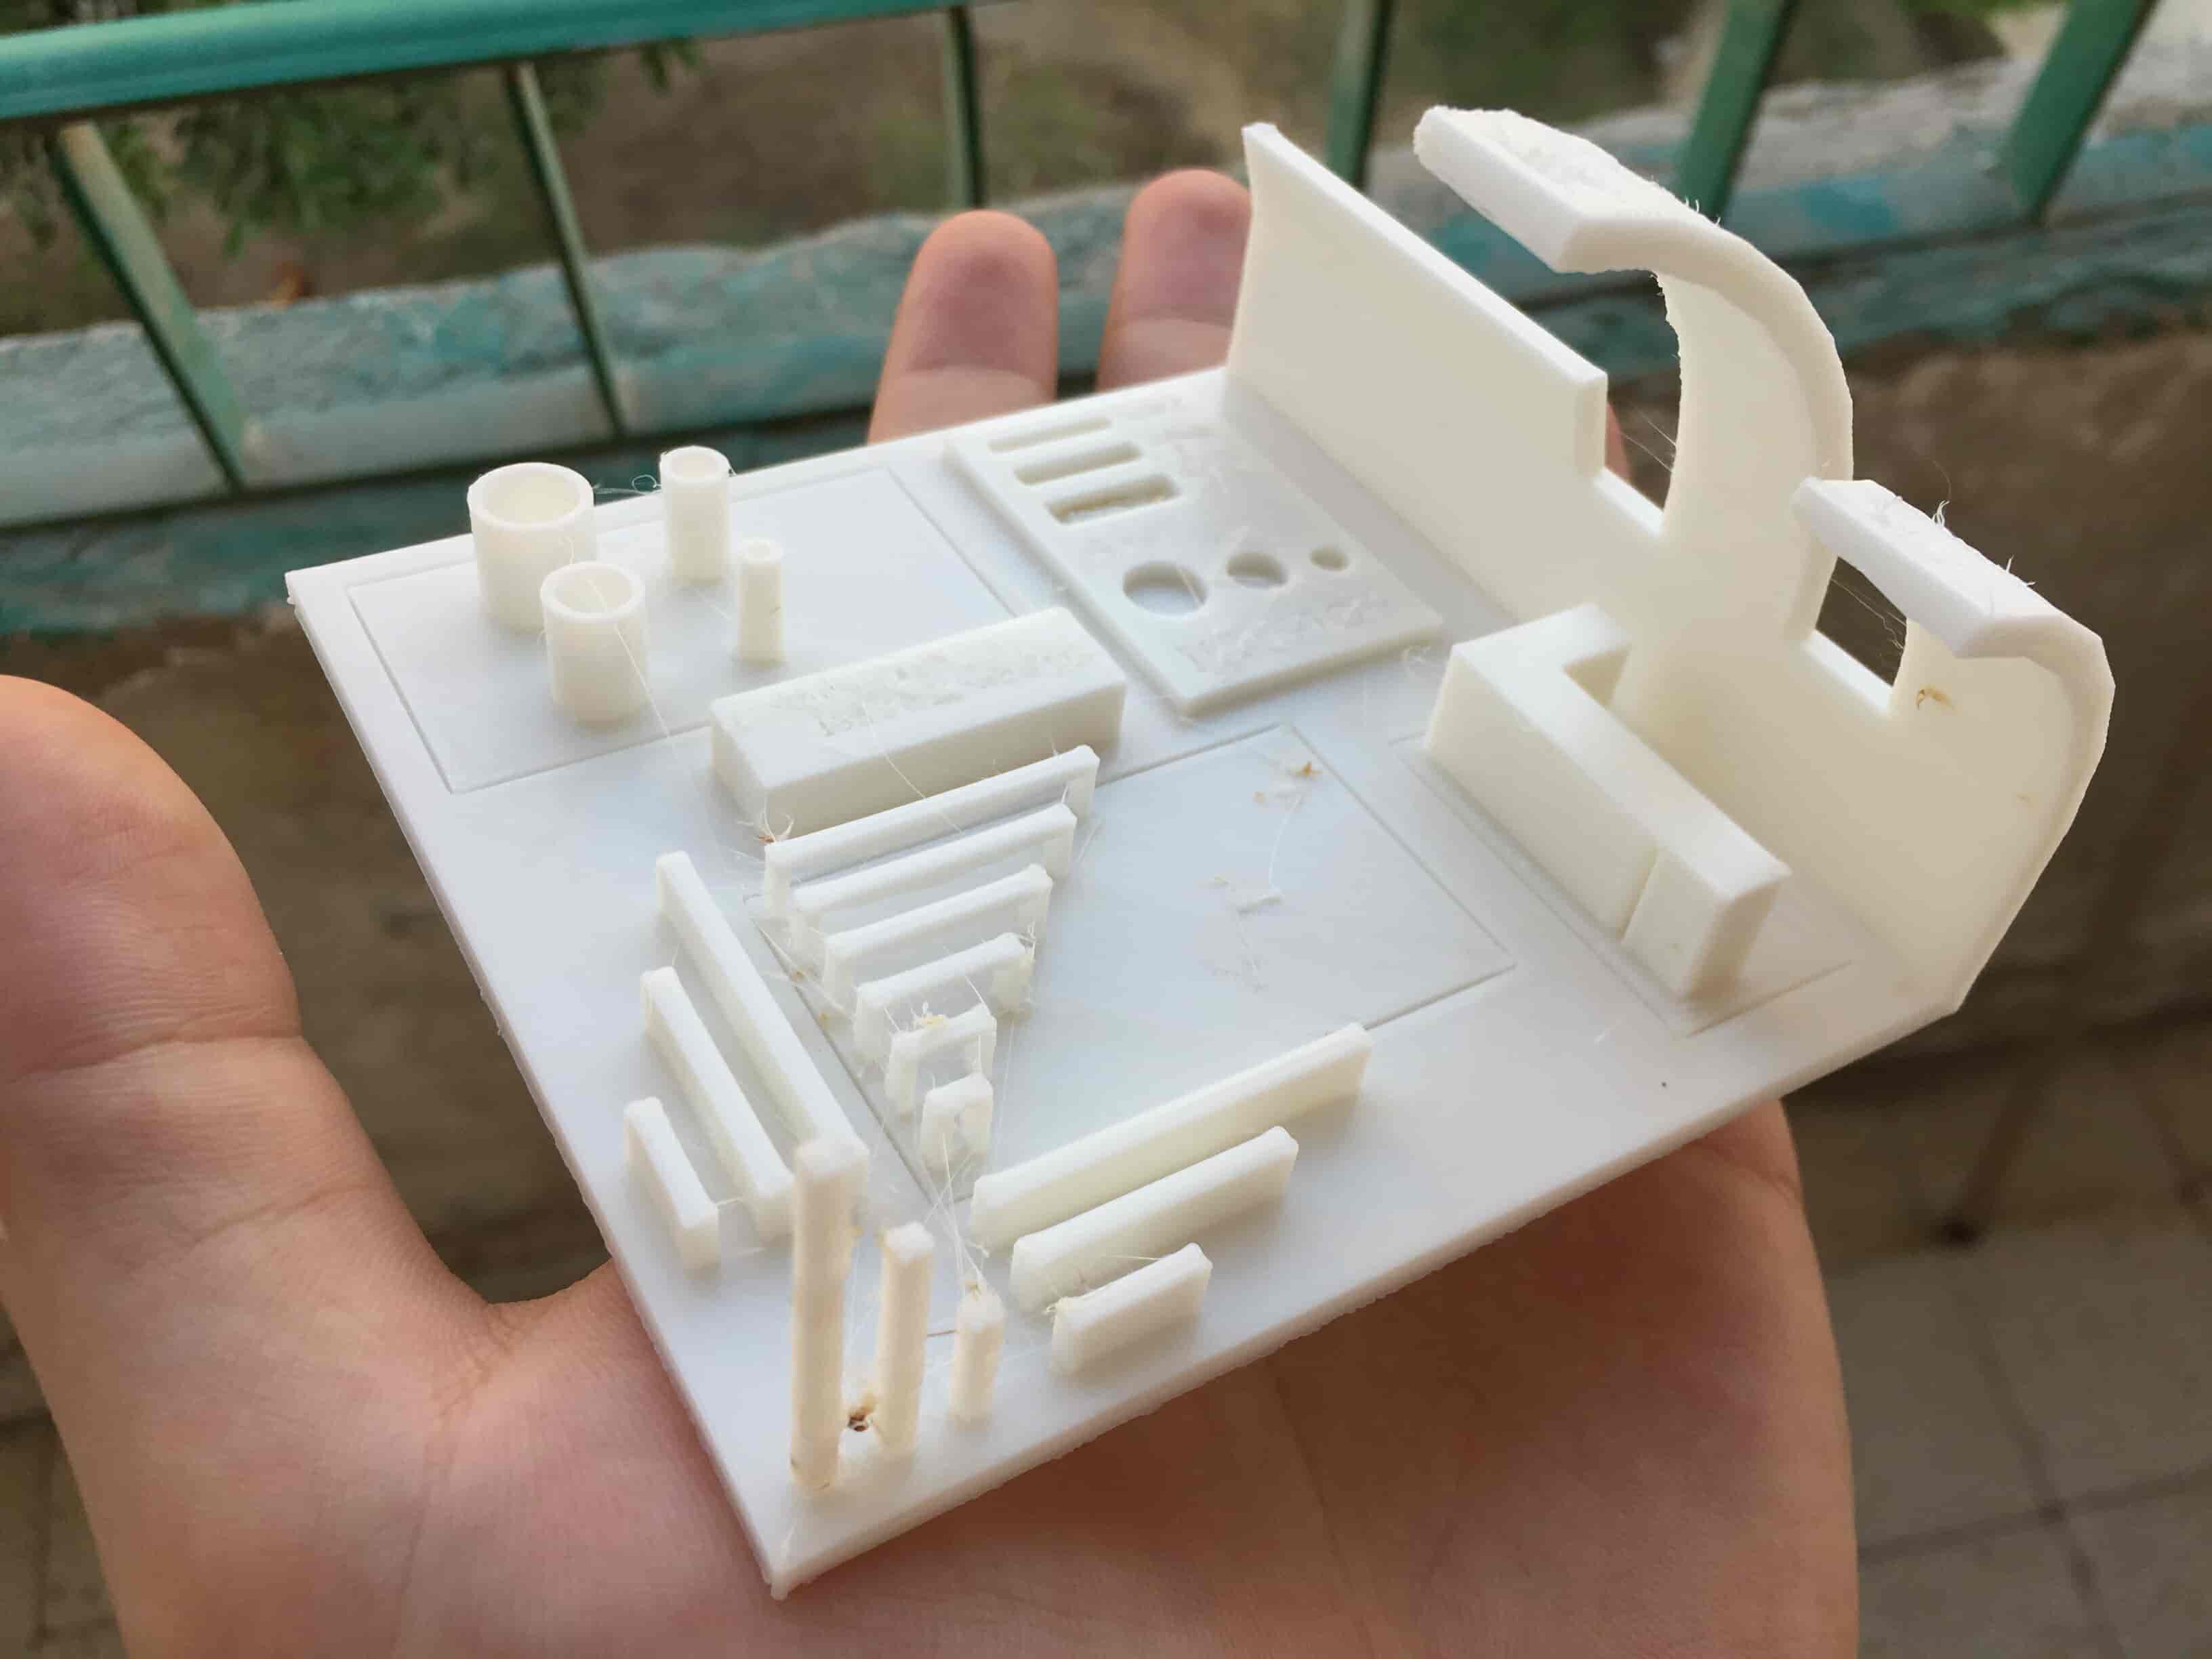
This time, I’m using Cura, not Prusa Slicer. I set the slicing parameters, then I sliced my model and Exported the Gcode file on the SD card. The same steps as the last method.

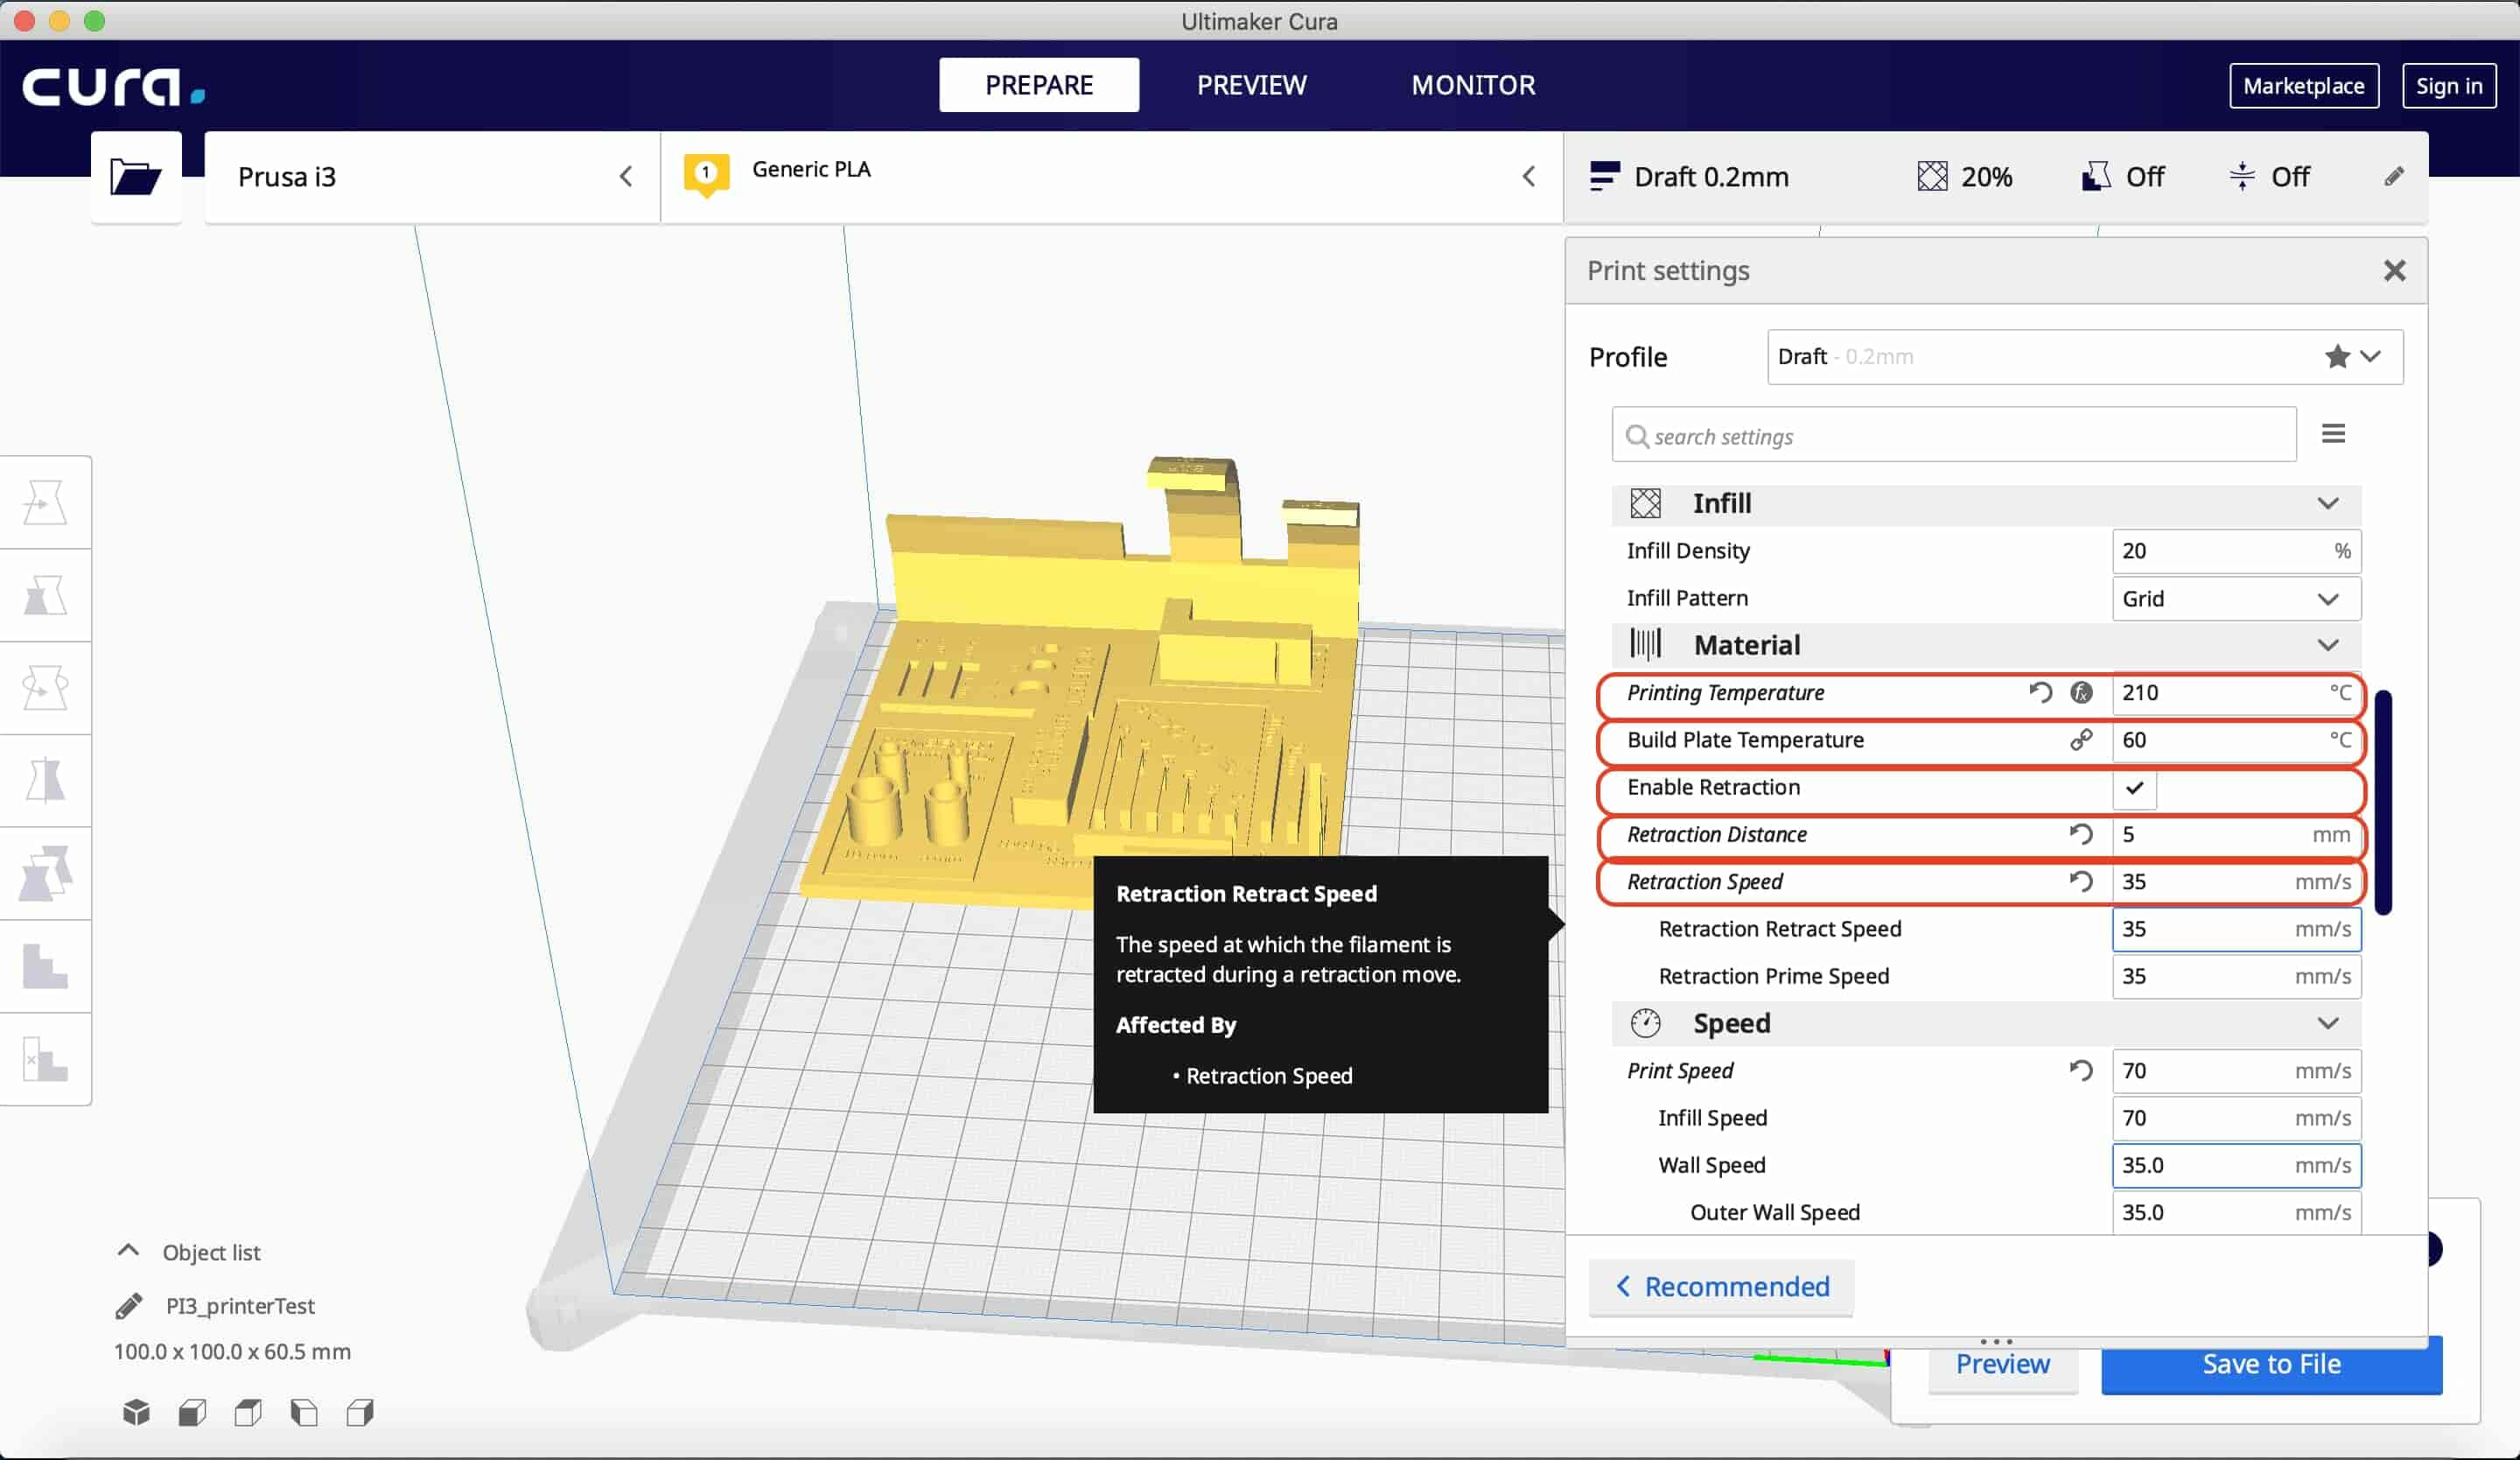
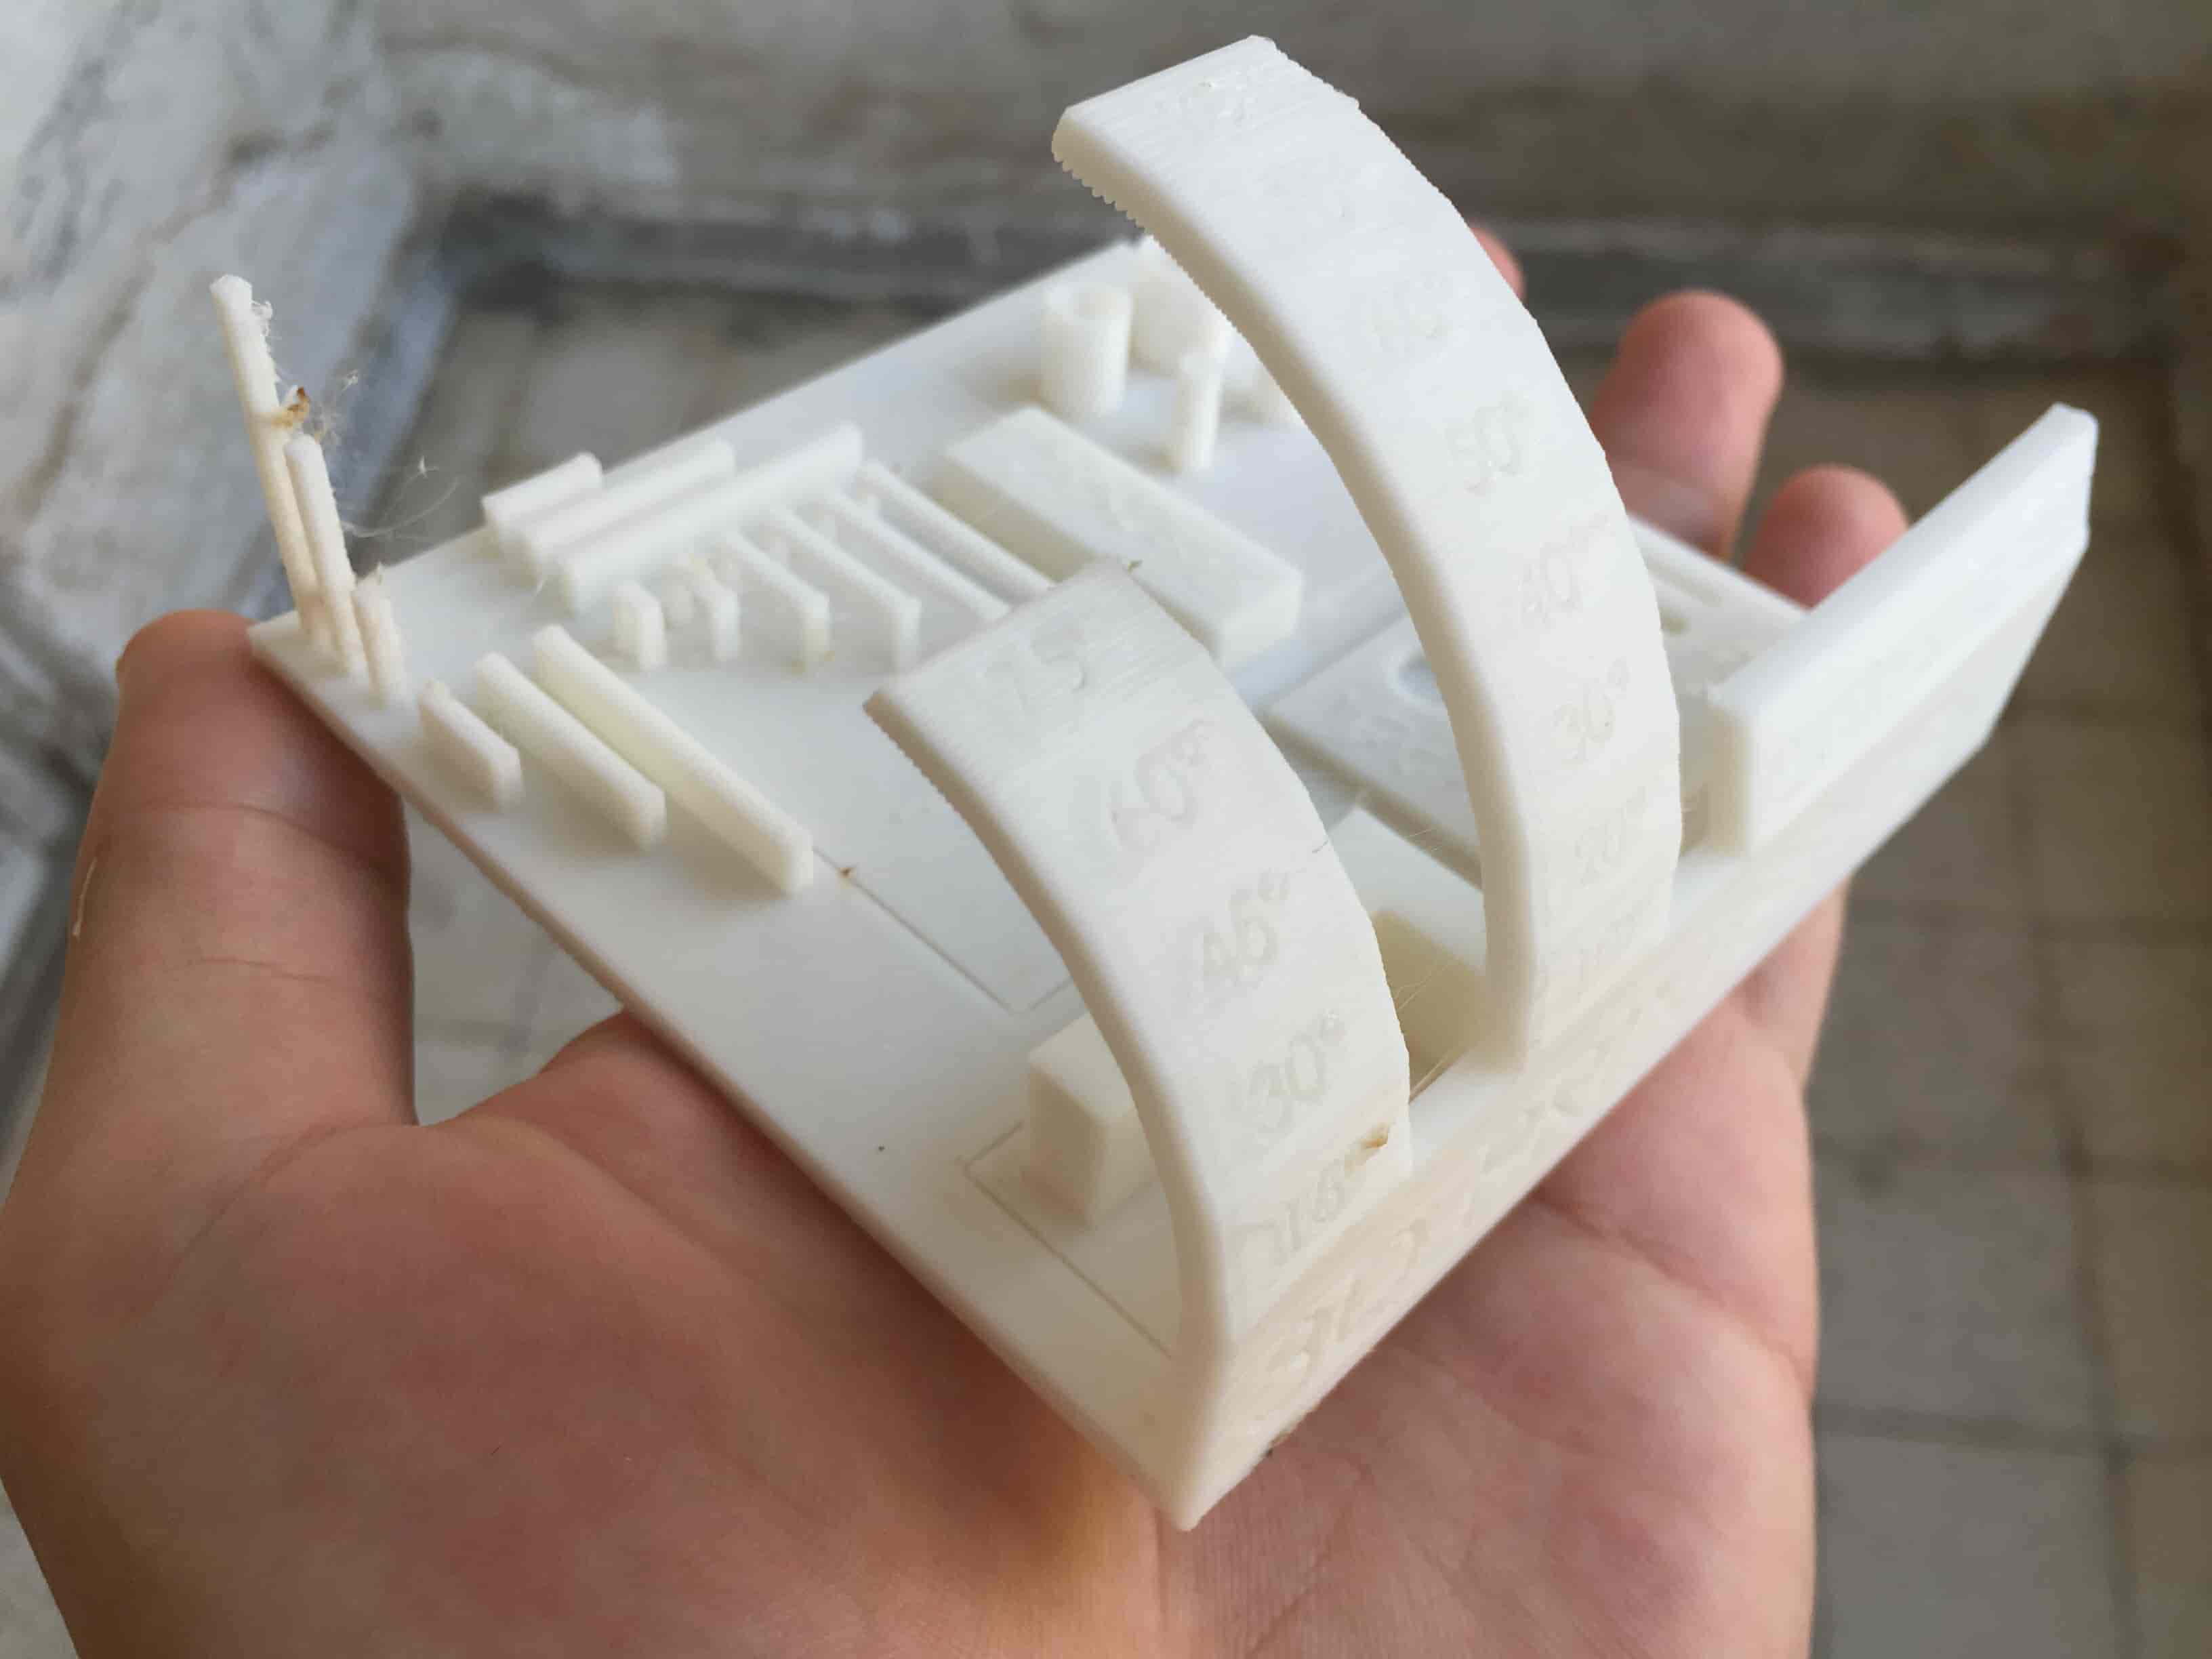
And here are the concluded parameters.
| Parameter | Value |
|---|---|
| Max. Overhang | 45 degrees |
| Max. Horizontal Bridge | 30mm |
| Average tolerance | 0.5mm |
| Parameter | Value |
|---|---|
| Max. Overhang | 40 degrees |
| Max. Horizontal Bridge | 30mm |
| Average tolerance | 0.5mm |
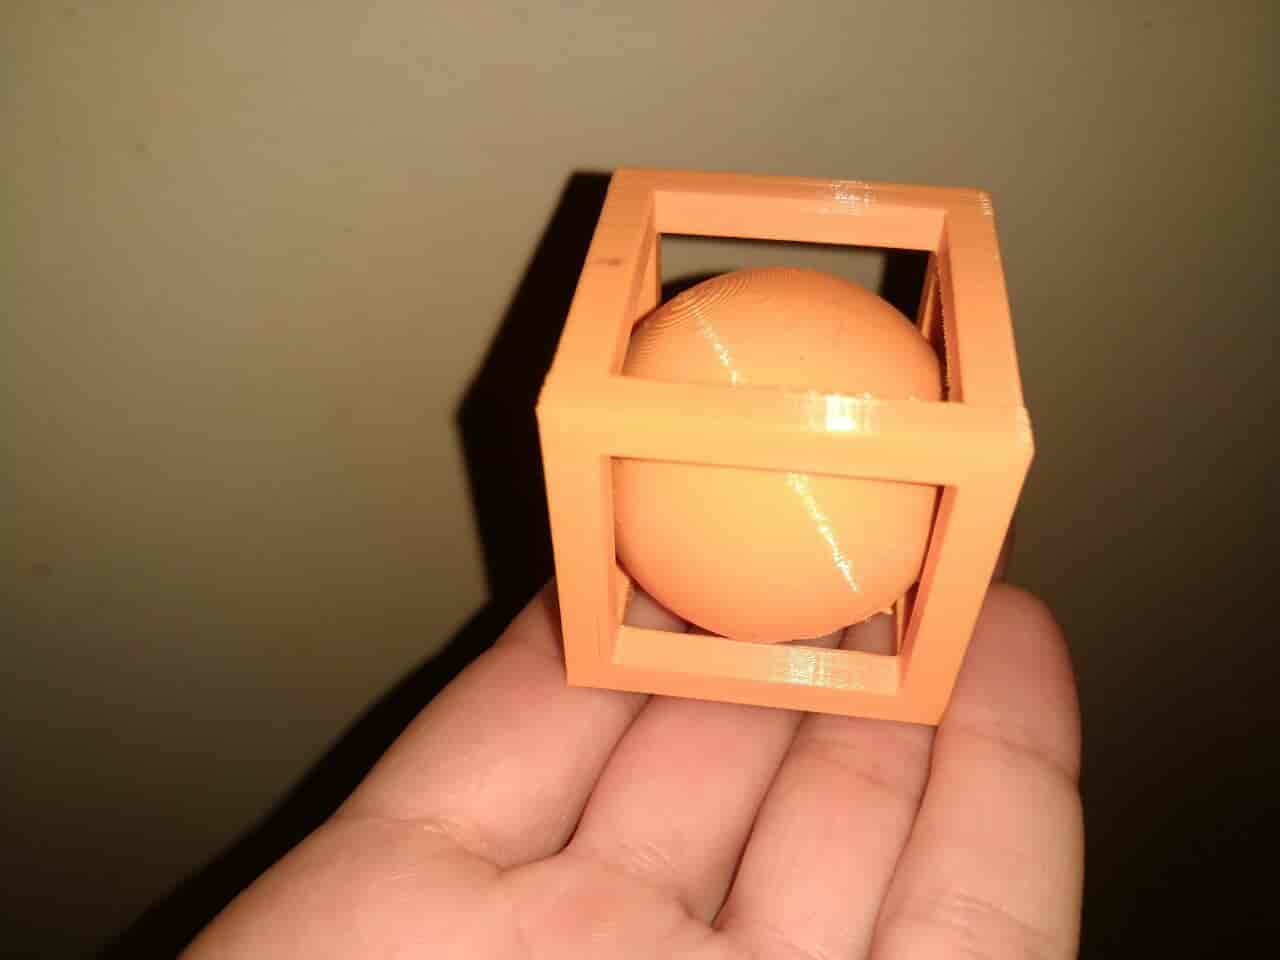
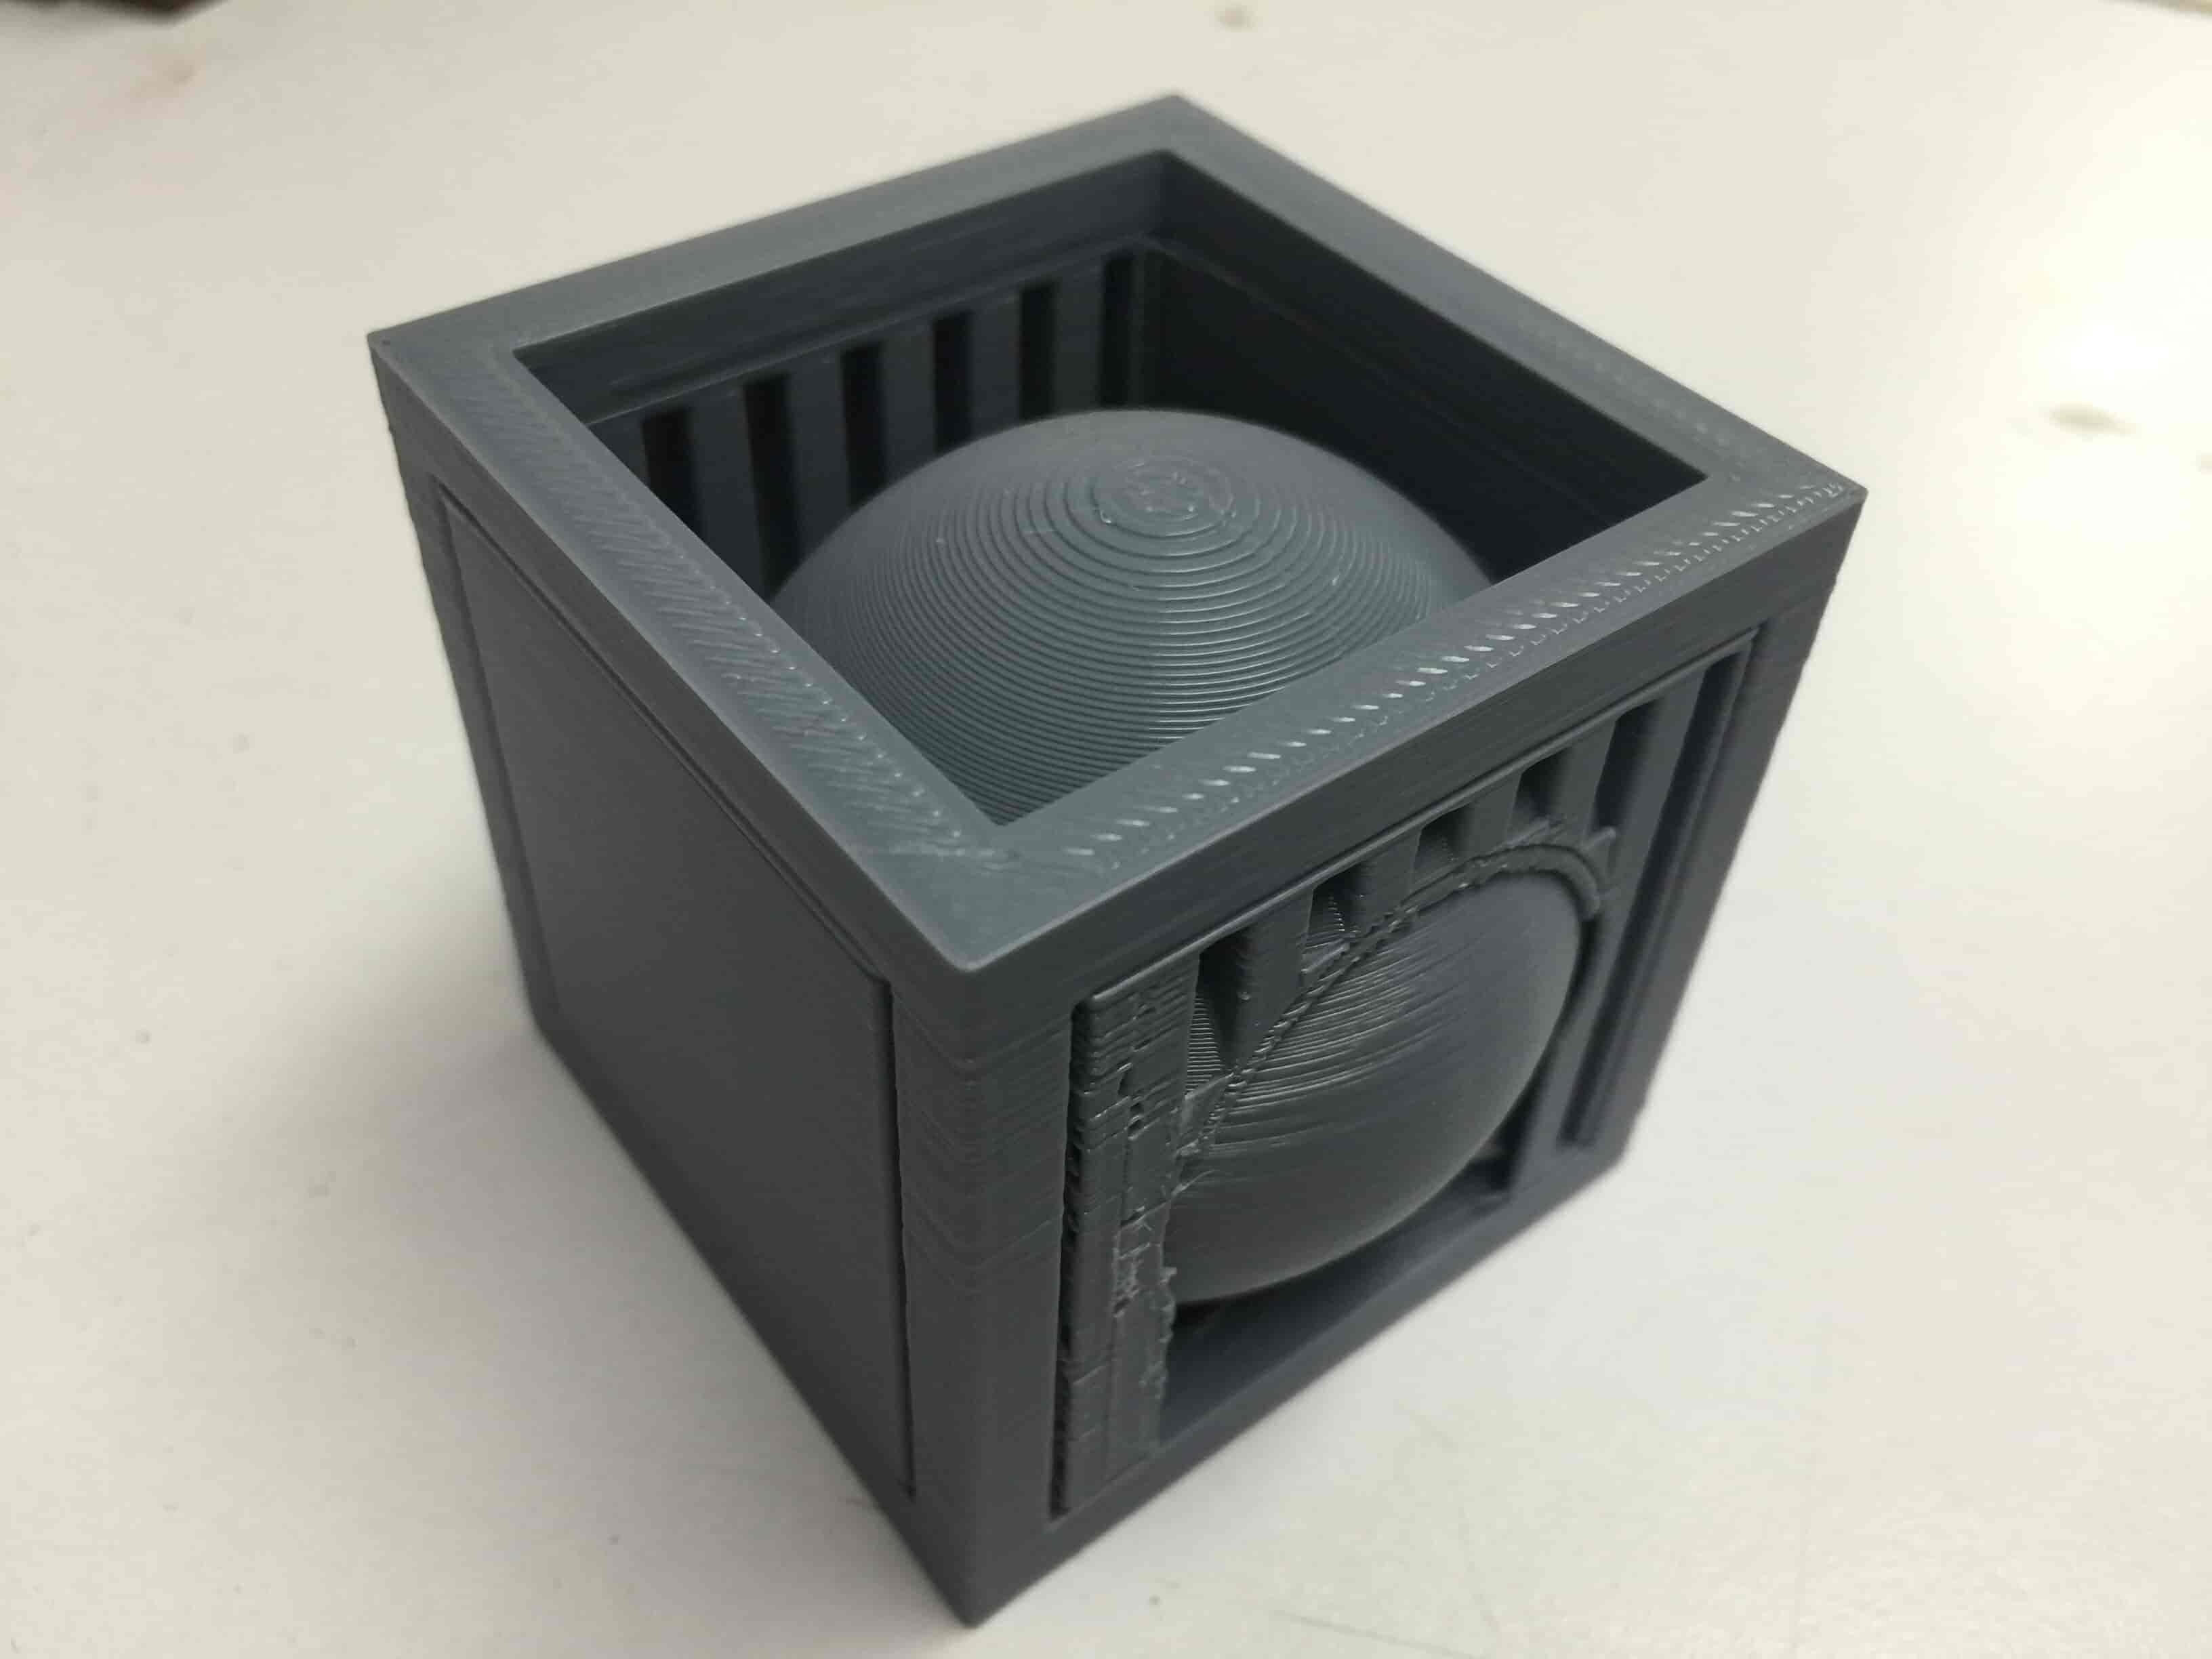
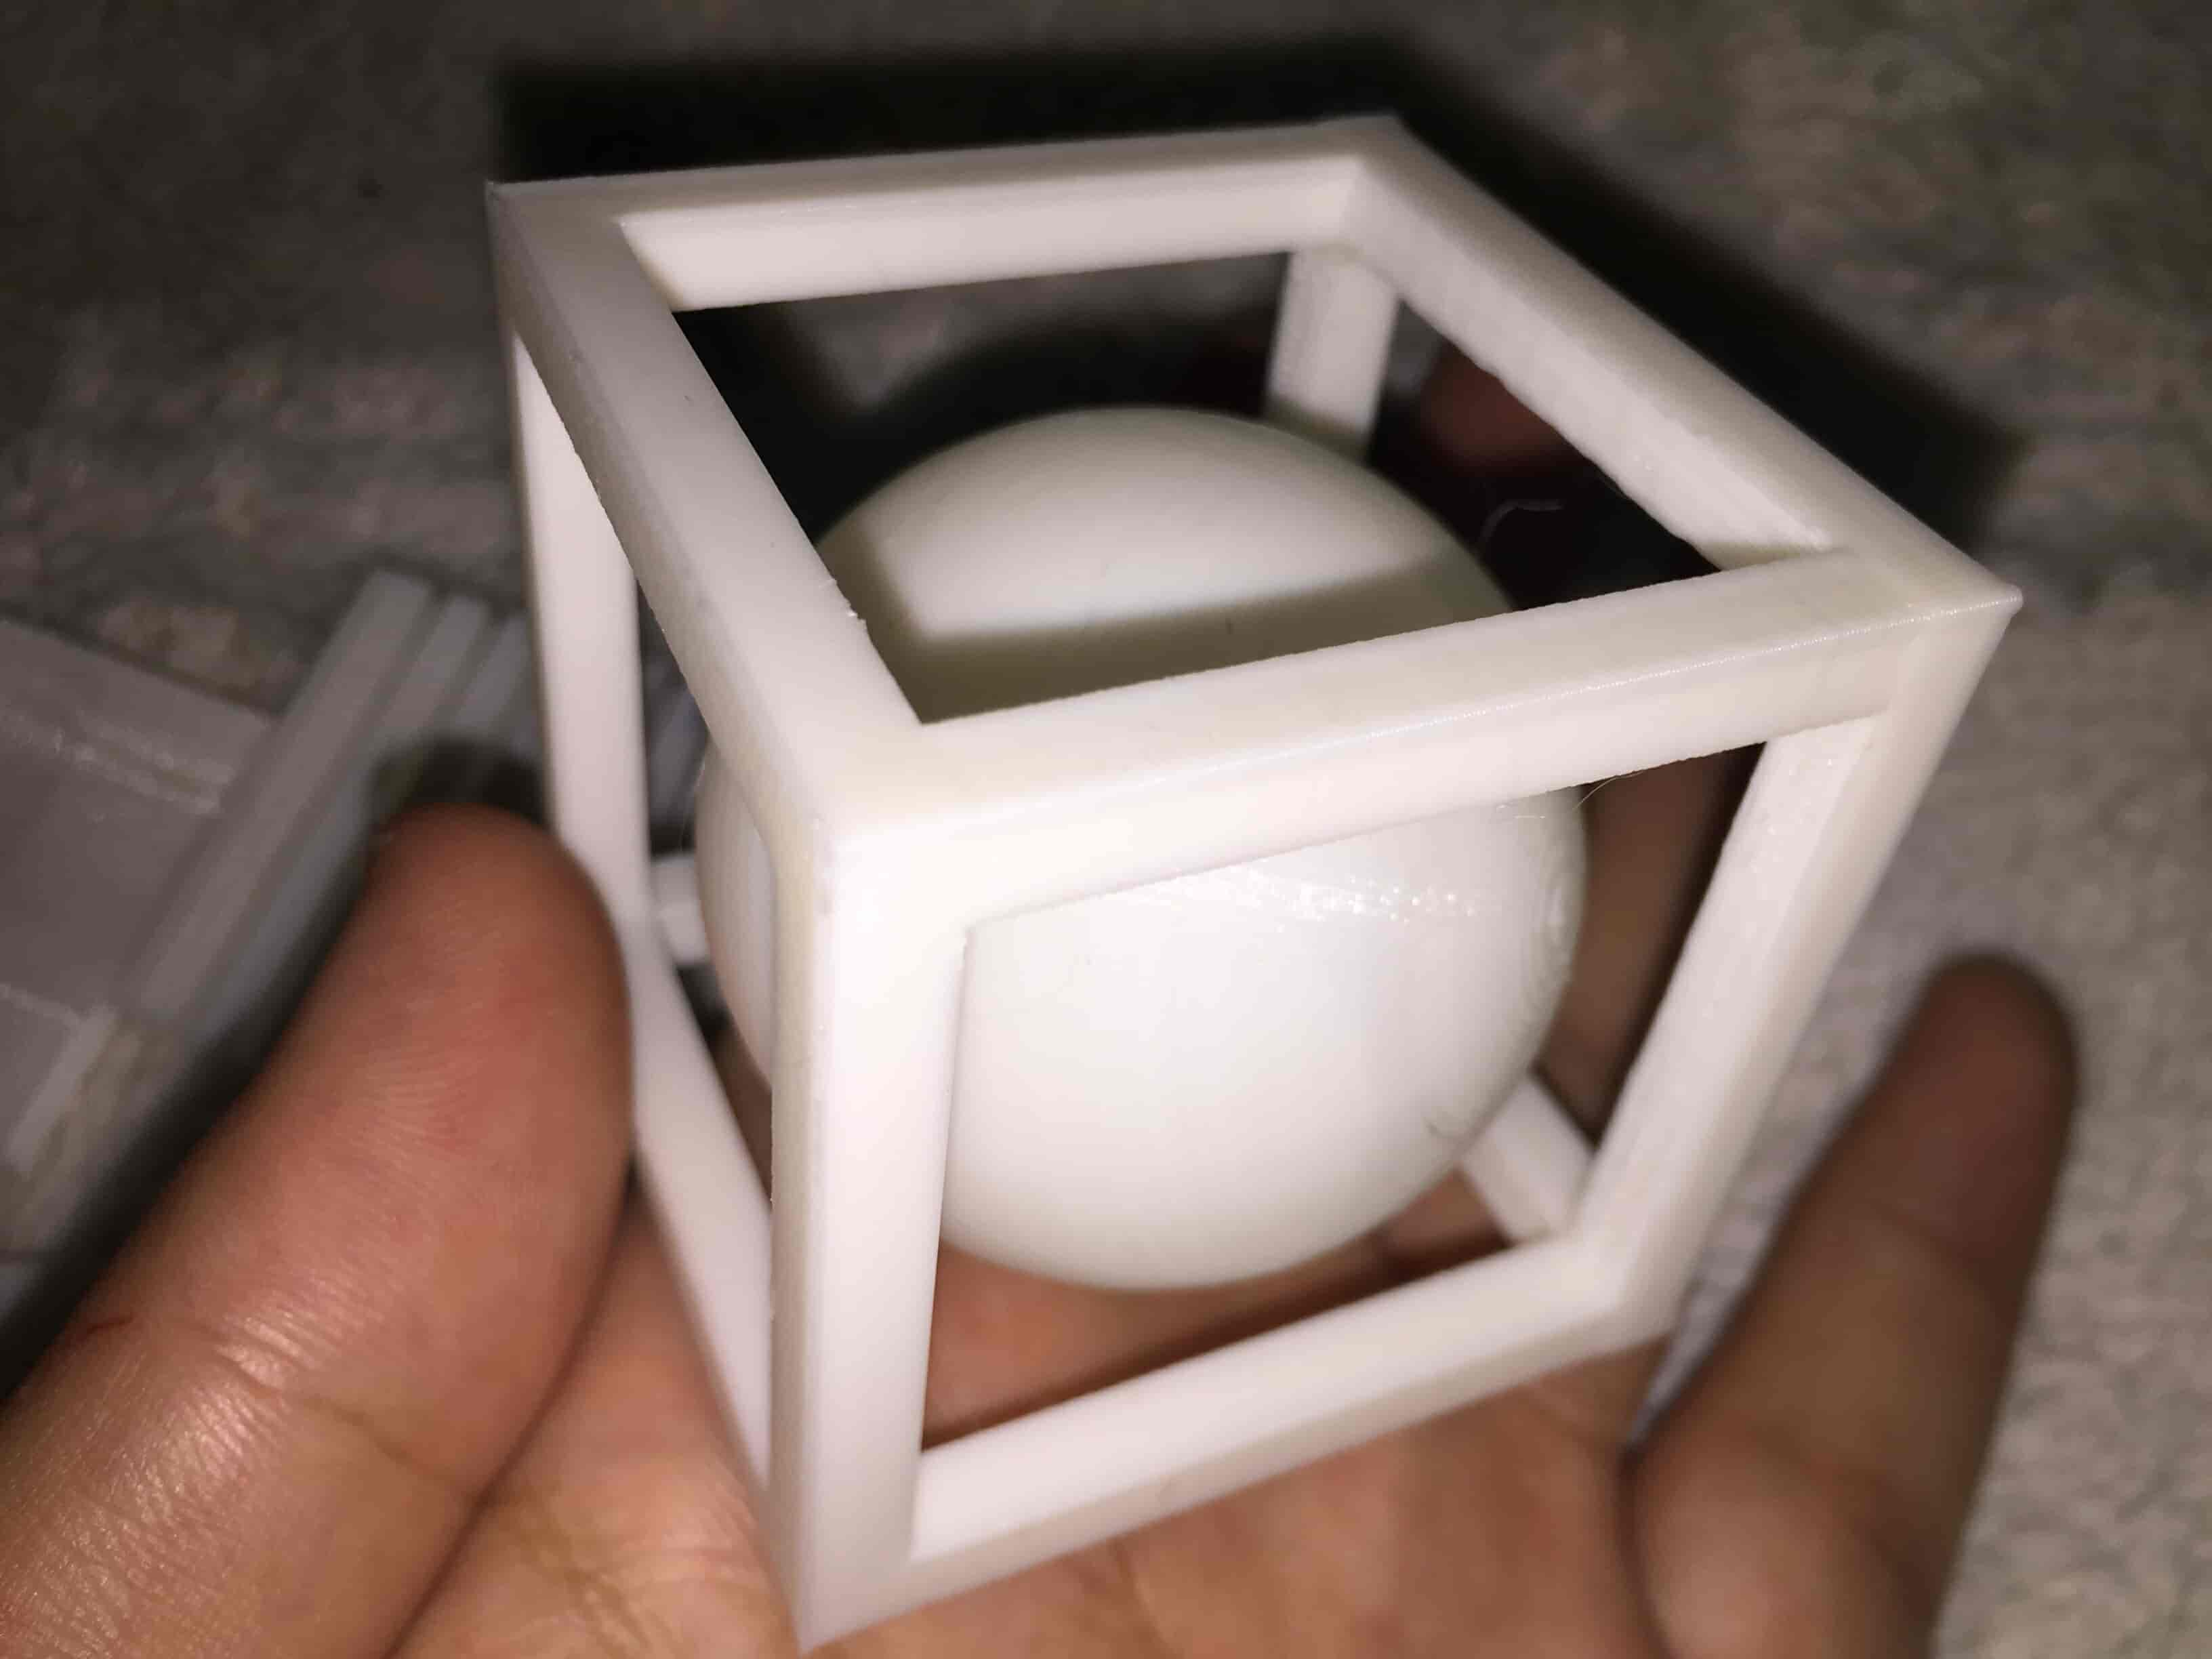
Designing A Sphere Inside A Box Model
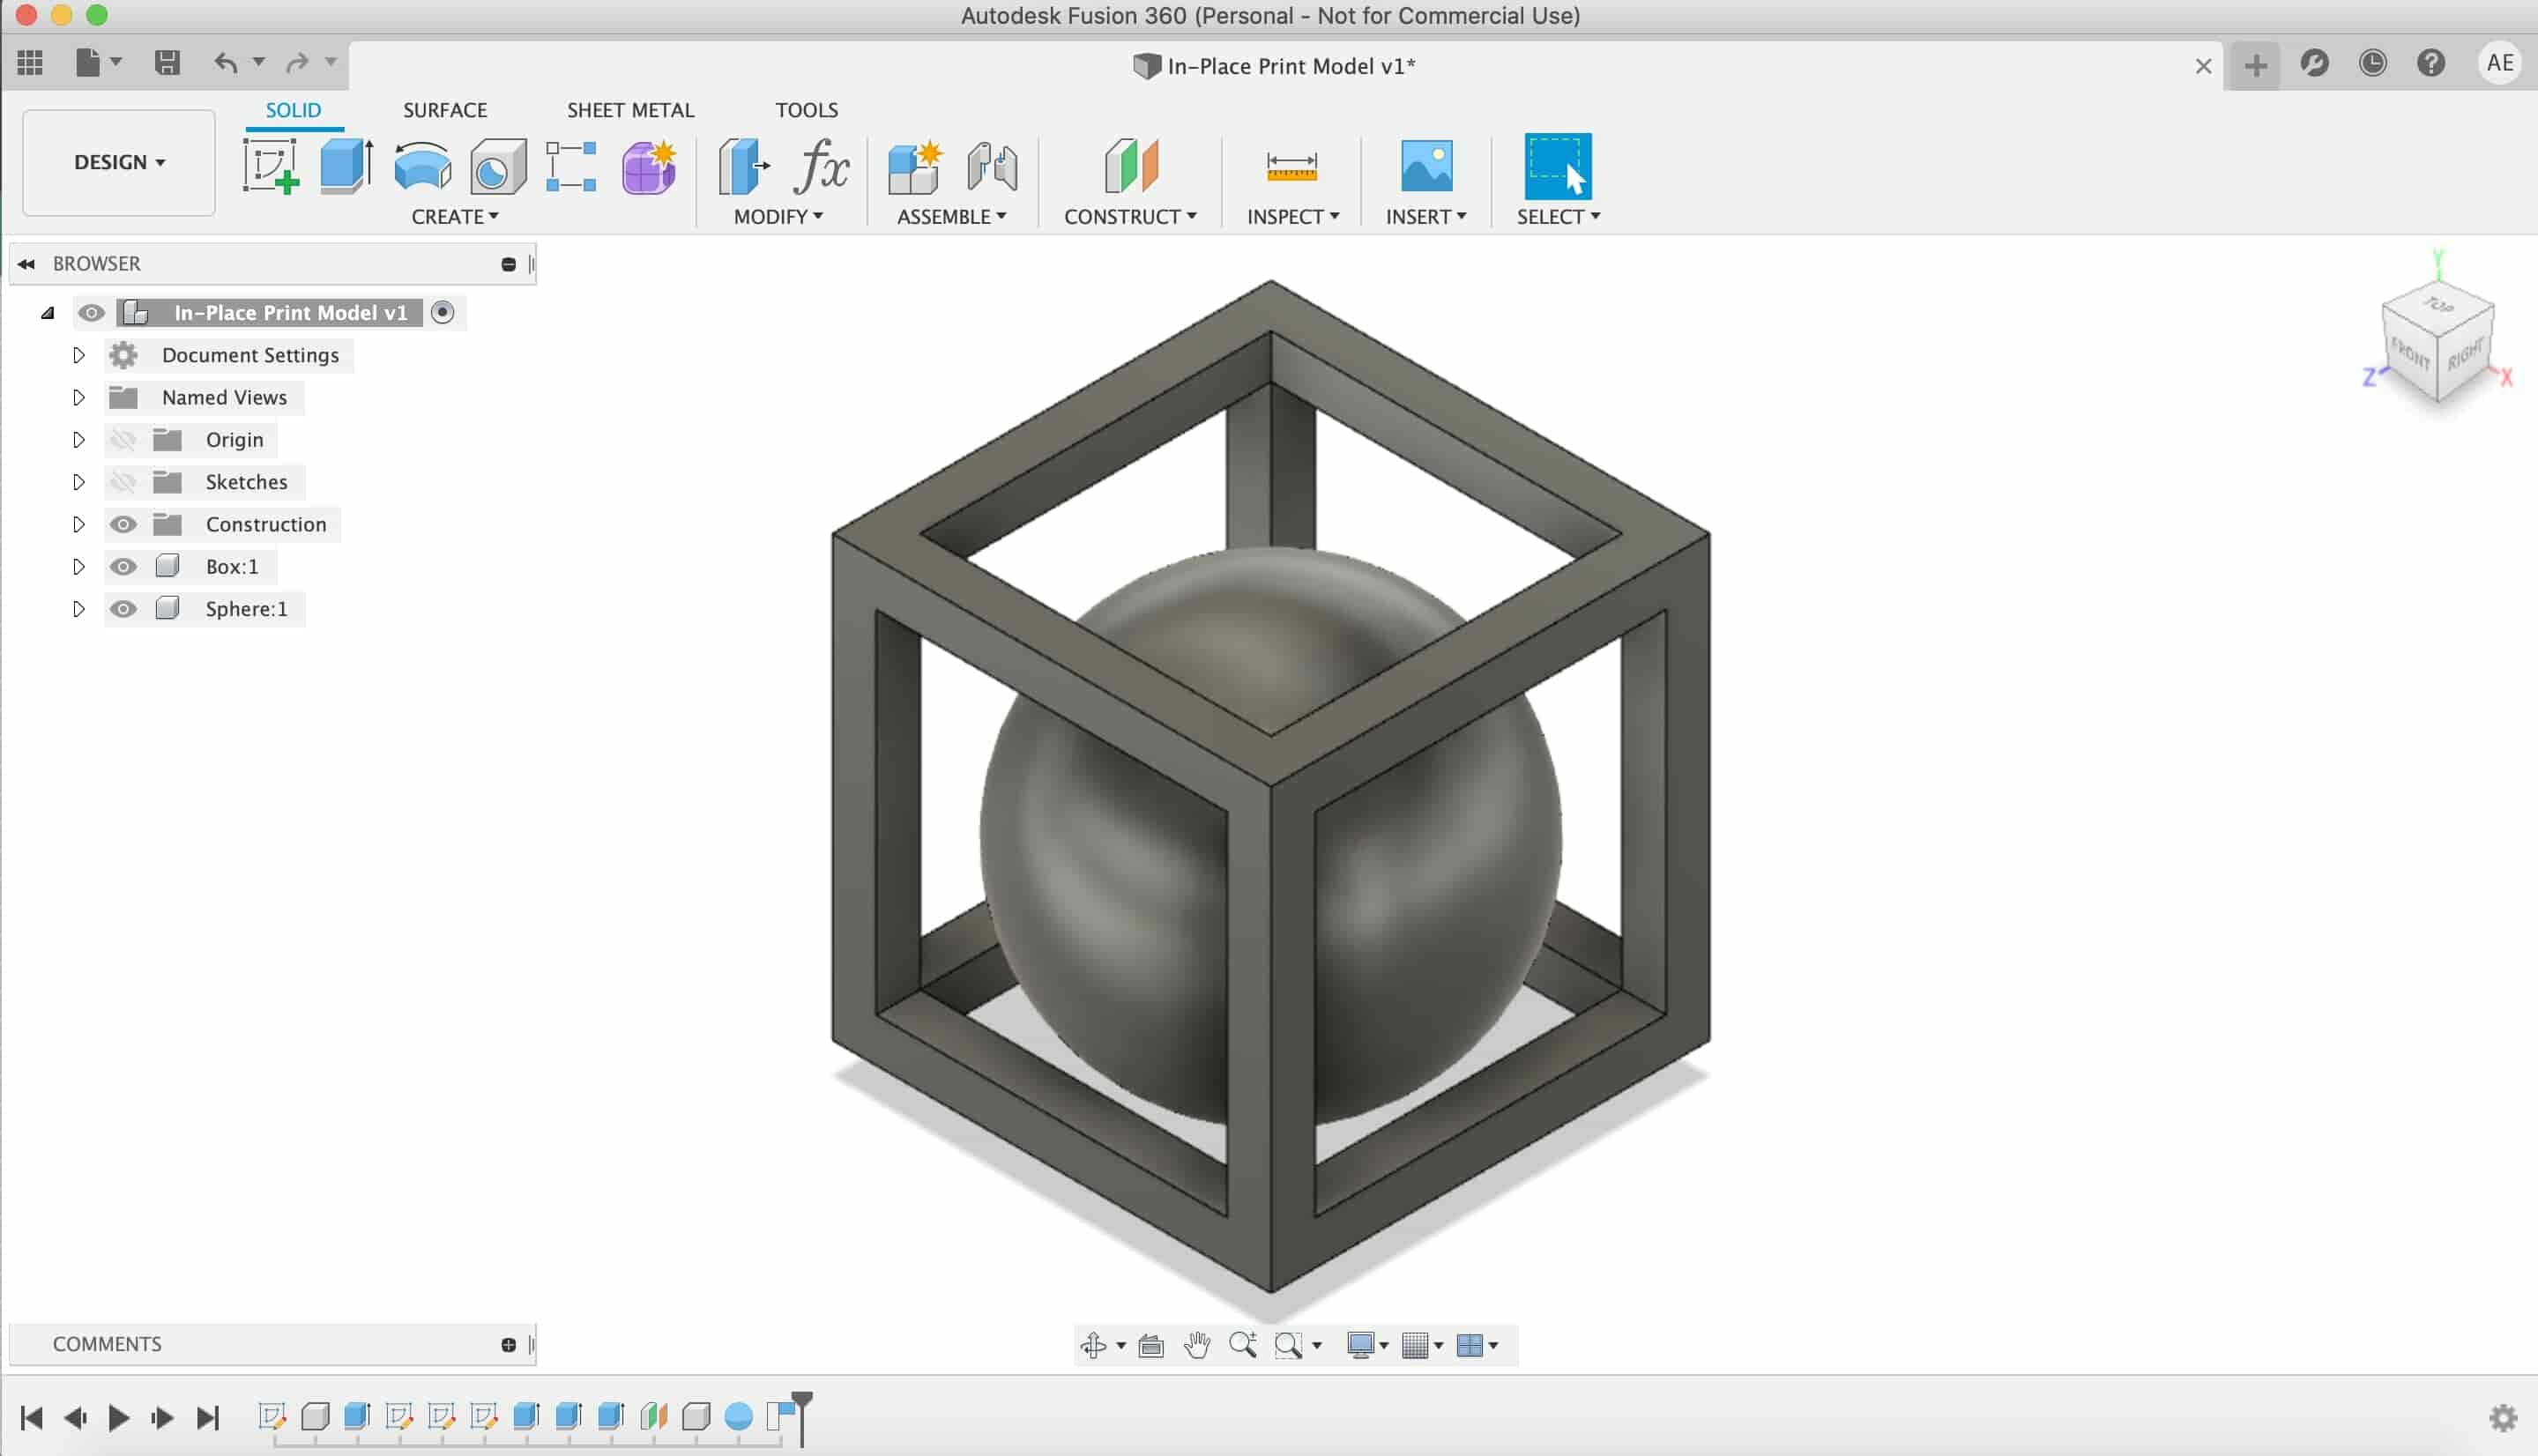
The First time ever I visited Fab Lab Egypt 4-5 years ago, I saw a lot of cool 3D printed models. But, there’s a specific one model that caught my attention, it was a sphere inside a box that was printed together in-place. So, I decided I wanna design this model and print mine.
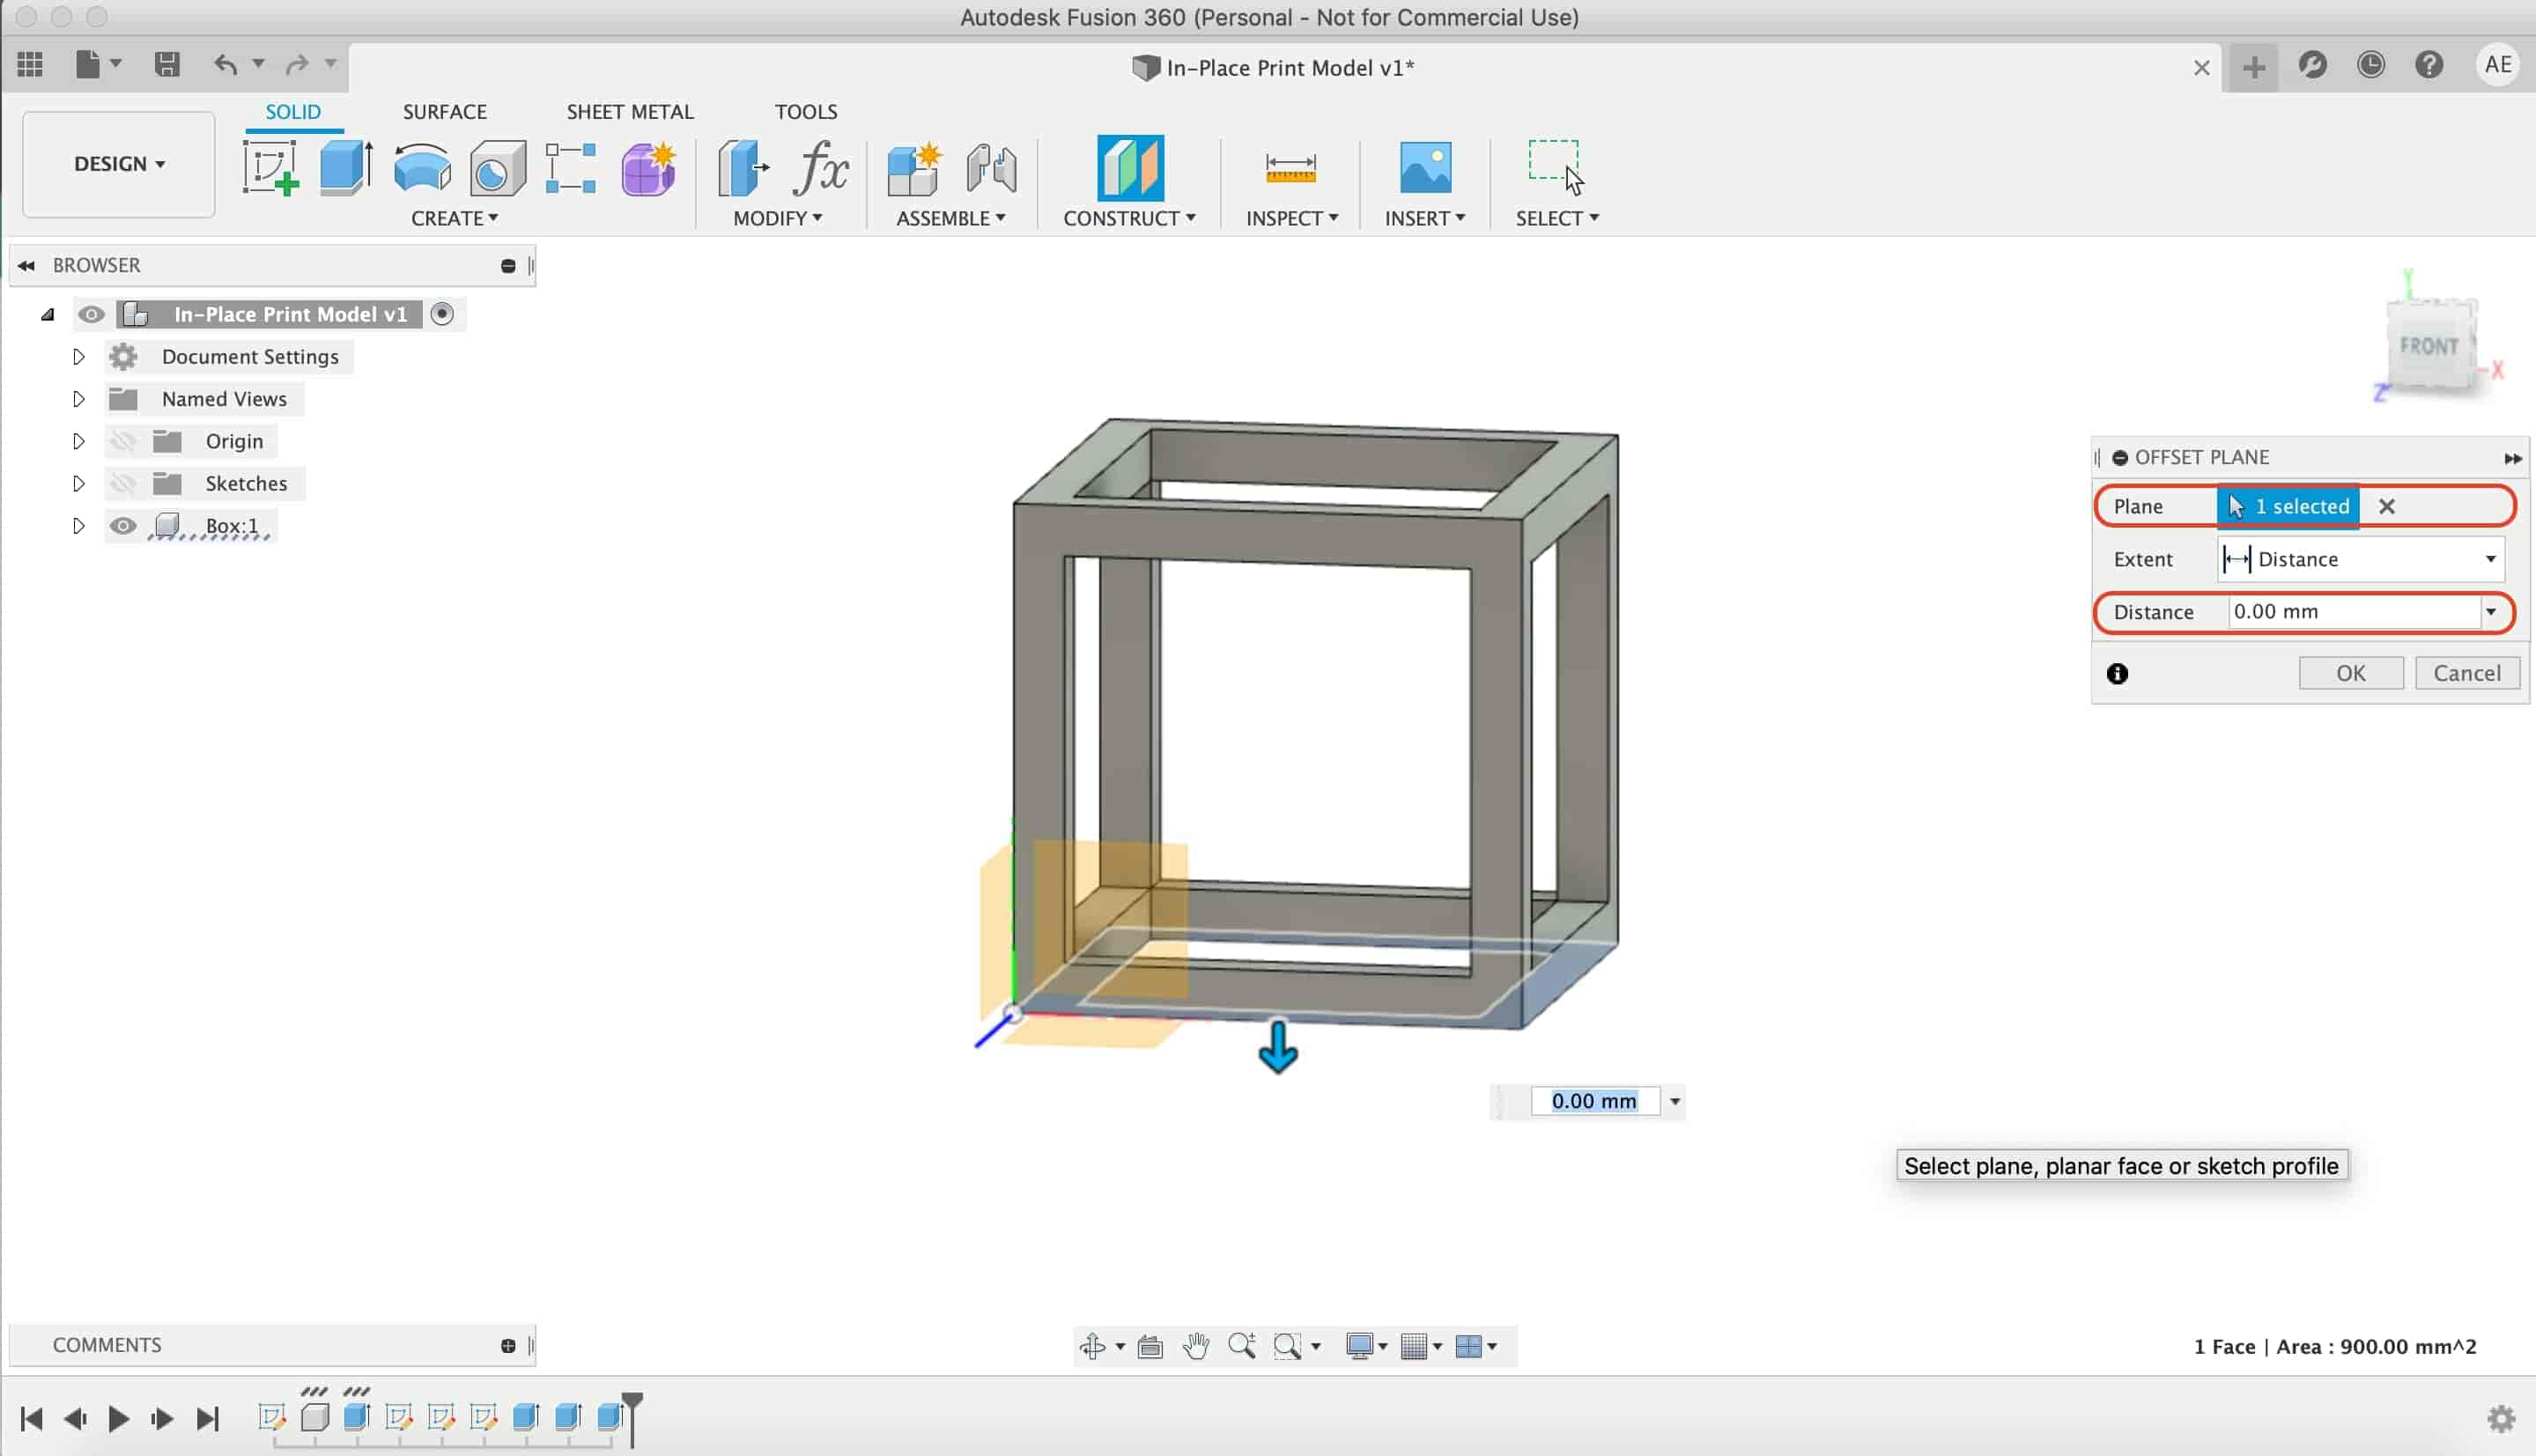
I opened Fusion360 and started designing my thing. I created a new sketch and draw a 50mm square and extruded it with value 50mm. Creating a cube of 50X50X50mm.
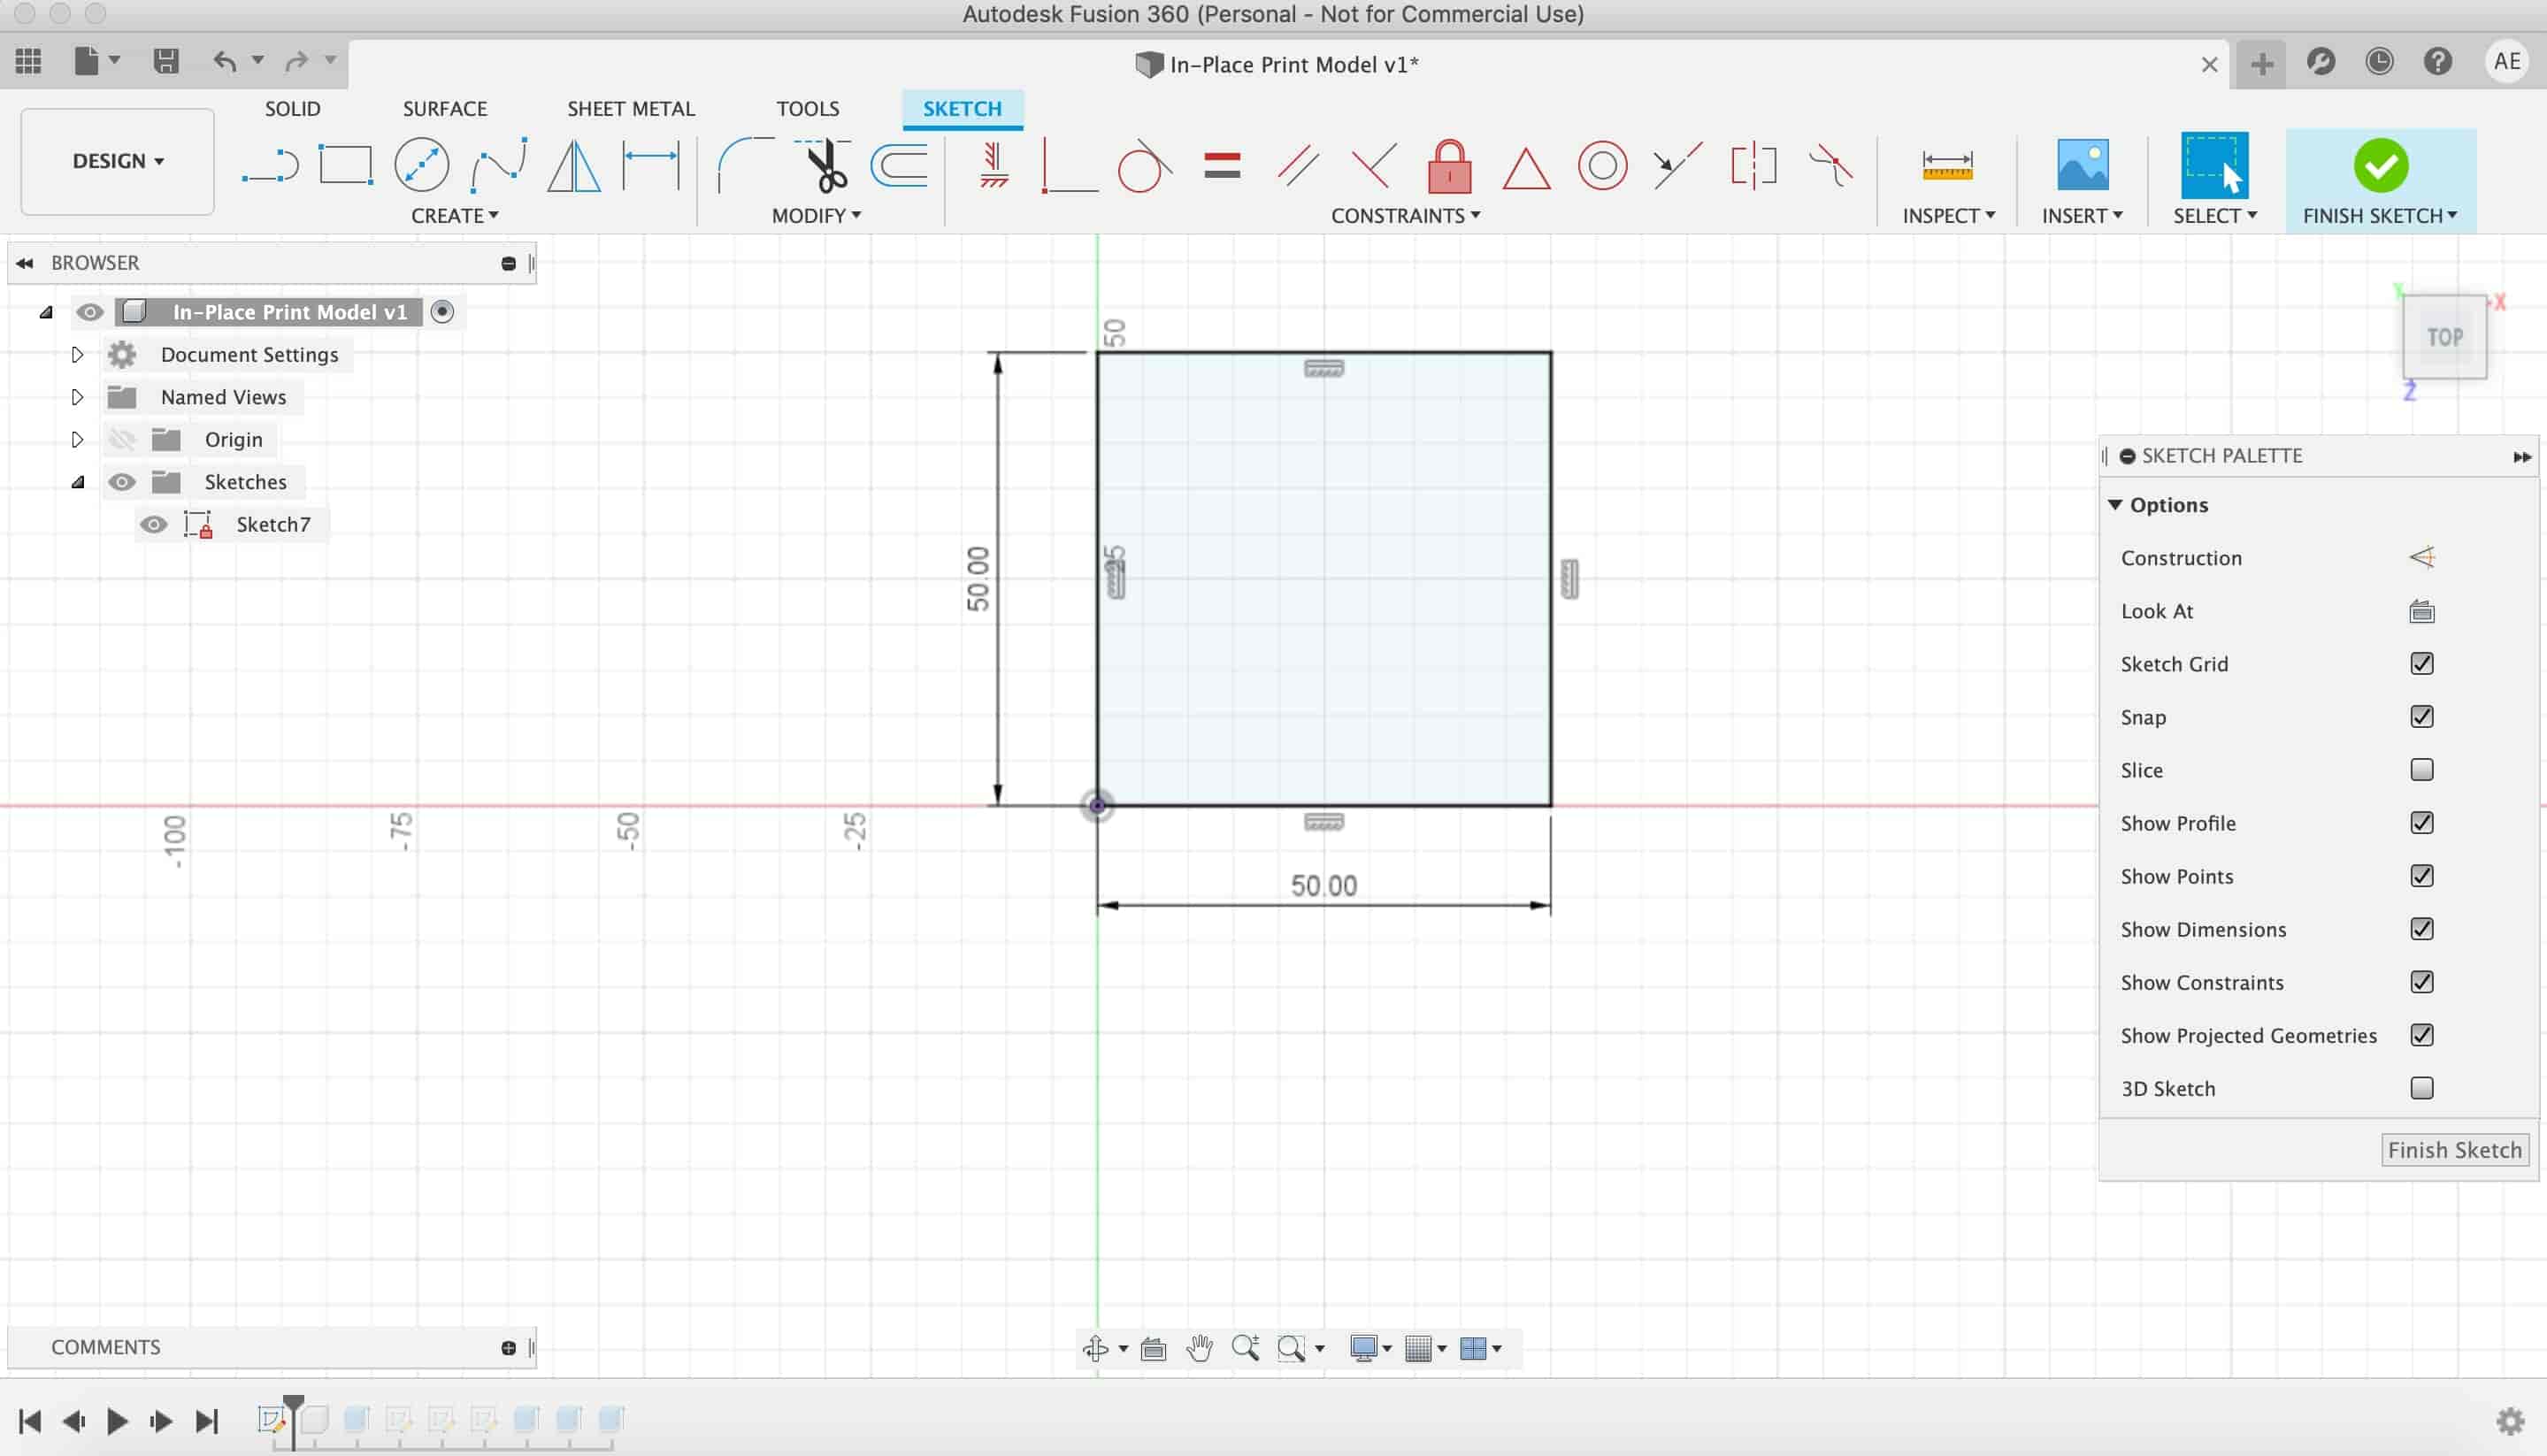
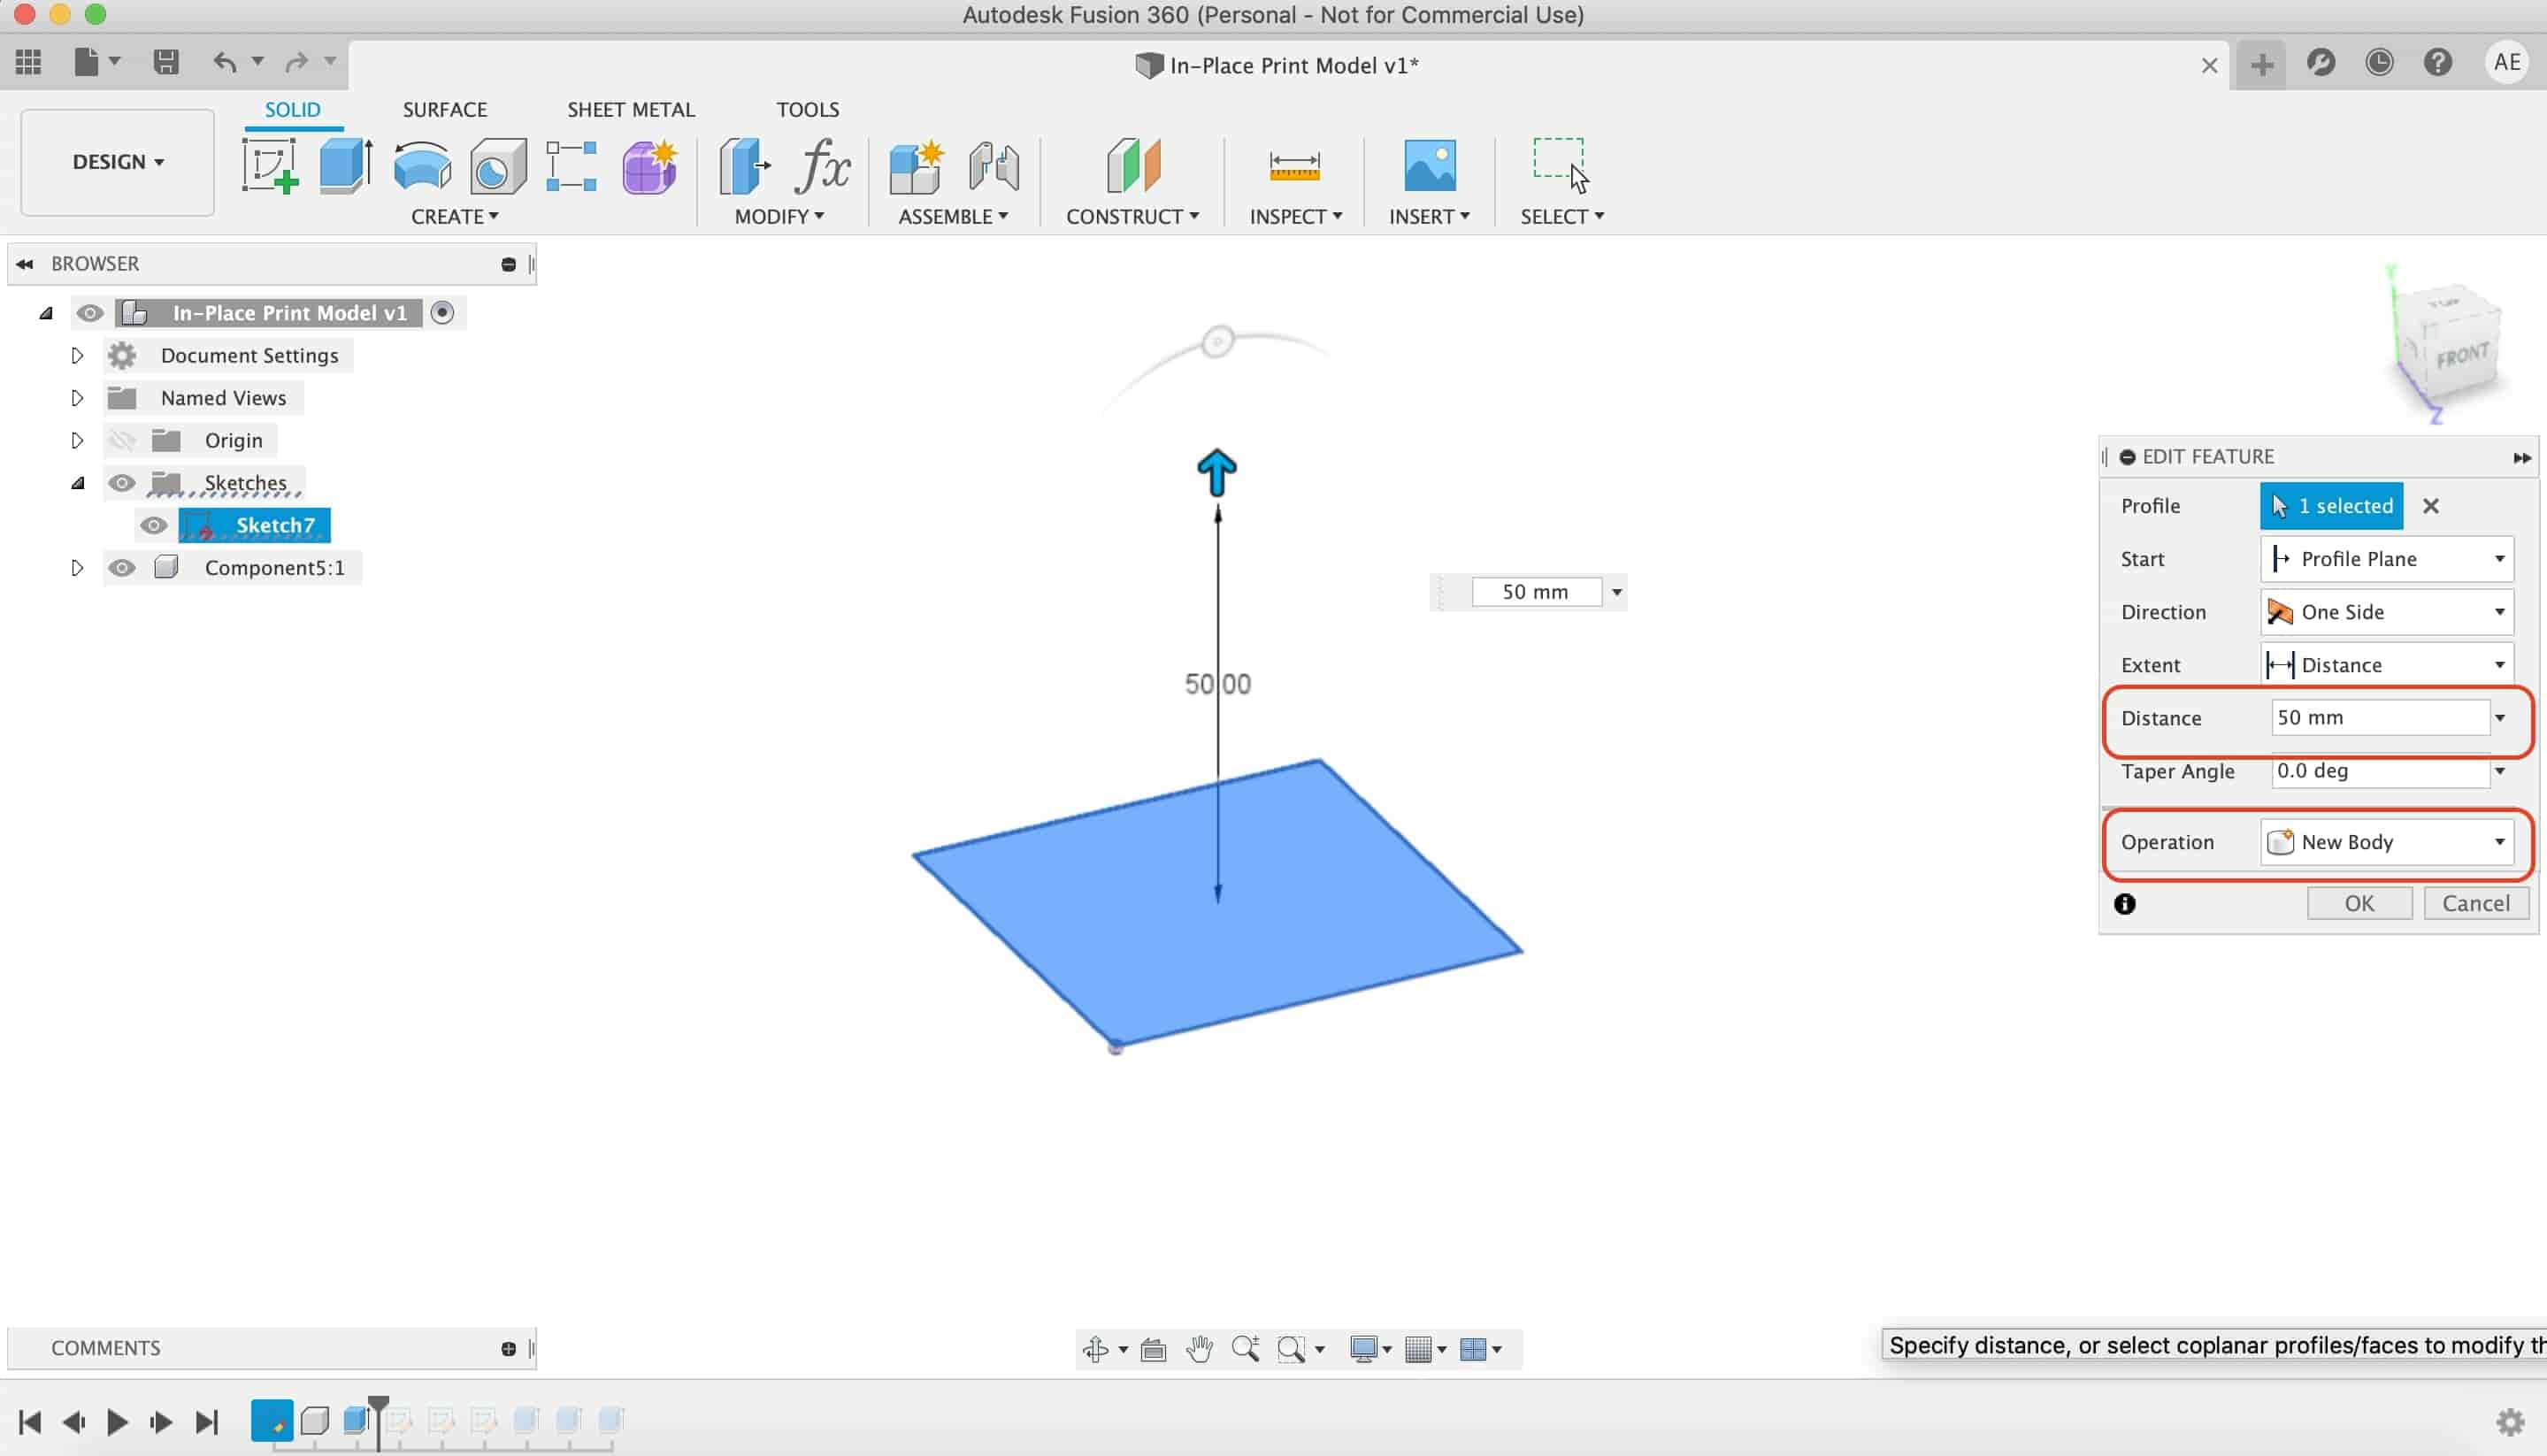
After that, I draw a 45mm square on different three faces of the cube.
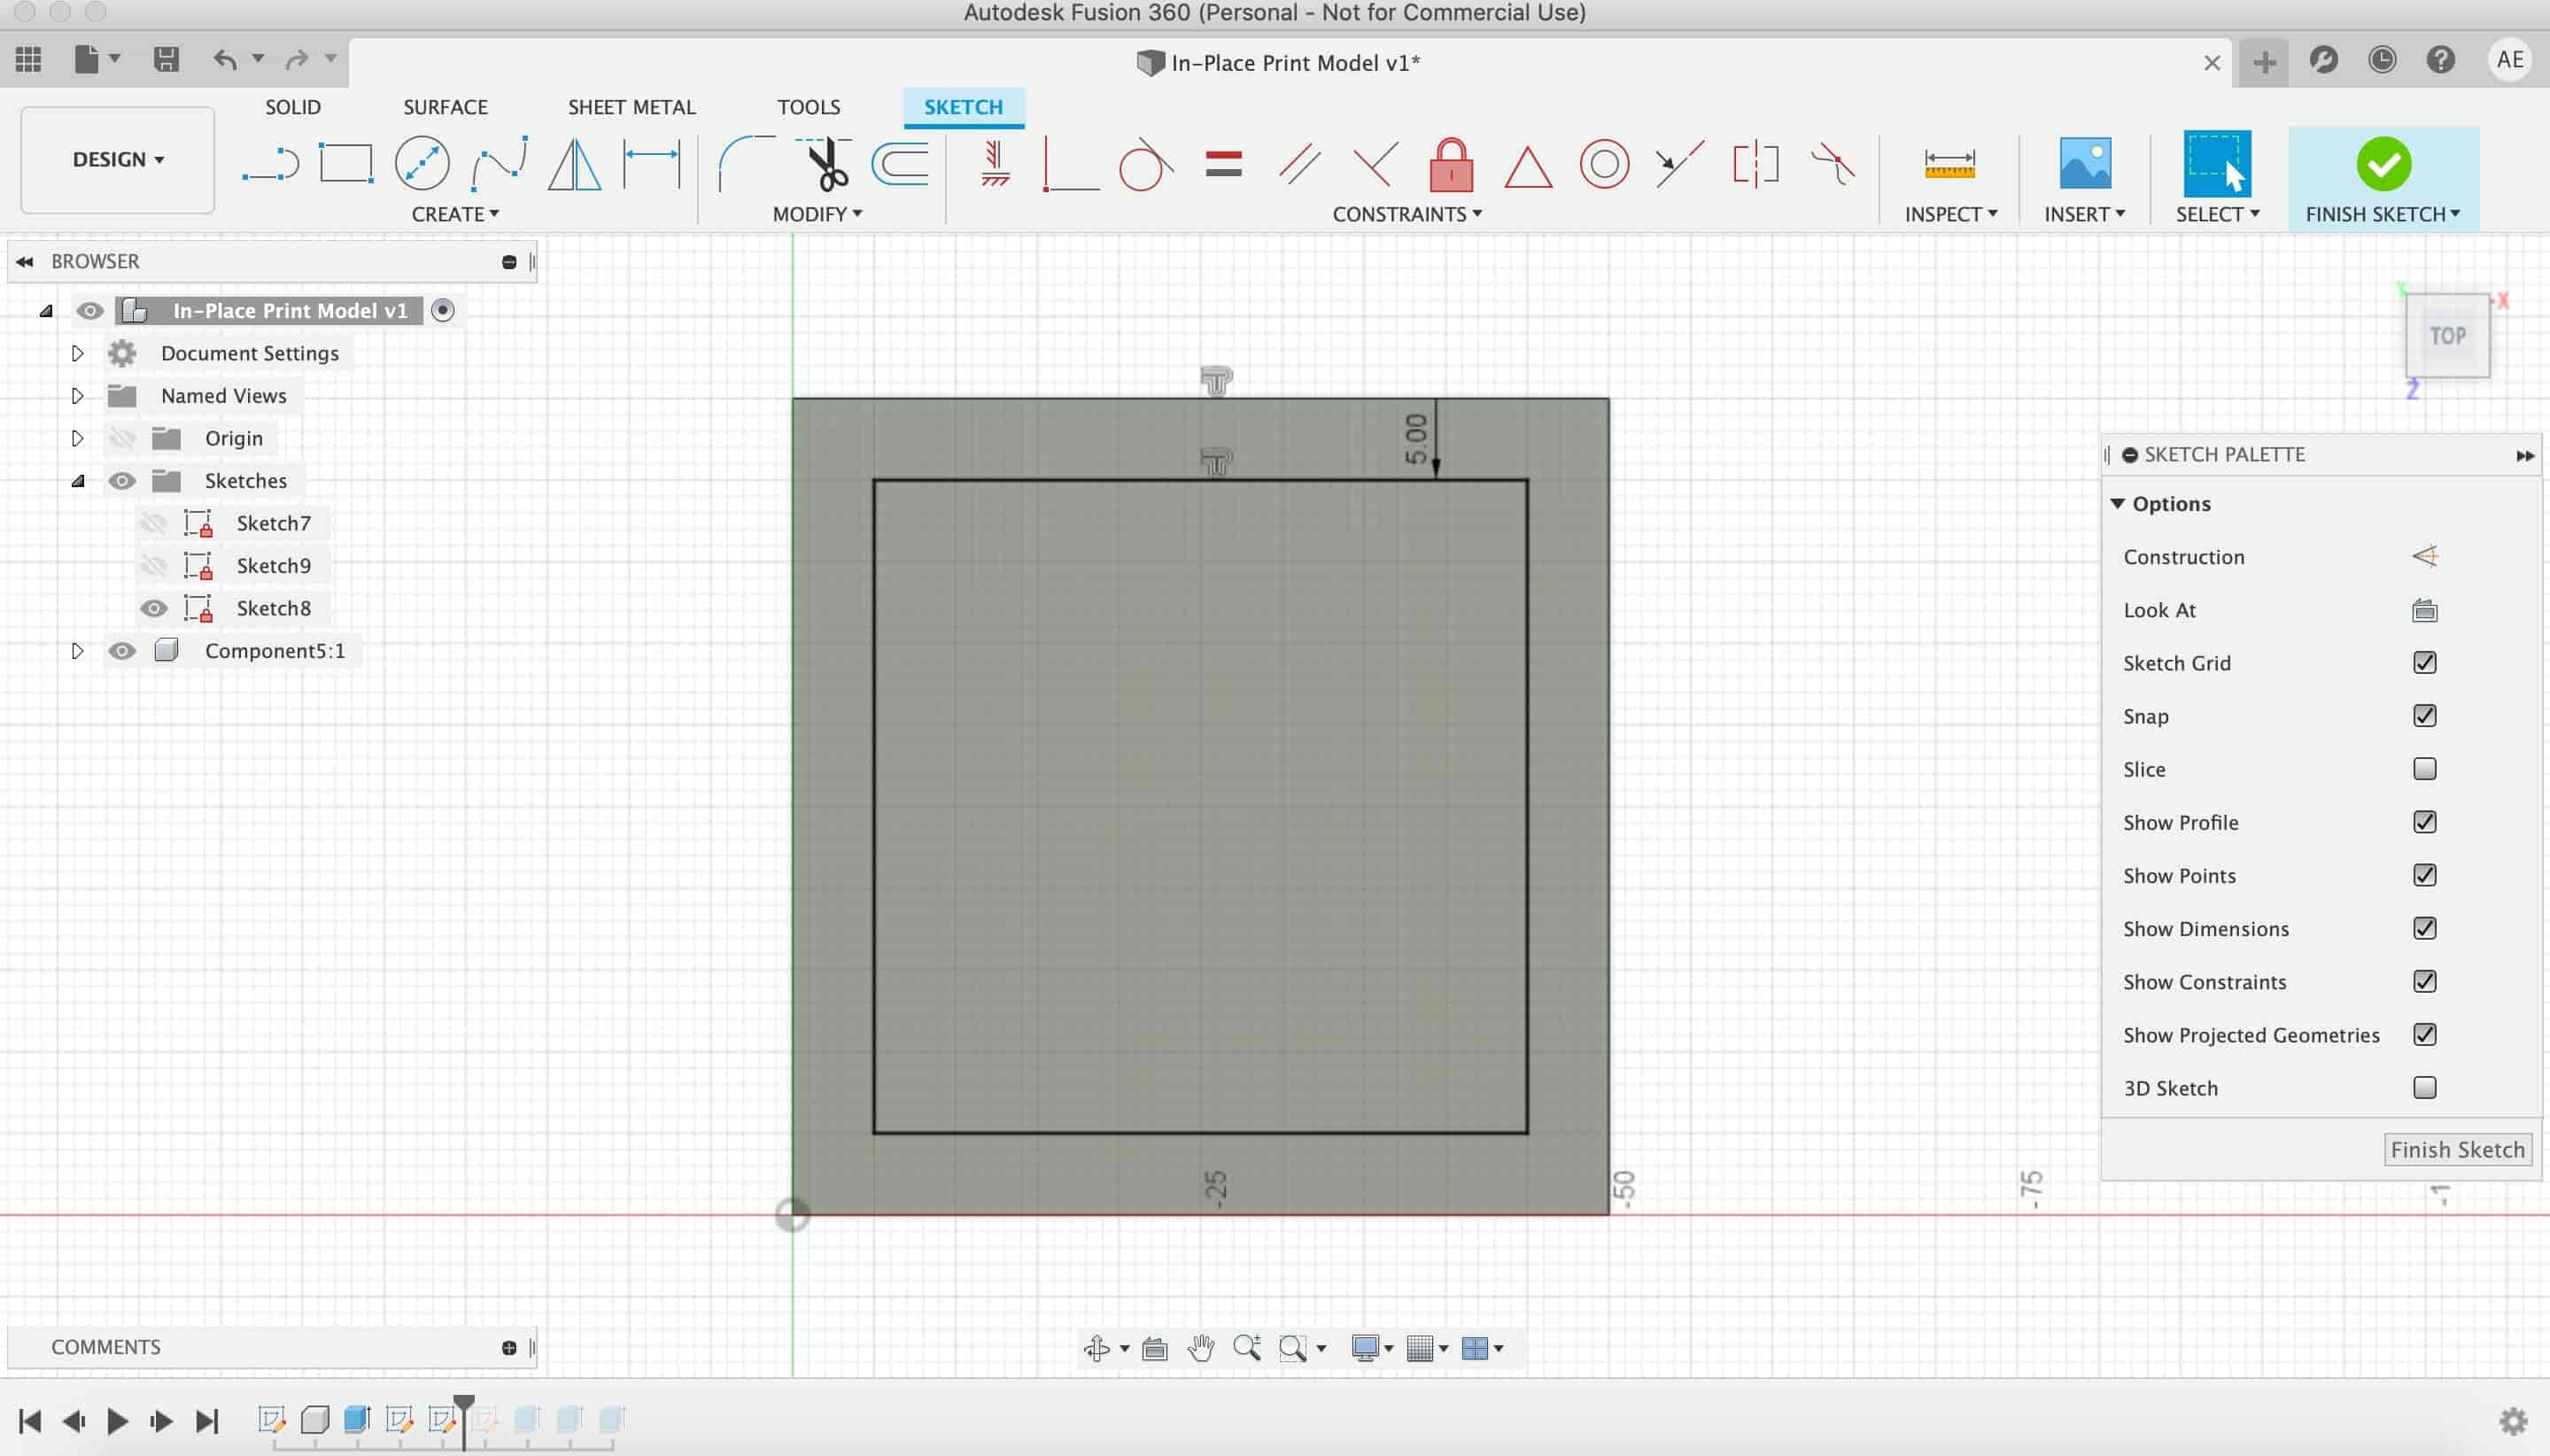
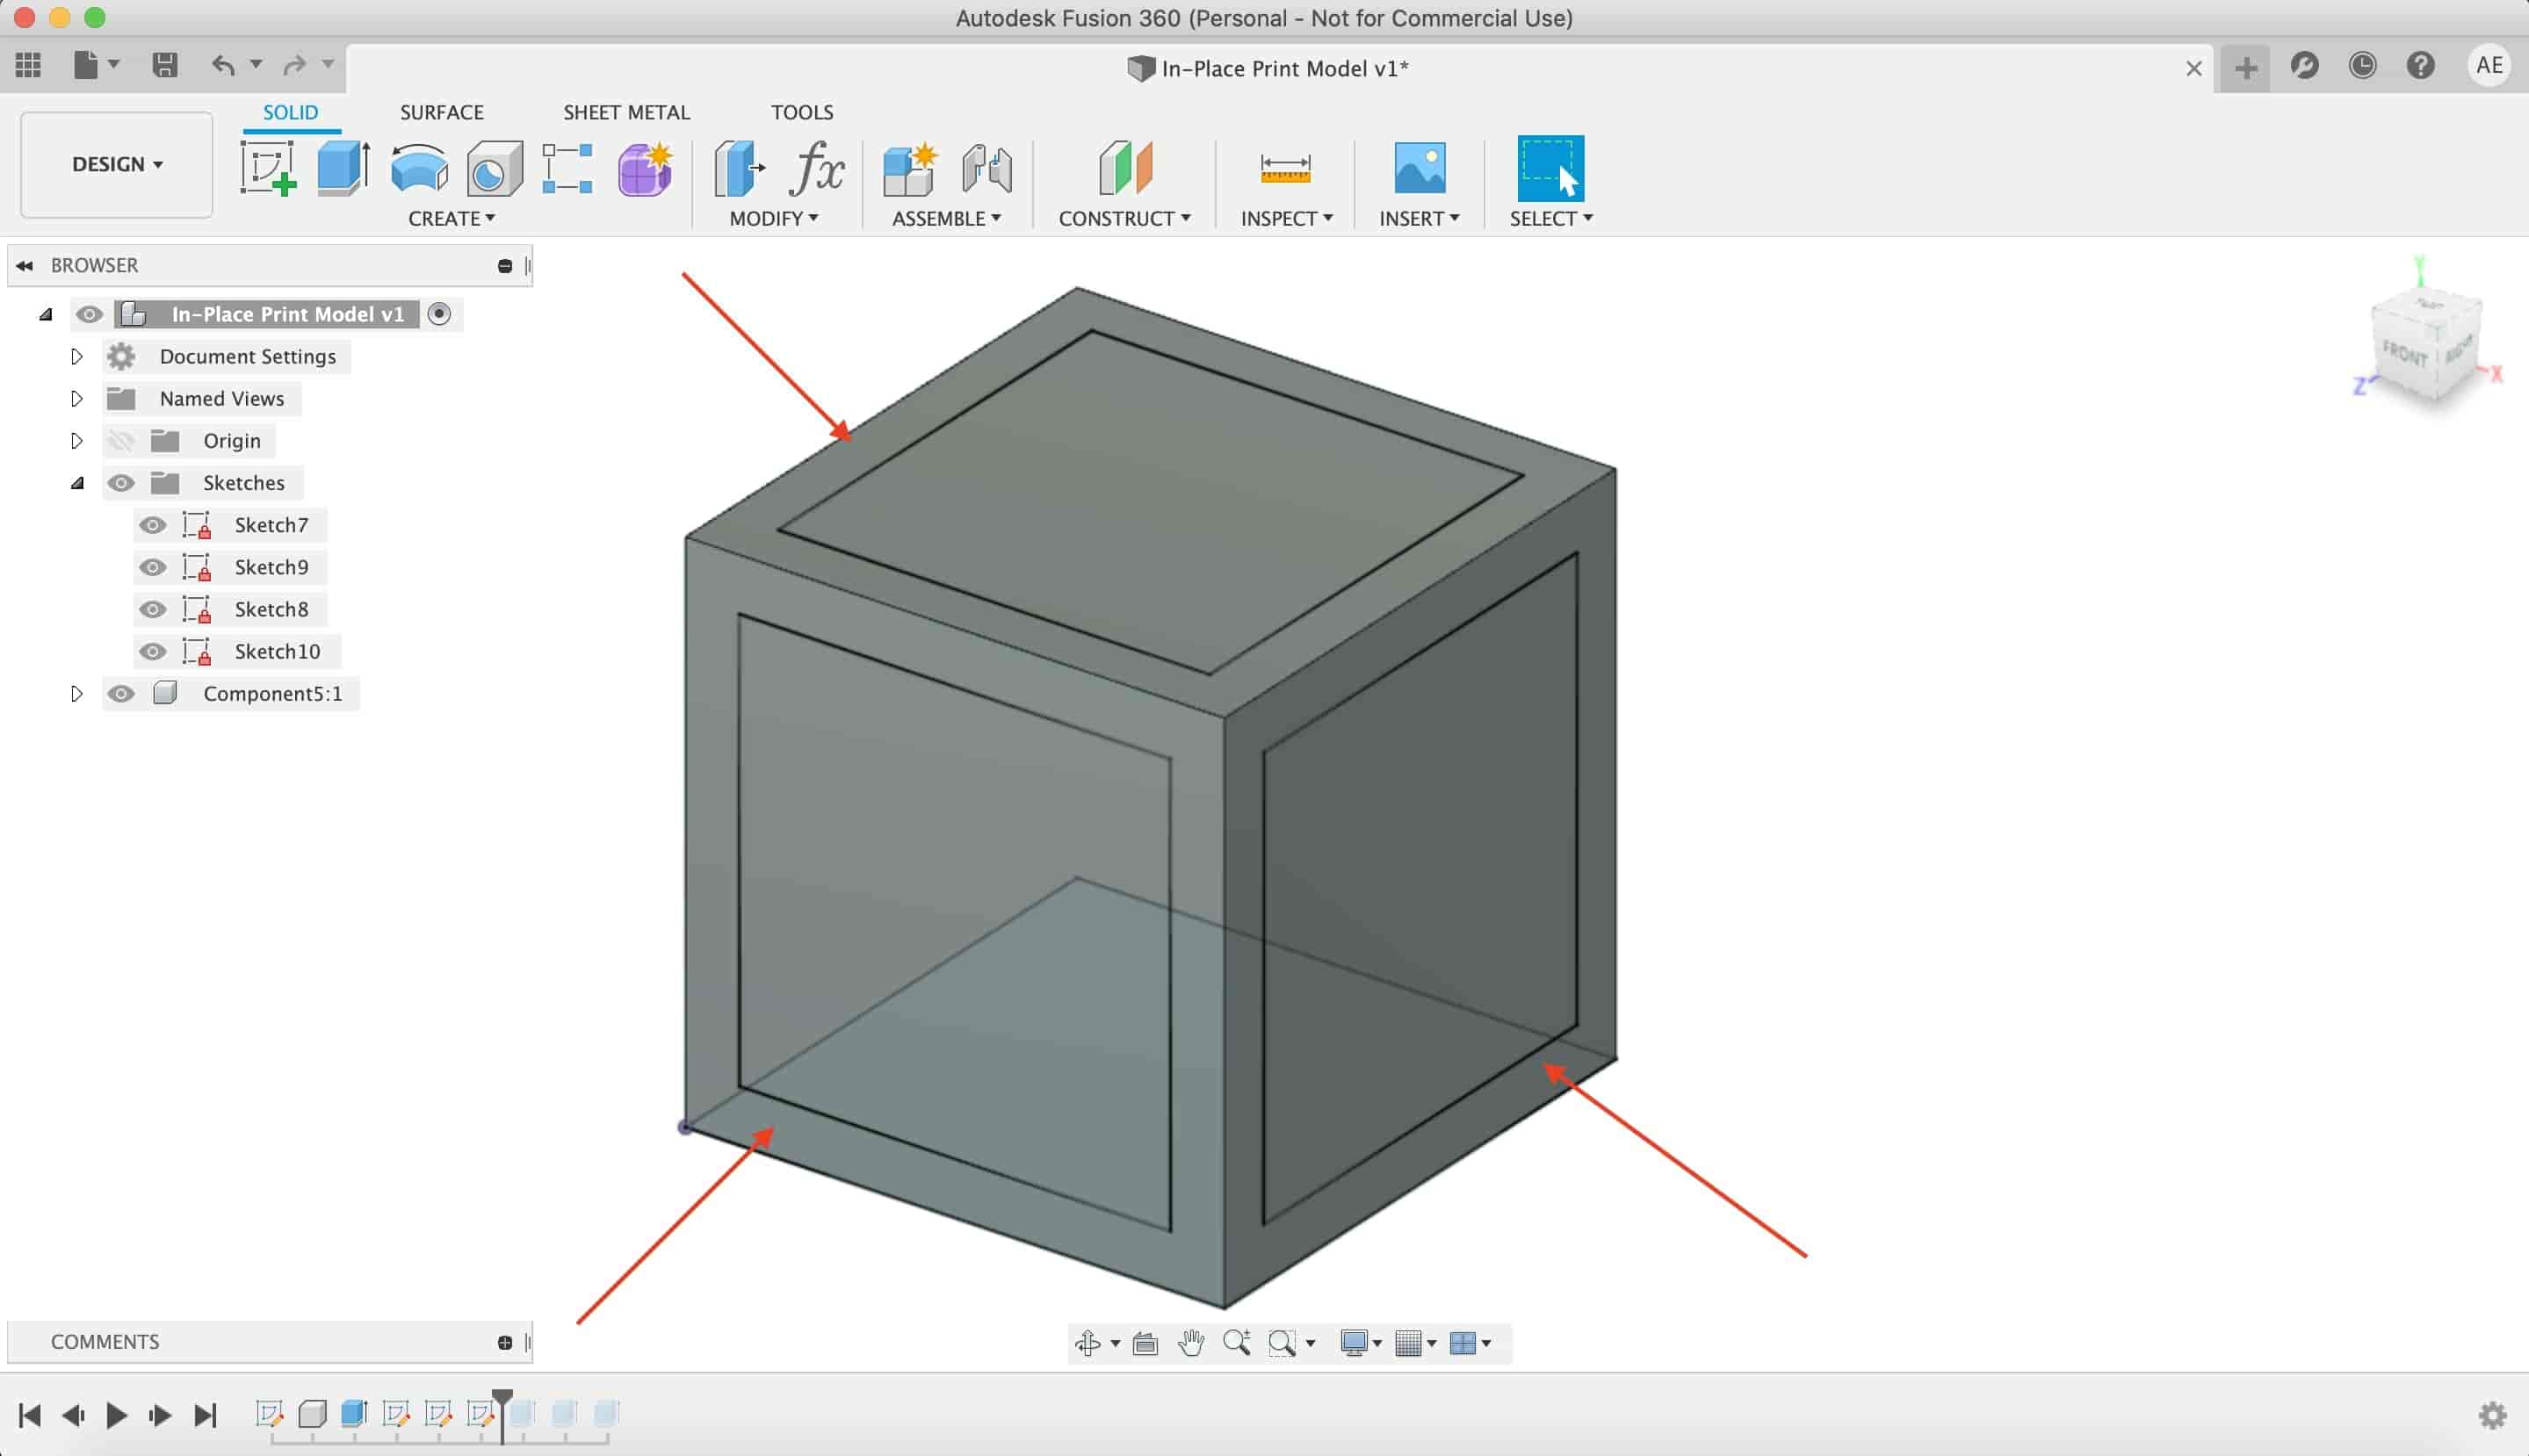
Then, I extruded each square to cute the cube six faces. The result should be like this.
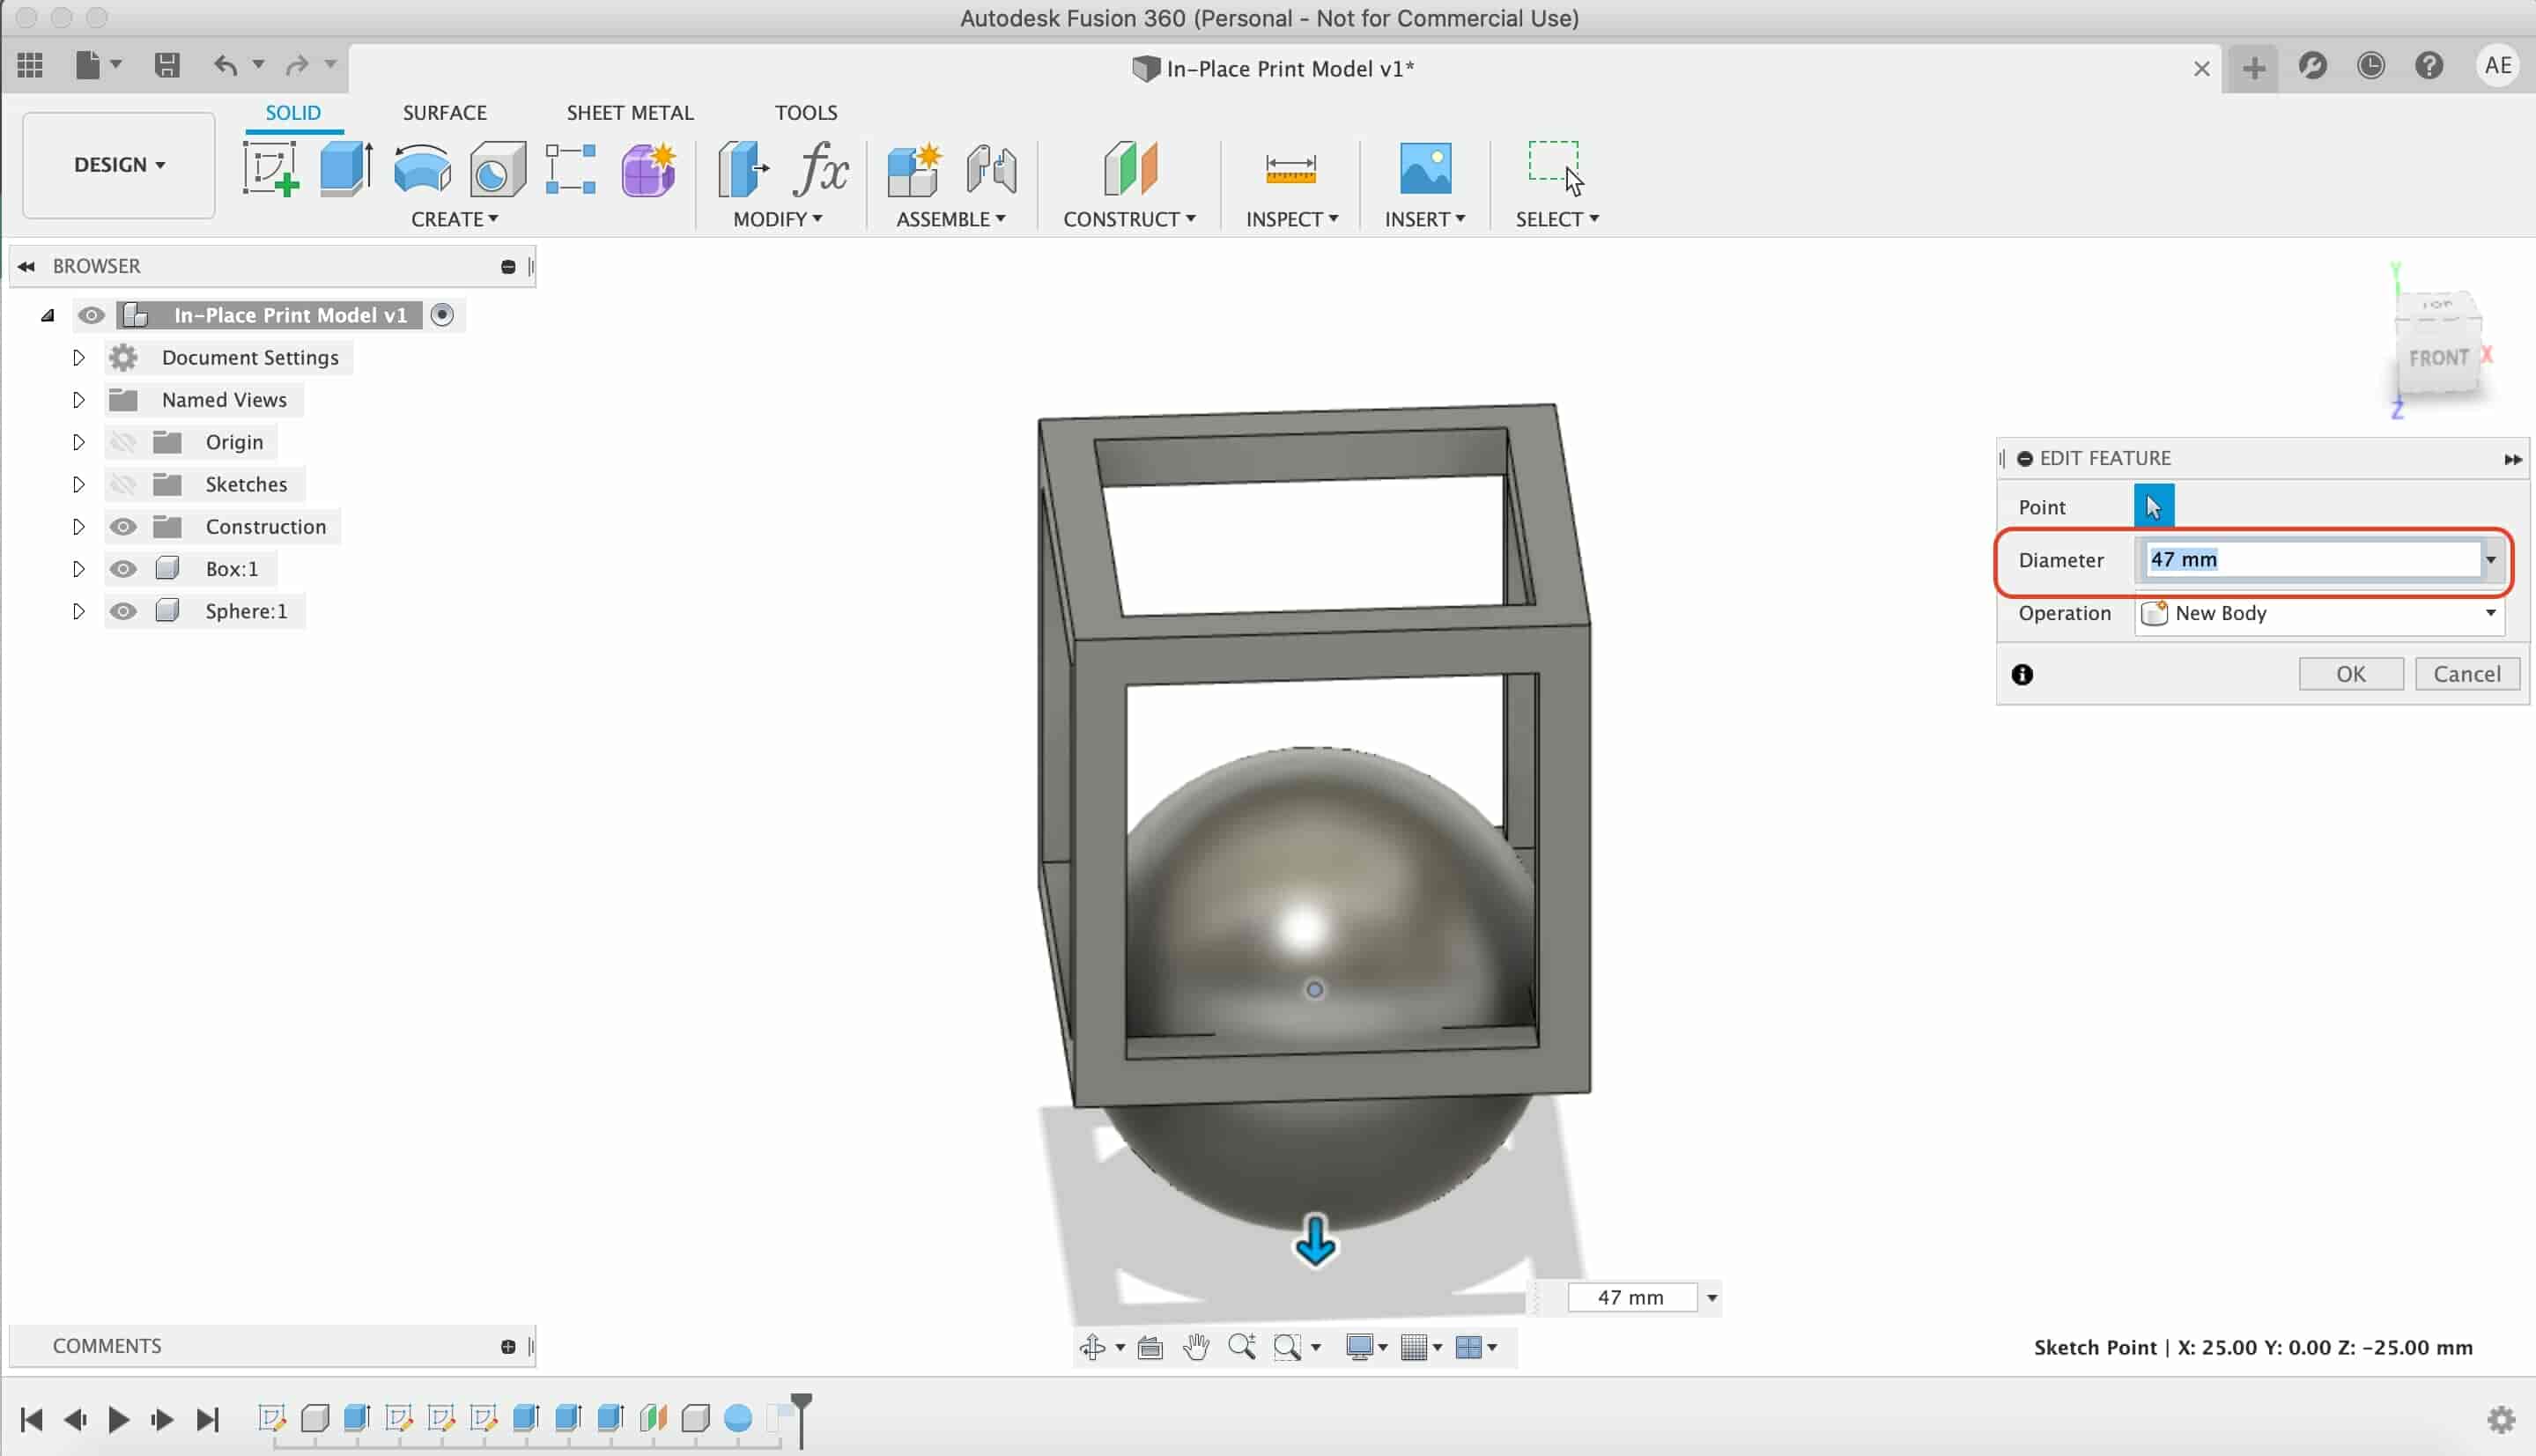
After we draw the box, let’s draw the sphere. From the Create menu, select Sphere. Then, select the proper face/plane that you want to draw the sphere on.
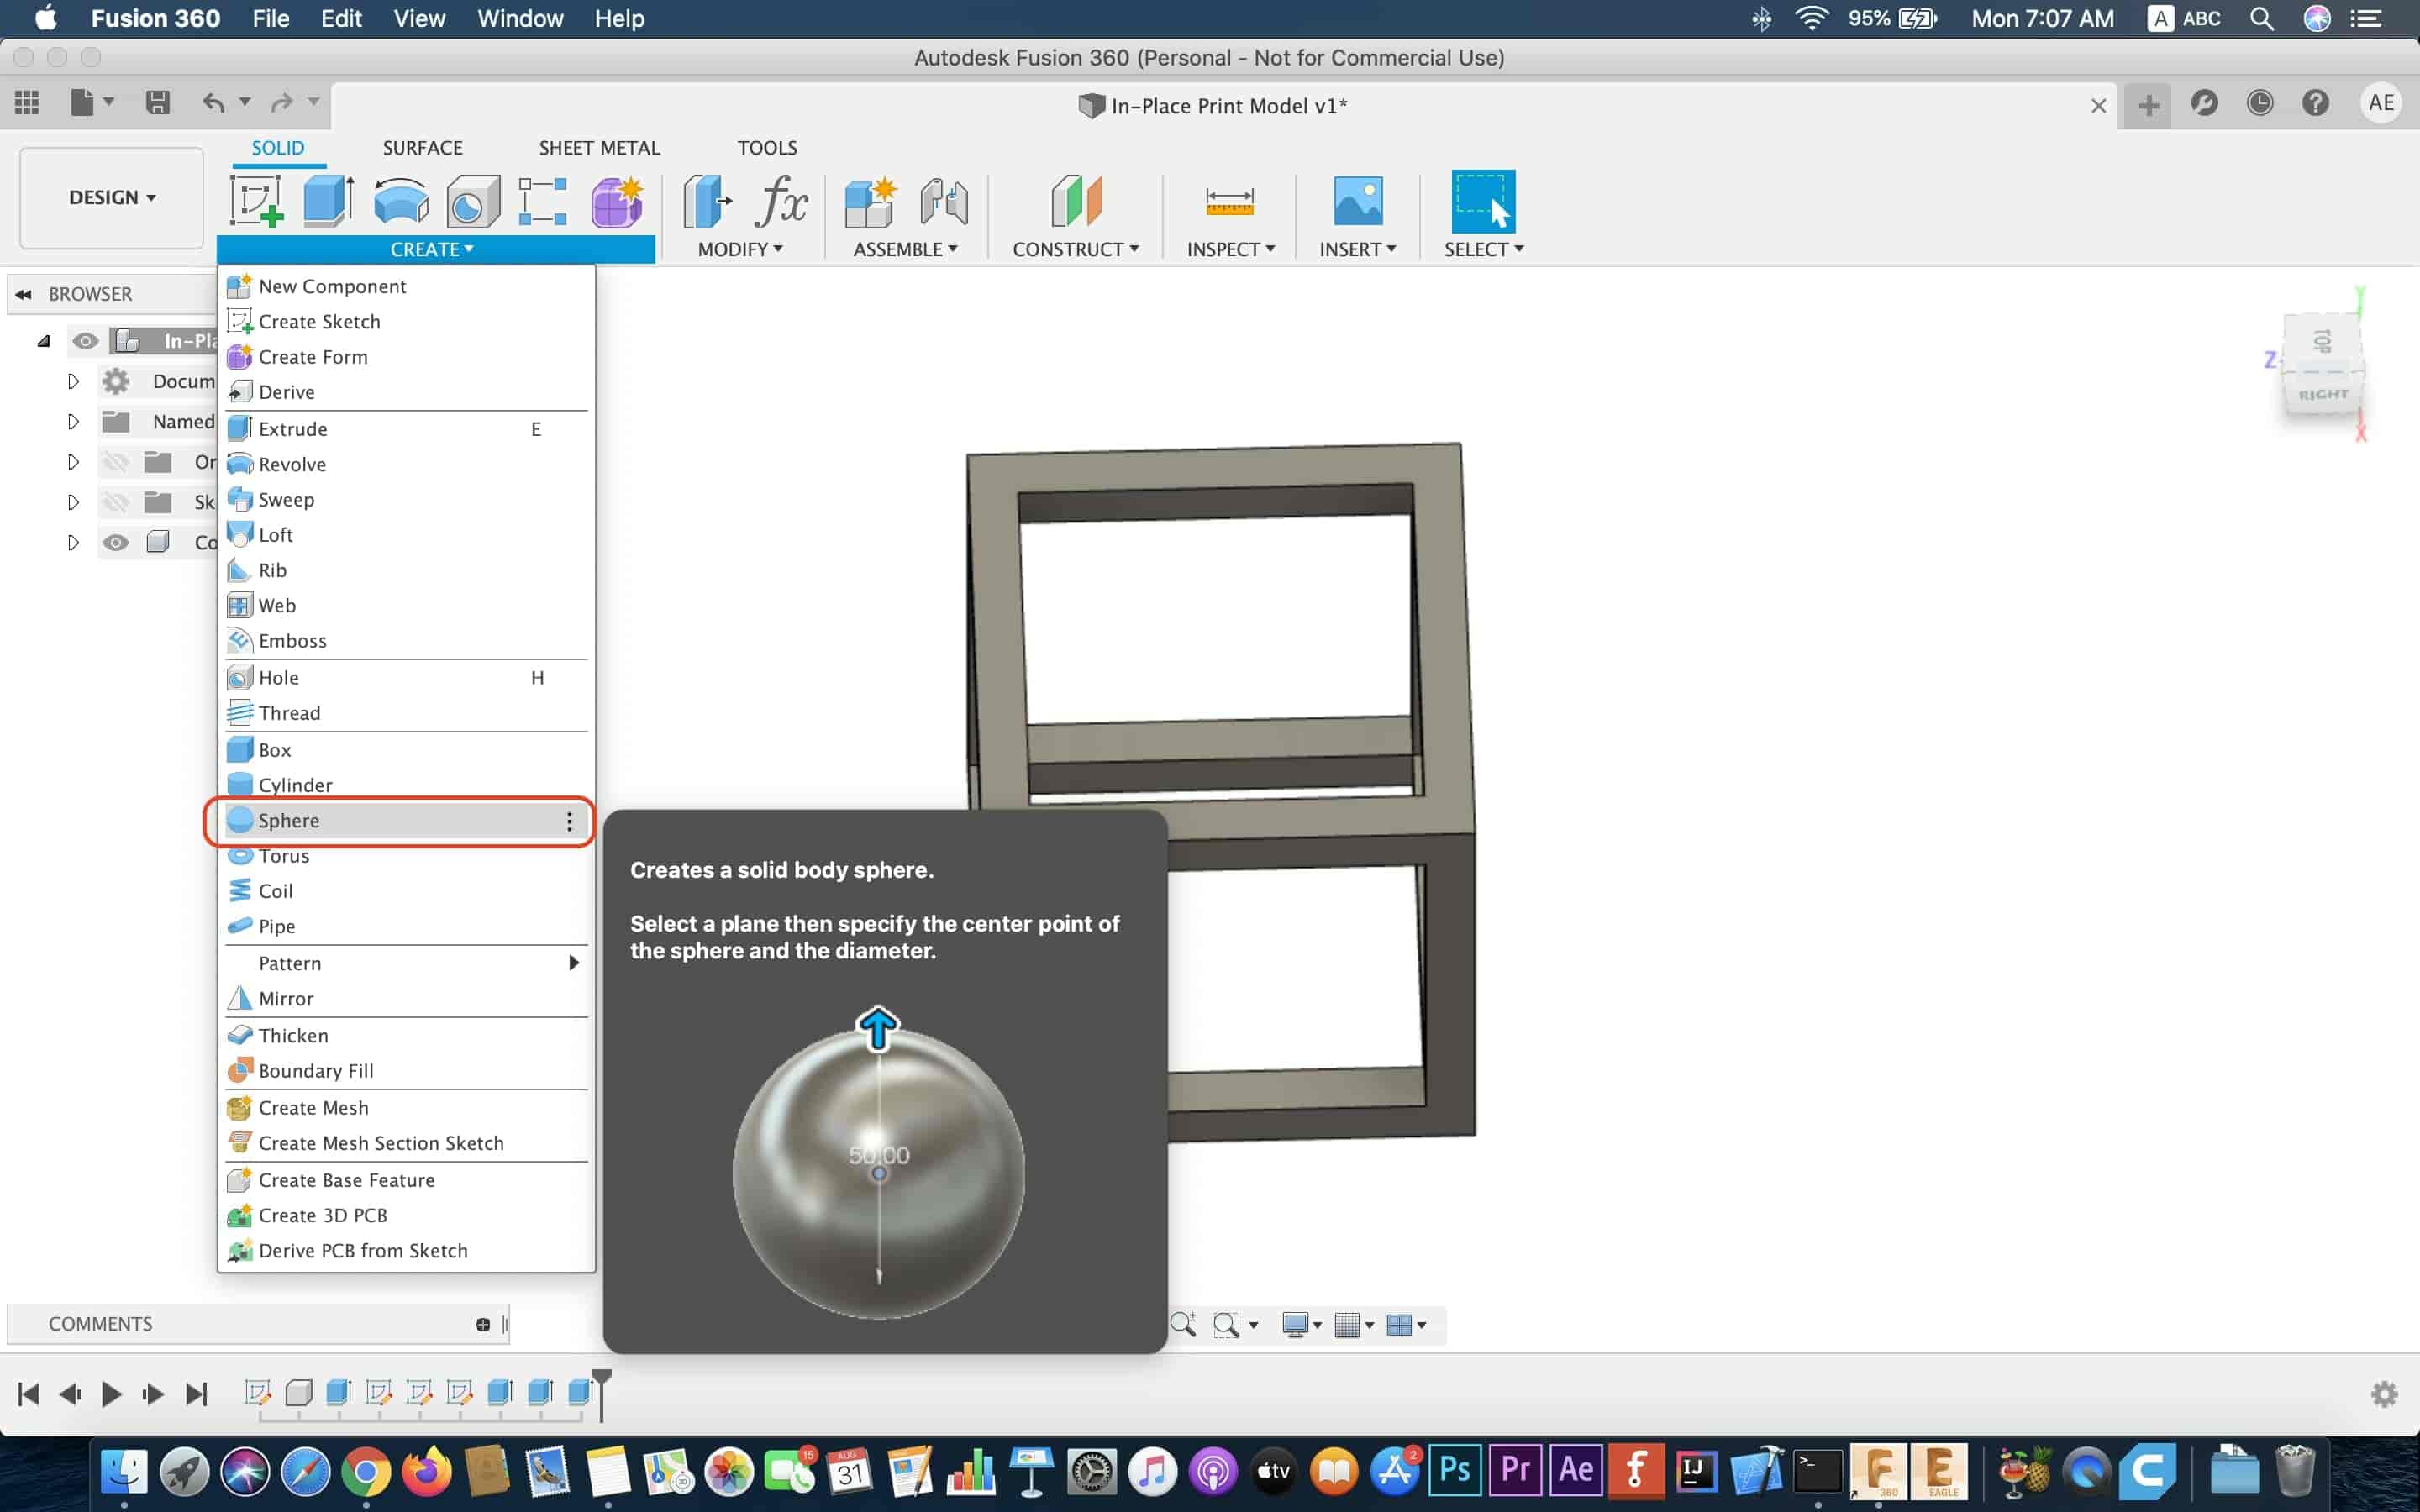
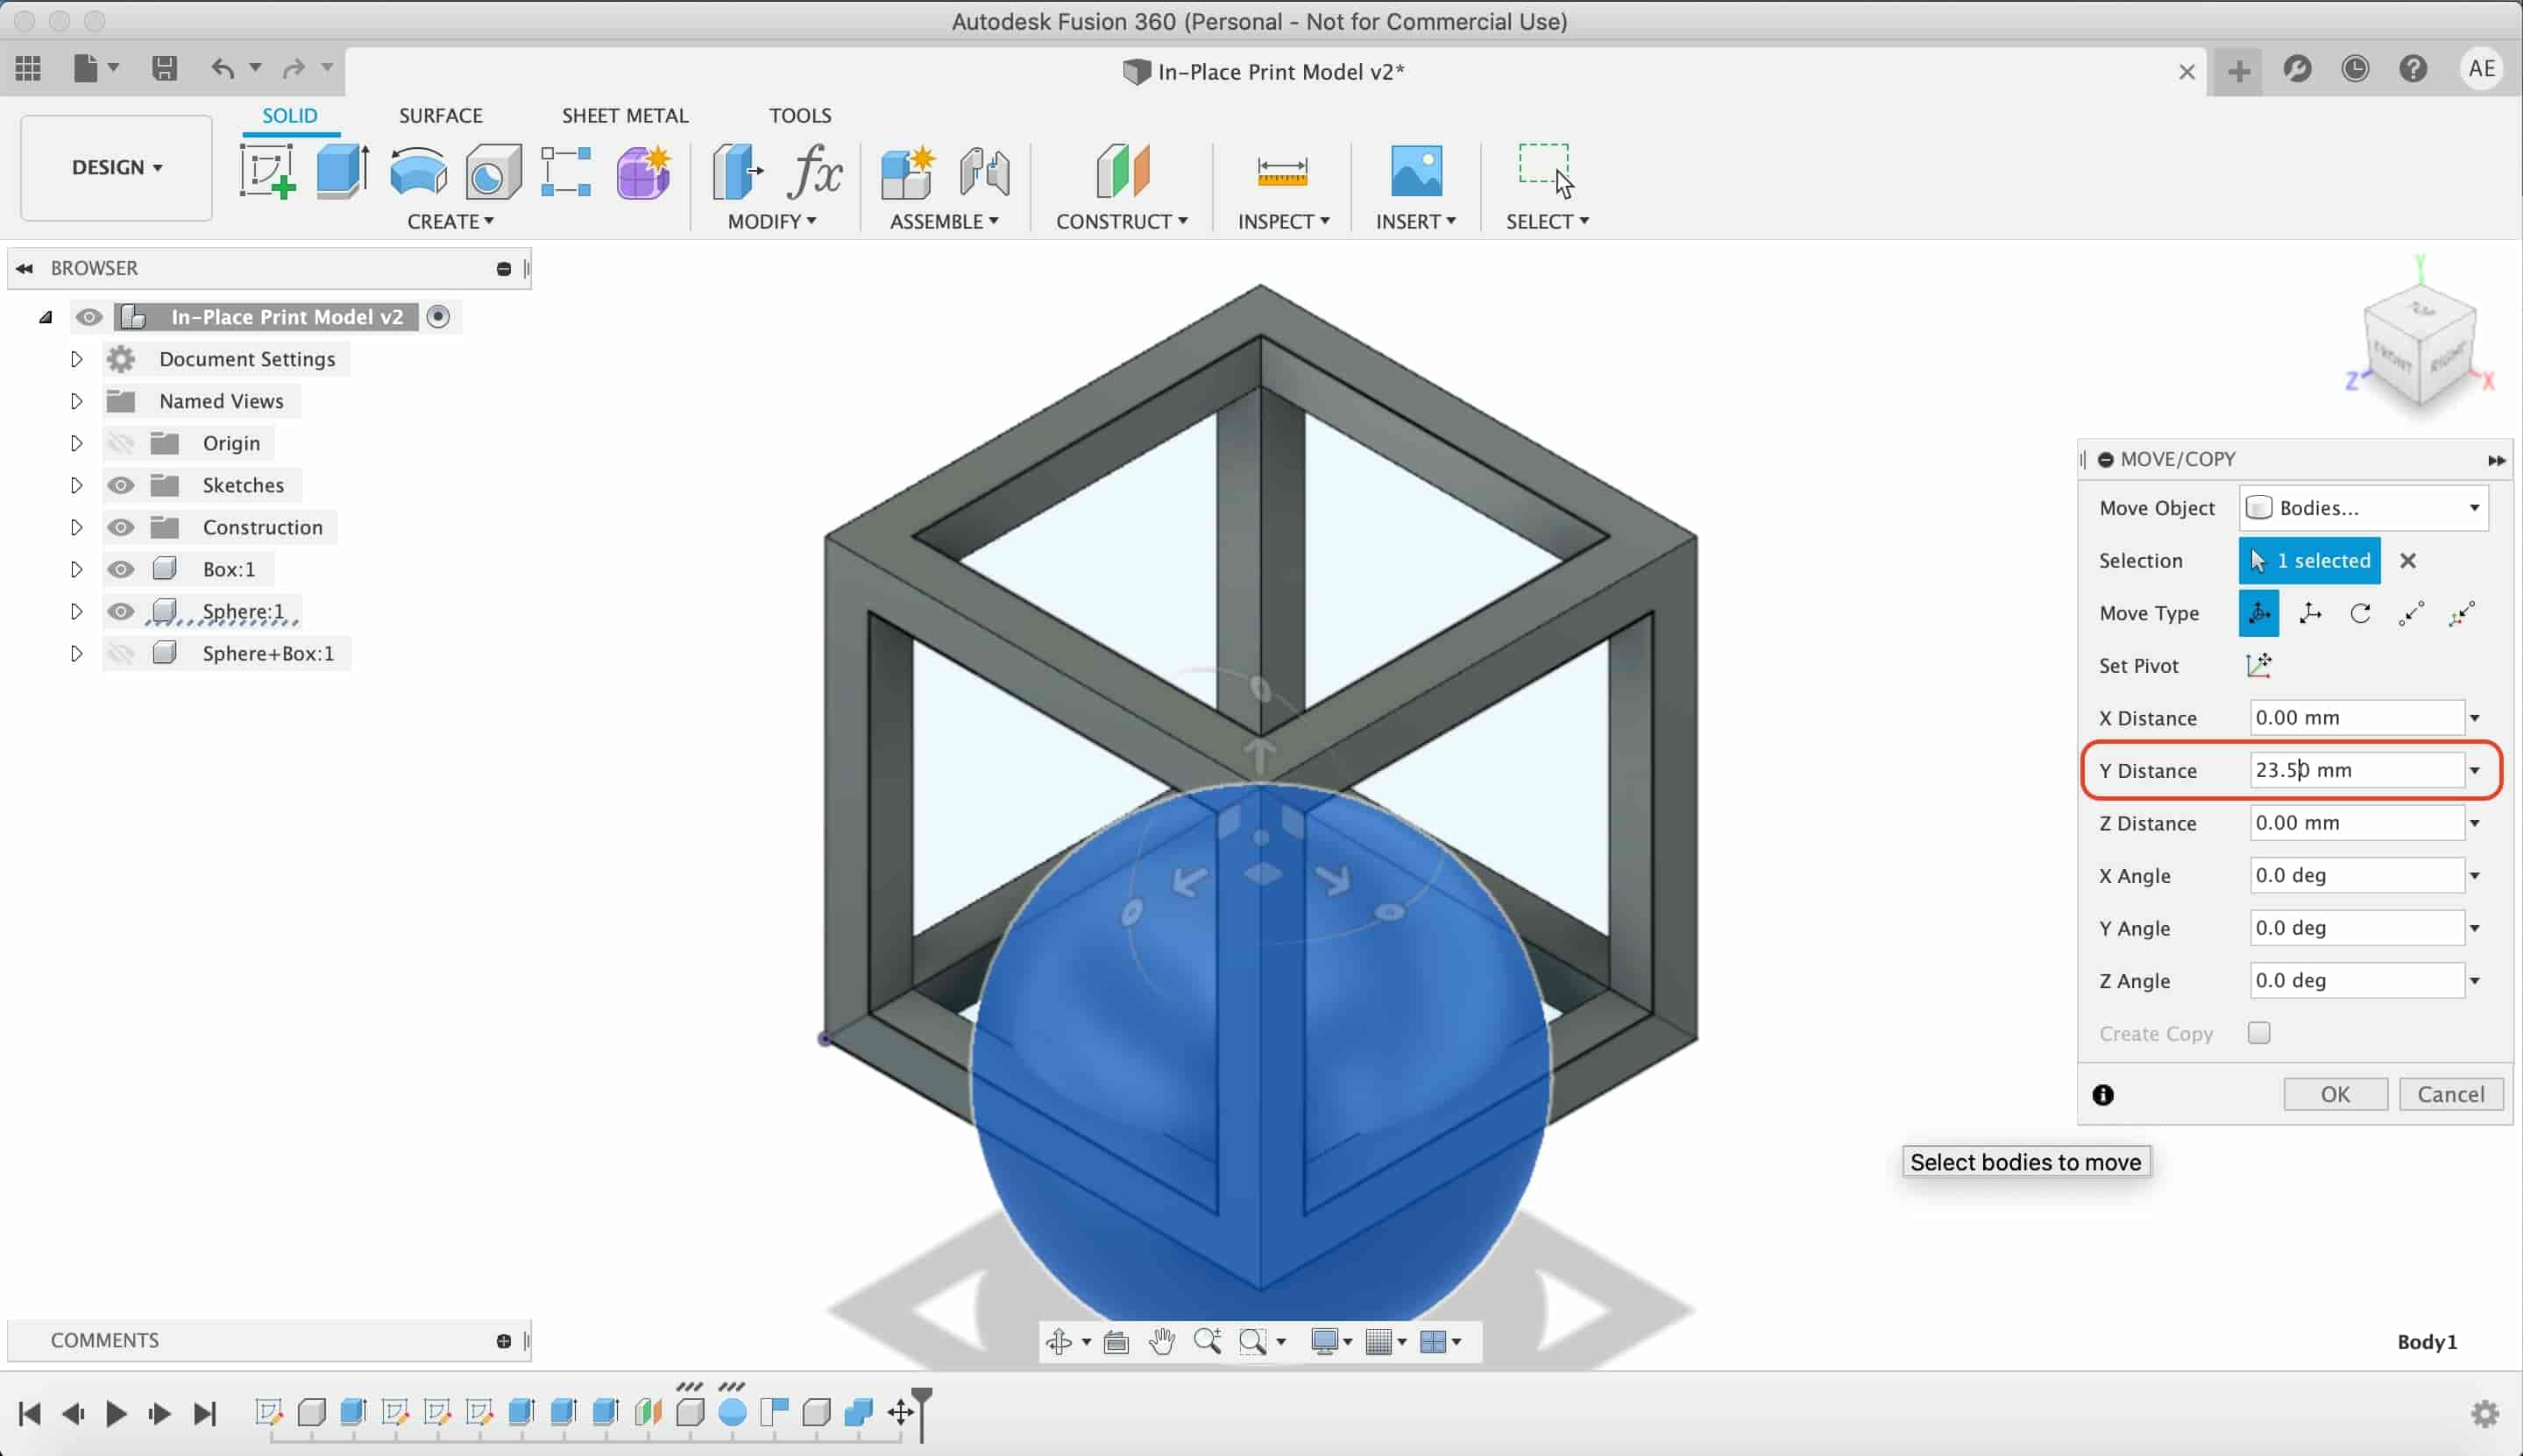
The diameter of the sphere is 47mm. And I moved the sphere upwards in the Y-axis with value 23.5mm (47/2) to make it on the same level with the box.
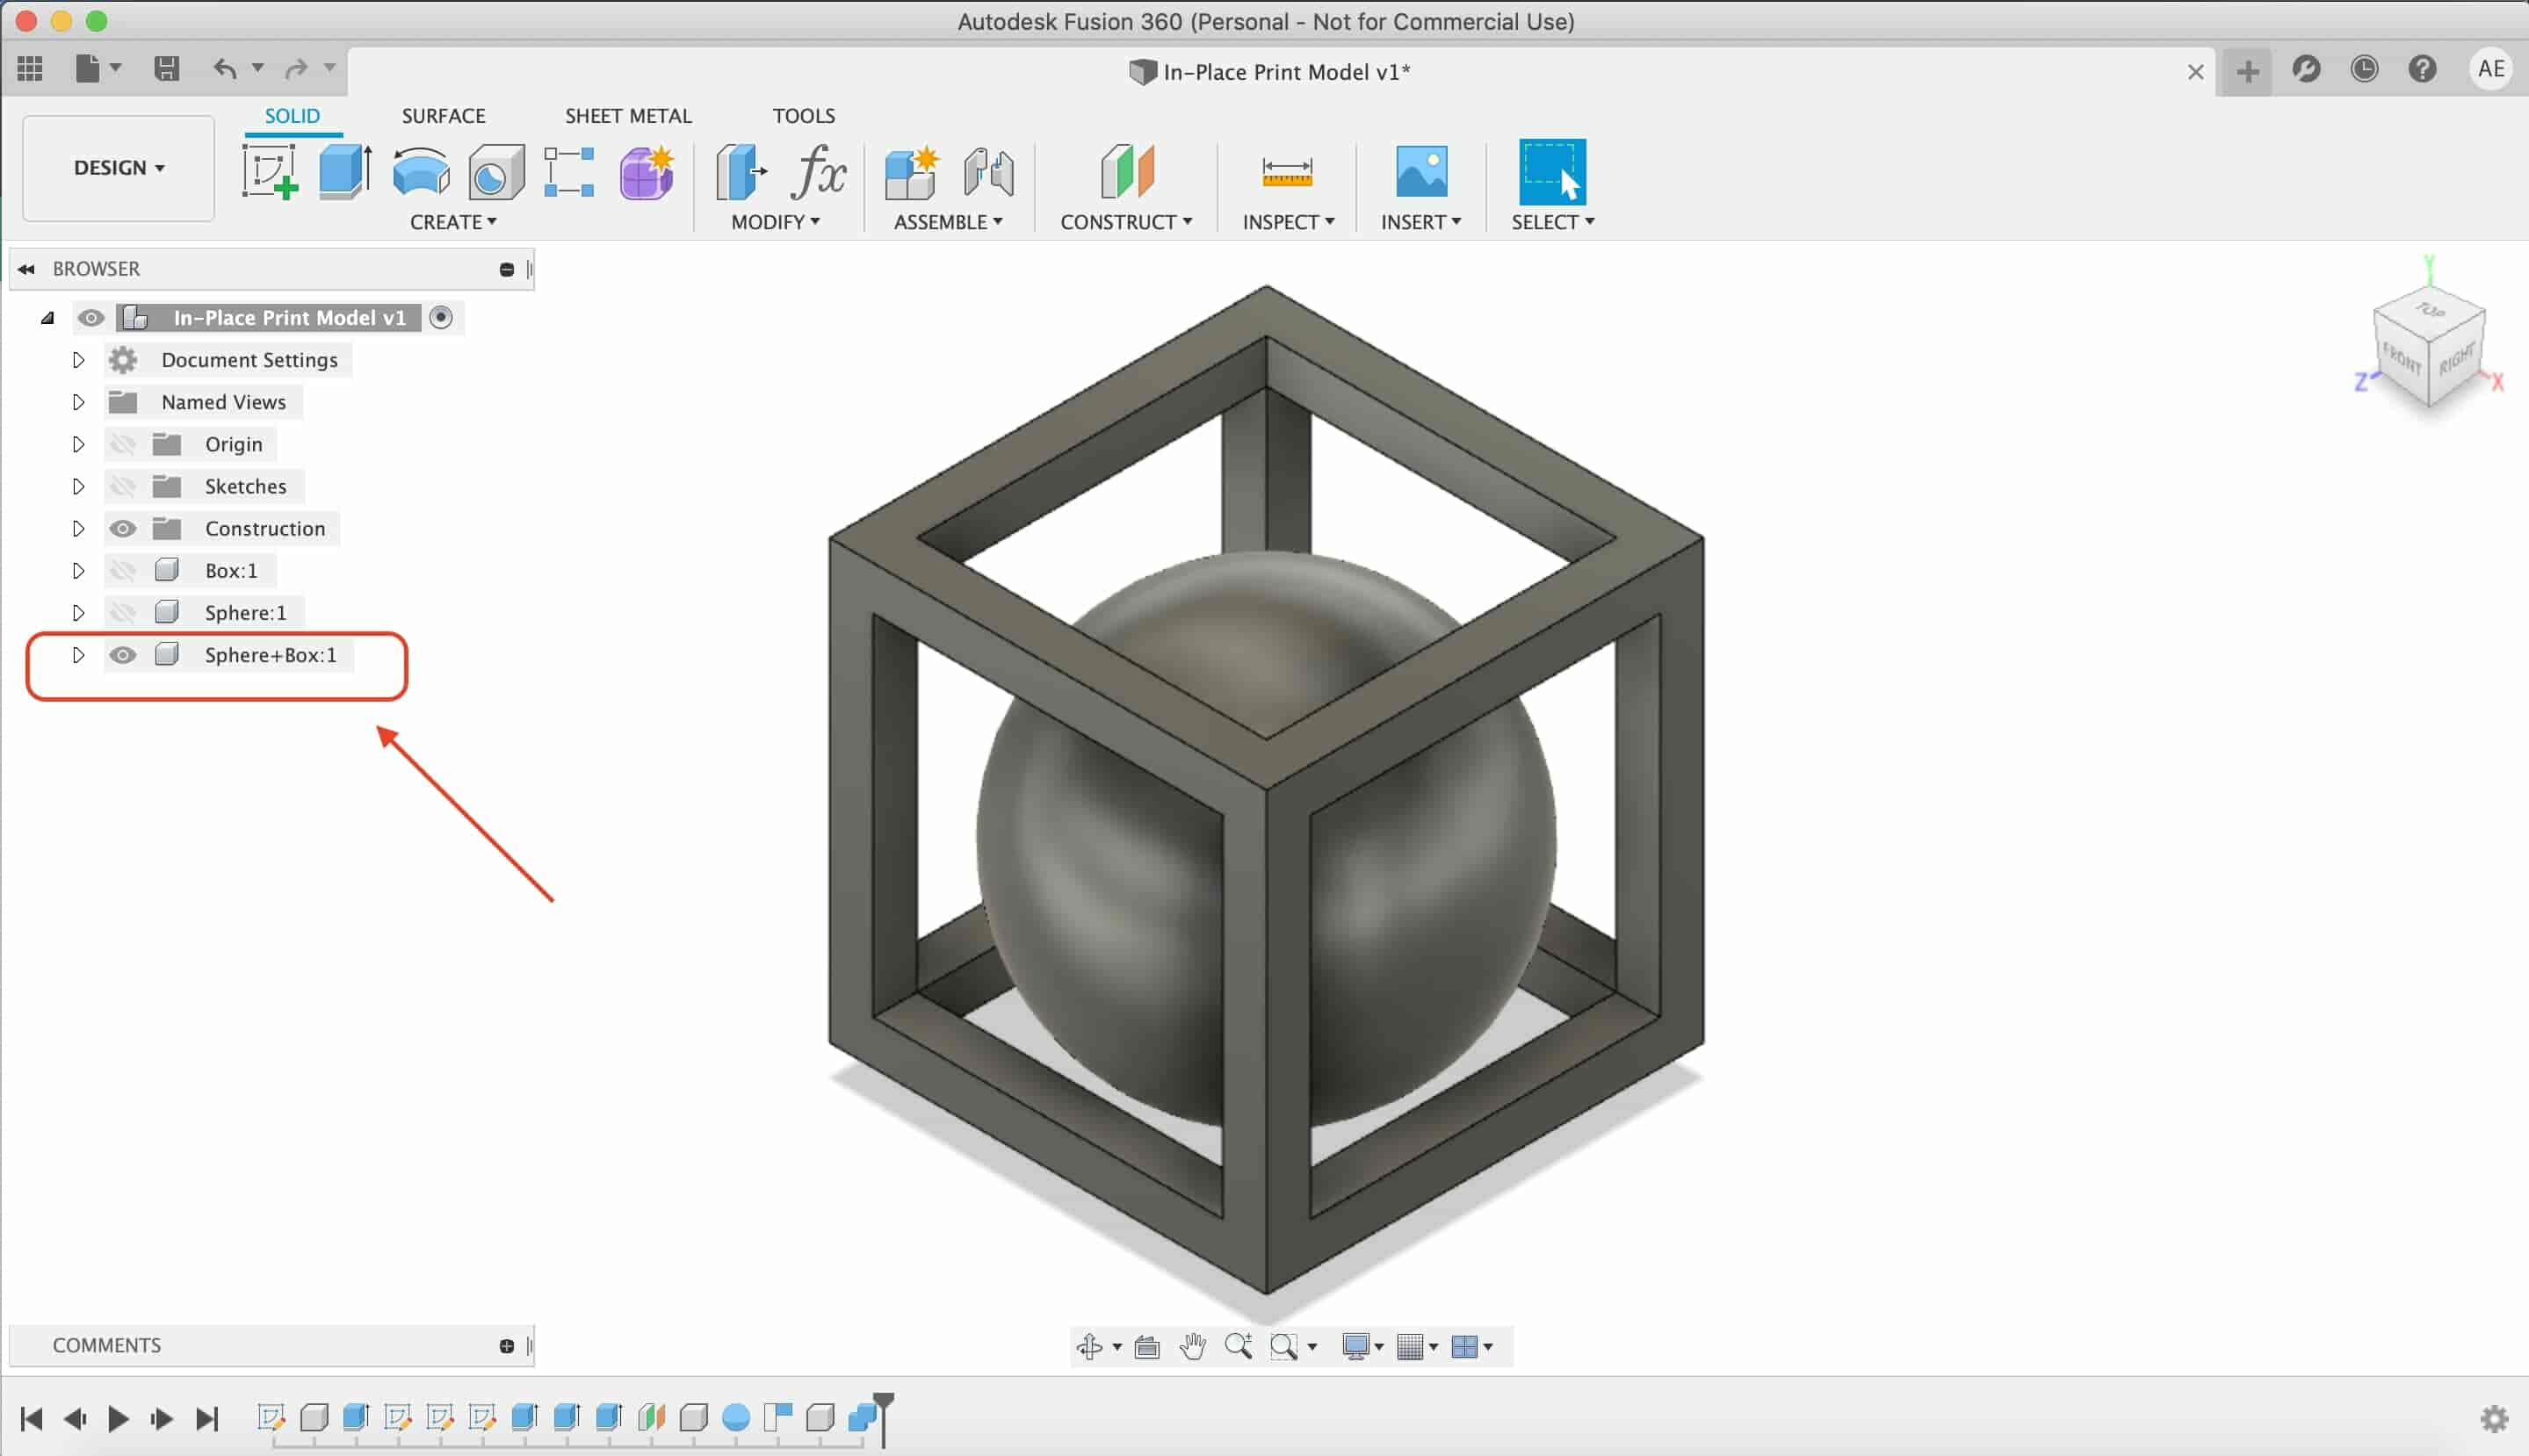
Lastly, to make that model as one component, we combined these two bodies(Speer, box) by using the combine tool from the modify menu.
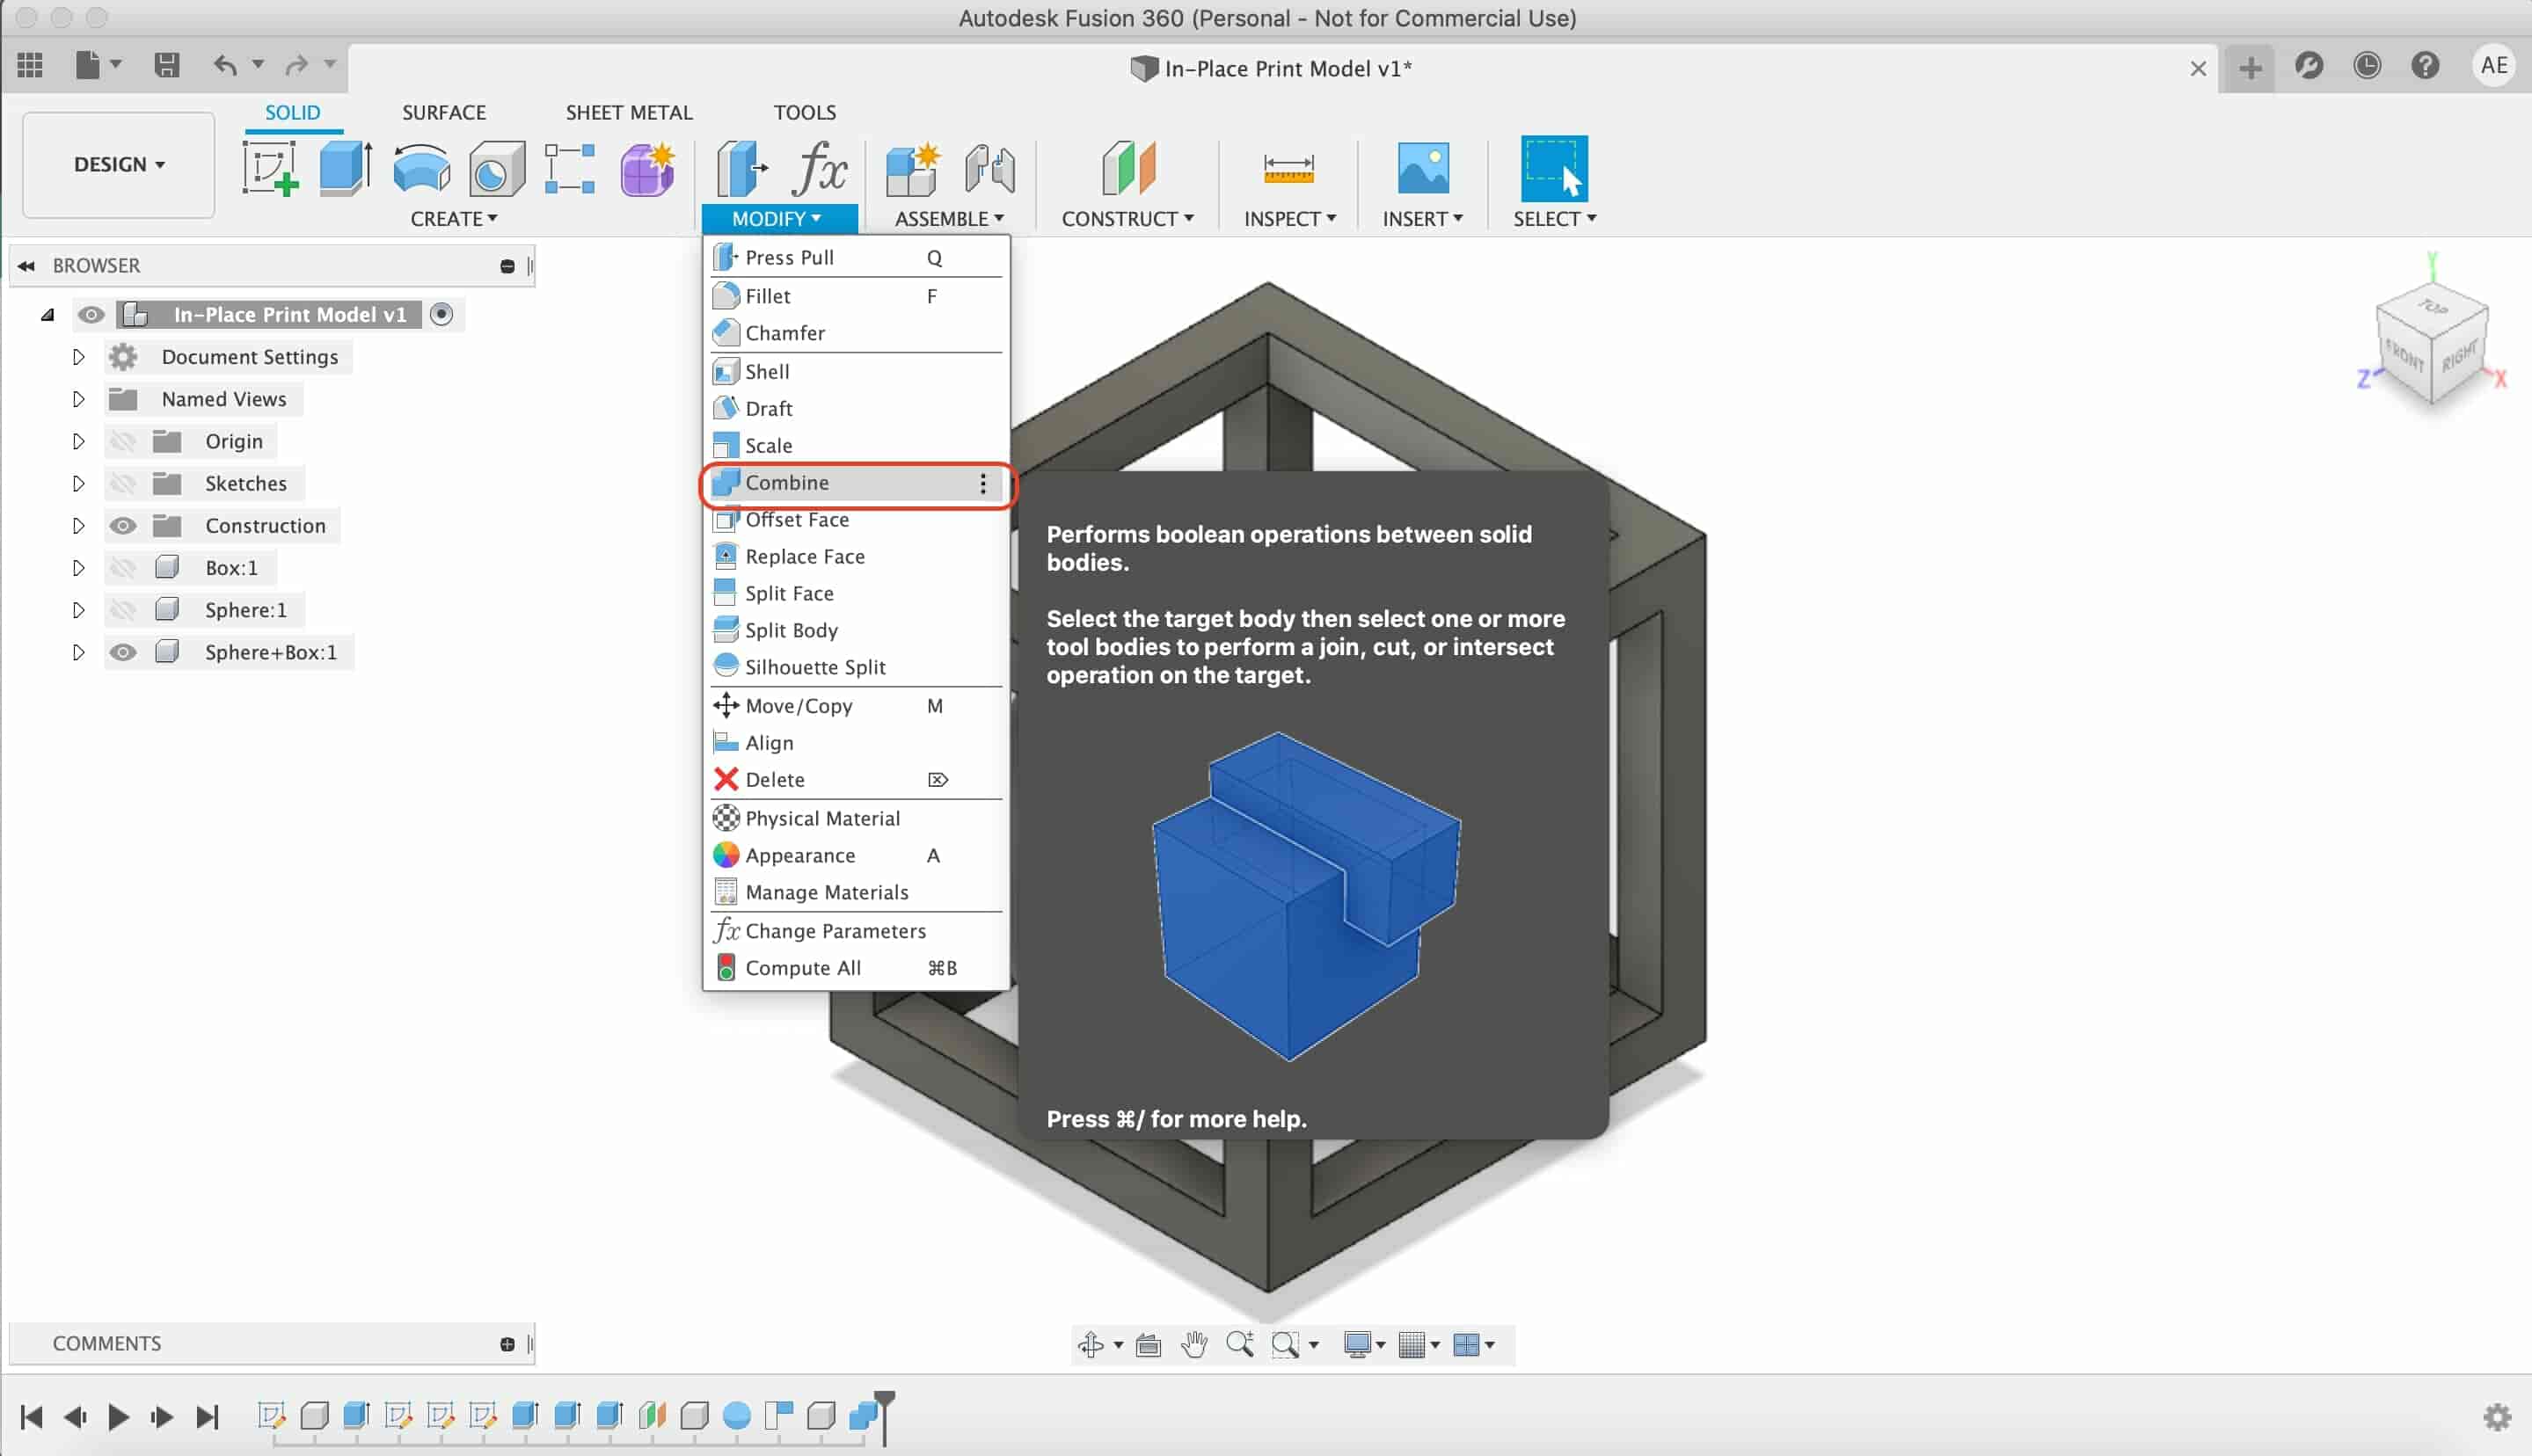
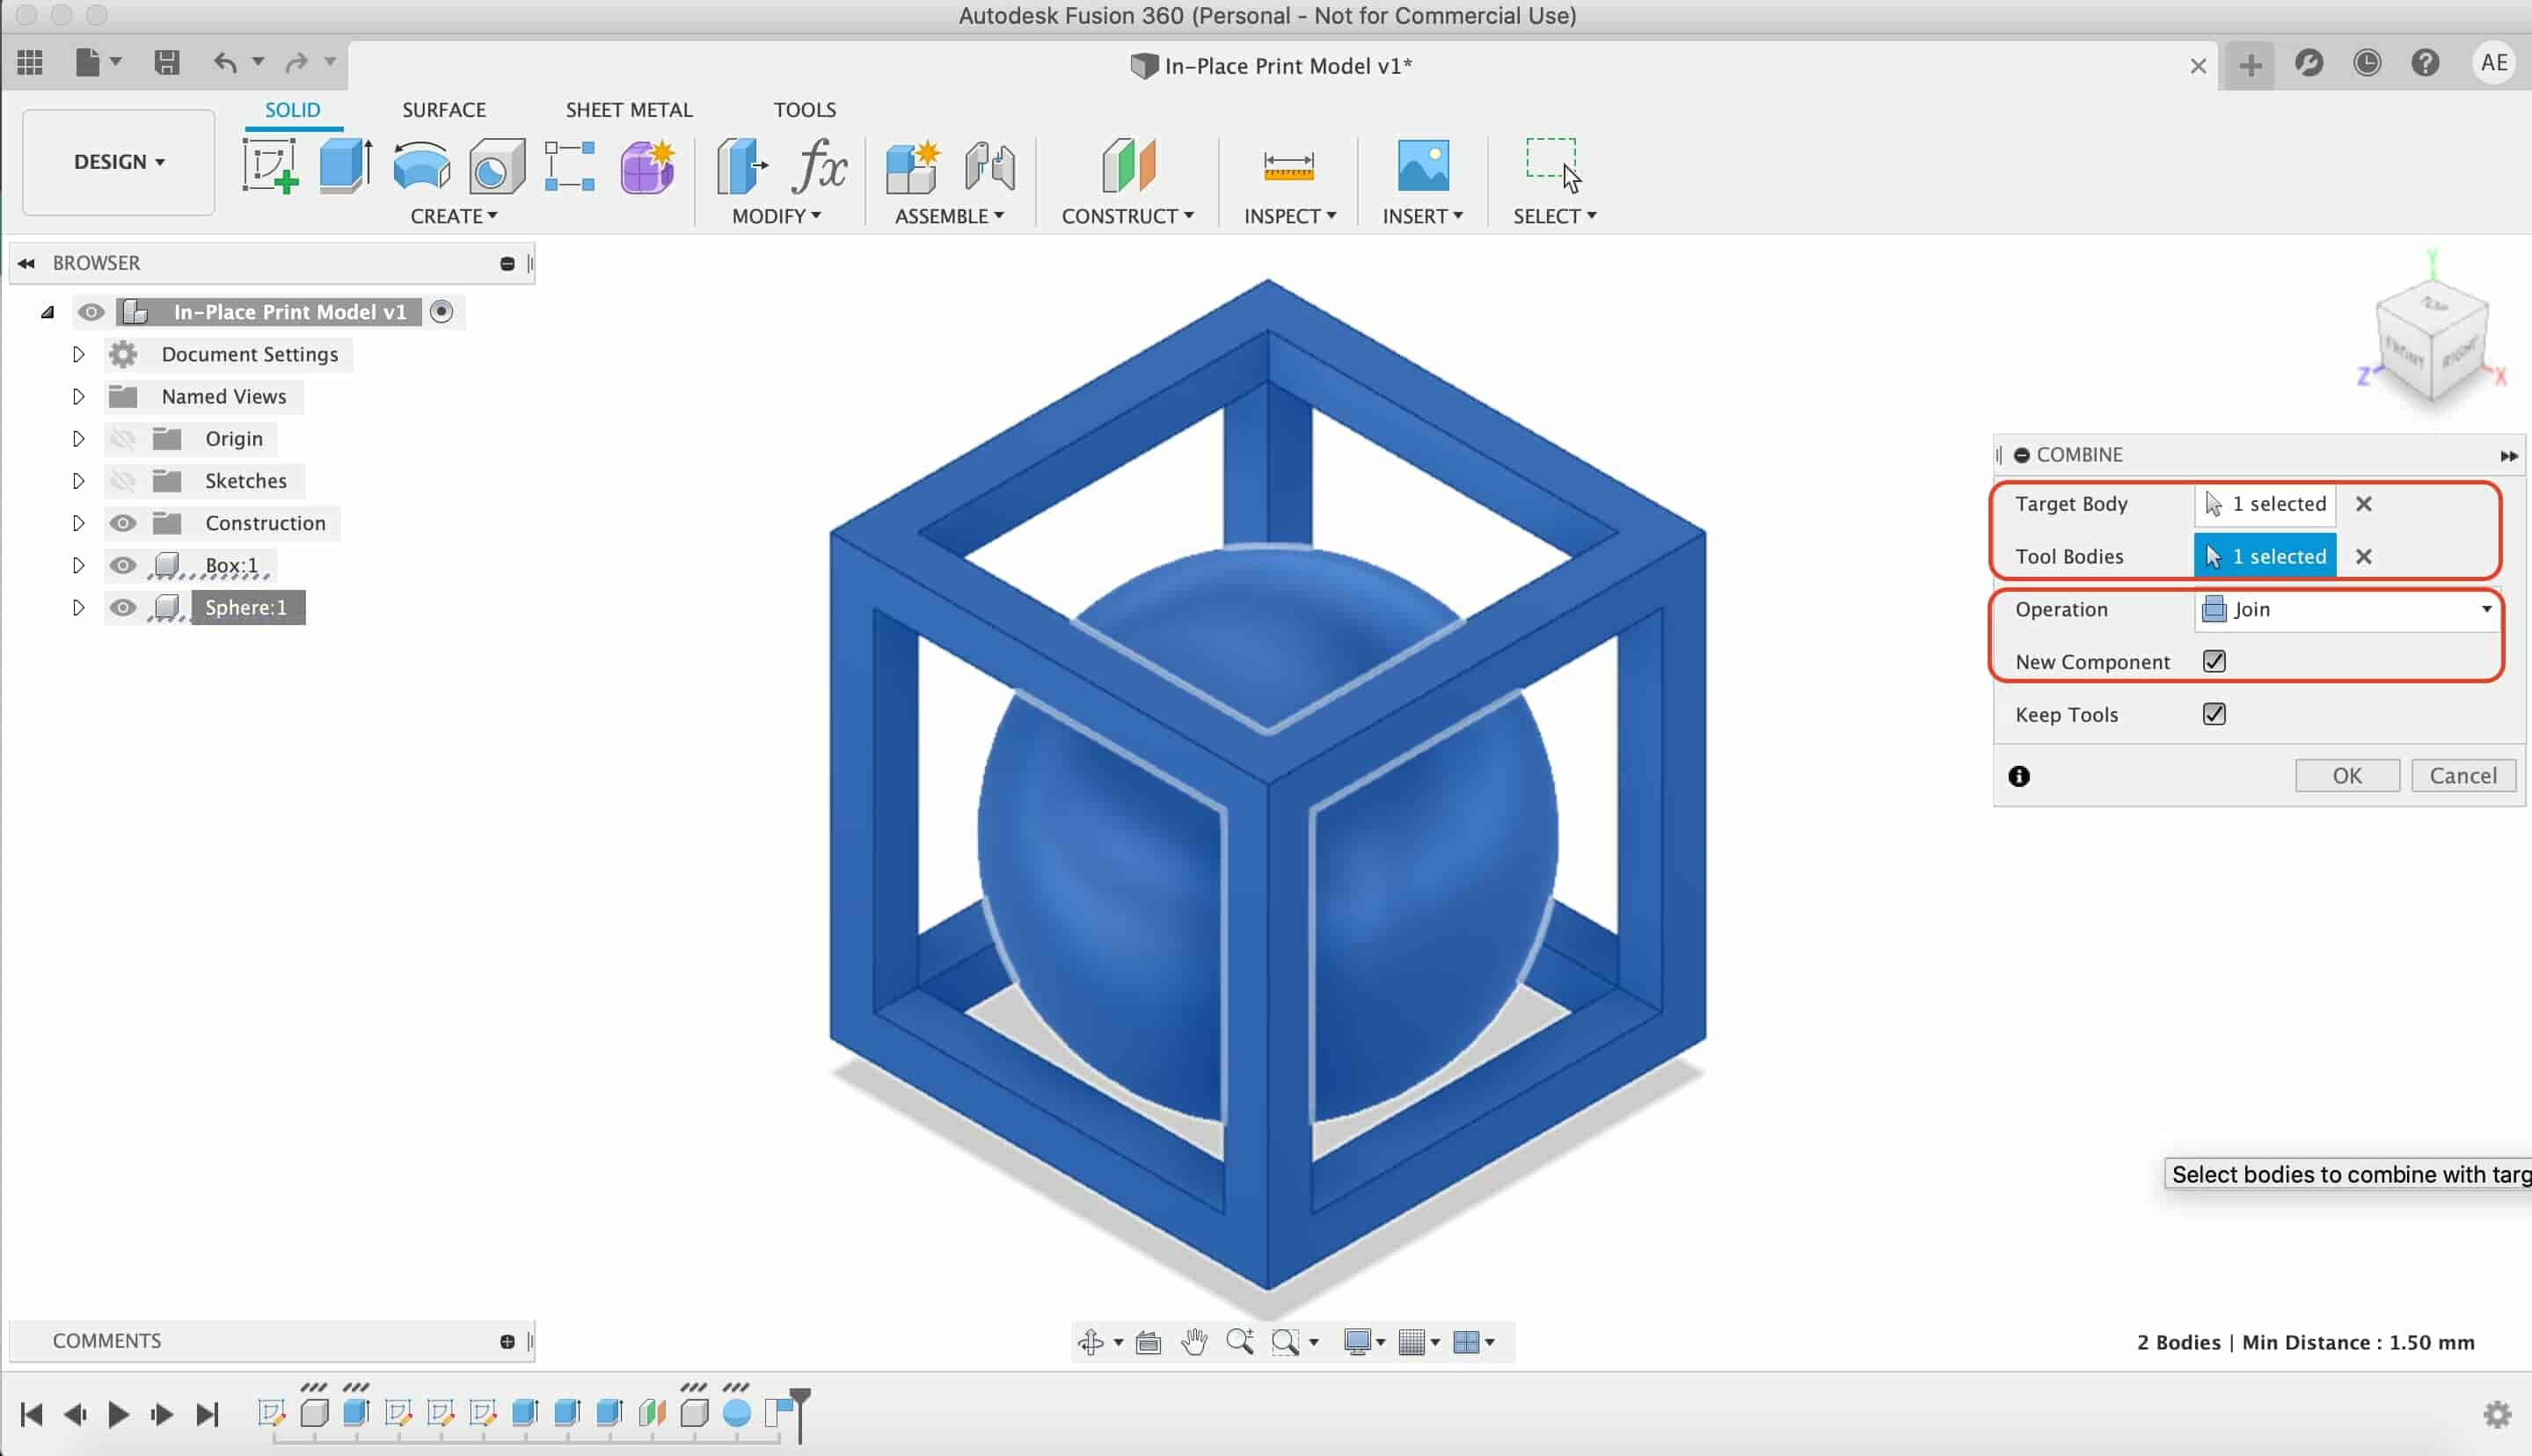
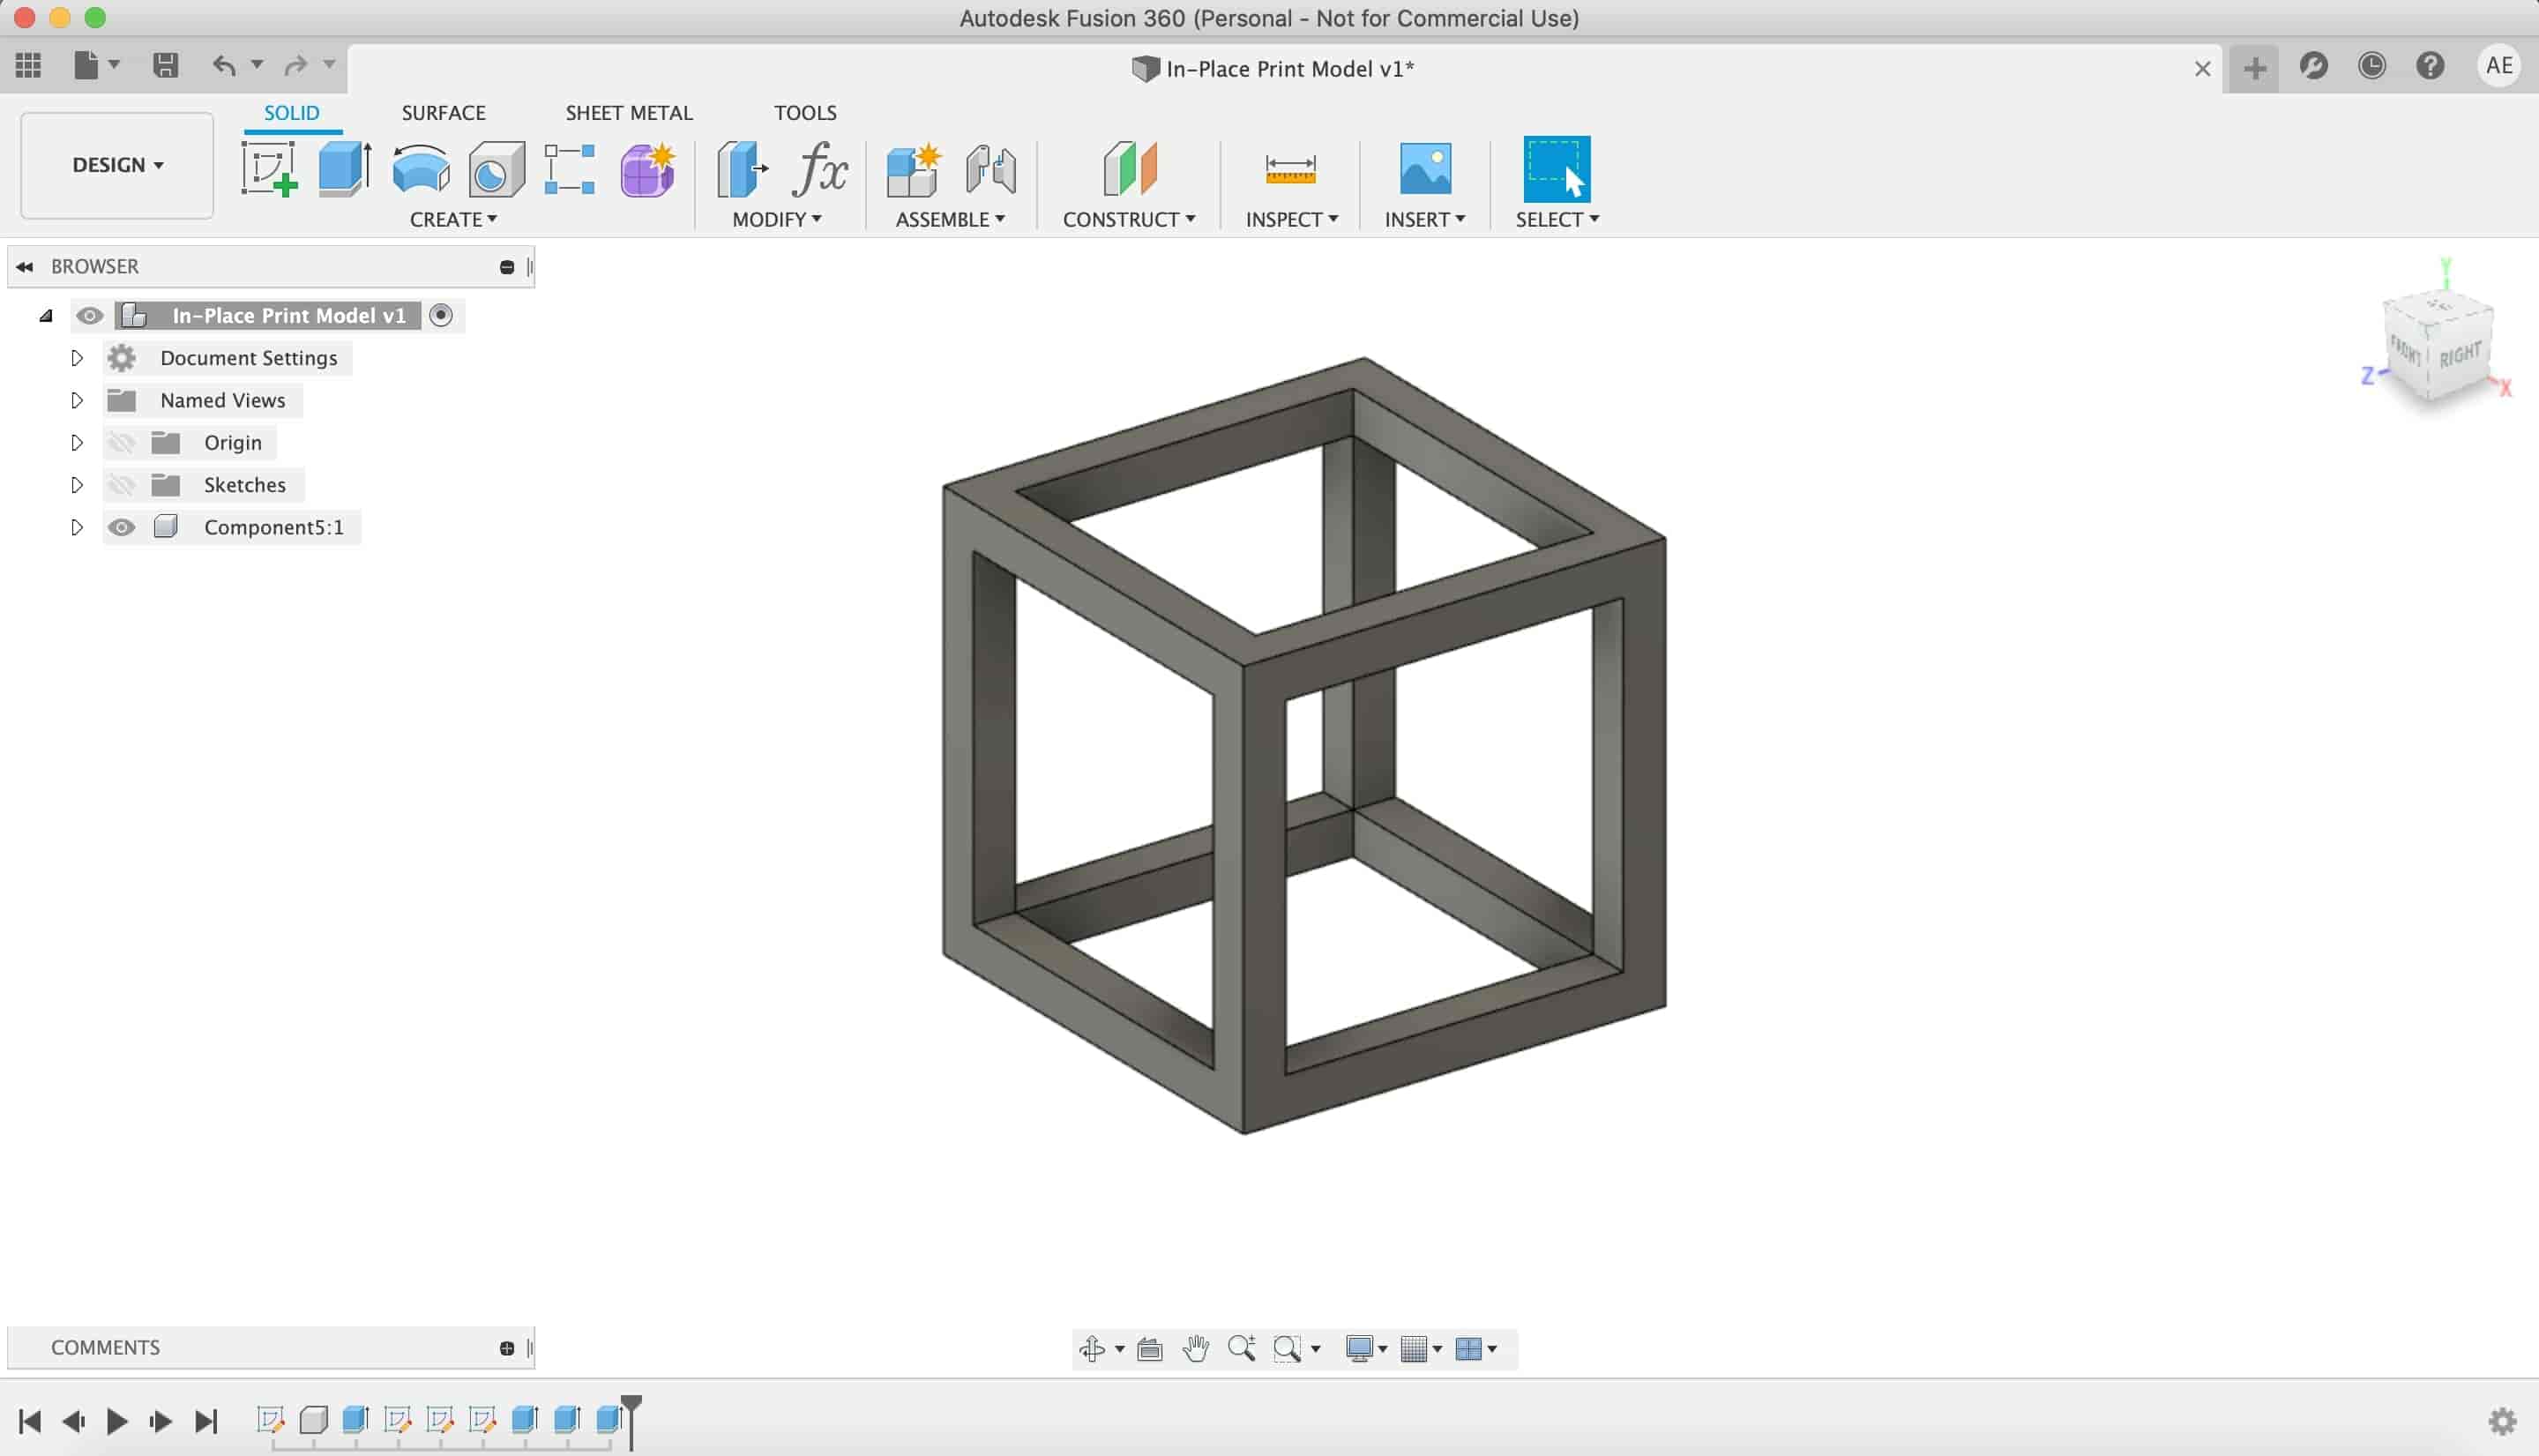
And, here’s the result, a new component that contains the sphere and the box as one body.
After I finished designing the model, I exported the new component as an STL file, press right click on the component, then select save as STL.

Enclosure STL Files Download
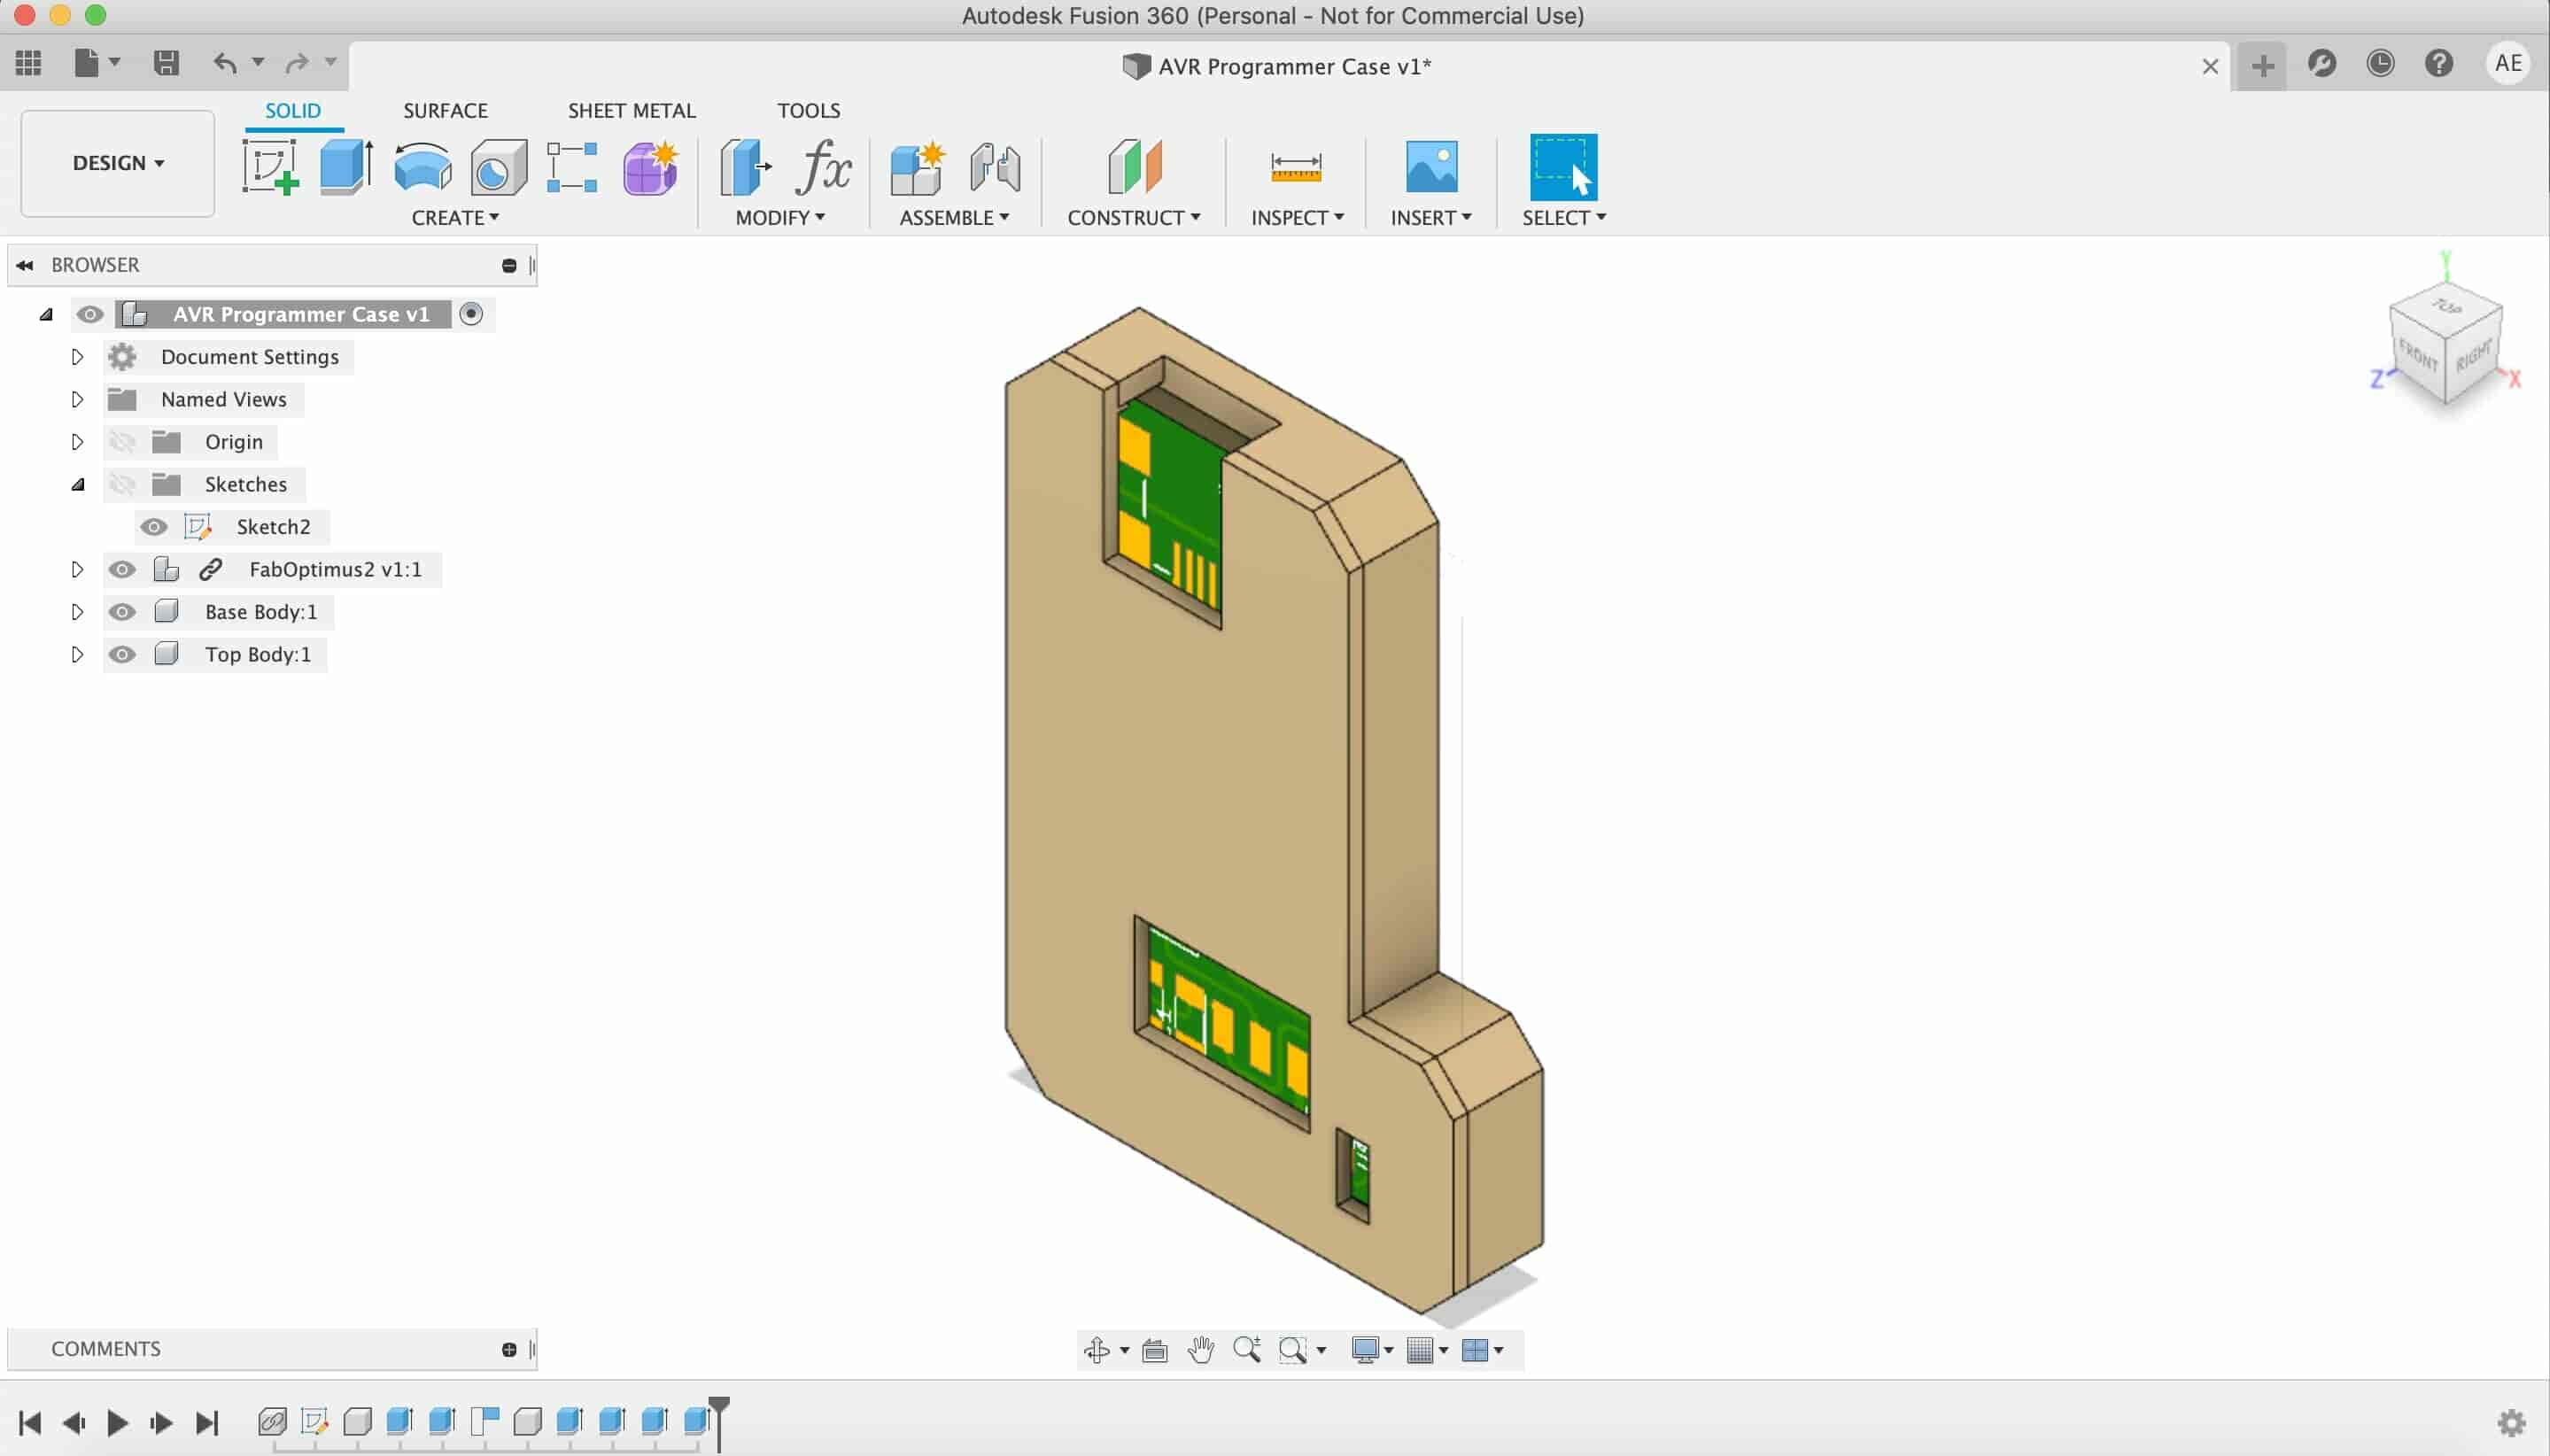
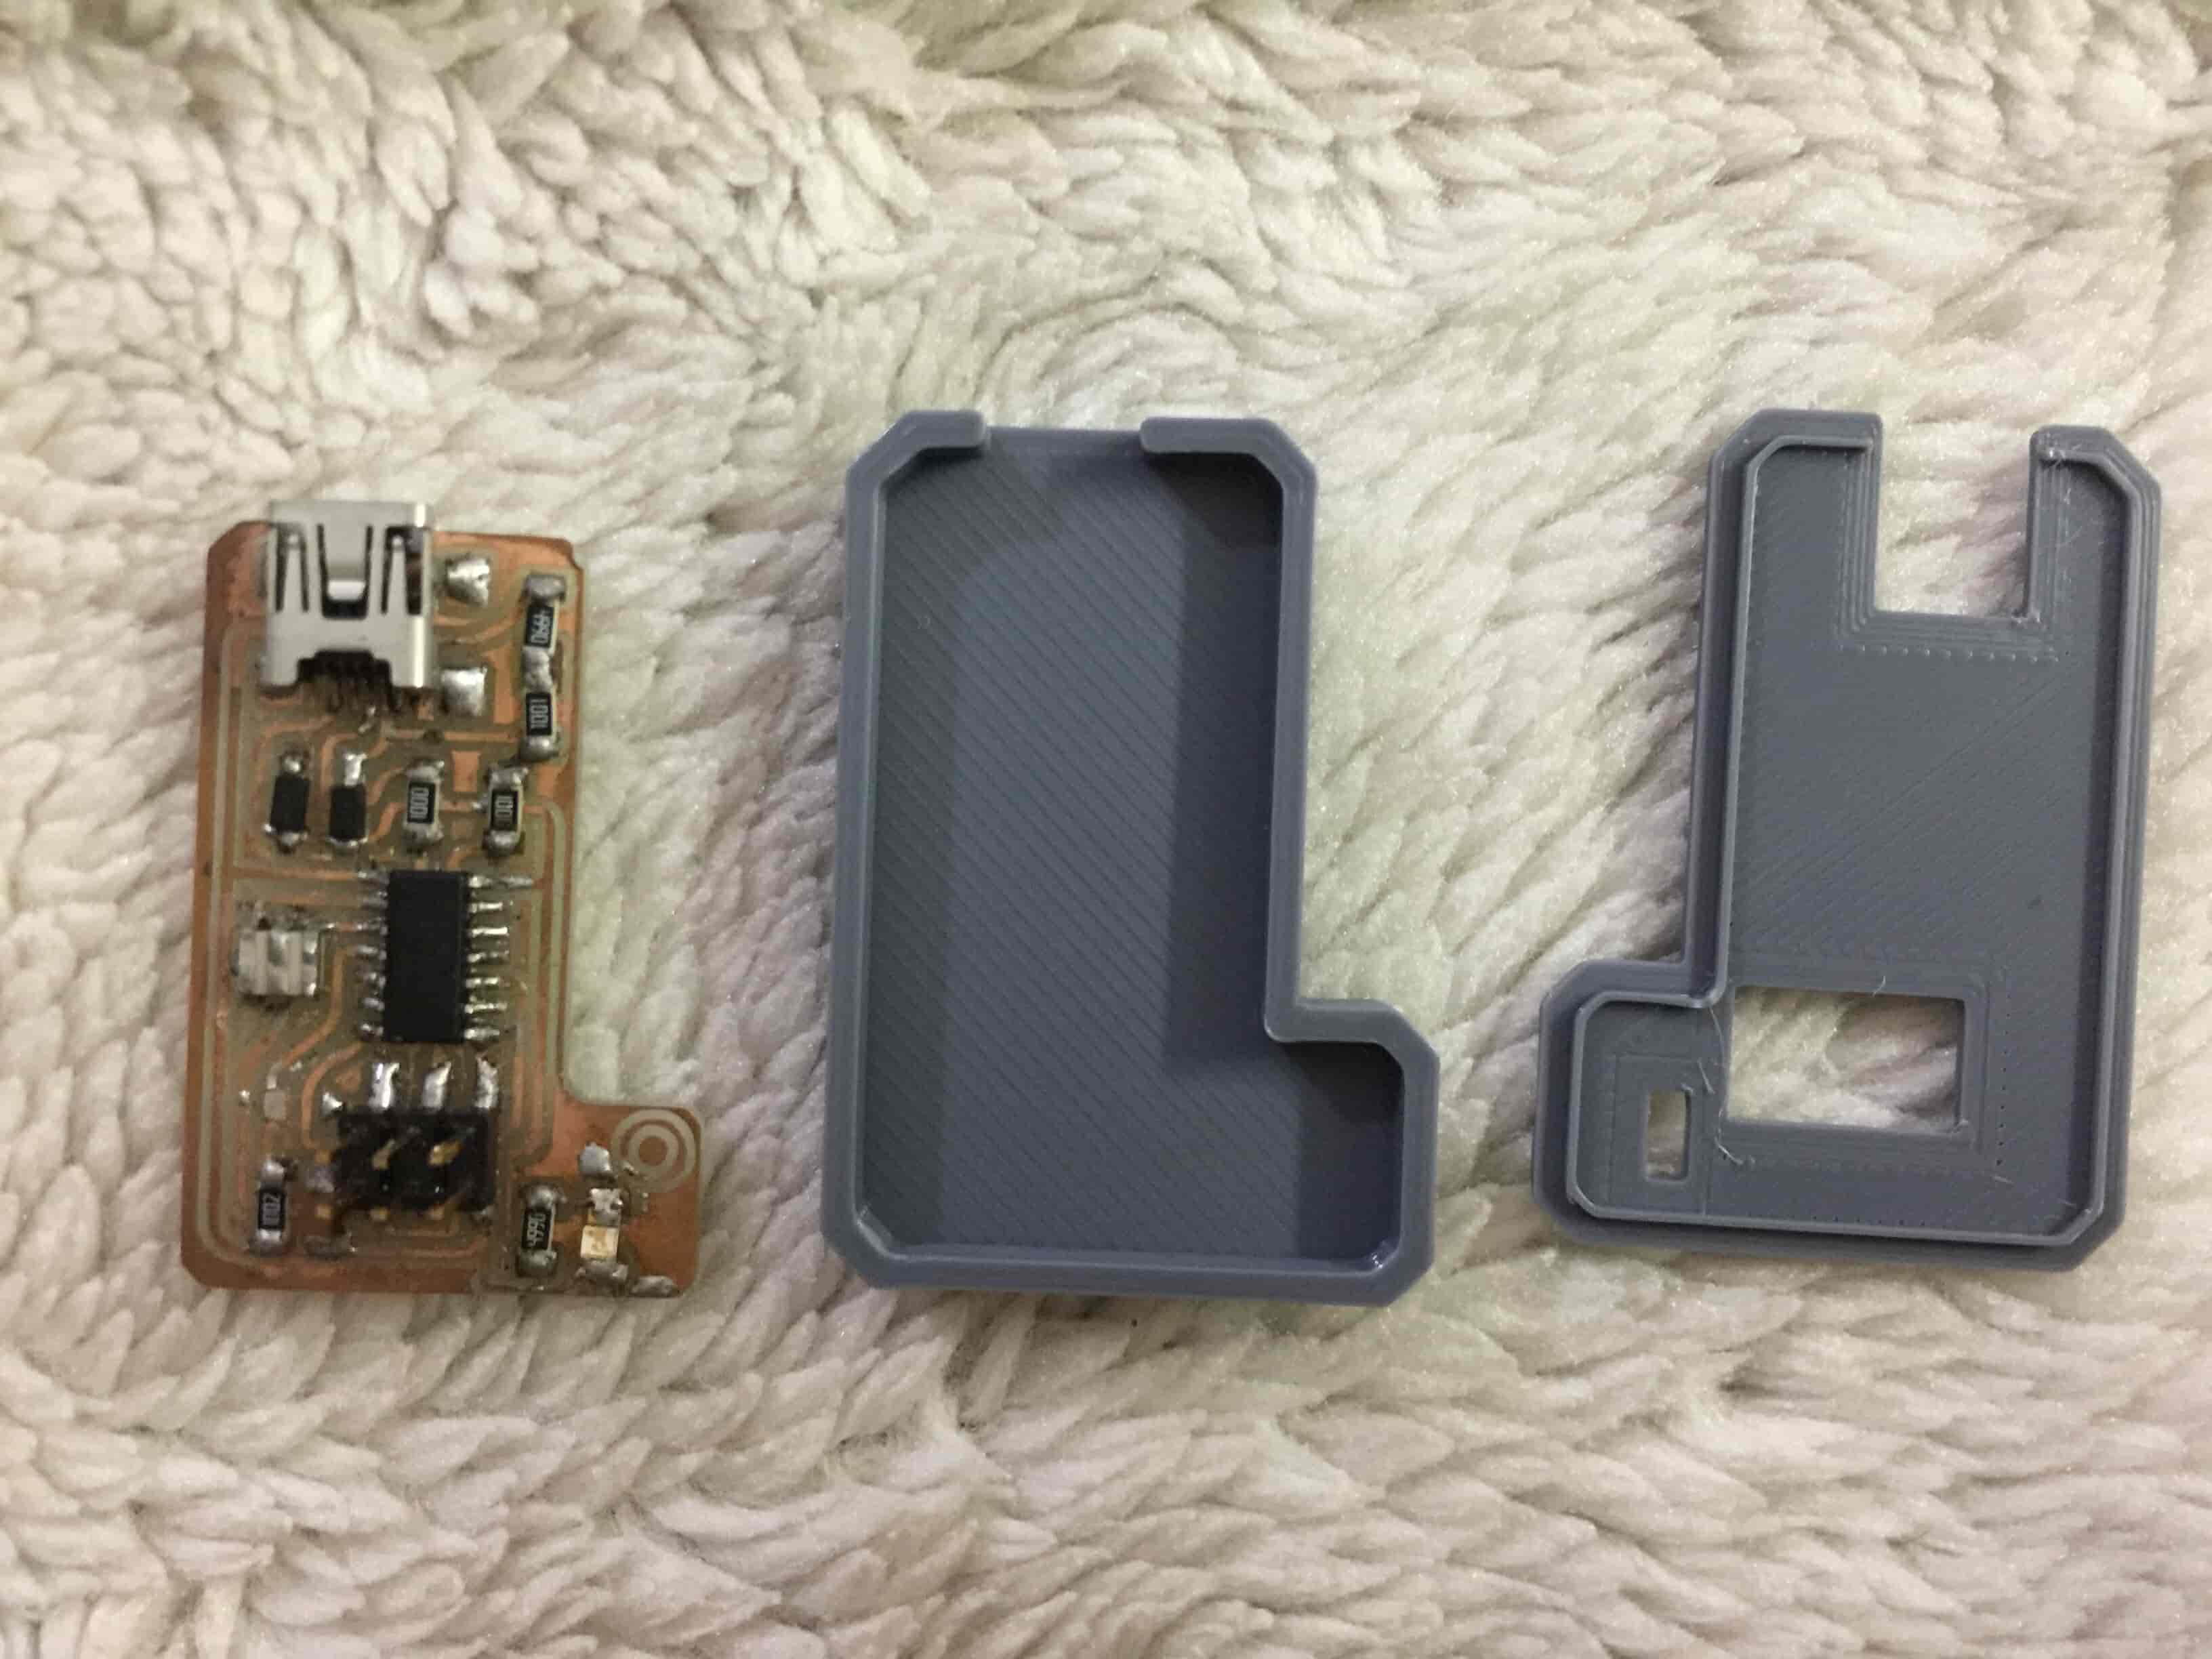
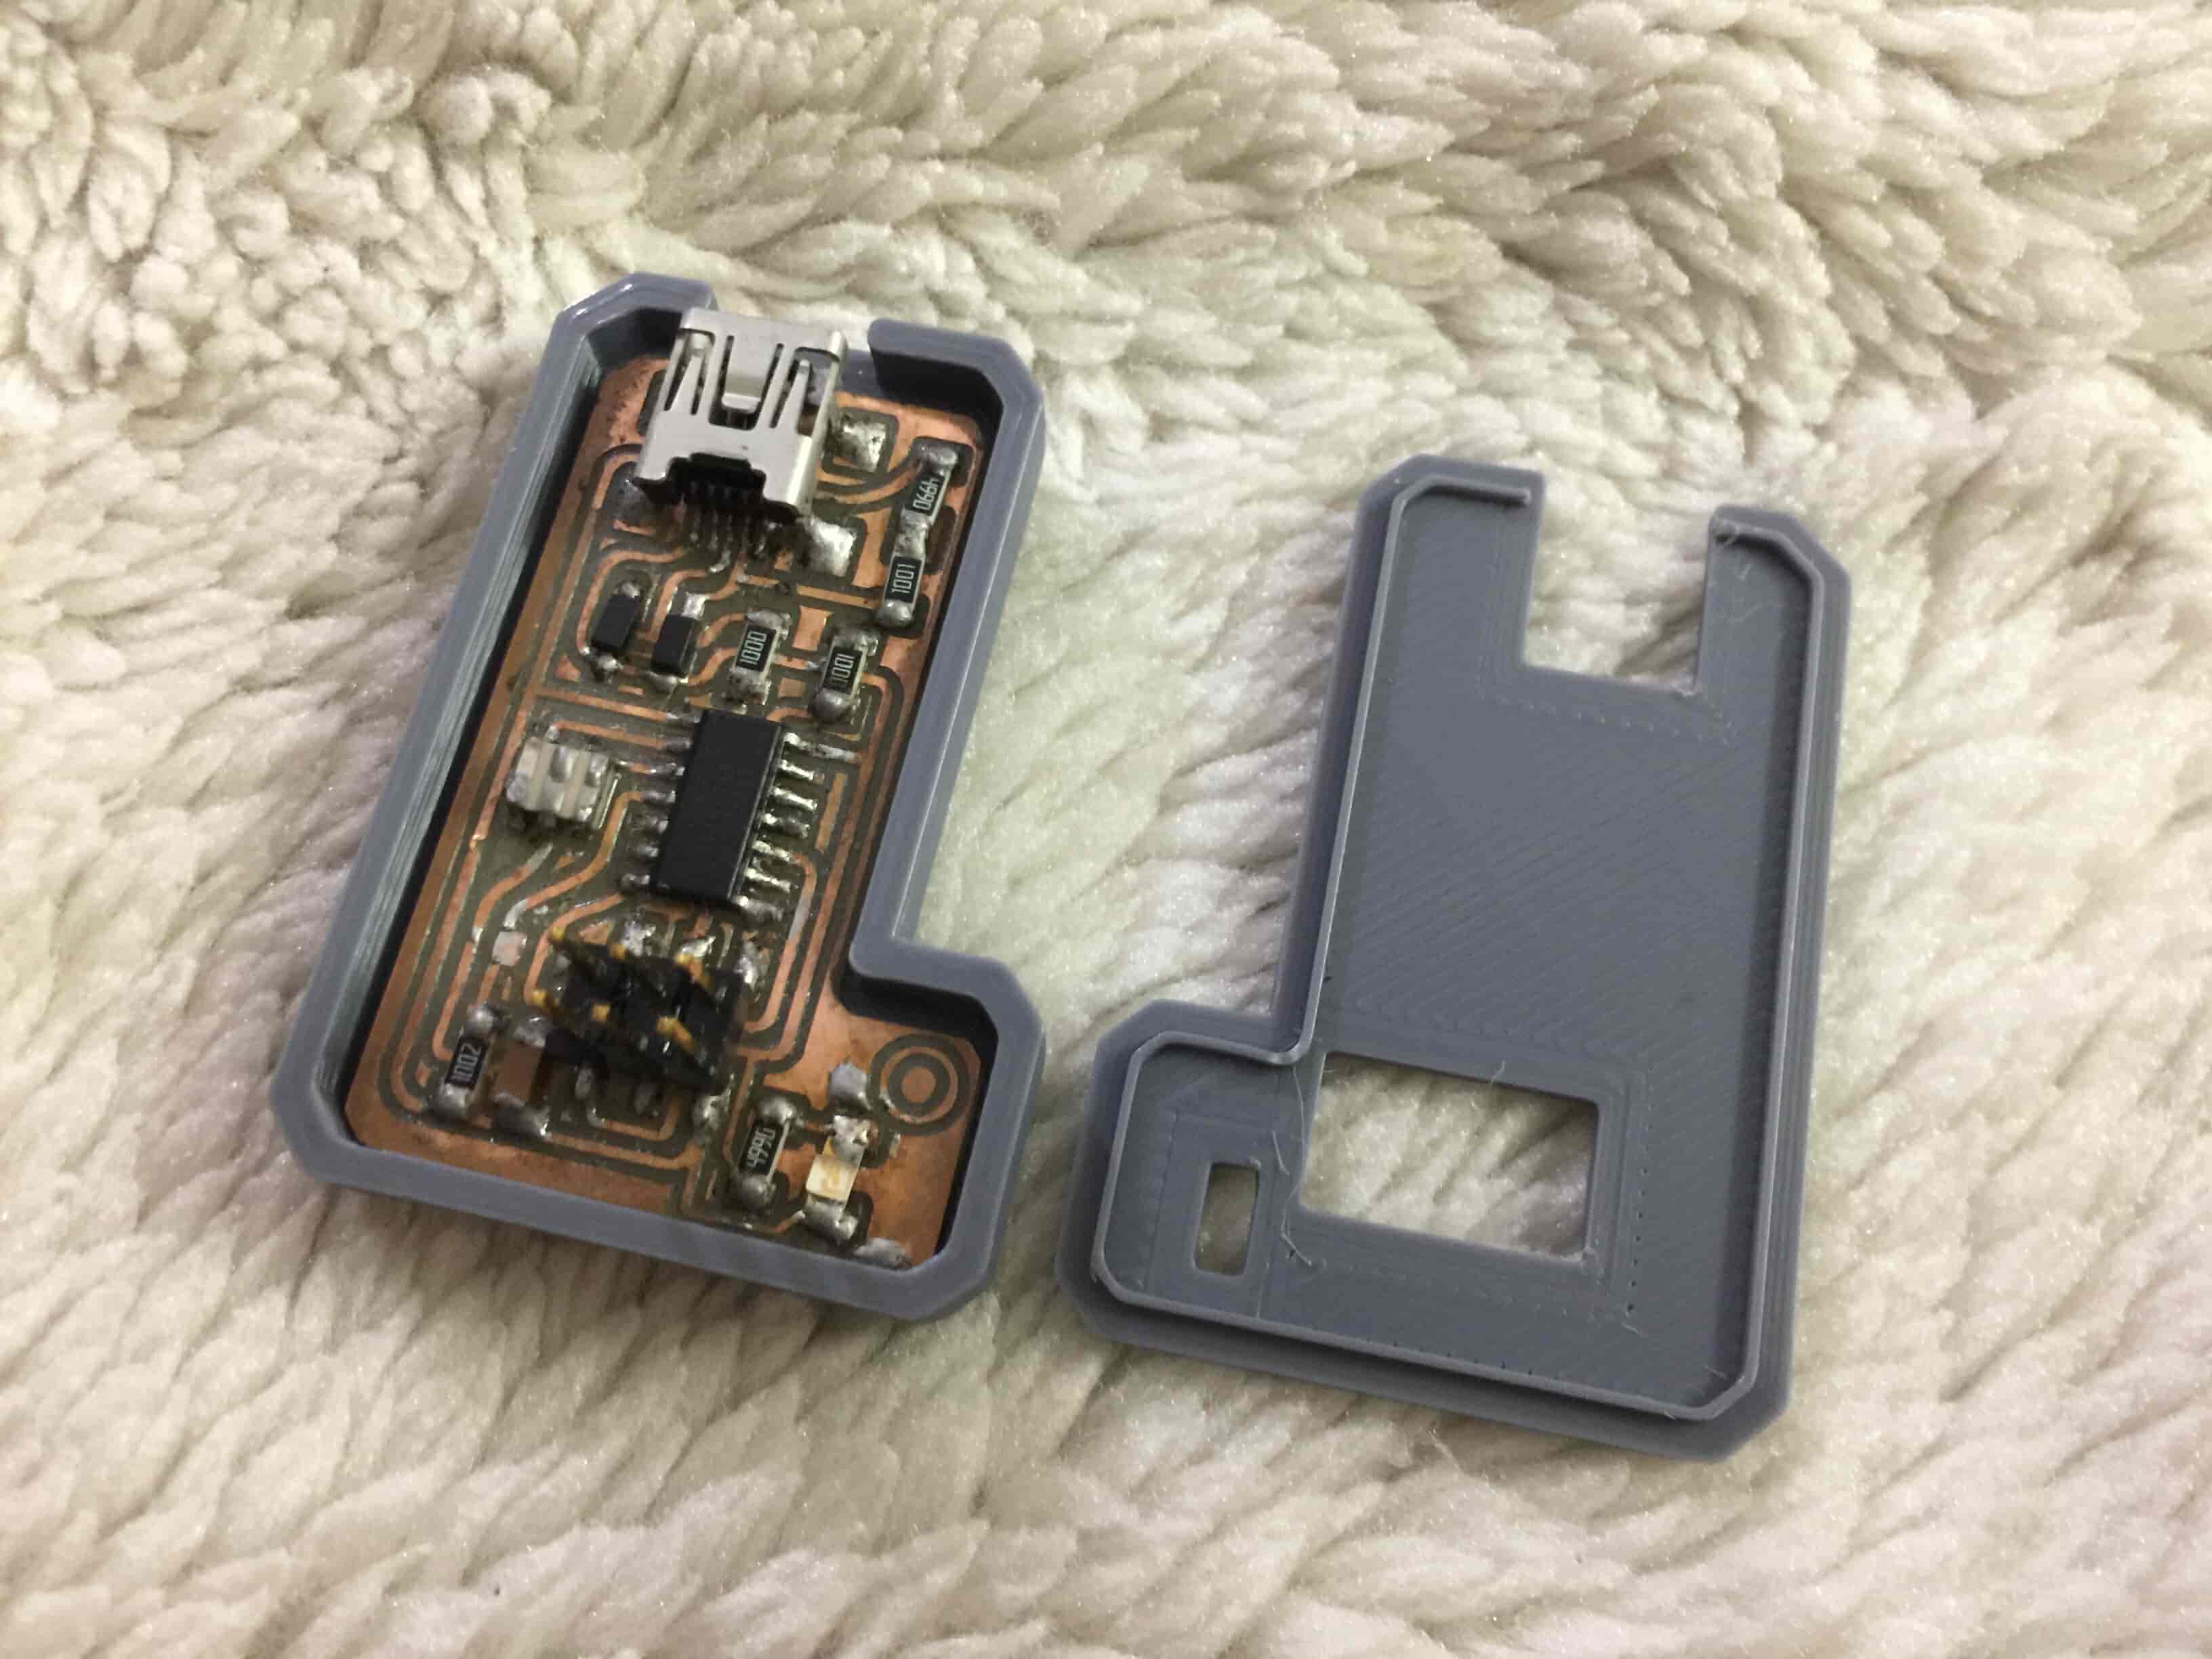
Designing An AVR Programmer Enclosure
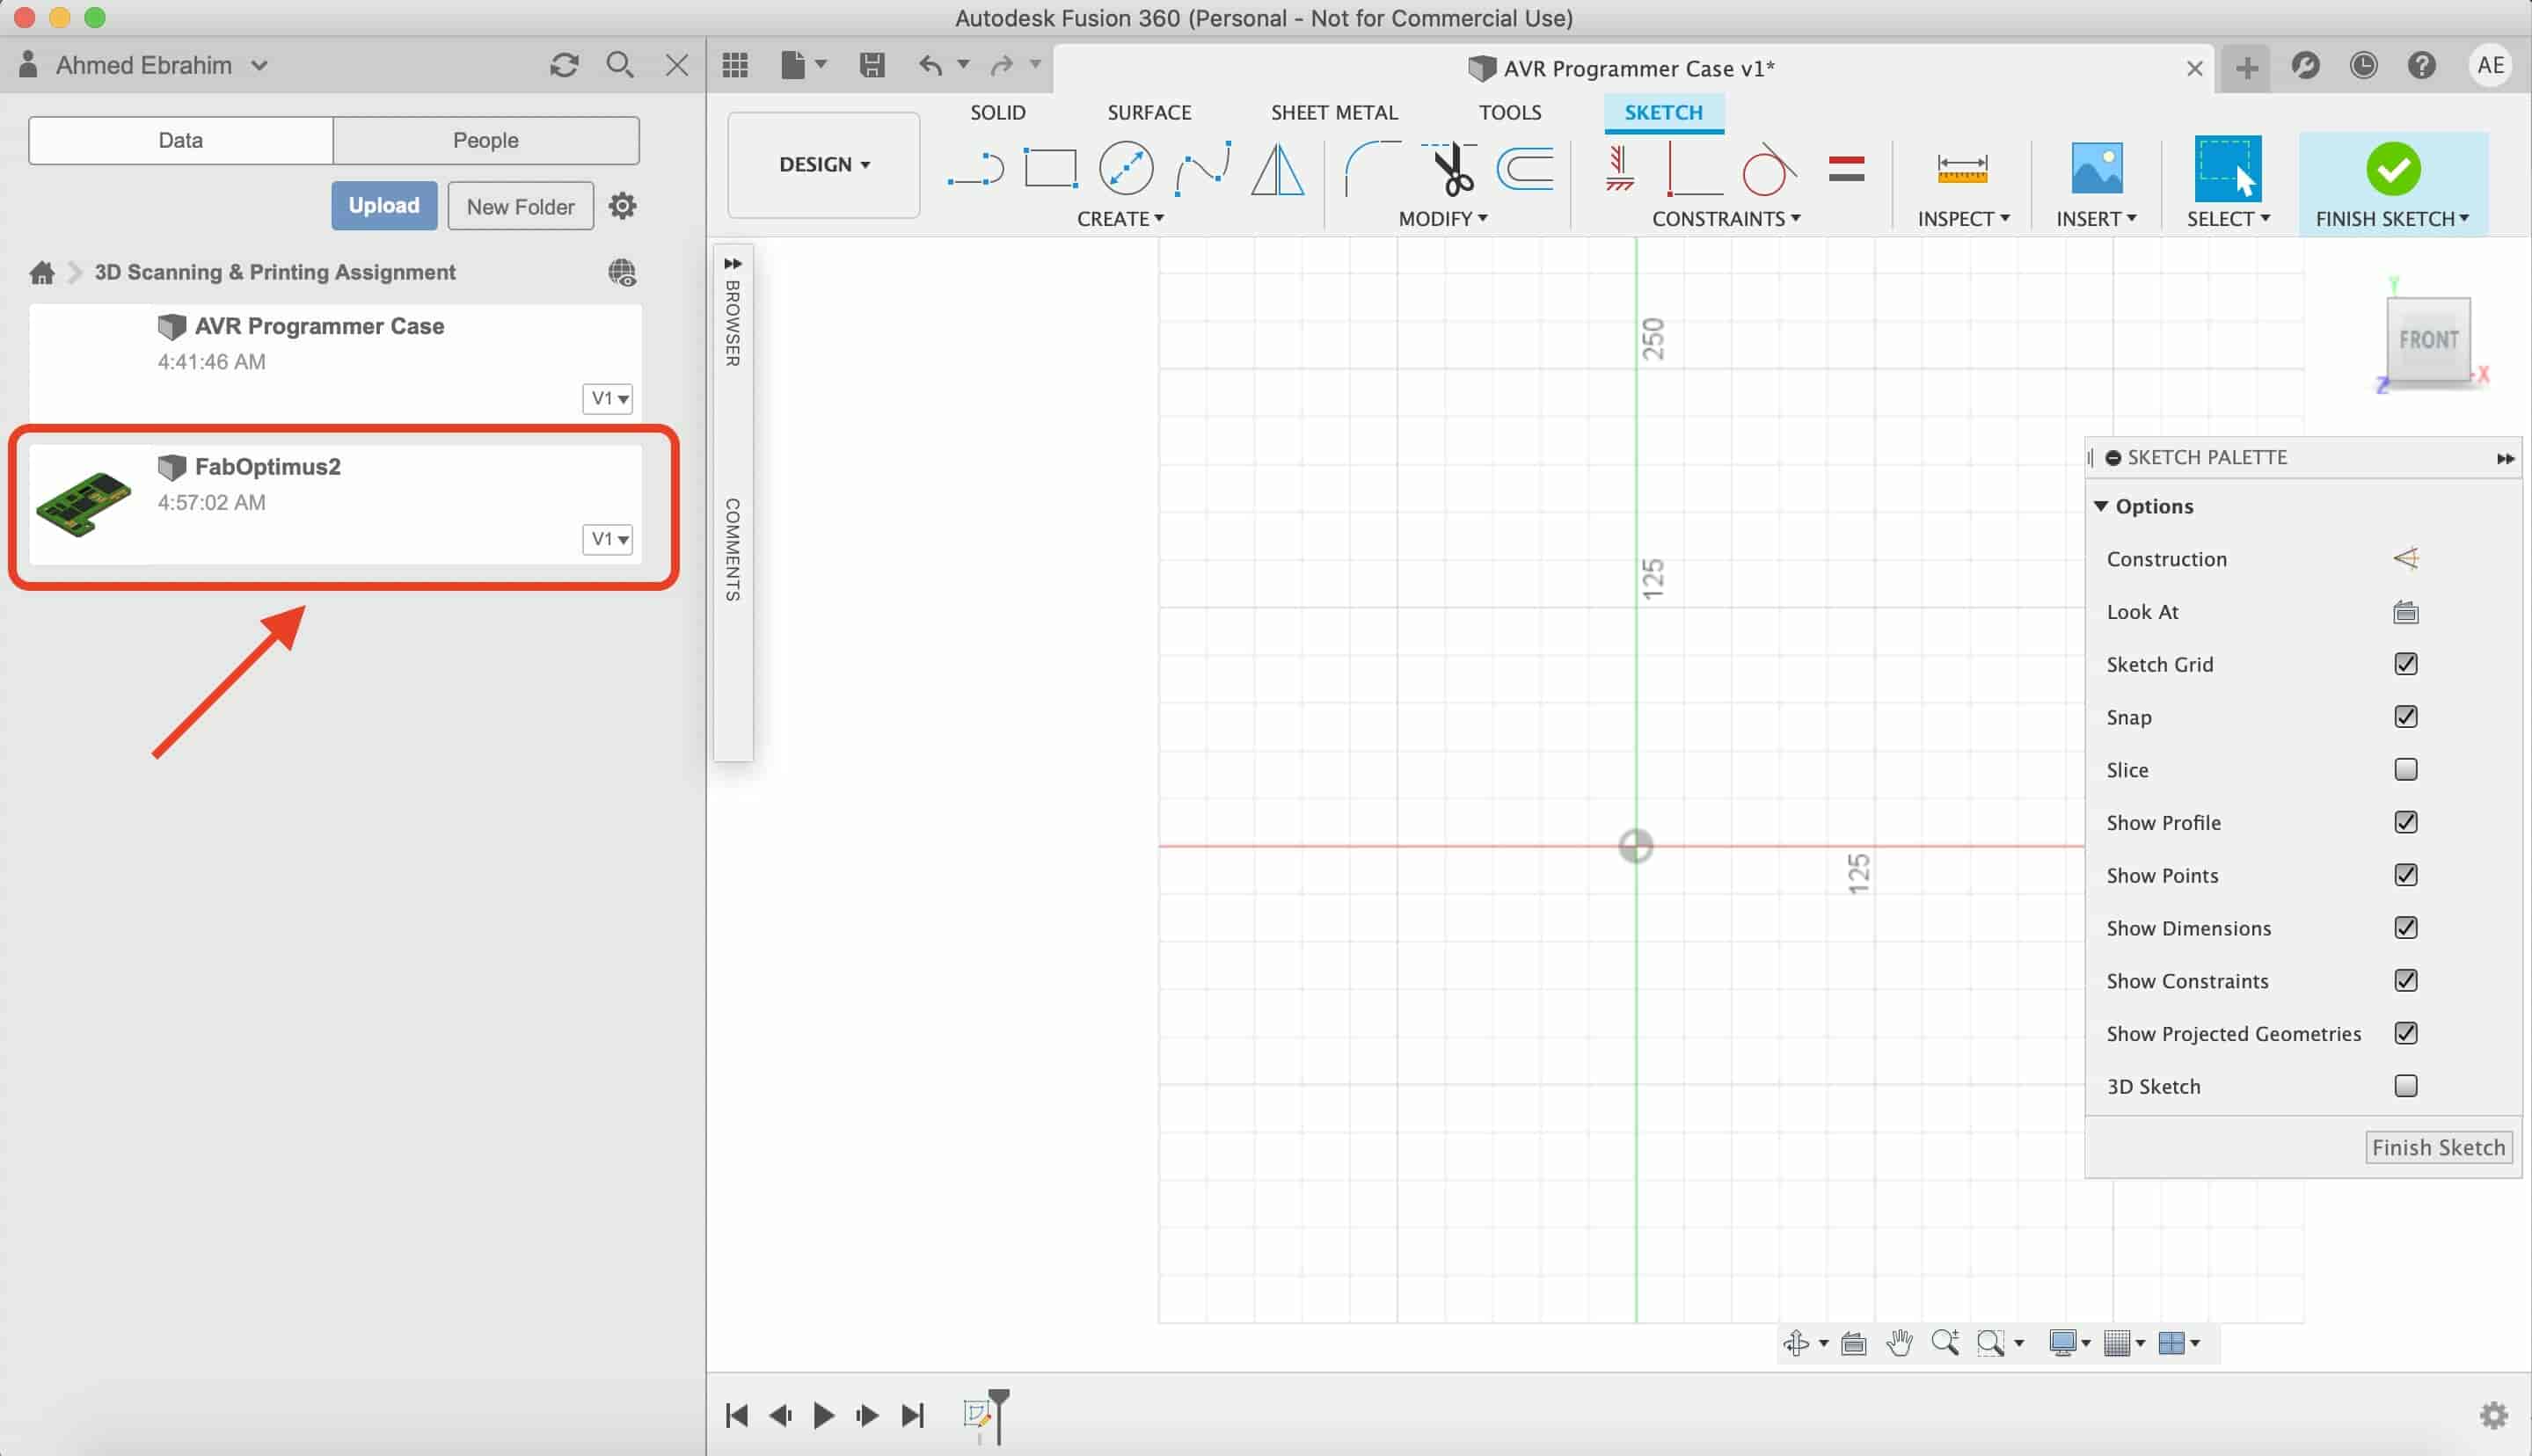
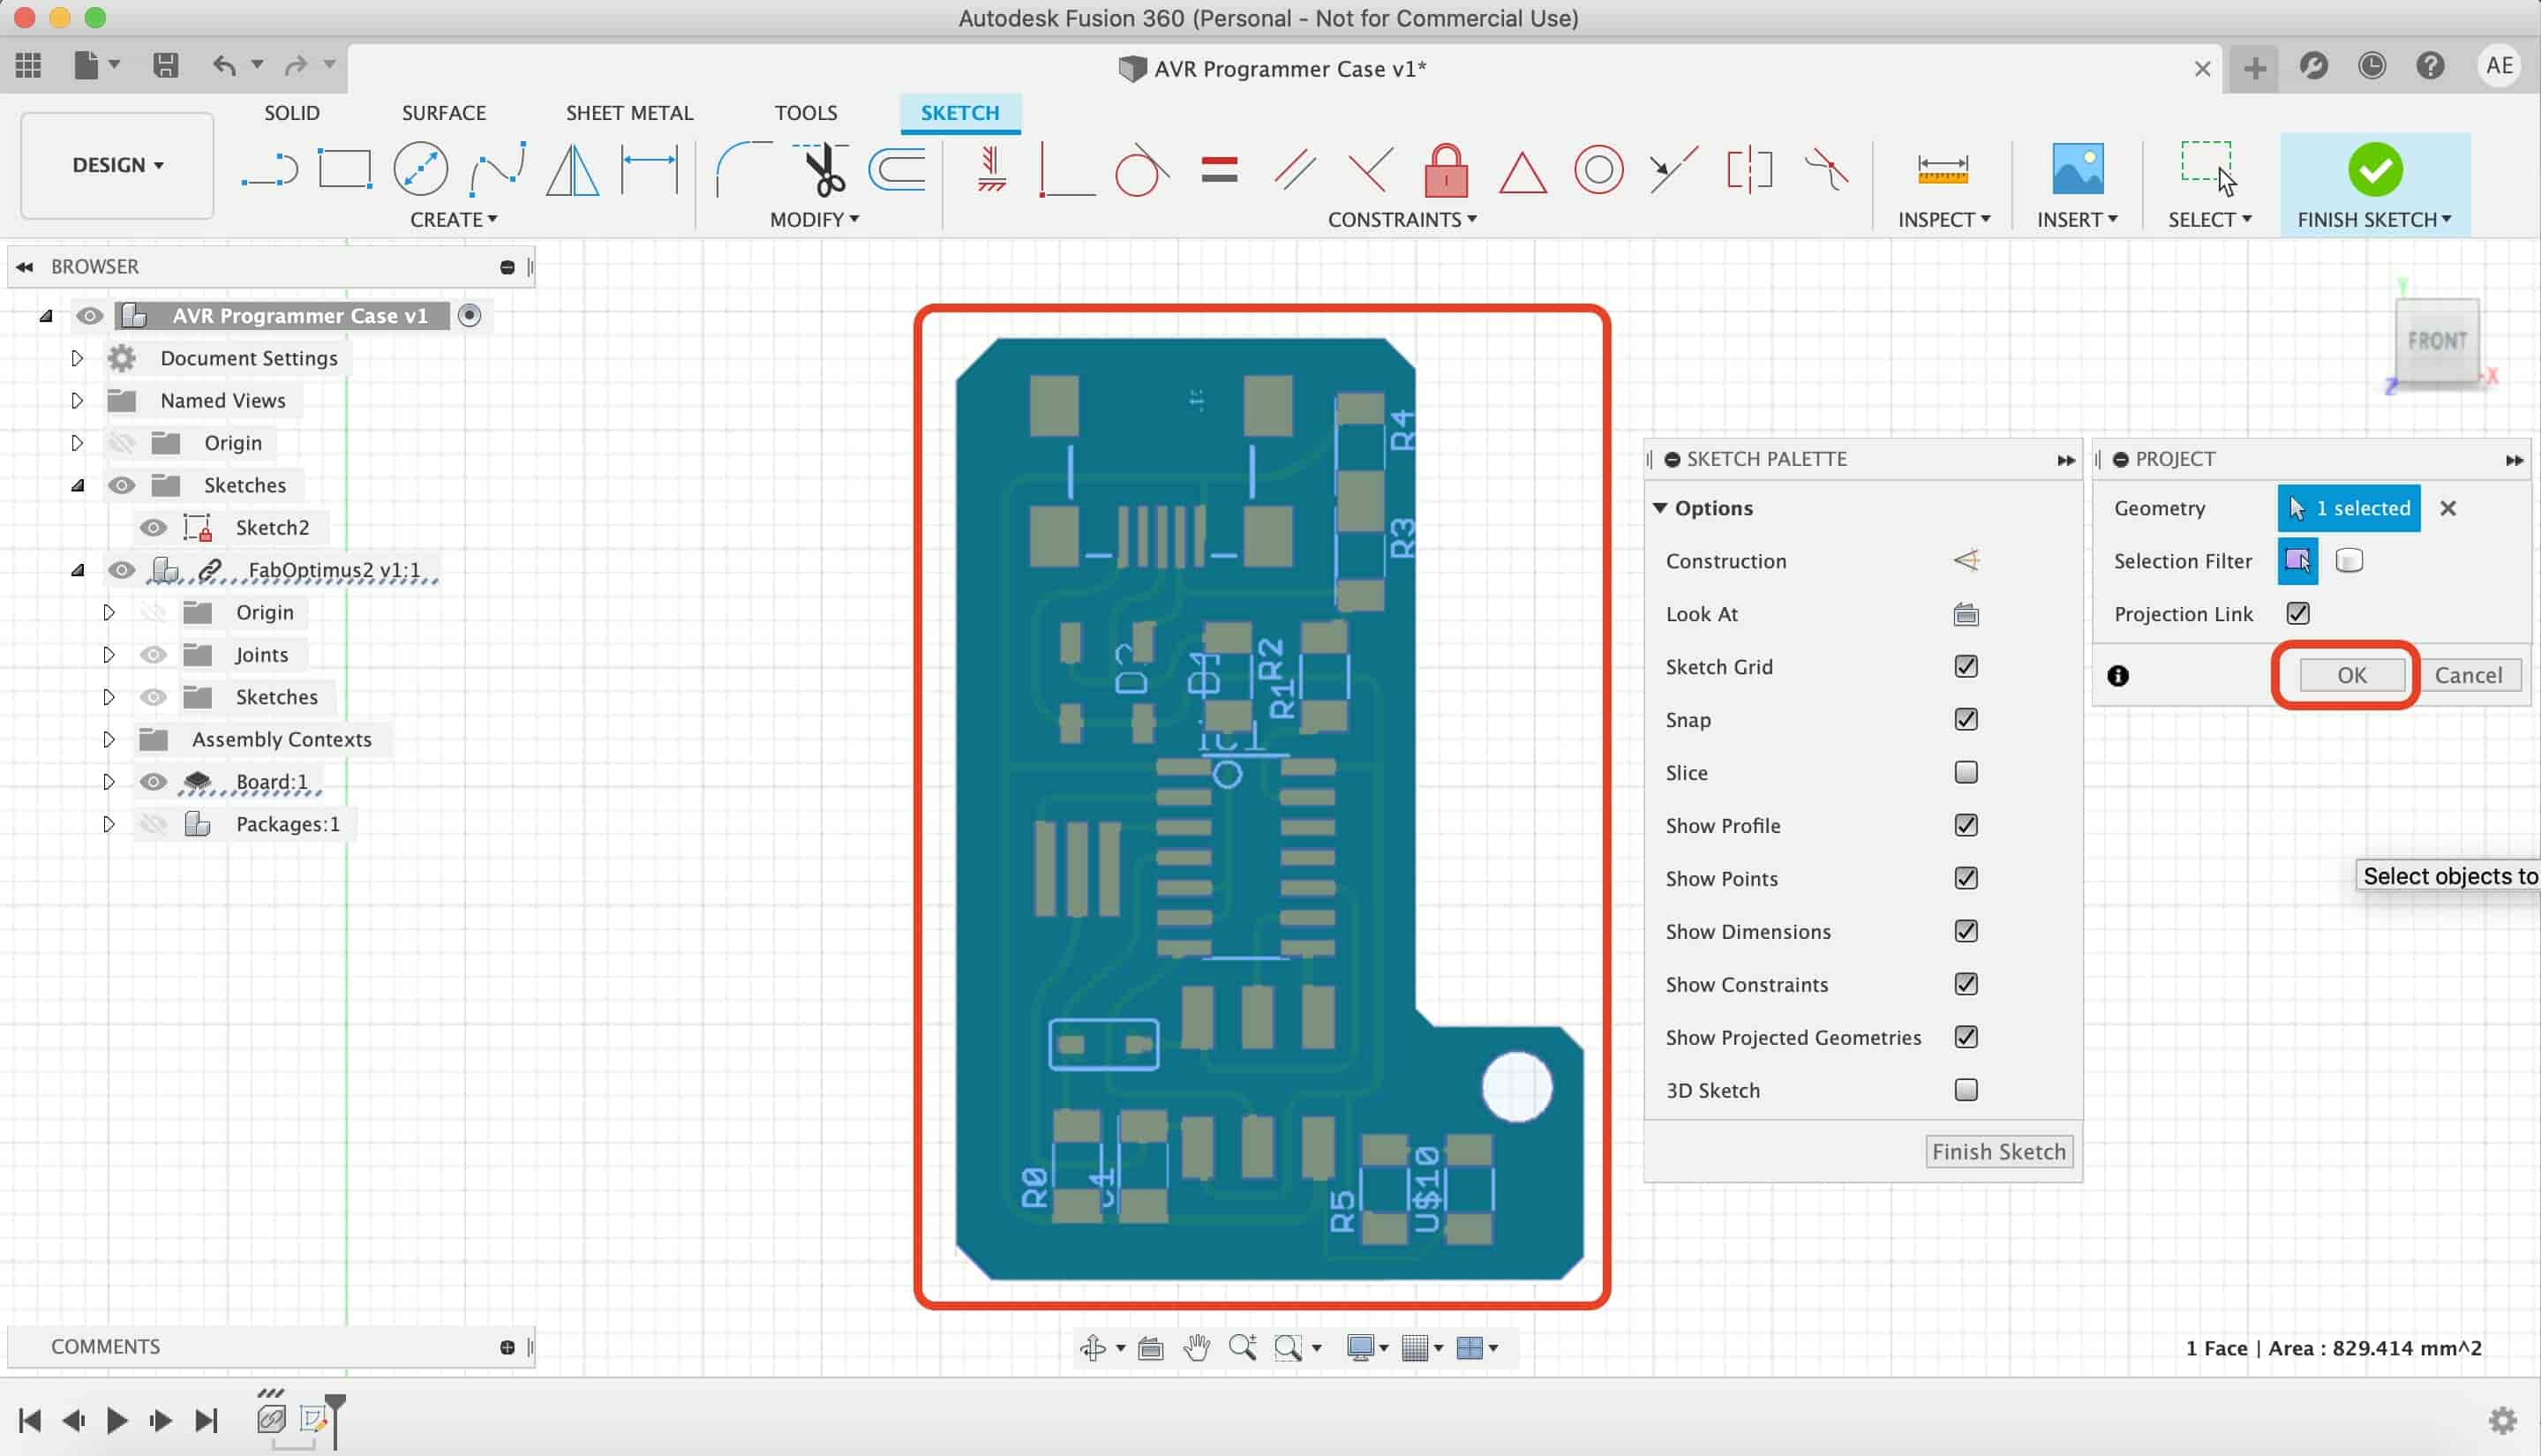
I imported the PCB that I designed on eagle to a new Fusion360 project.
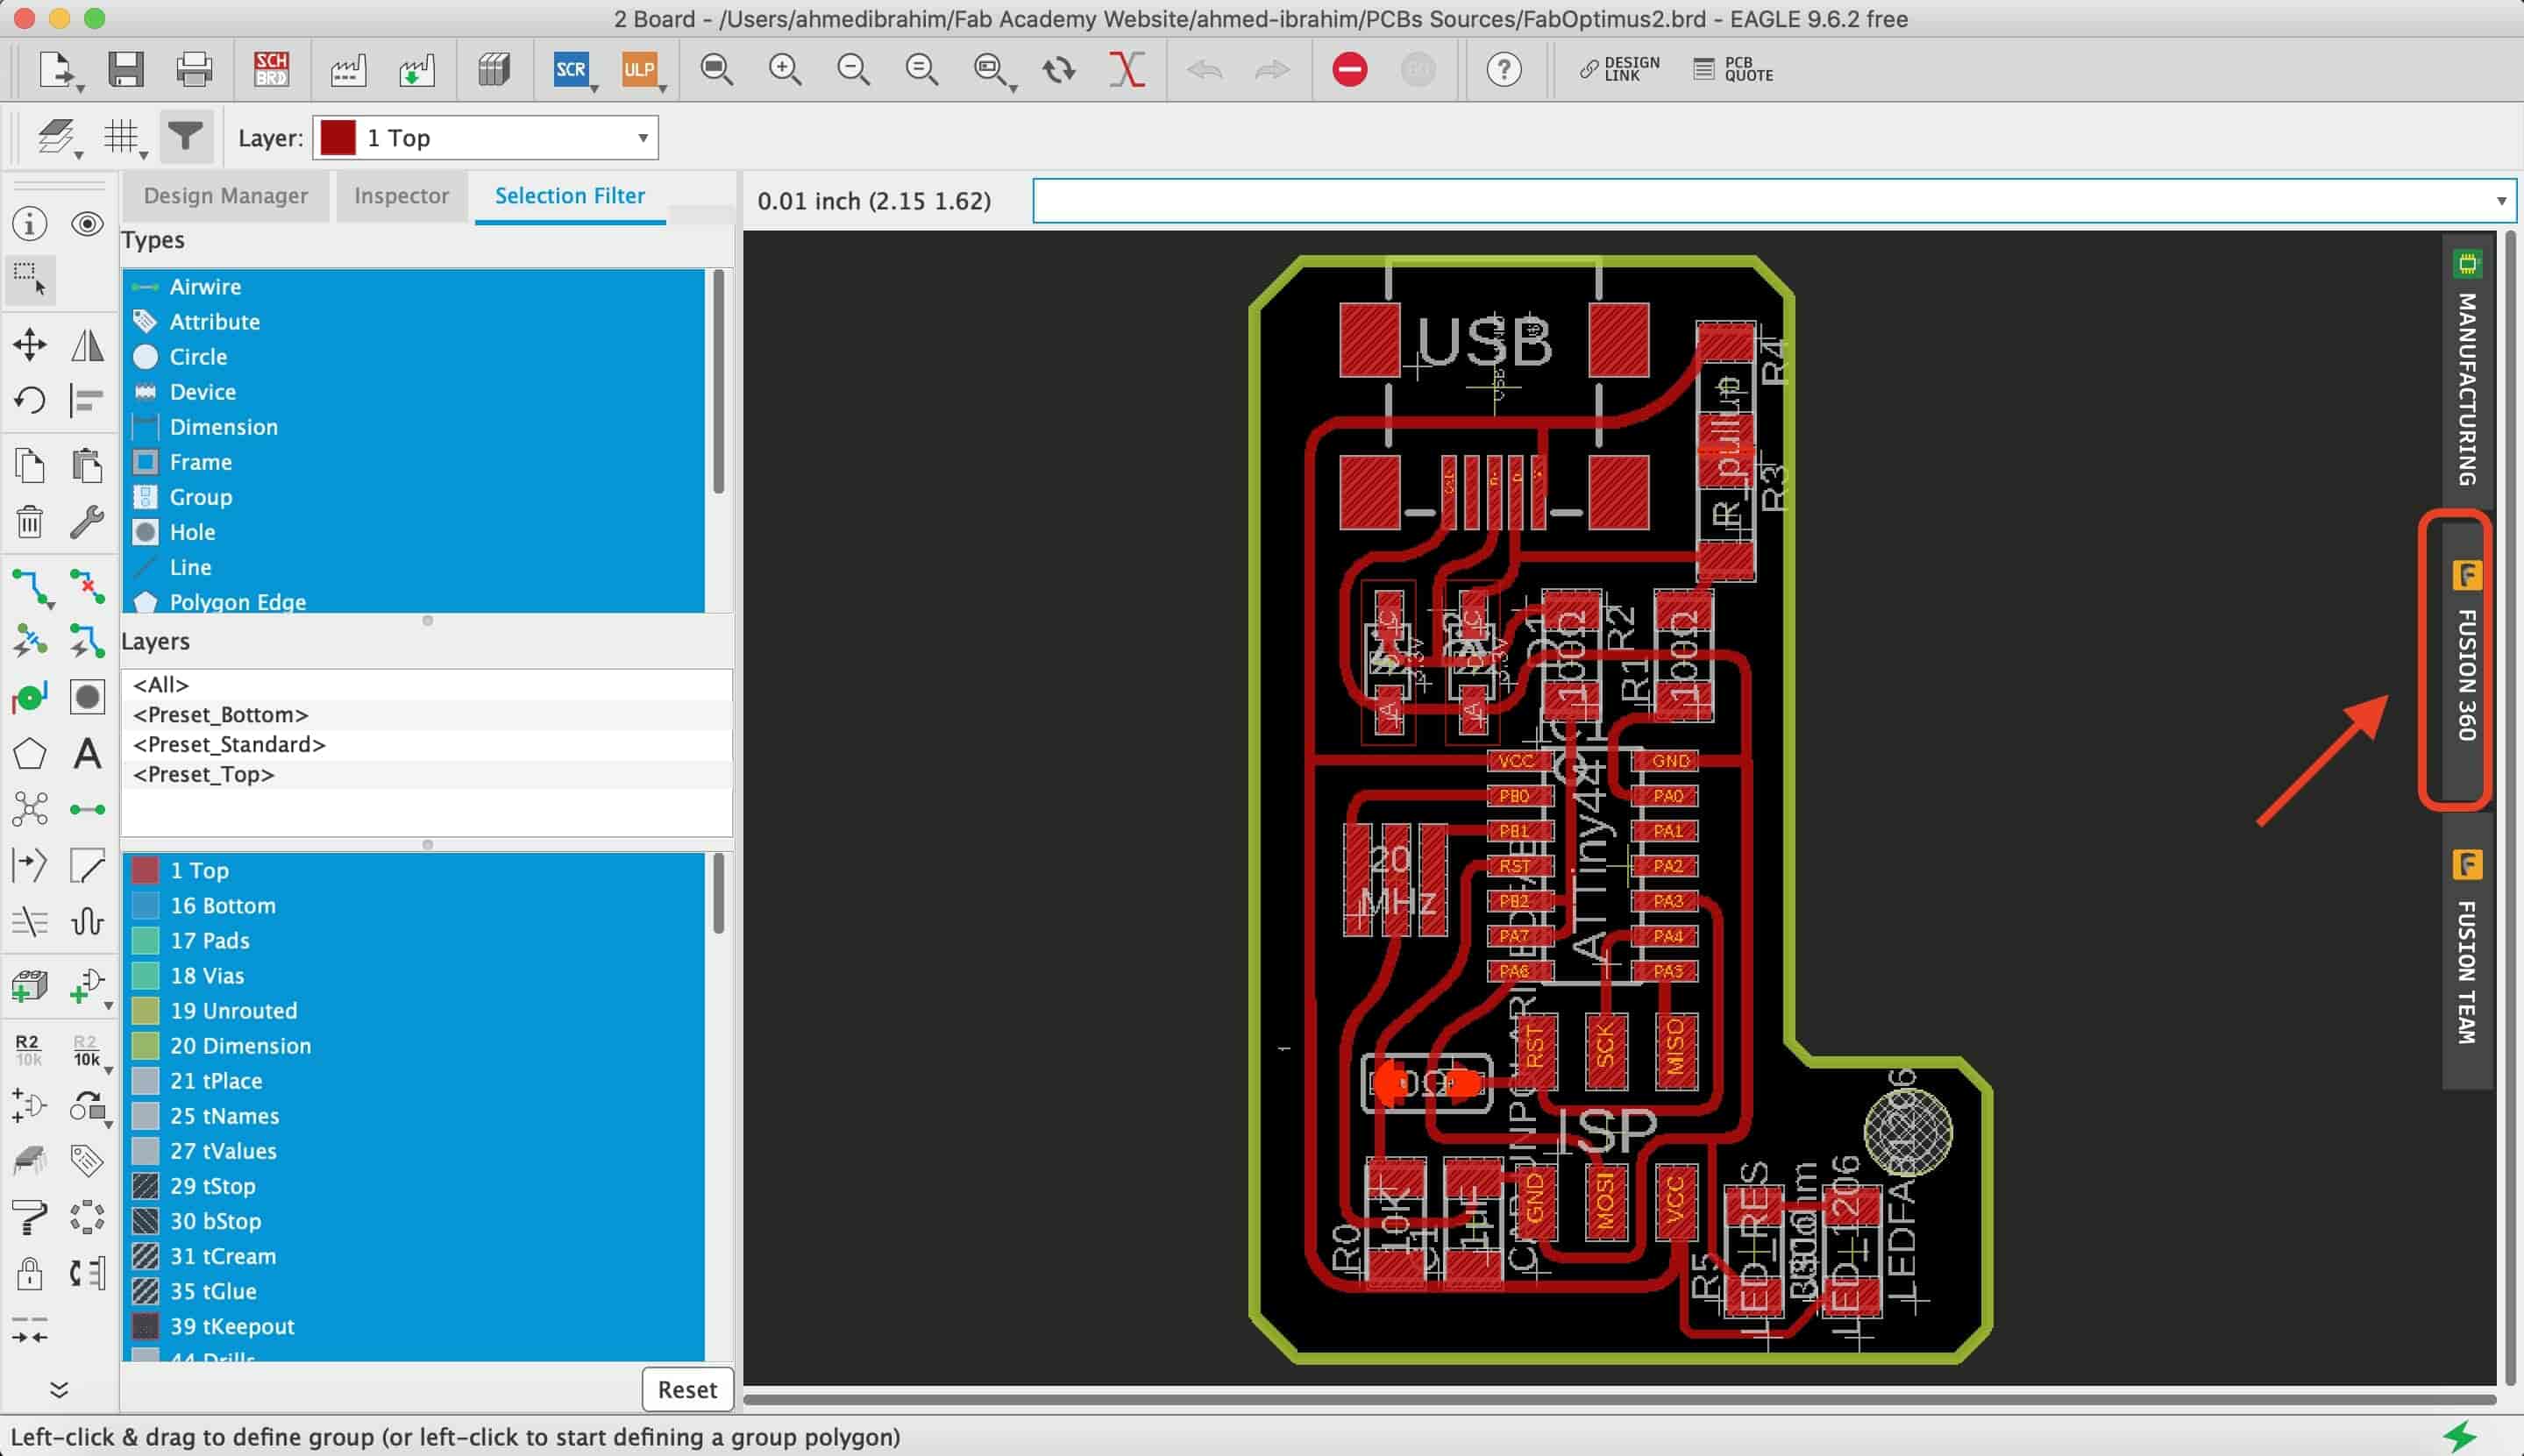
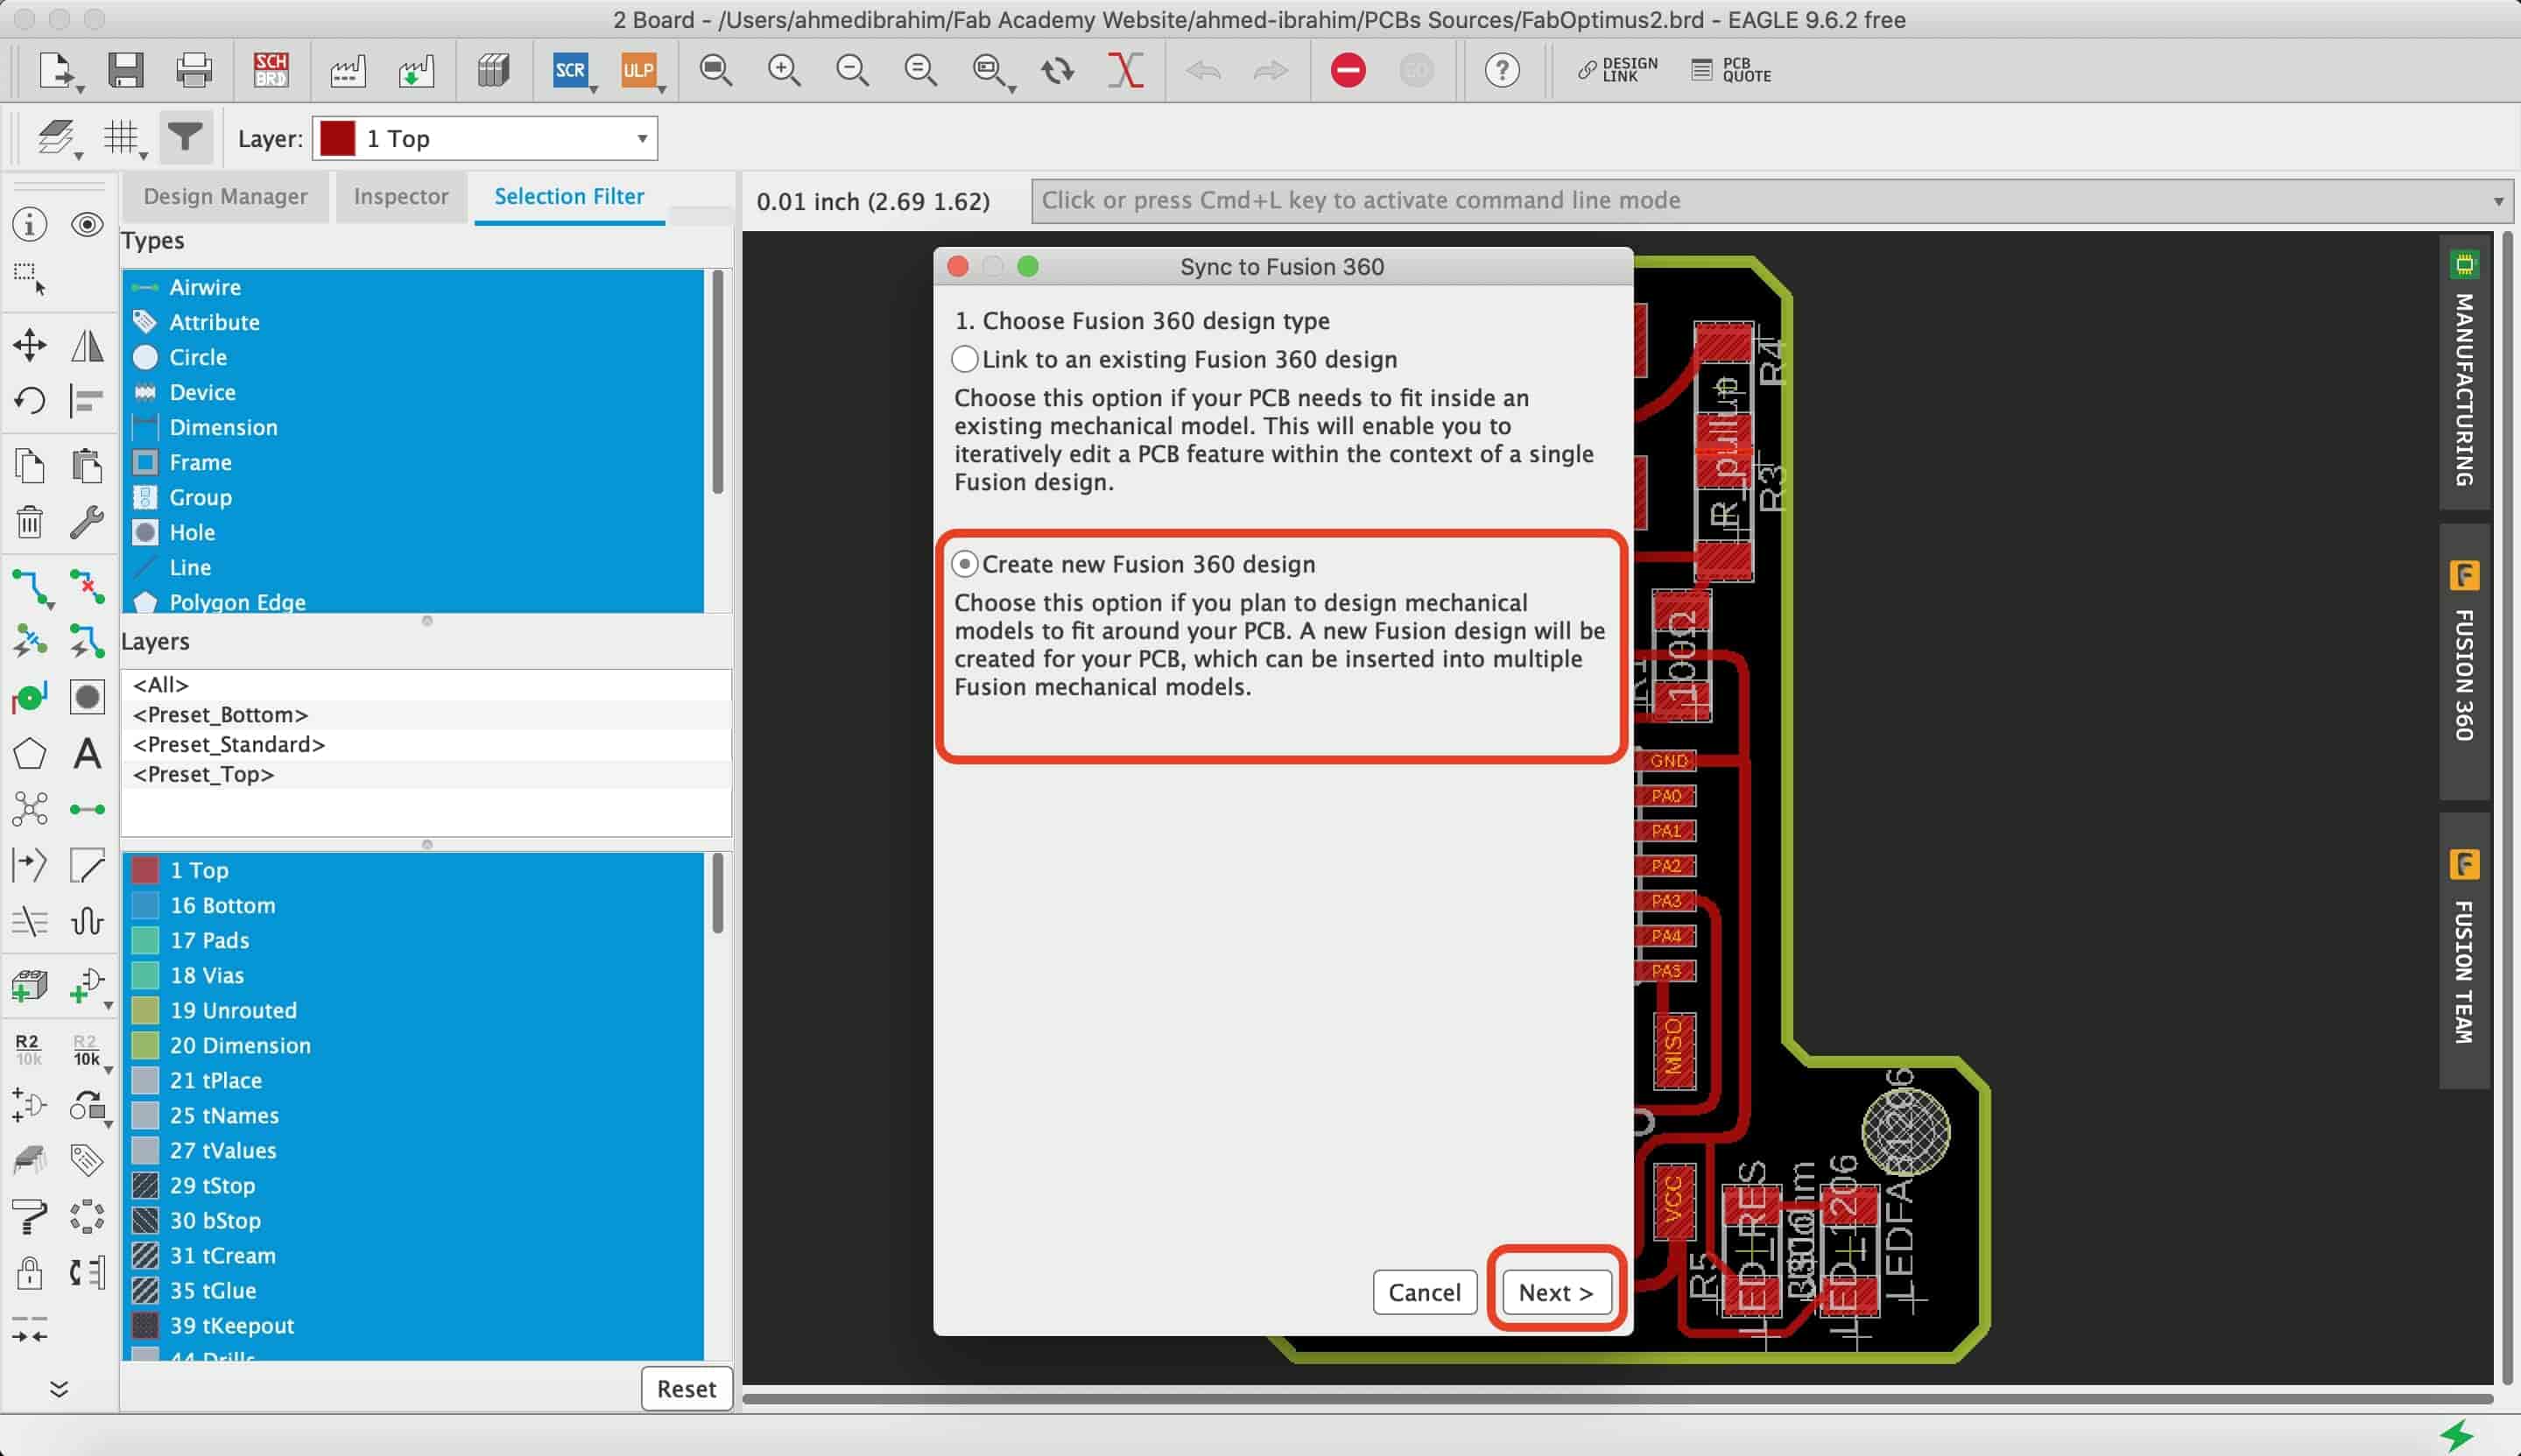
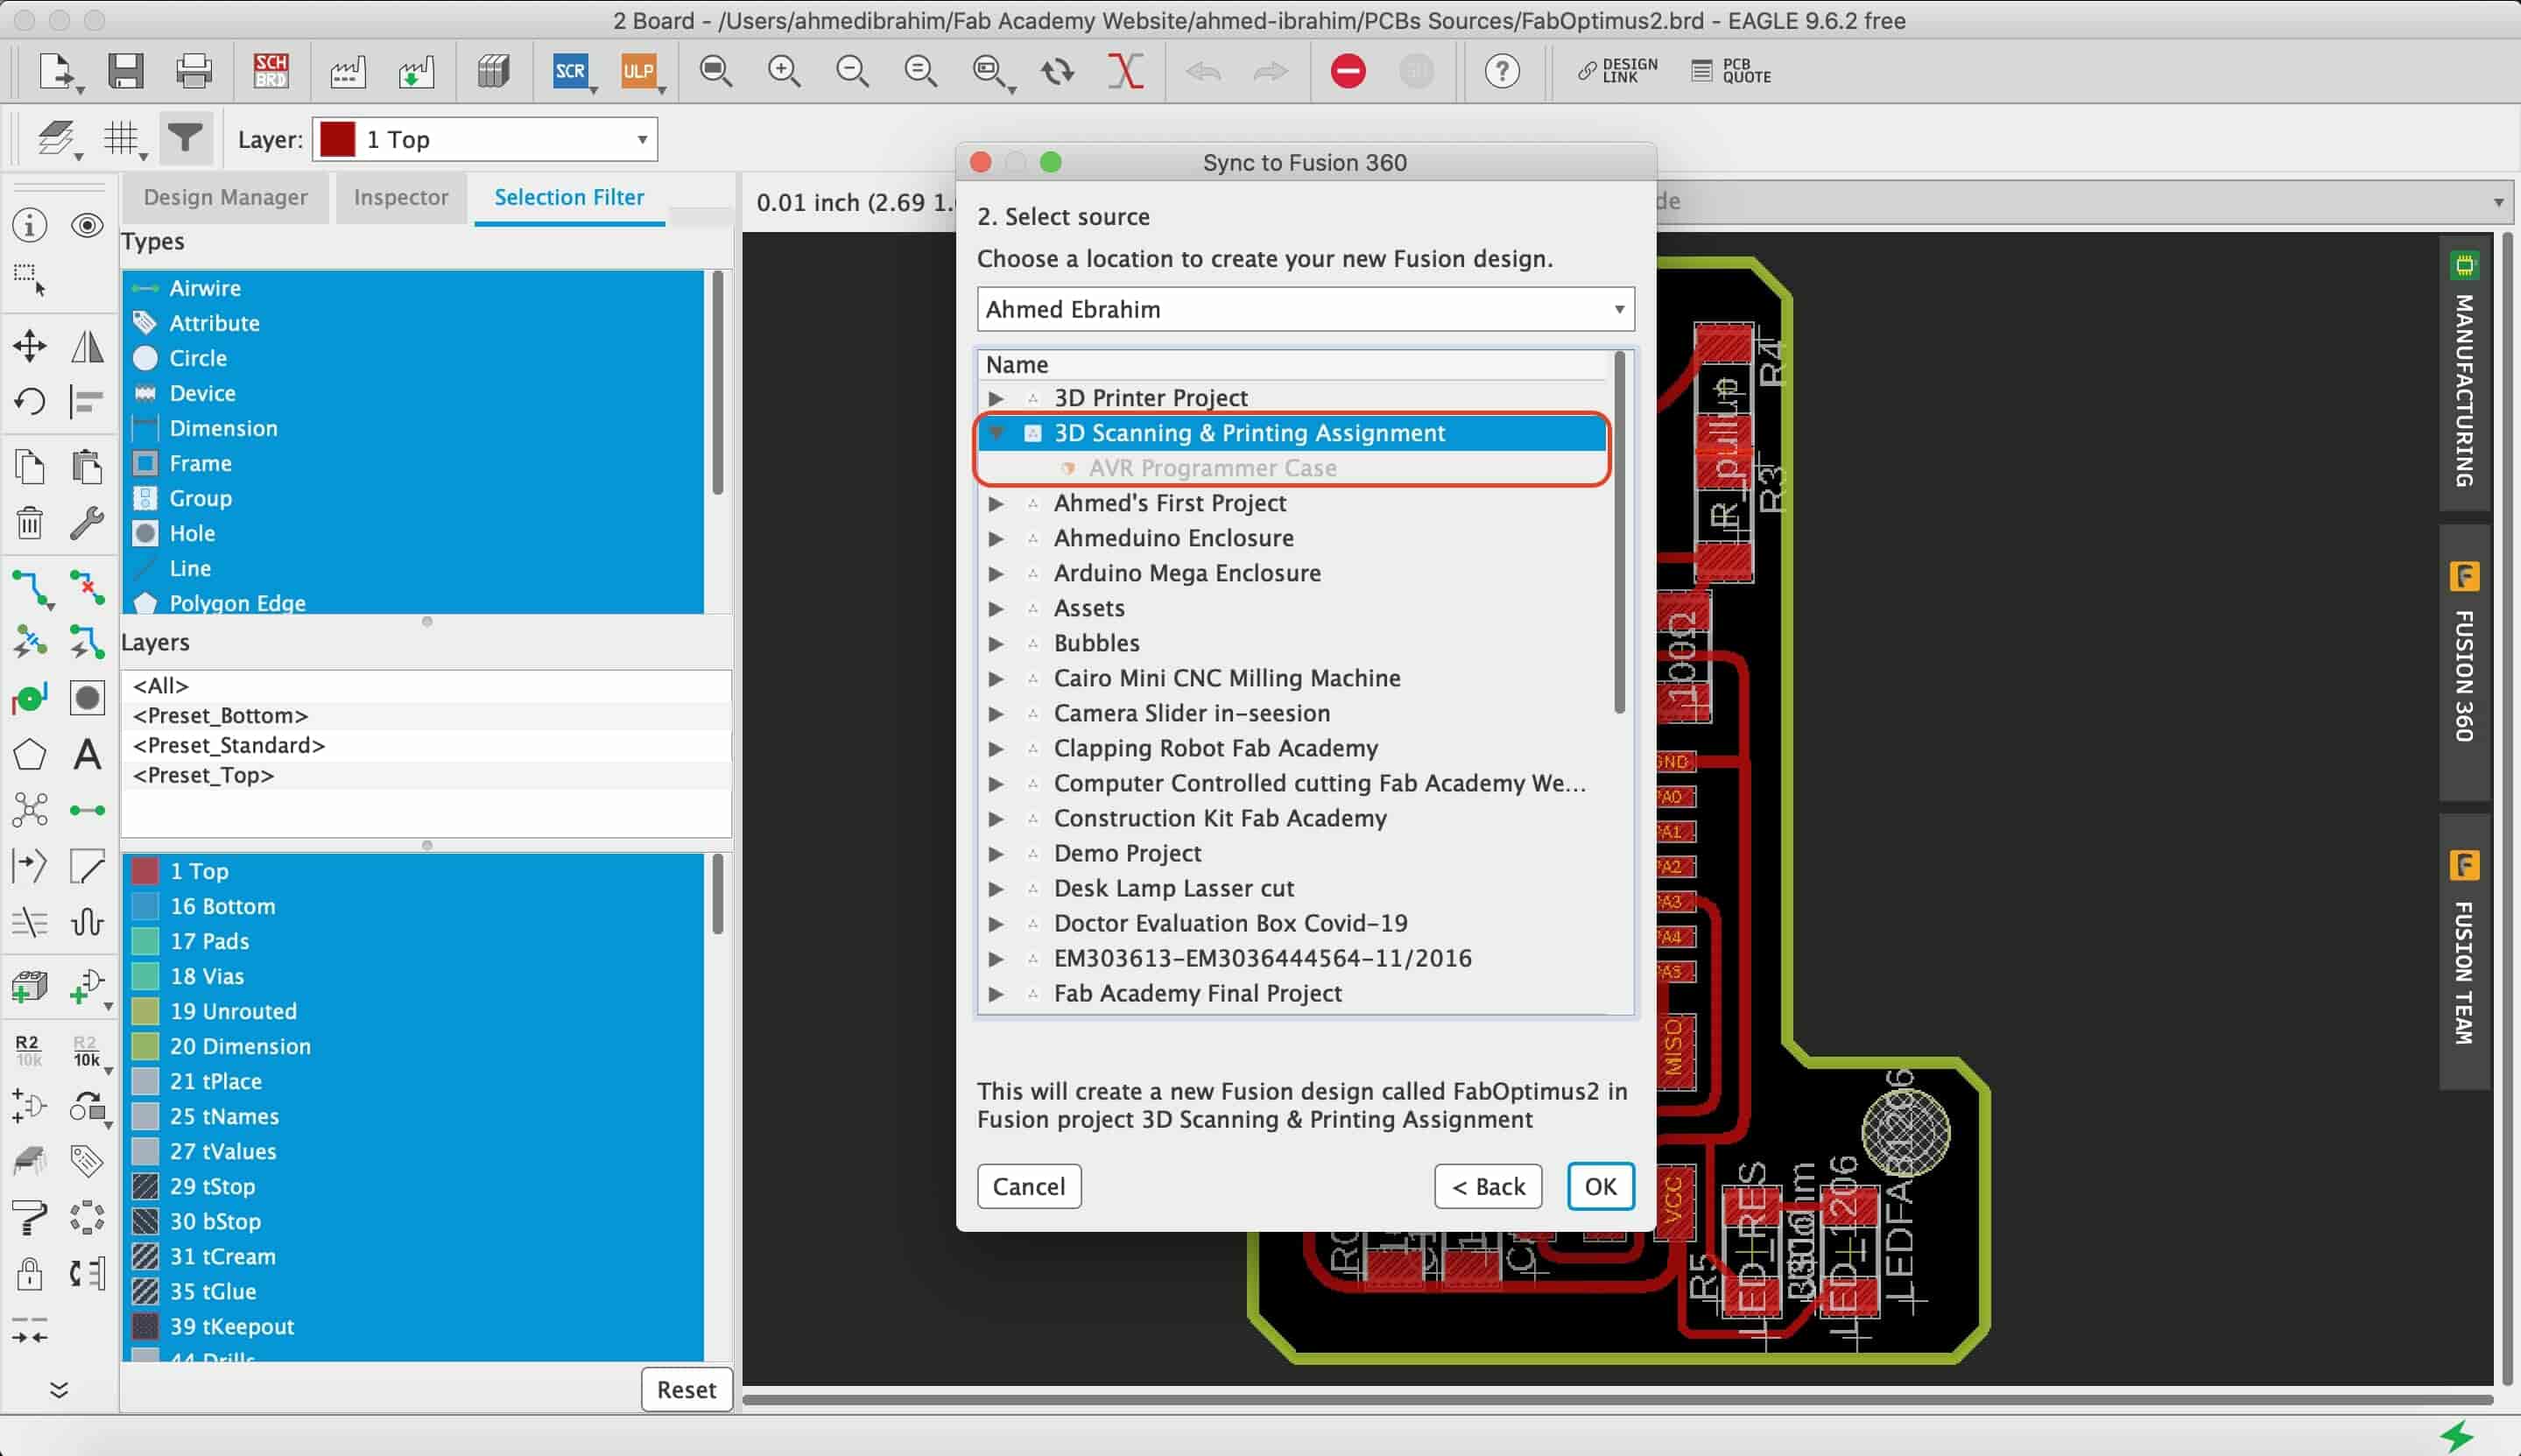
Then, select the project folder that you want to push your PCB to.
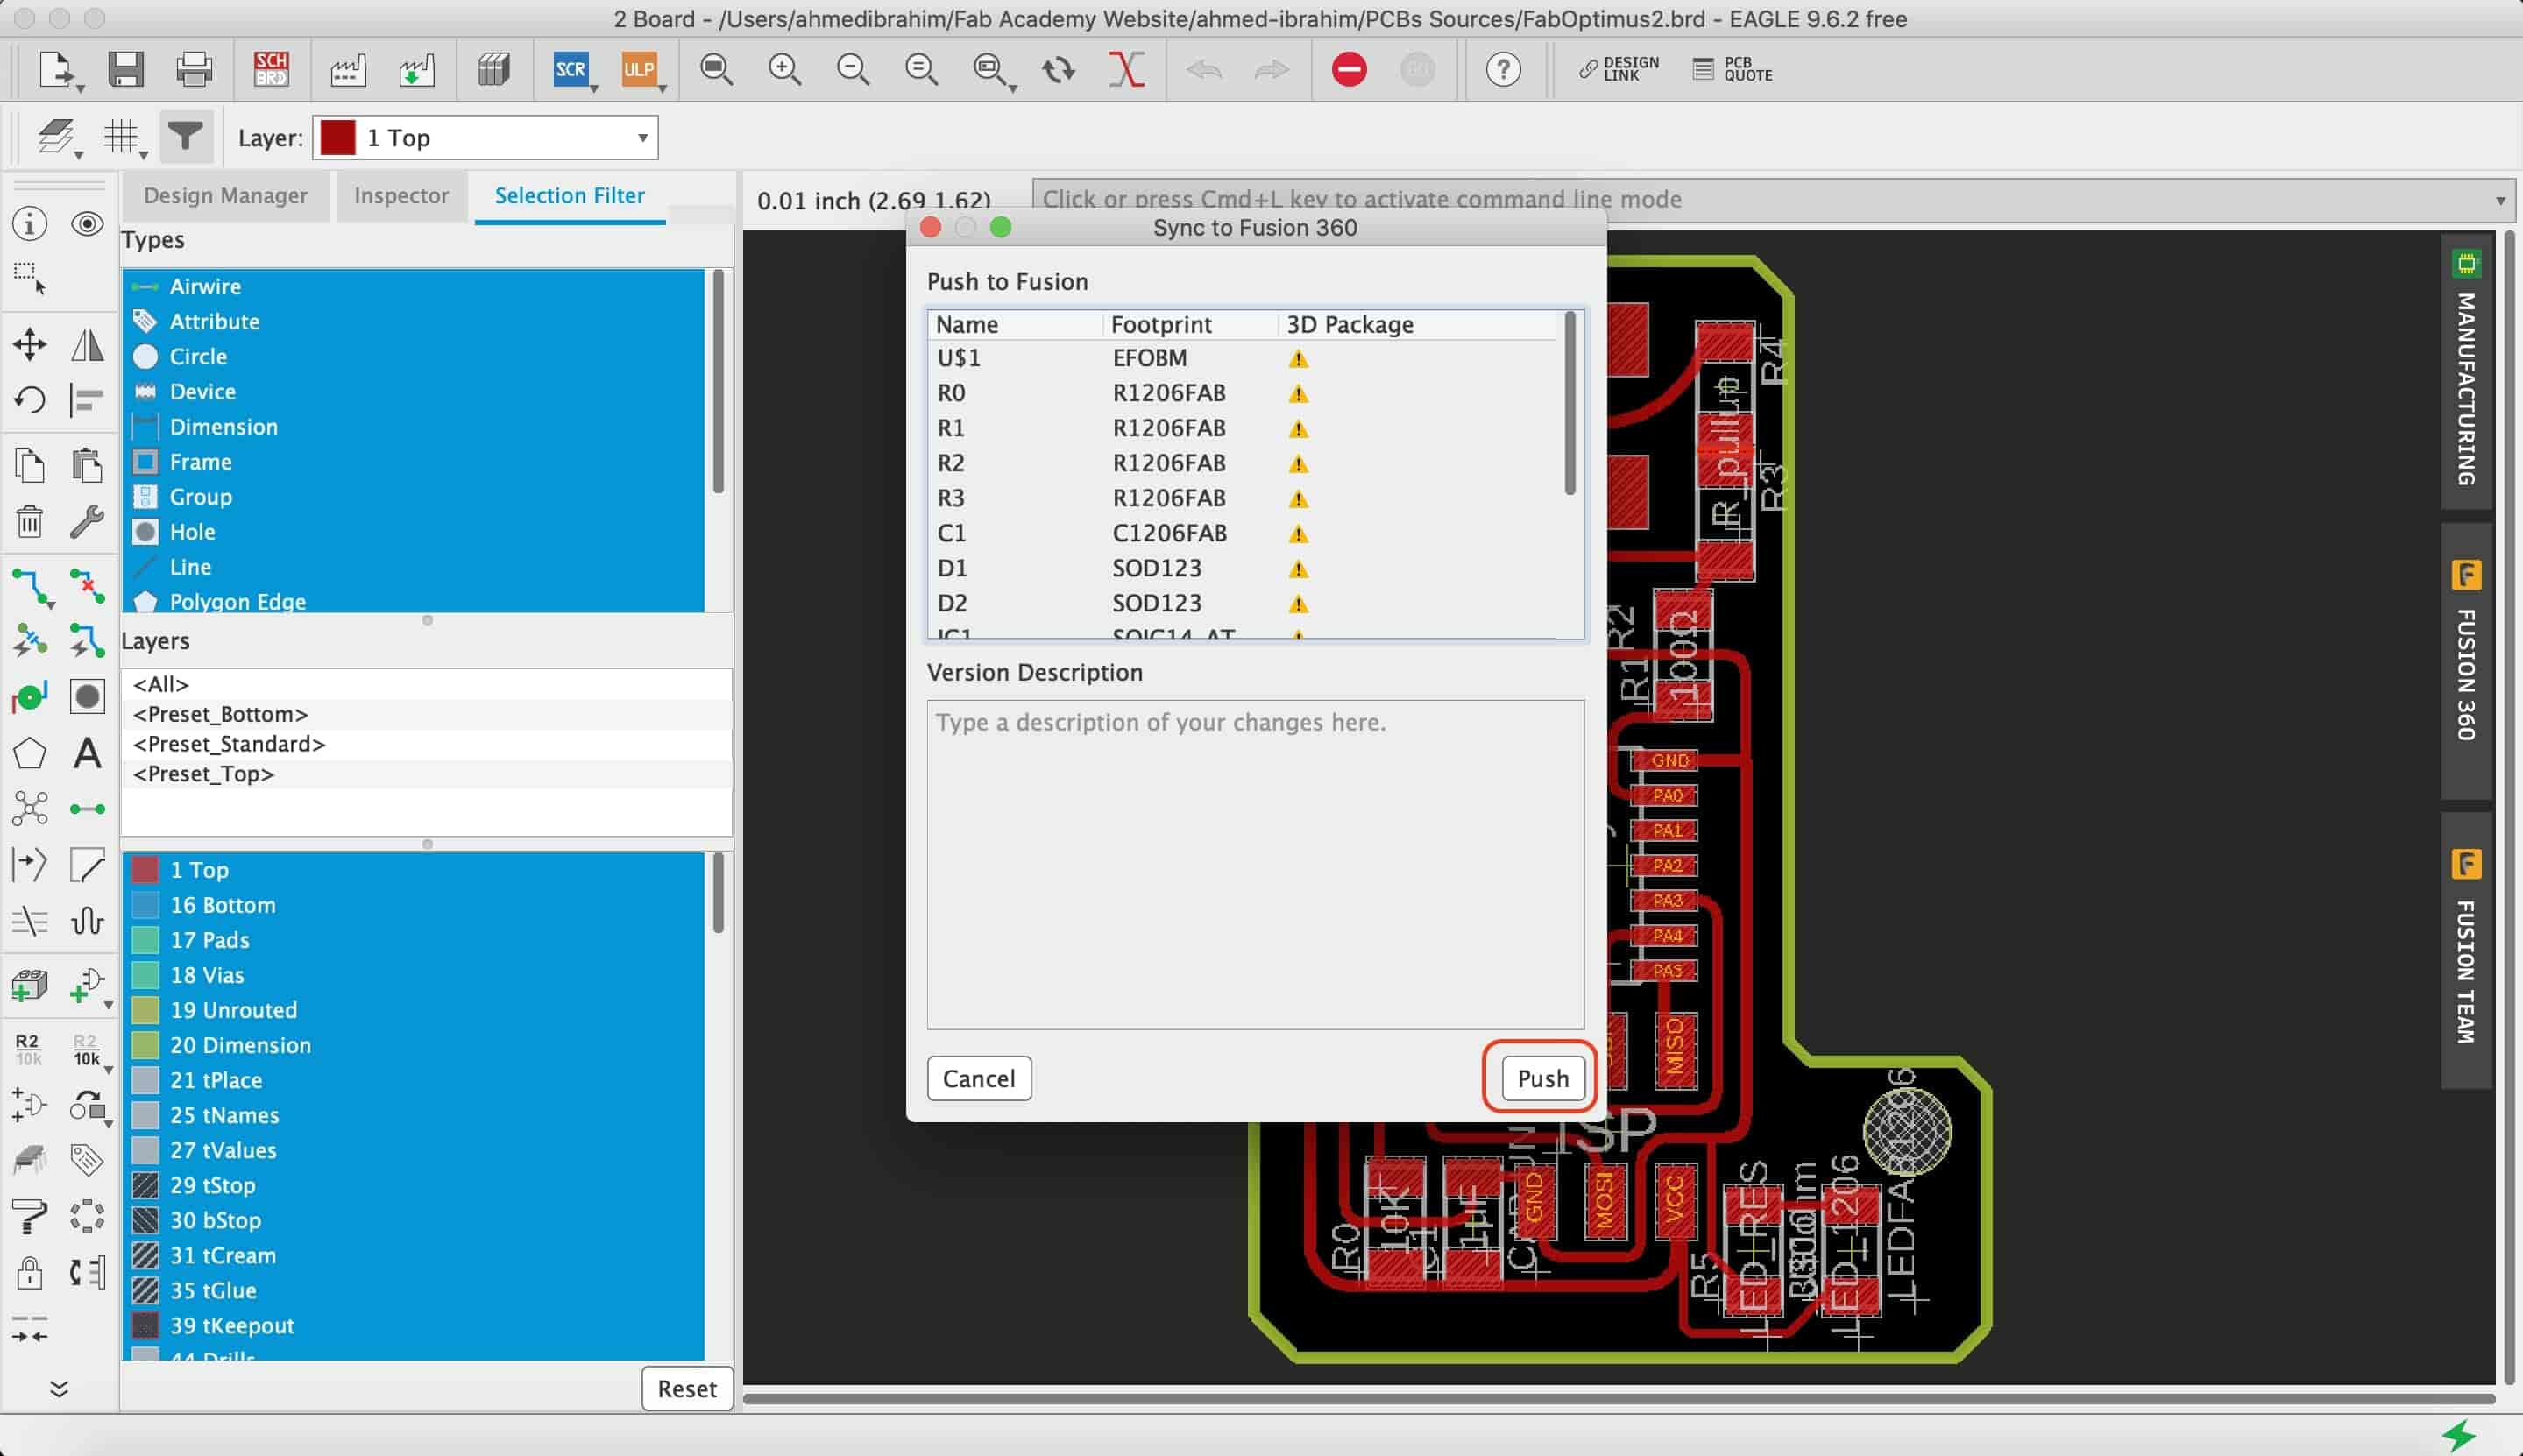
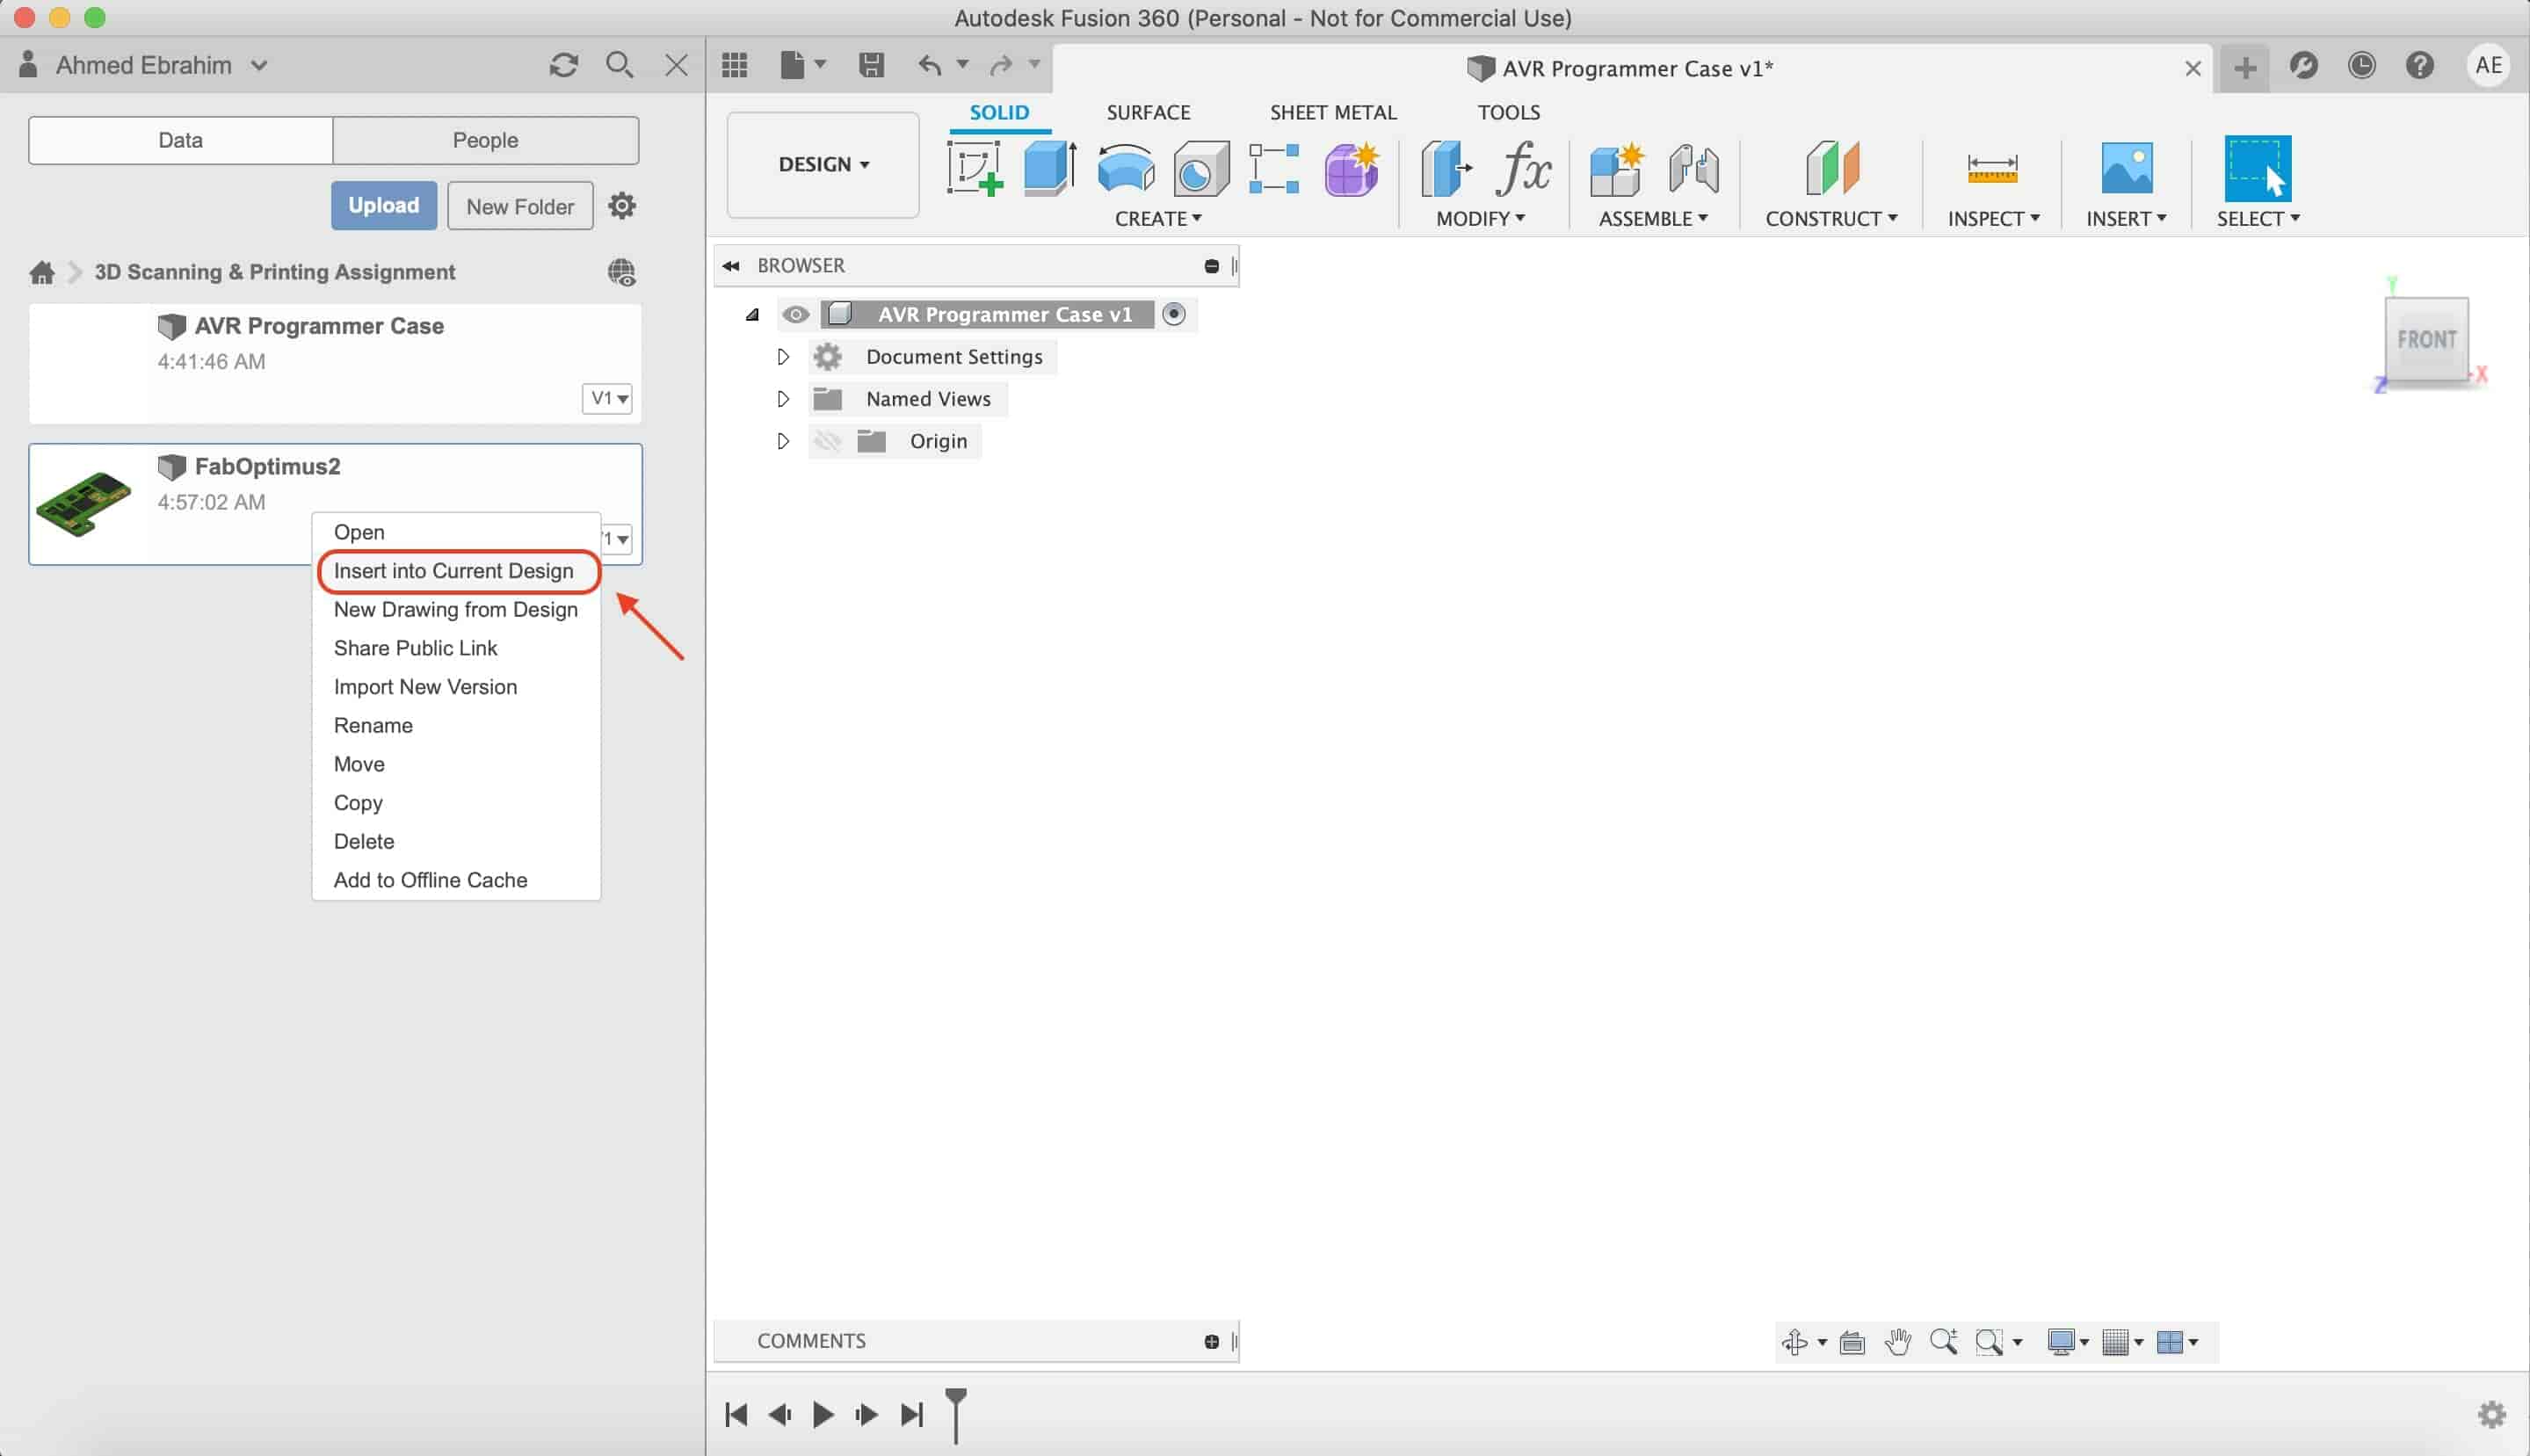
Return back to Fusion360 and press on the referech button. Right click on the PCB file and select insert into current design.
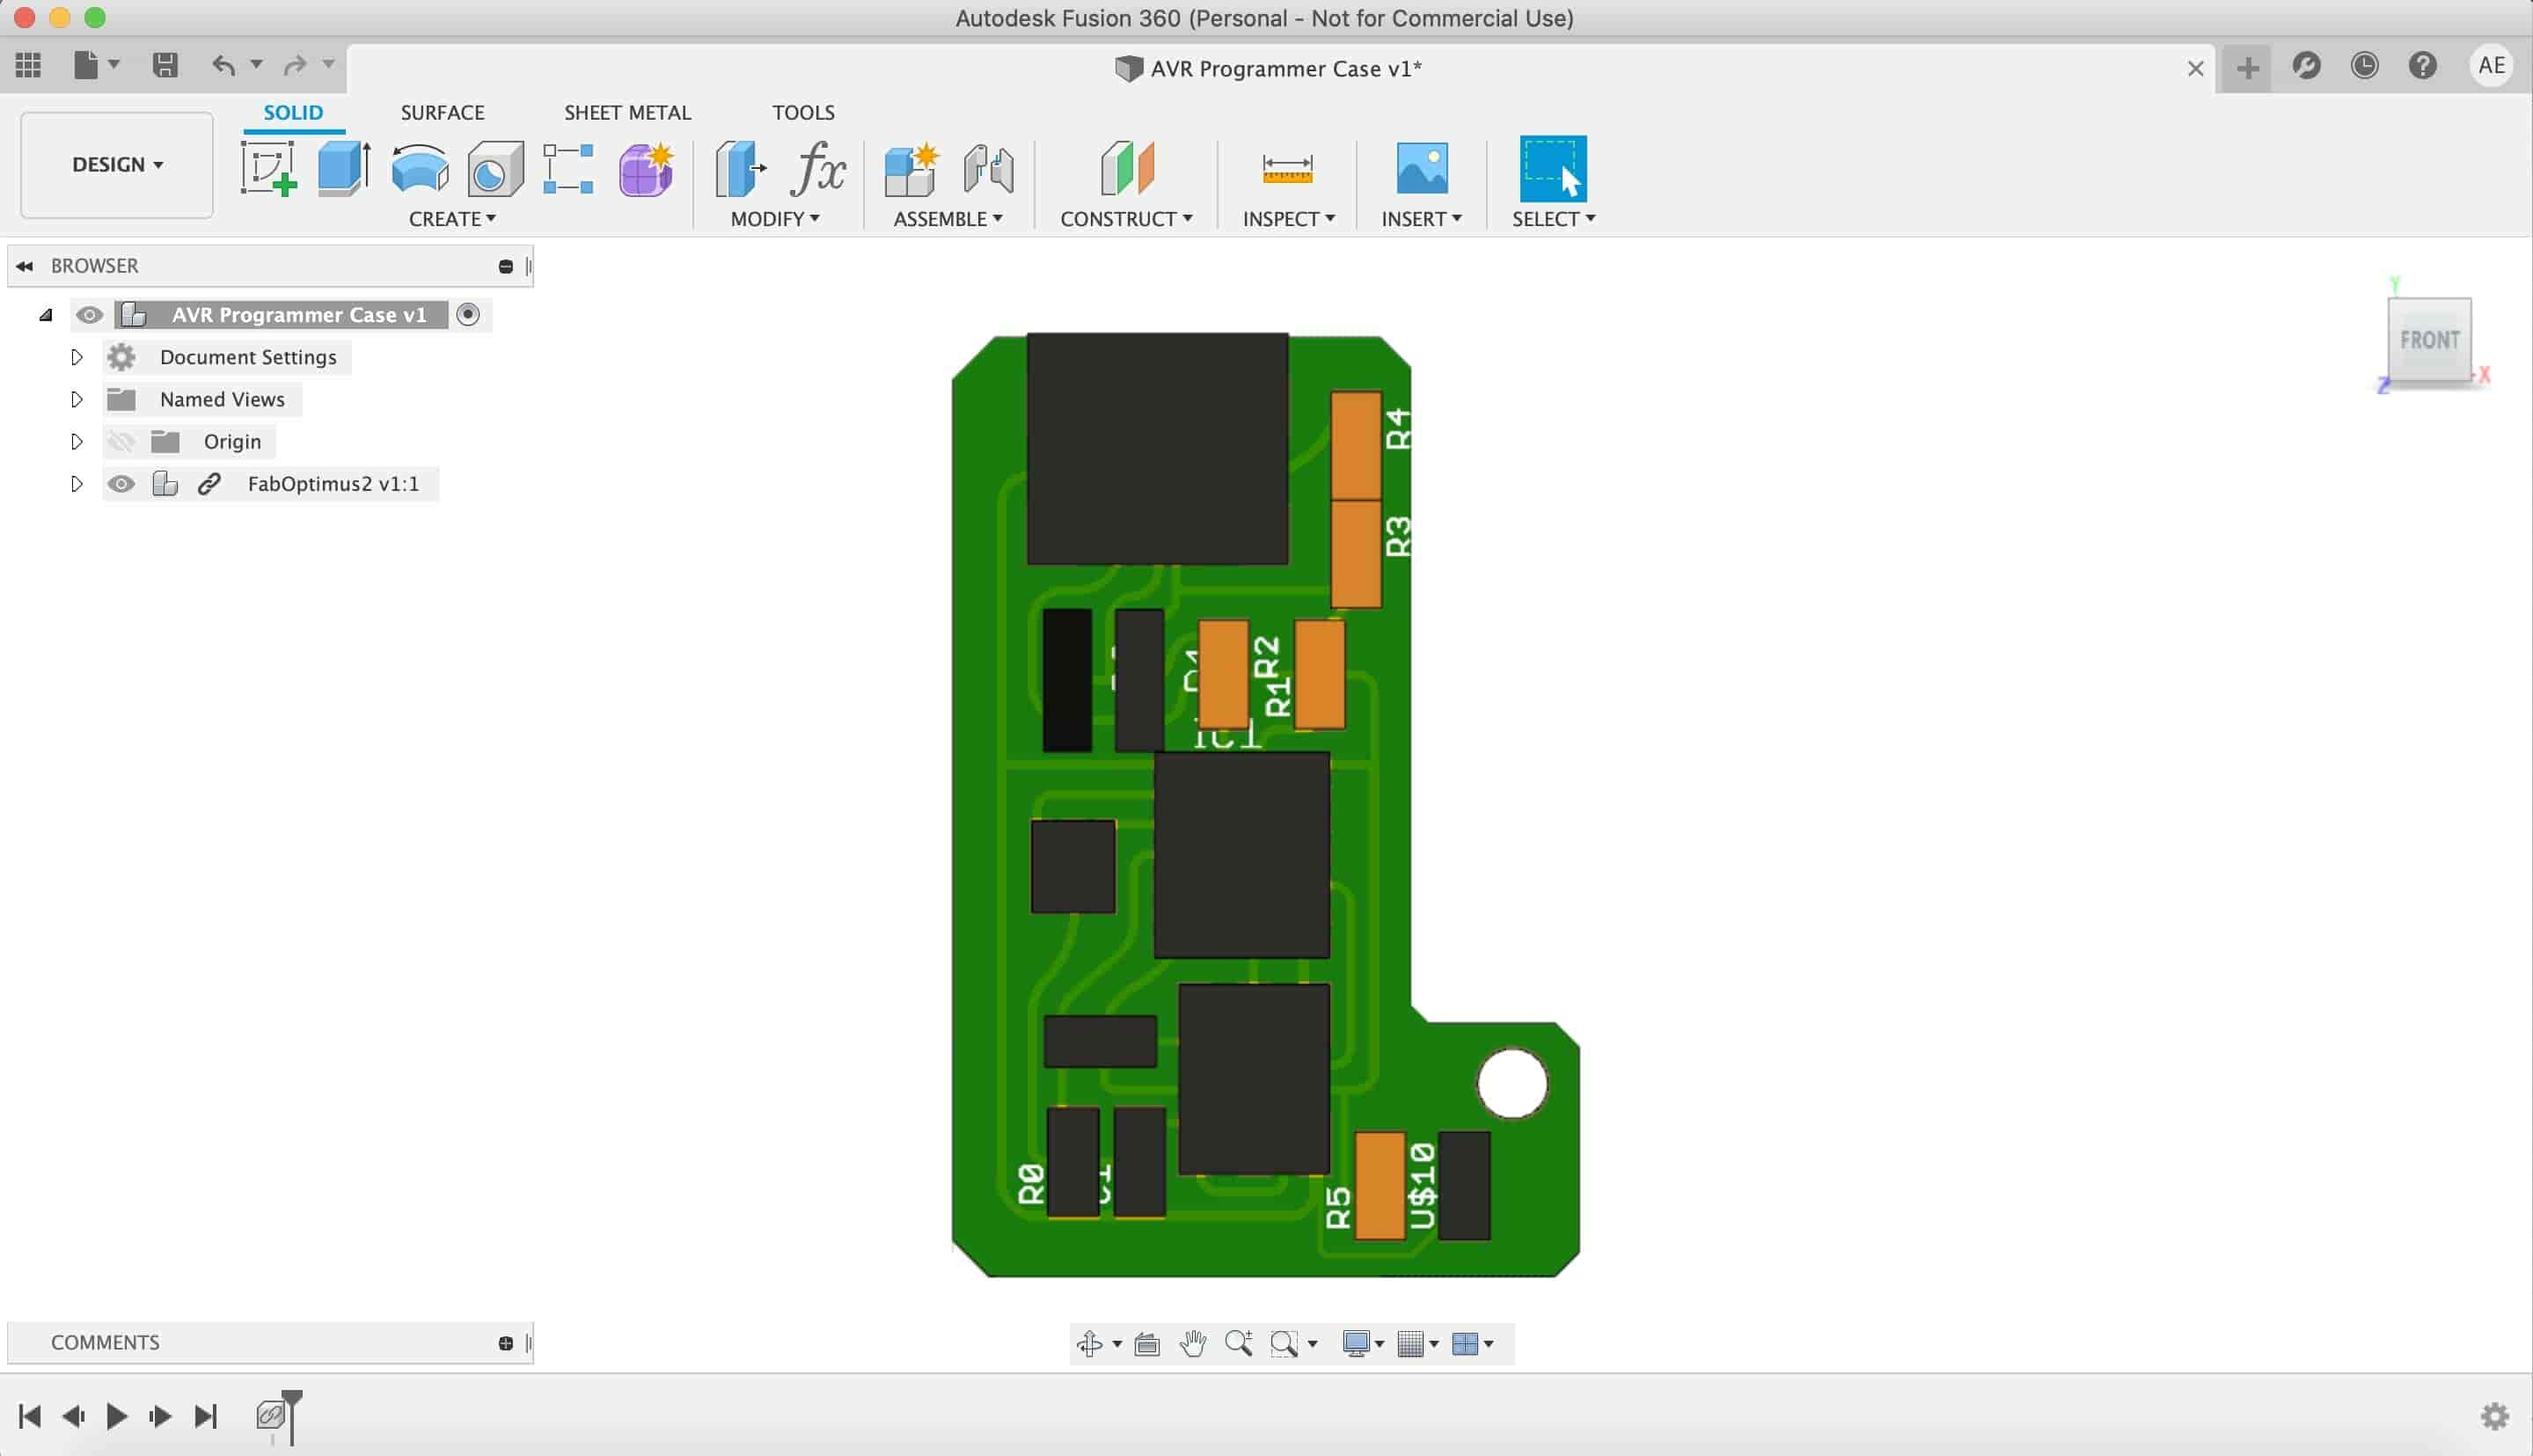
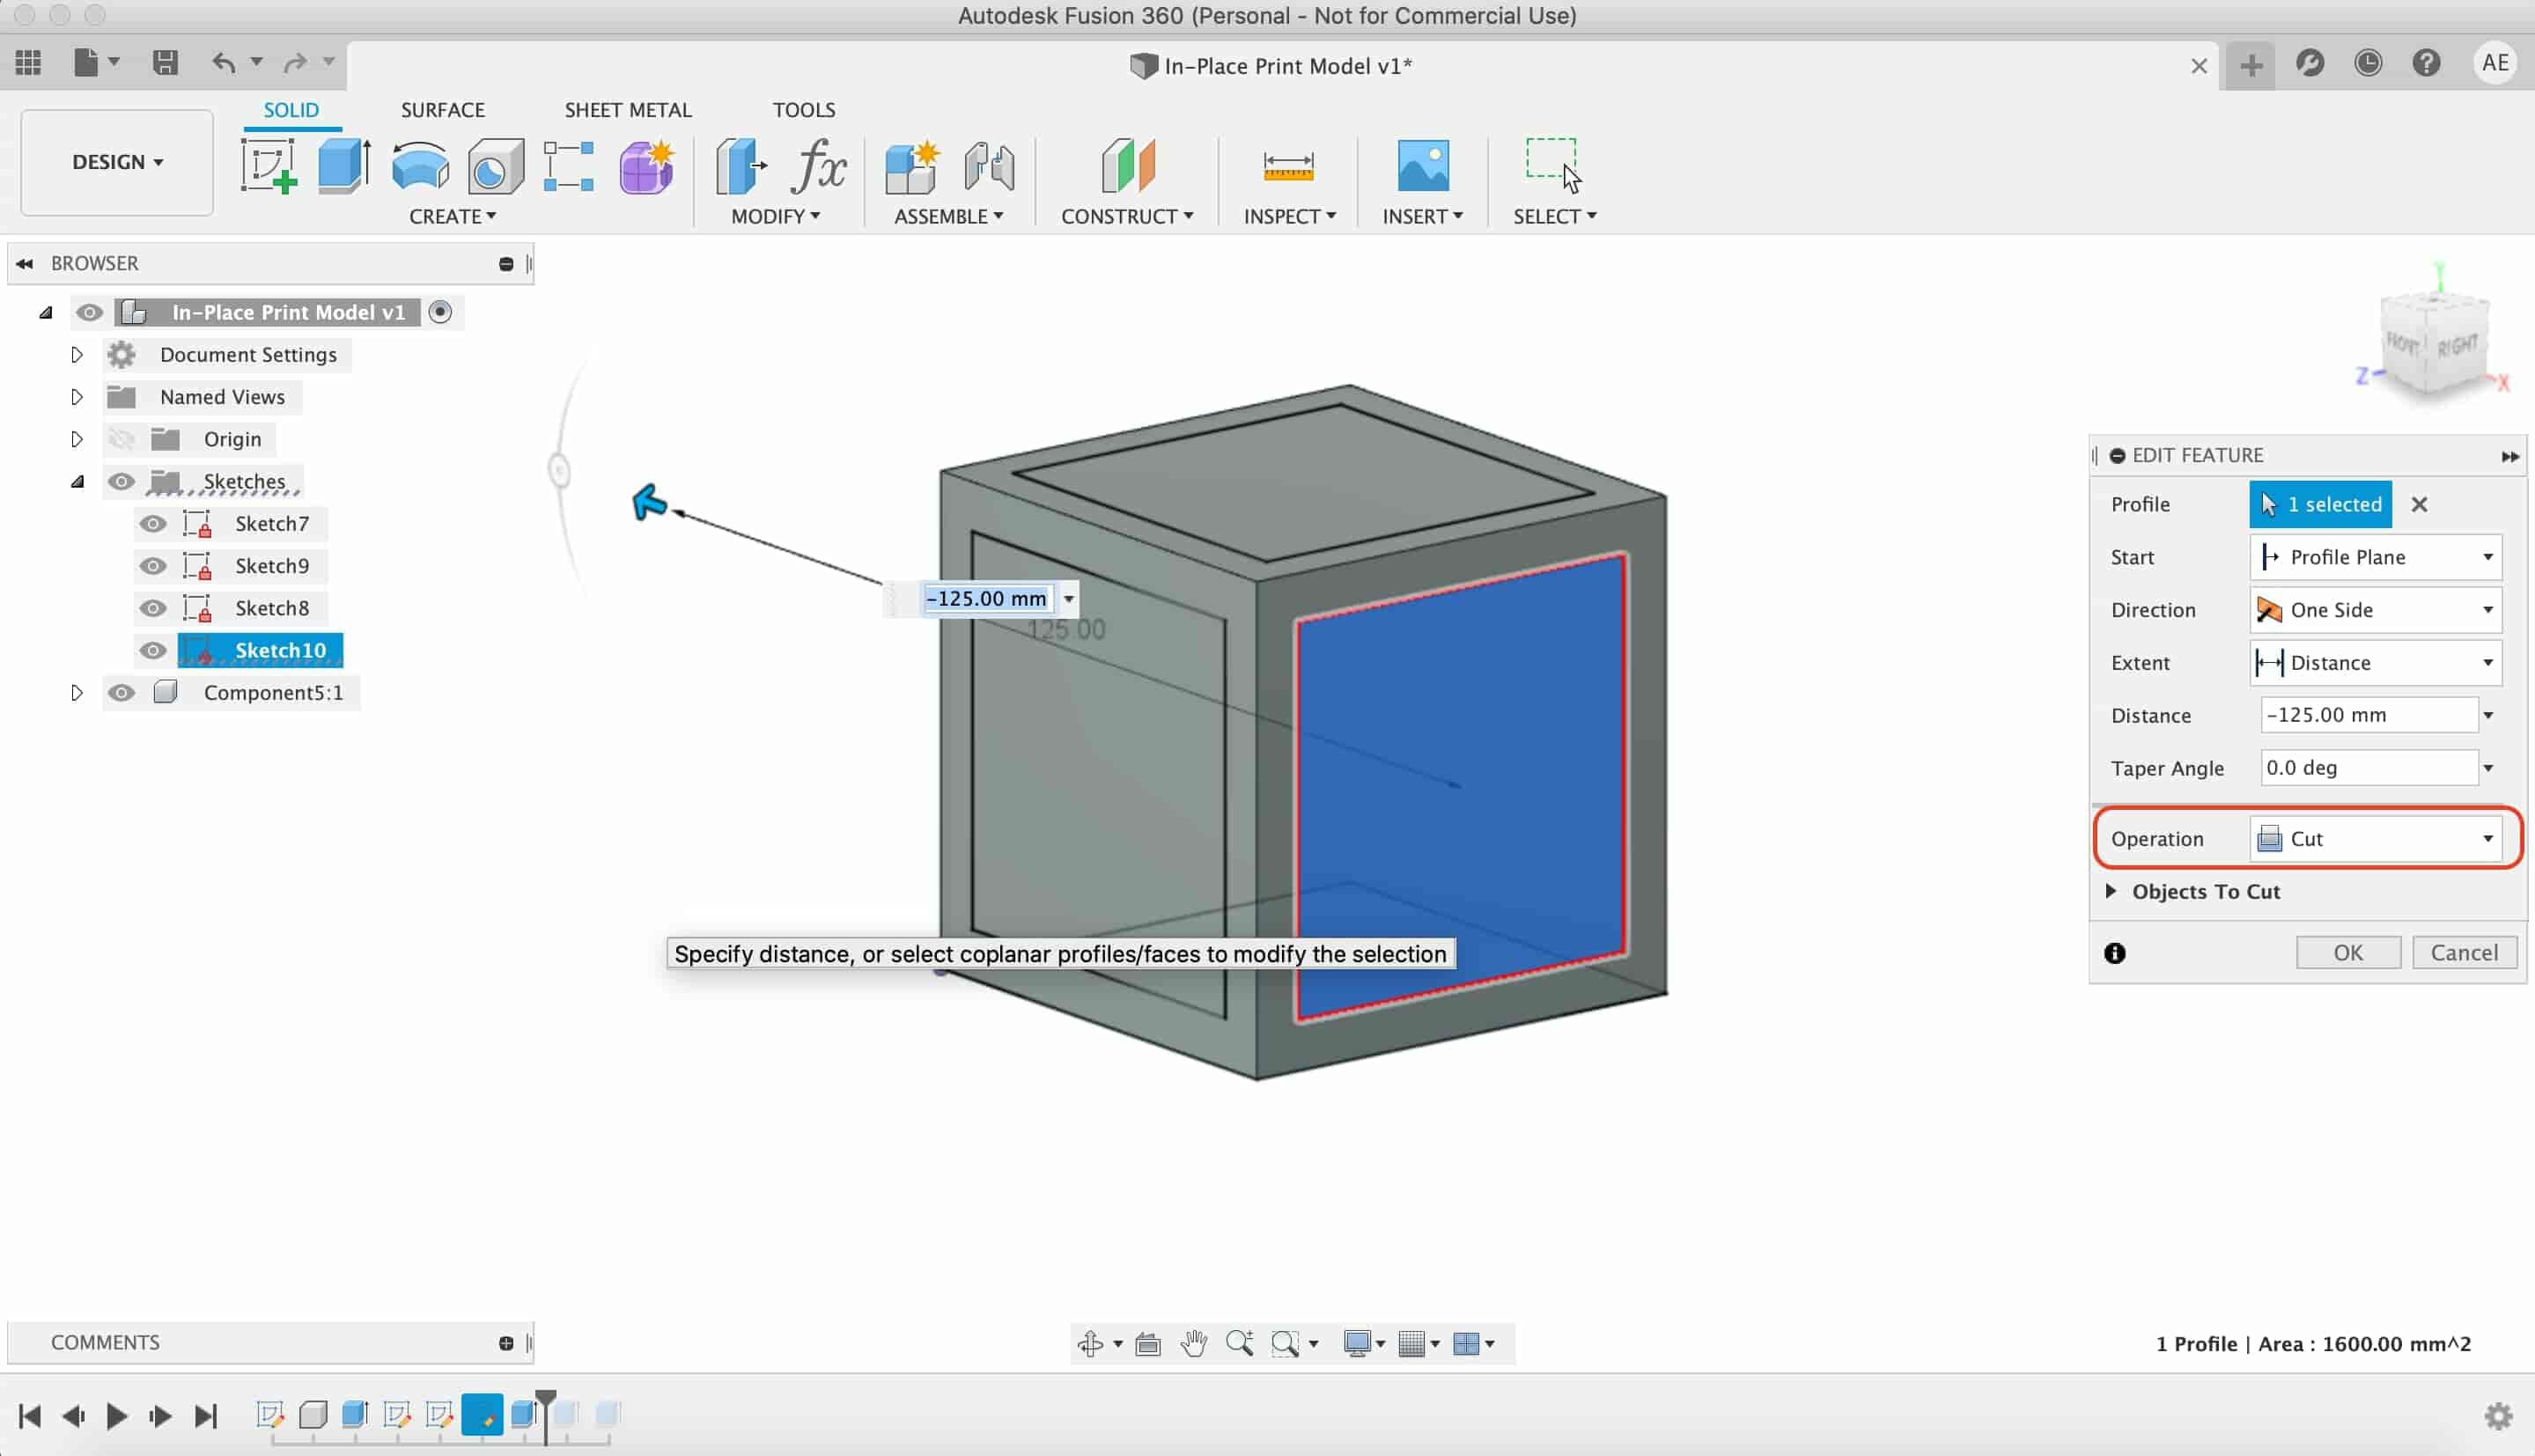
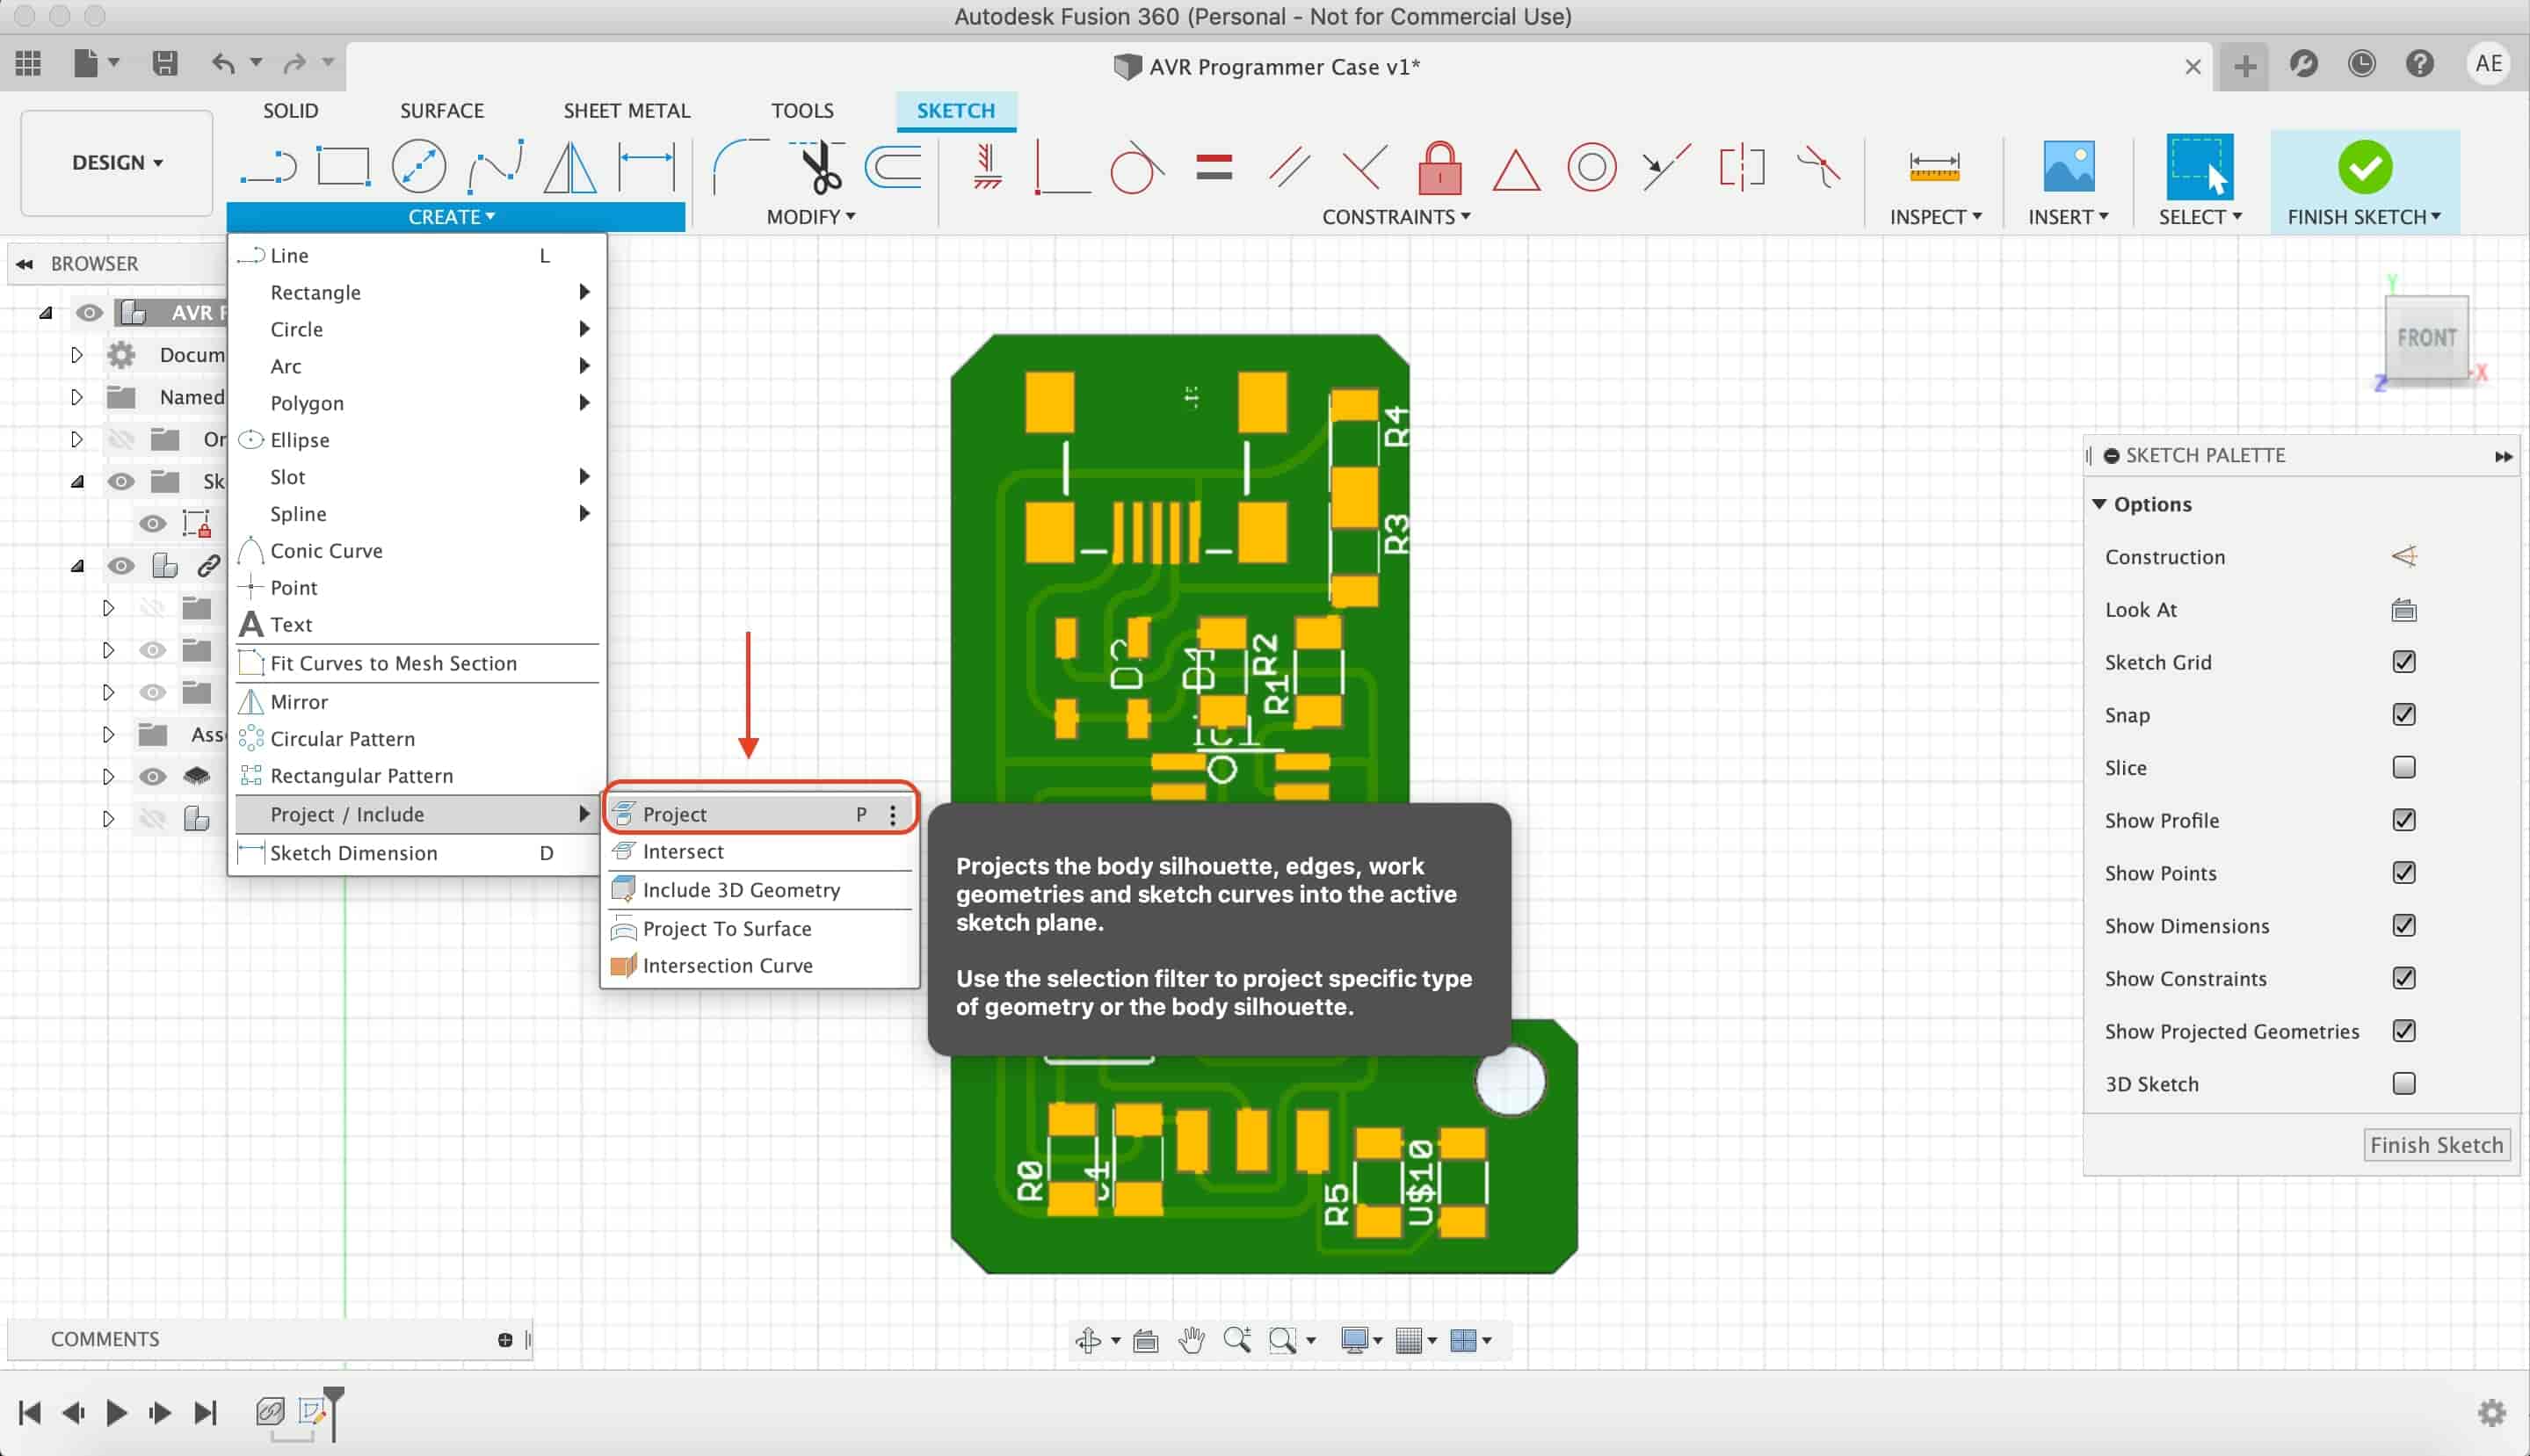
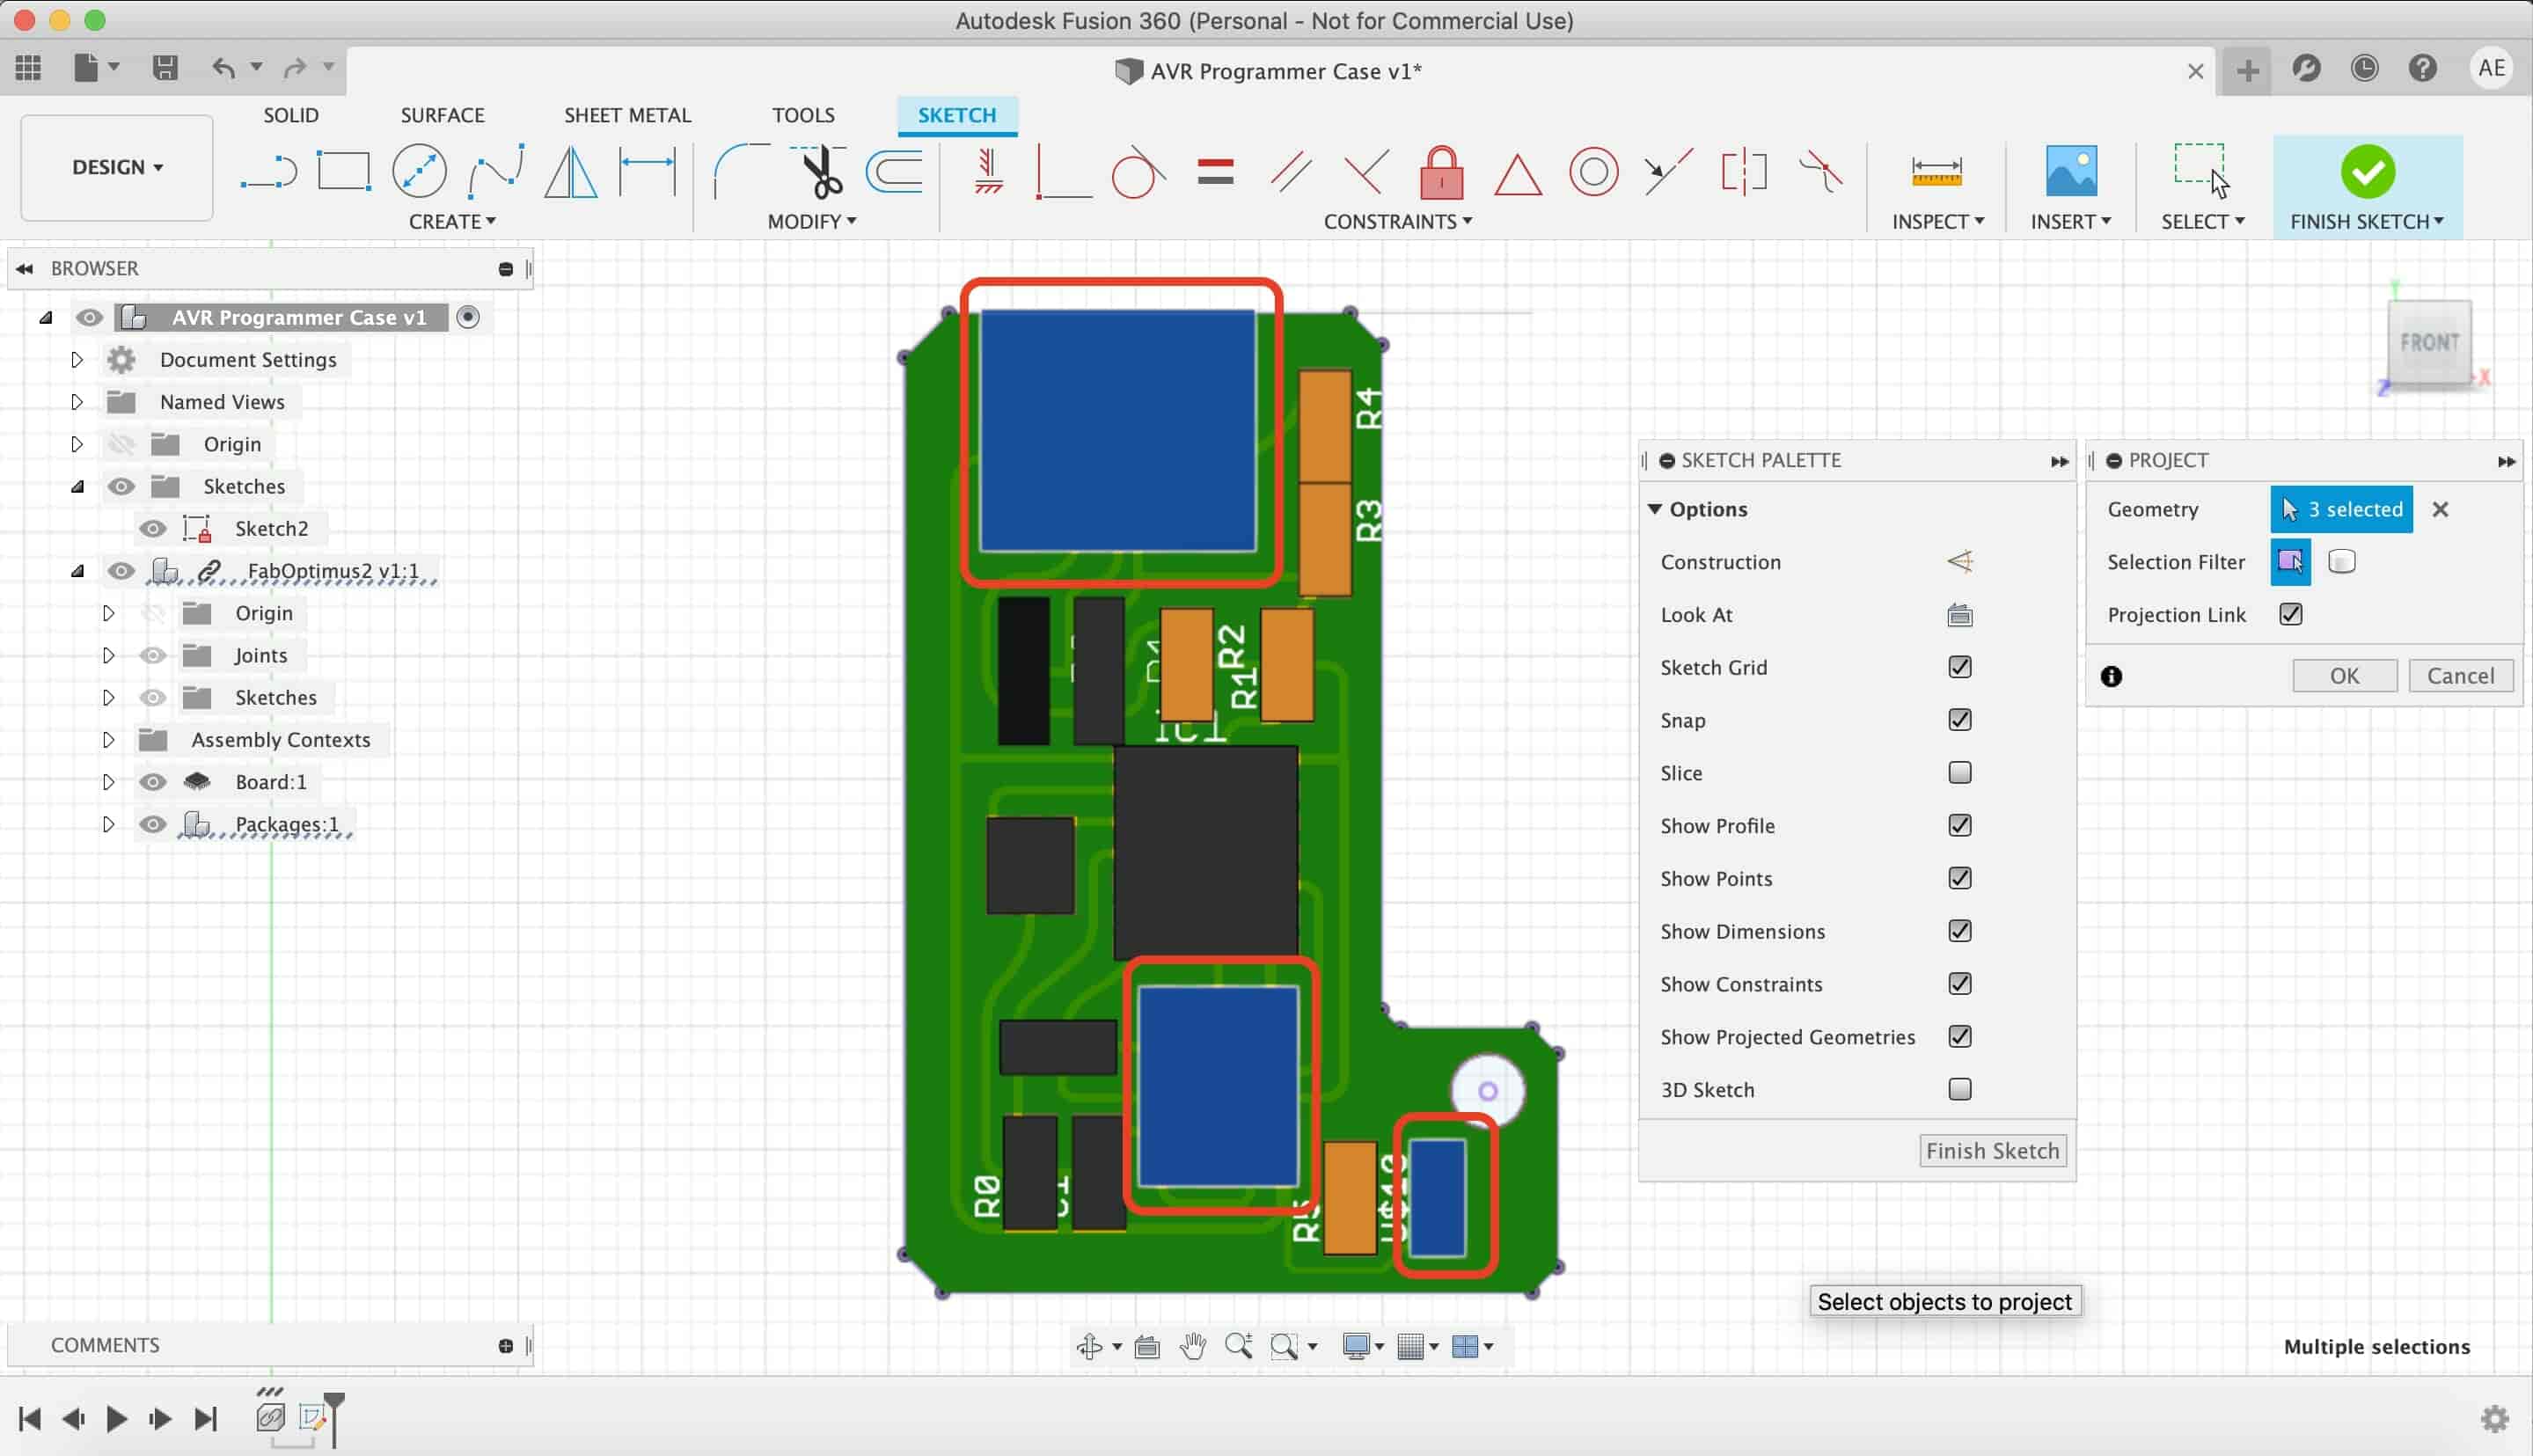
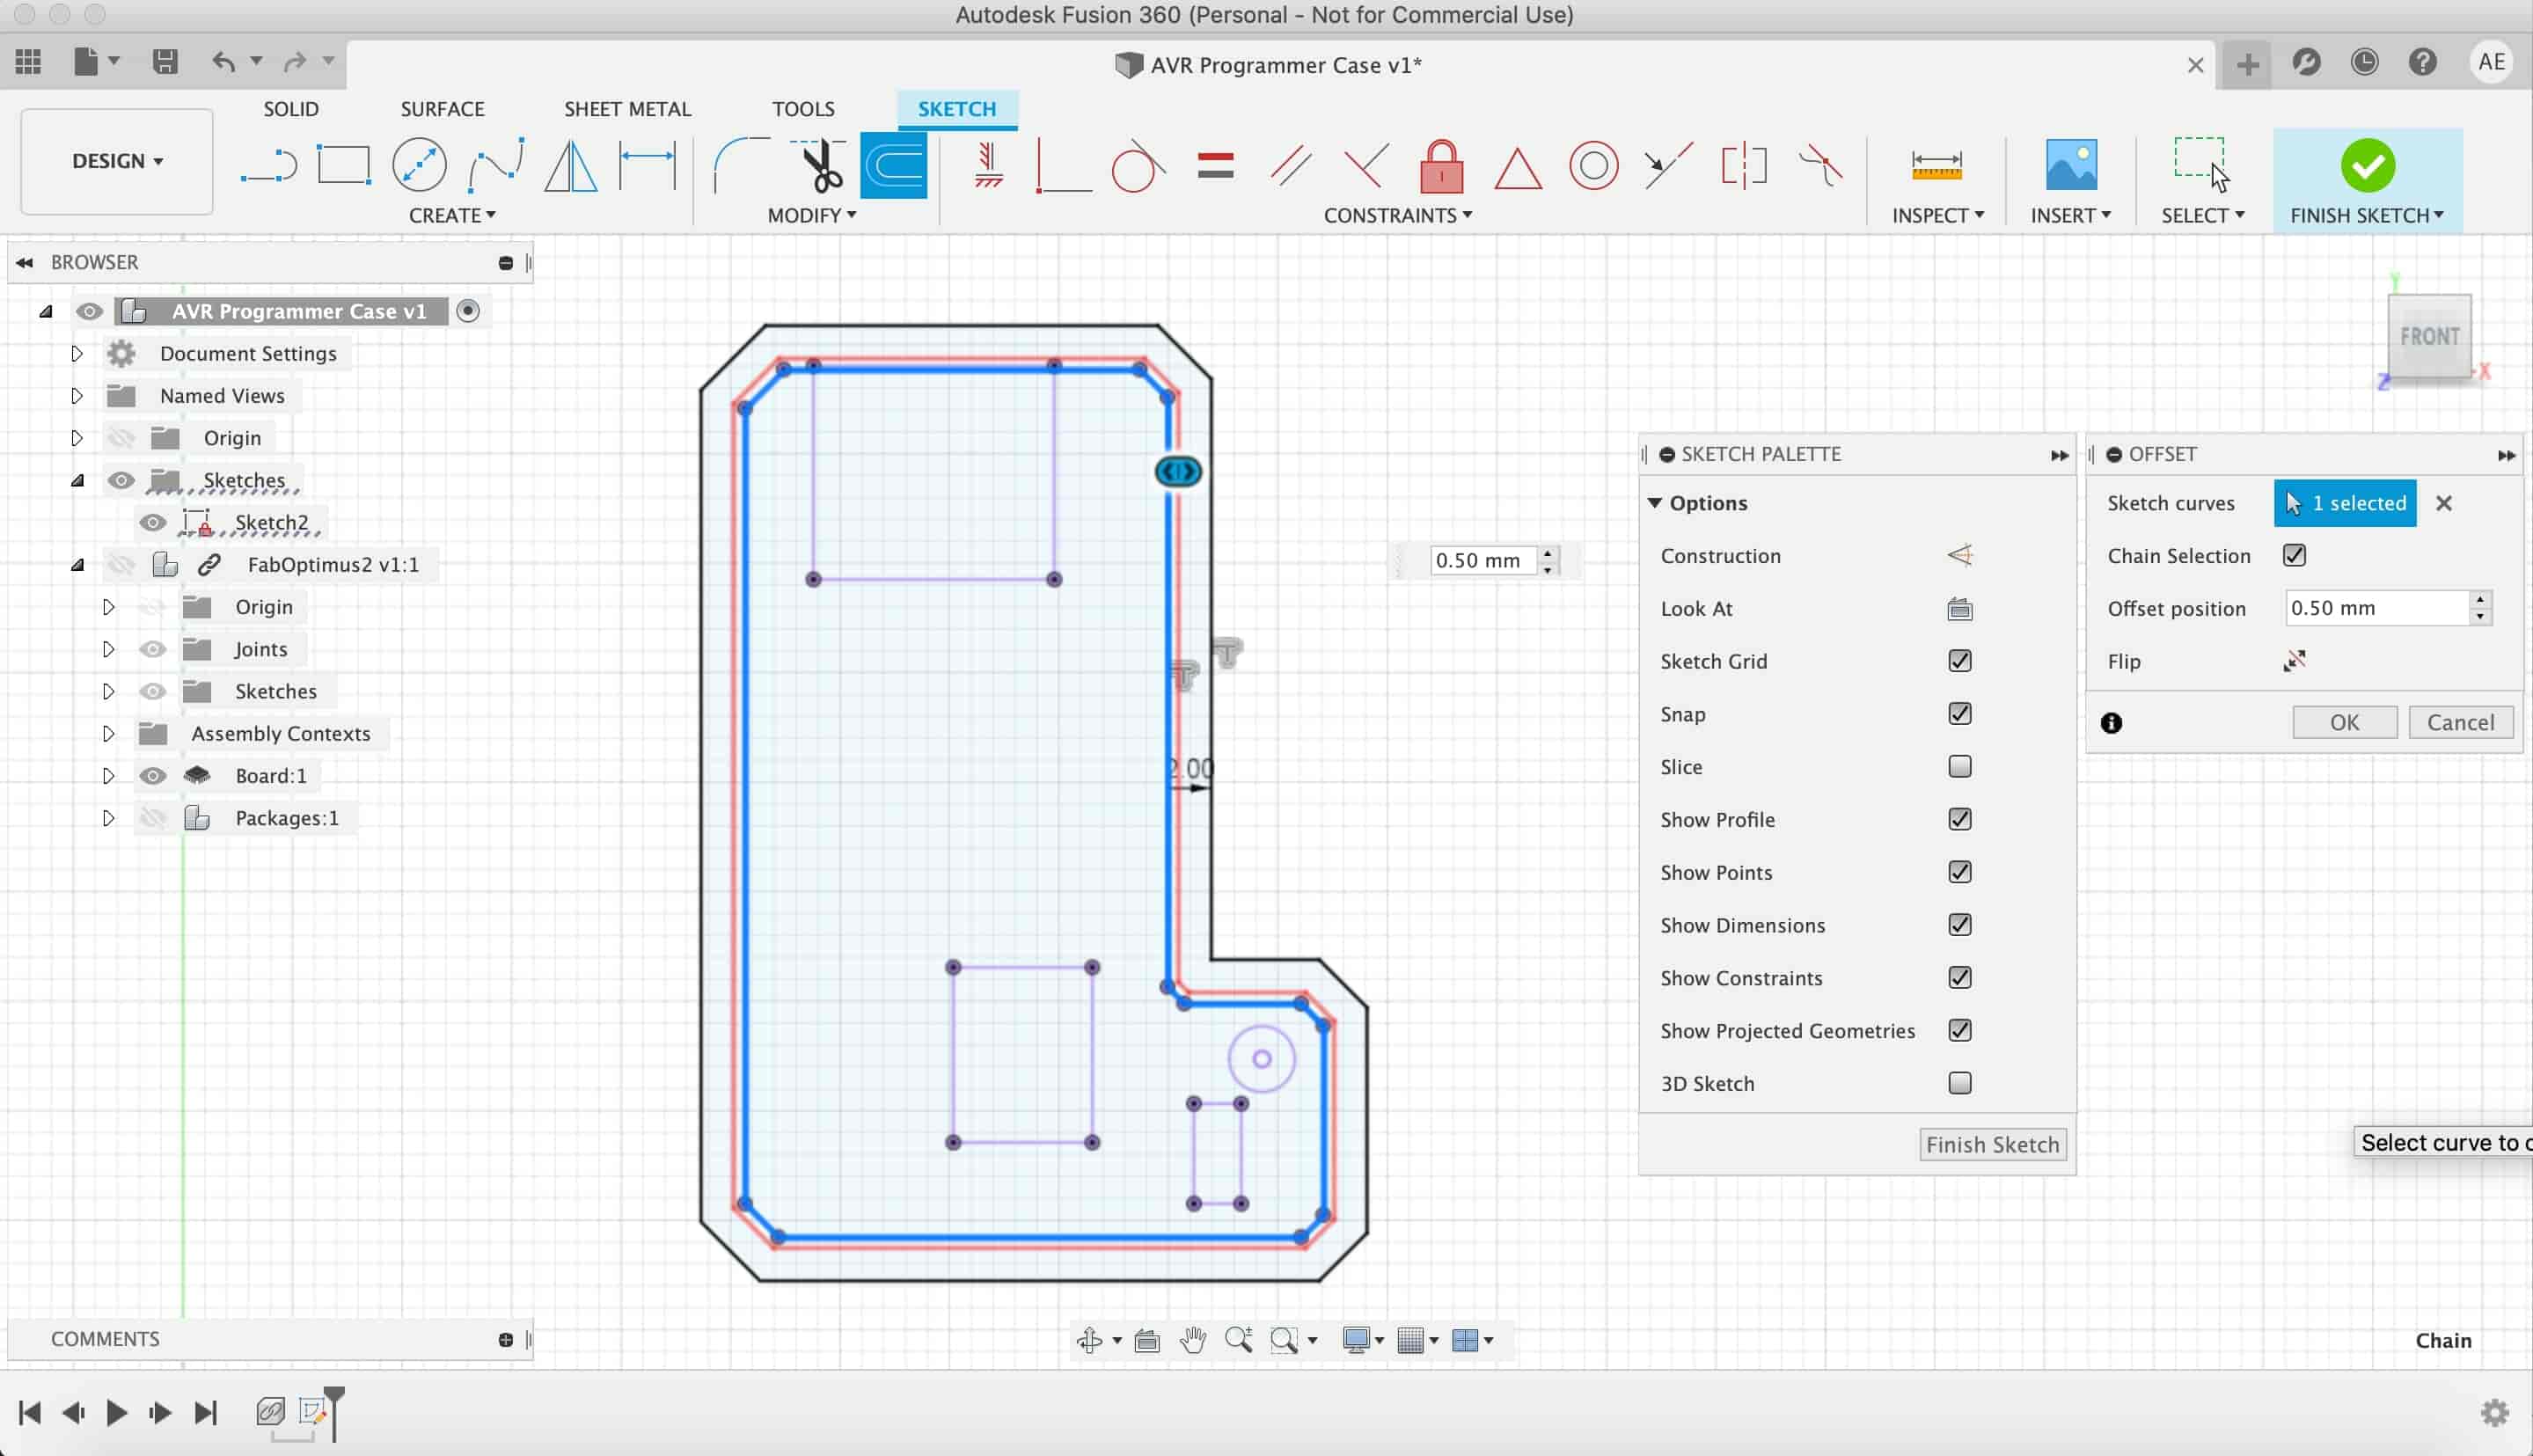
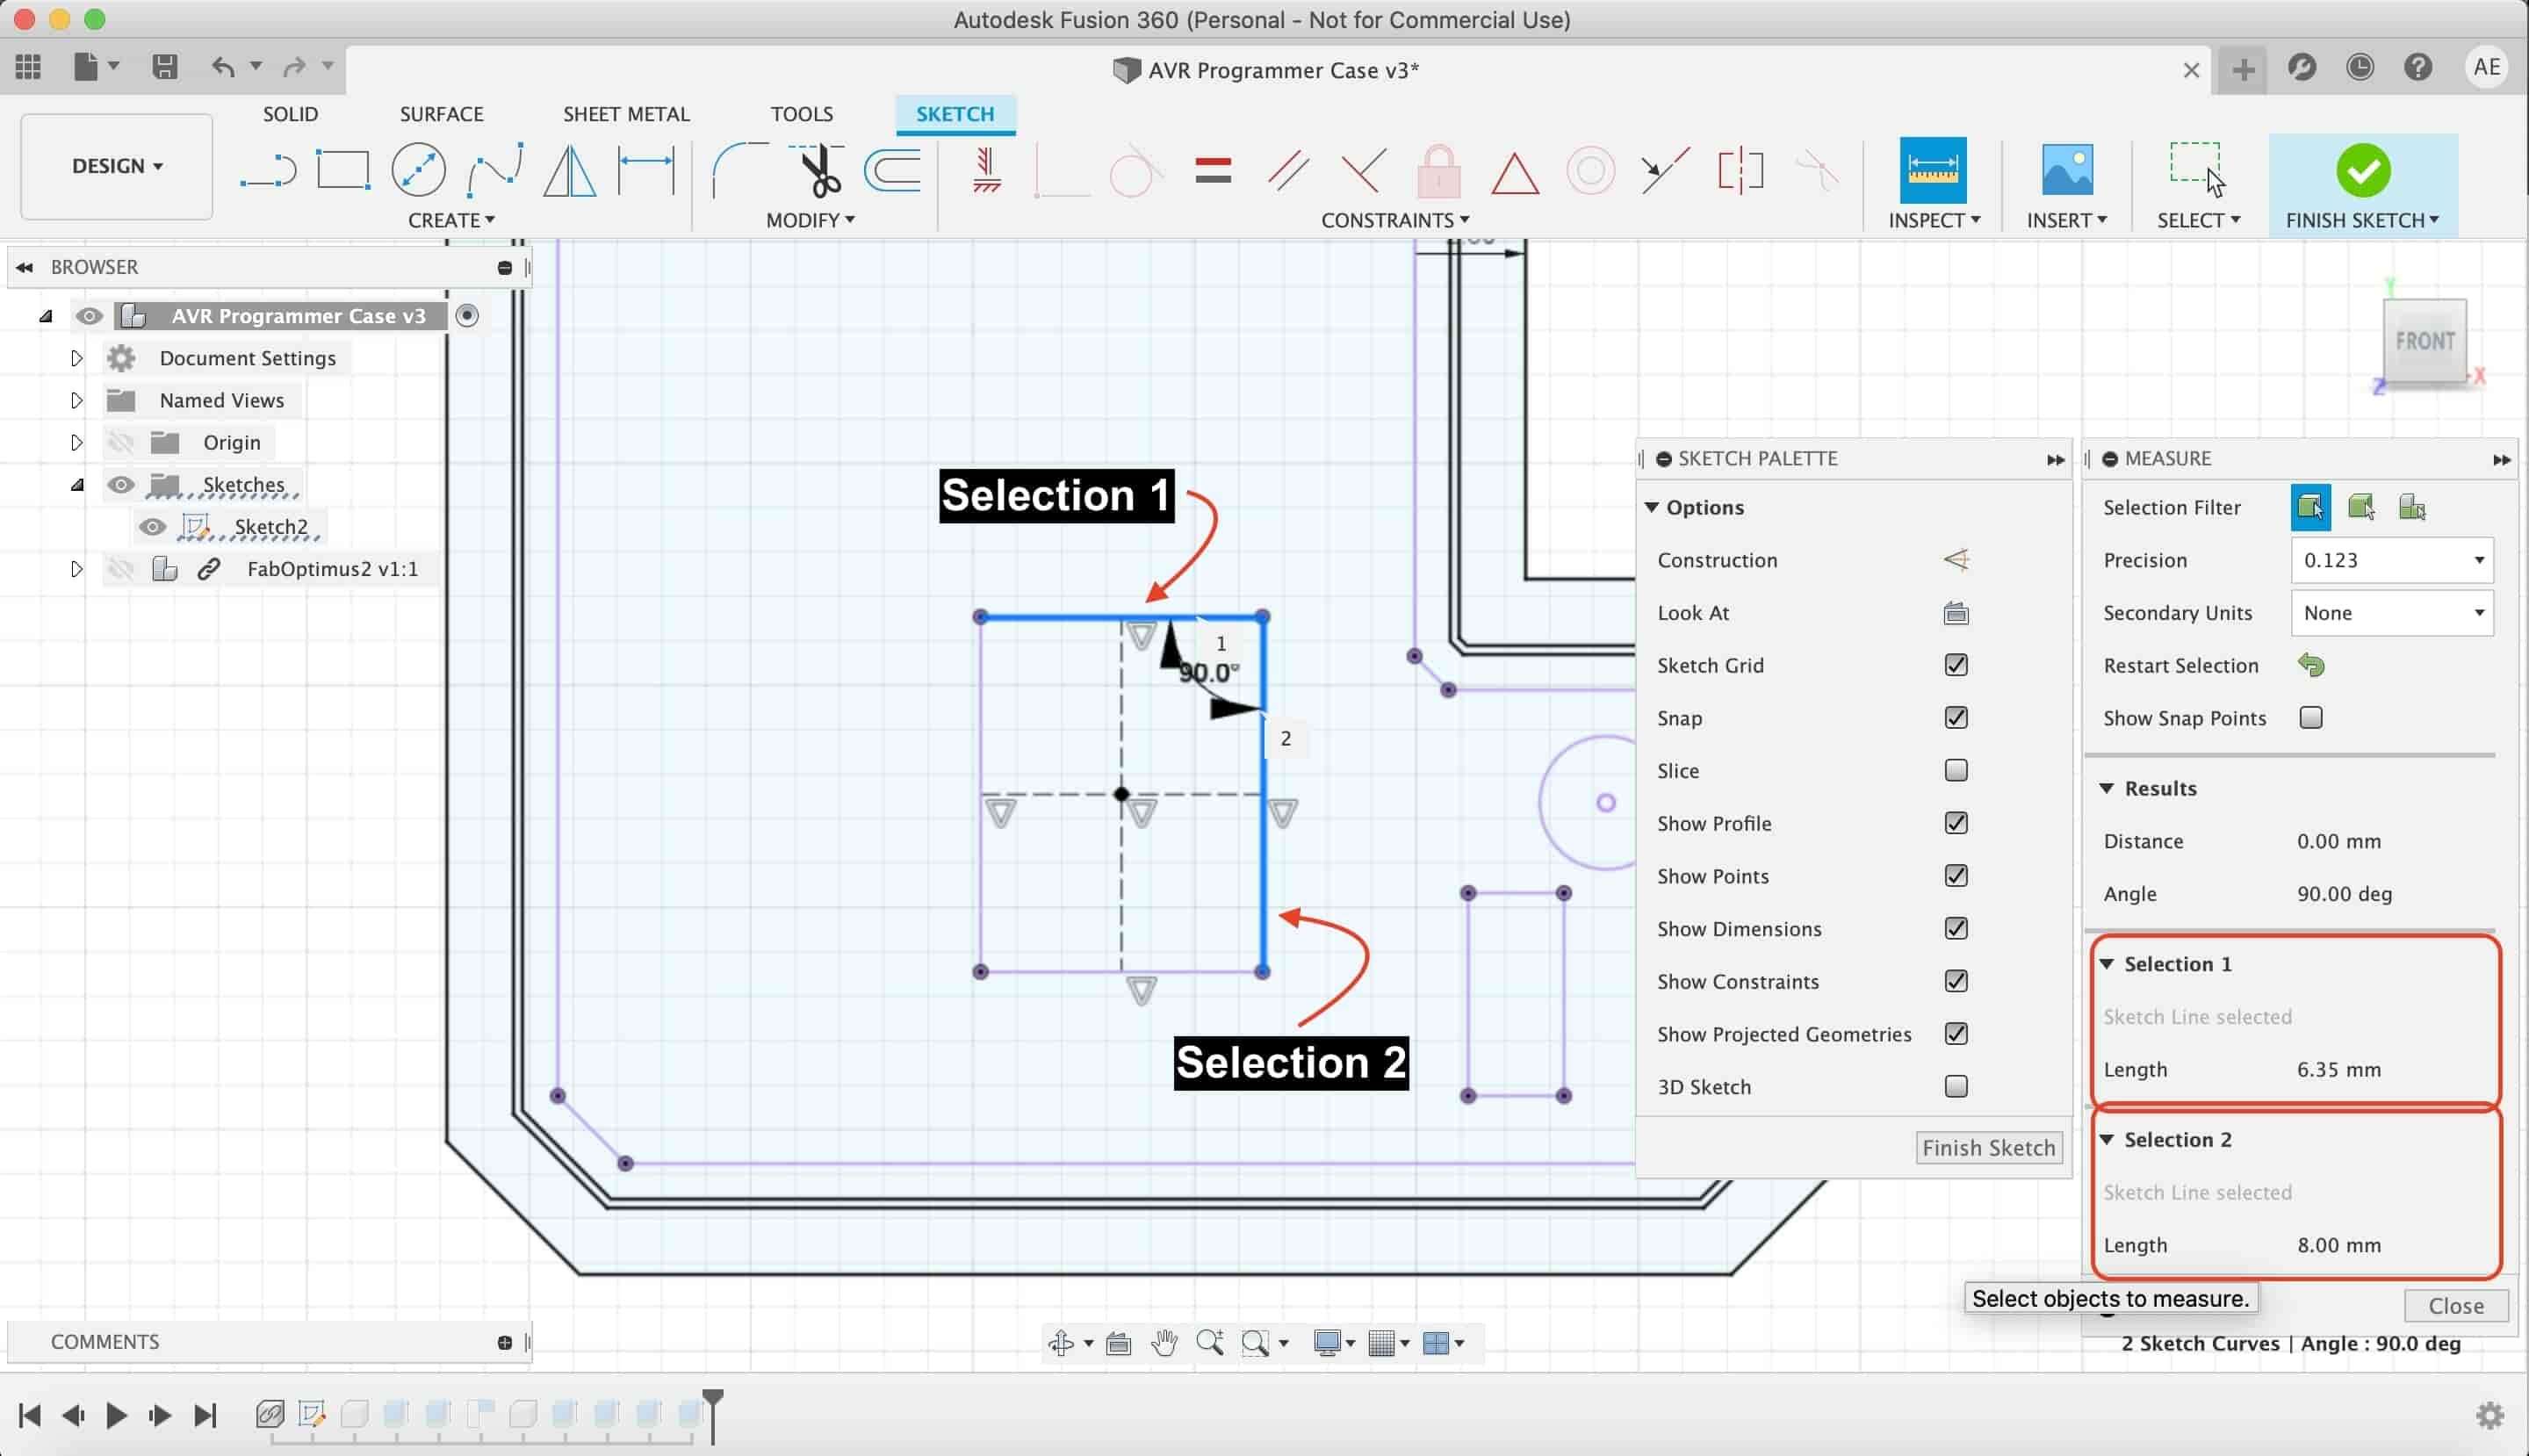
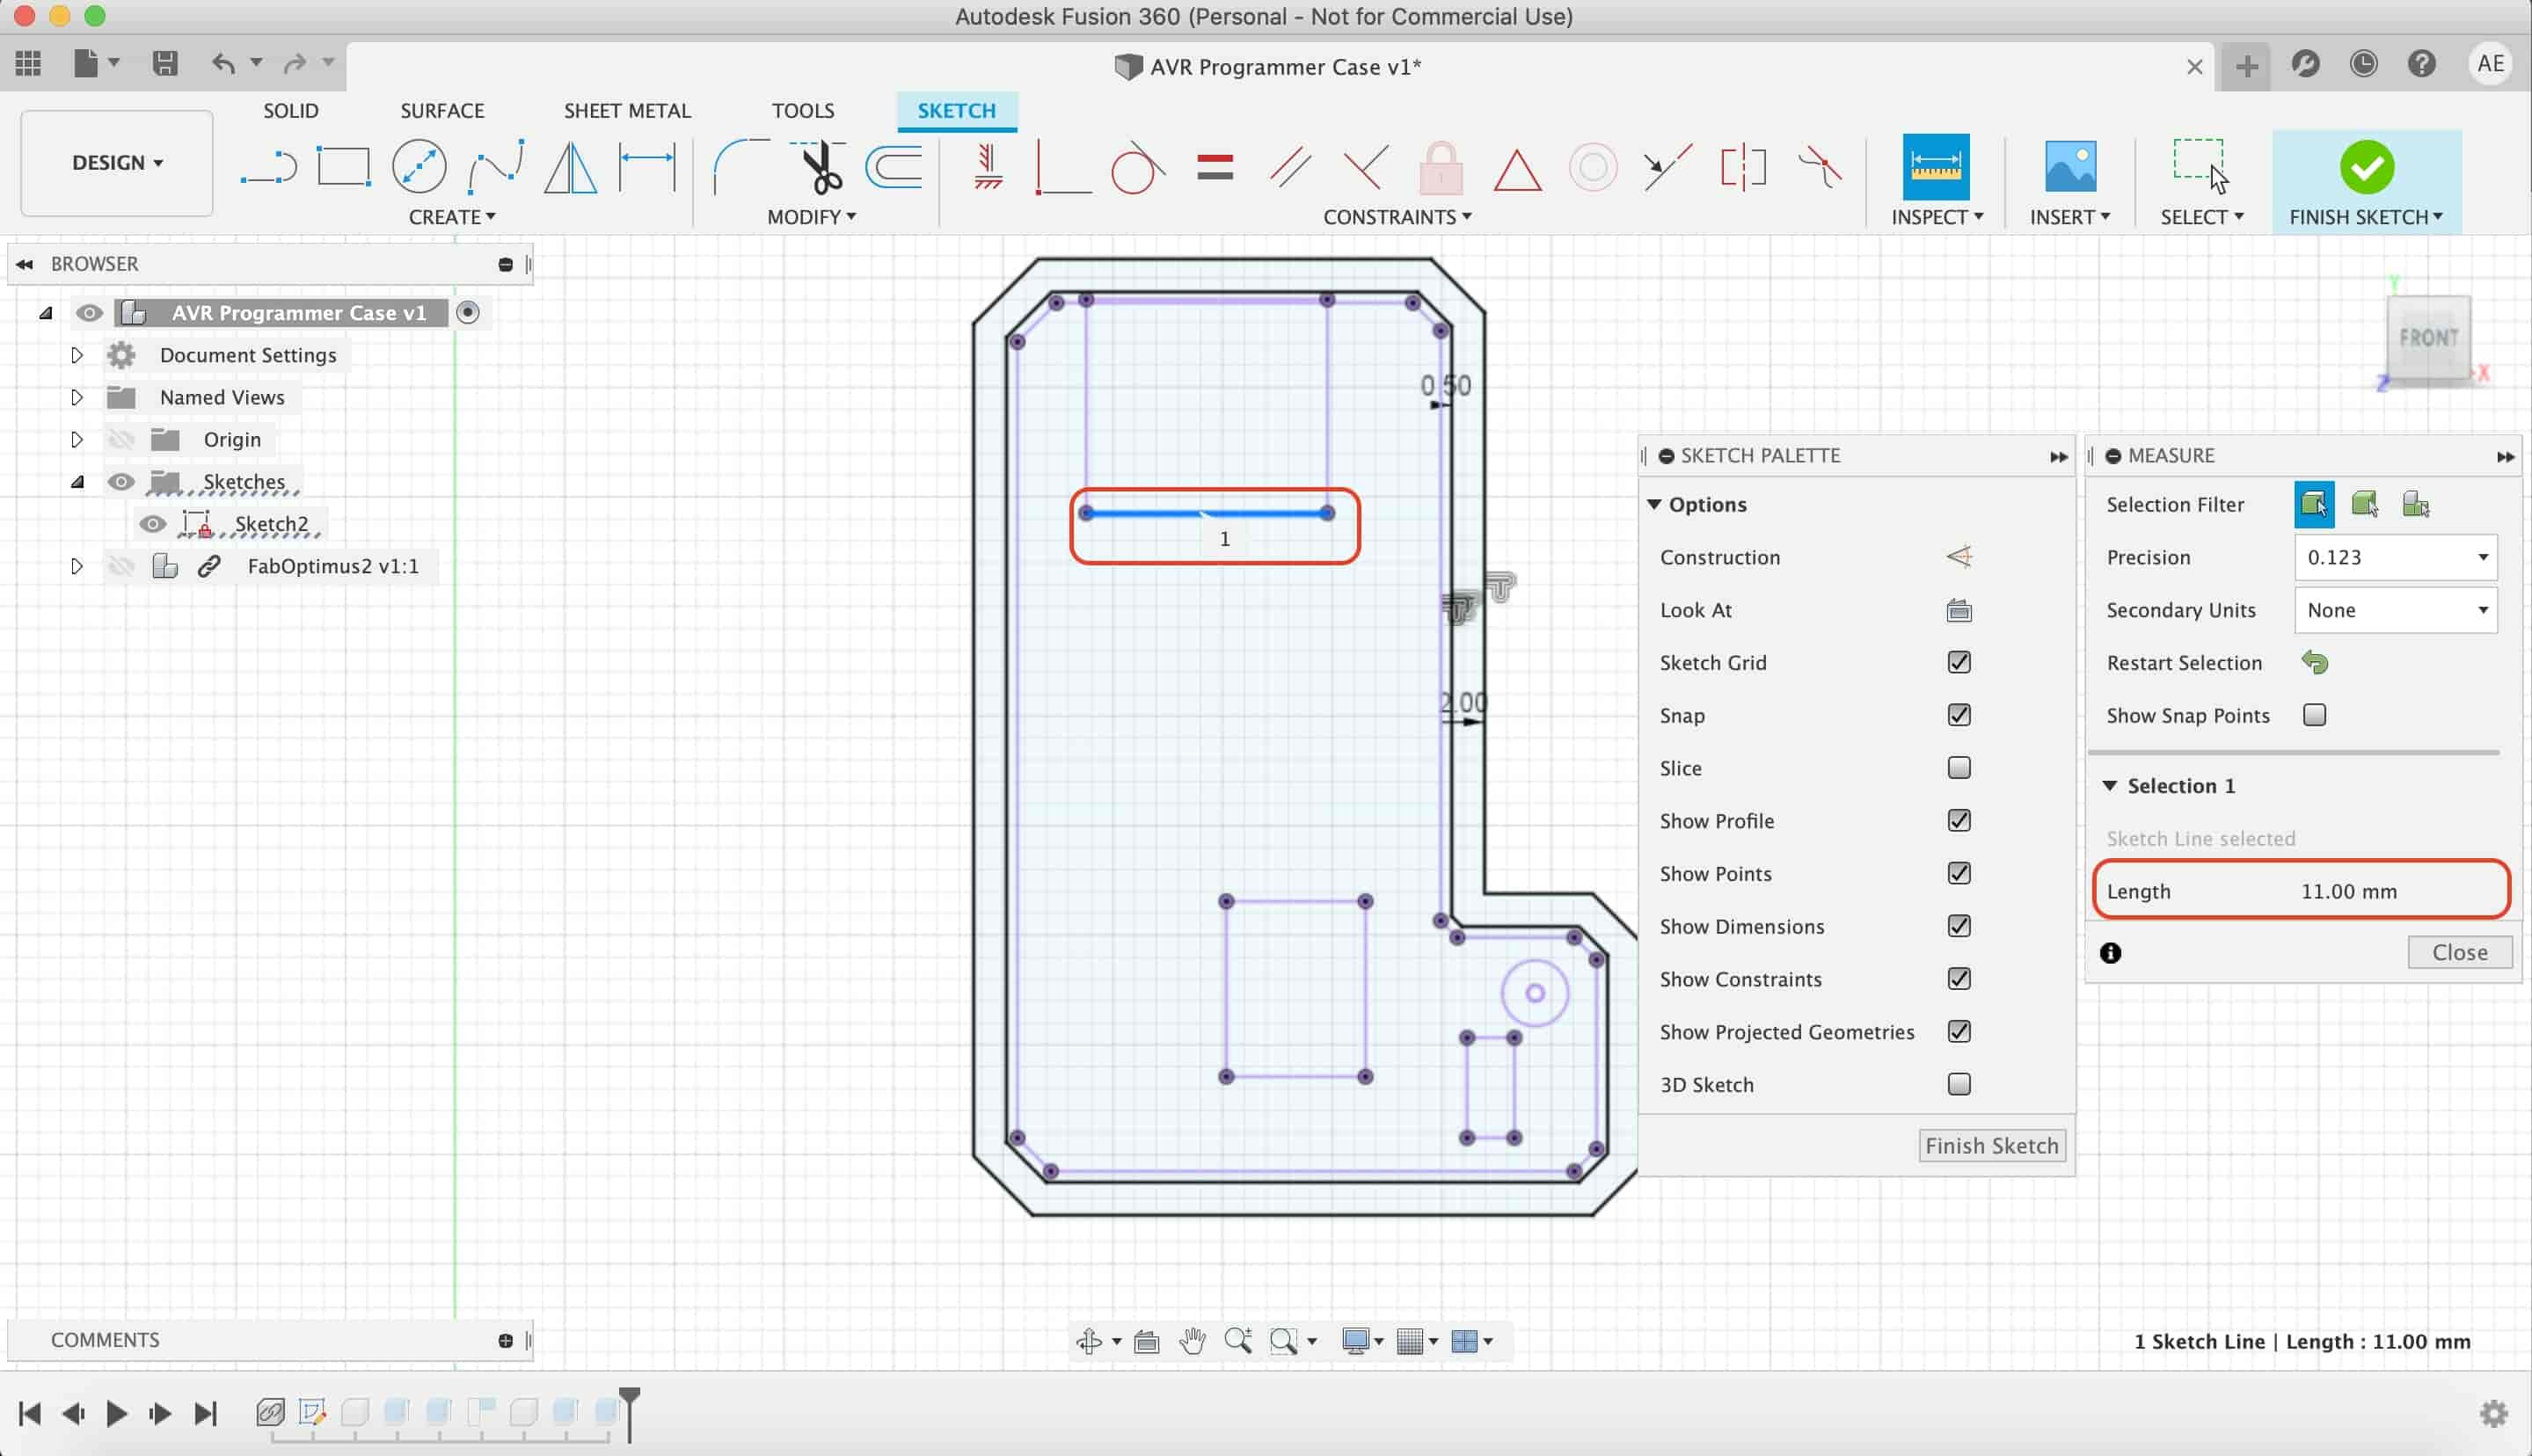
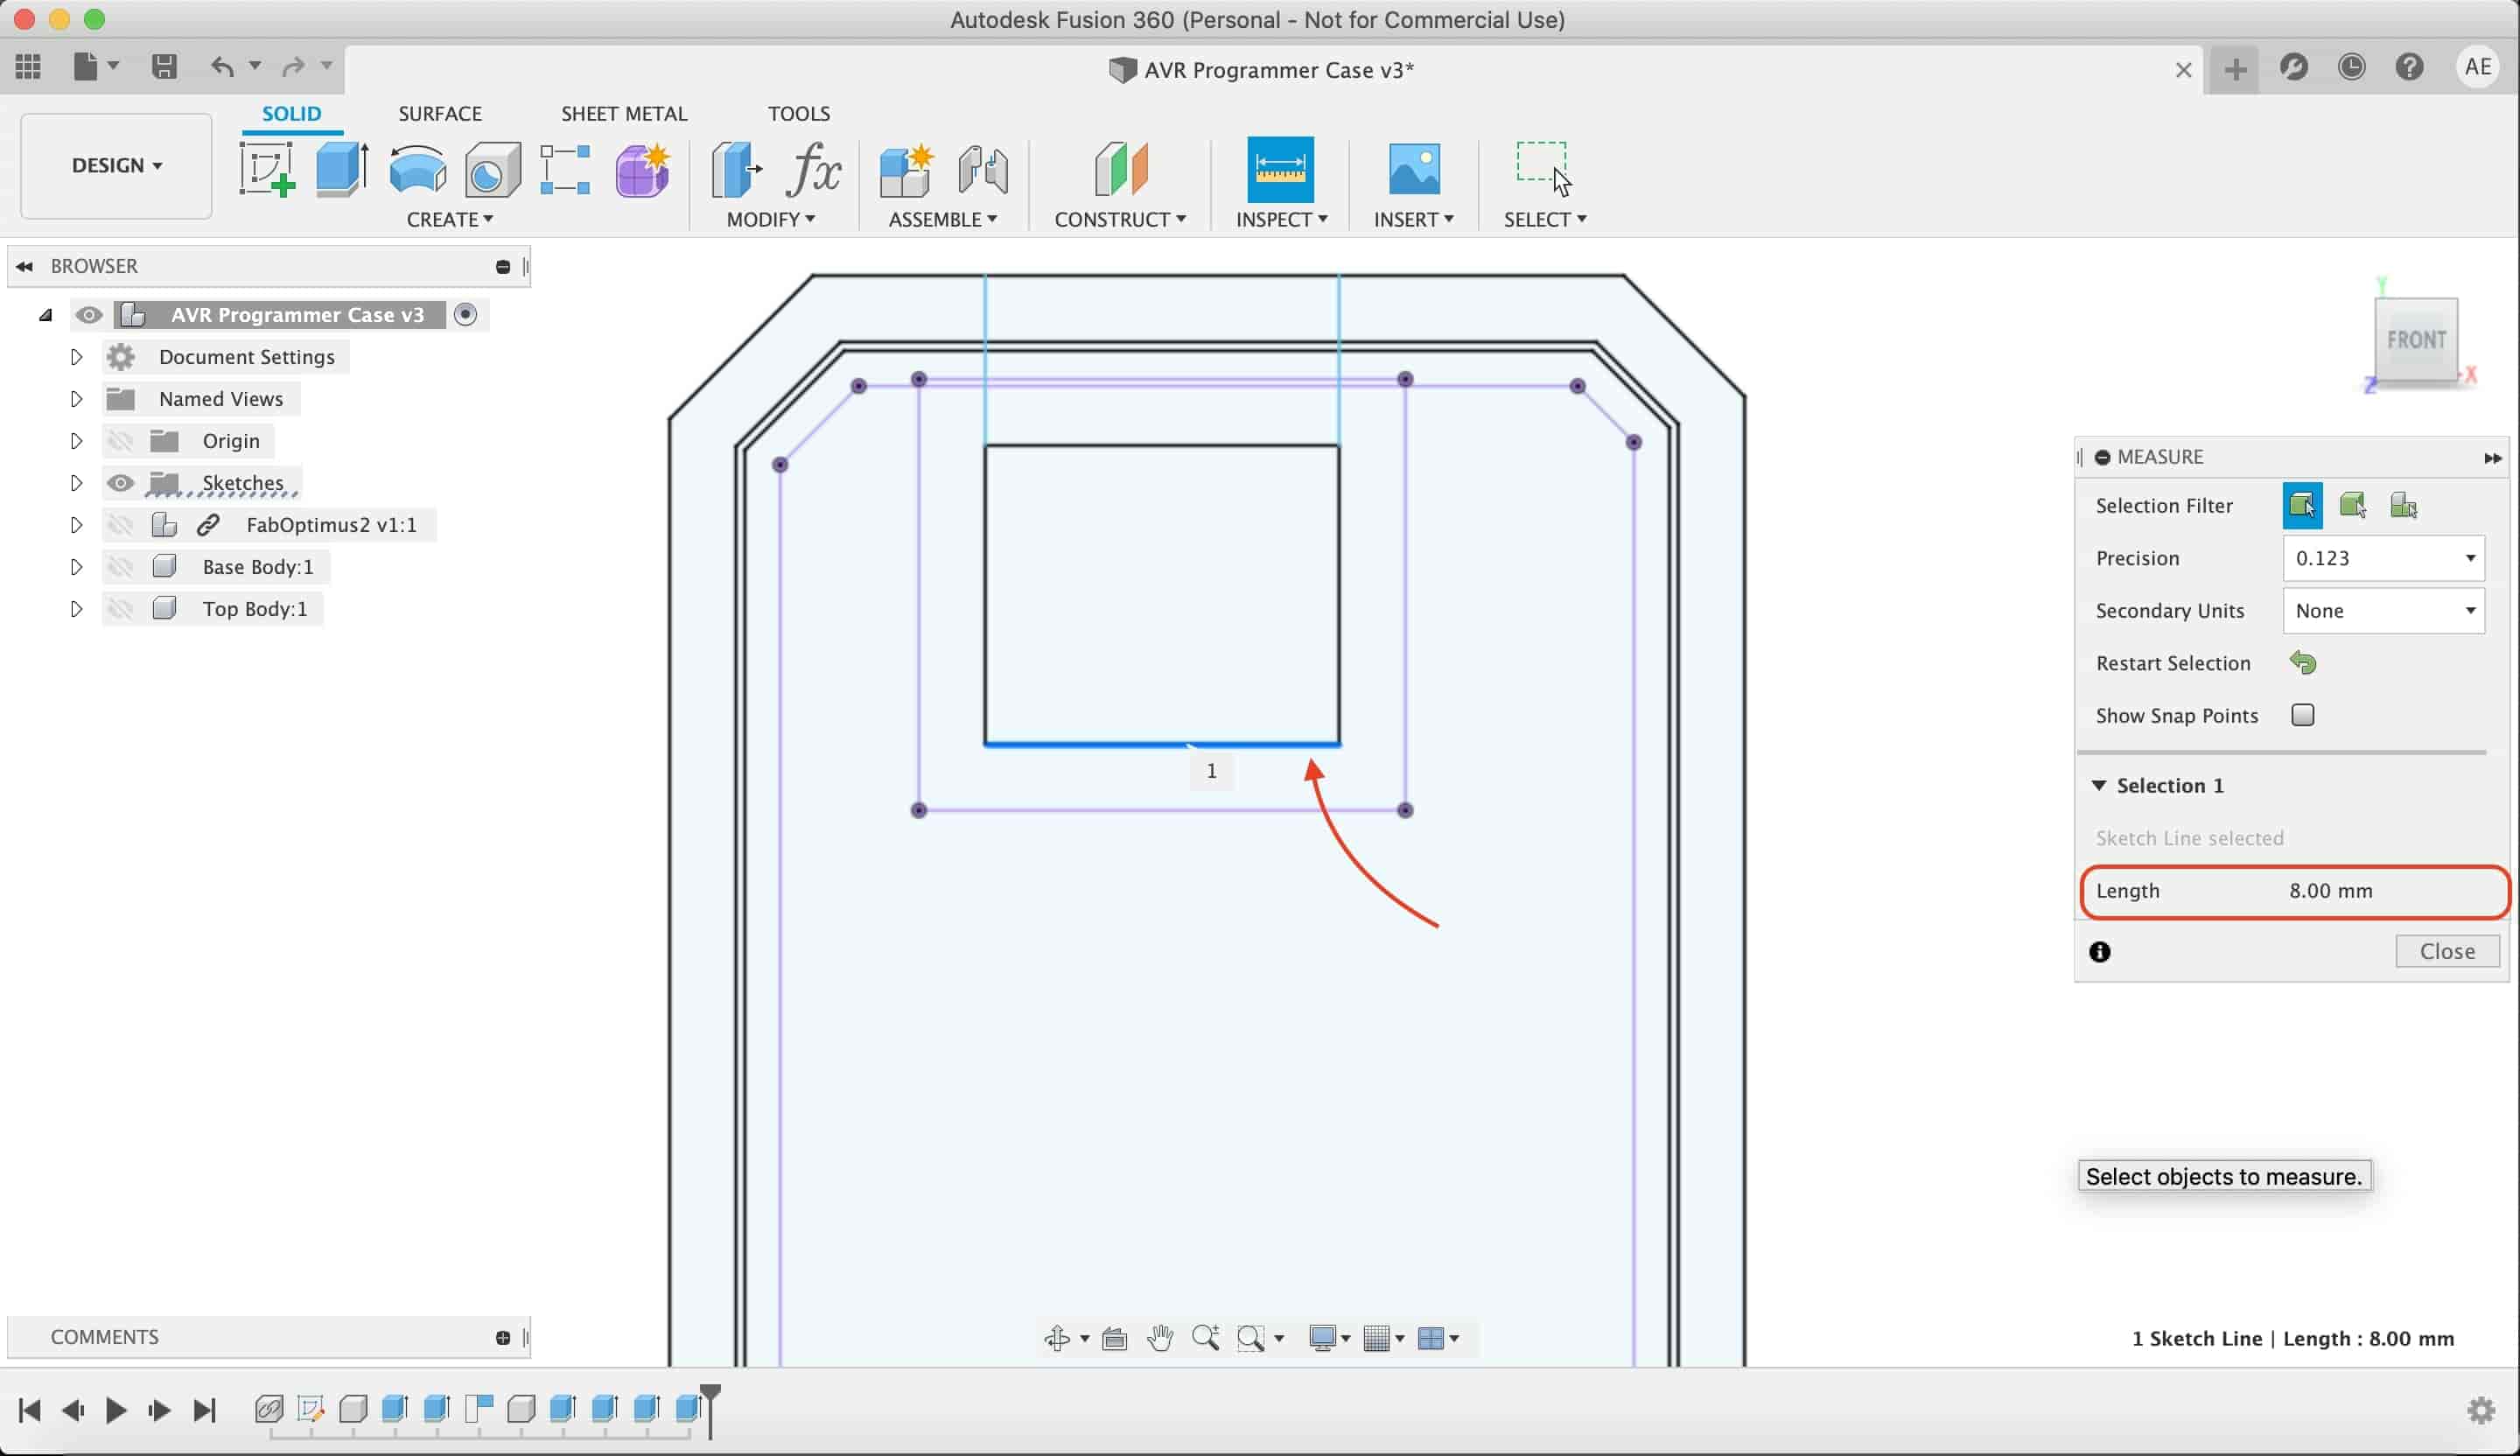
Create a new sketch and project the PCB outline on that sketch, we’re gonna work on that outline dimensions. Also, I projected the USB, LED, and ISP header we will use those later to make a cut on the enclosure.
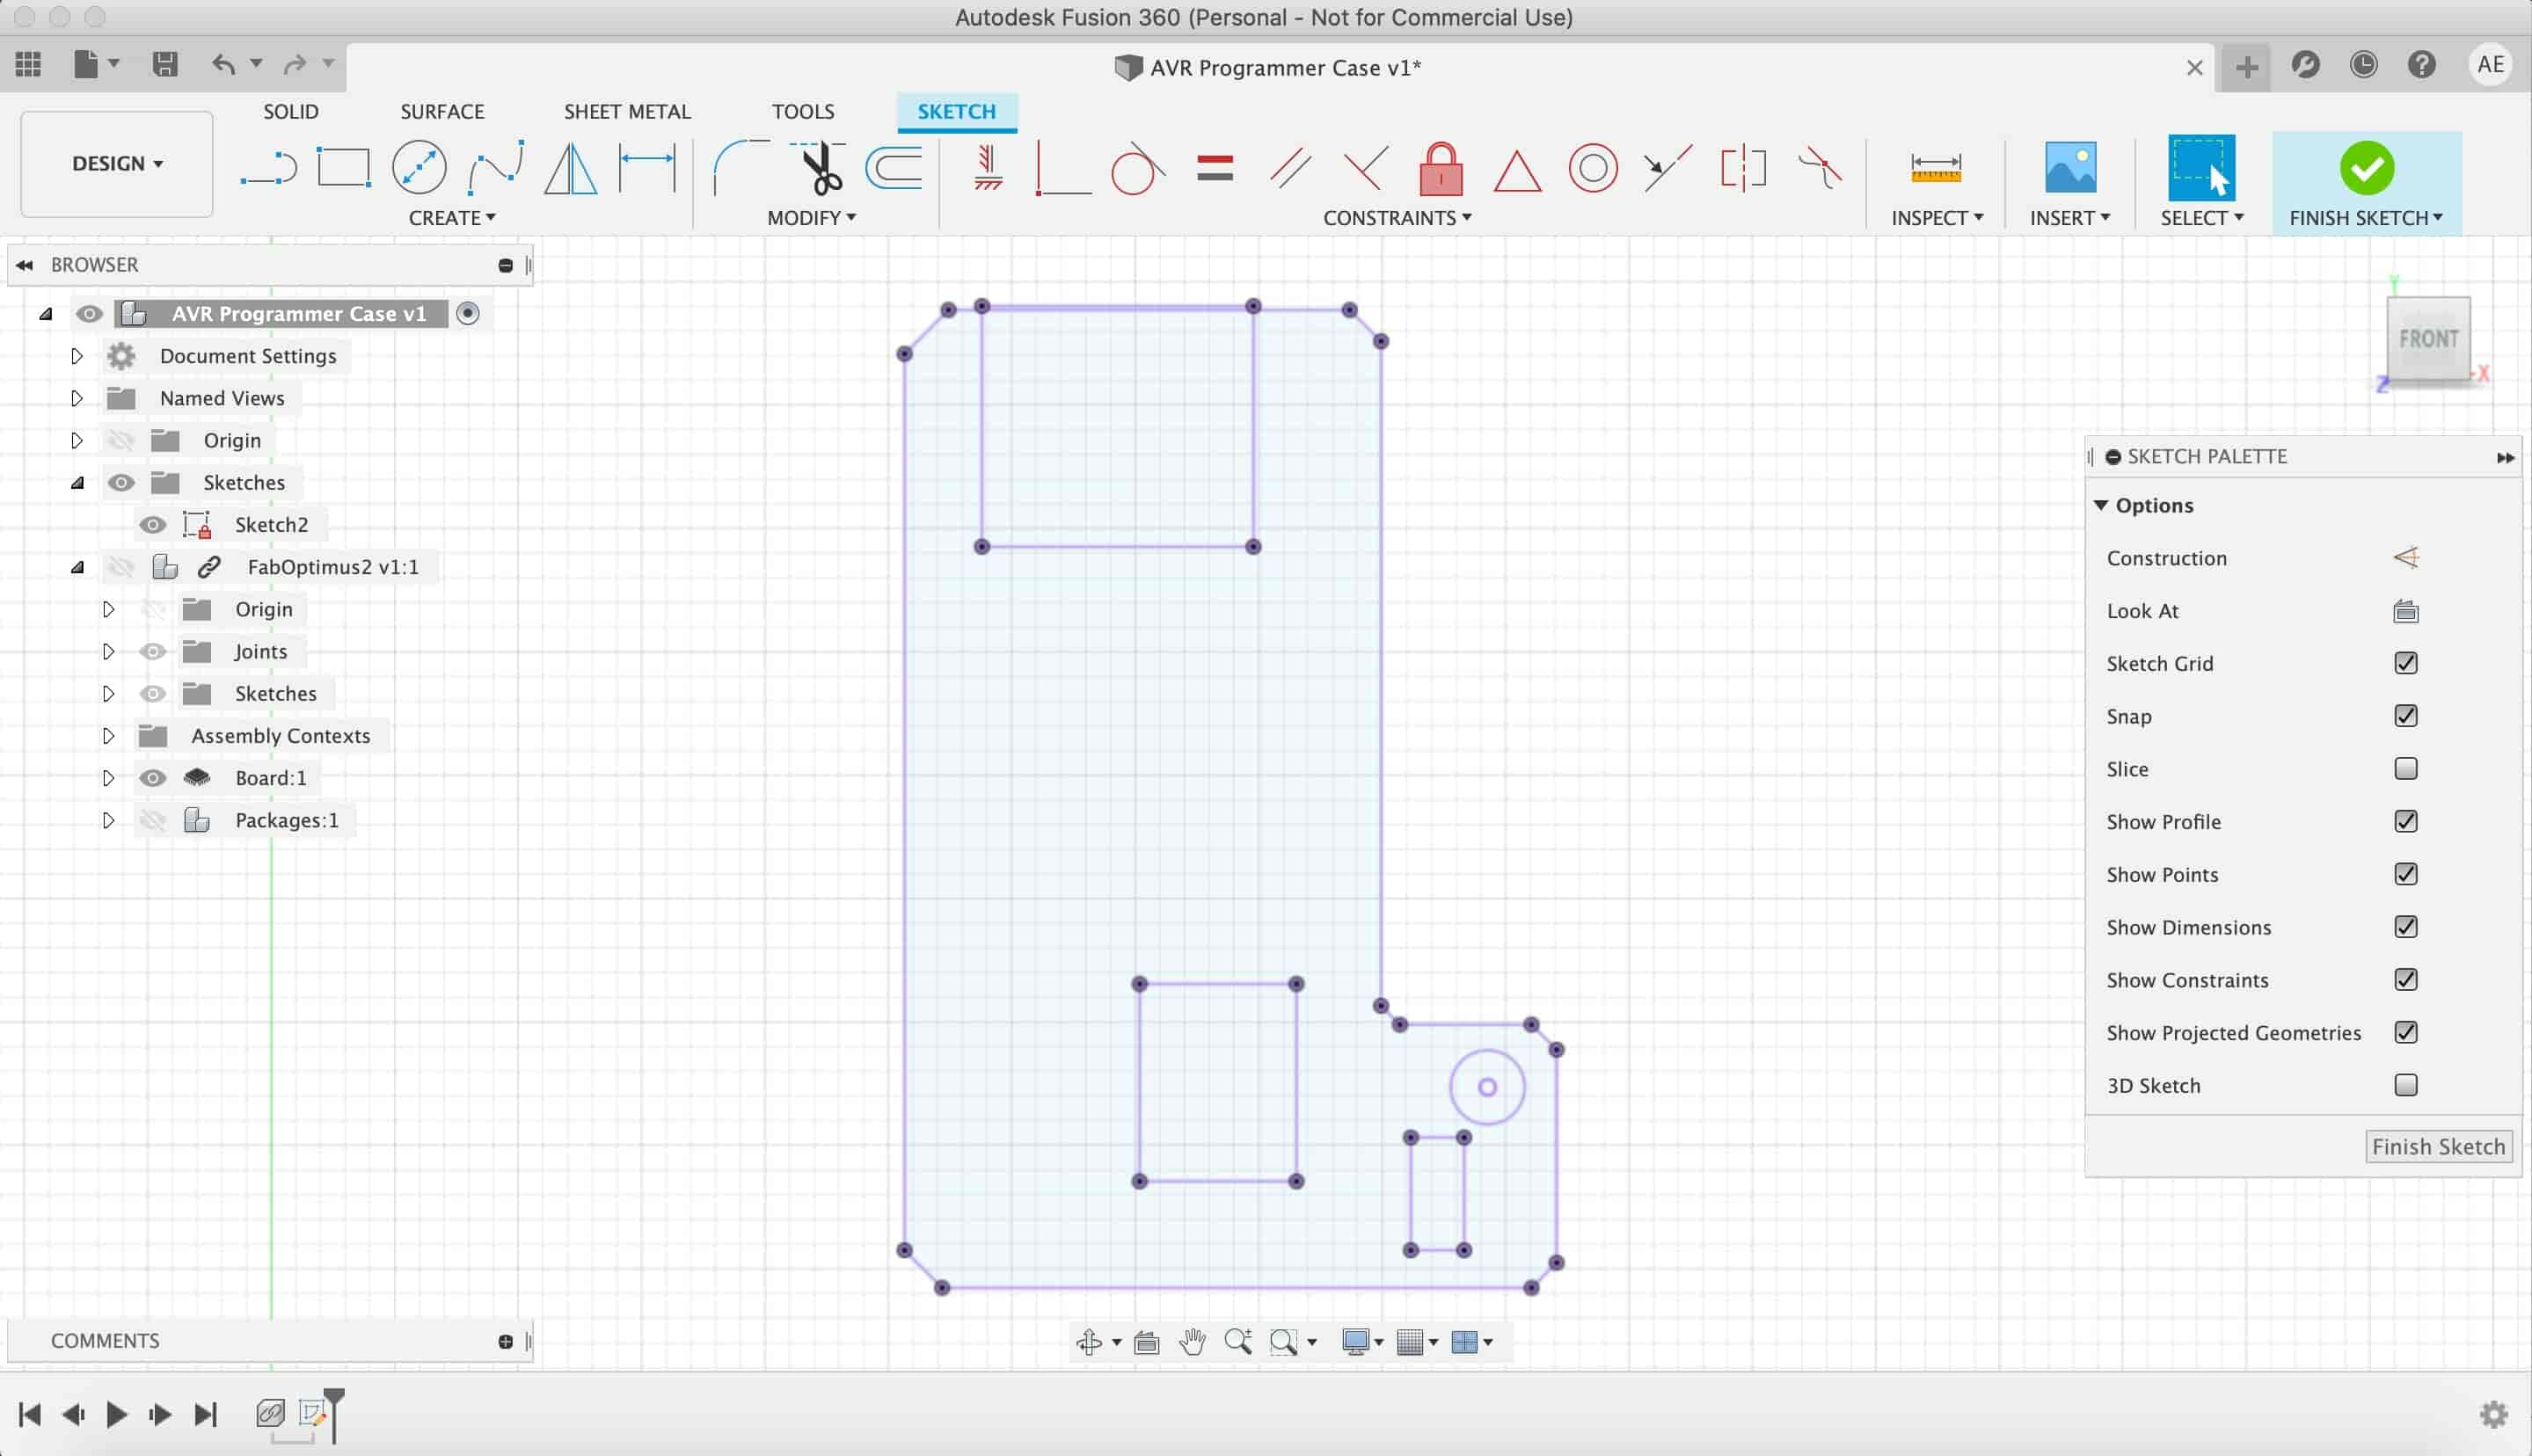
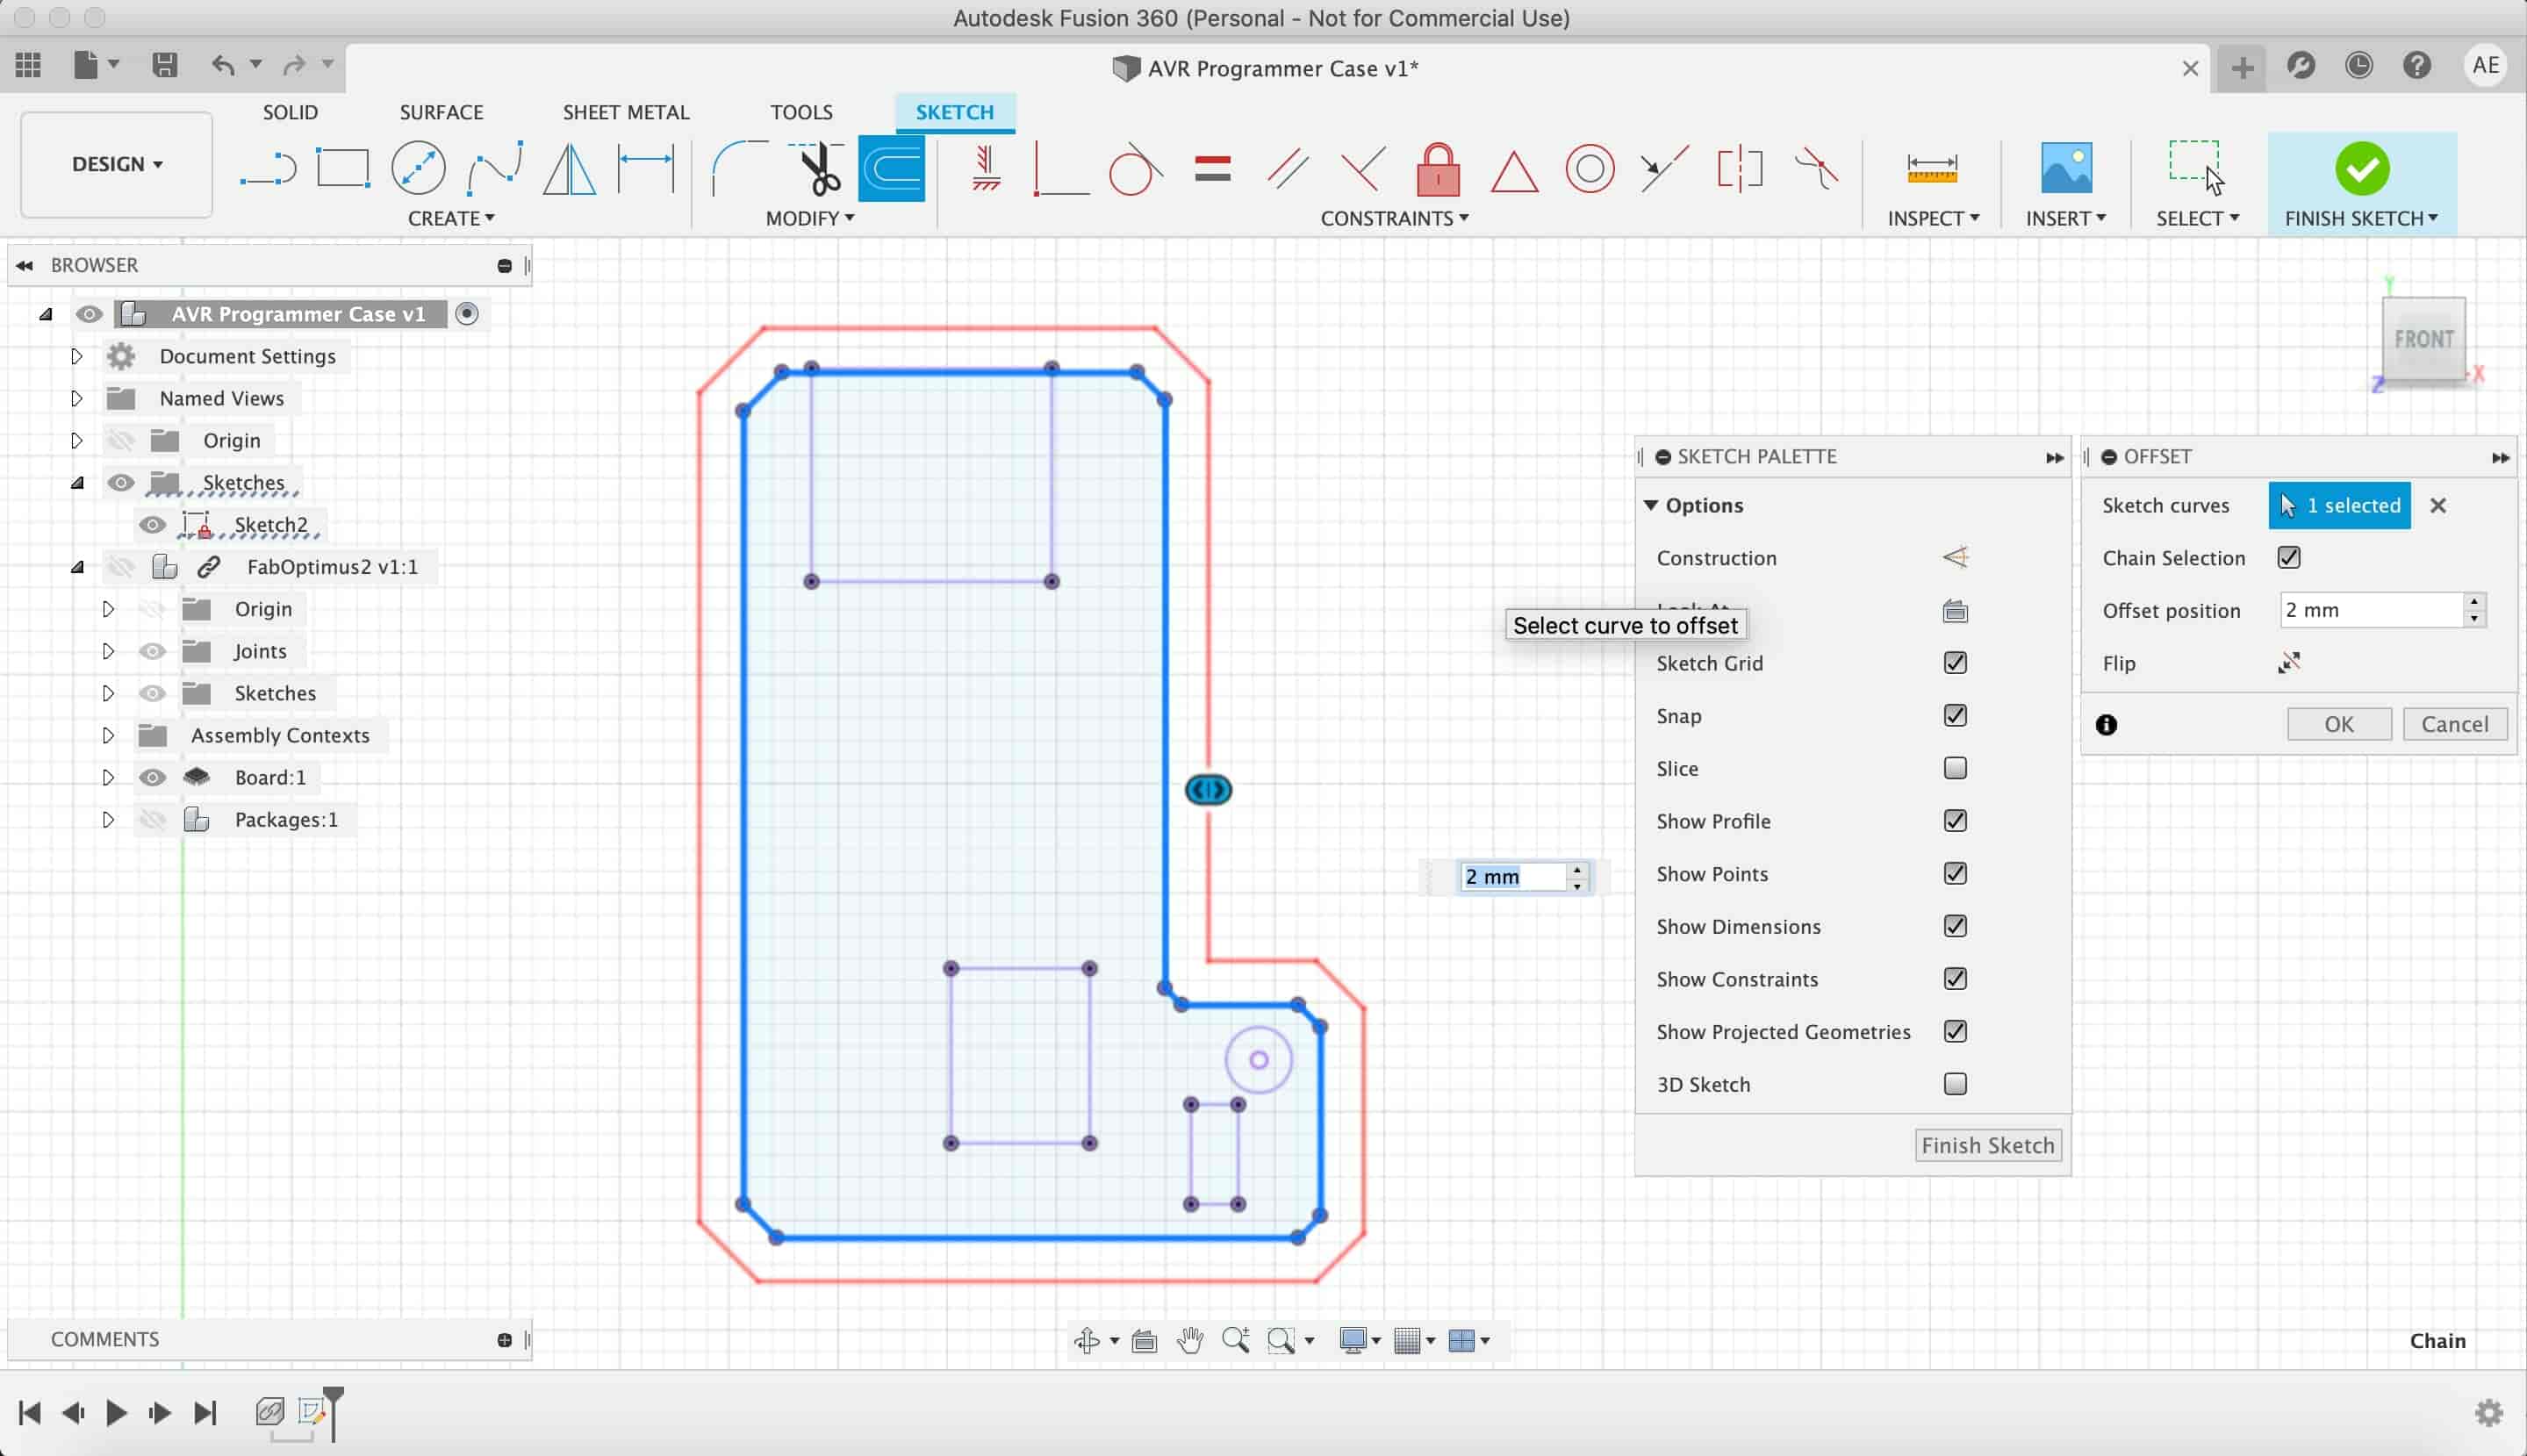
Then I make two offset lines from the projected line. The first offset line is at distance of 2mm and the second offset line at distance of 0.5mm.
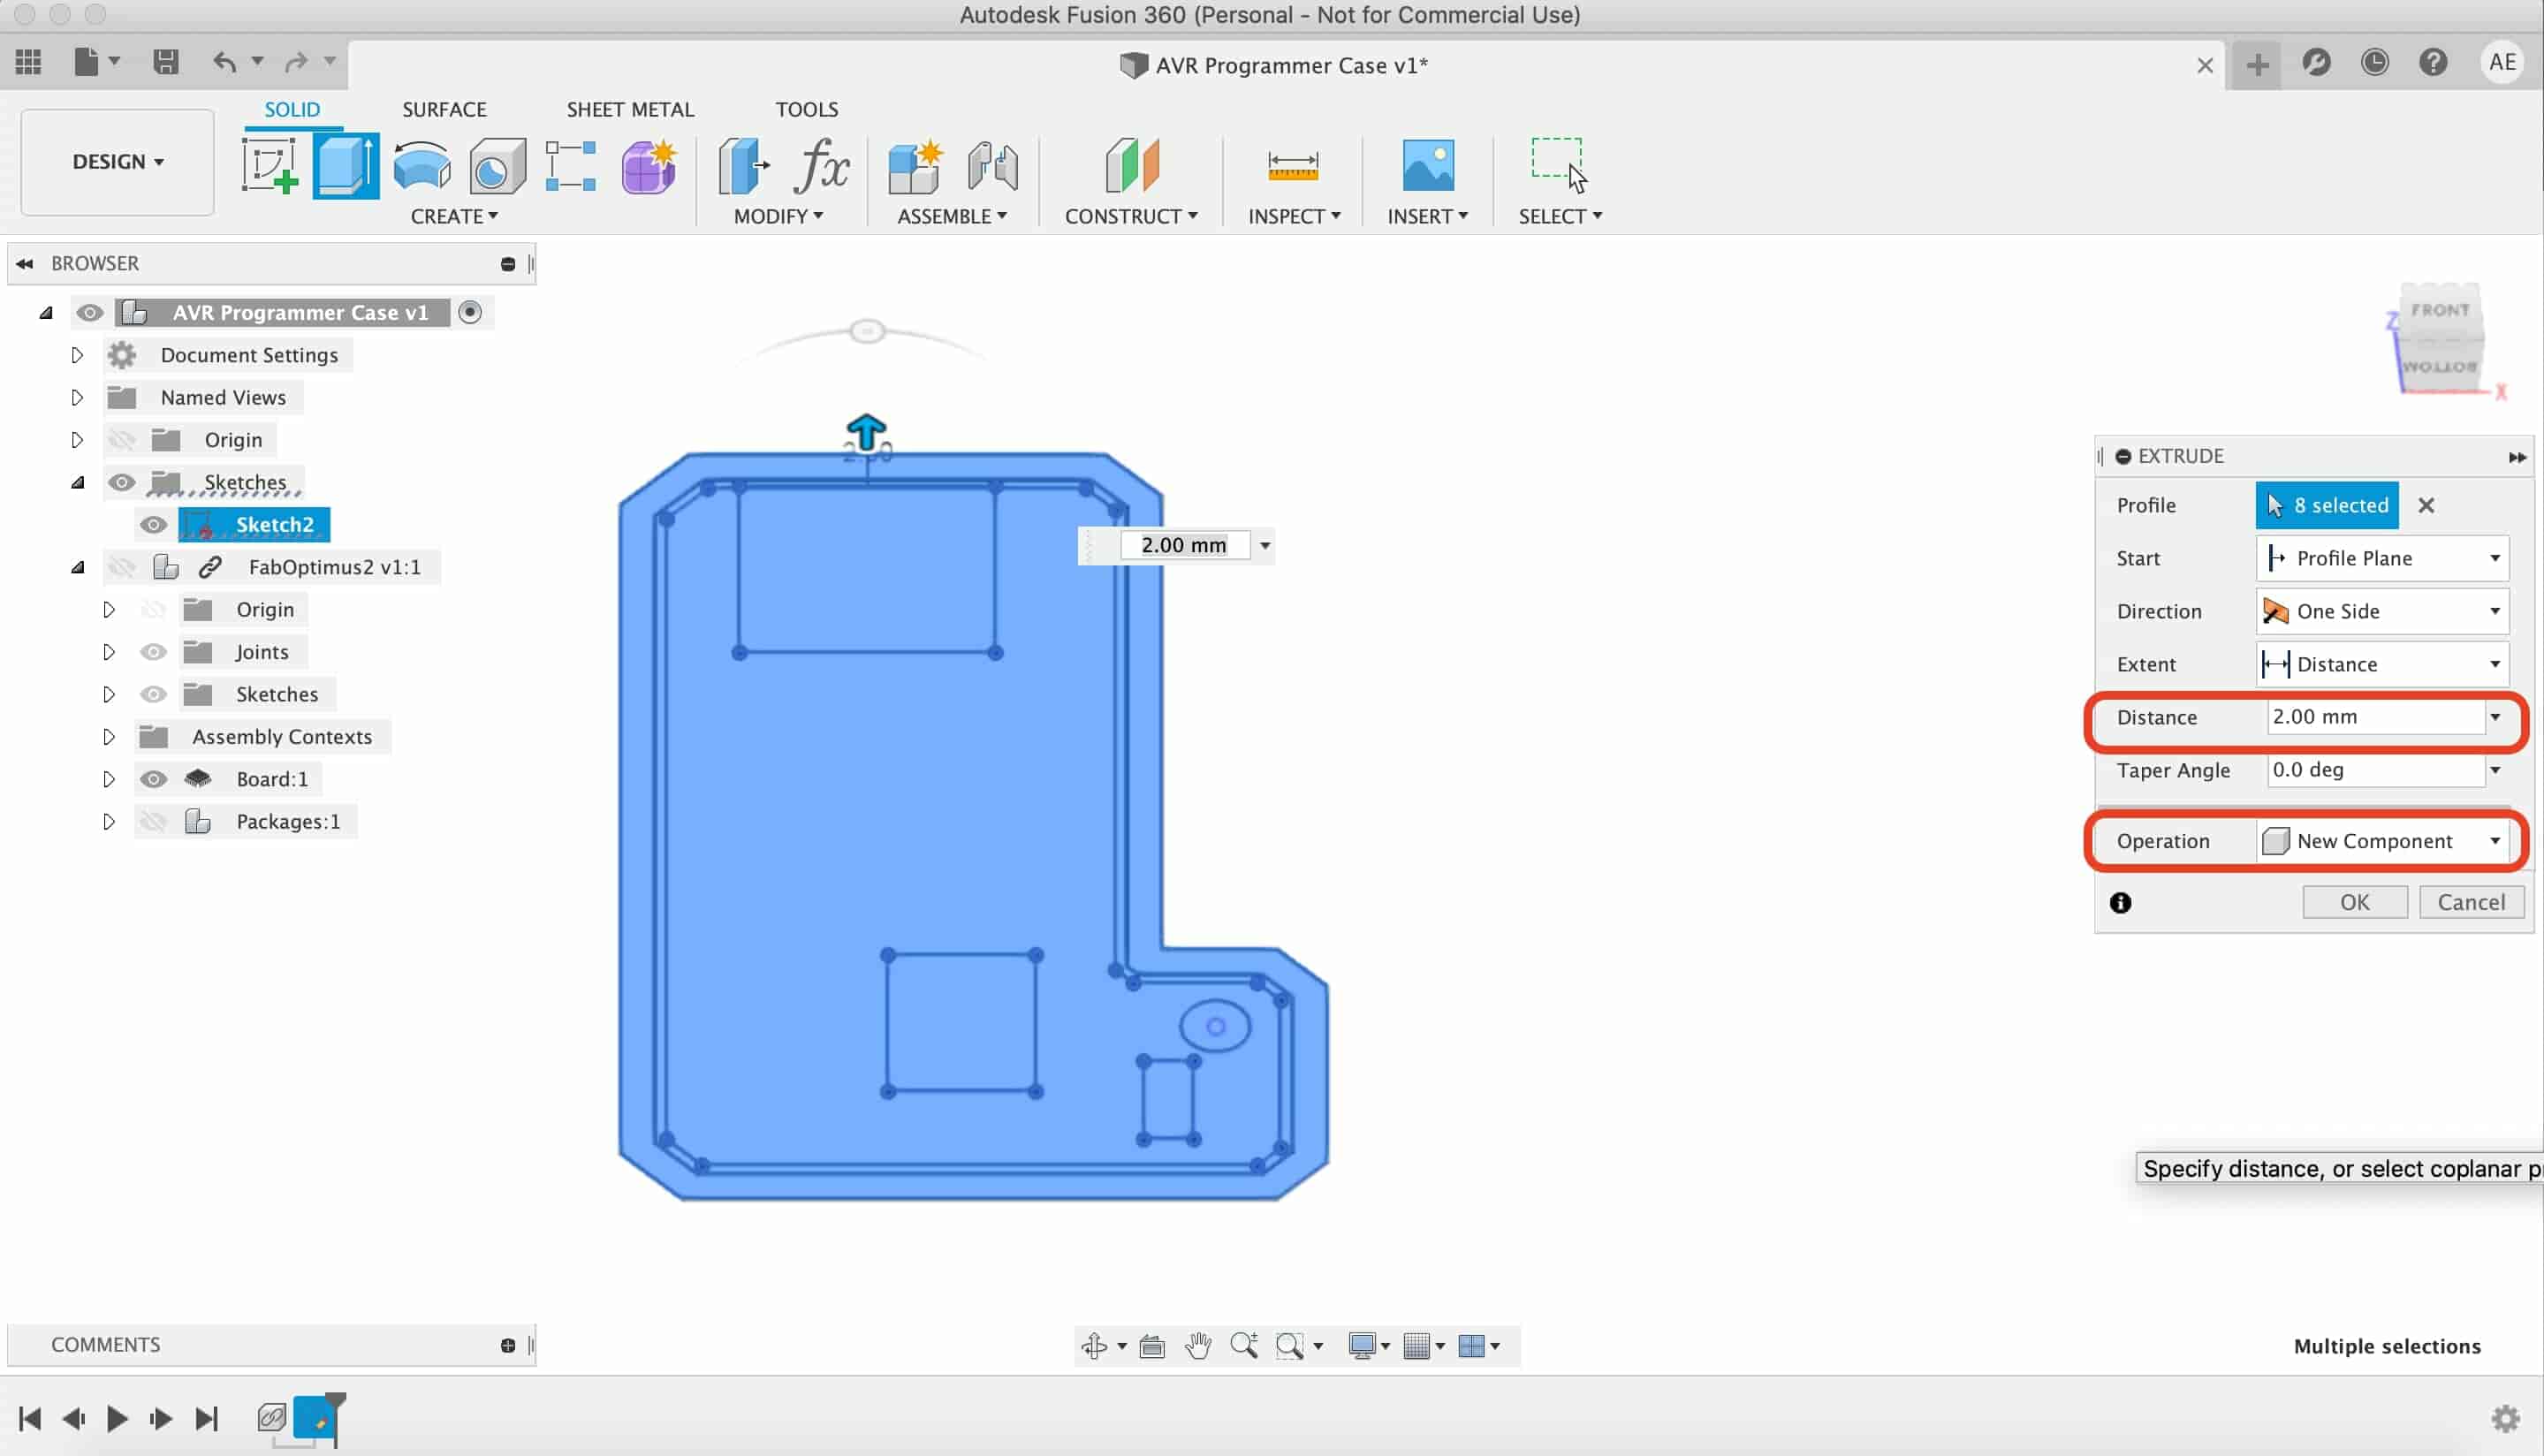
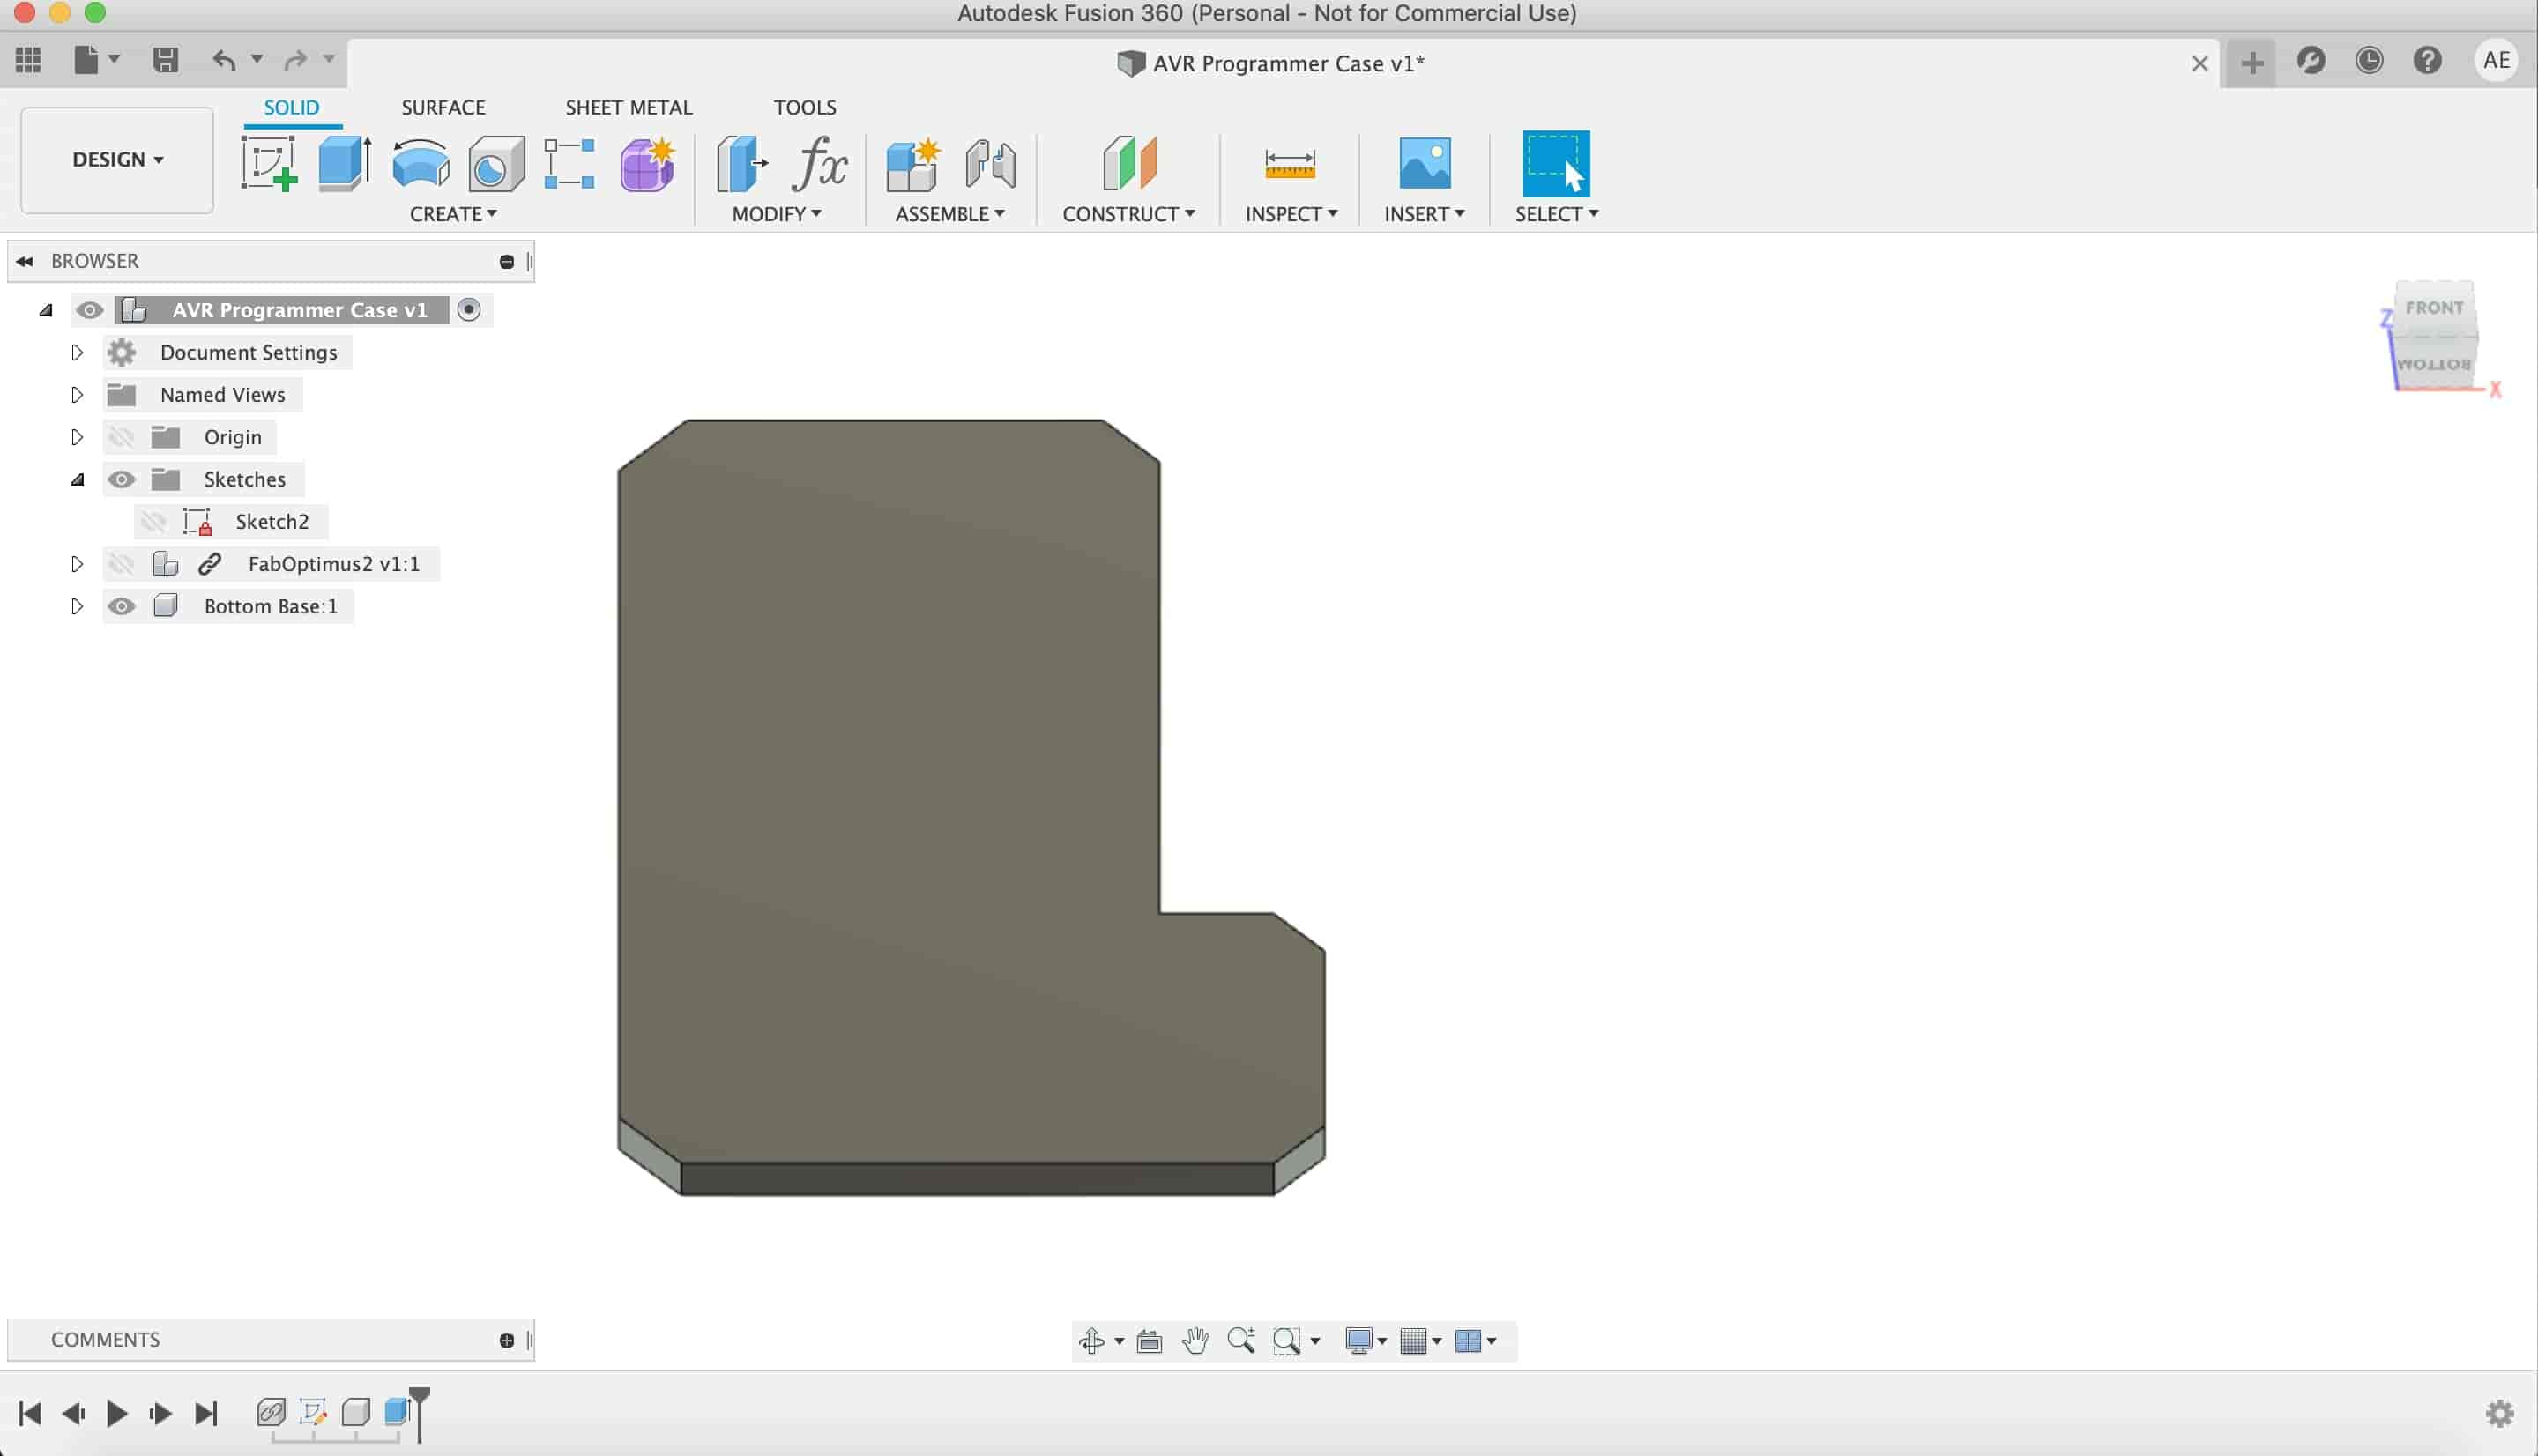
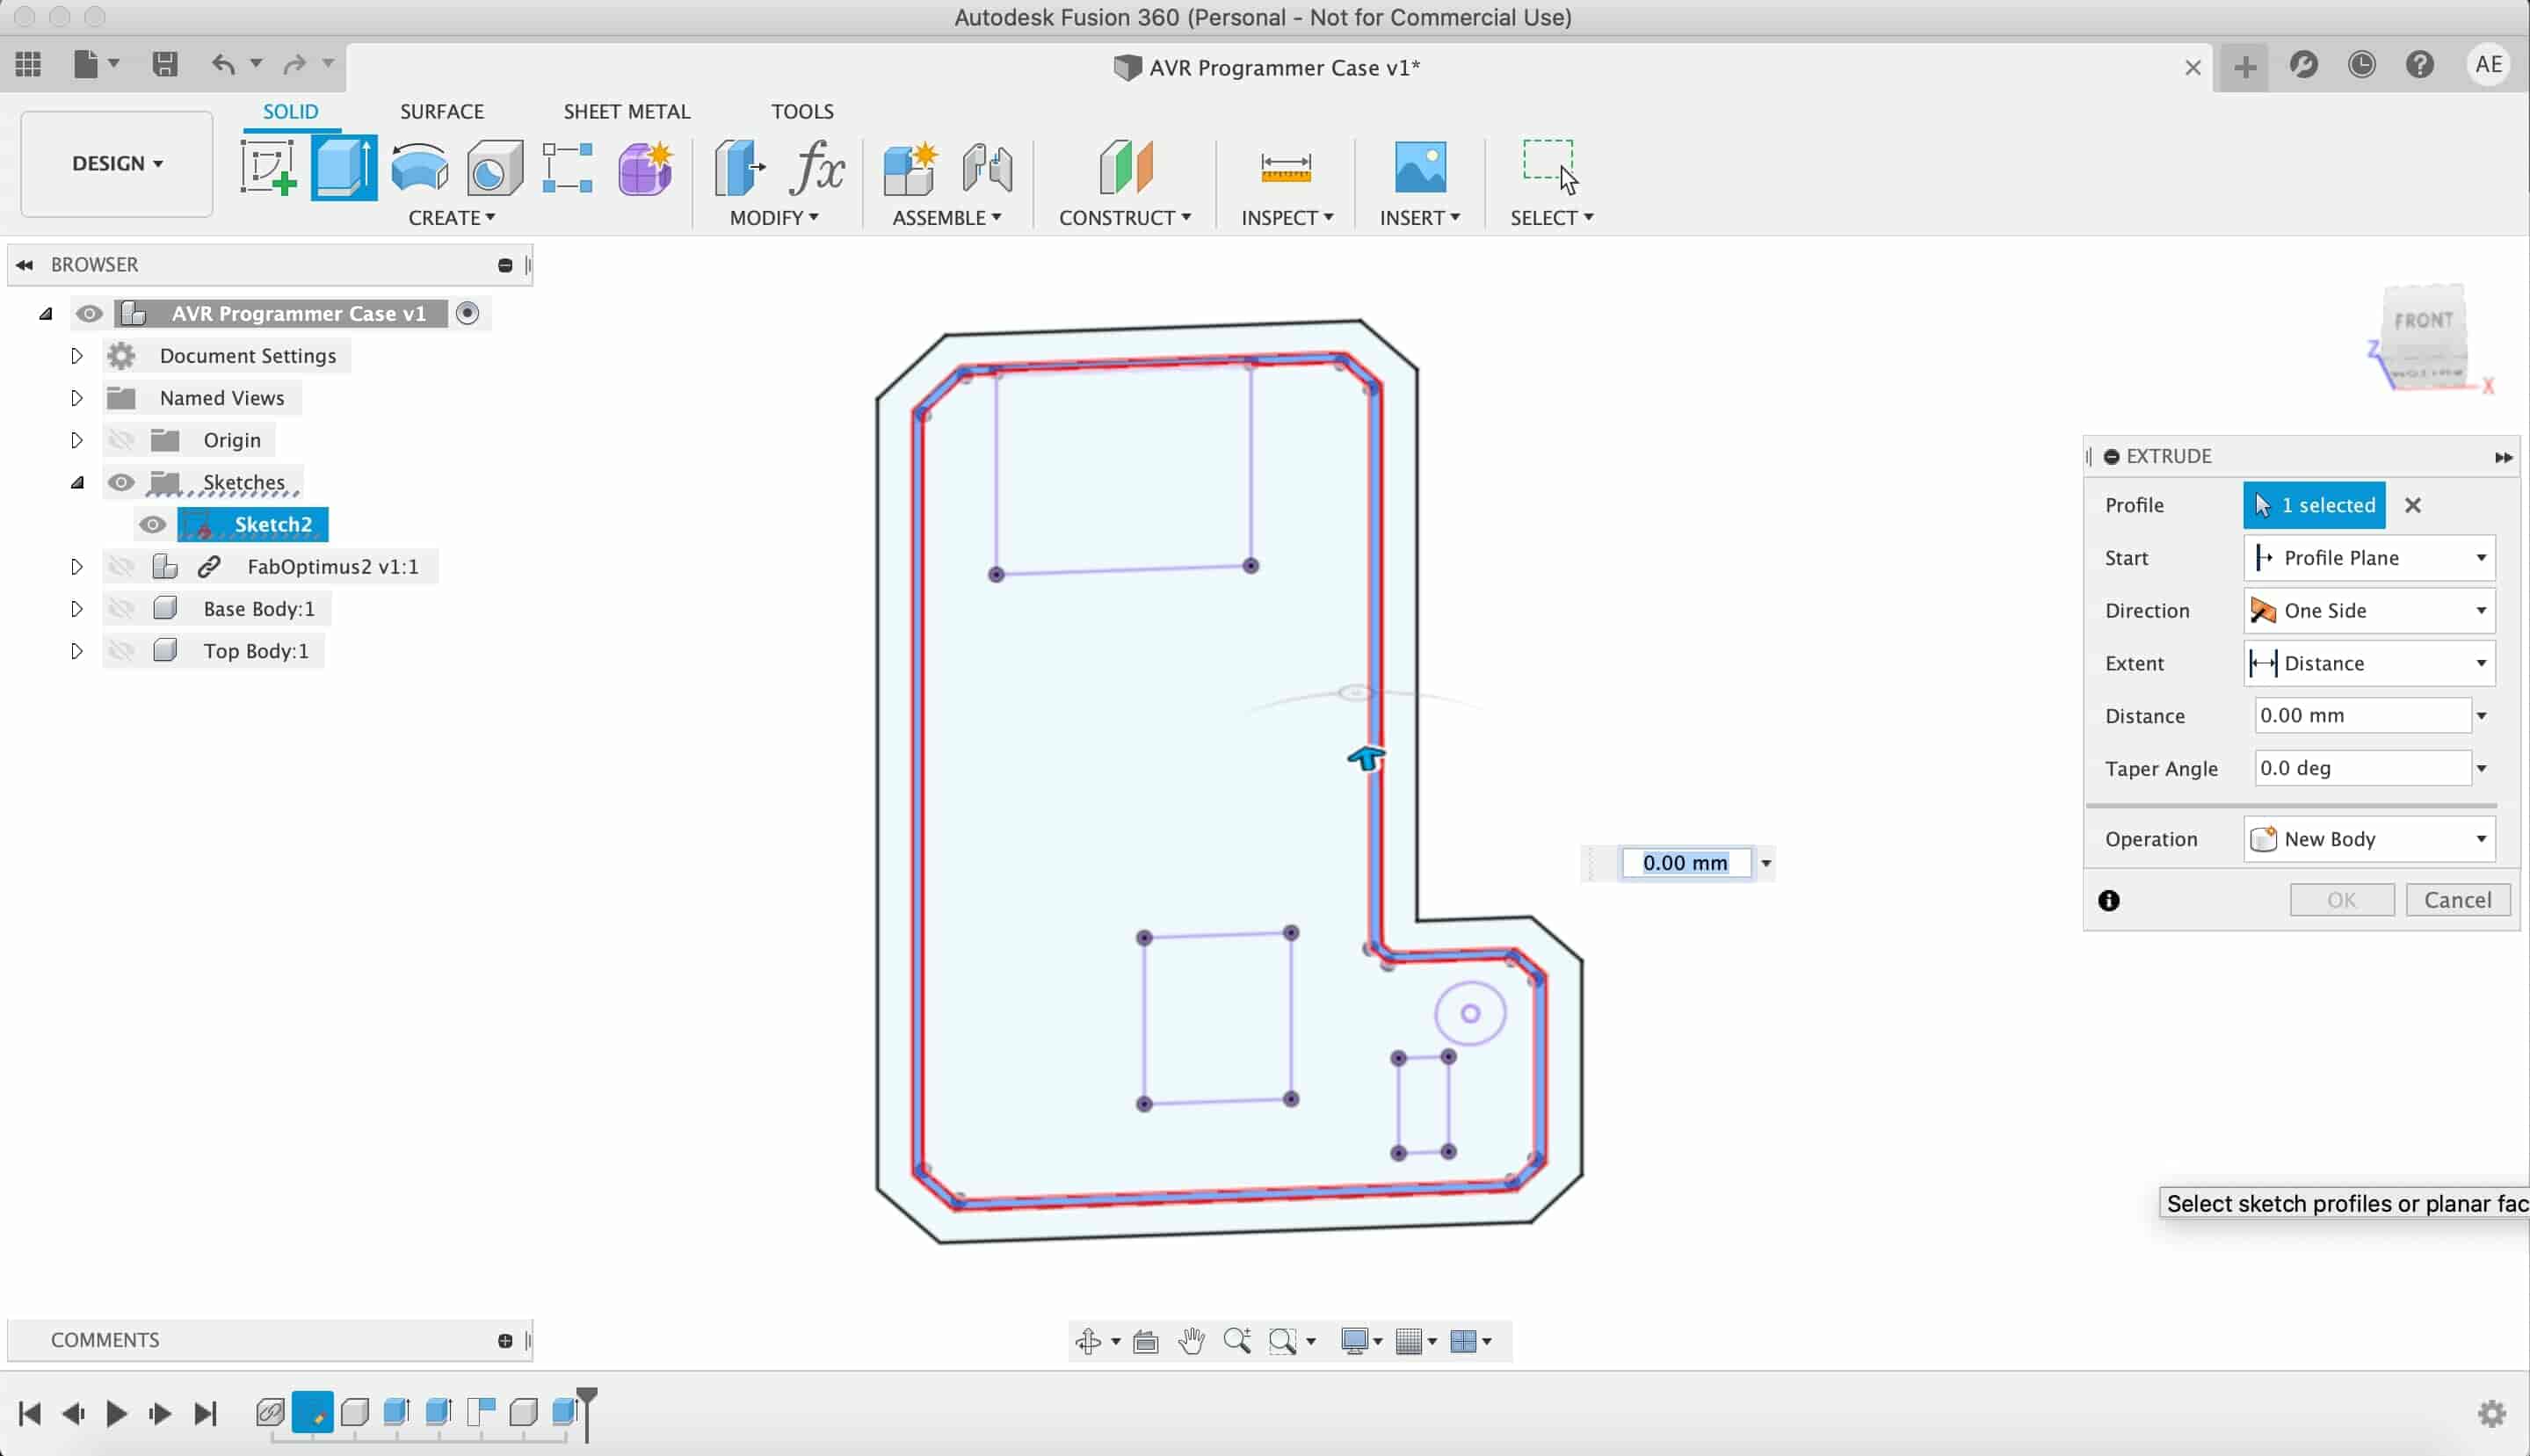
To make the base of the enclosure, I extruded the whole sketch with 2mm thickness. Also, I extruded the outer sketch that I made with the 2mm offset line.
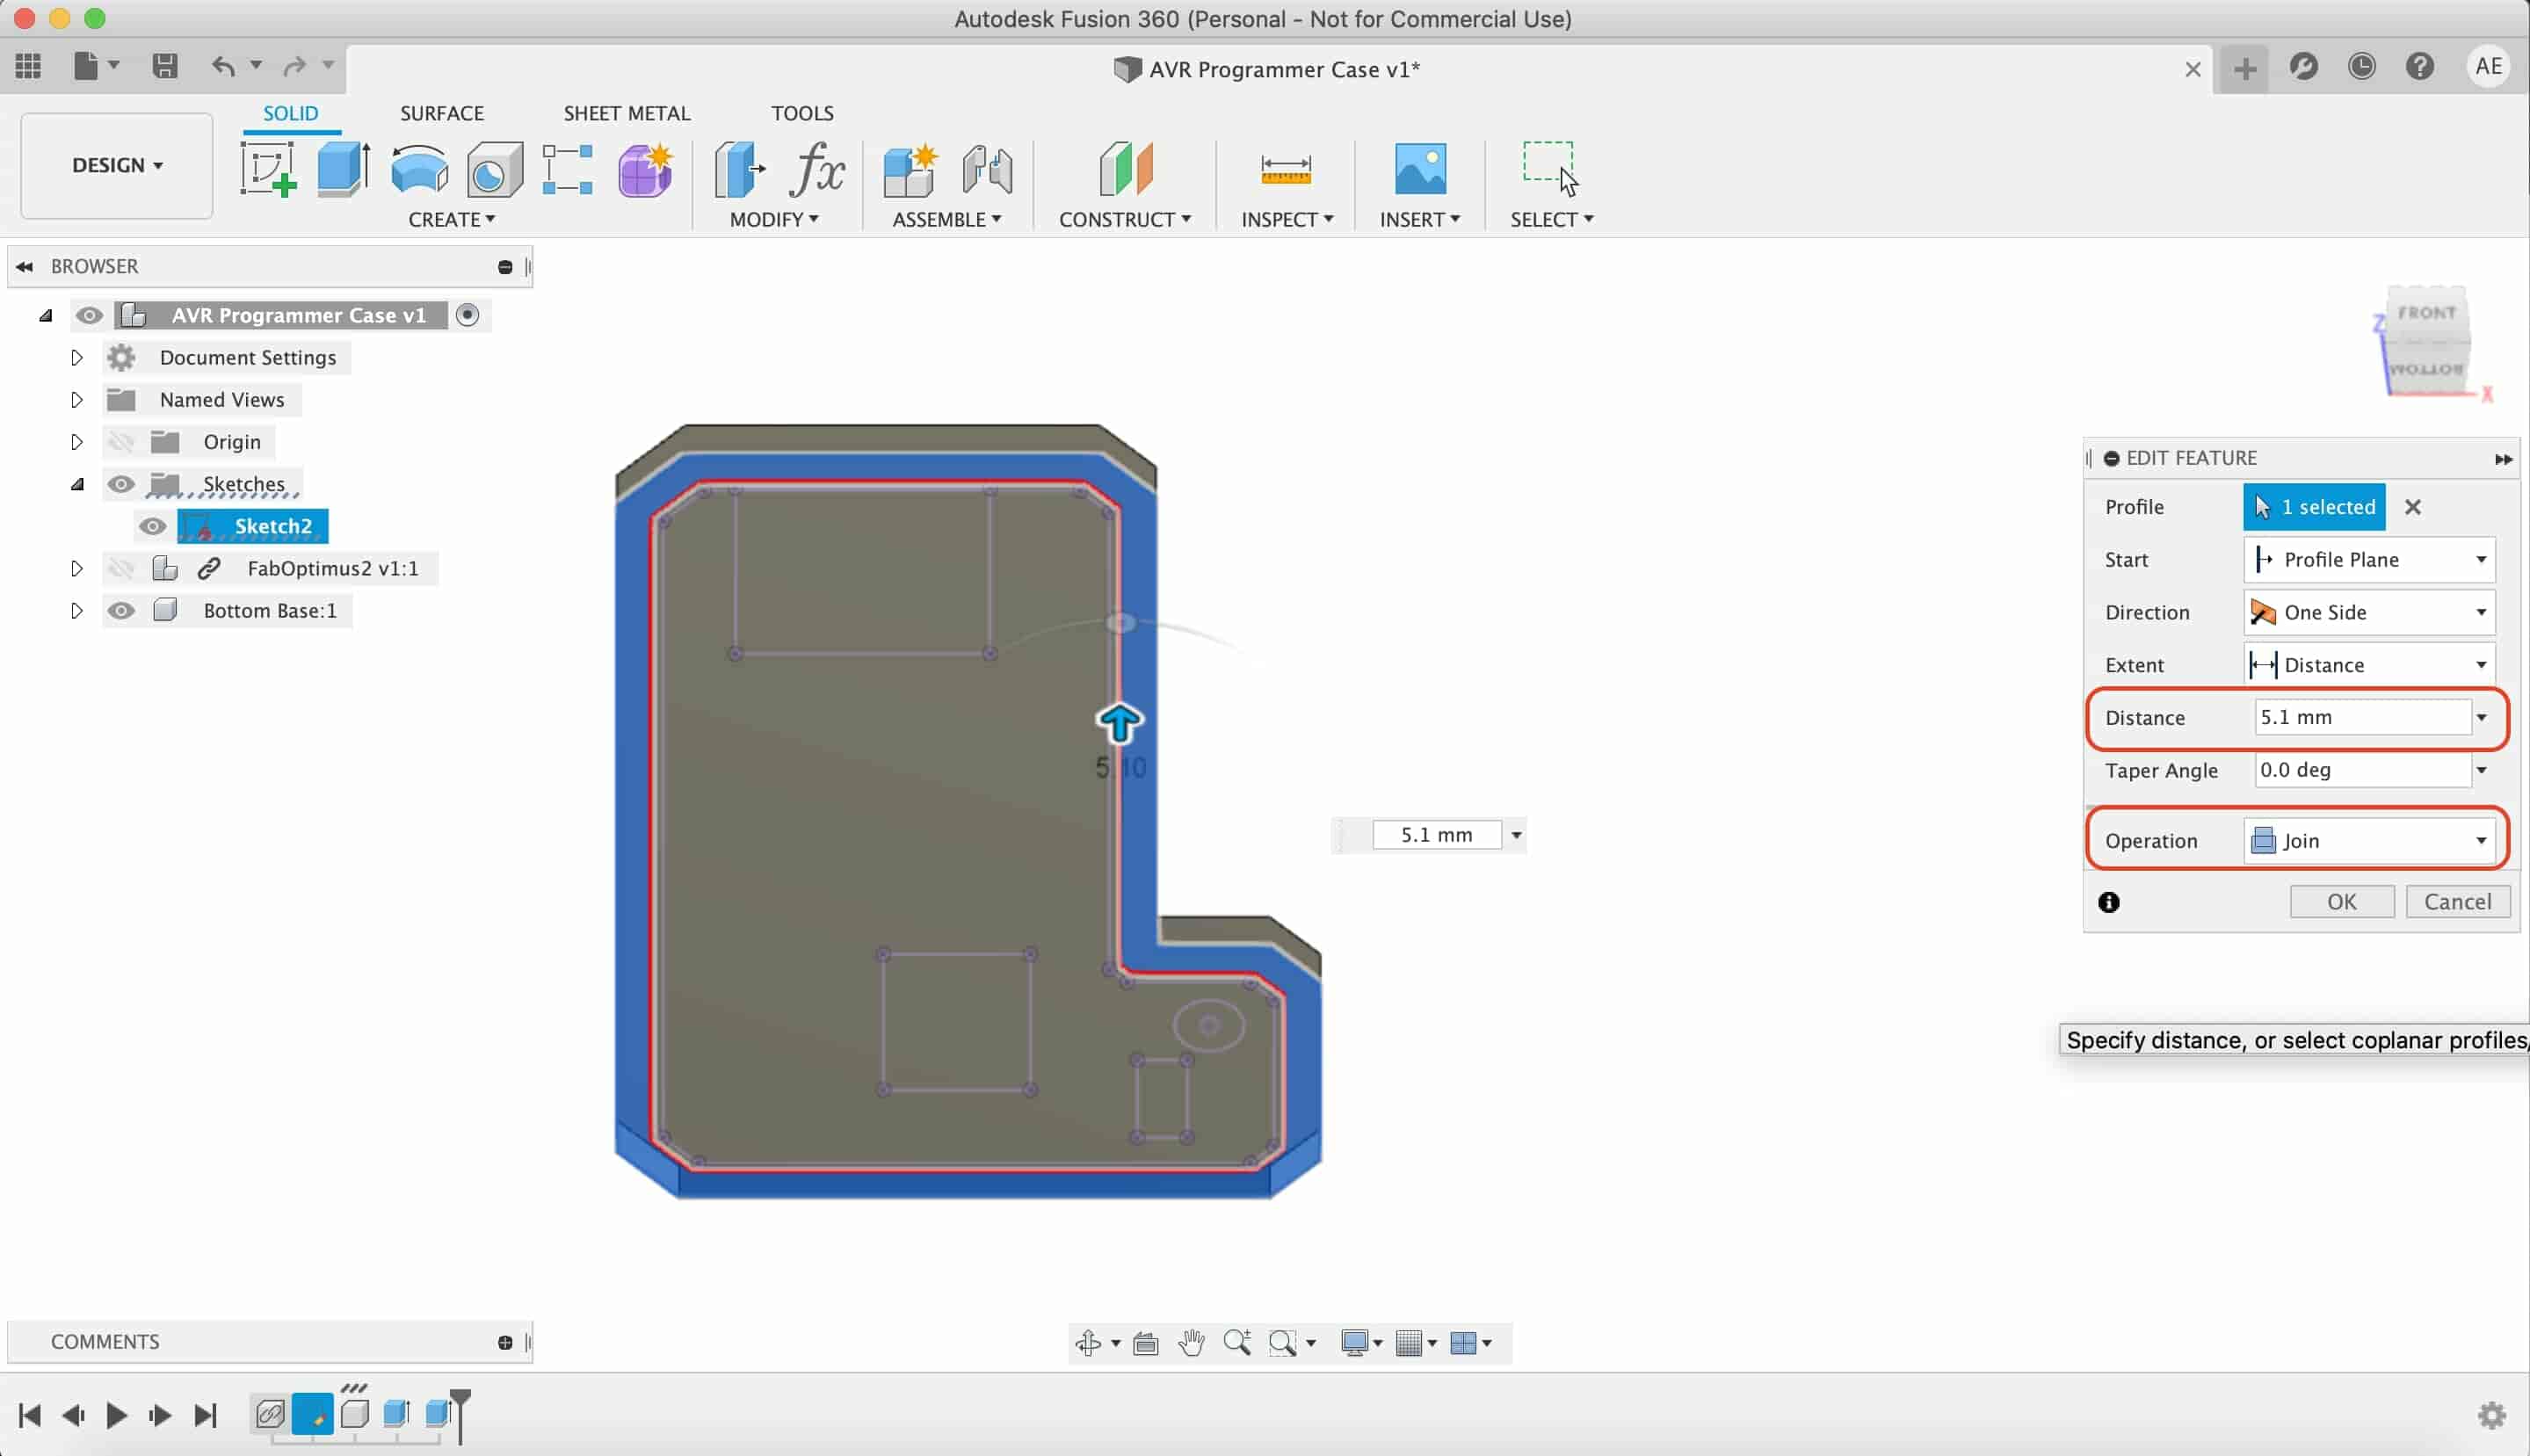
And to make the top part of the enclosure, I Selected the whole sketch again and extruded it starting from the highest point of the base part.

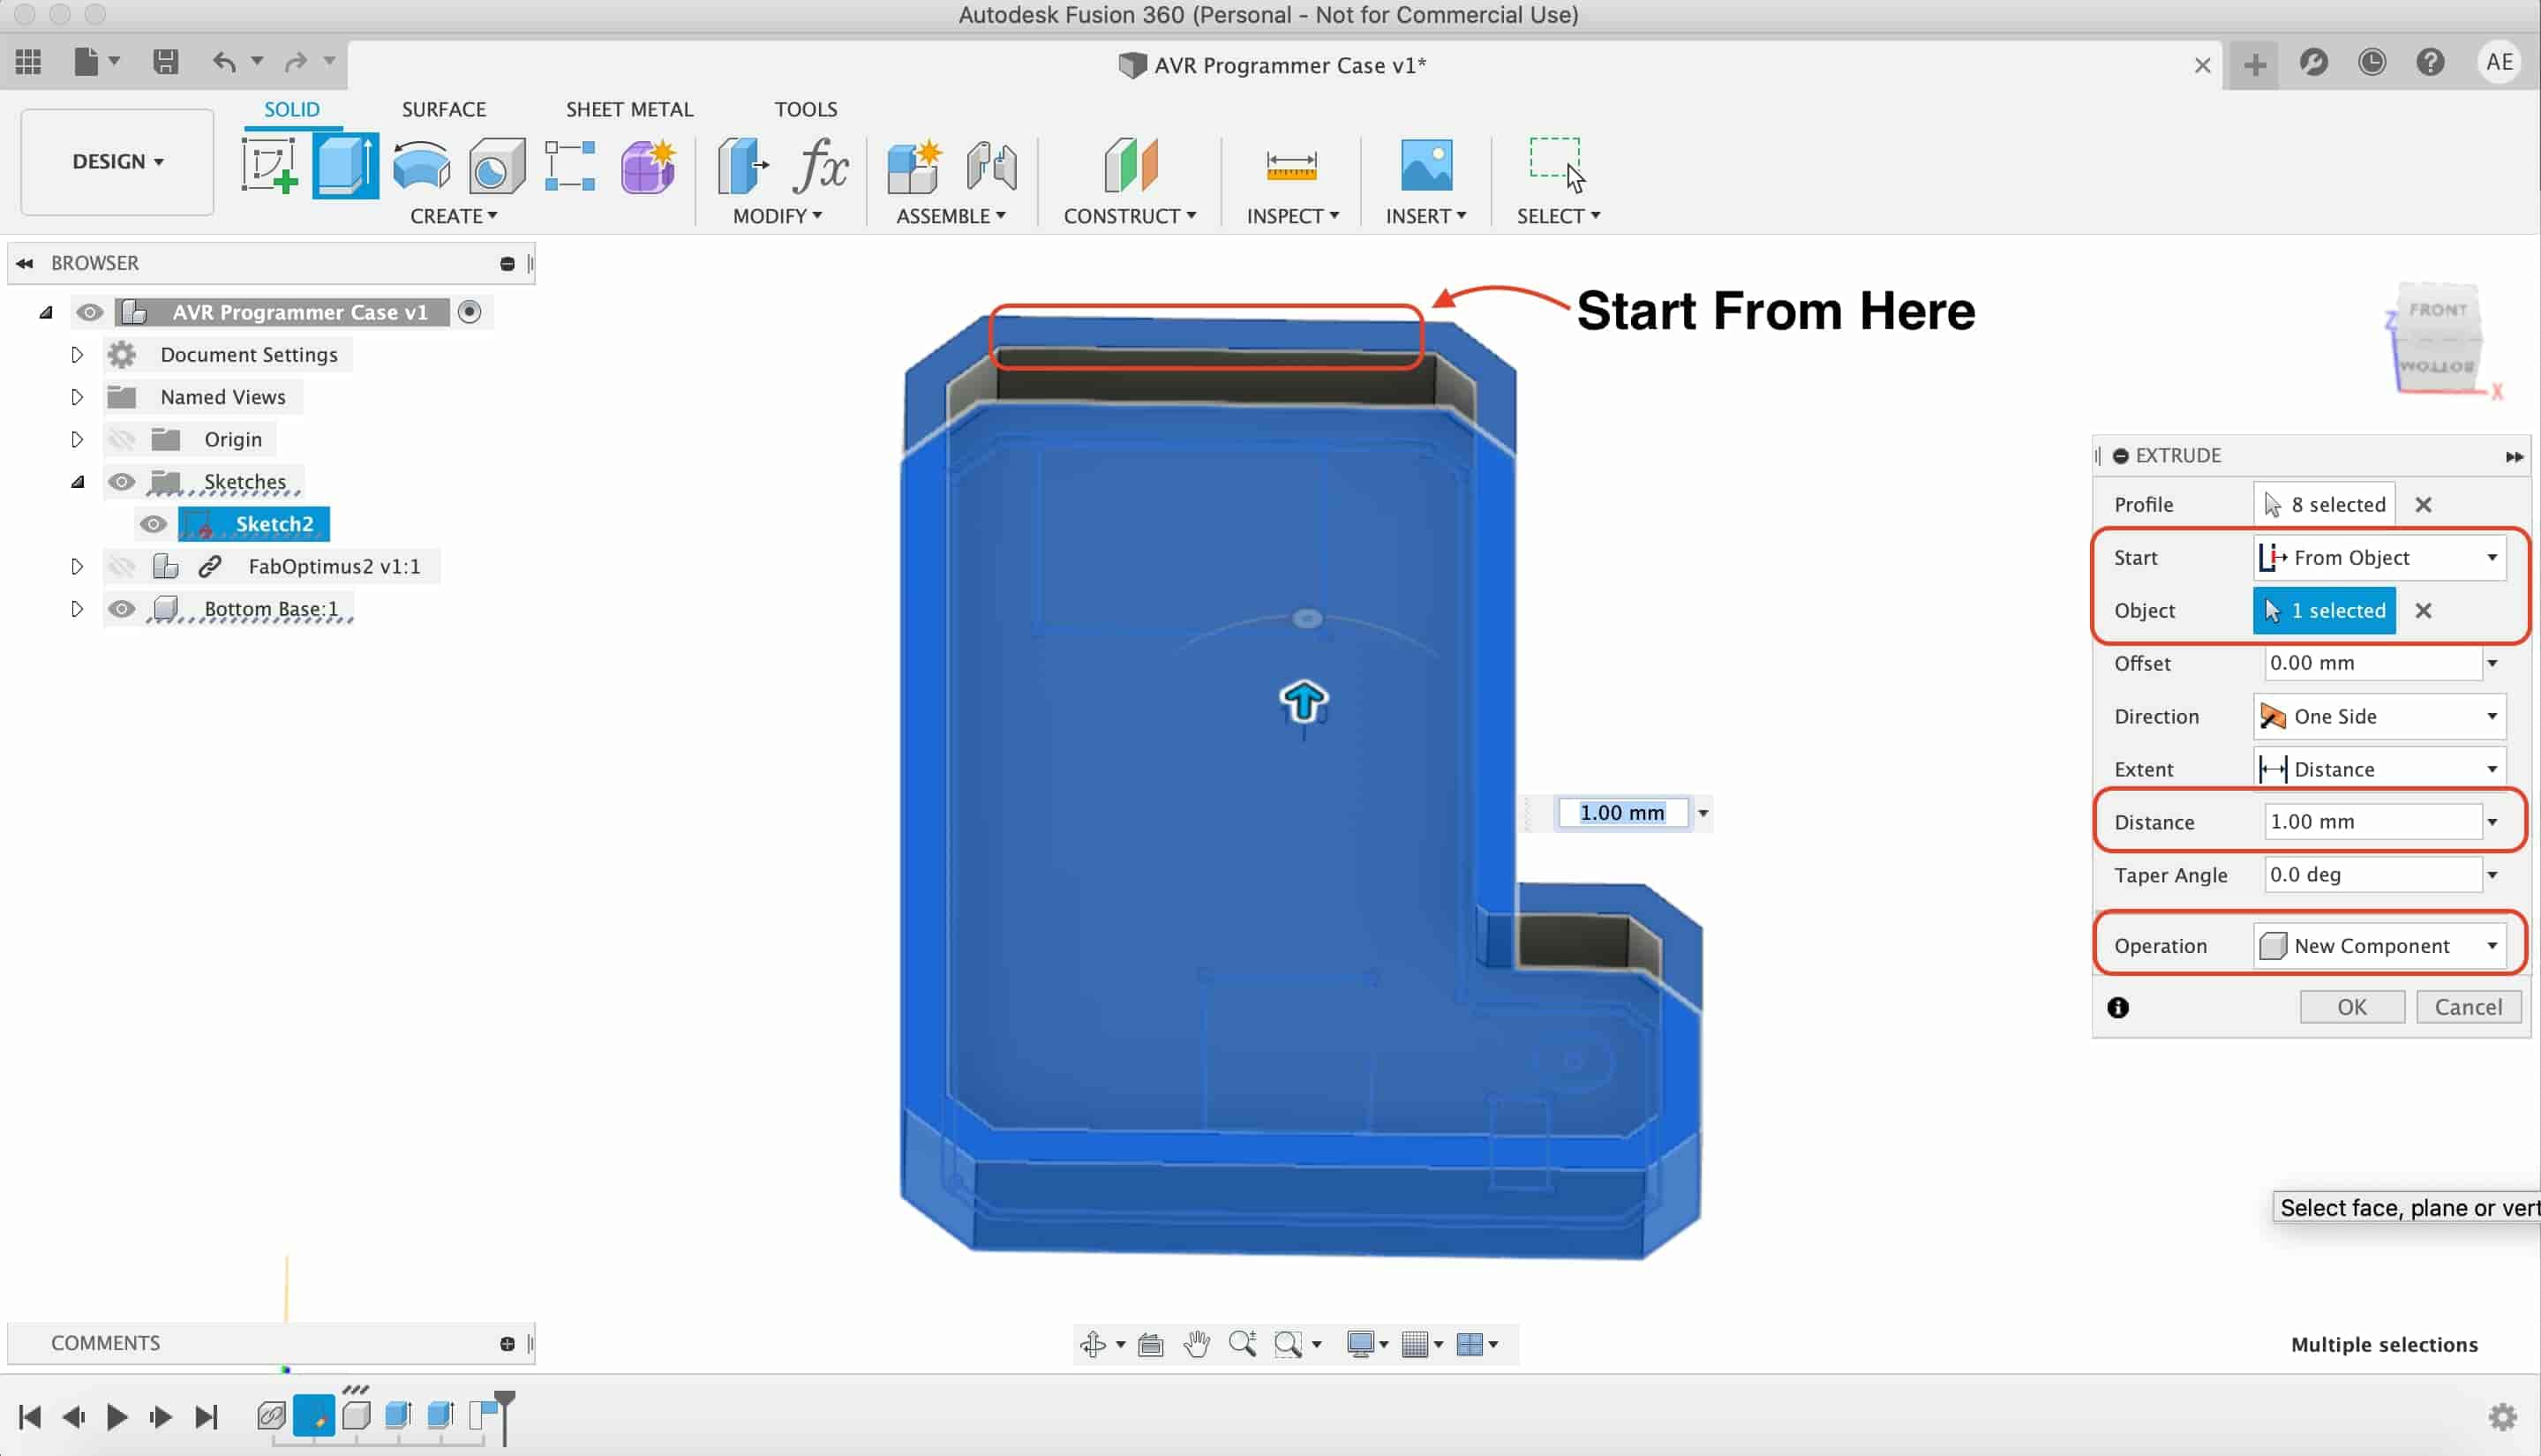
Then, I selected the inner sketch that I made with the 0.5mm offset line. And started the extrude form the bottom face of the top enclosure part.
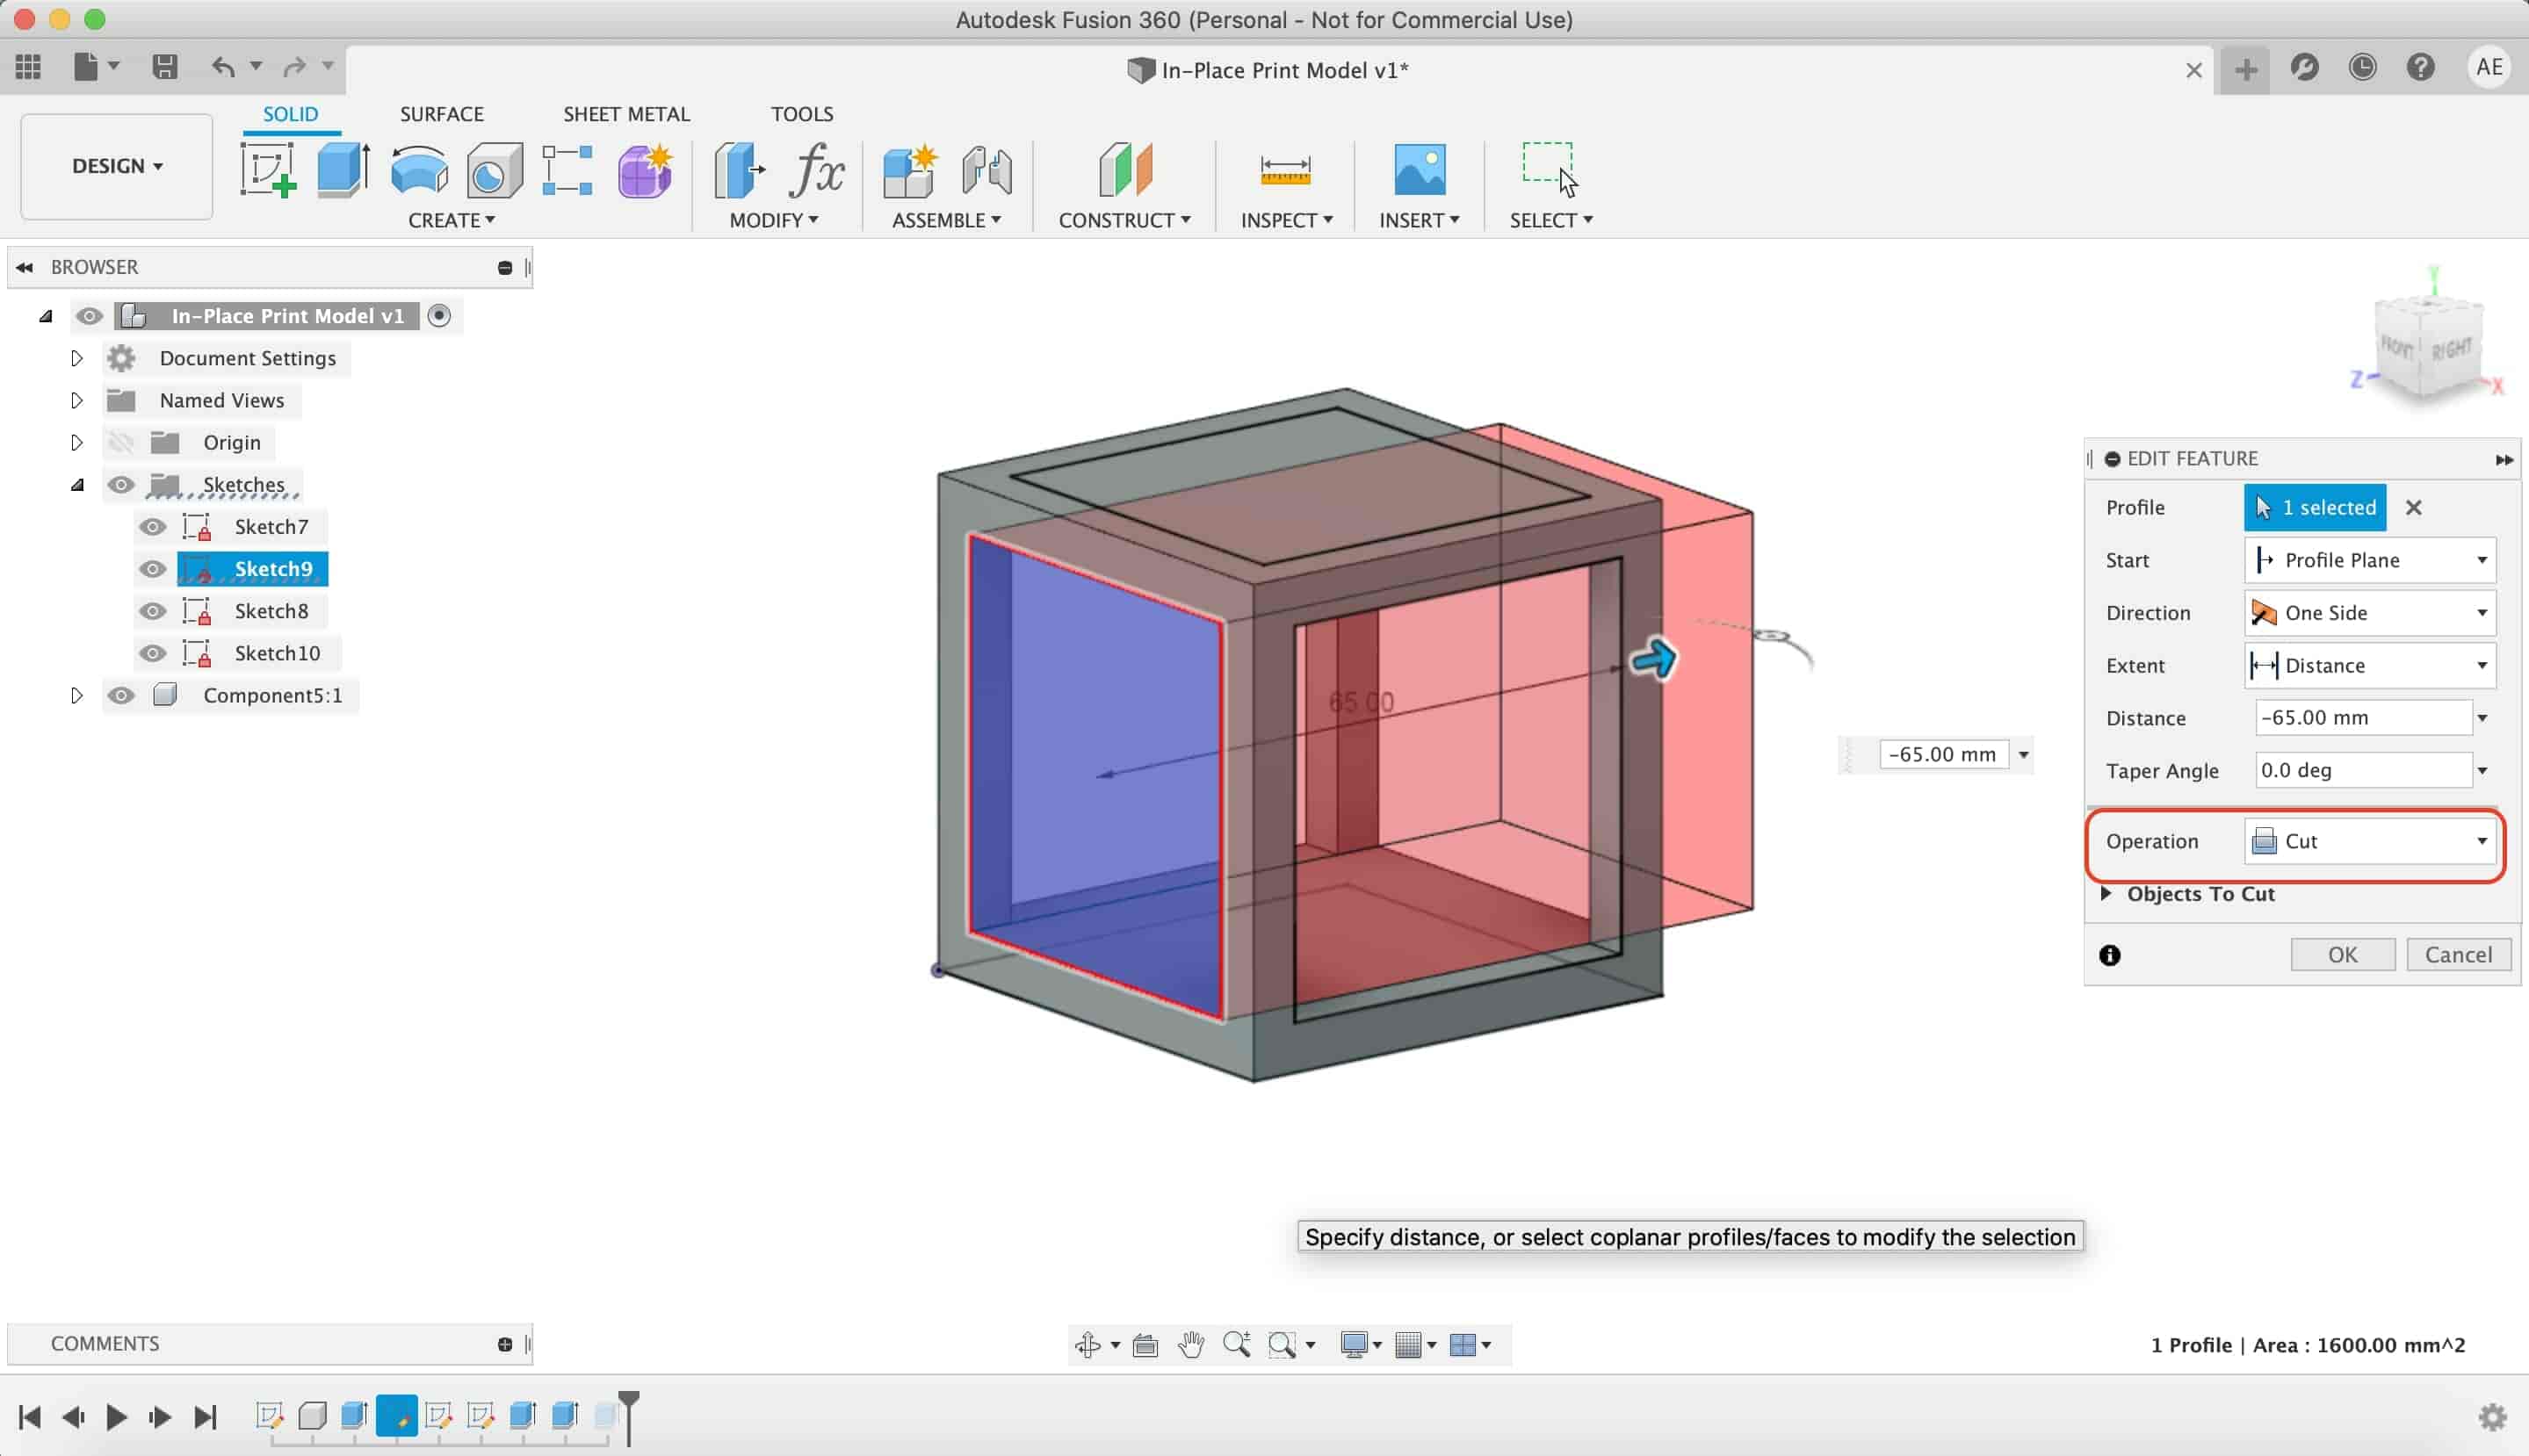
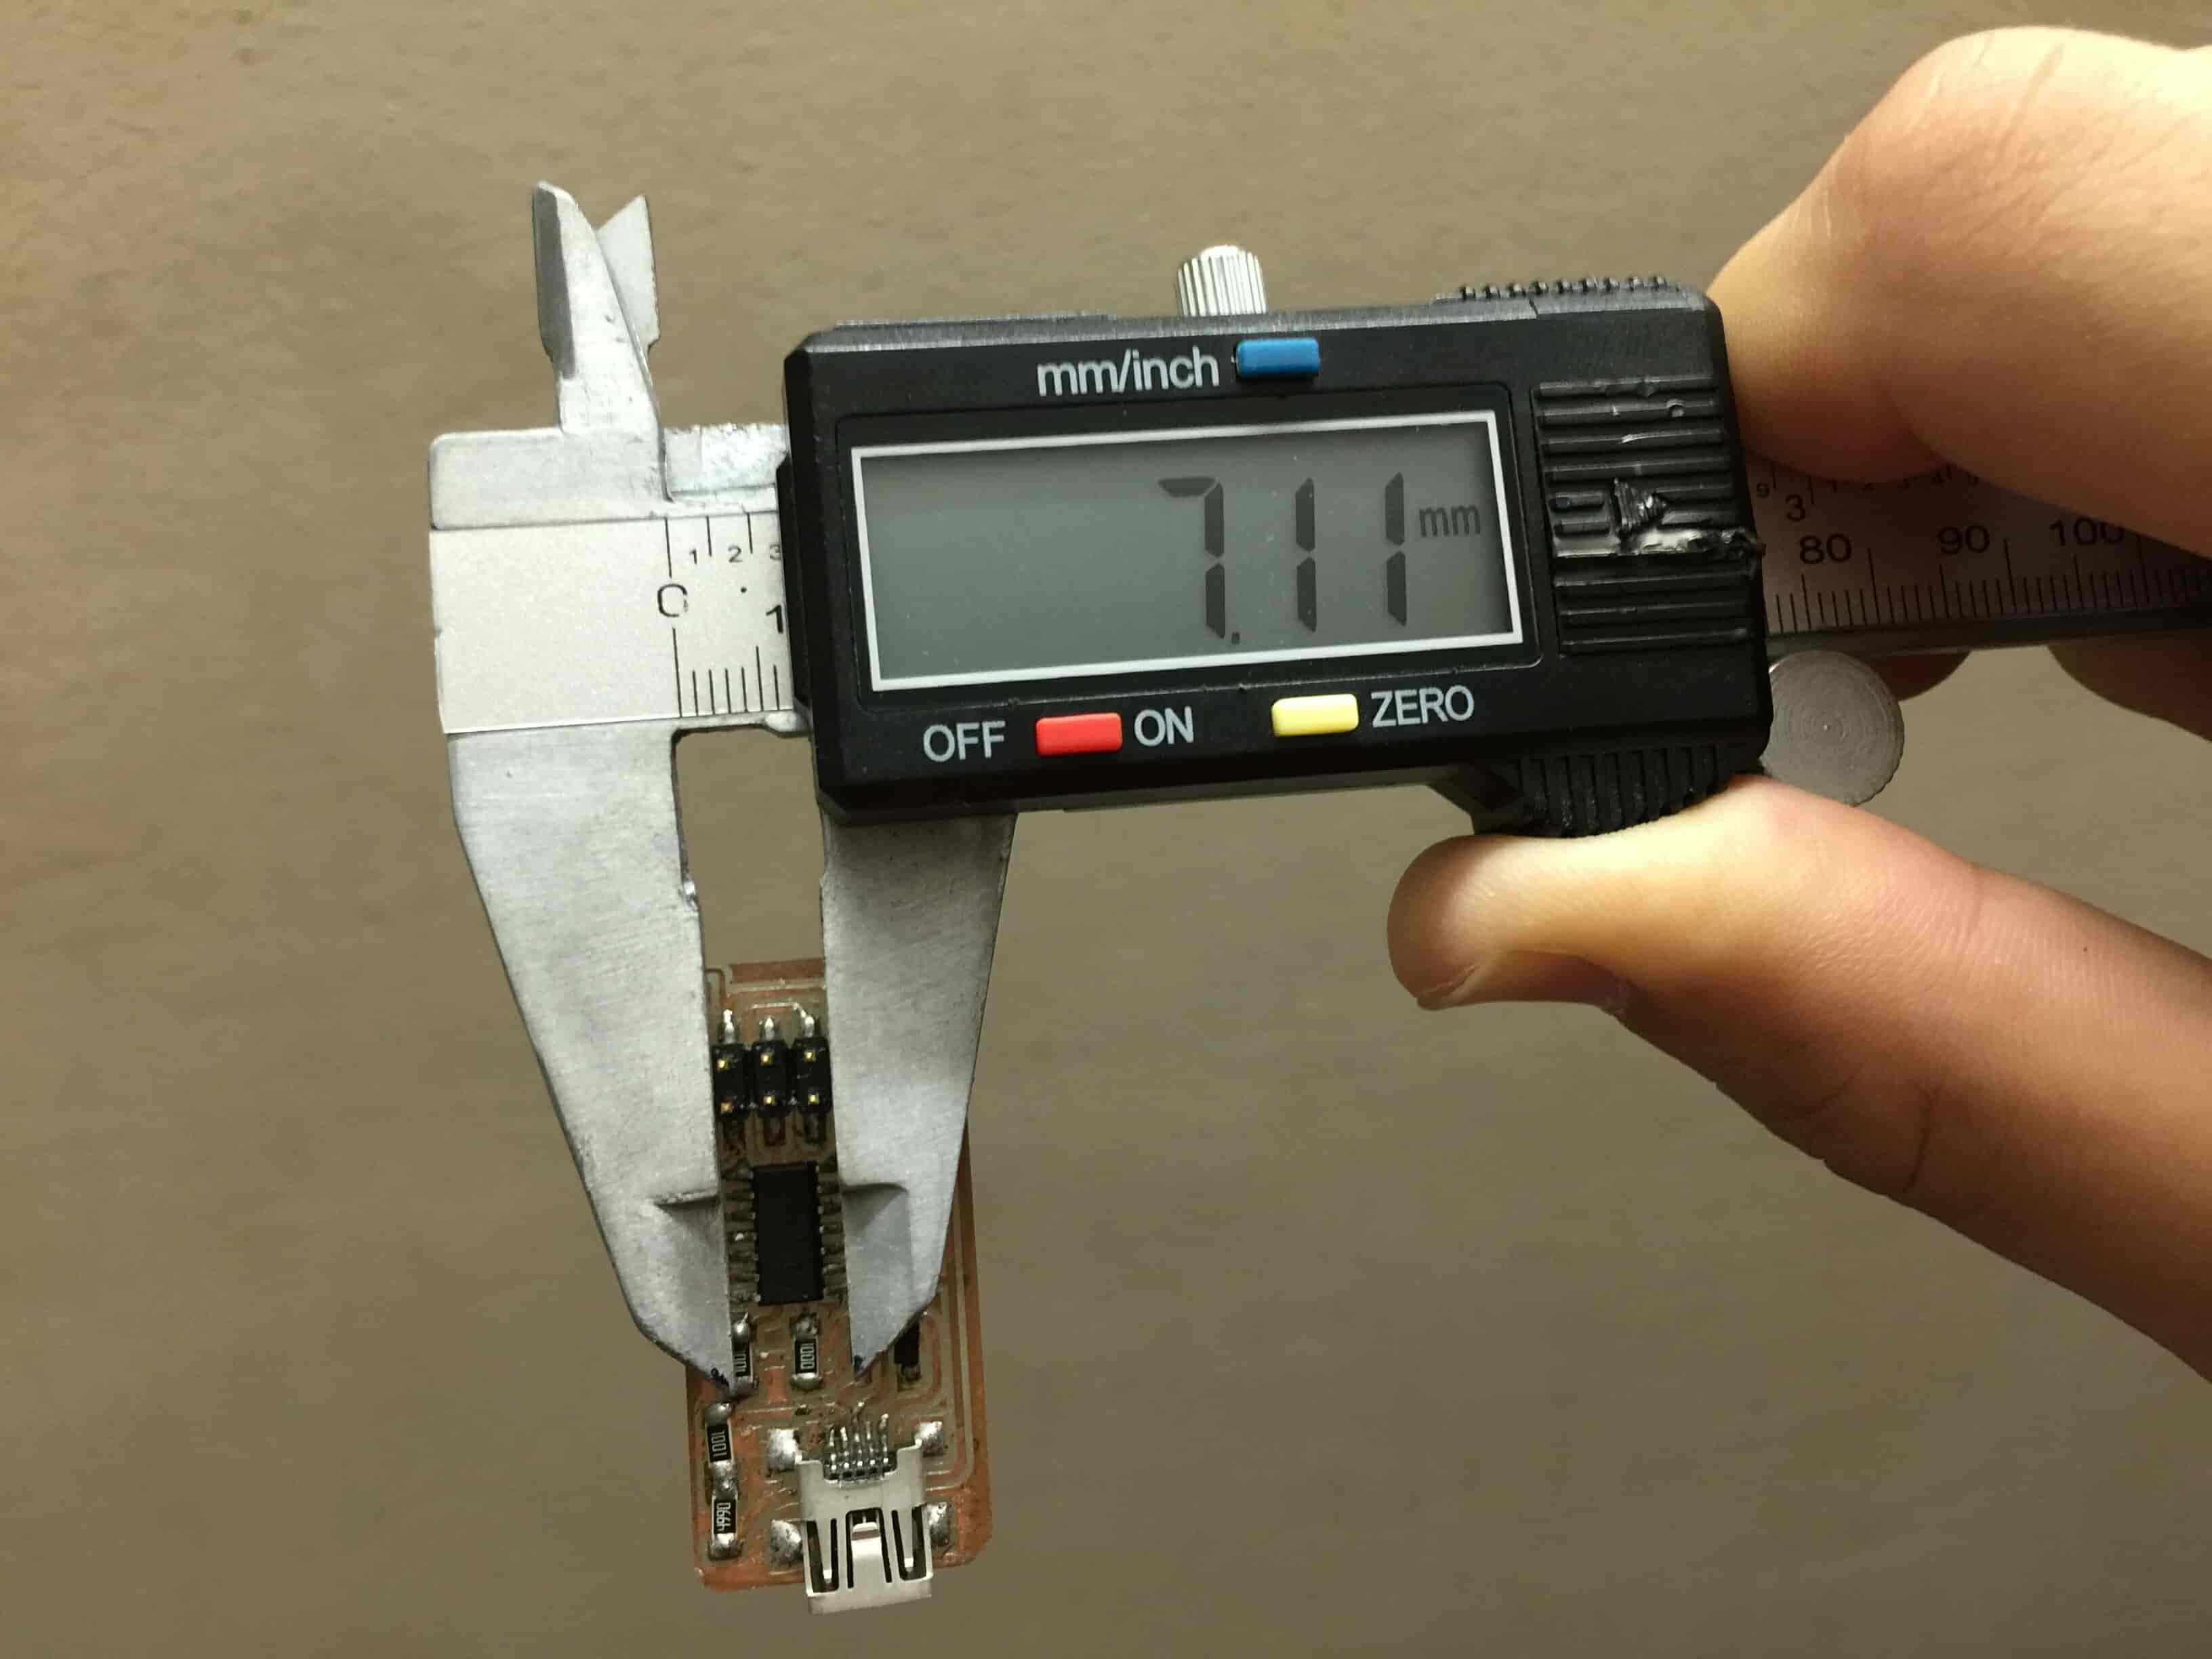
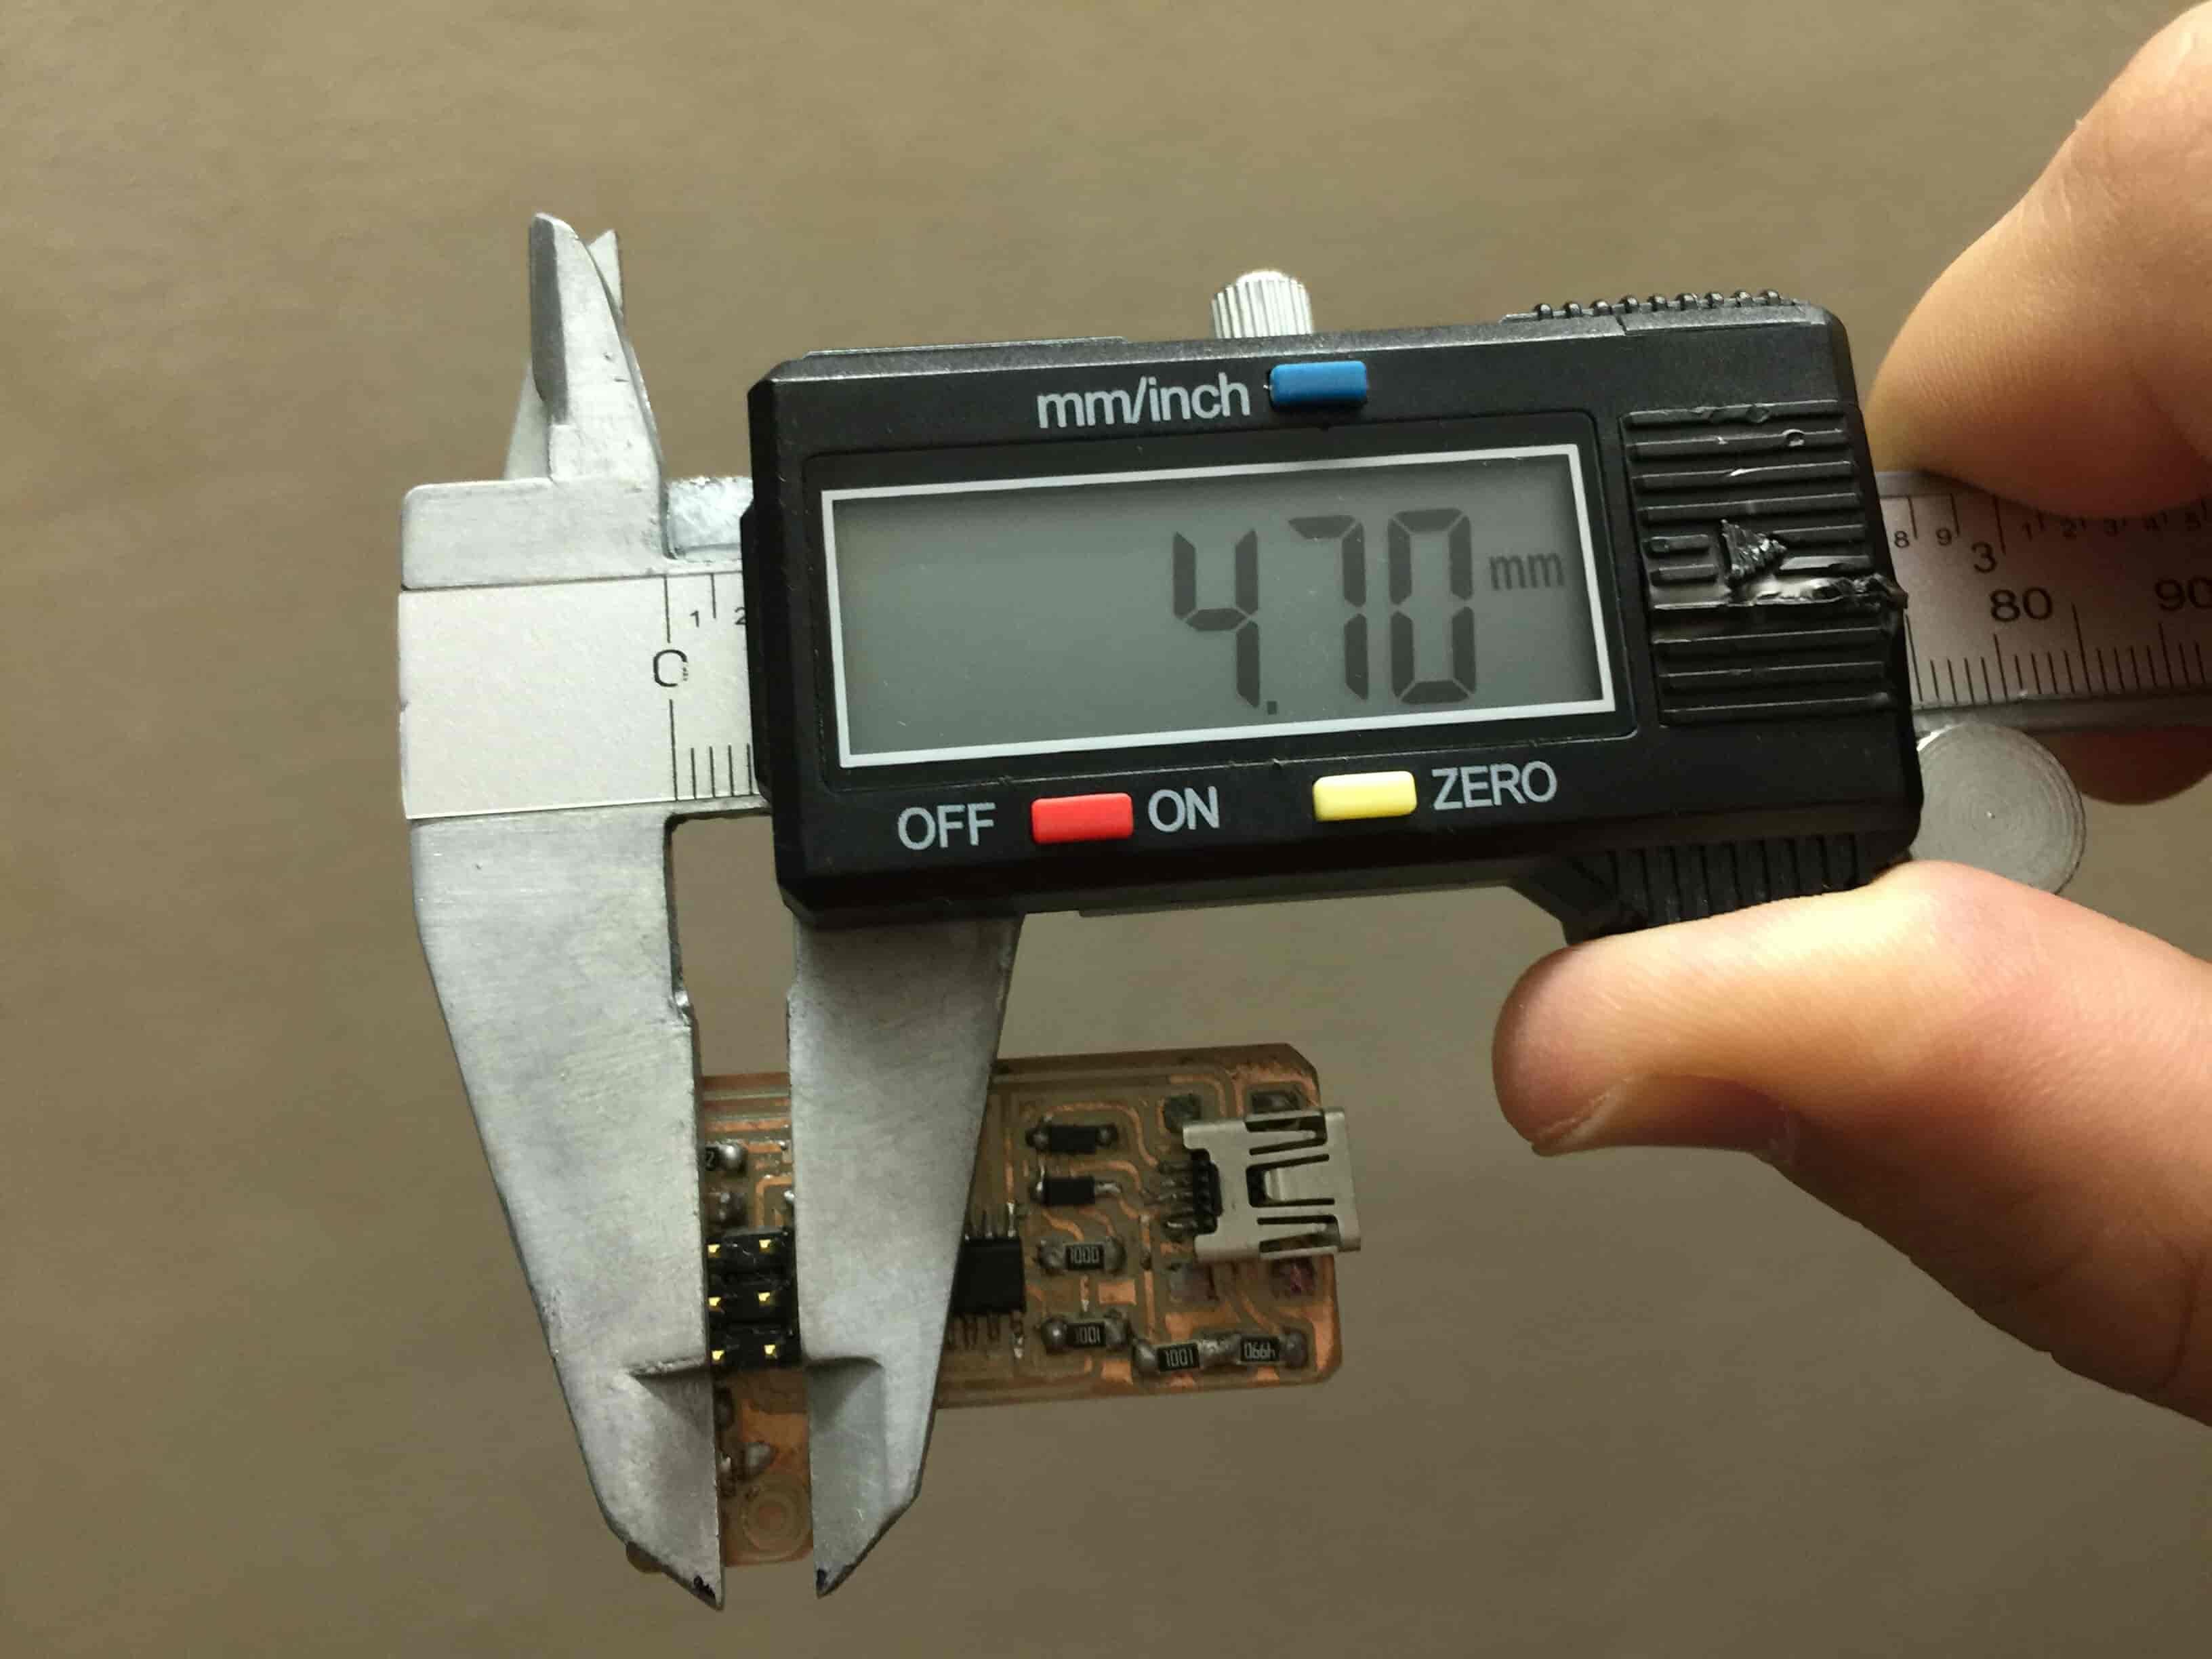
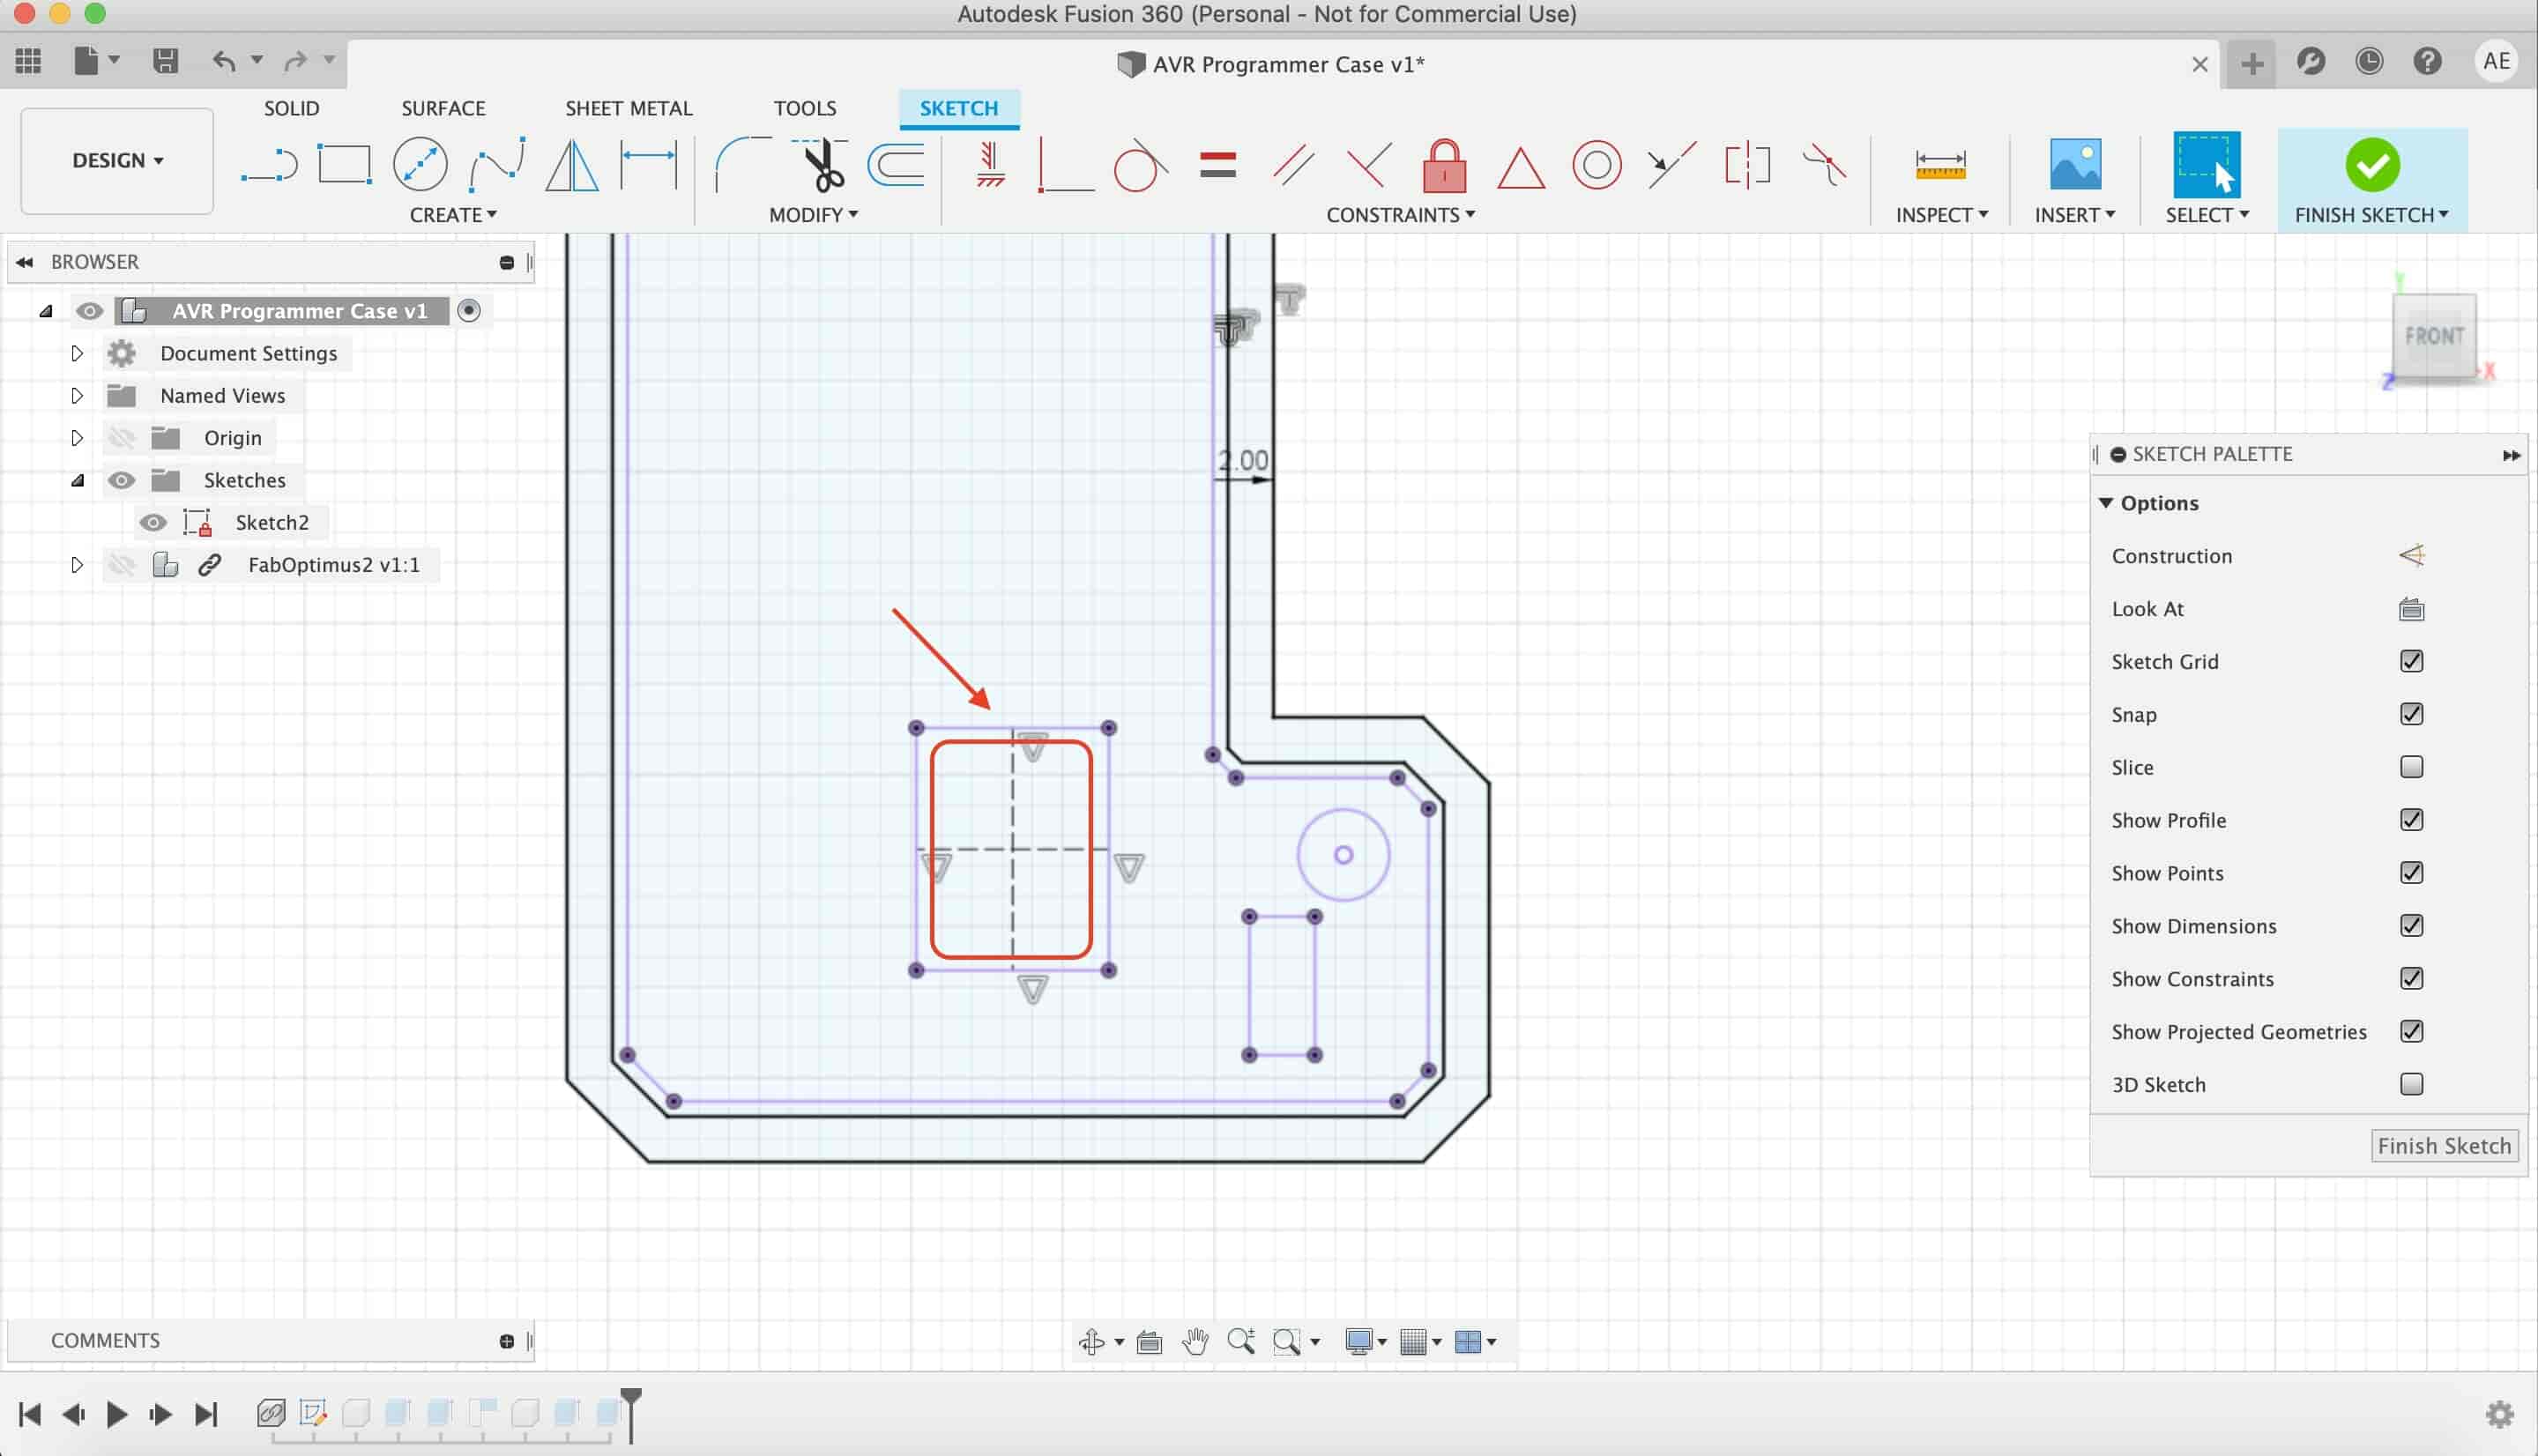
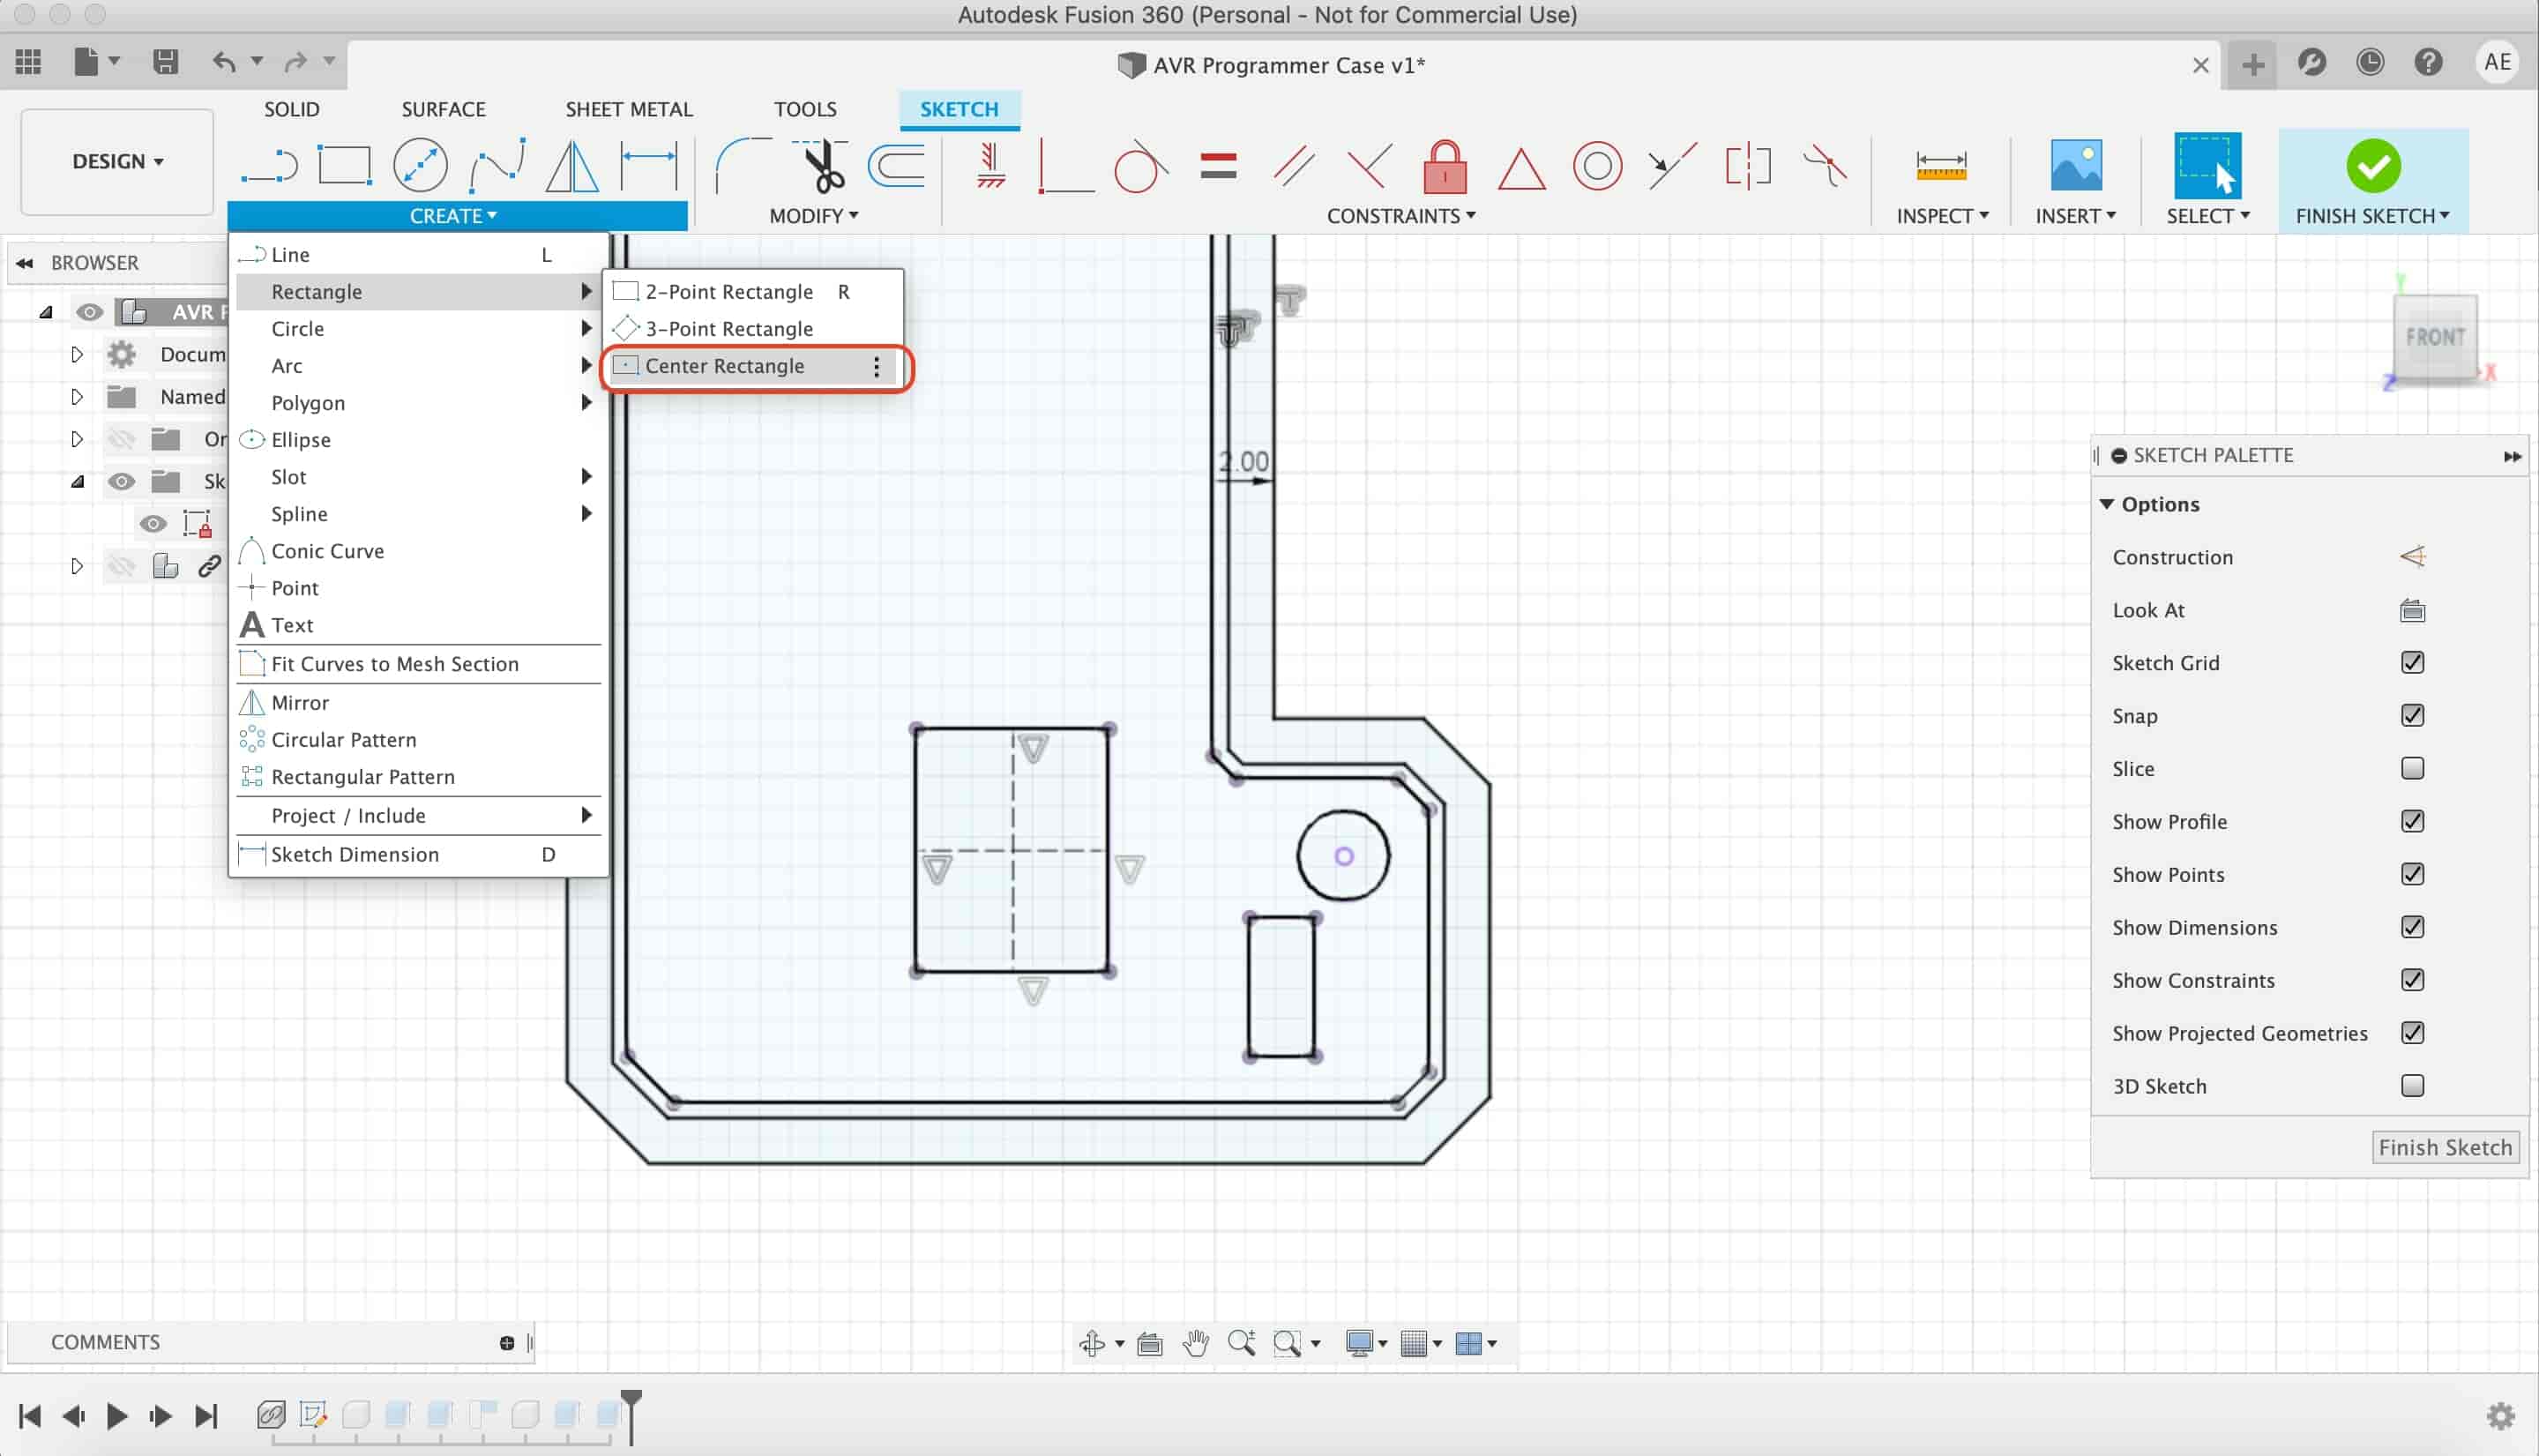
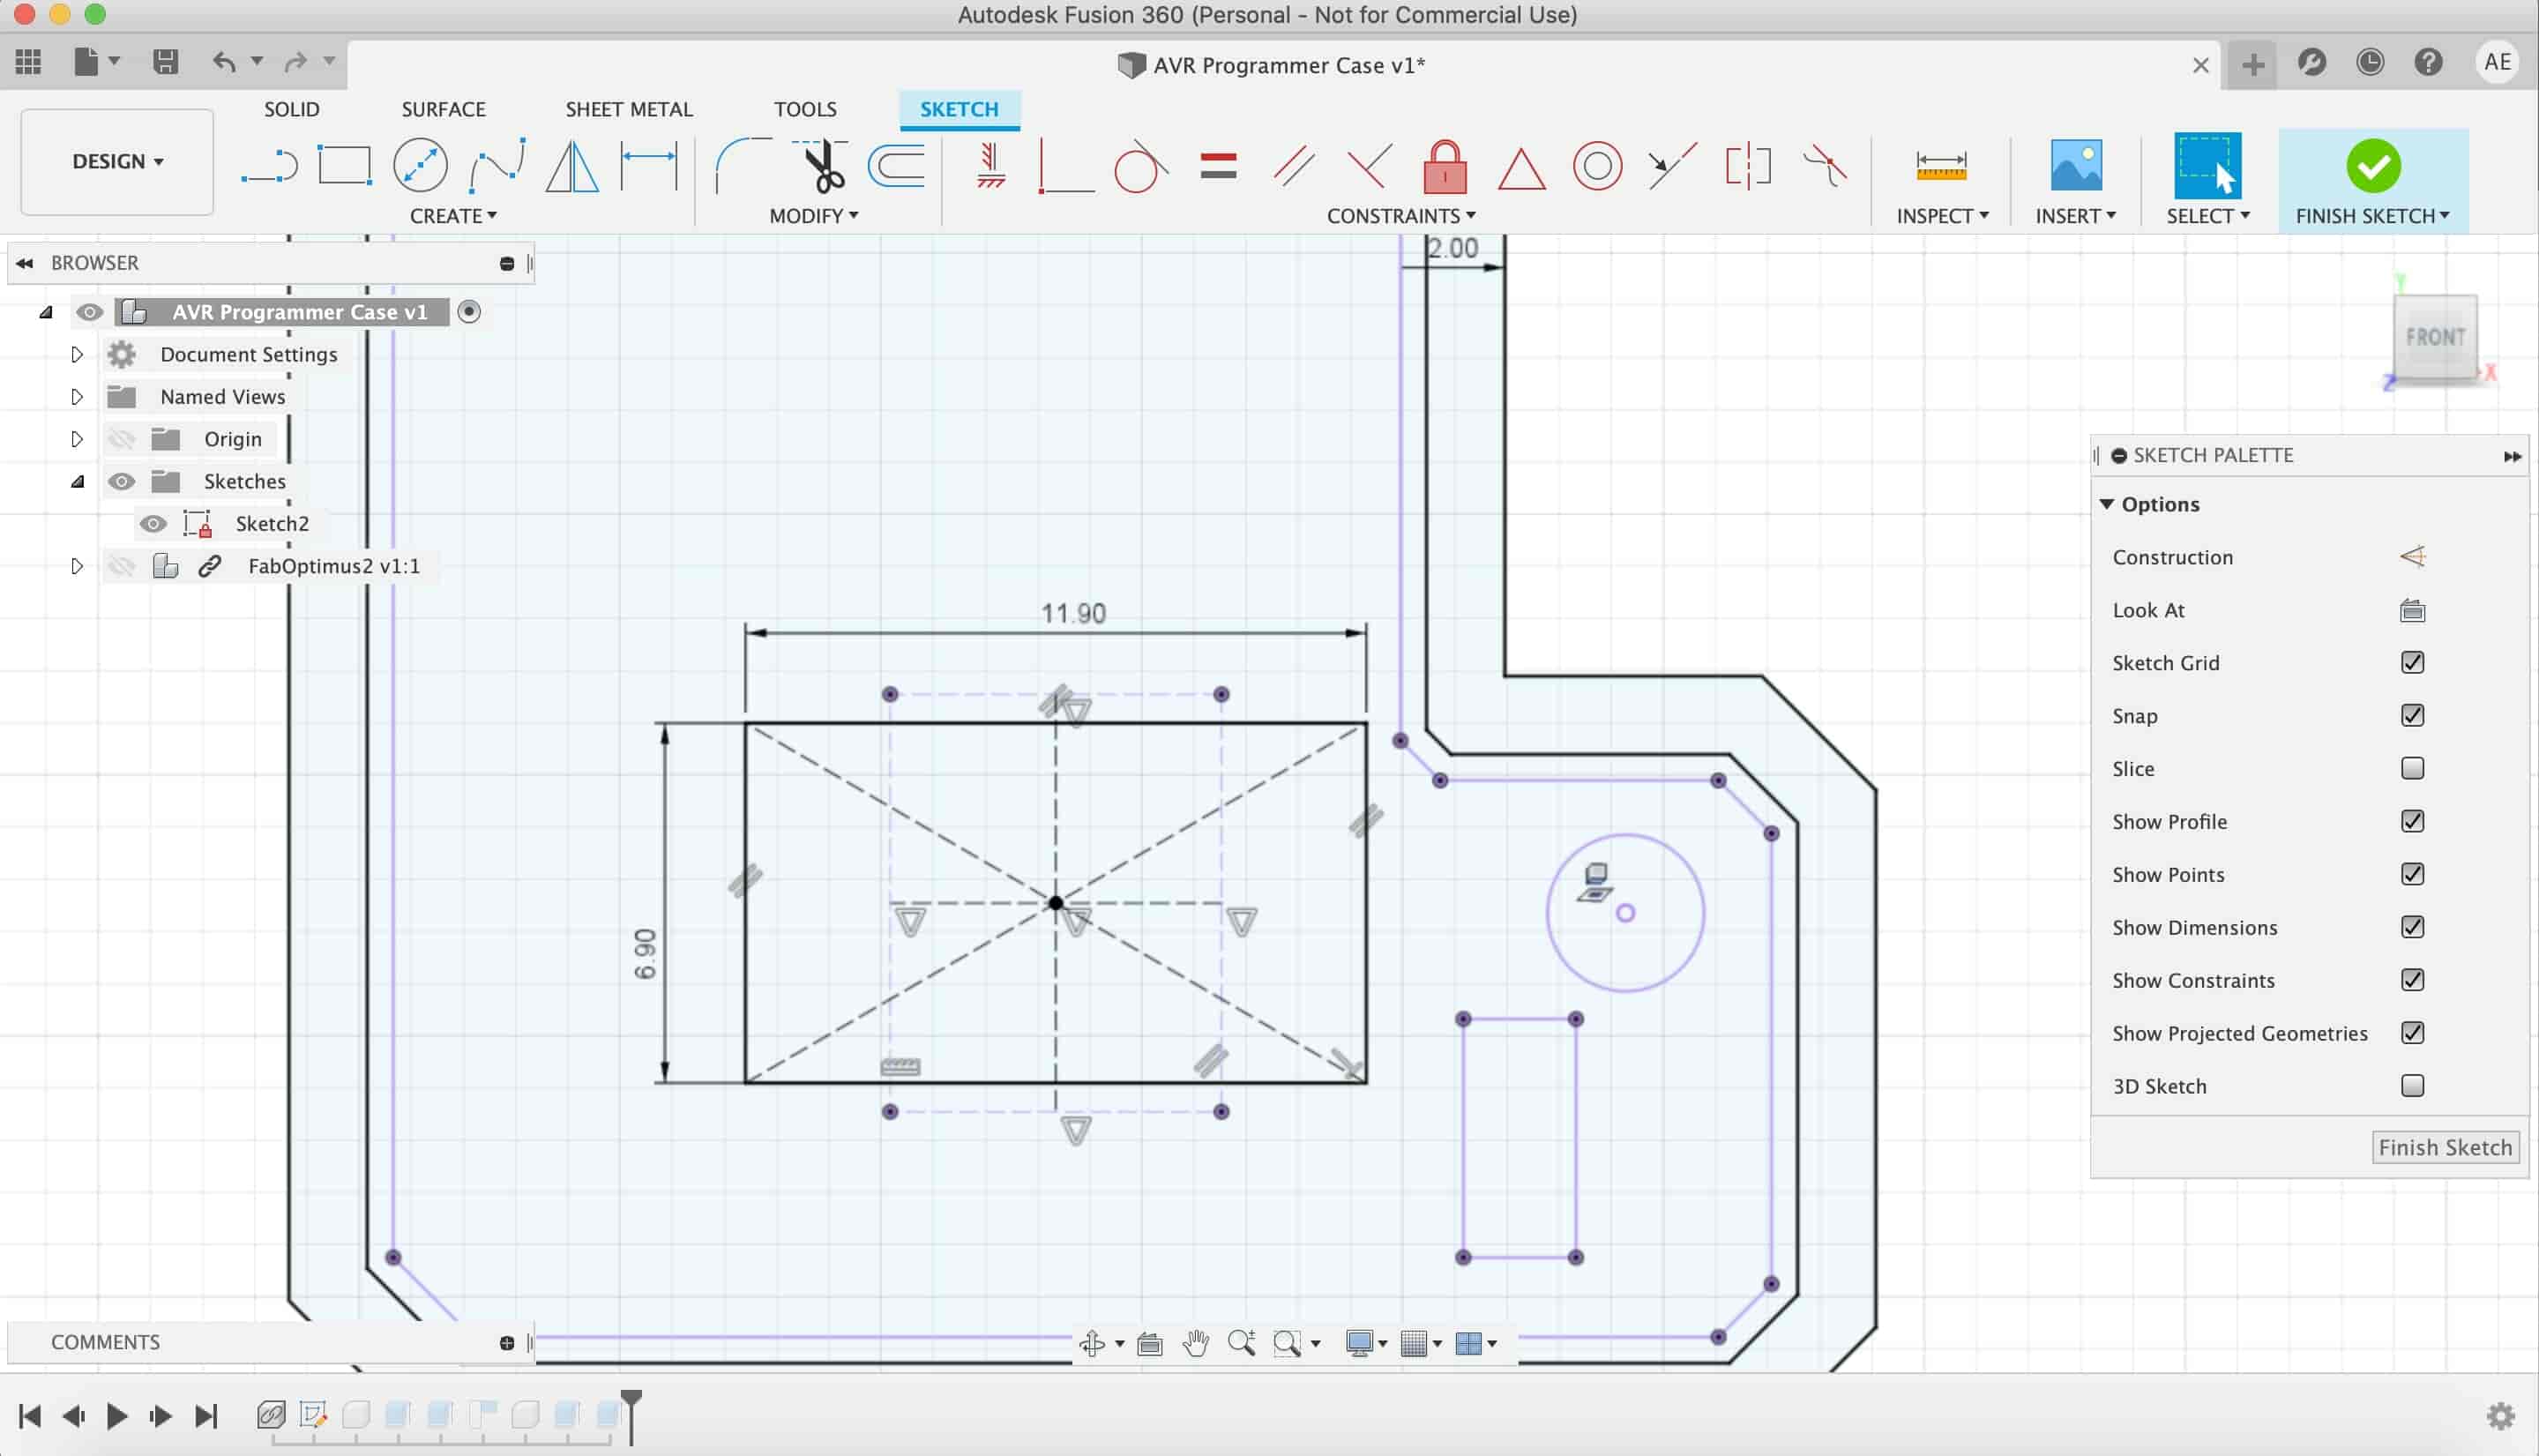
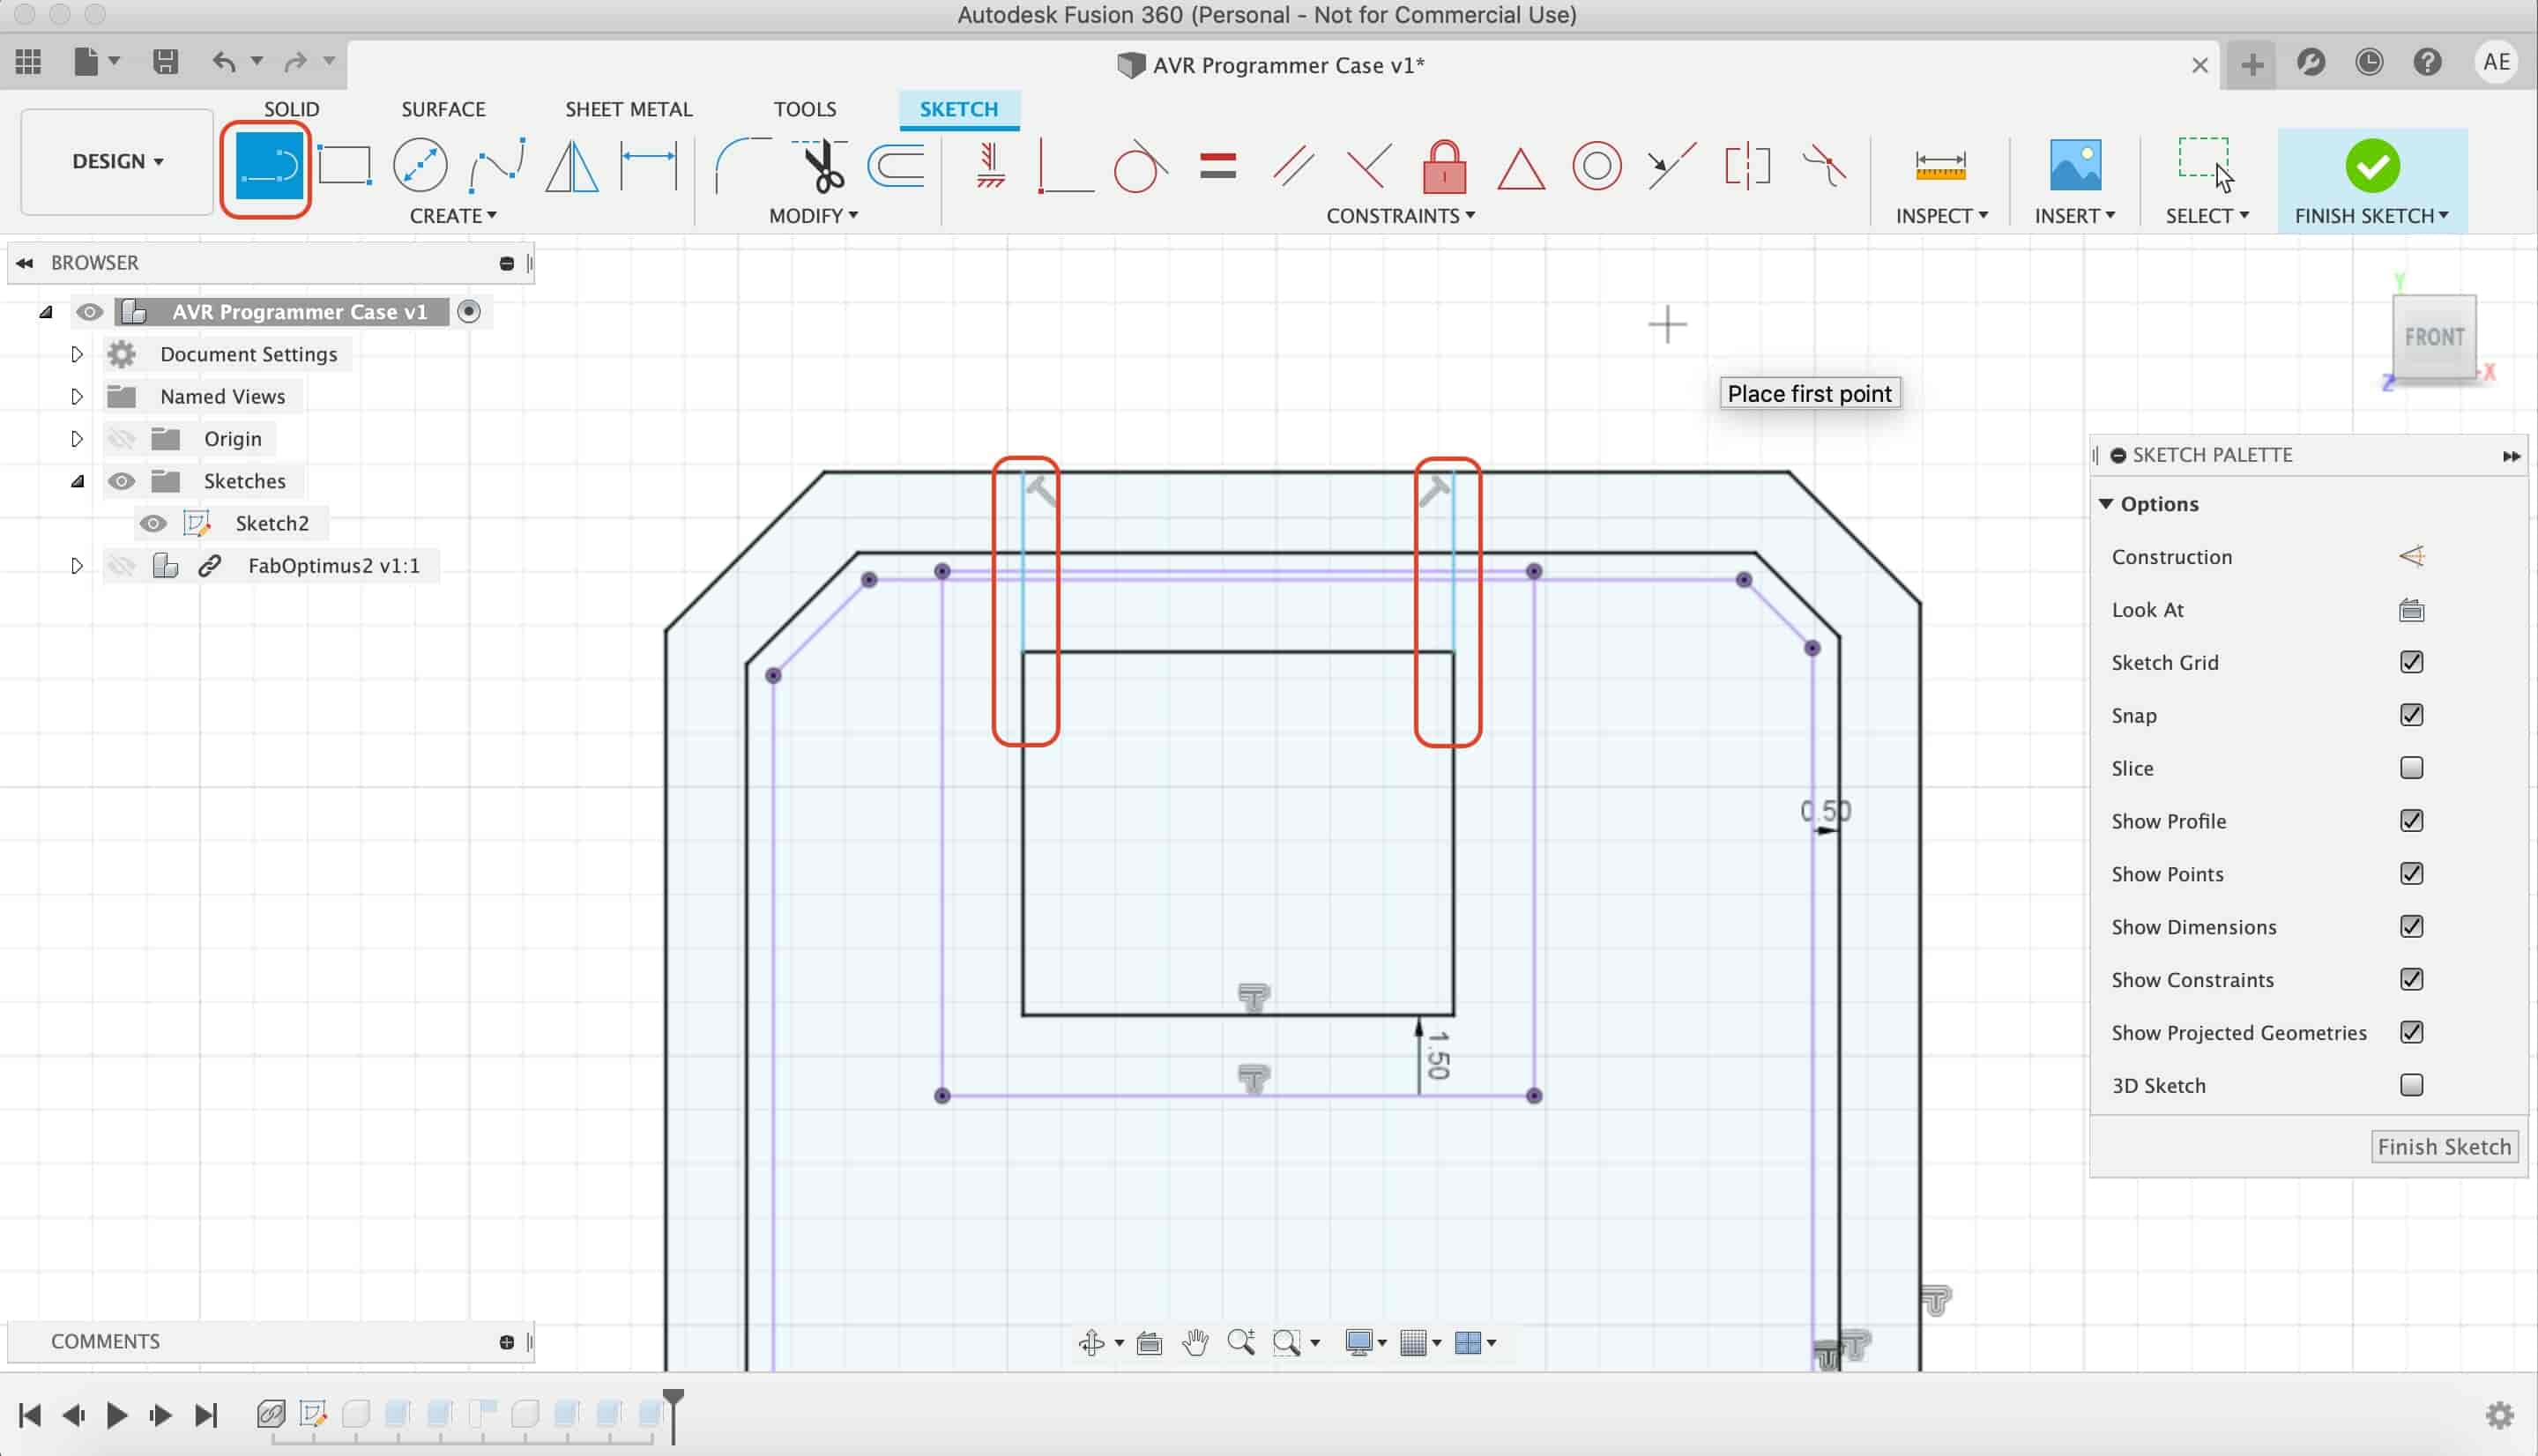
Lets open a part for the ISP header, I measured the ISP header projected rectangle that we made at the beginning. I found that it’s dimensions isn’t right according the actual ISP header dimensions.
I created two construction lines and made a new rectangle with the right dimensions. Putting in the consideration the cable head dimensions.
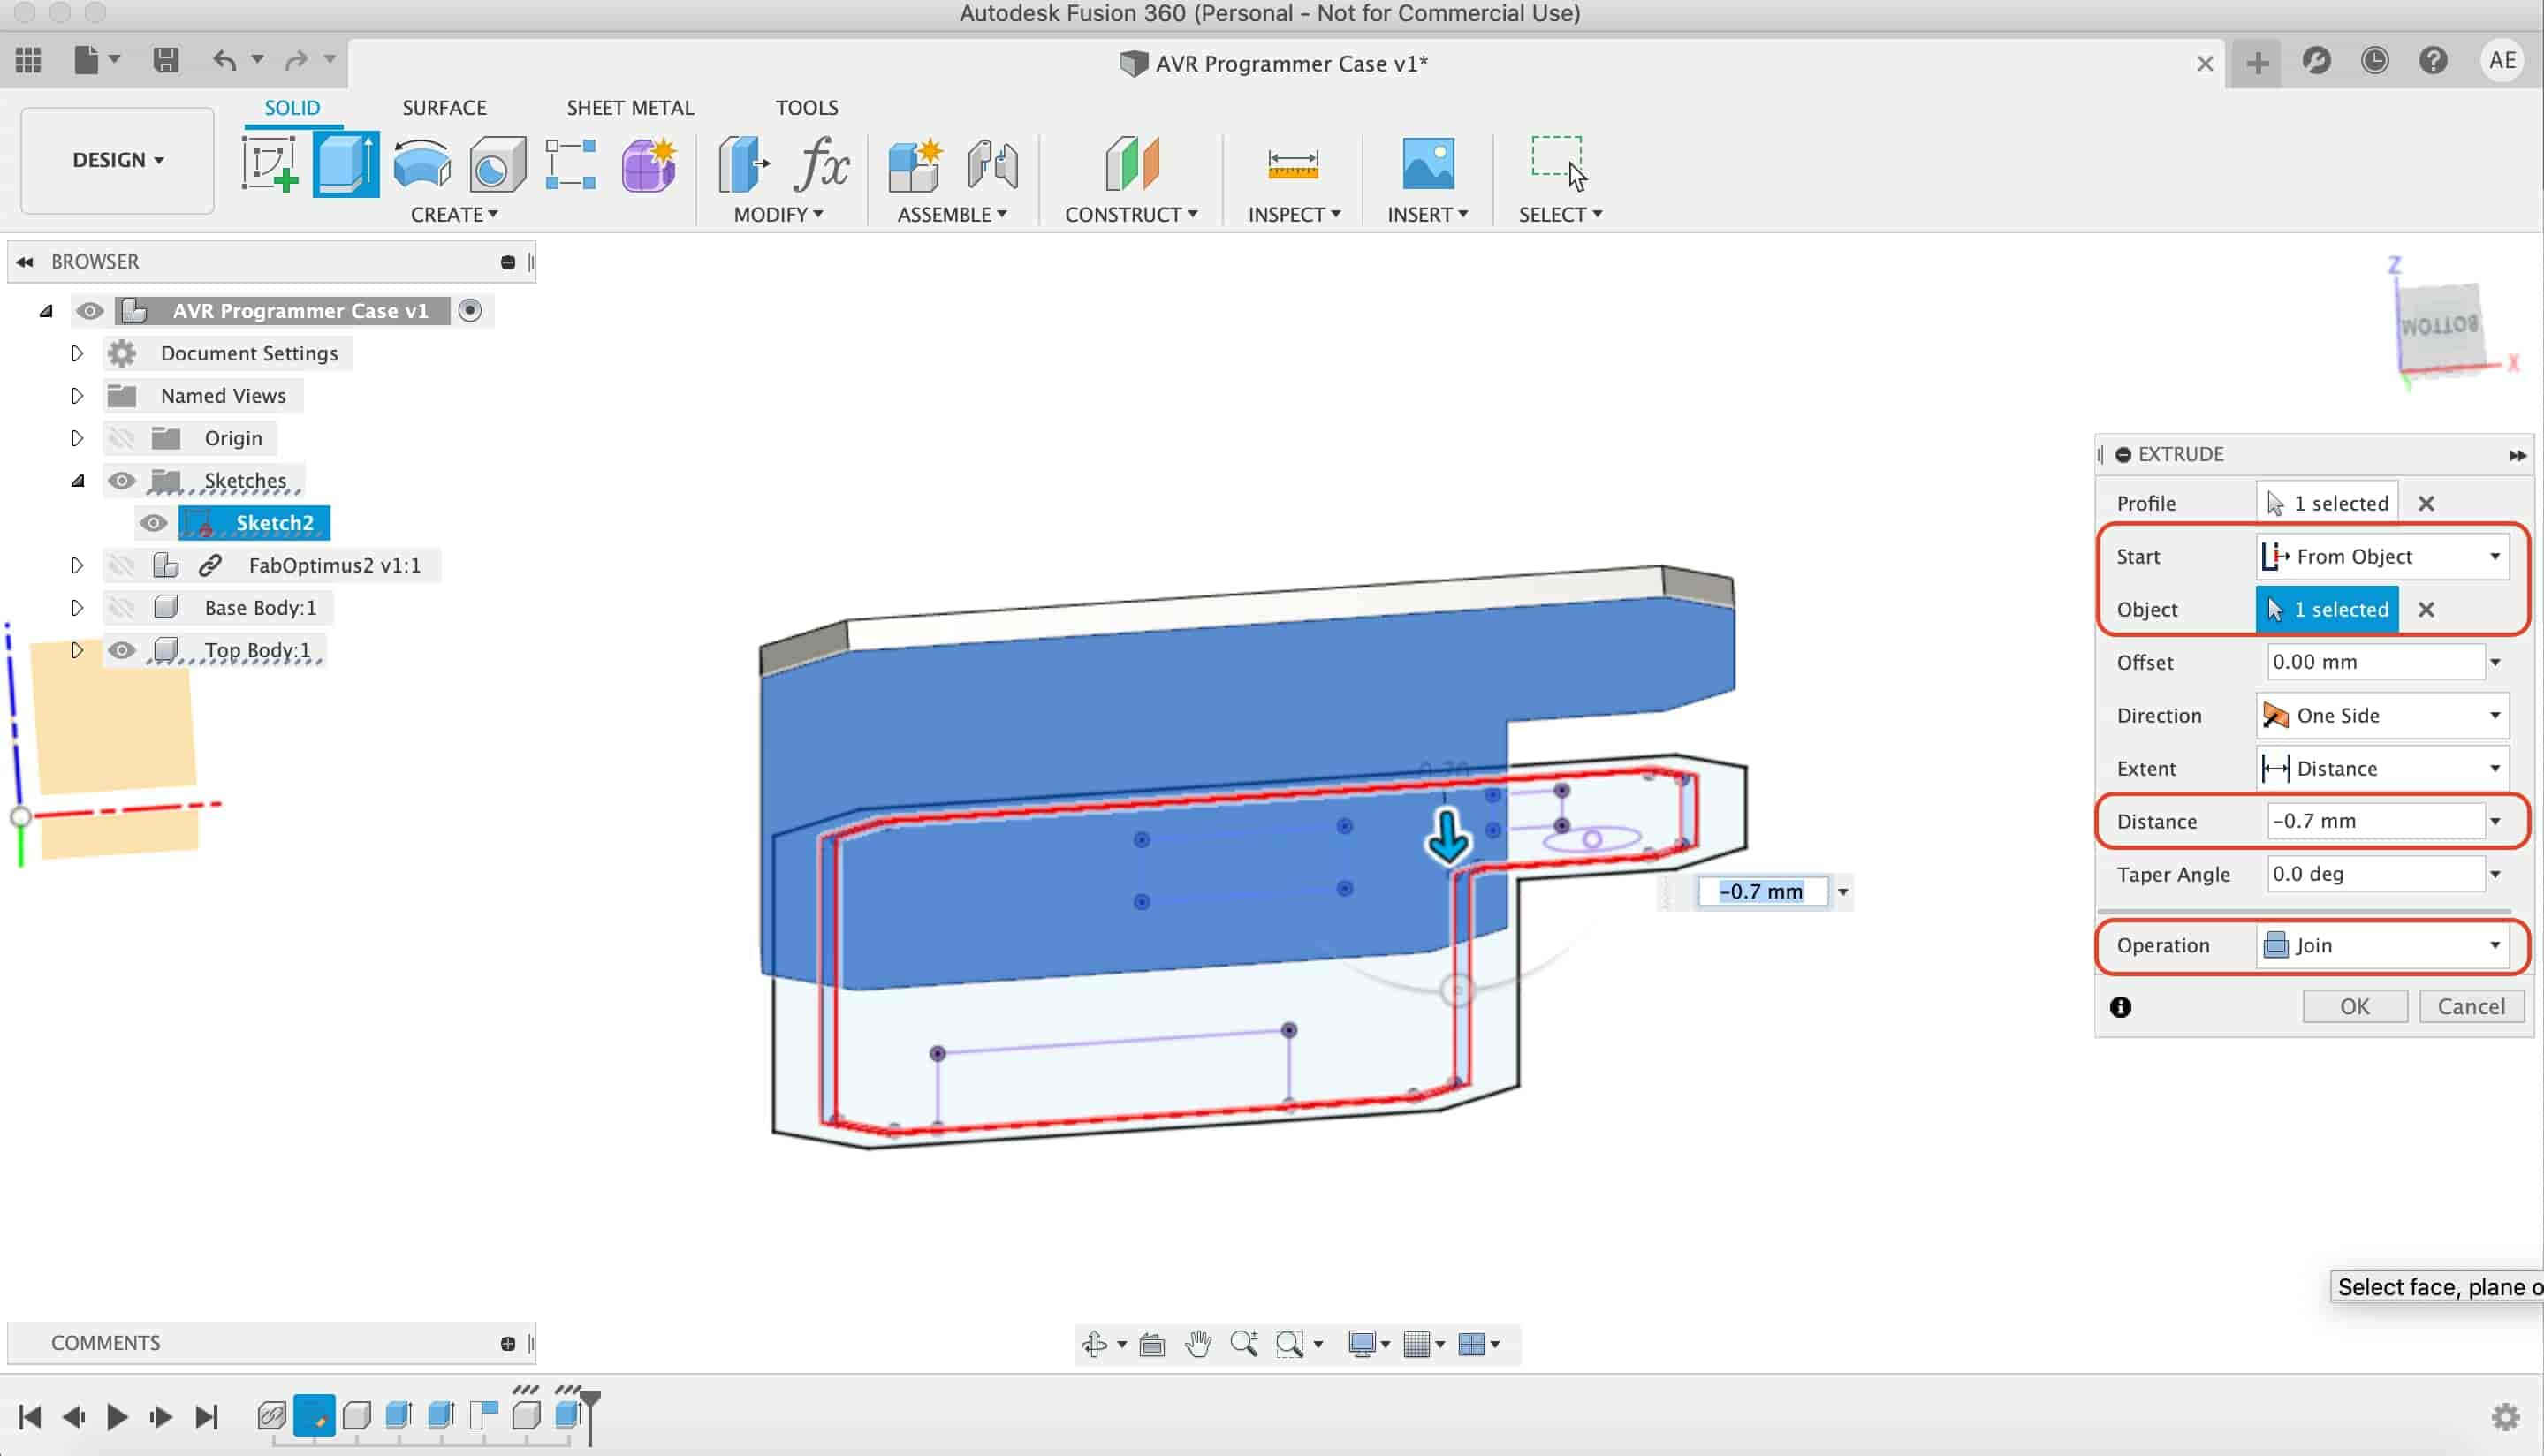
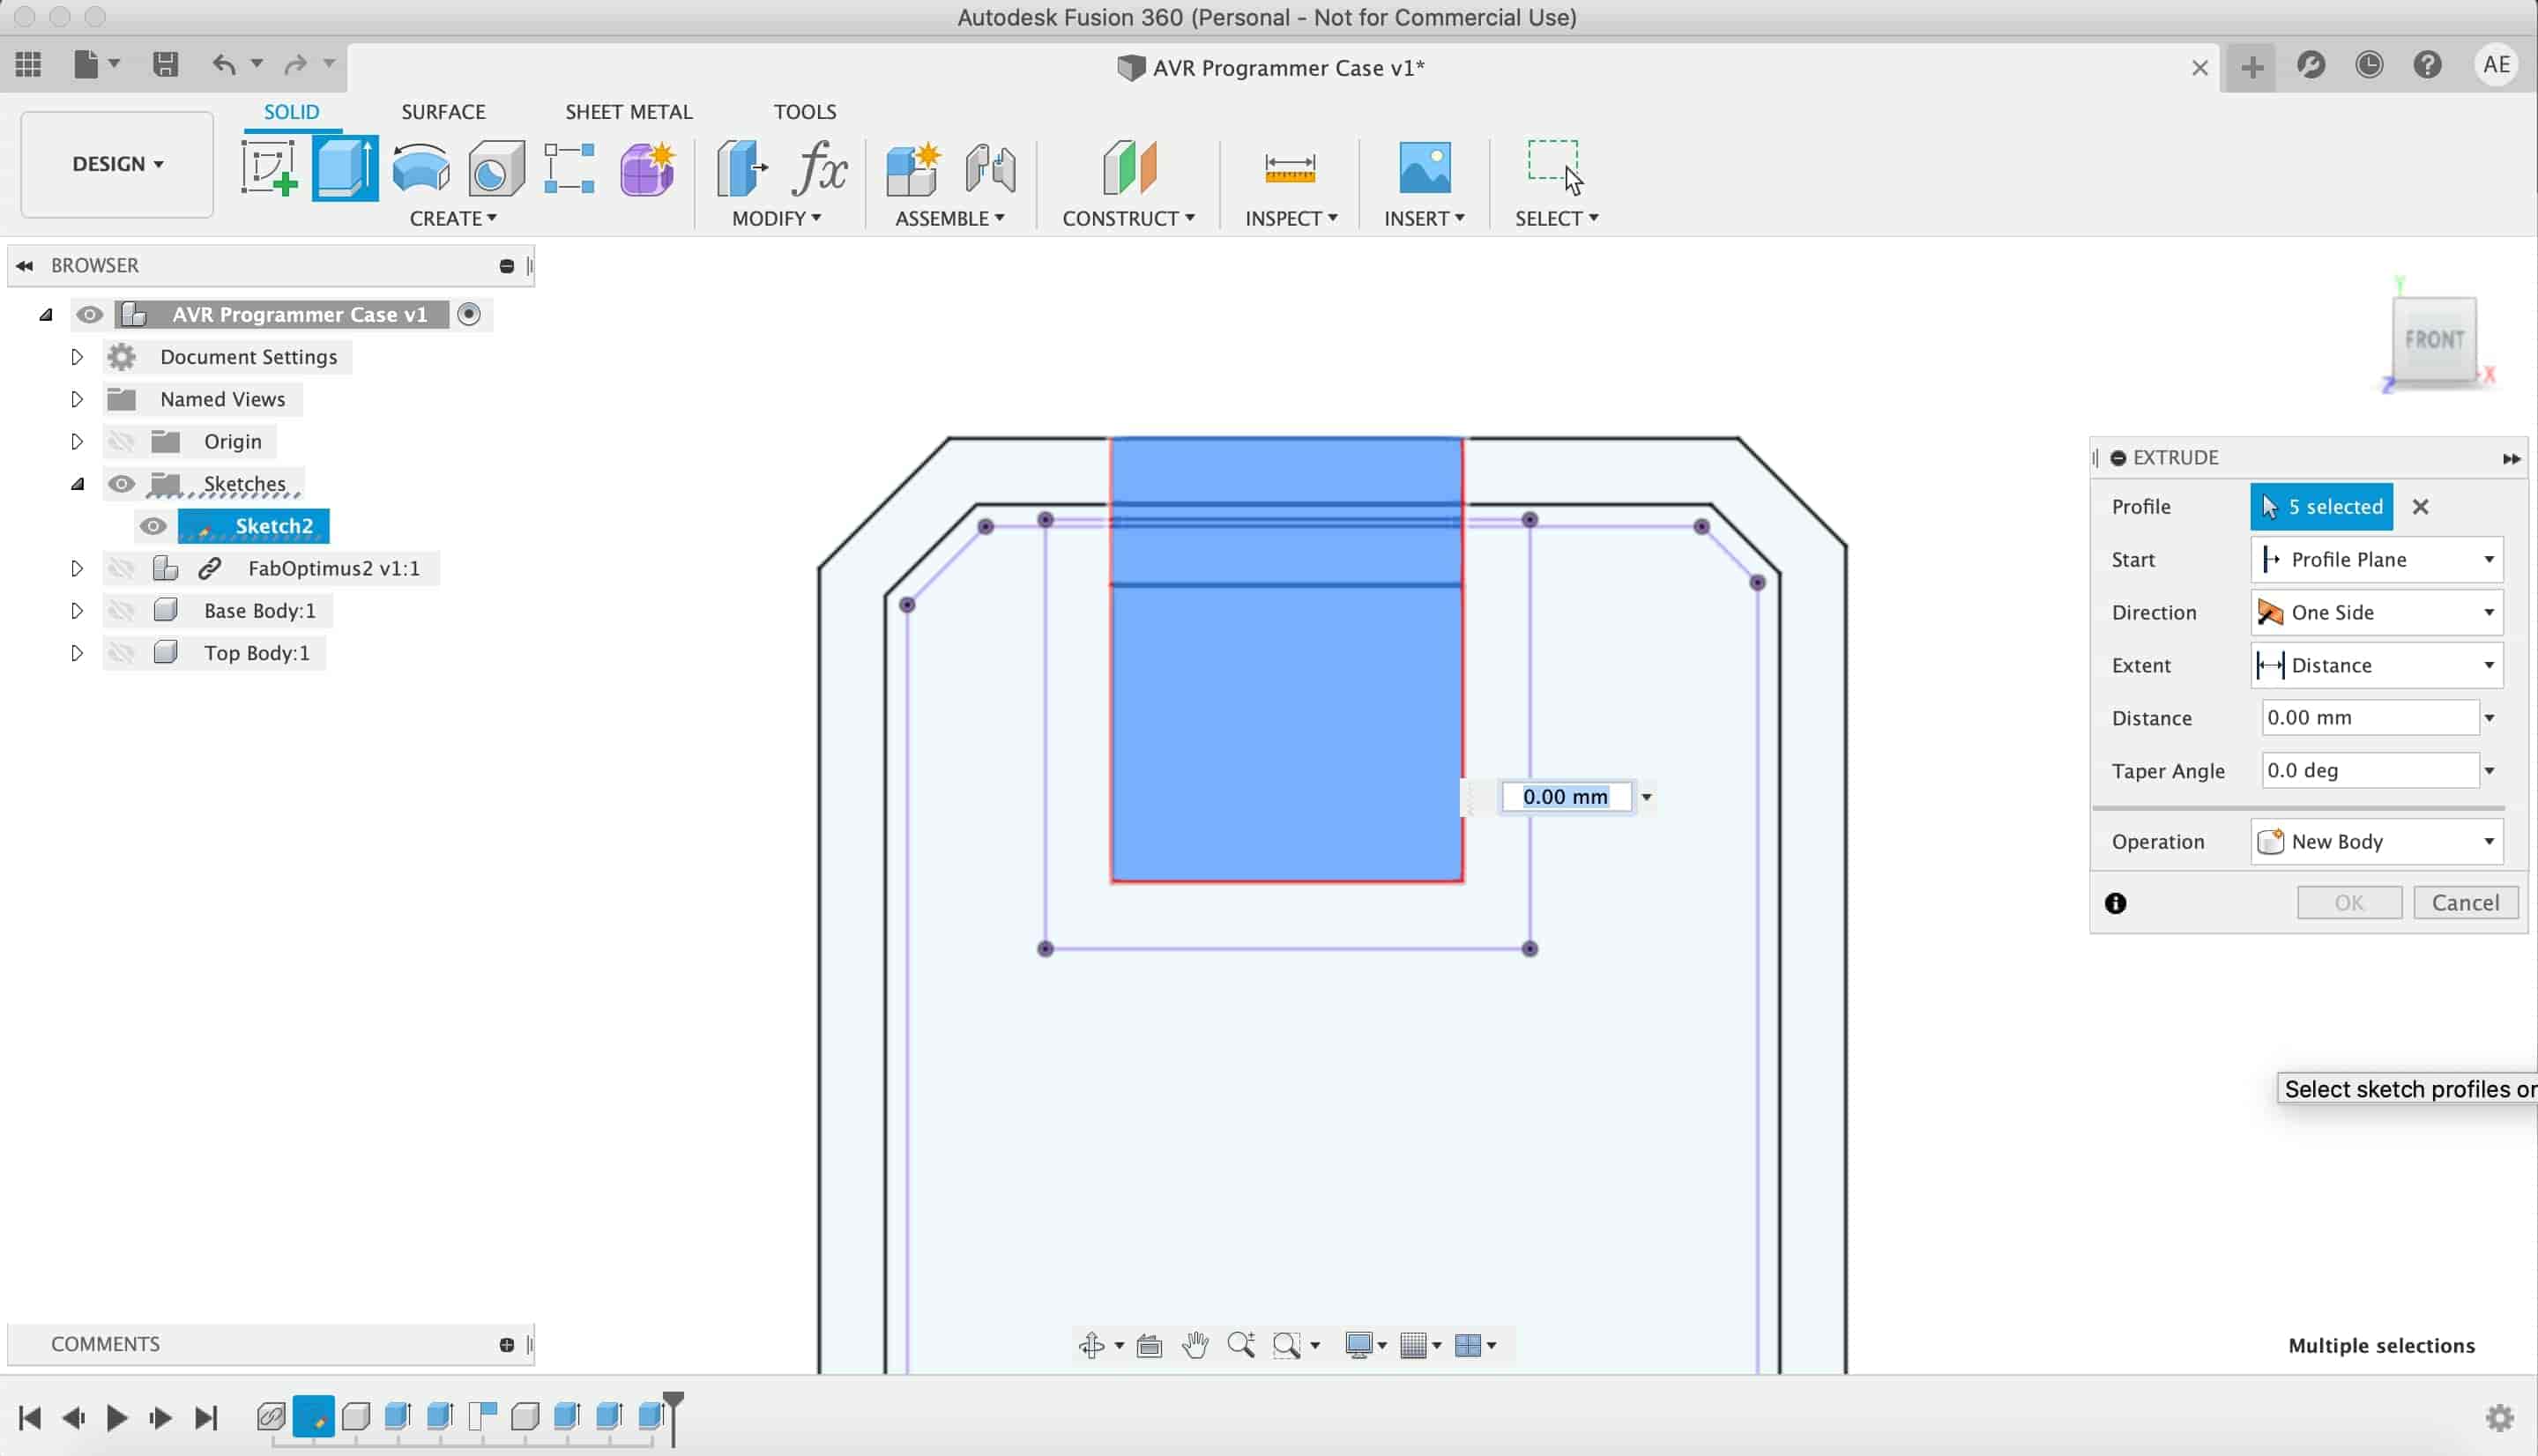
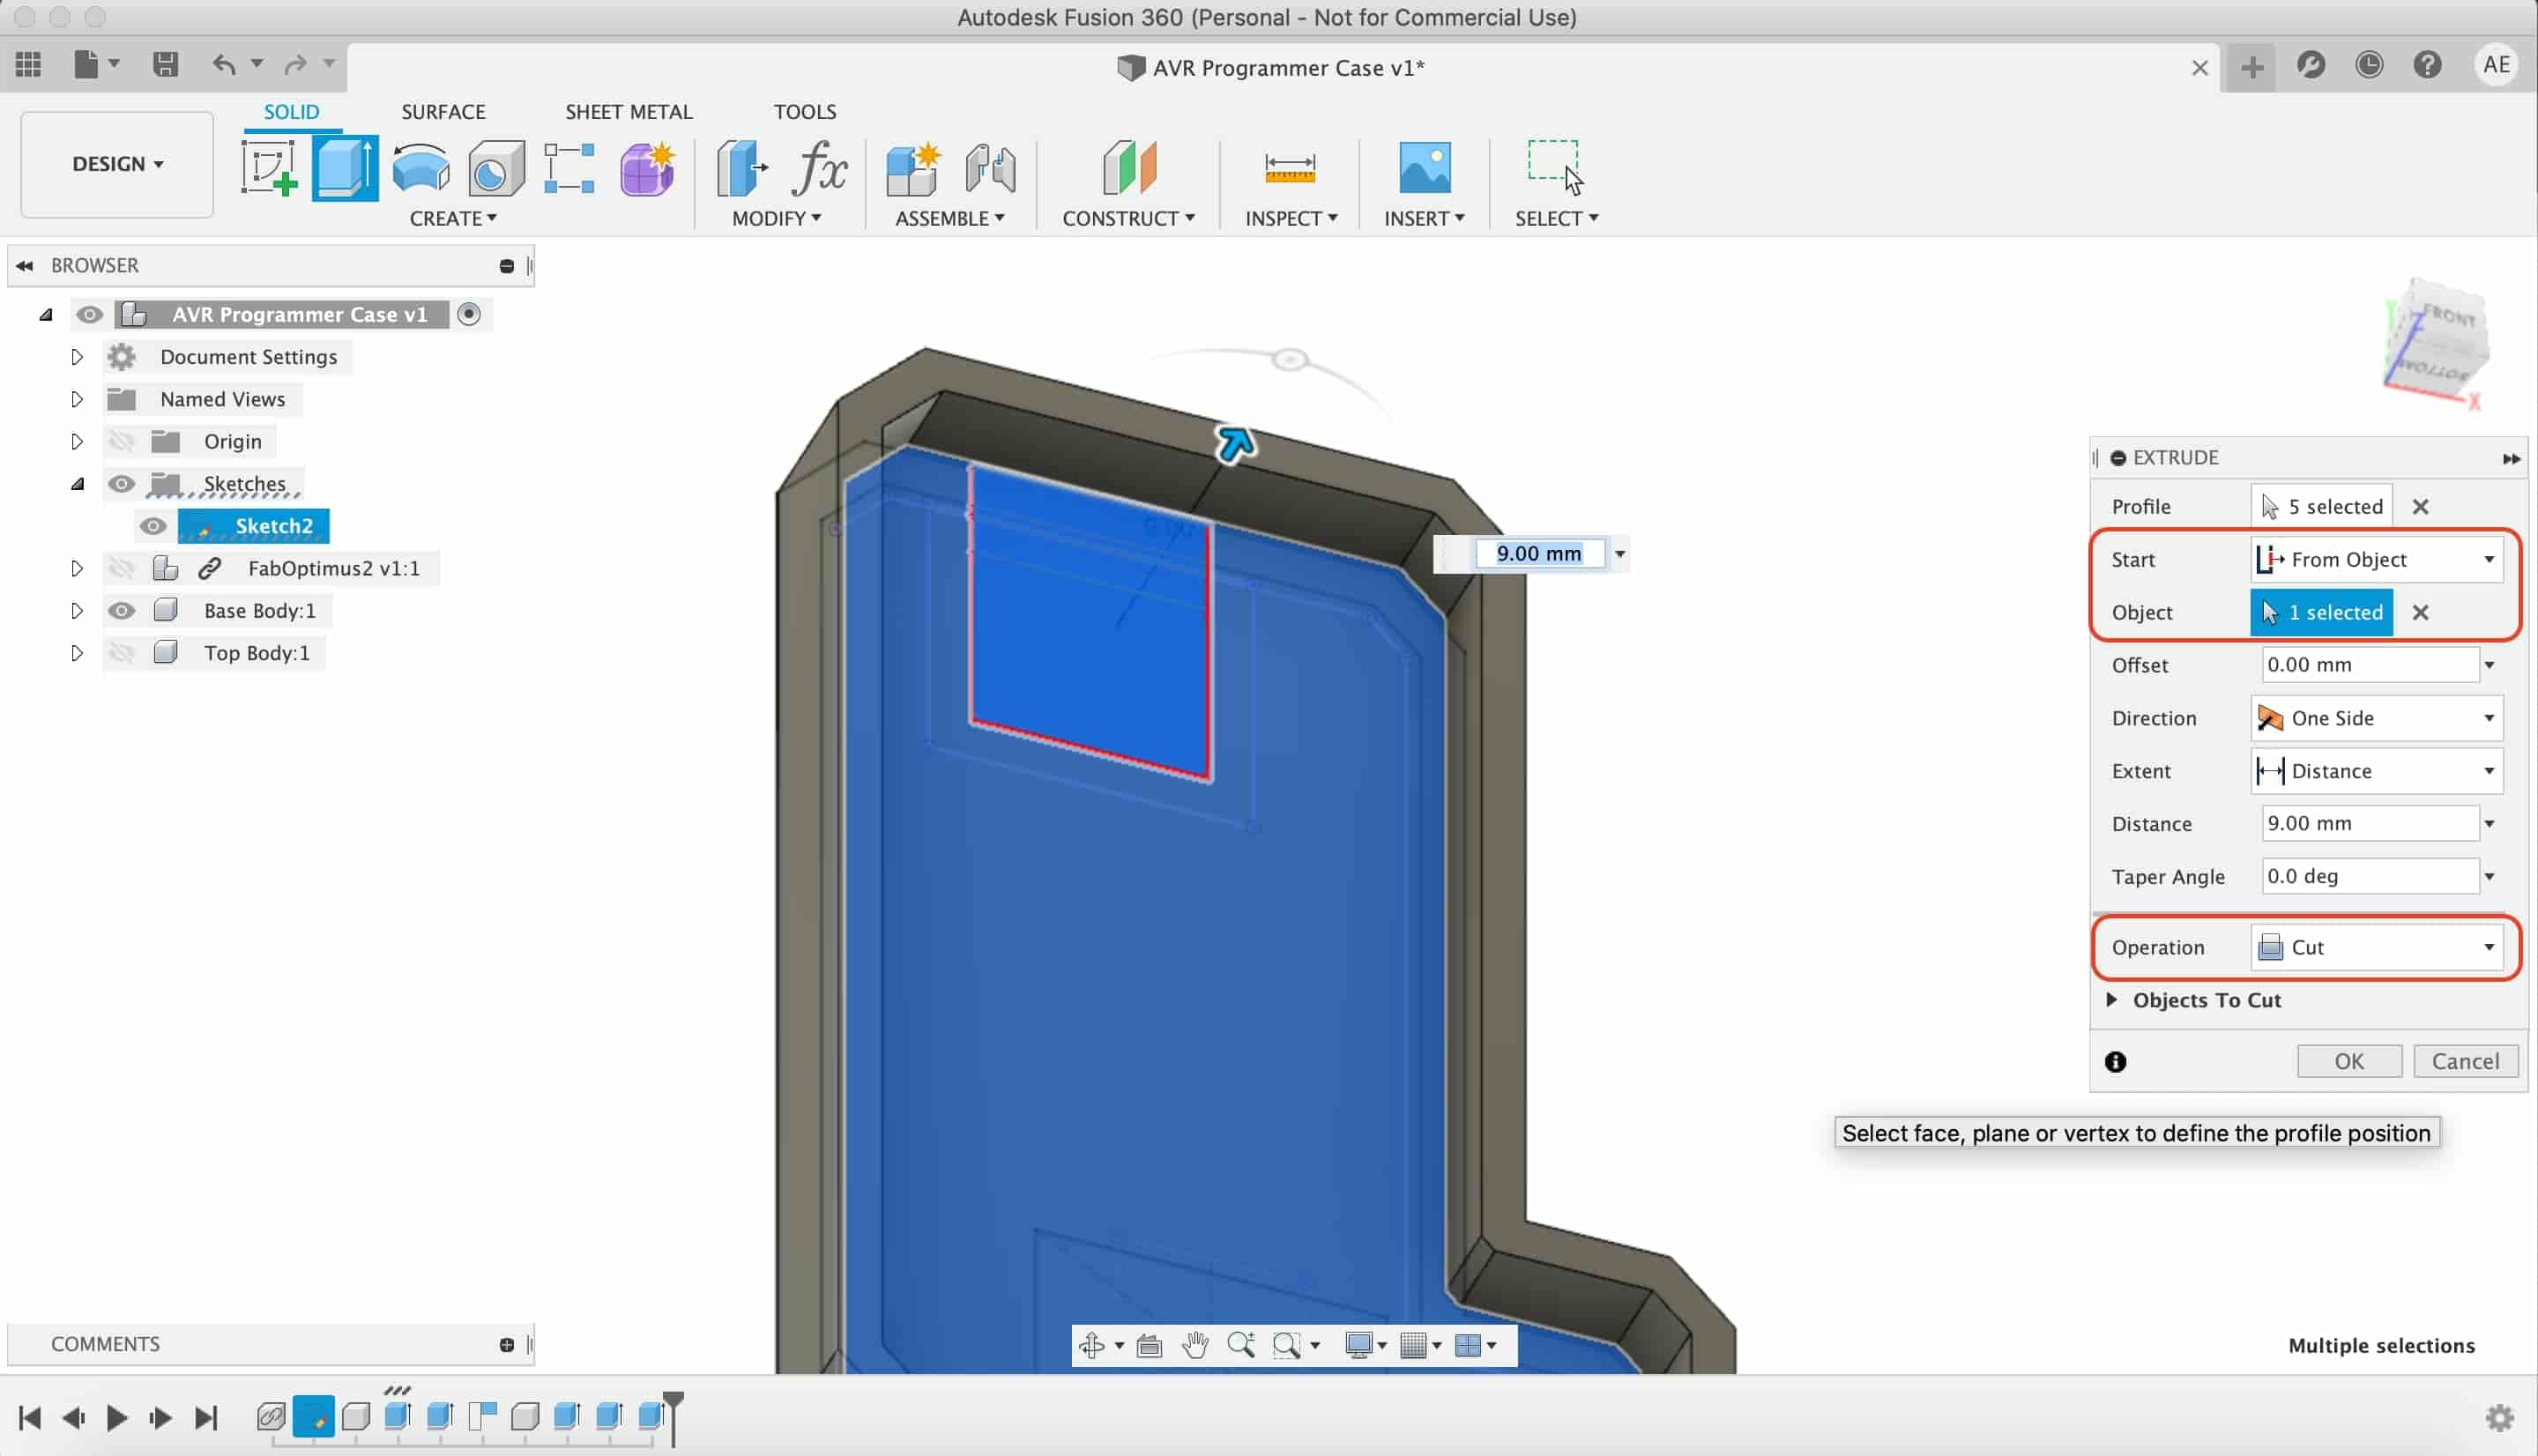
I selected the ISP header reactnagle and the LED rectangle and made a cut in the enclosure top part.
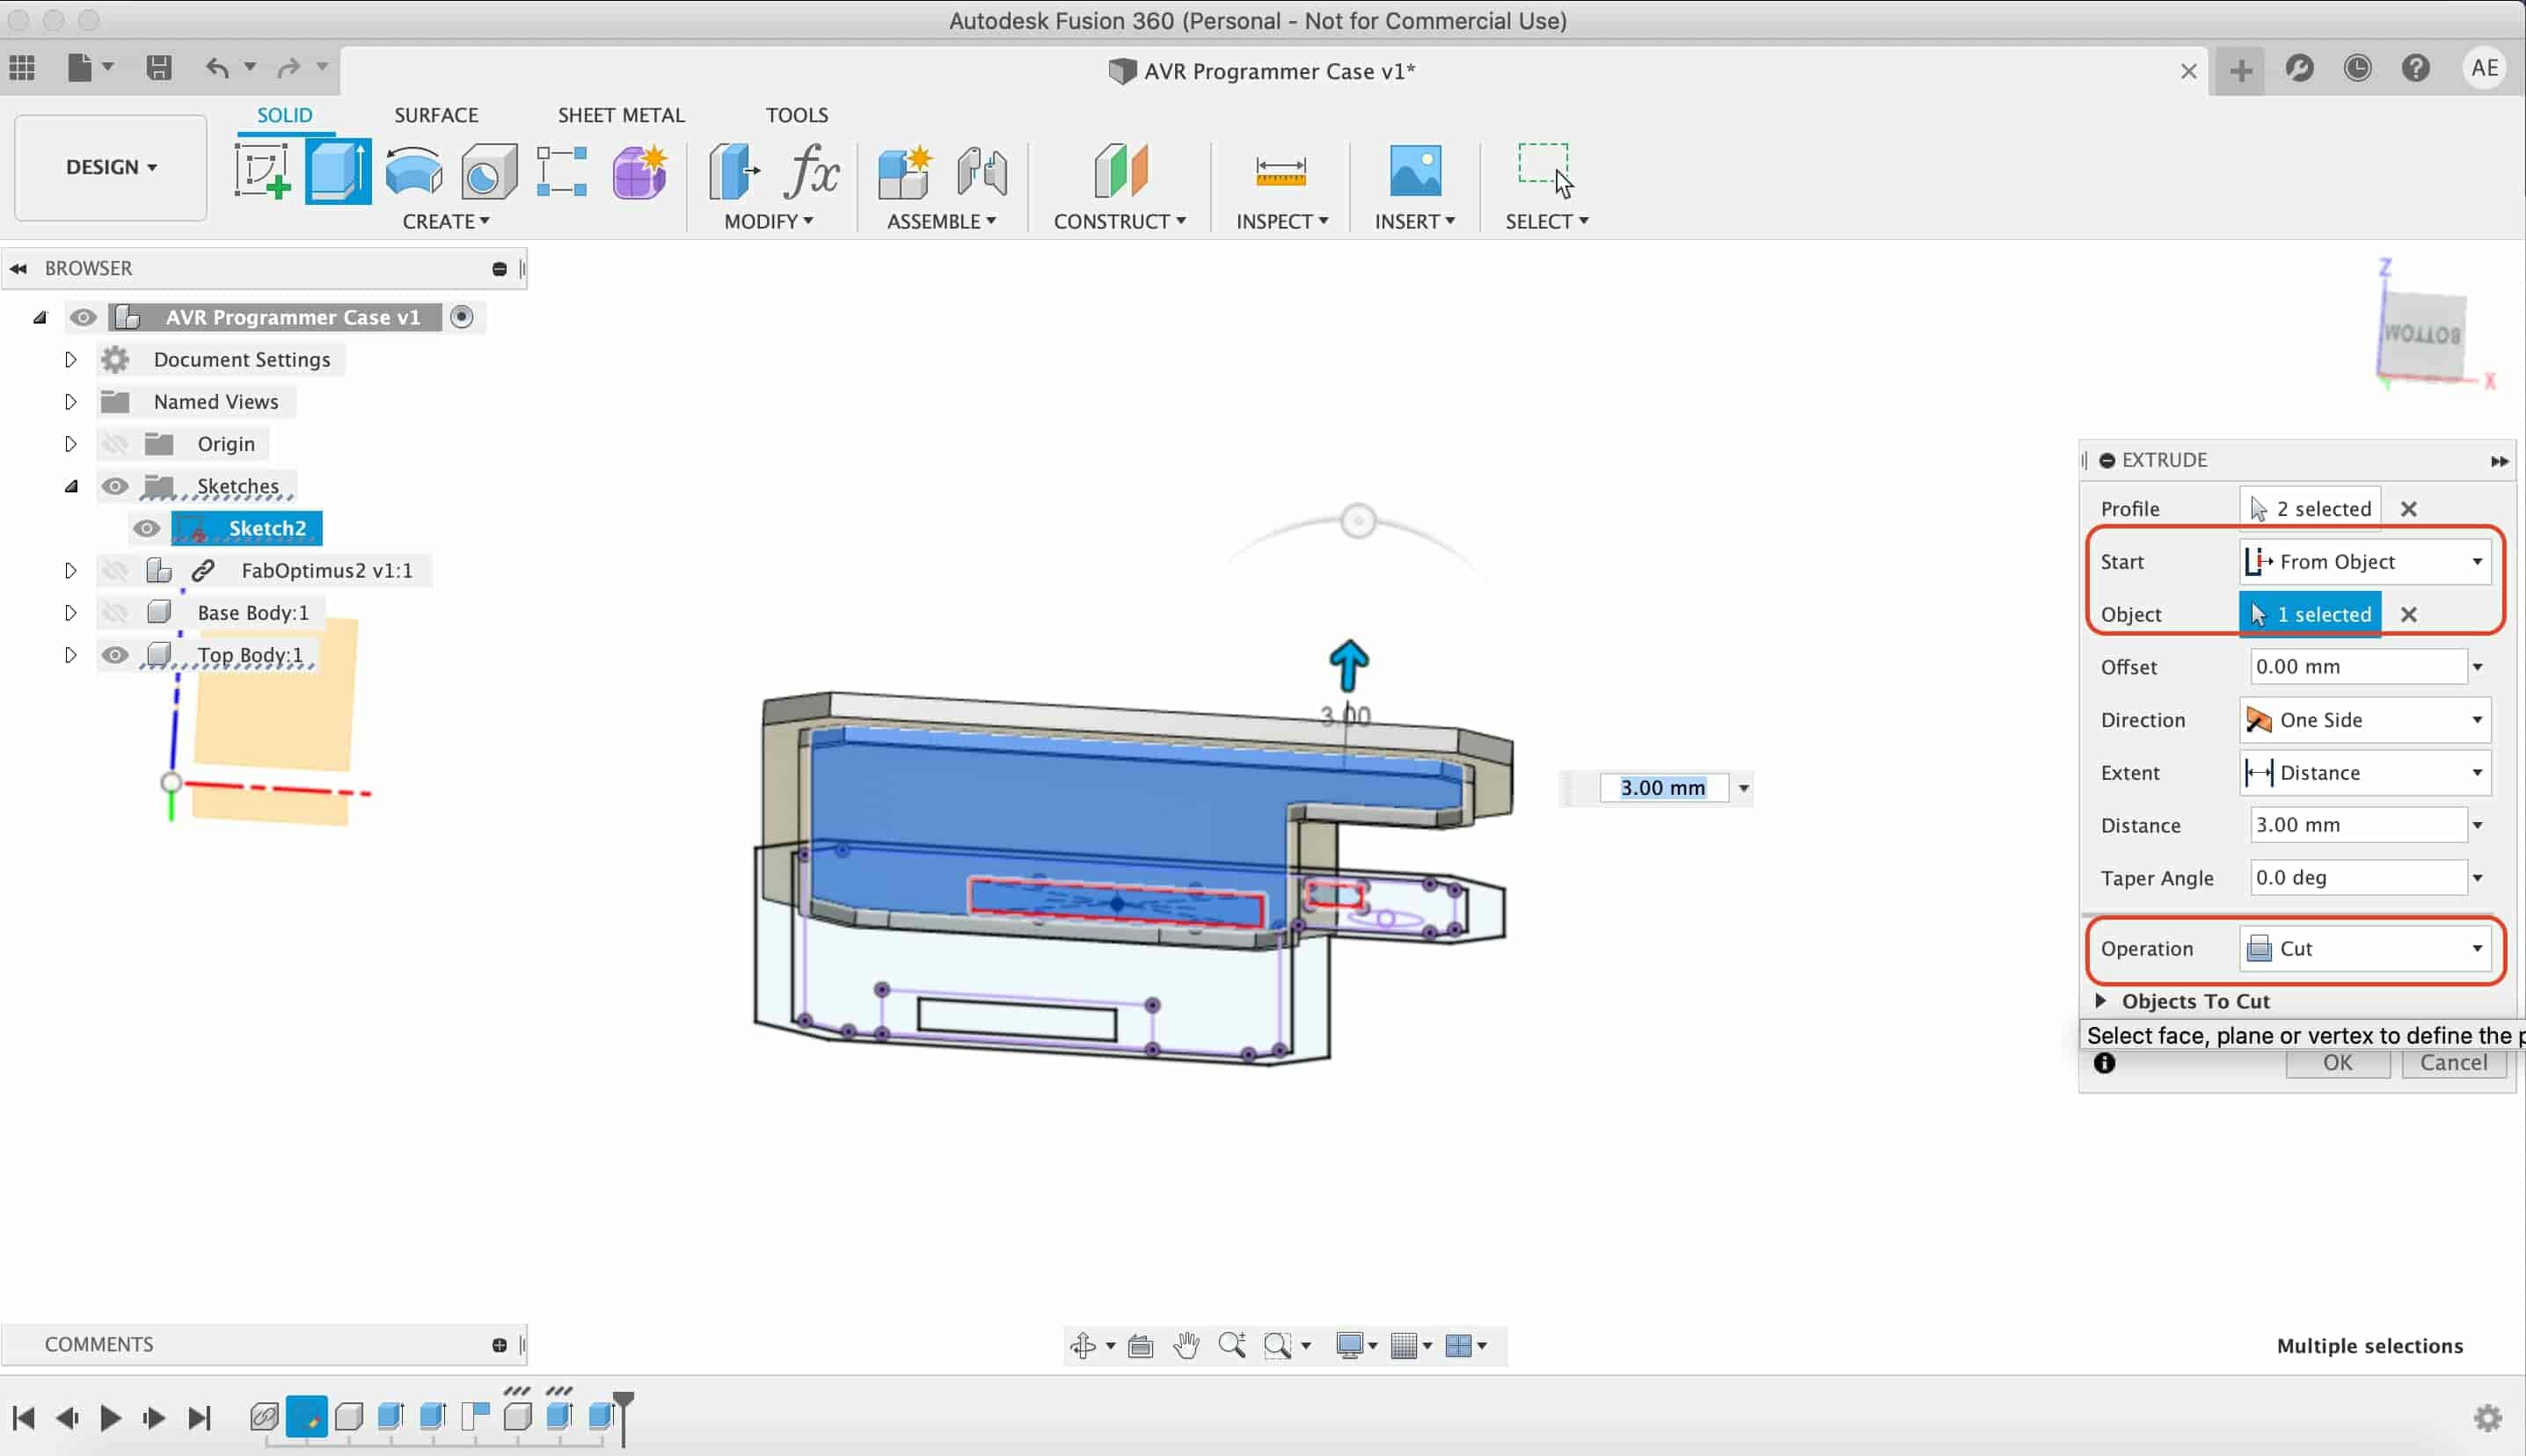
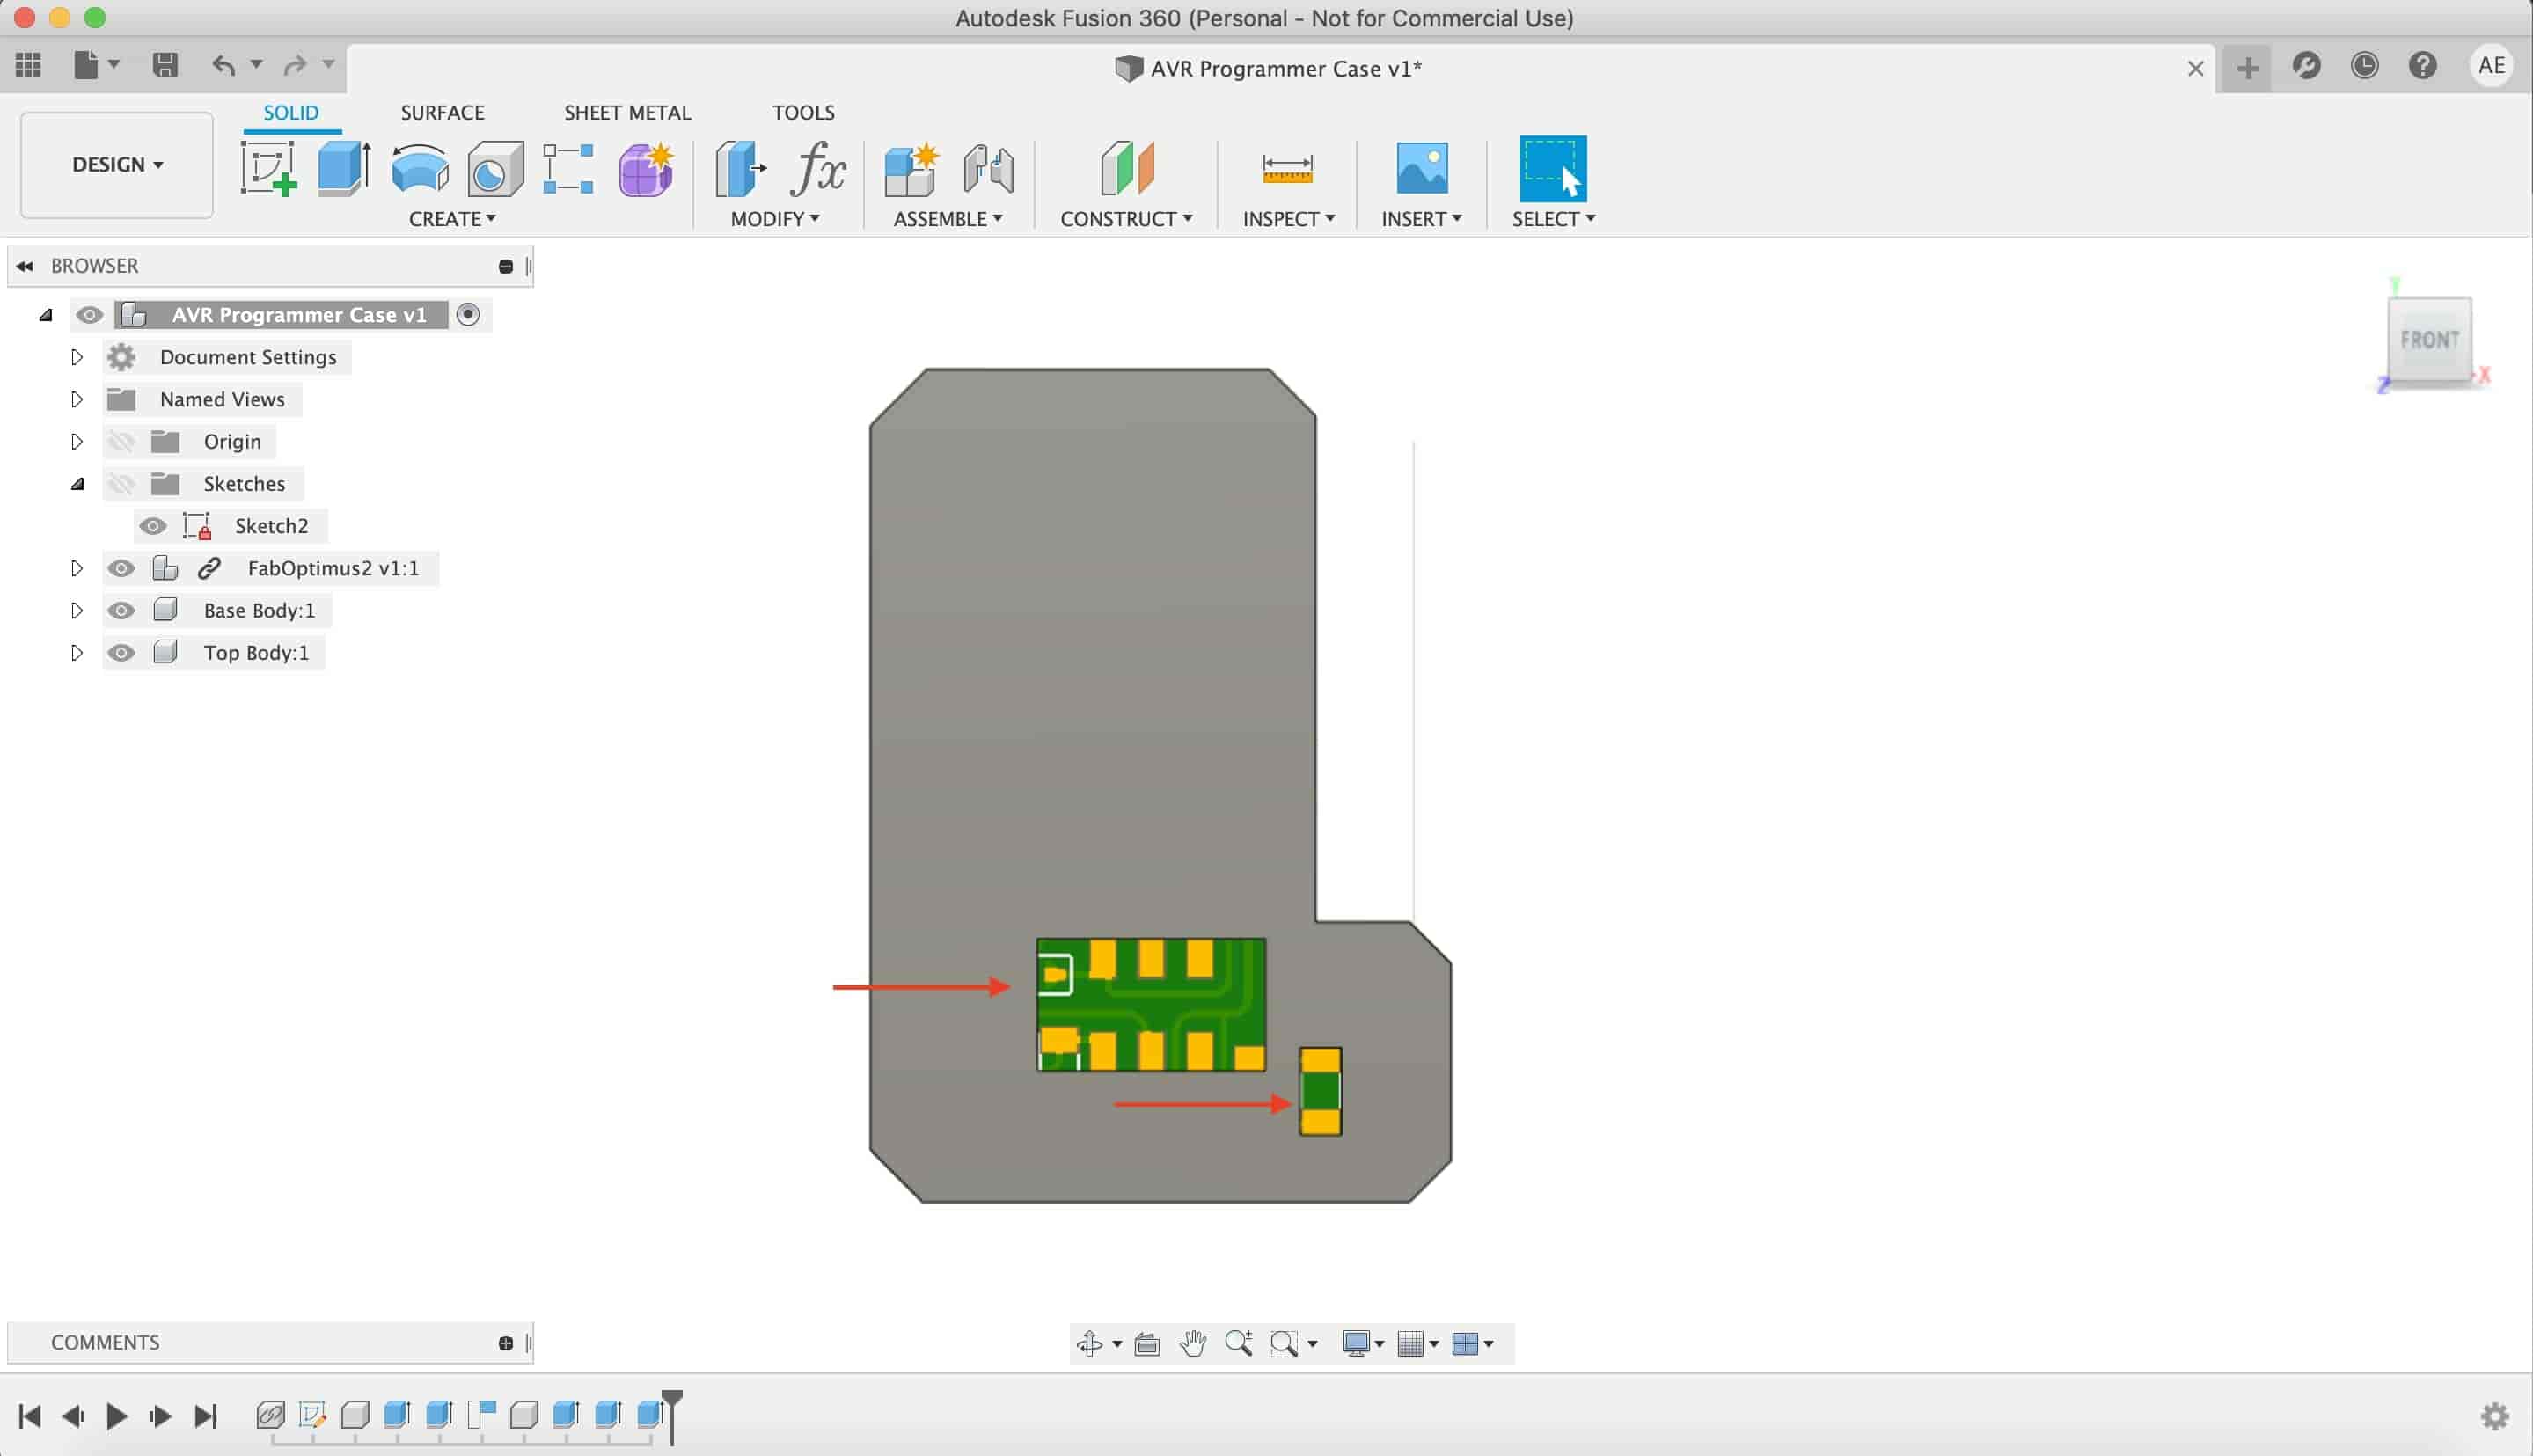
Now, we need to open a part for the USB connector, I measured the projected rectangle that we take at the beginning and it’s width is larger than the actual USB connector width.
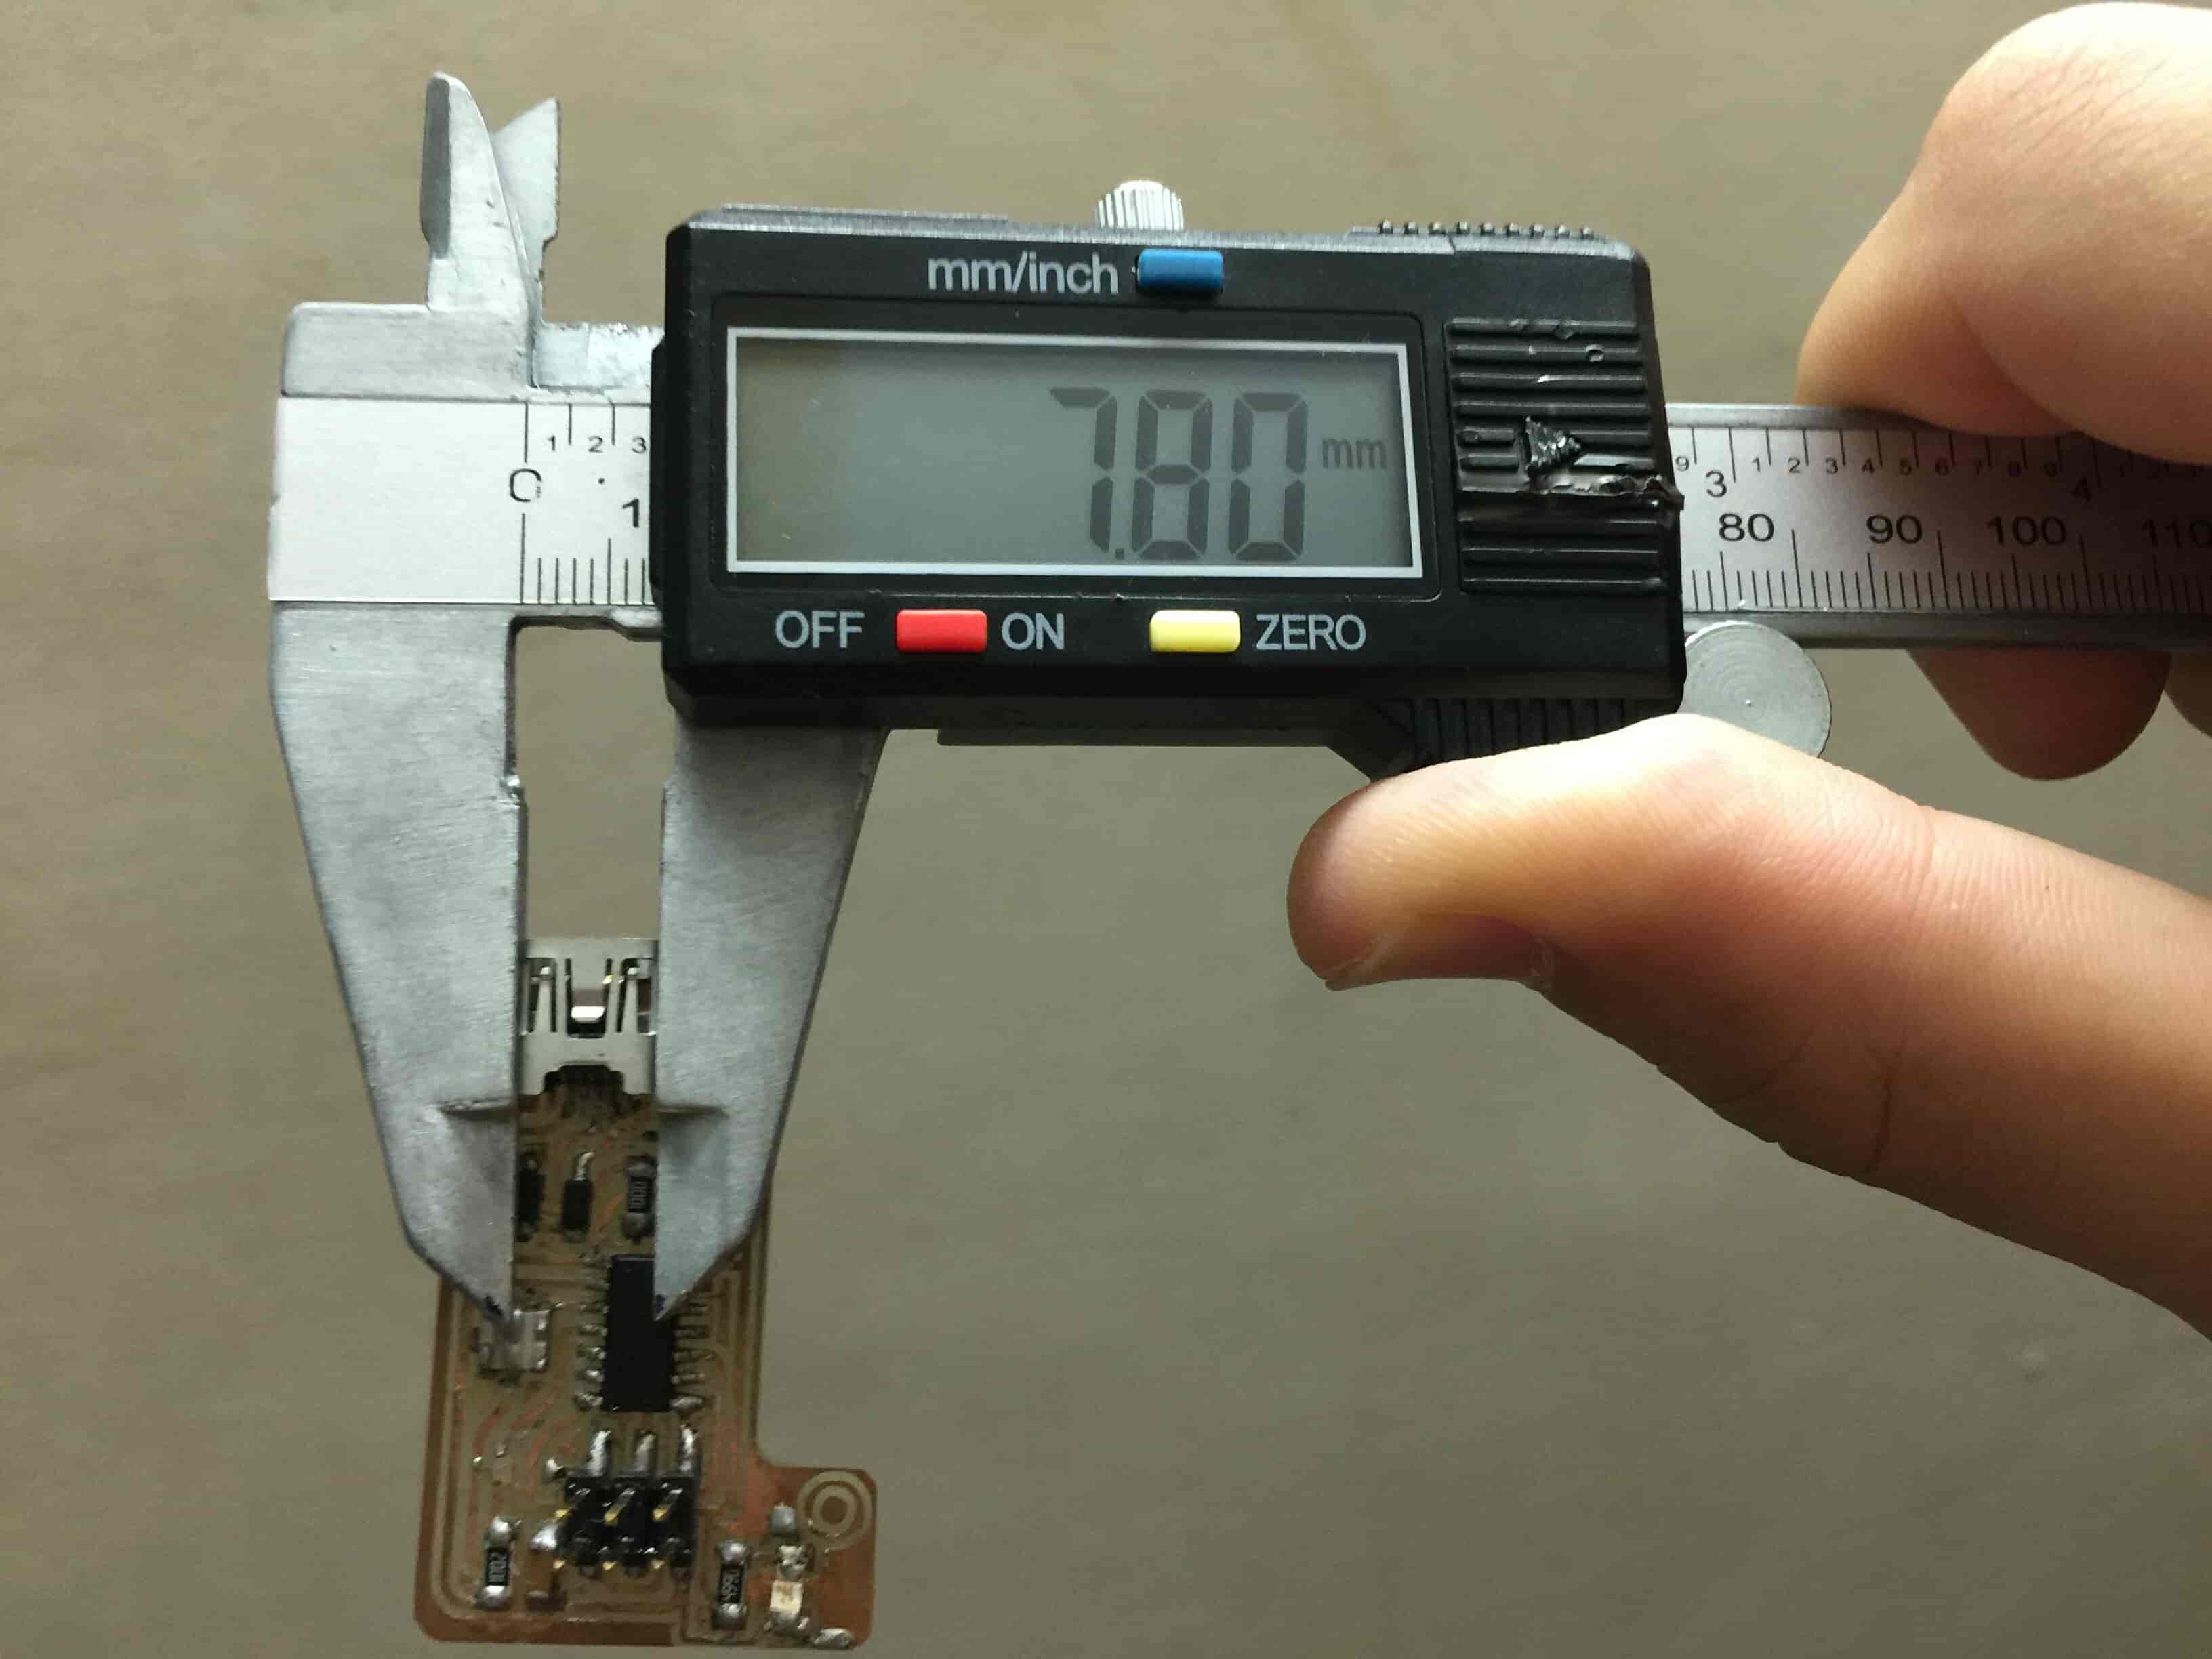
So I created a new rectangle with 8mm width to tightly fit the USB connector. And, I draw two lines to close that small sketch.
Then, I extruded that rectangle to cut the top part.
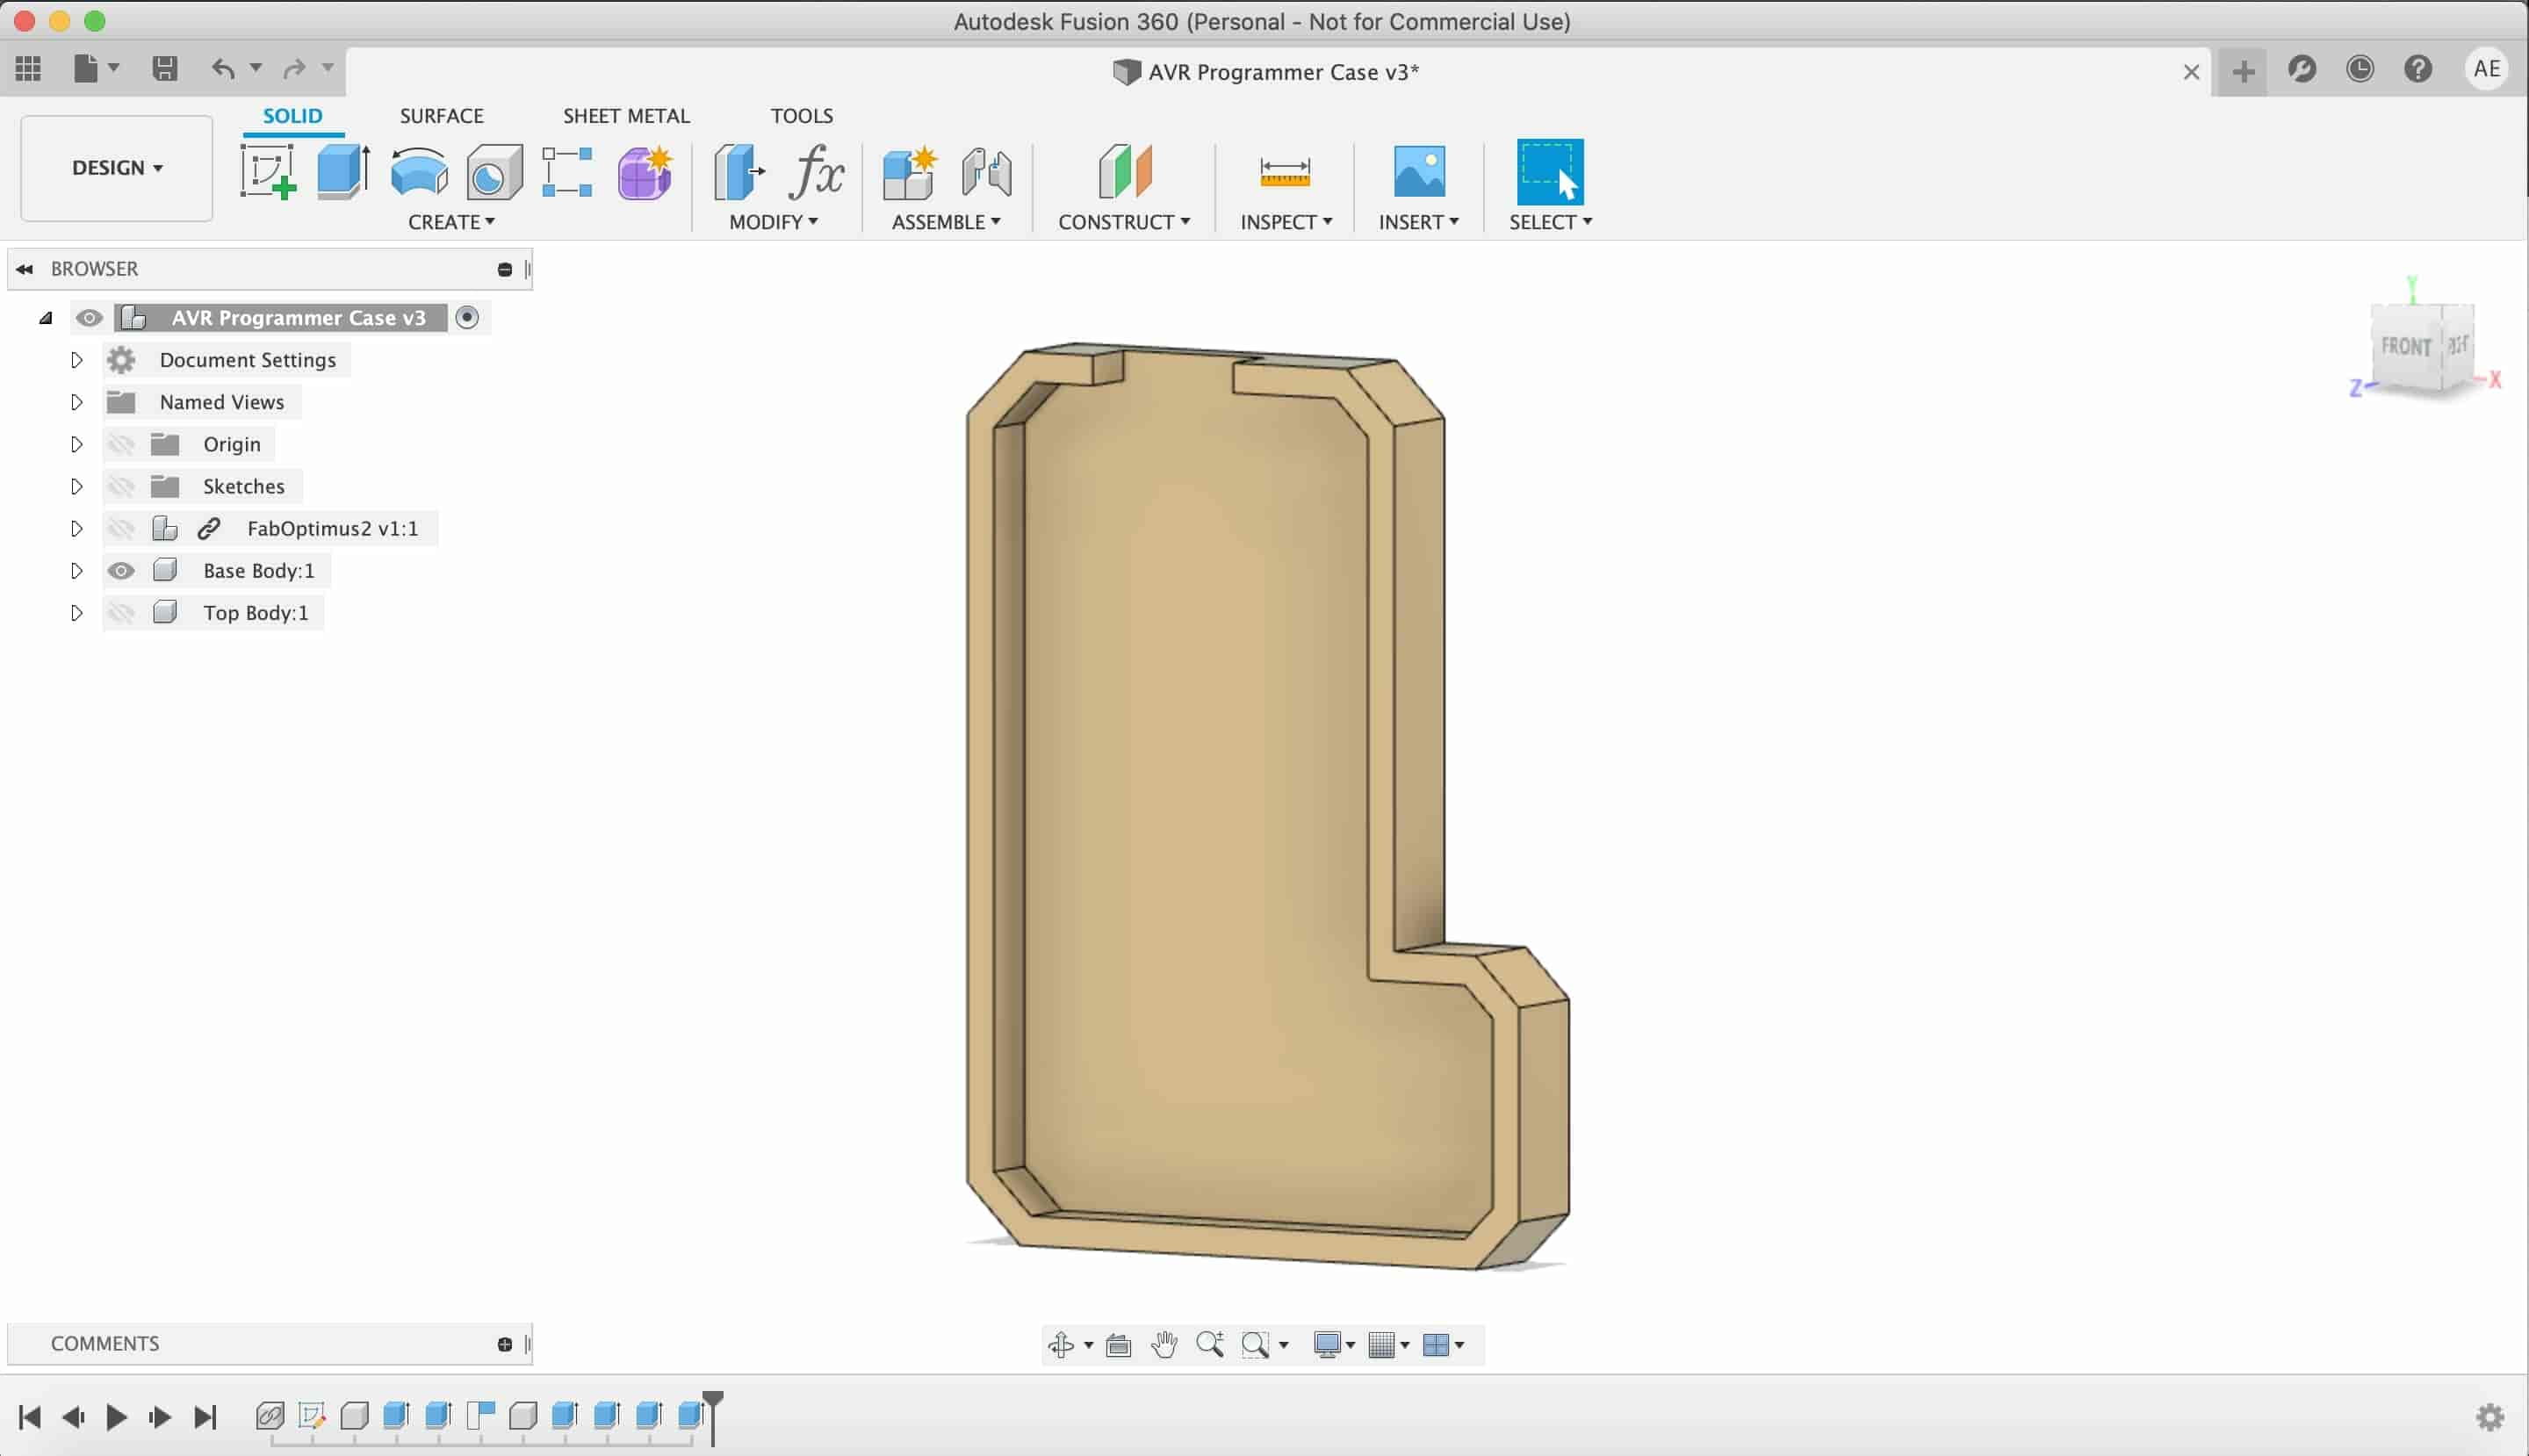
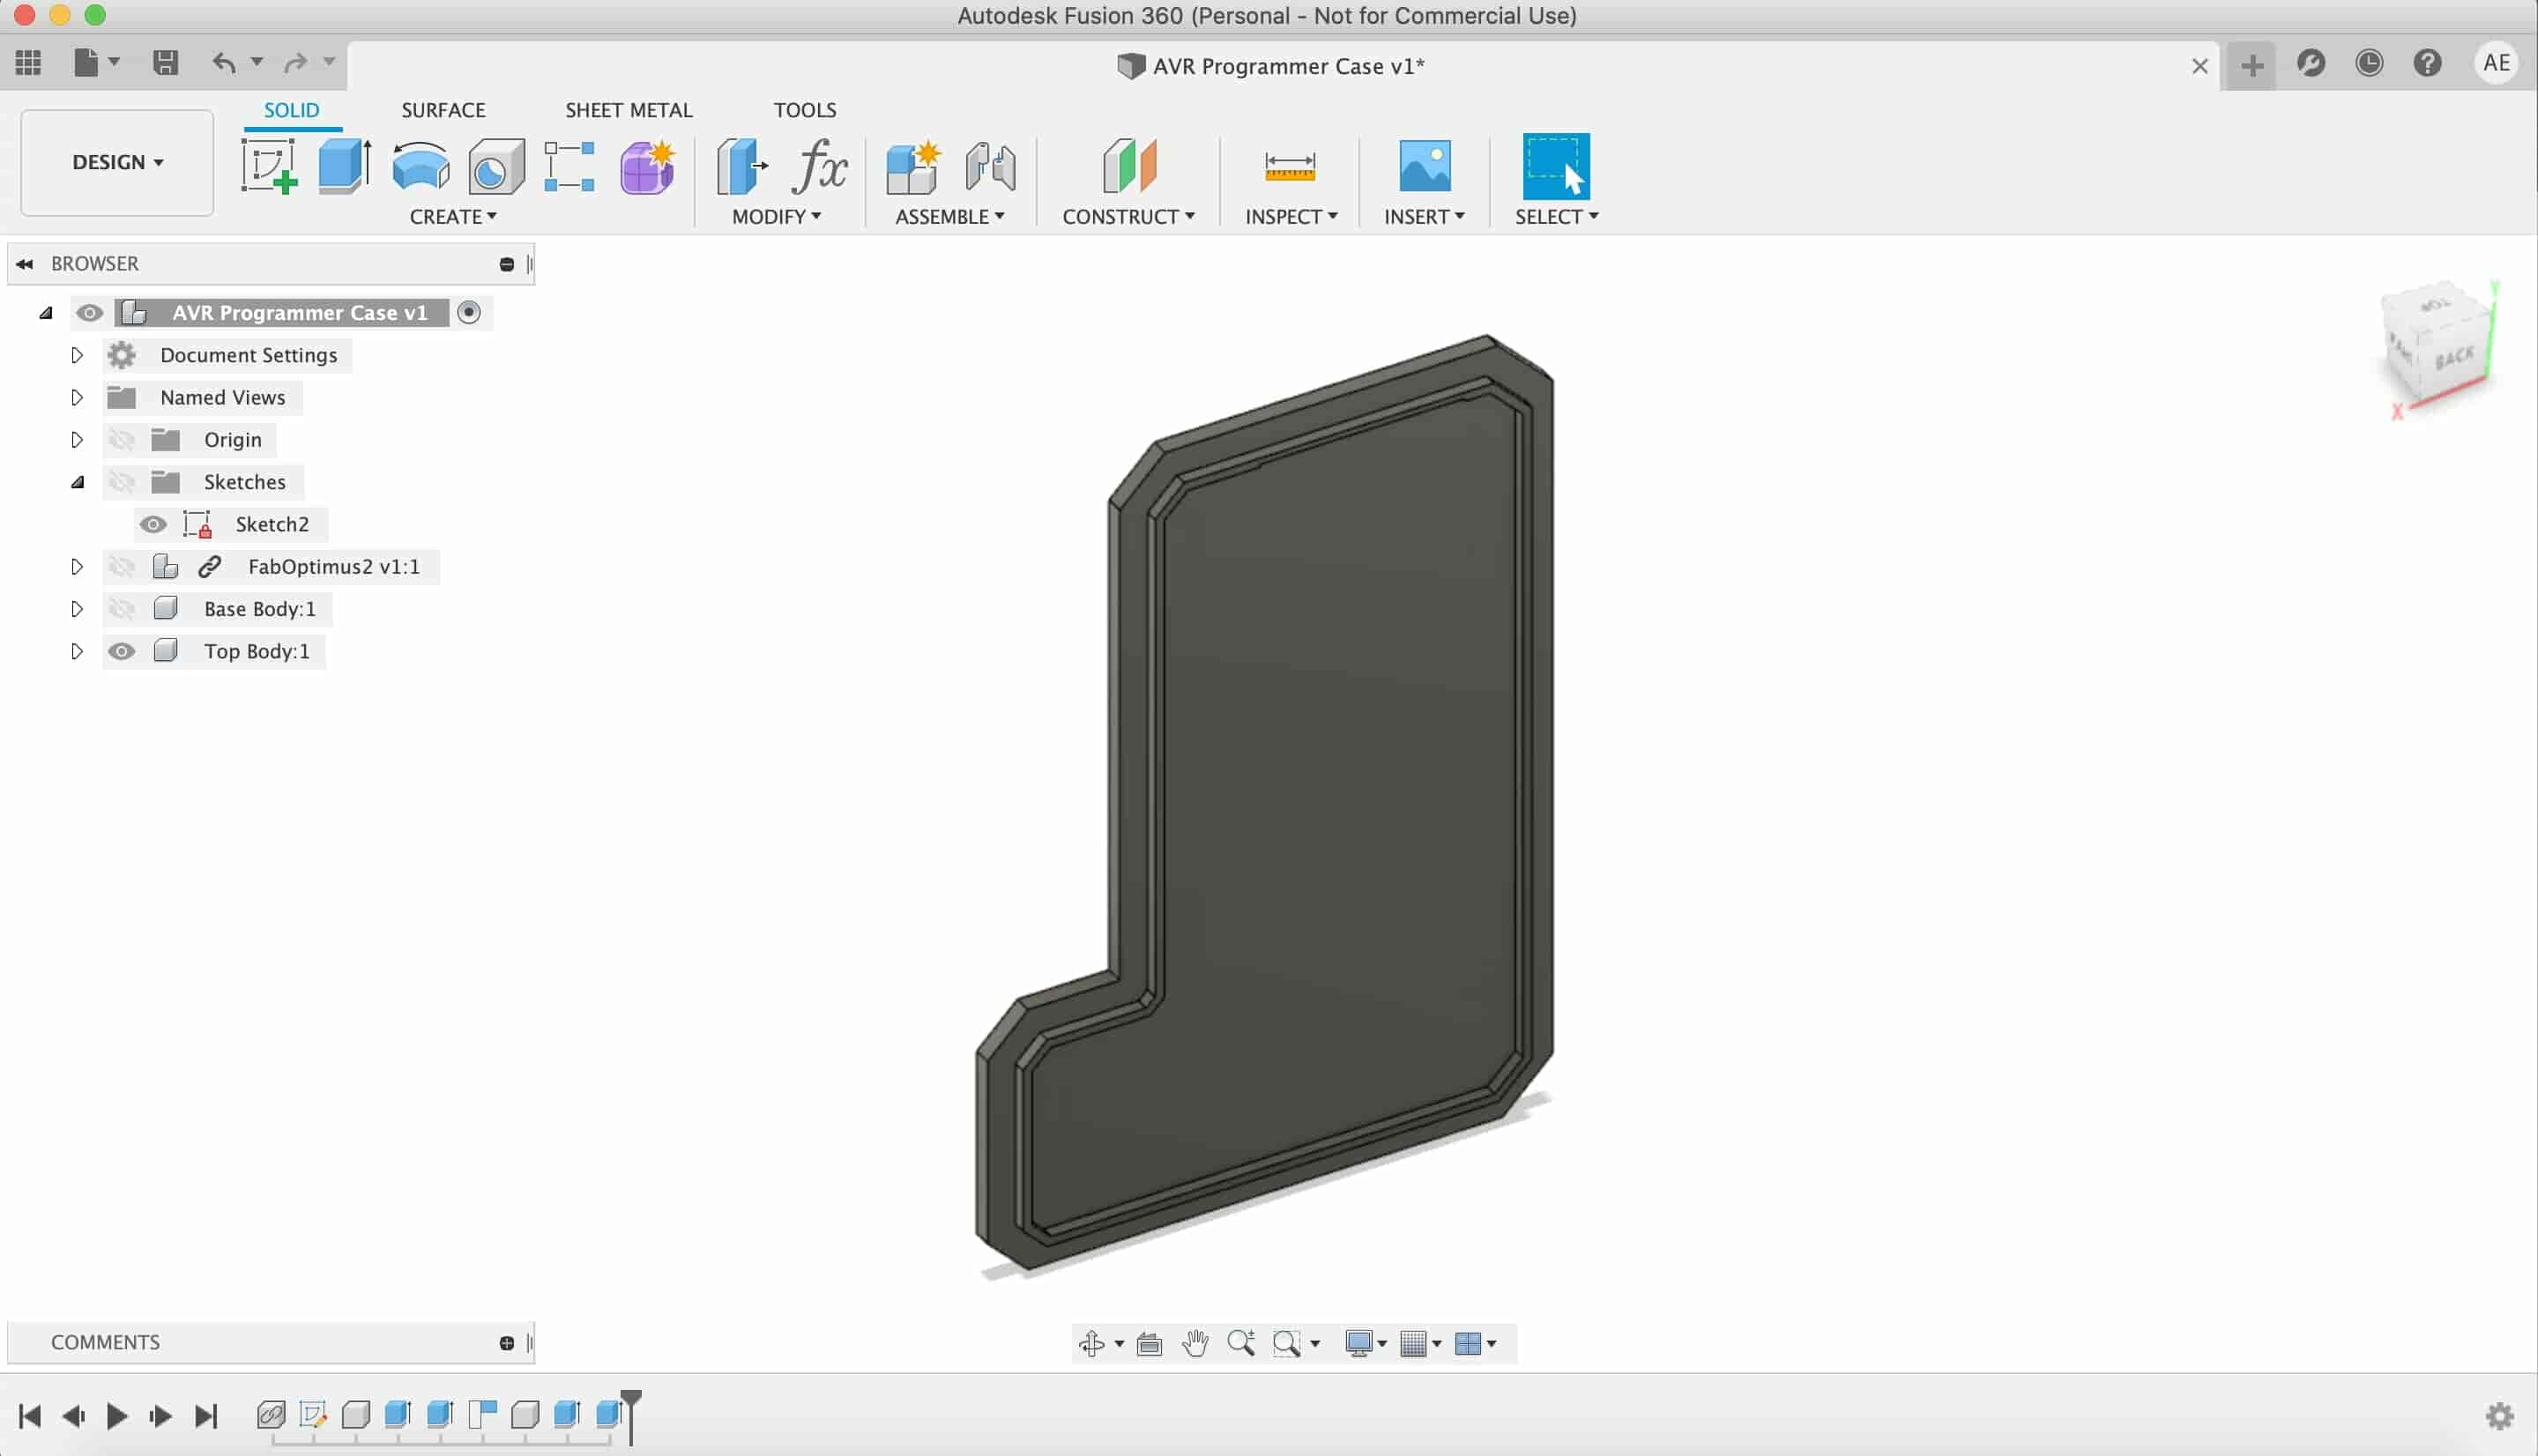
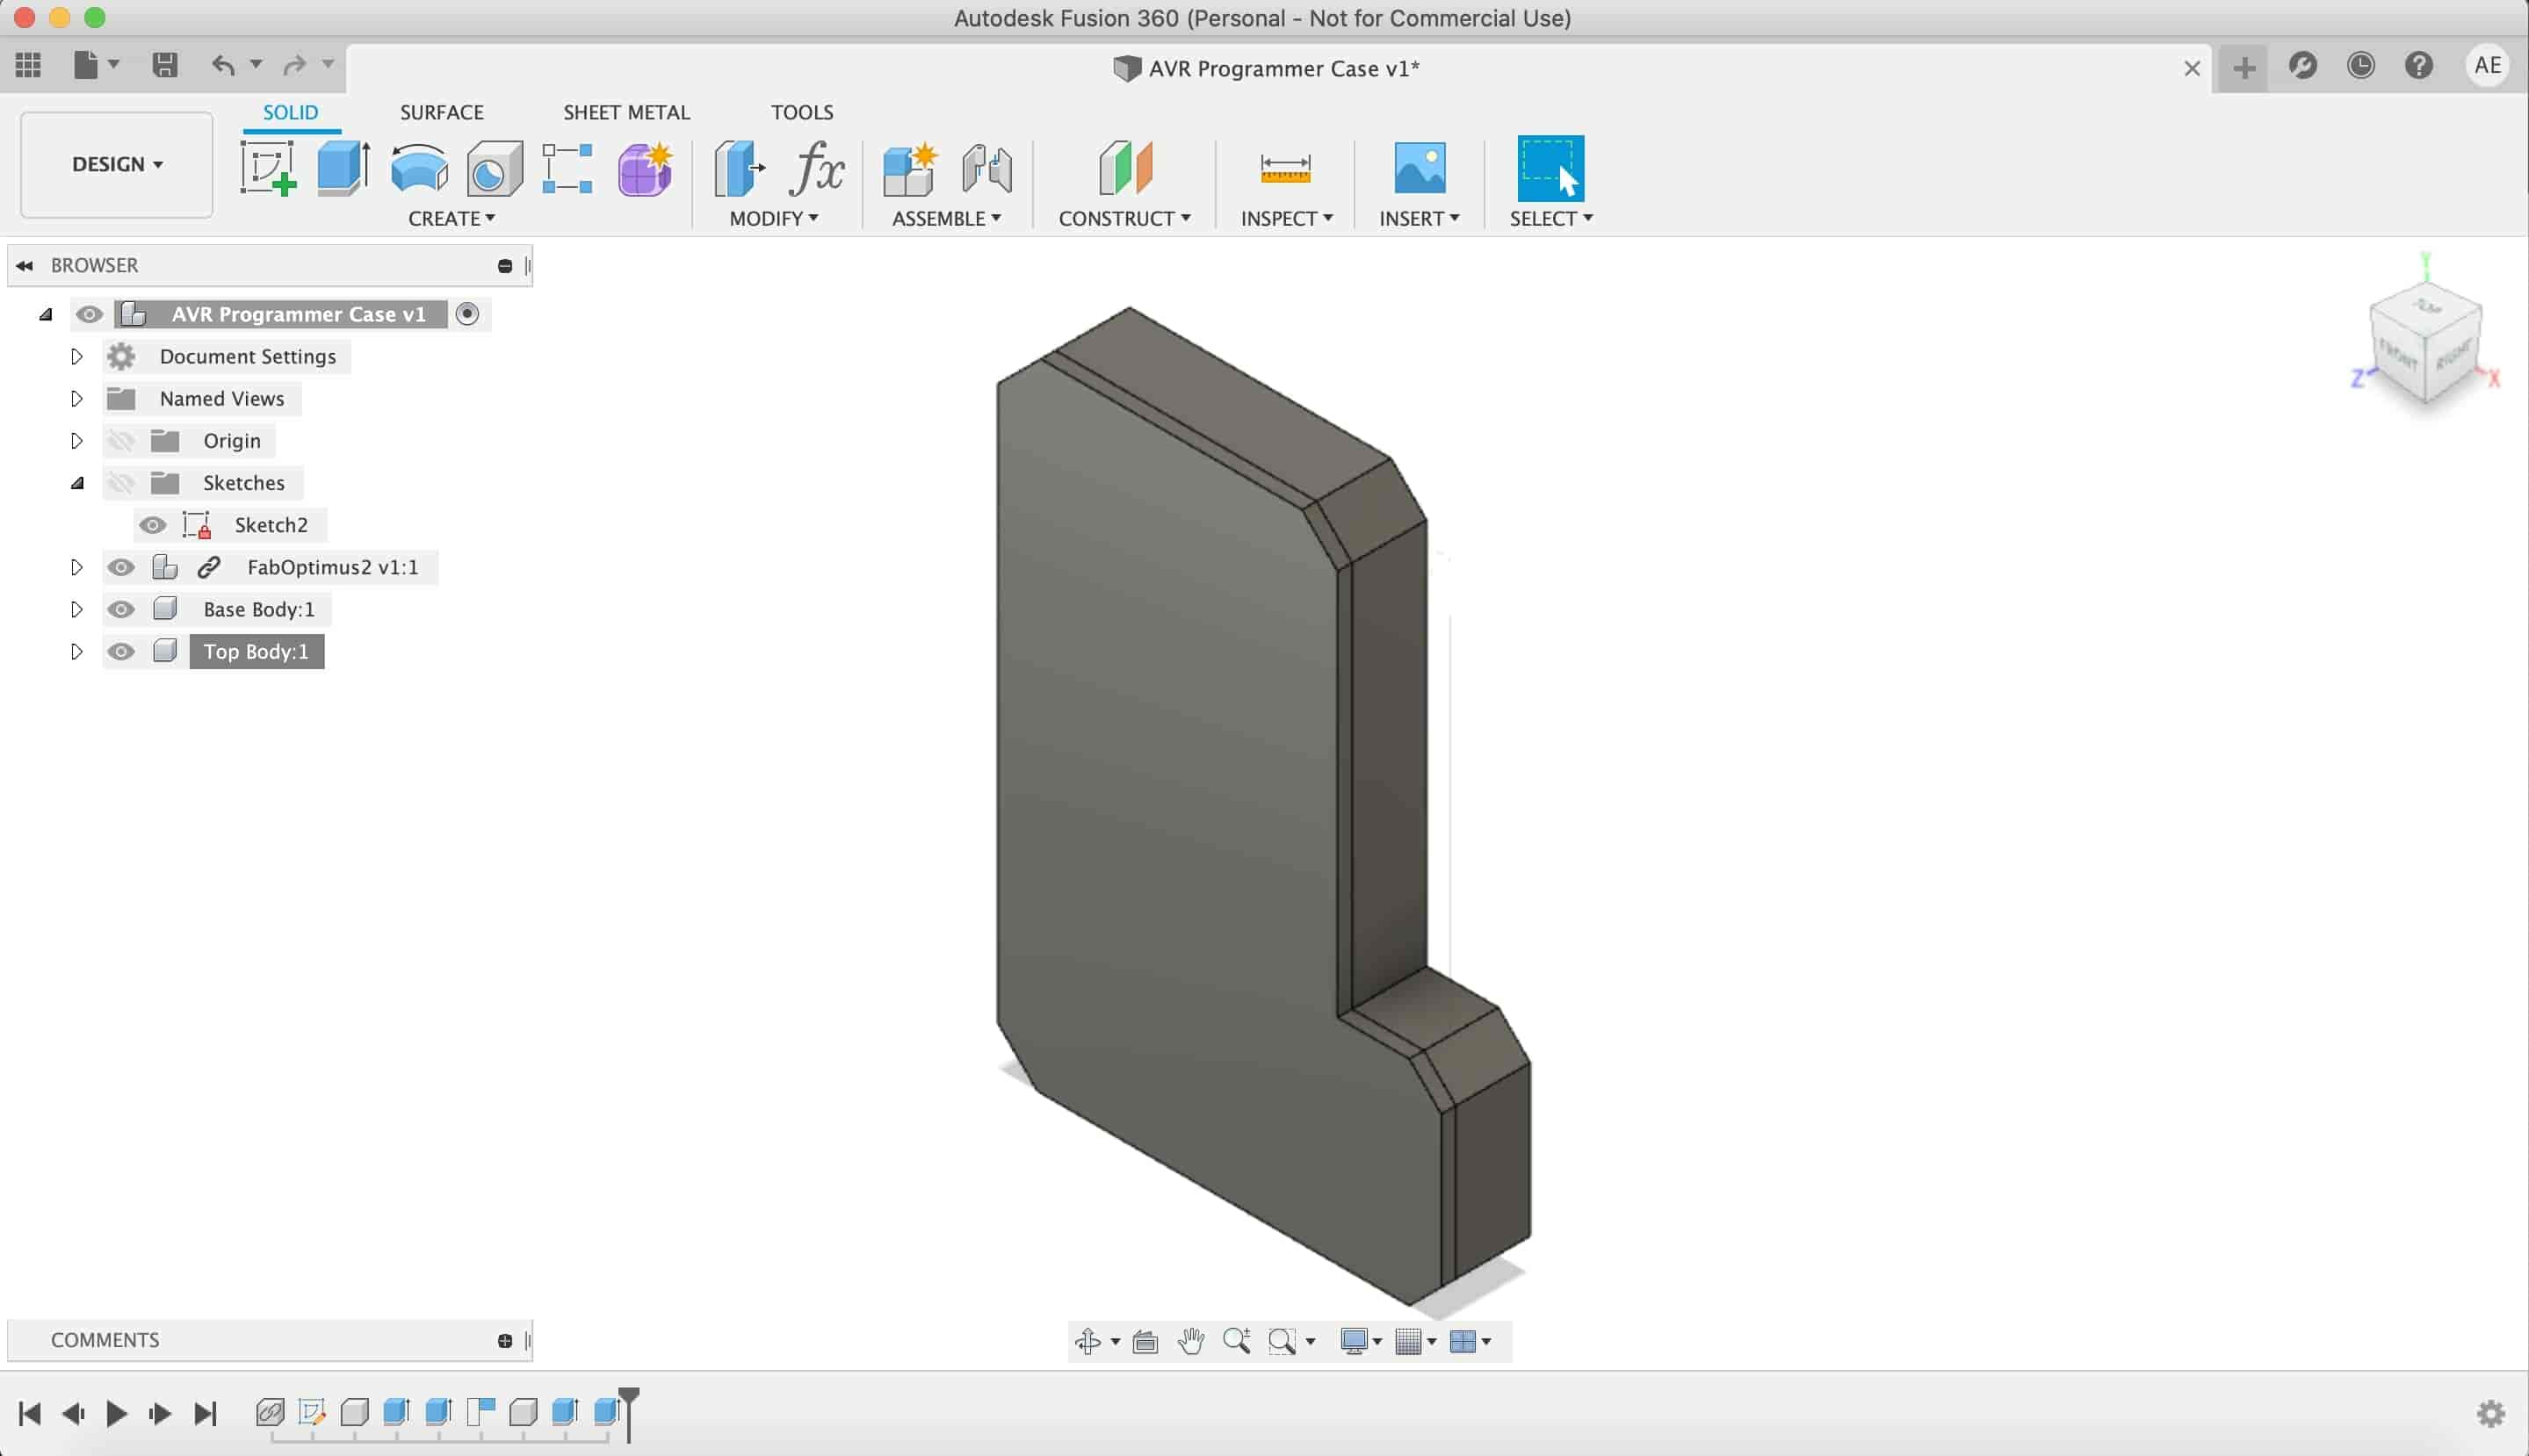
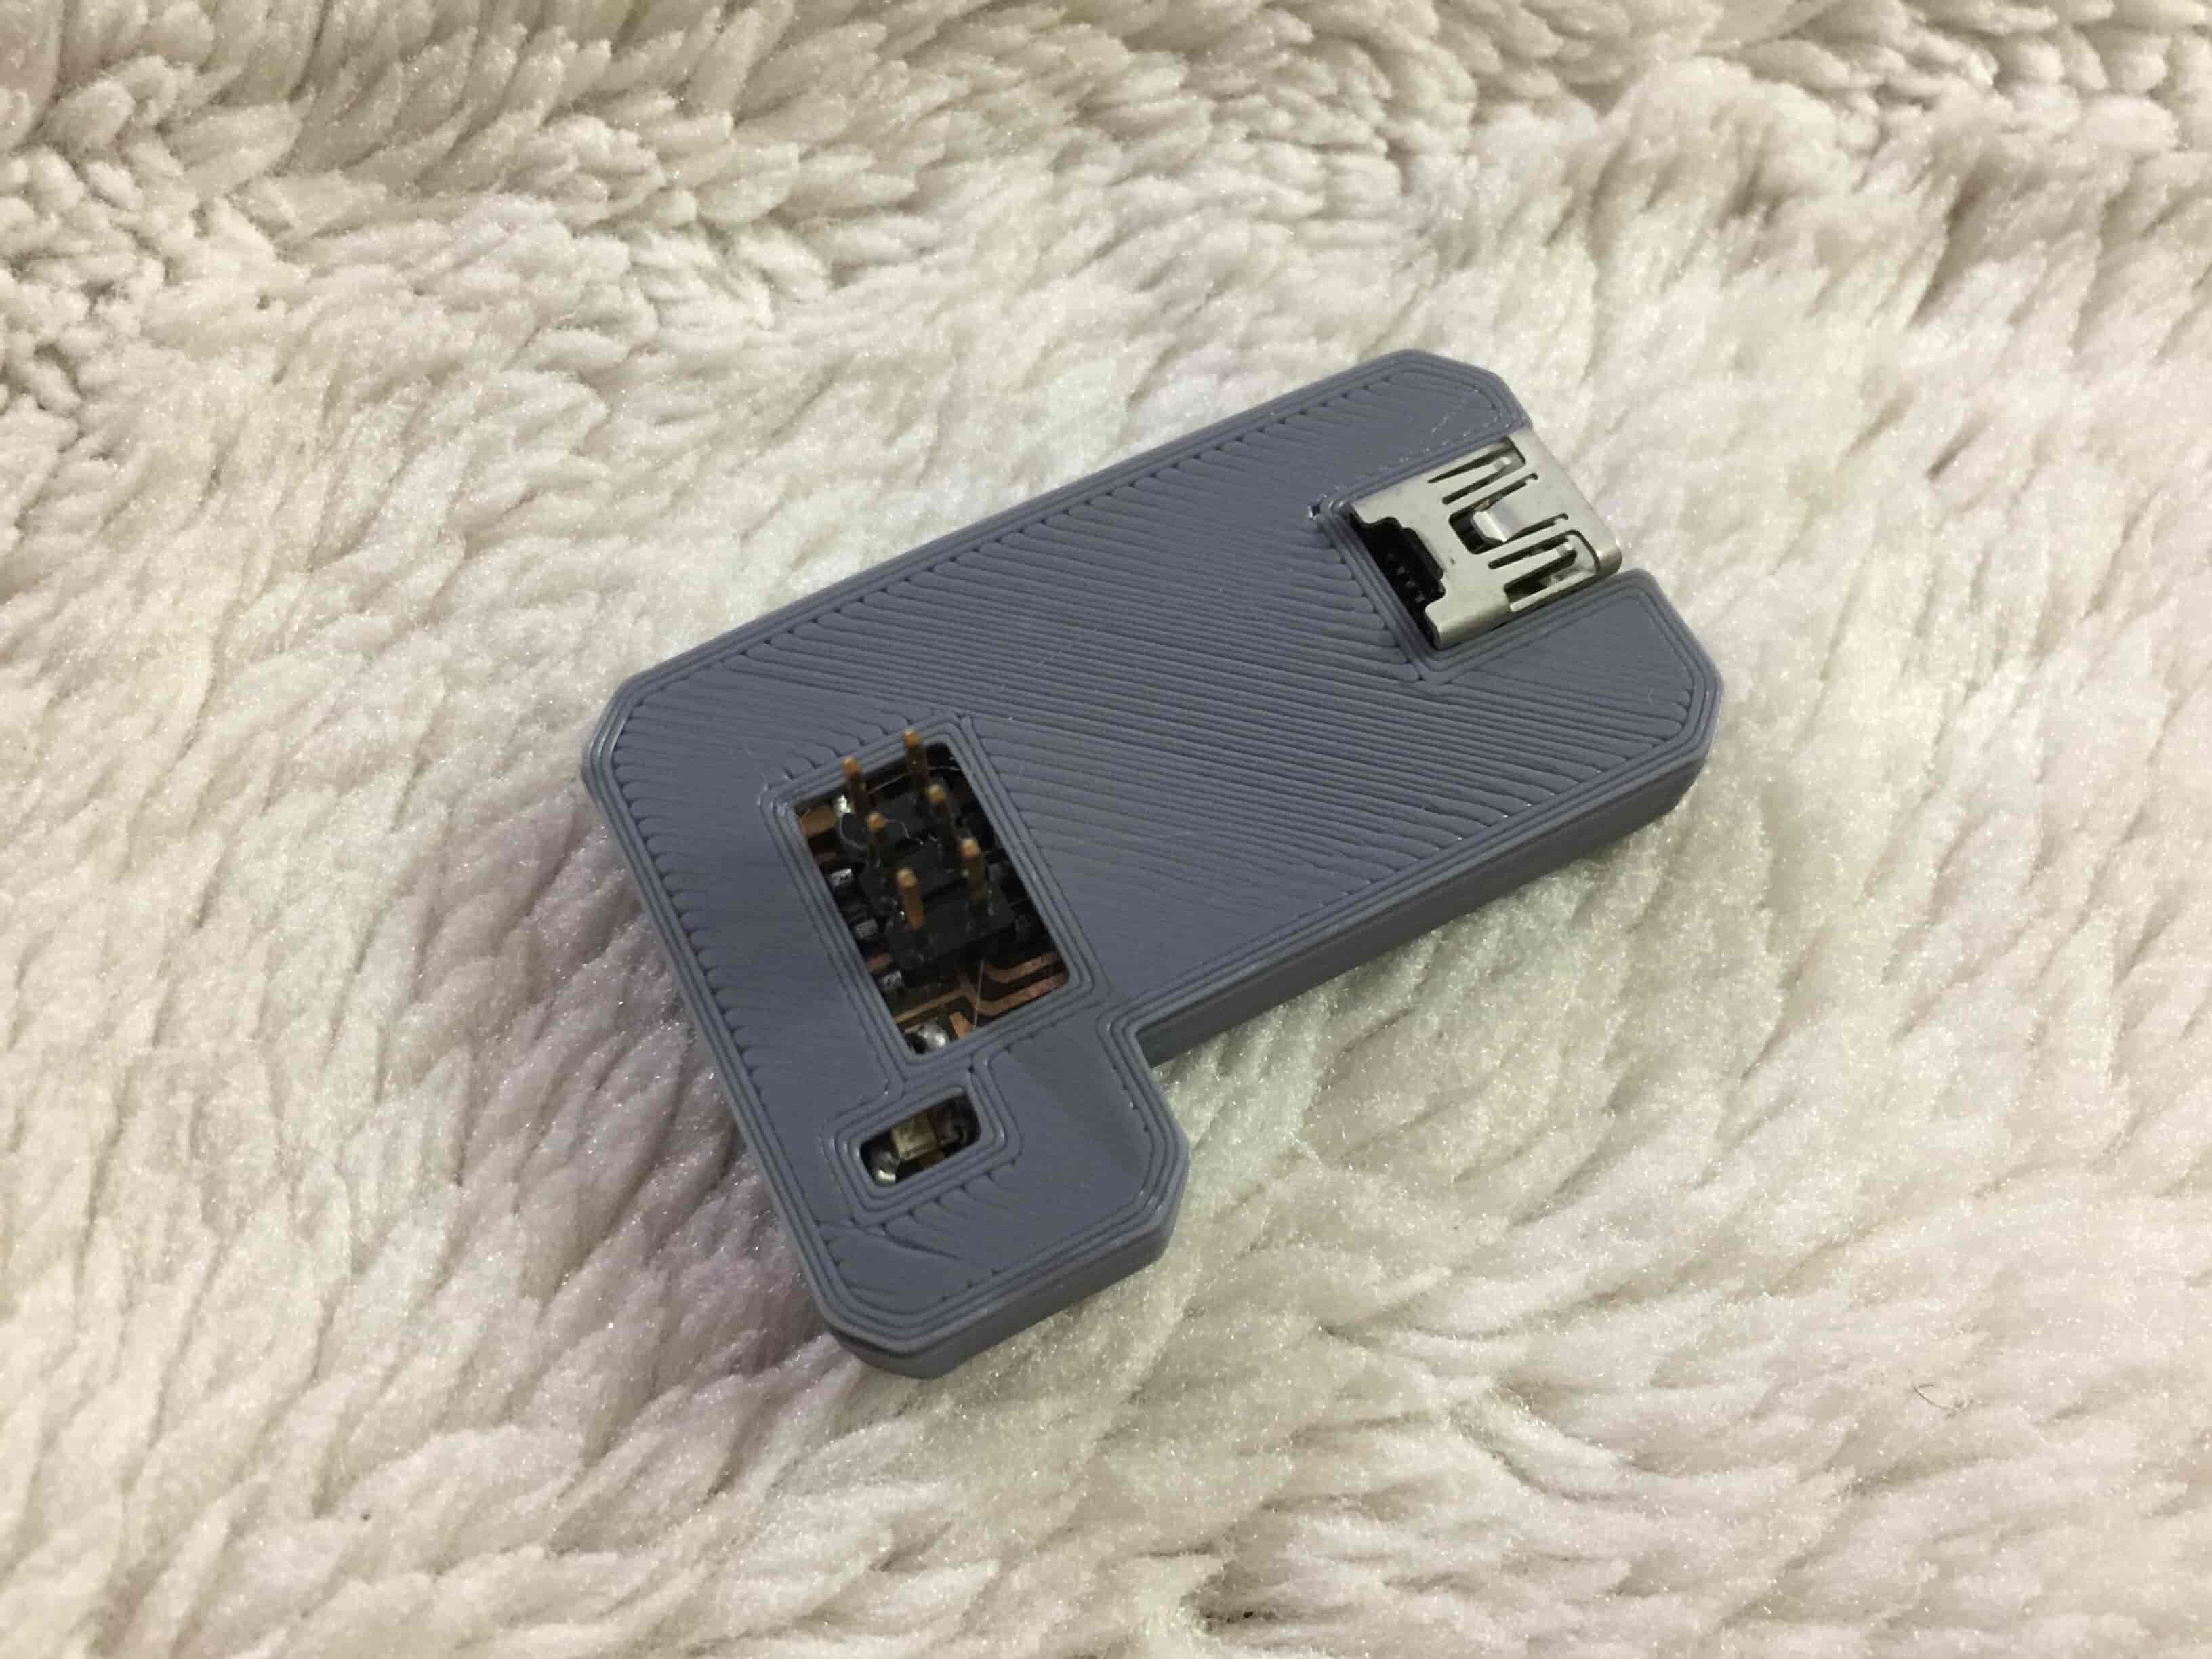
And here’s our super cool AVR Programmer enclosure!
Enclosure STL Files Download
3D Printing And Model Slicing
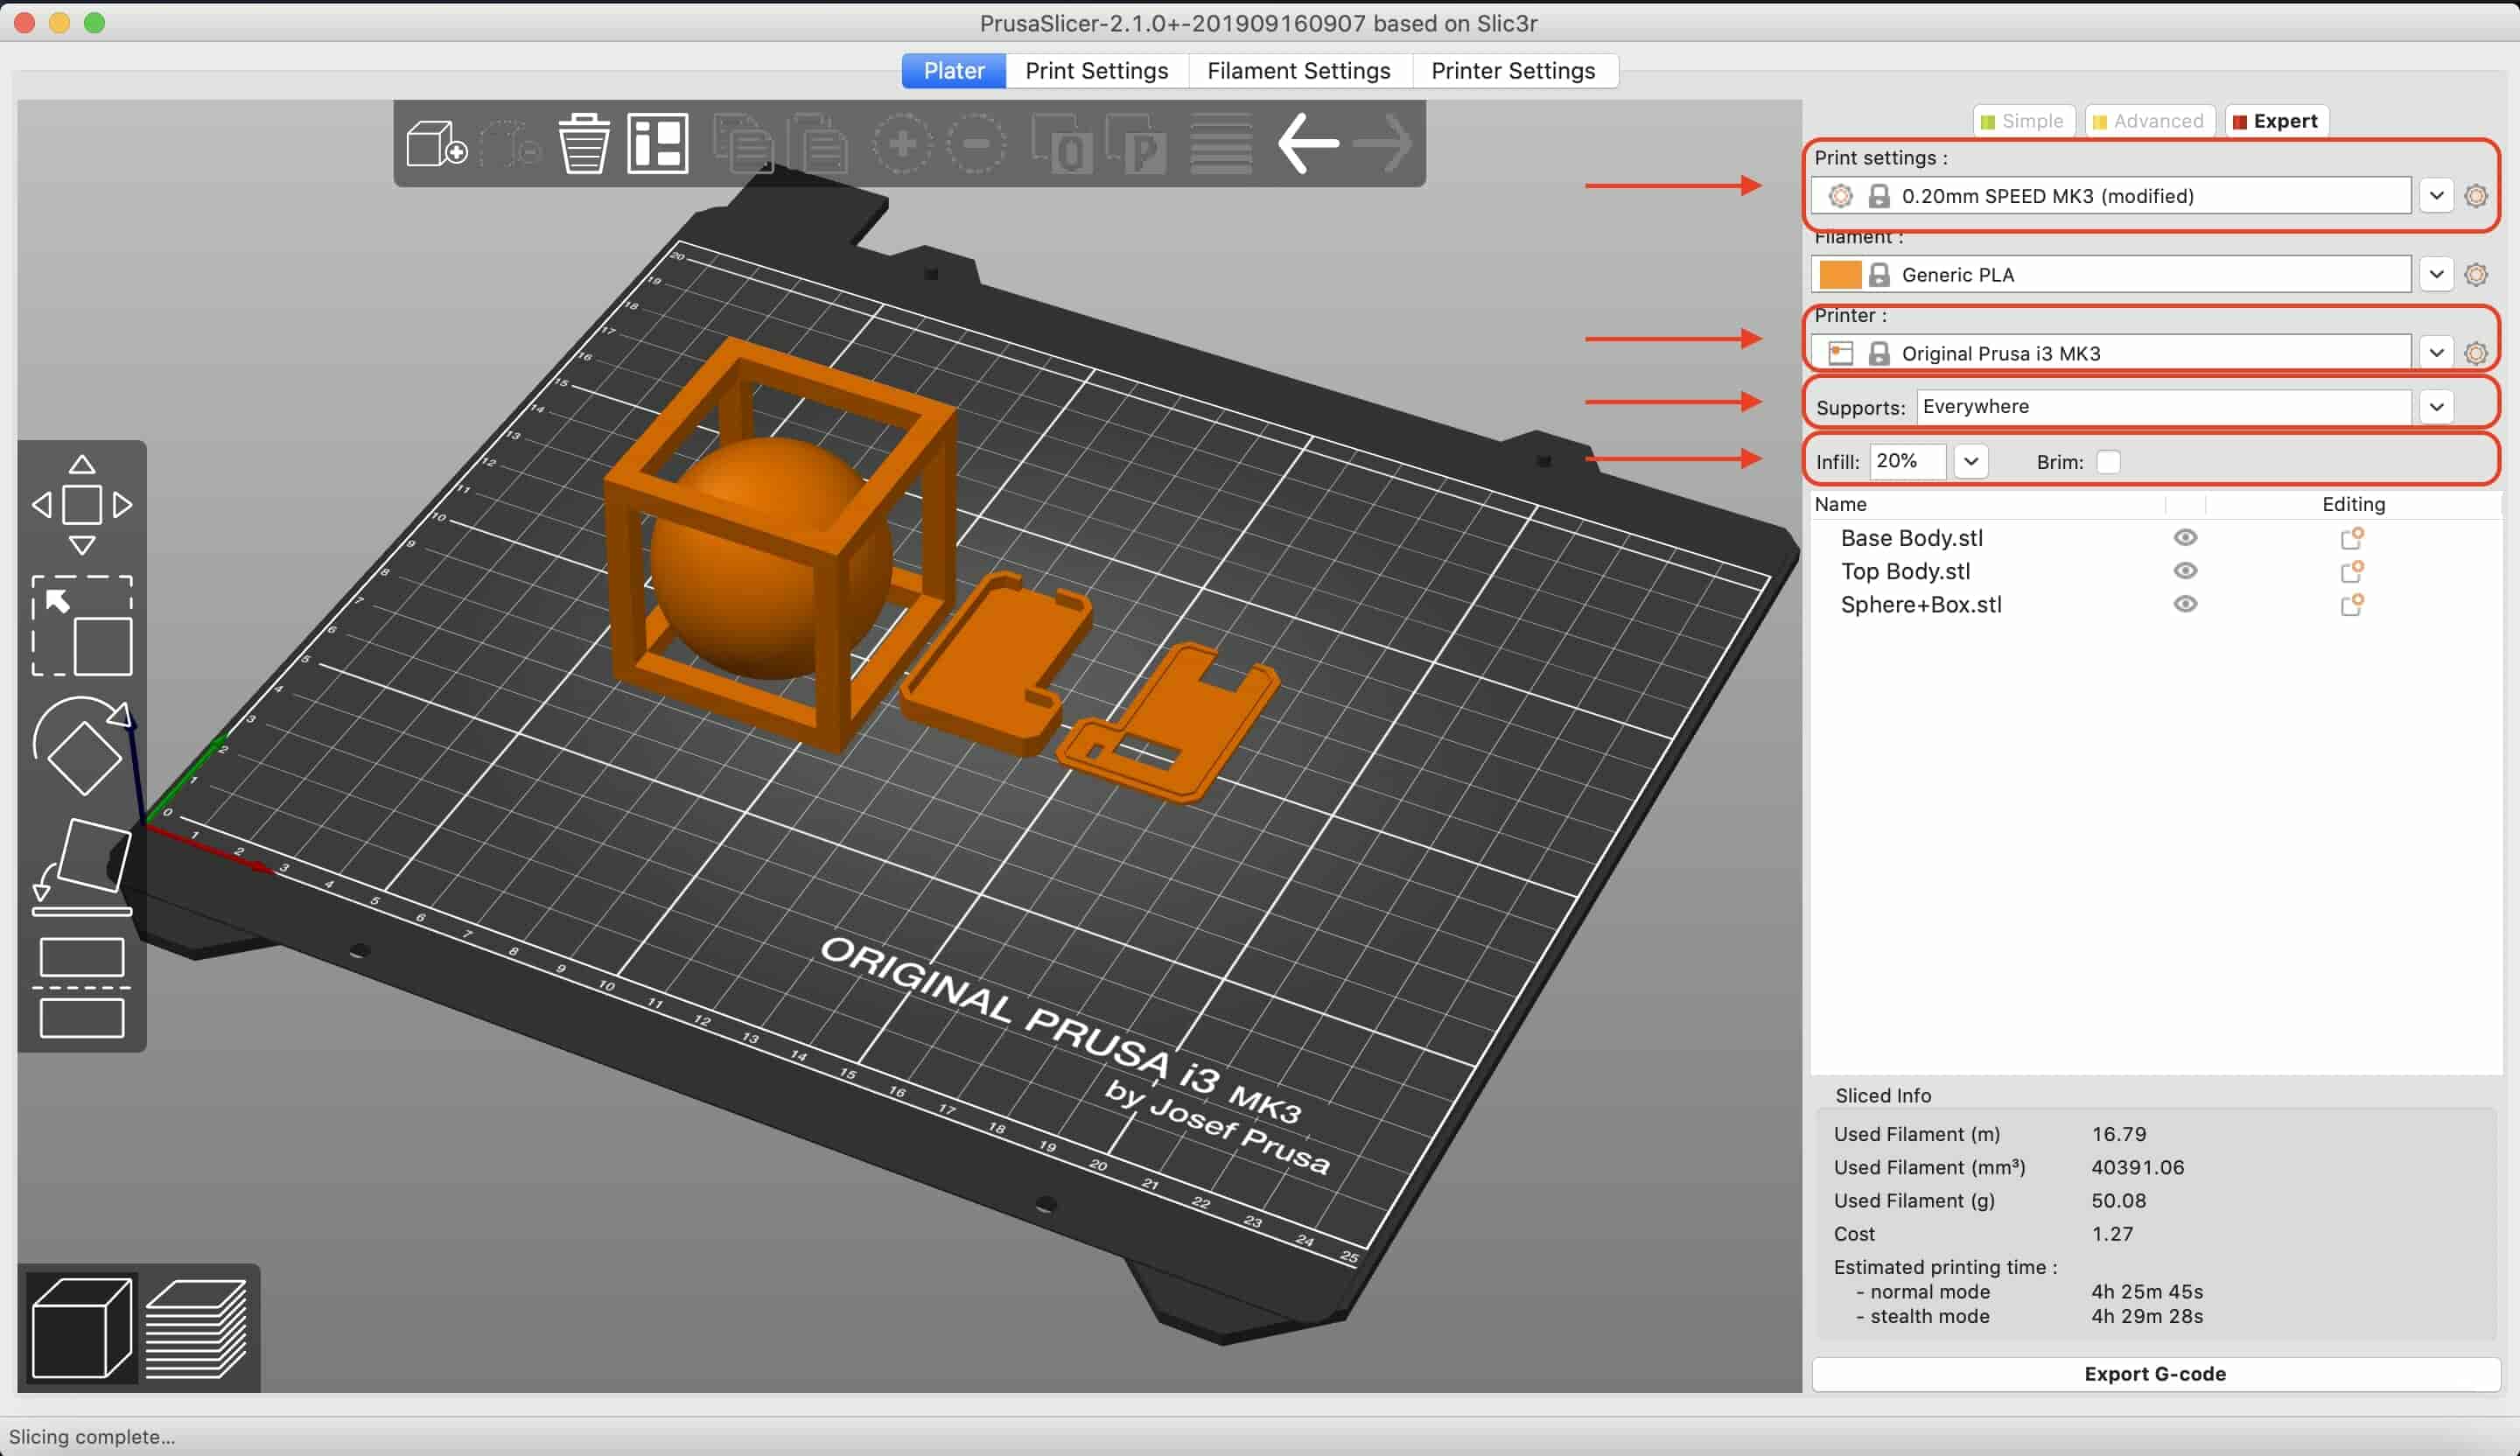
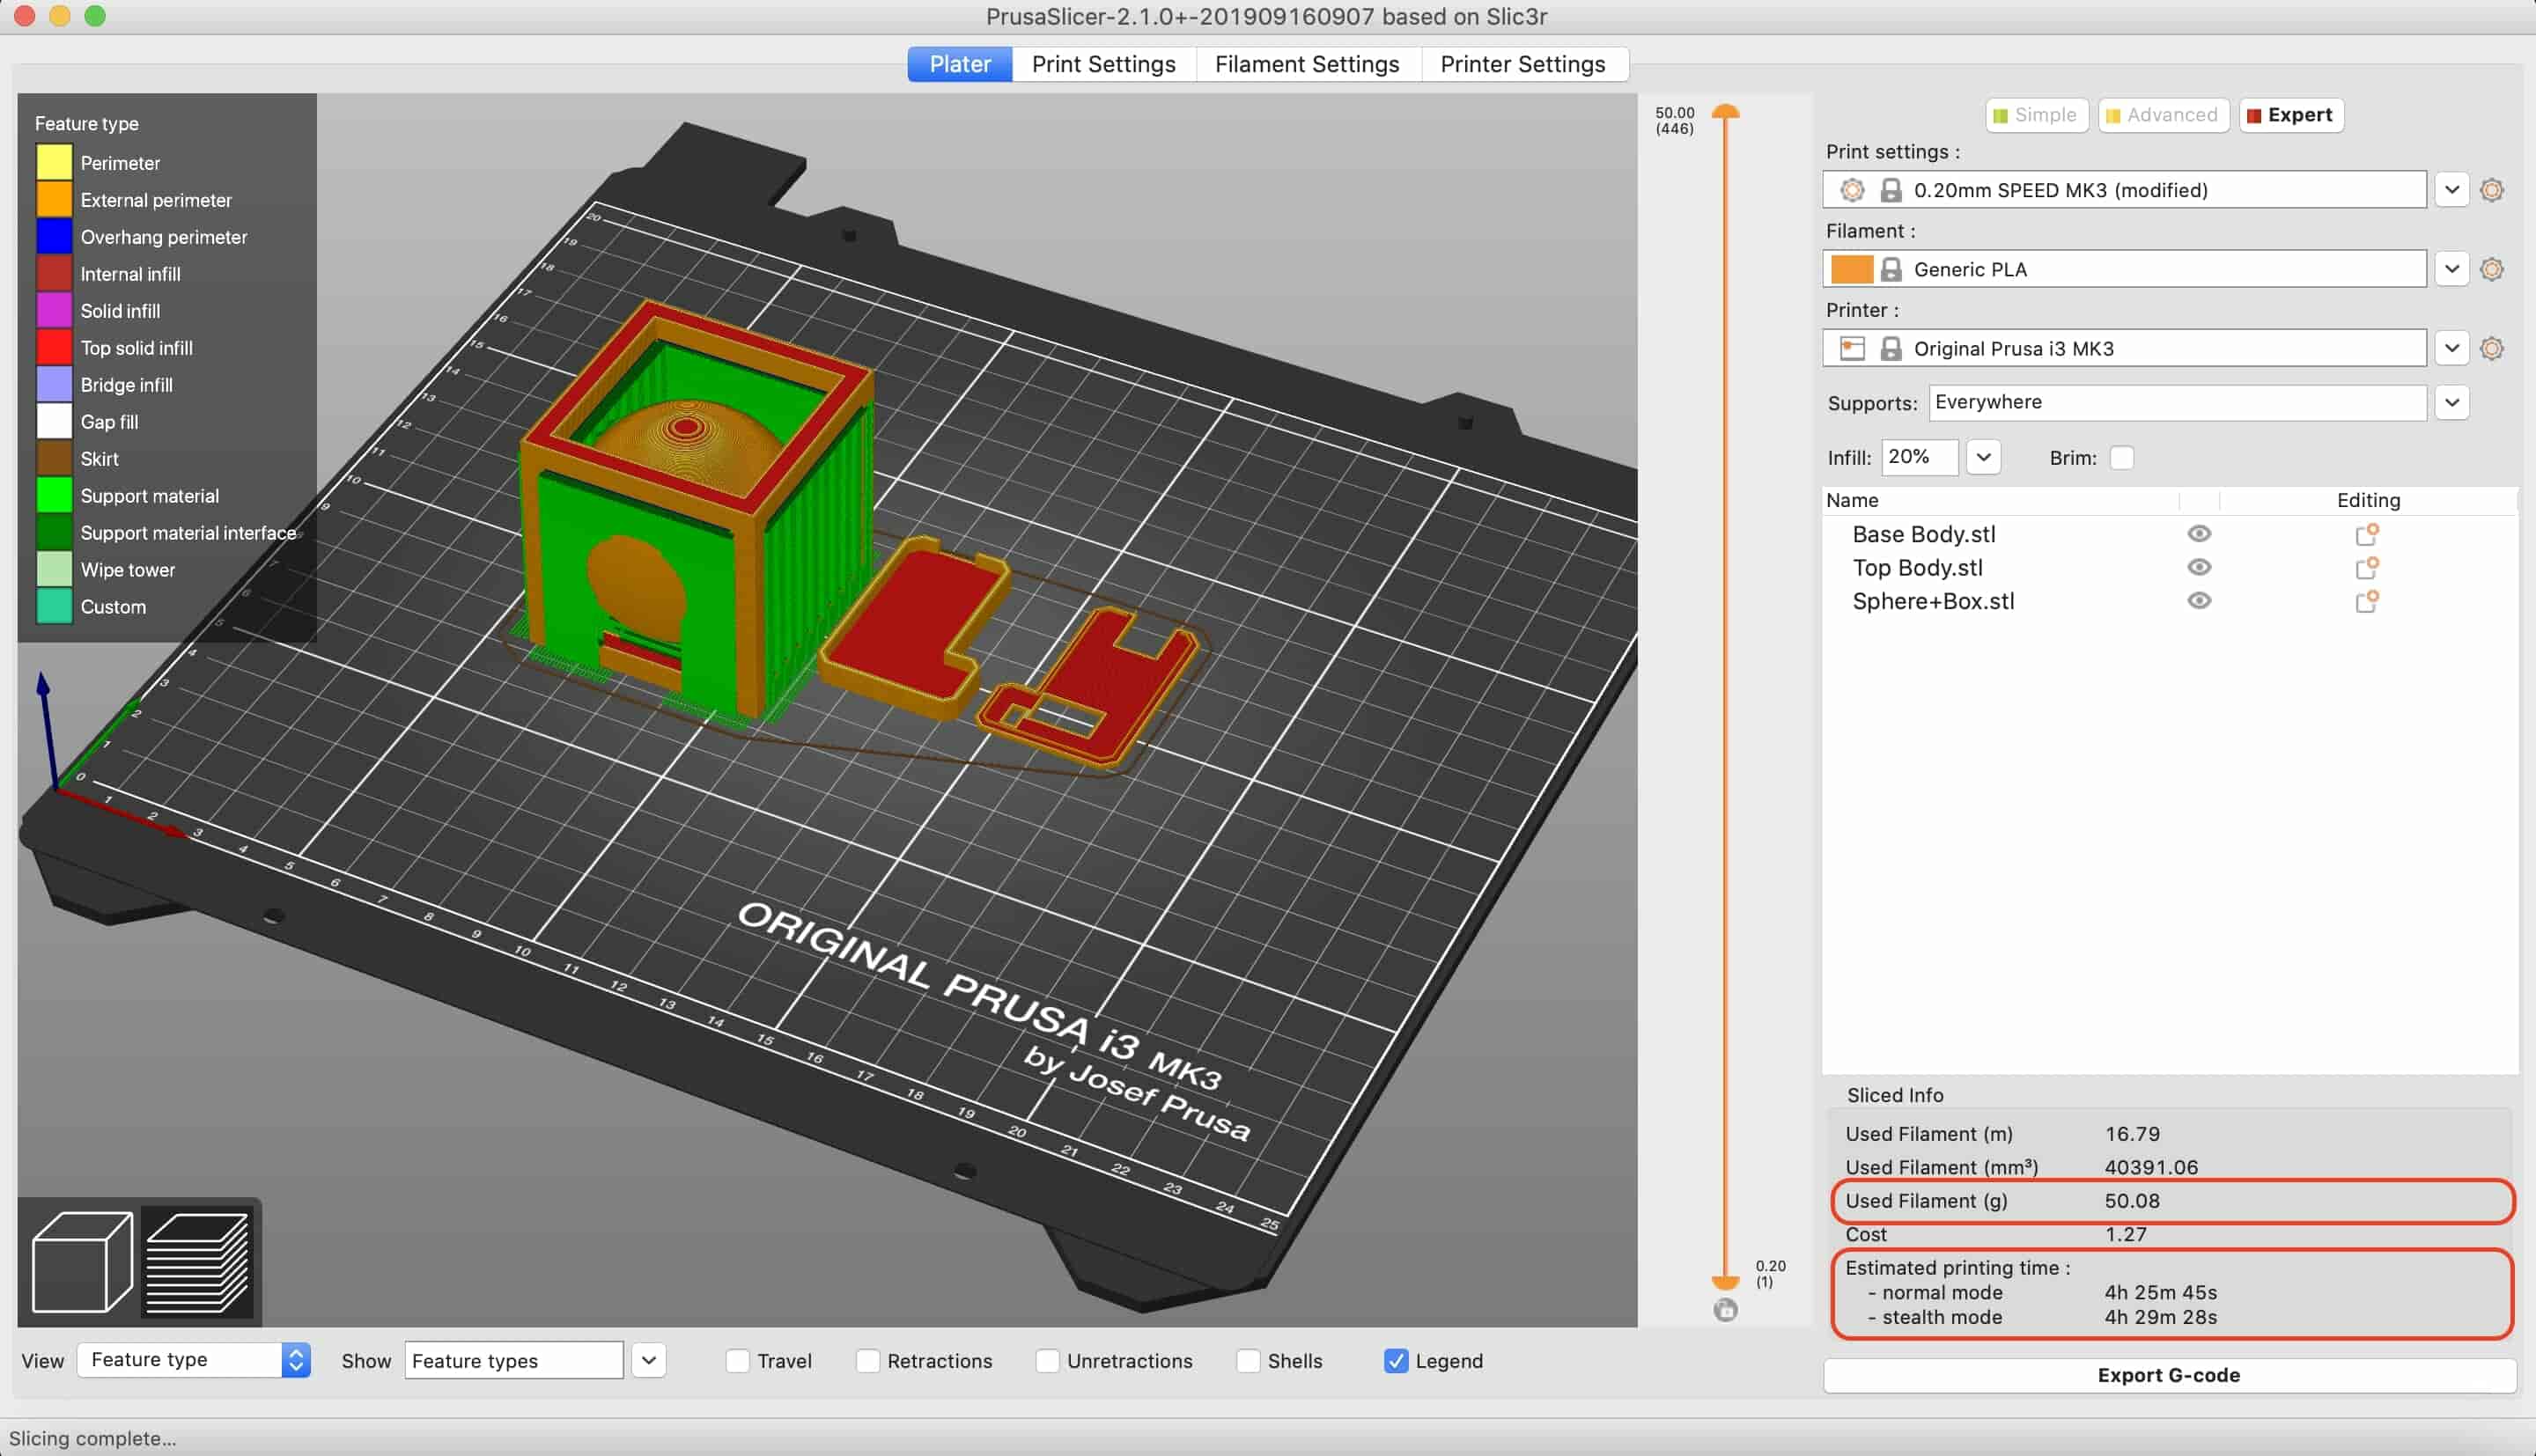
I imported the STLs in PrusaSlicer, and I adjusted the best orientation for the three parts and I settled on 0.2mm as a layer height, 20% Infill, with Skirt, and adding supports for the box. It will take around 4 hours and 30 minutes to finish printing, I exported the files to the machine SD card and started printing. ok cool I will go to eat until it finishes!

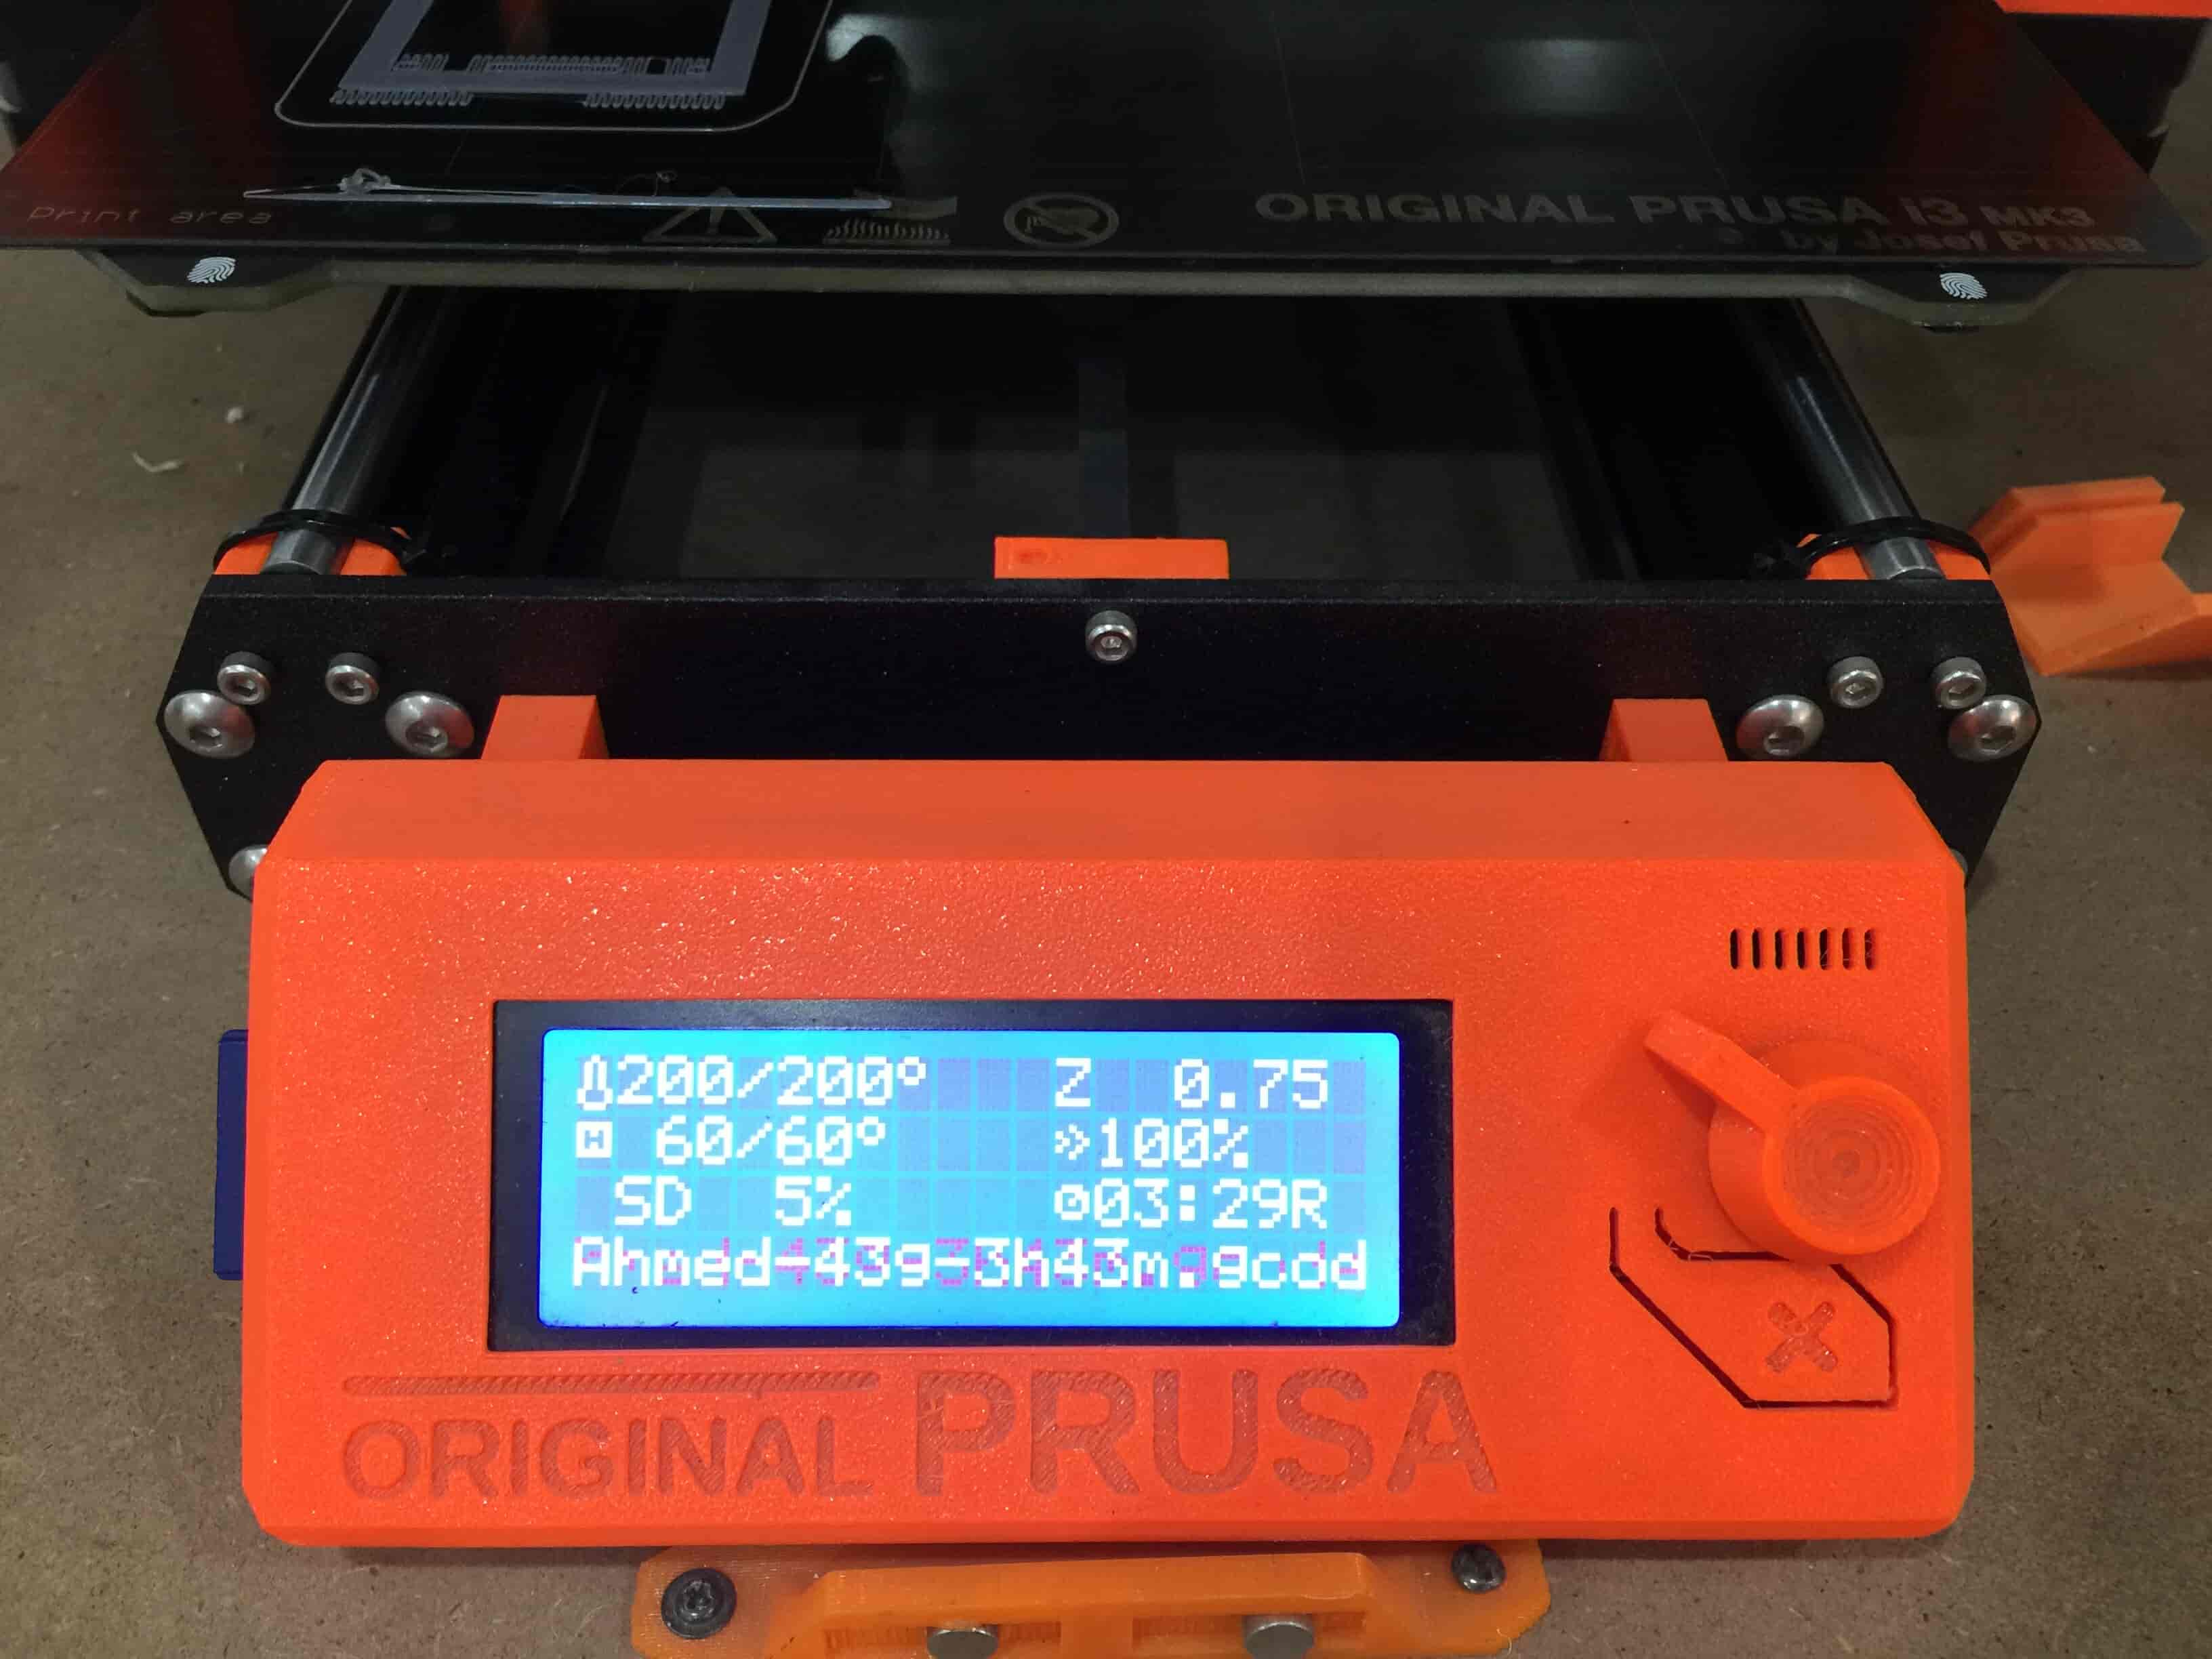
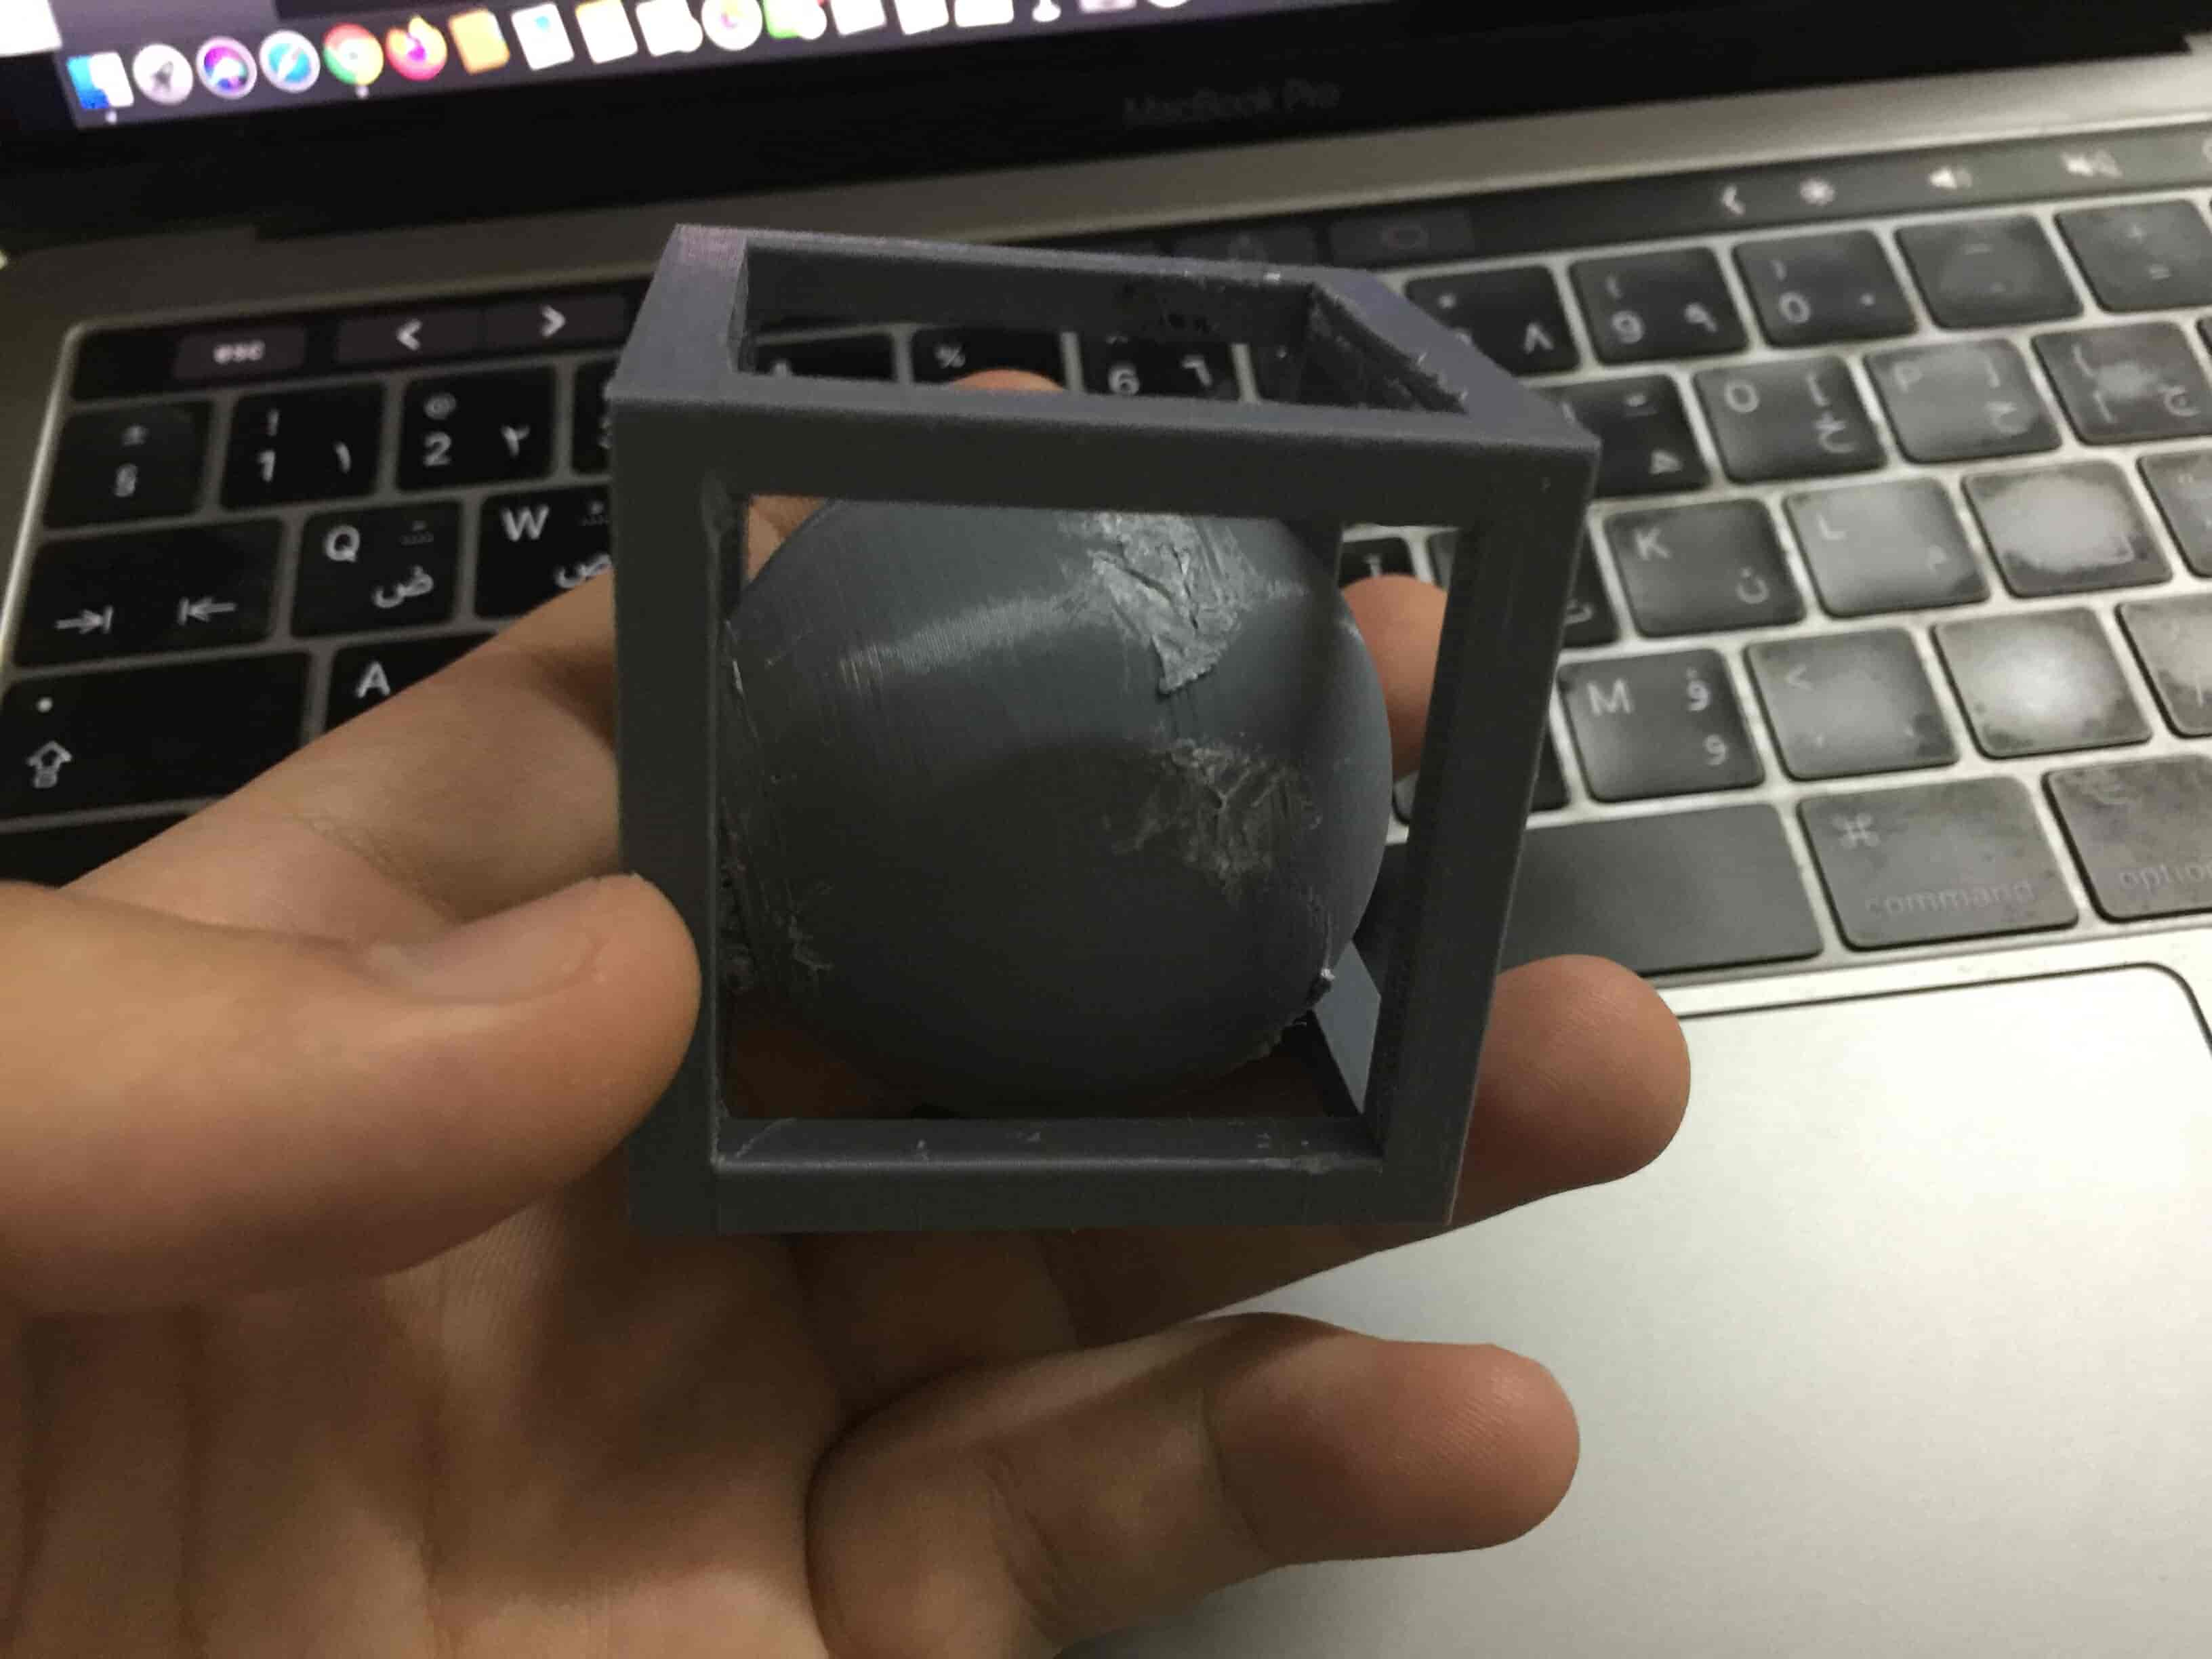
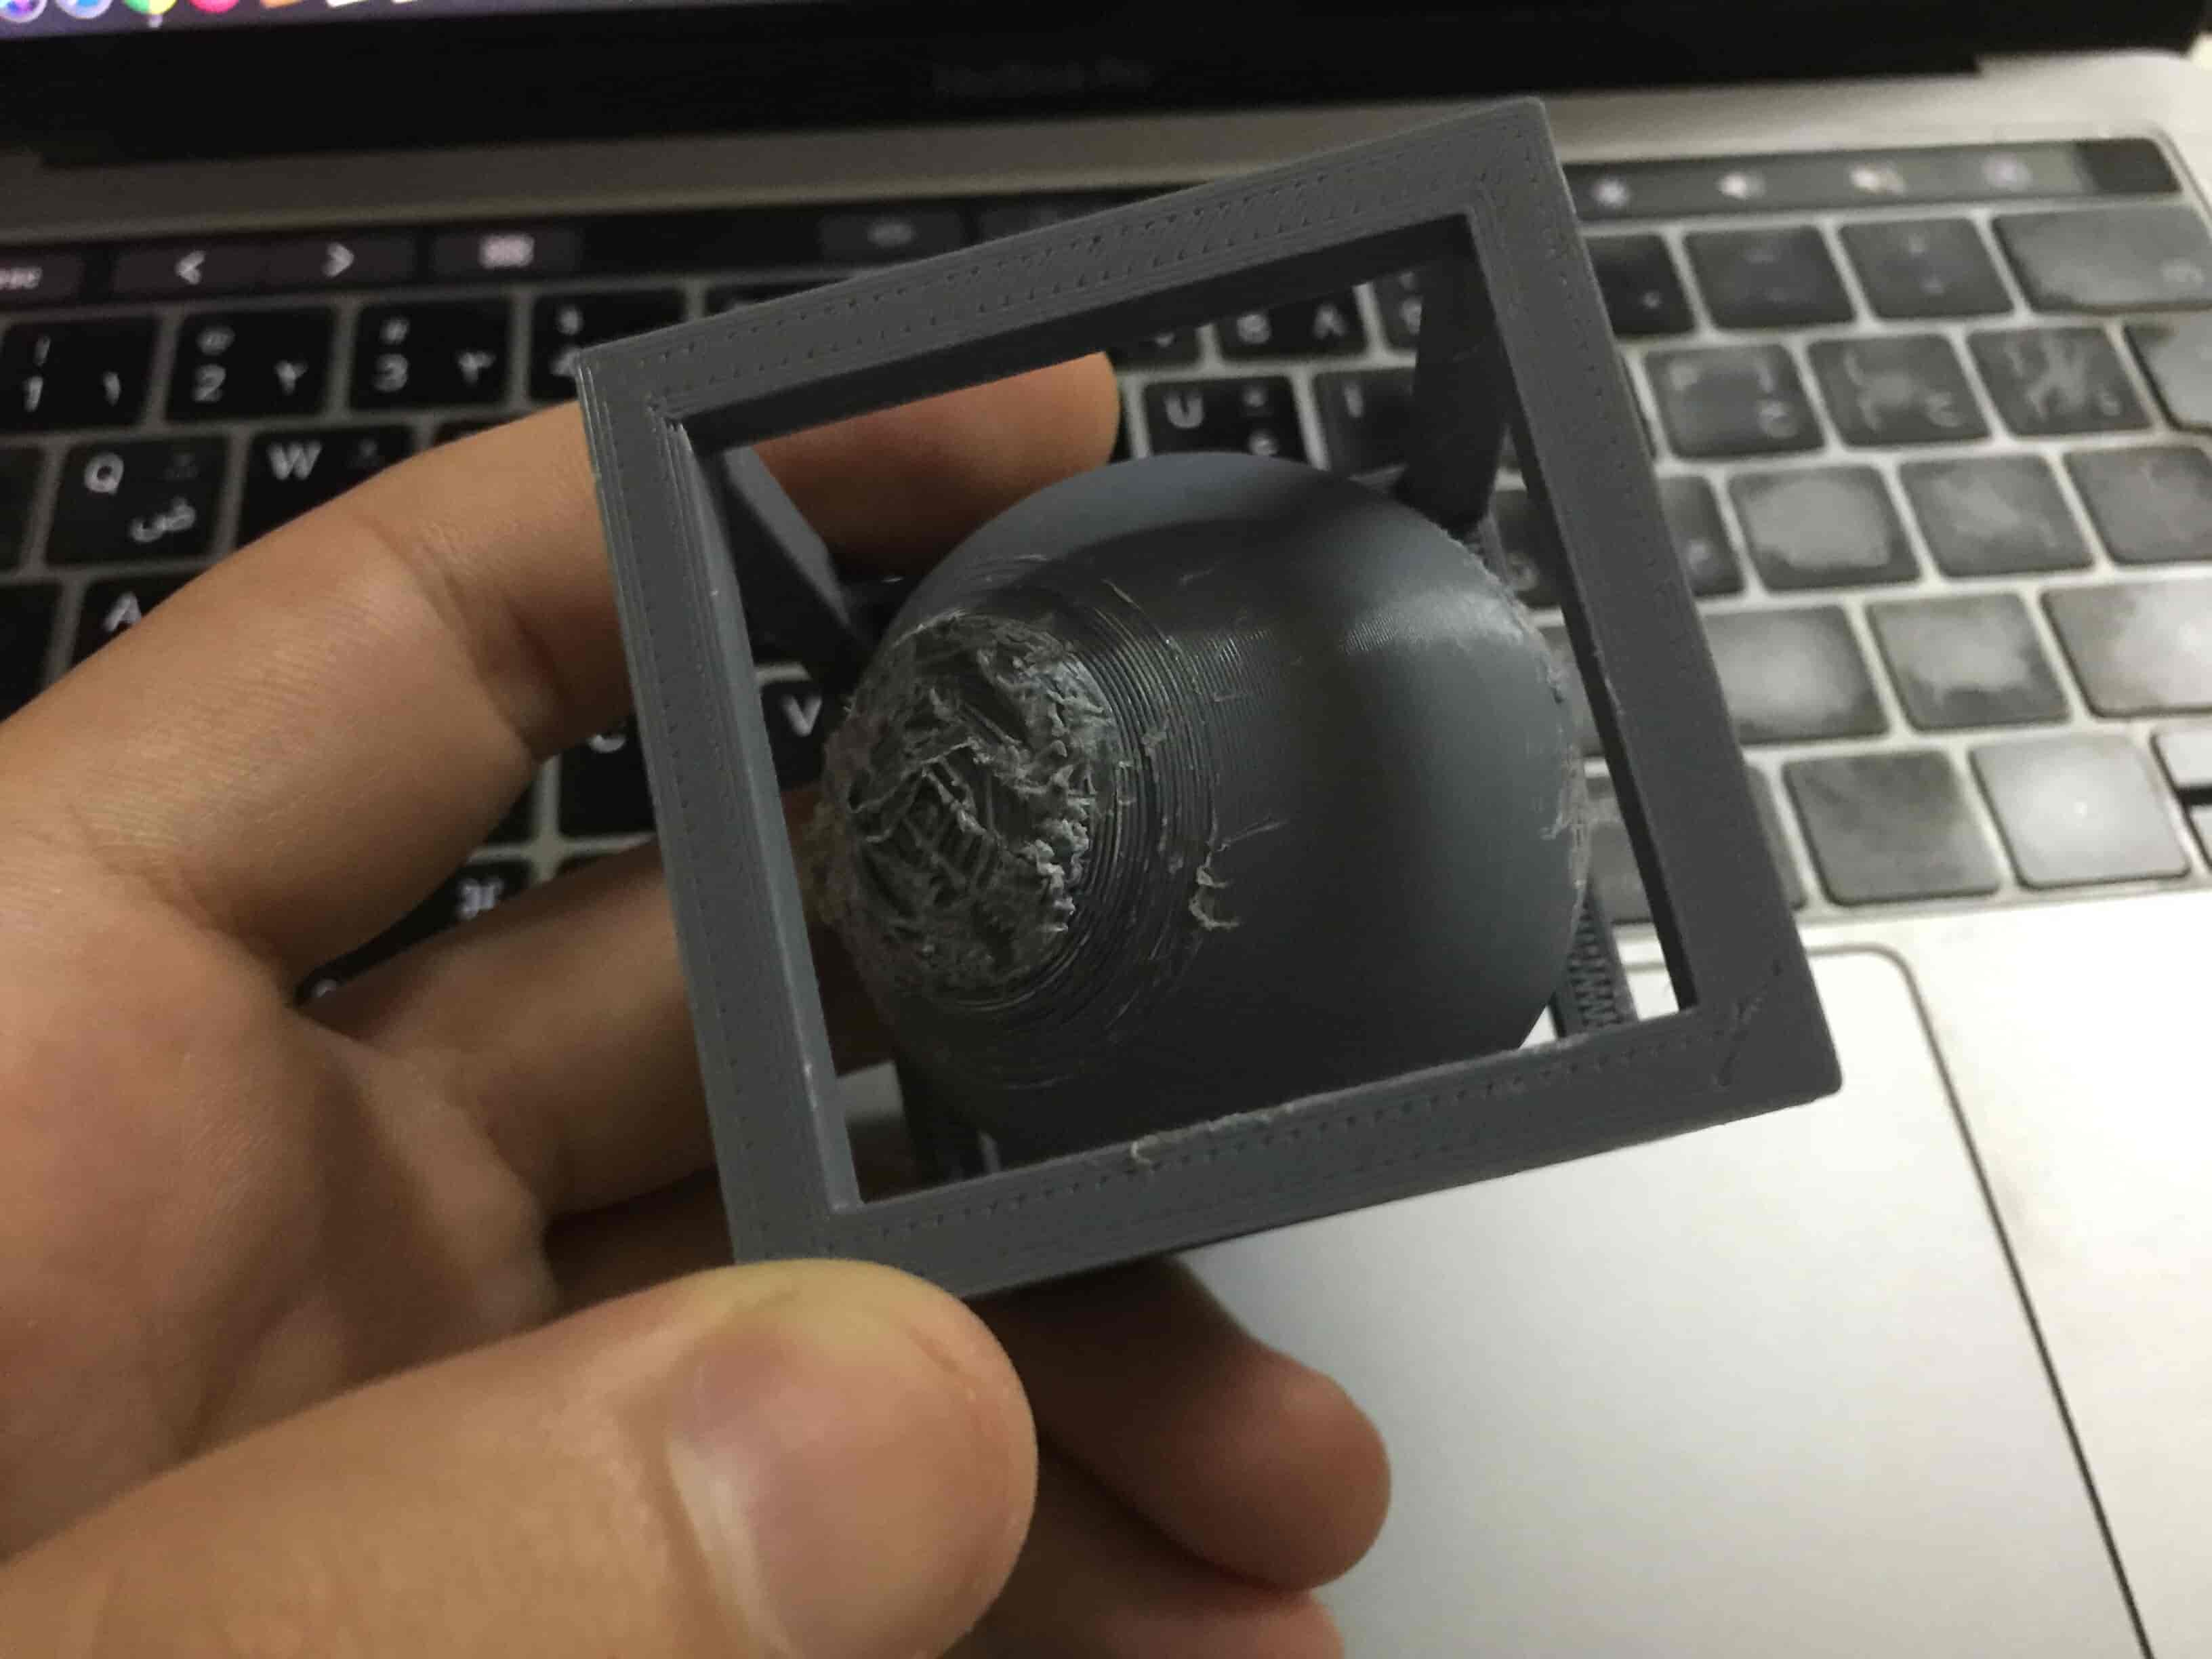
I finished eating and the printer finished printing too! I toke the parts out of the bed and started removing the supports from the cube. It was so tough!
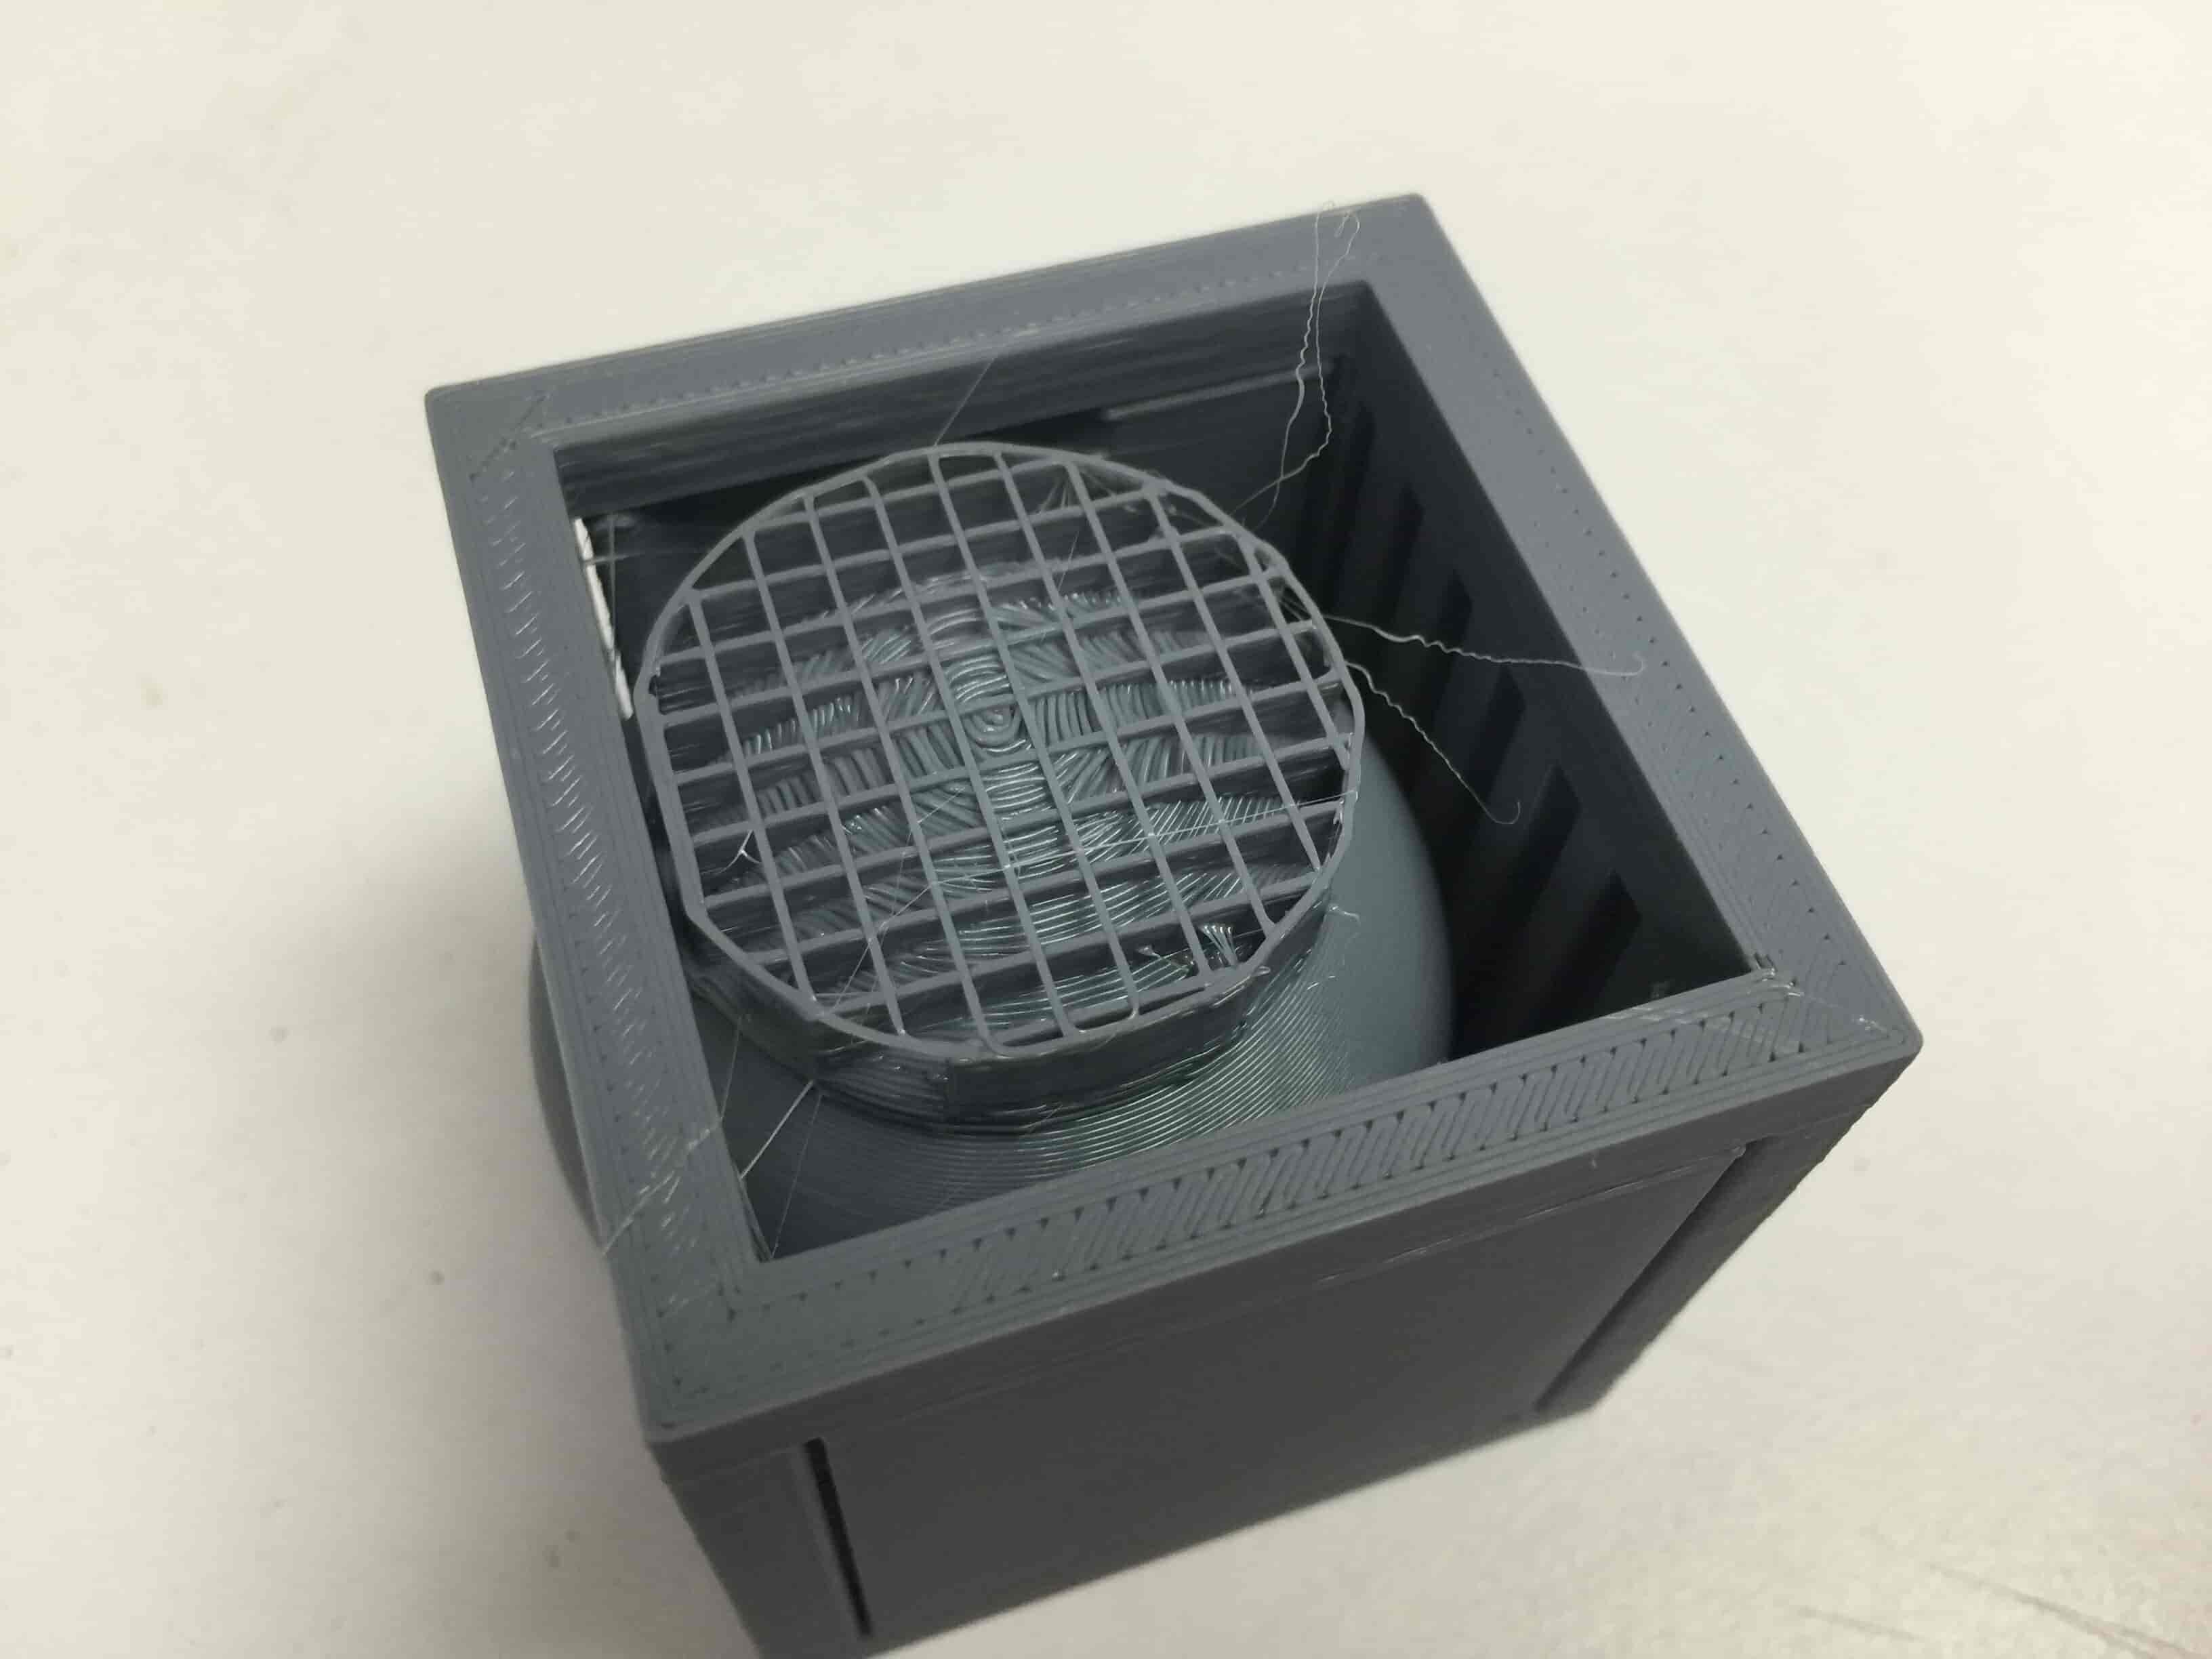
I printed the same model again on my RepRap Prusa I3 printer and came out very well, the supports came out easy peesy!
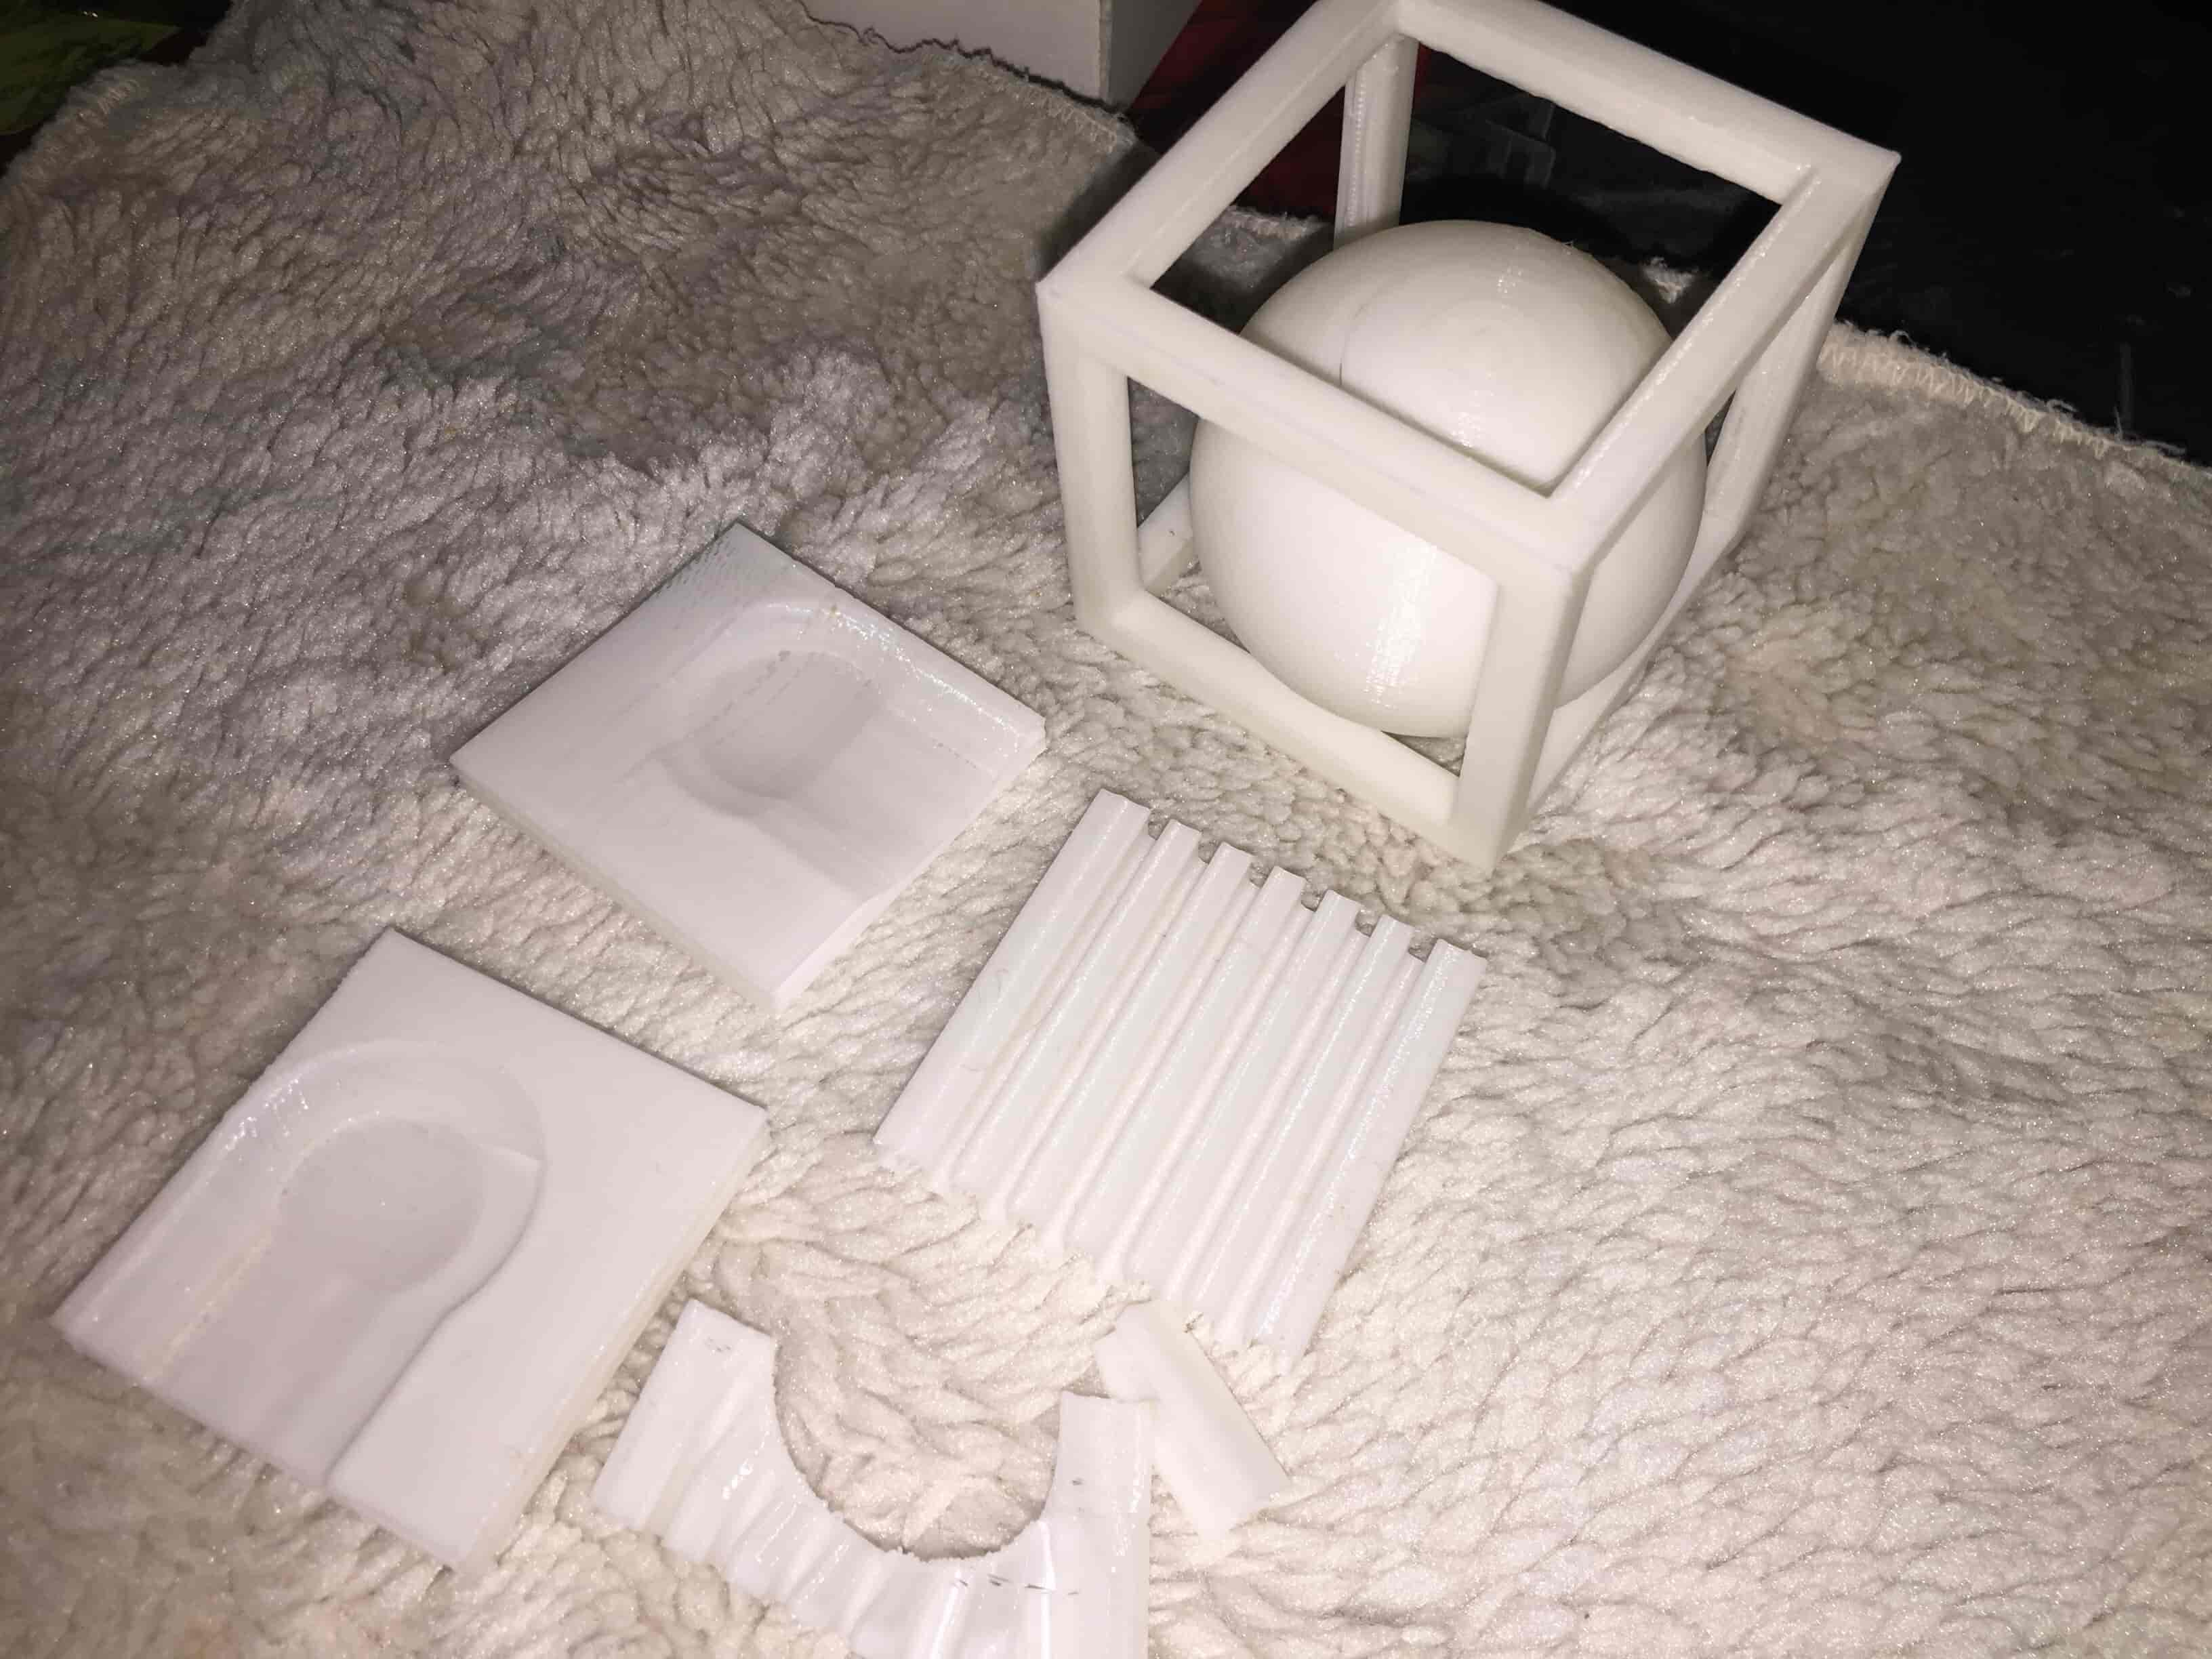
And, the Programmer enclosure fits perfectly with the programmer PCB. I’m impressed with the result actually!
3D Scanning
3D scanning has a lot of techniques which vary in the hardware and software requirements, some of them need a specific hardware alongside a software, some others don't need a specific hardware.
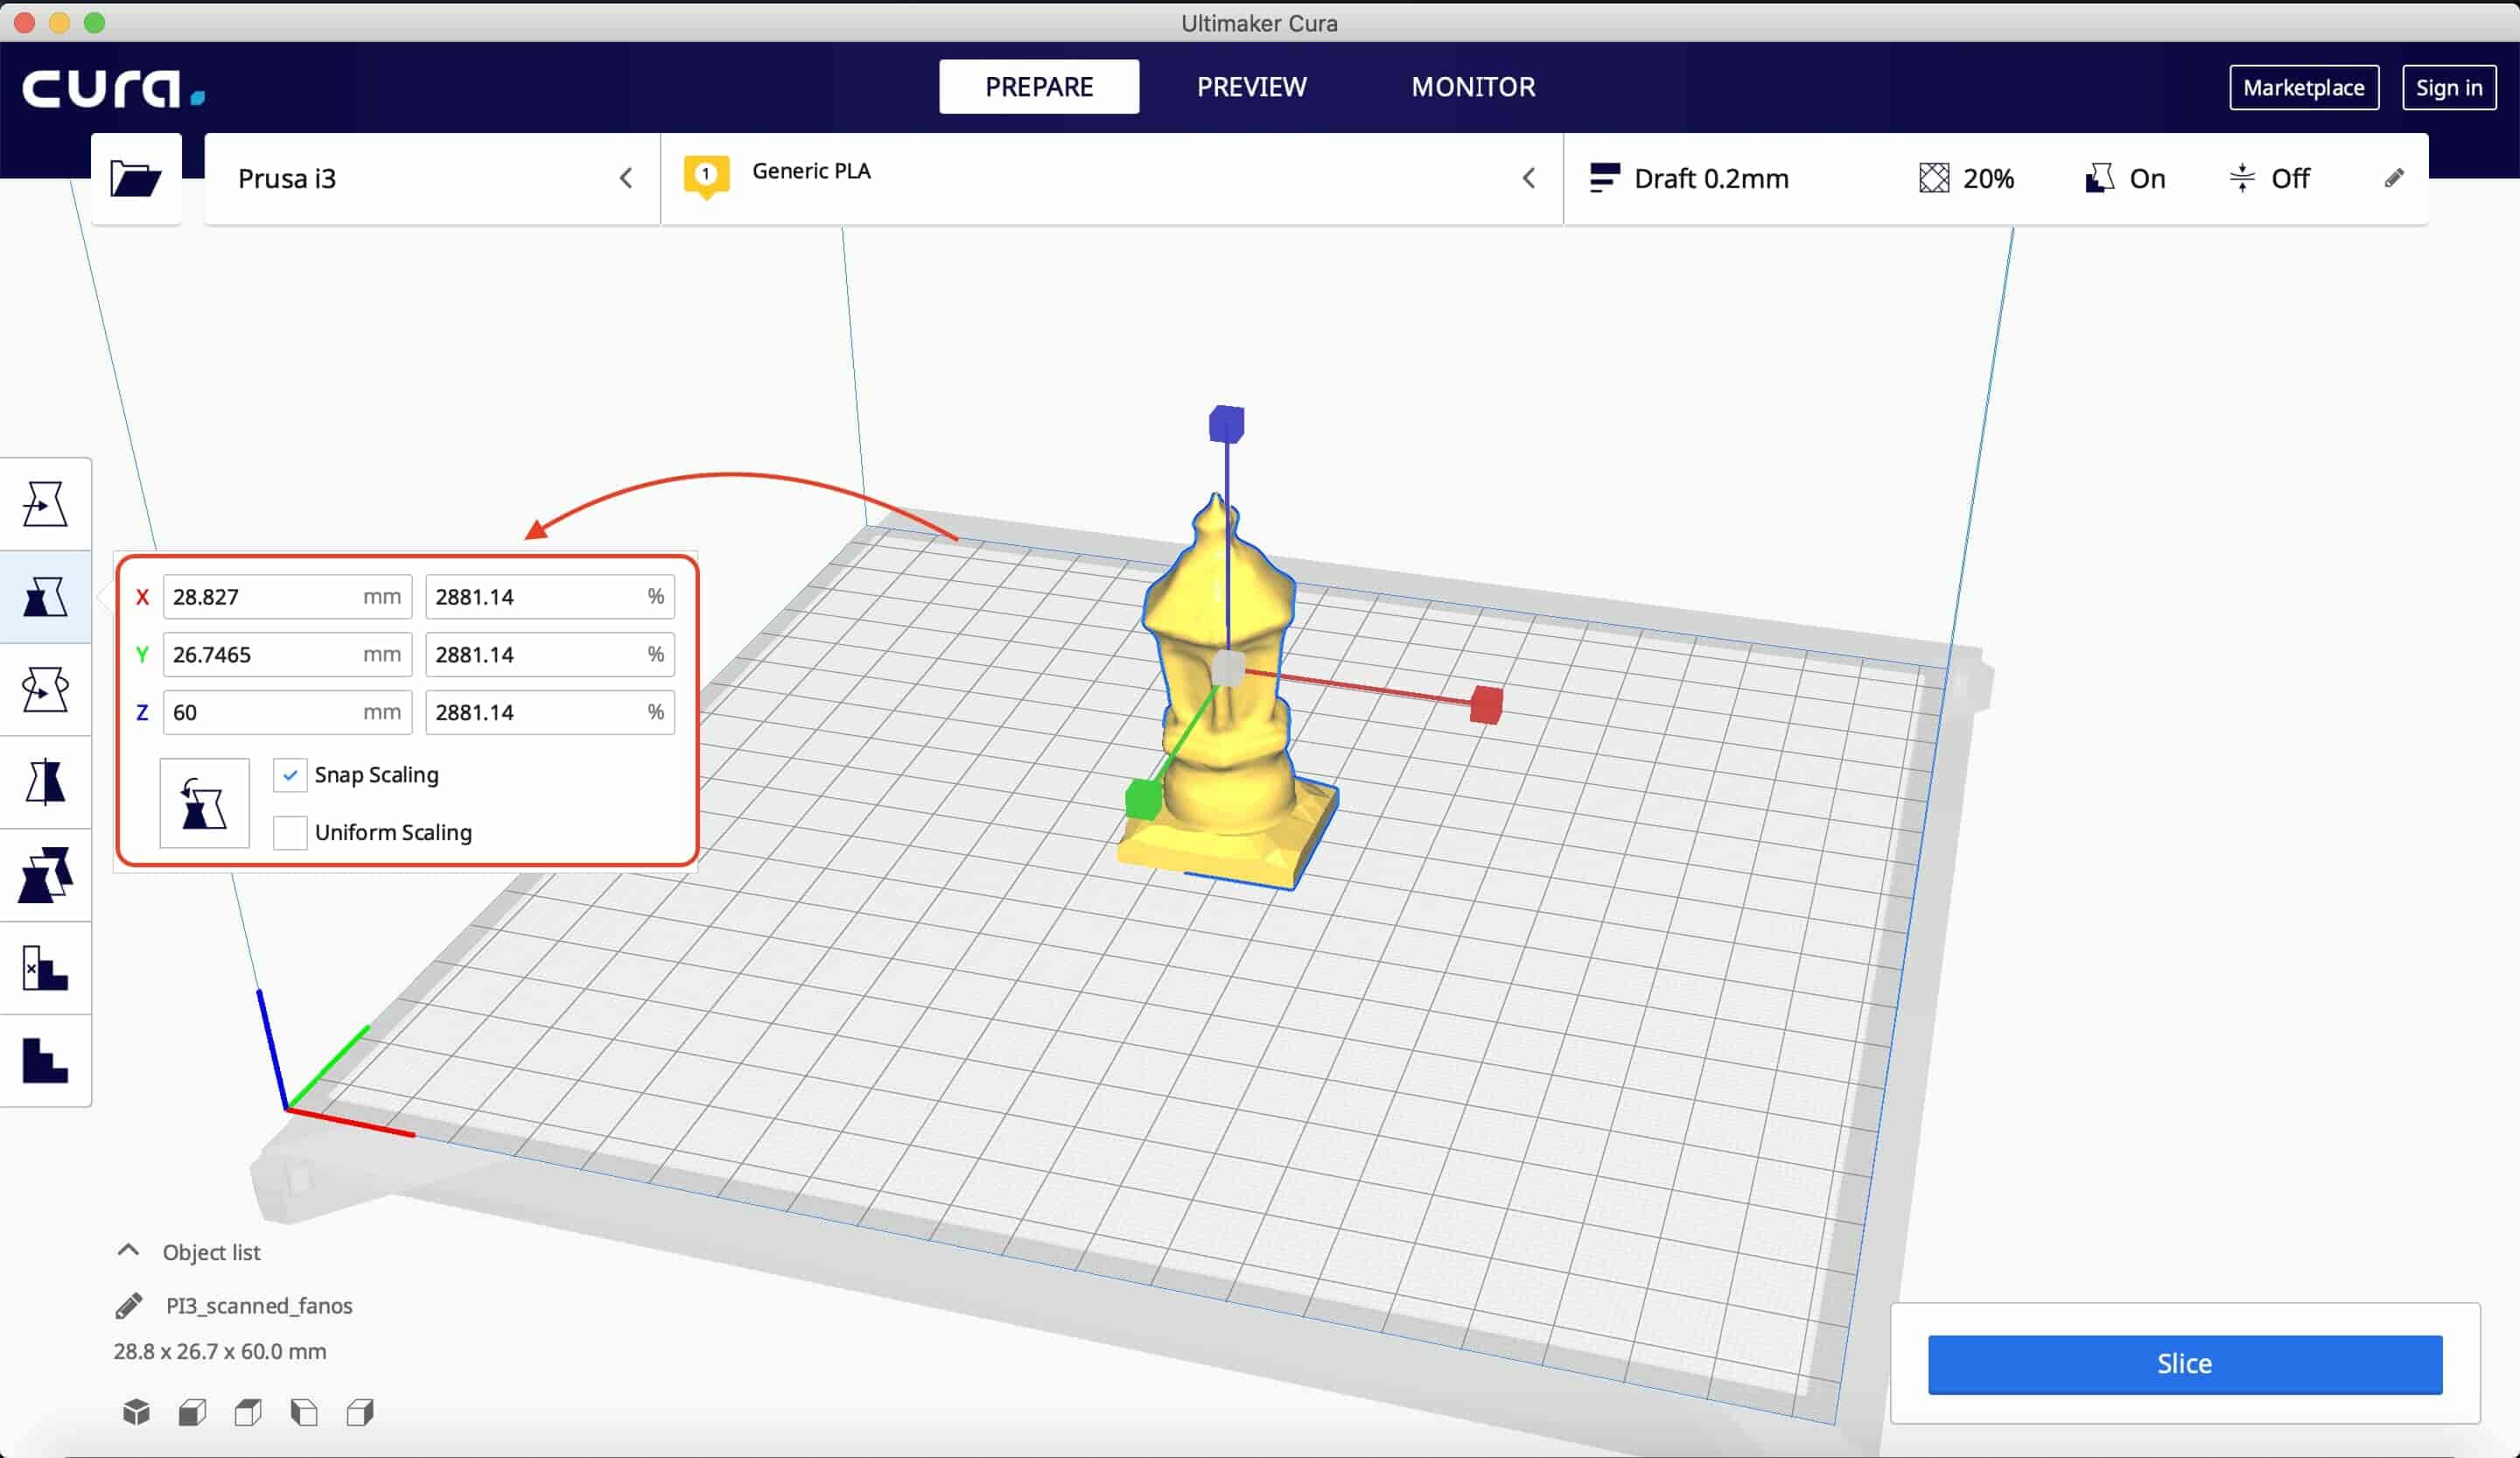
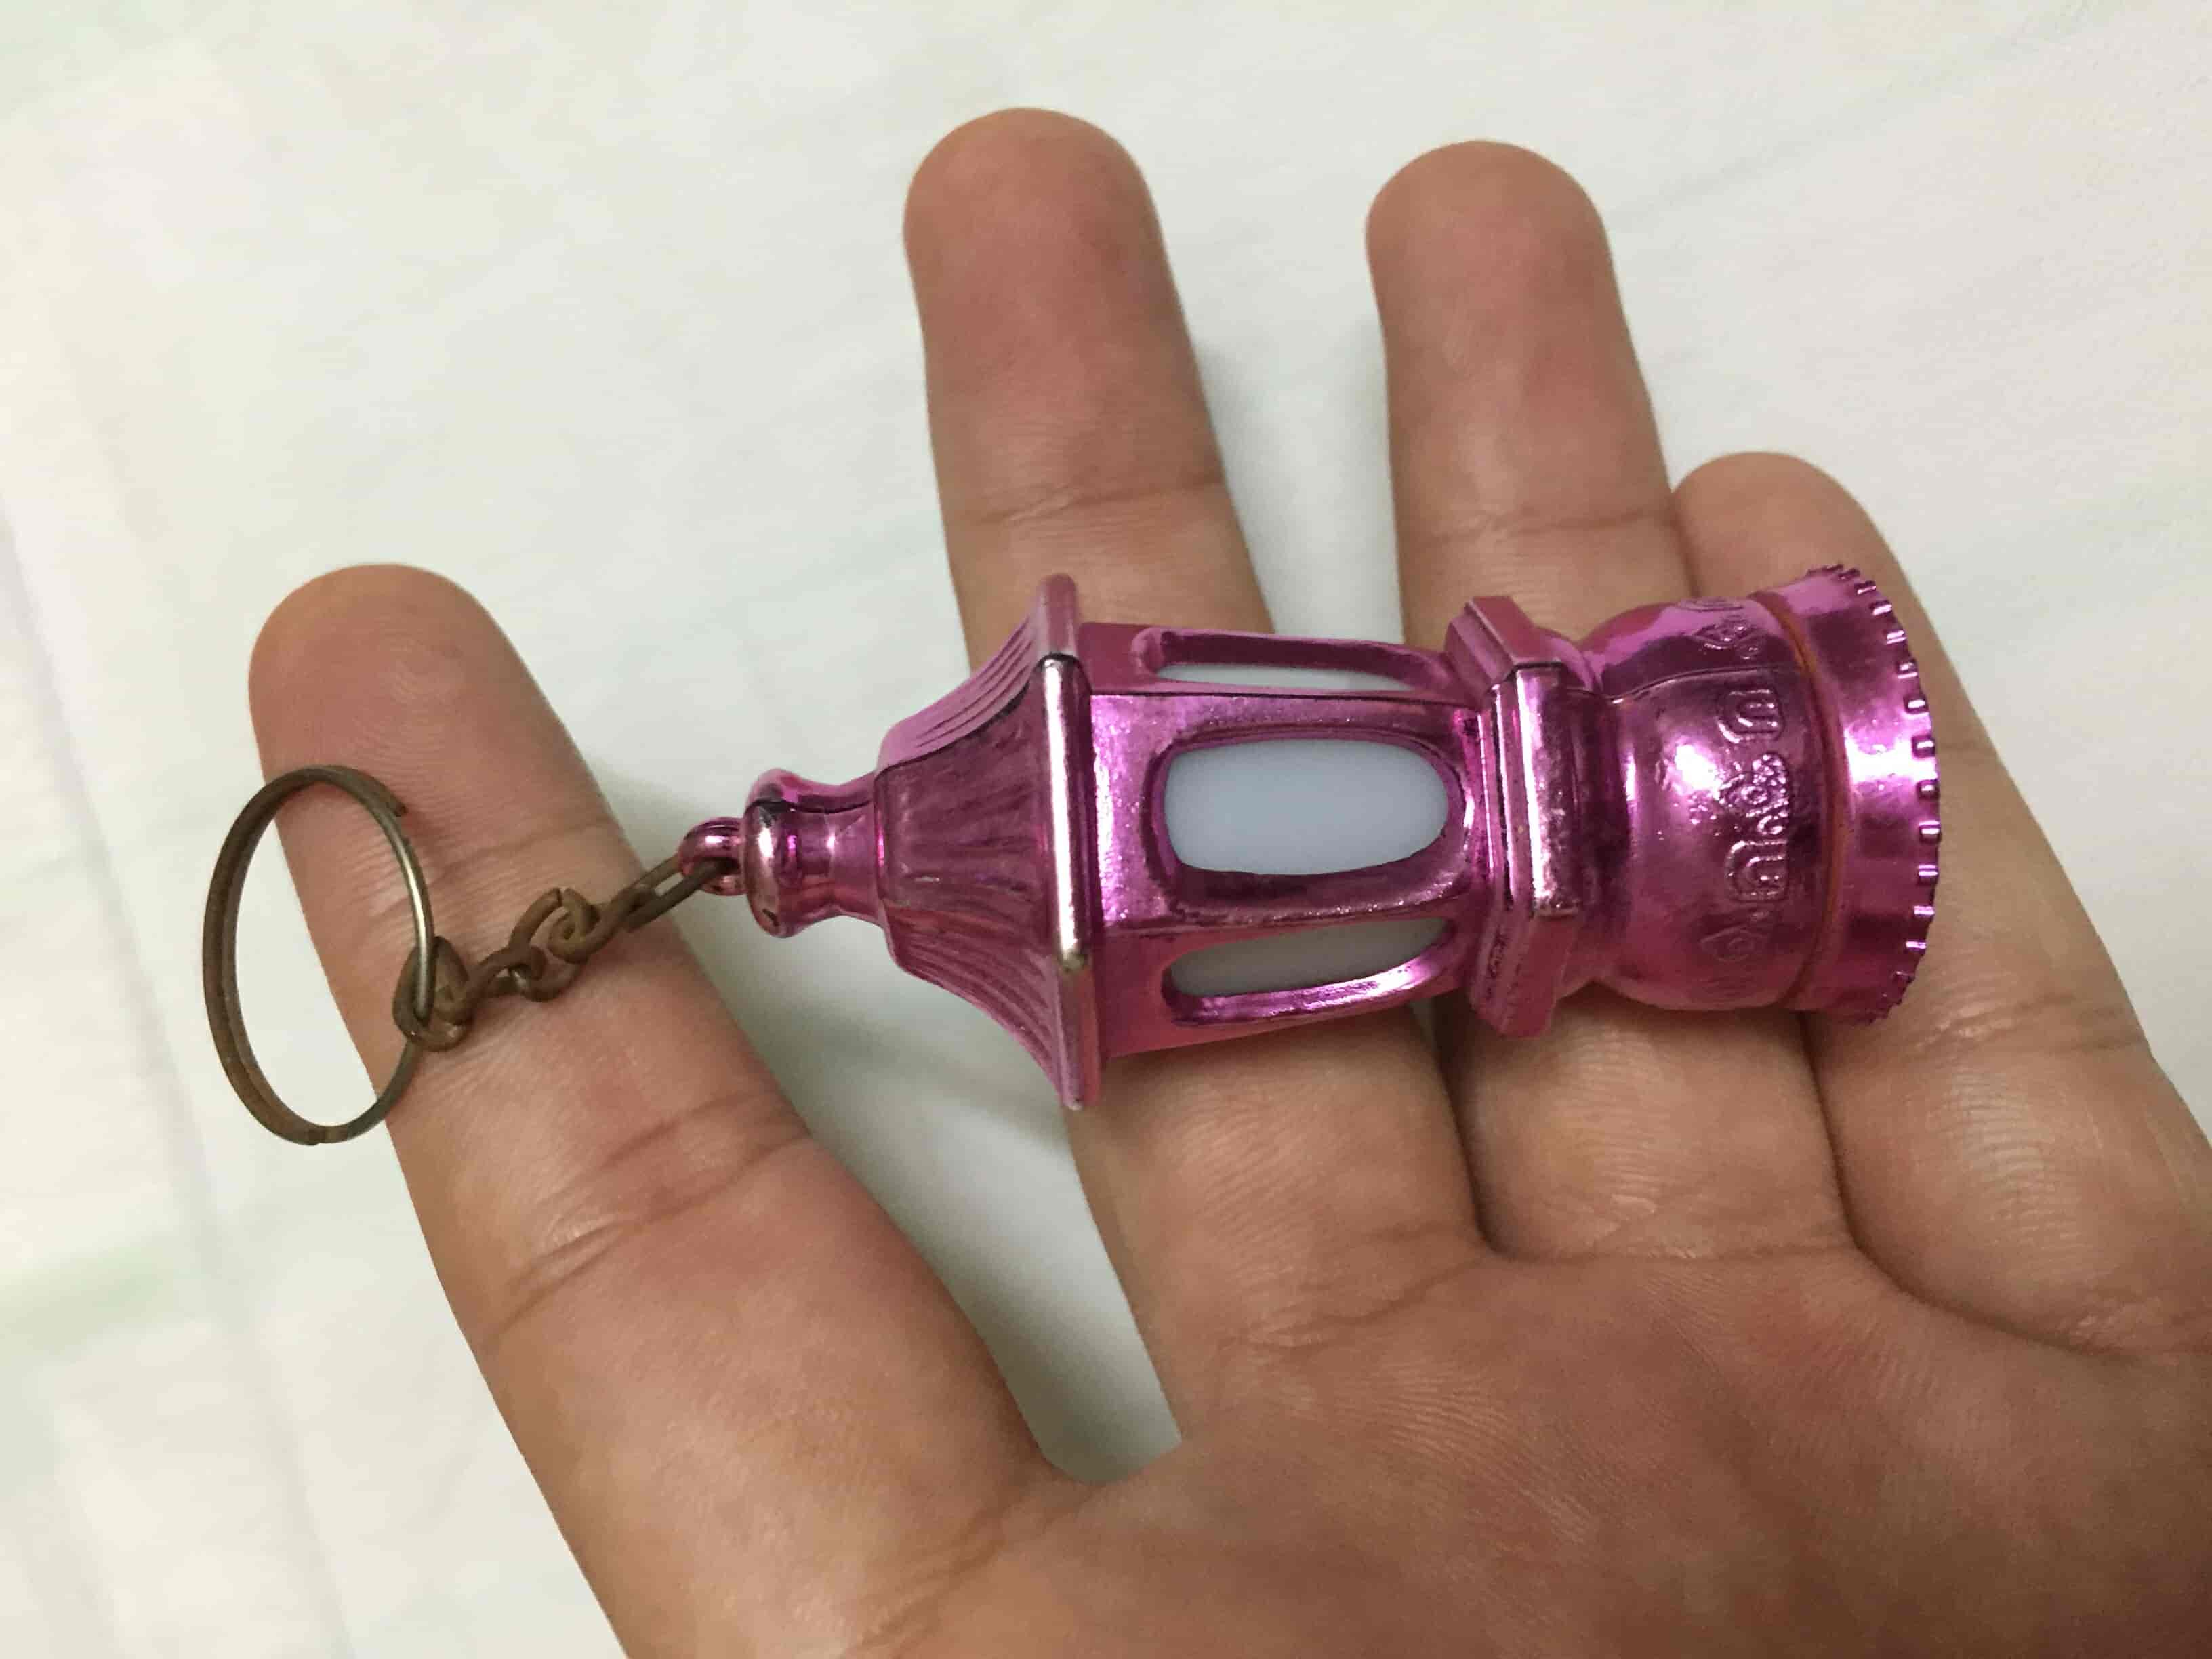
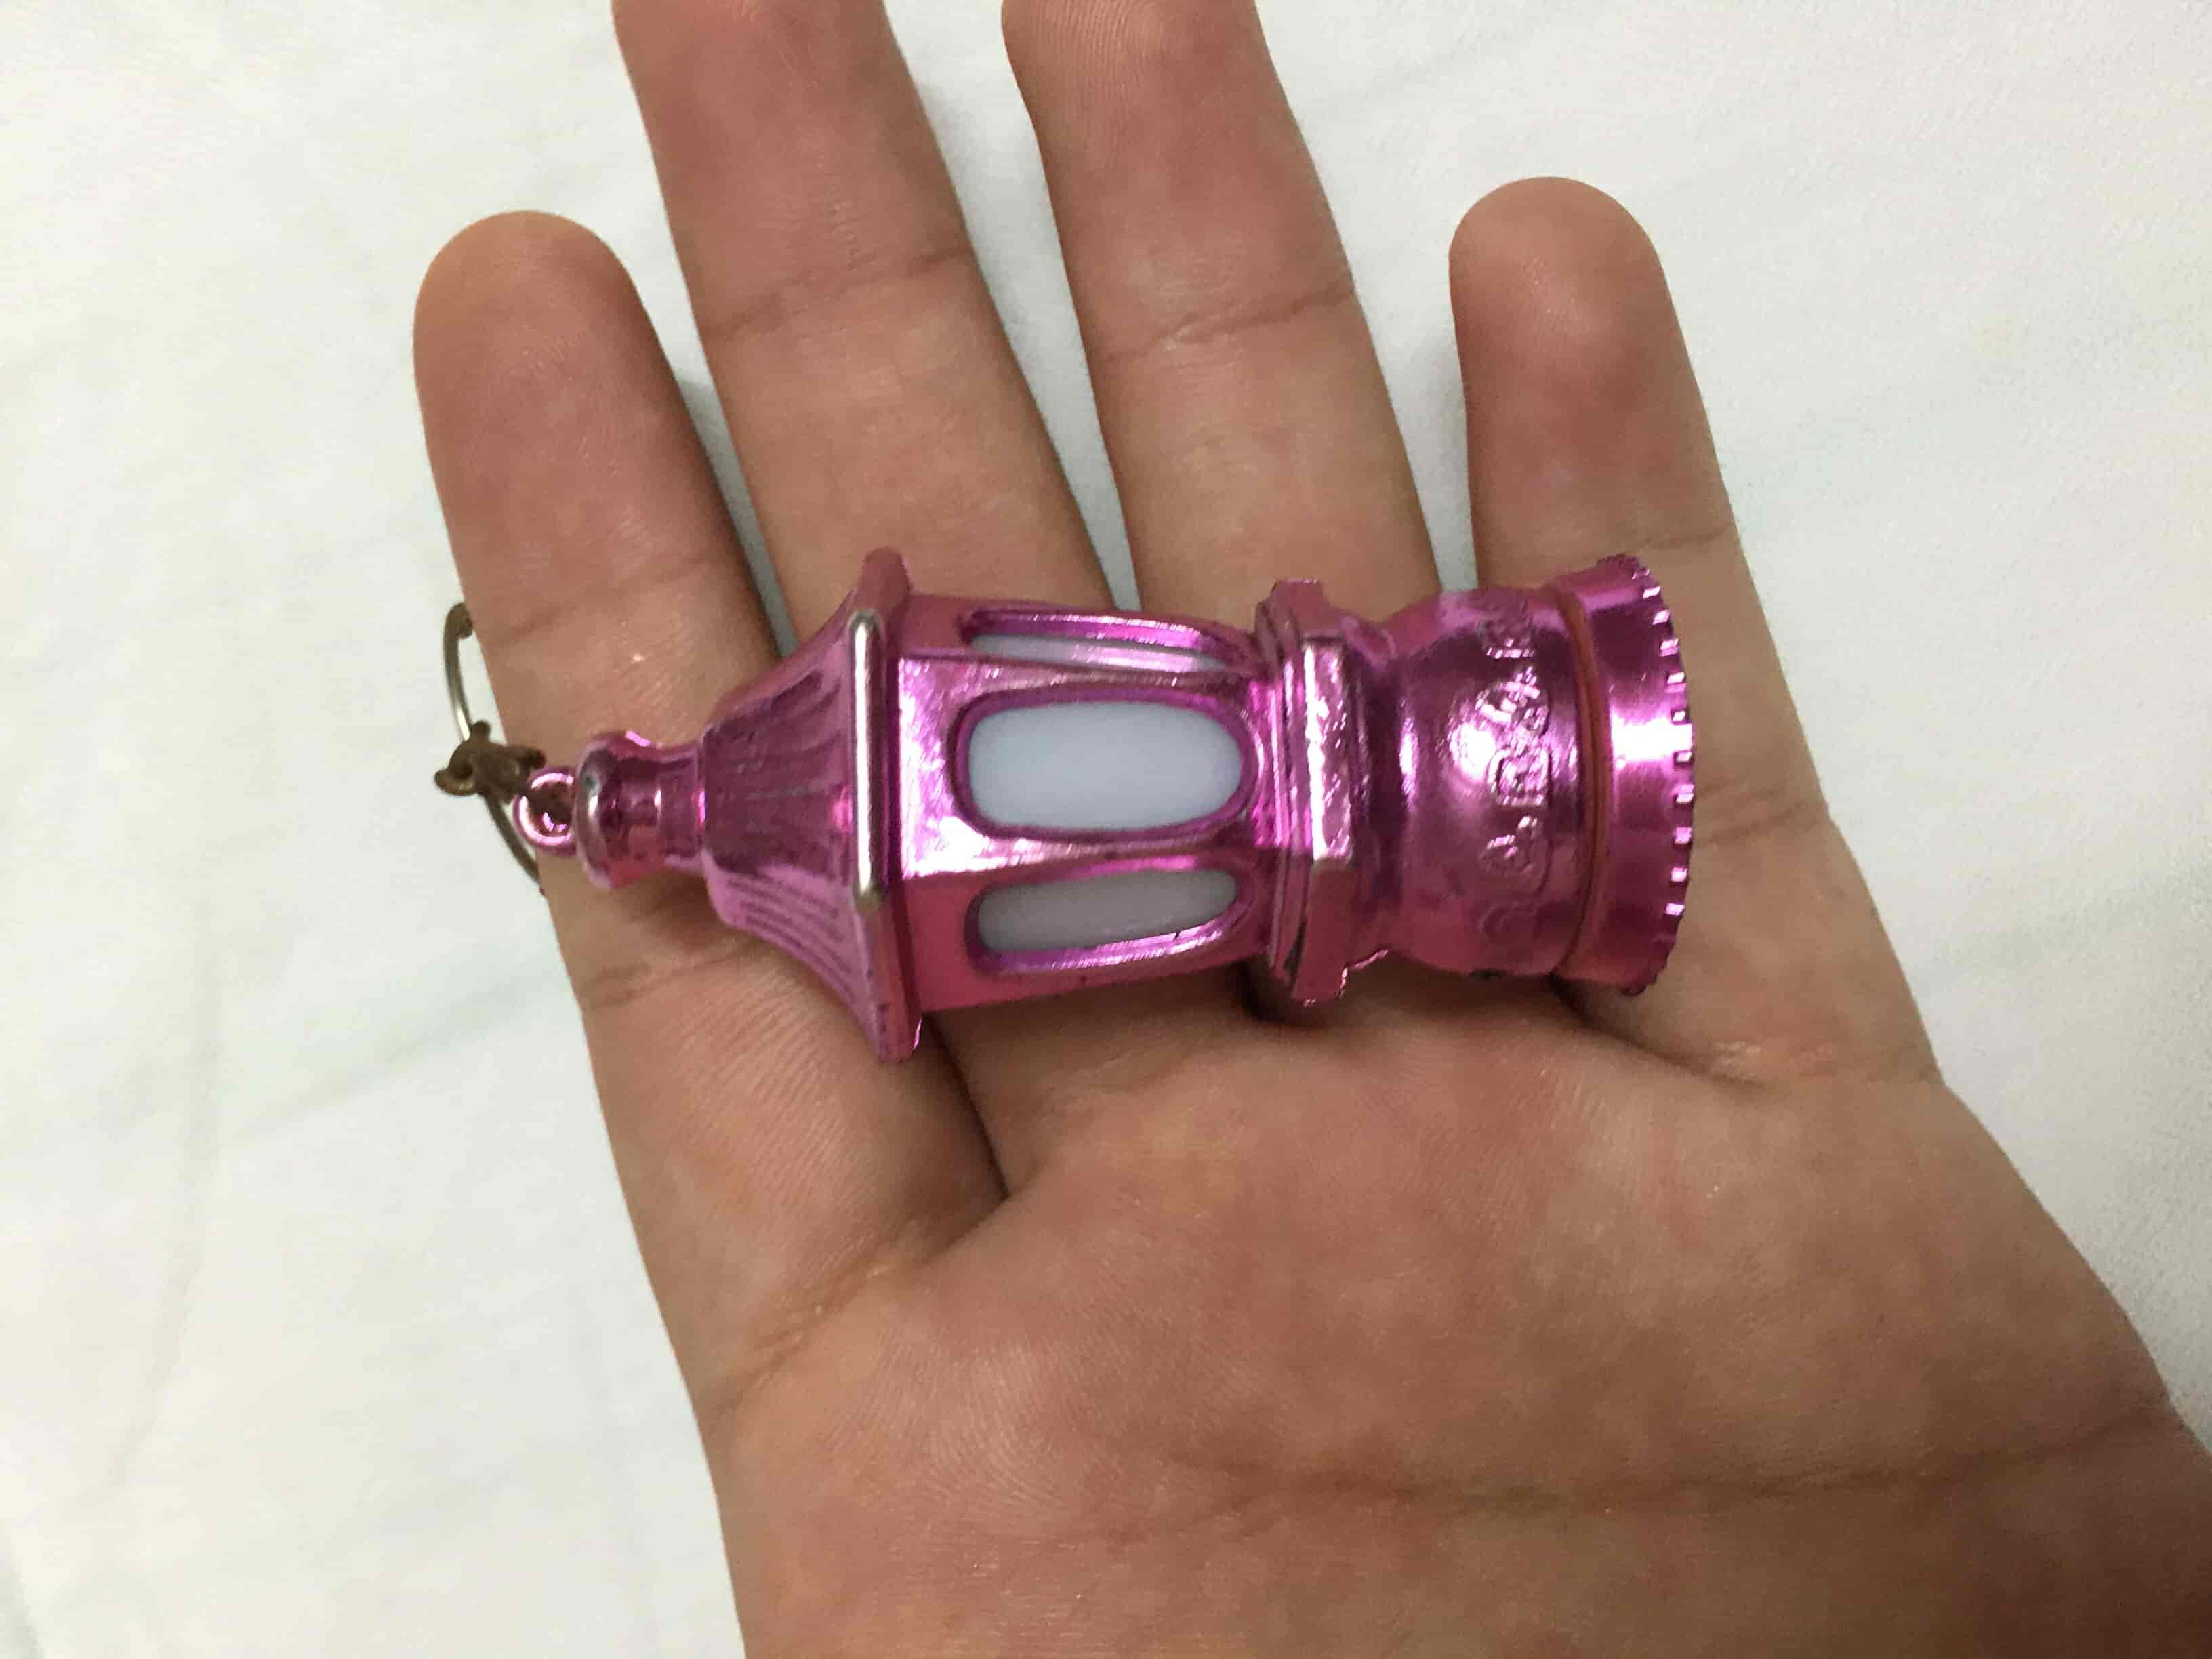
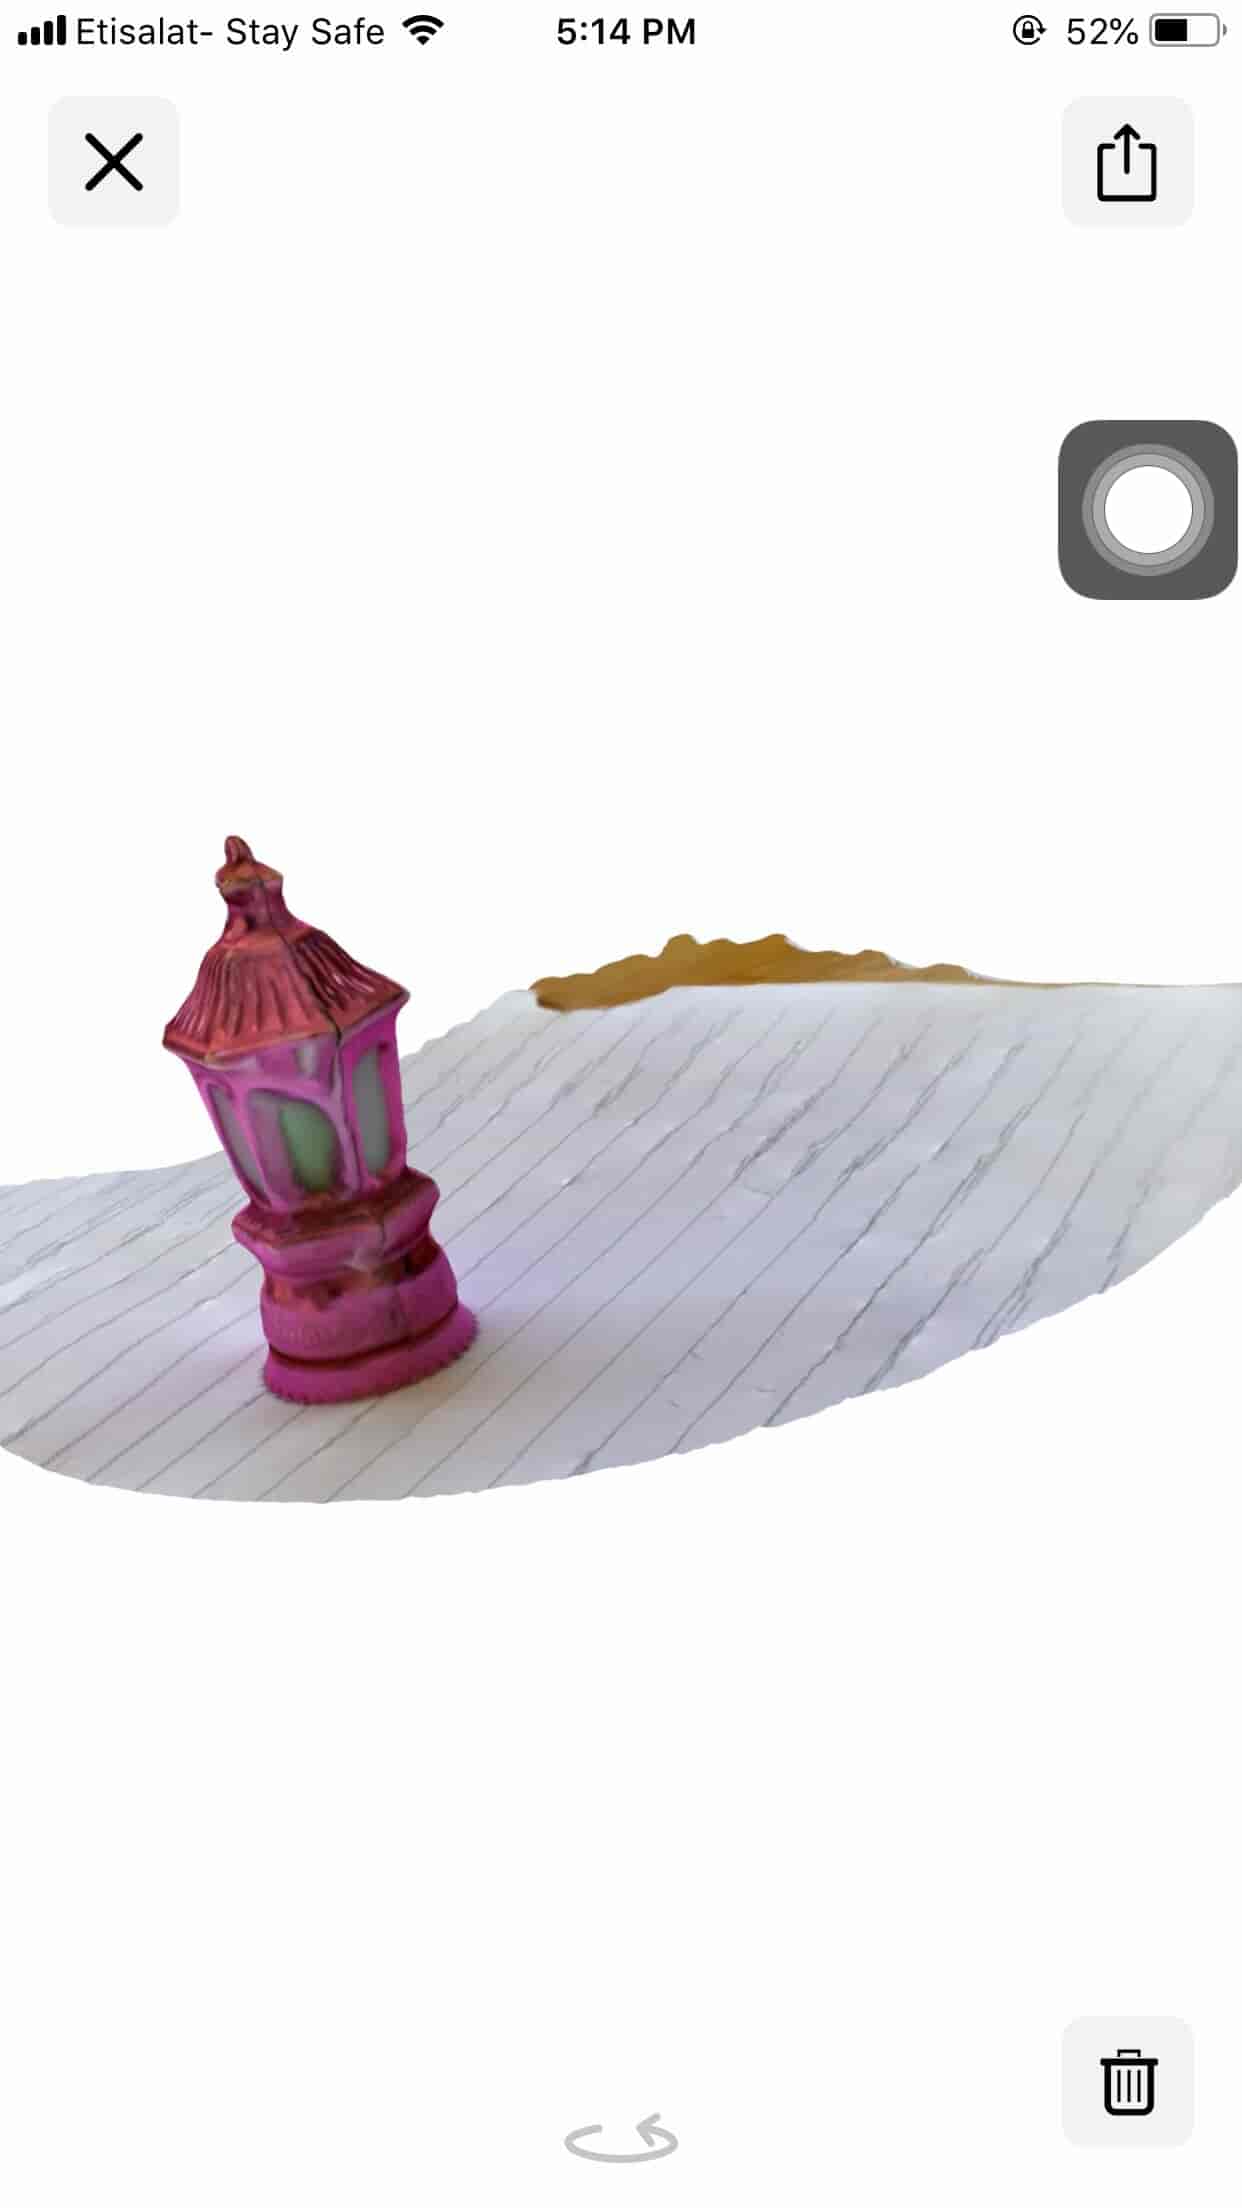
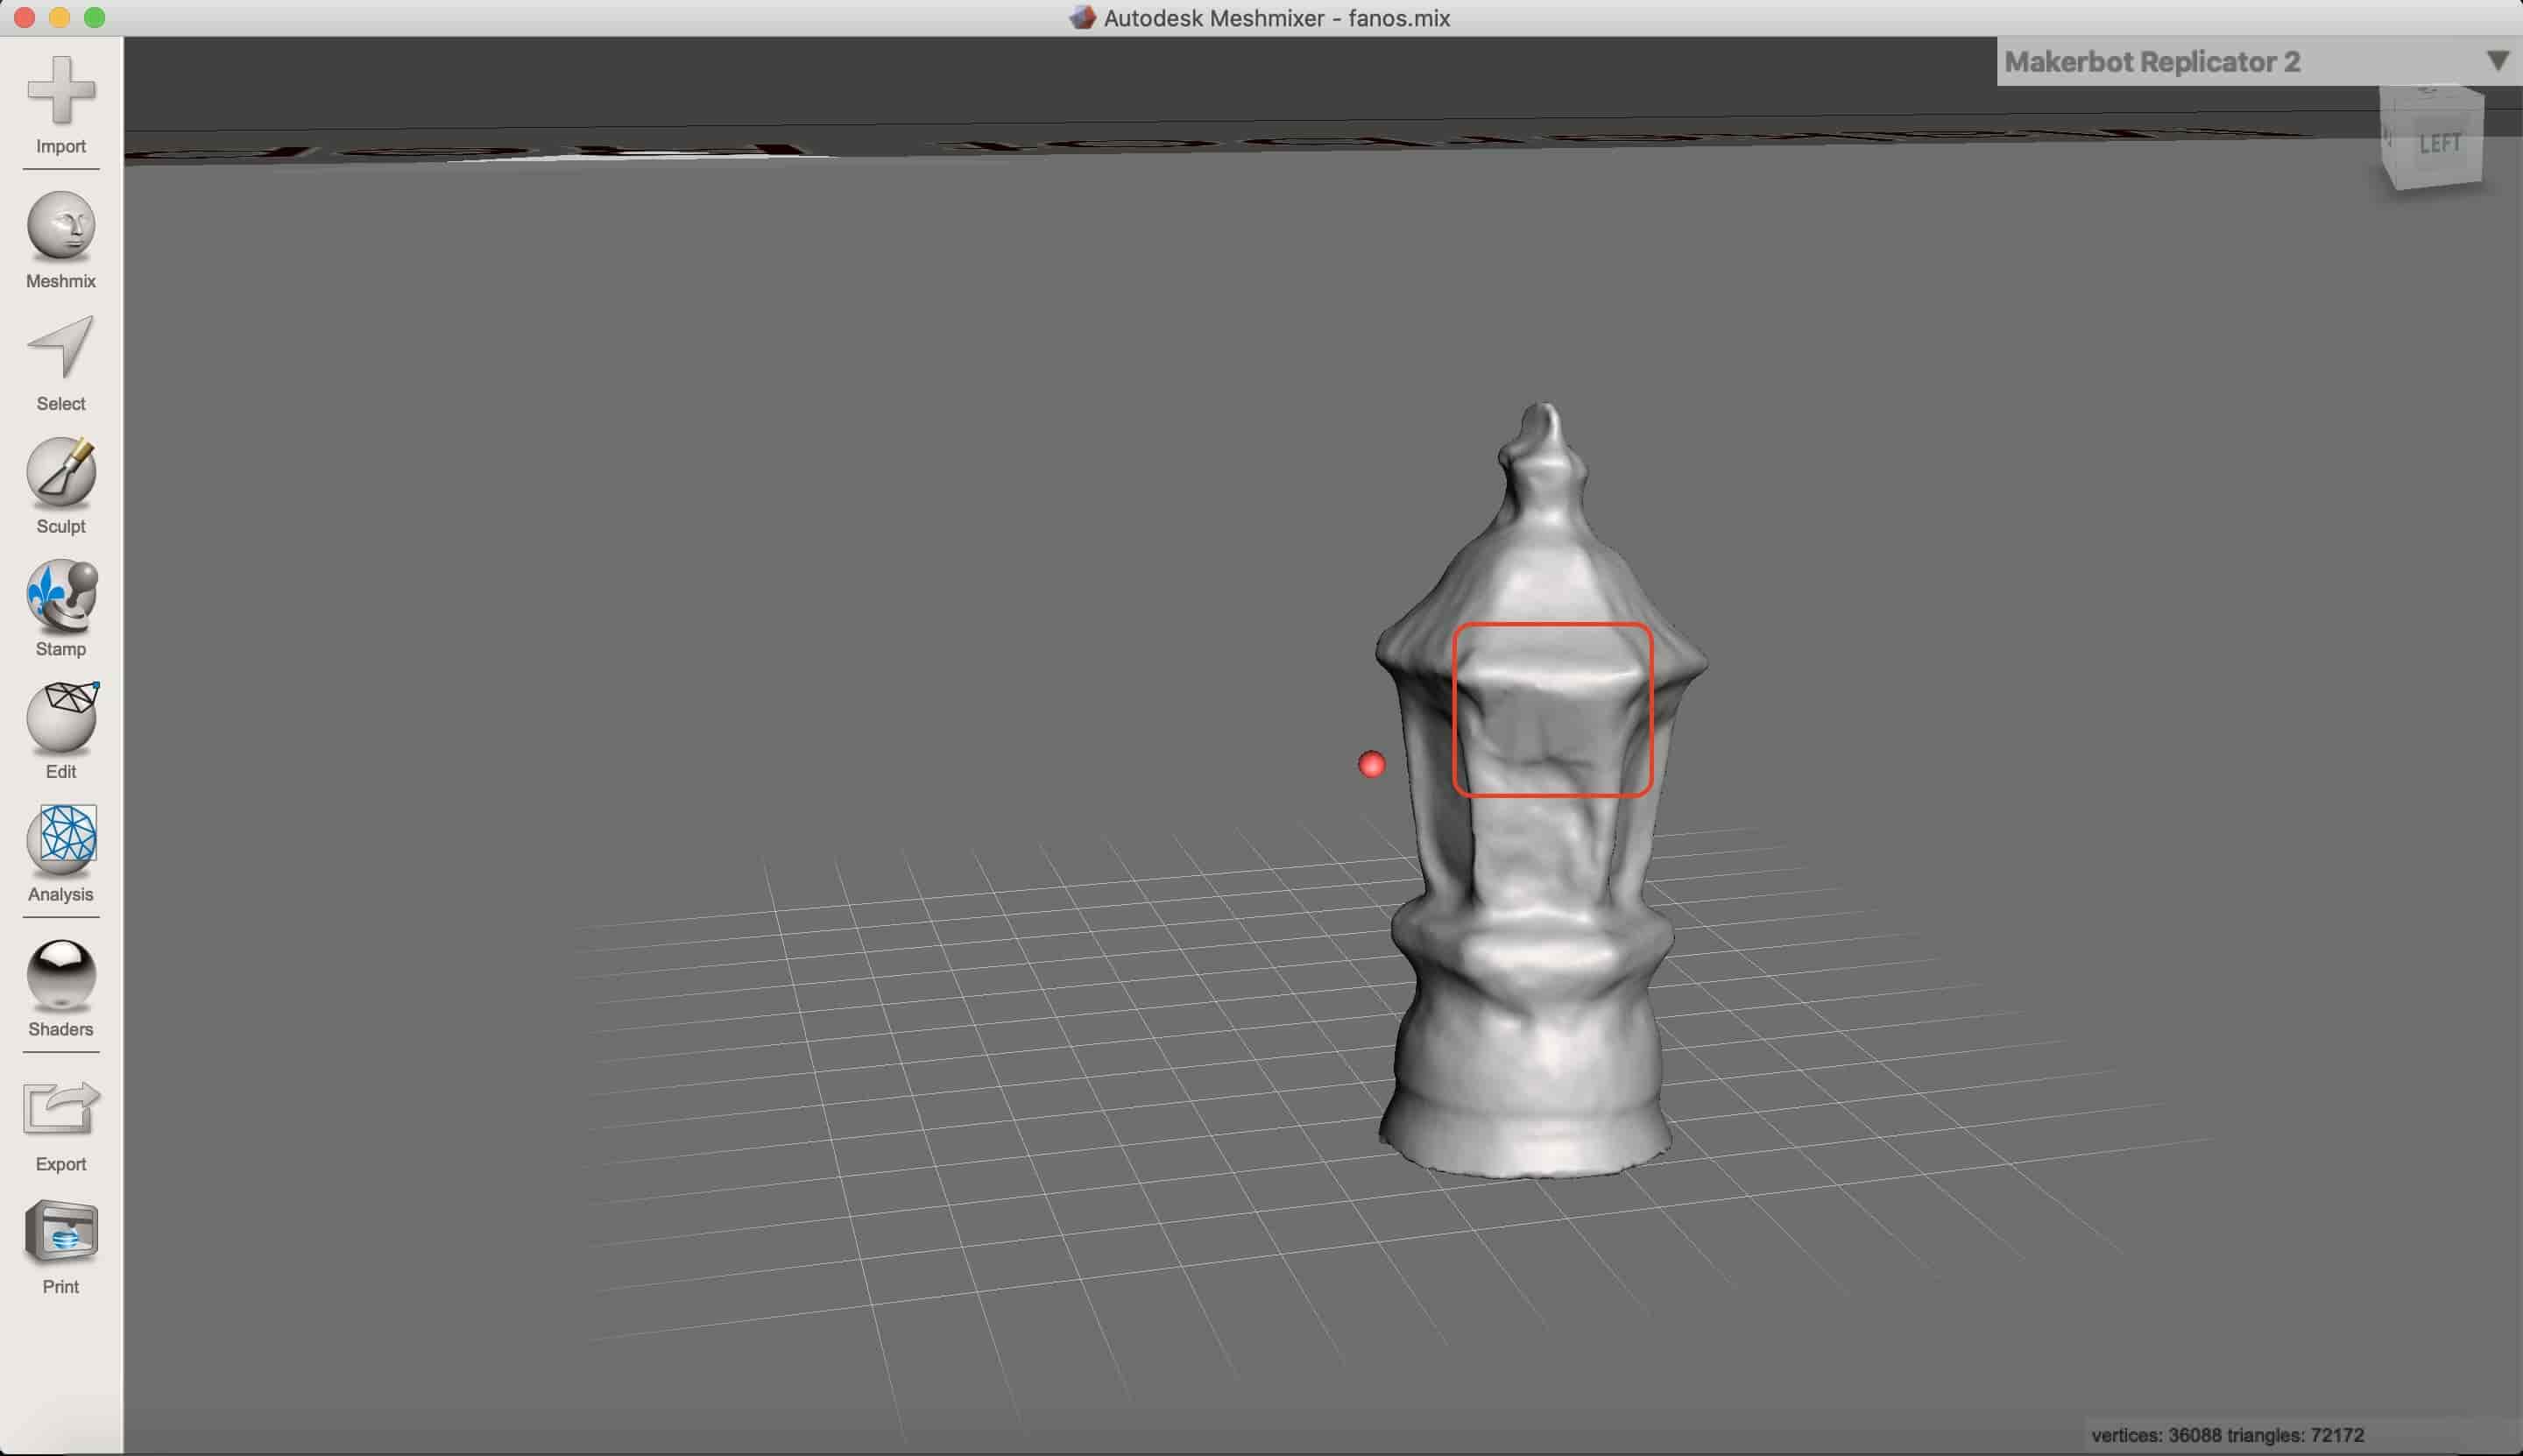
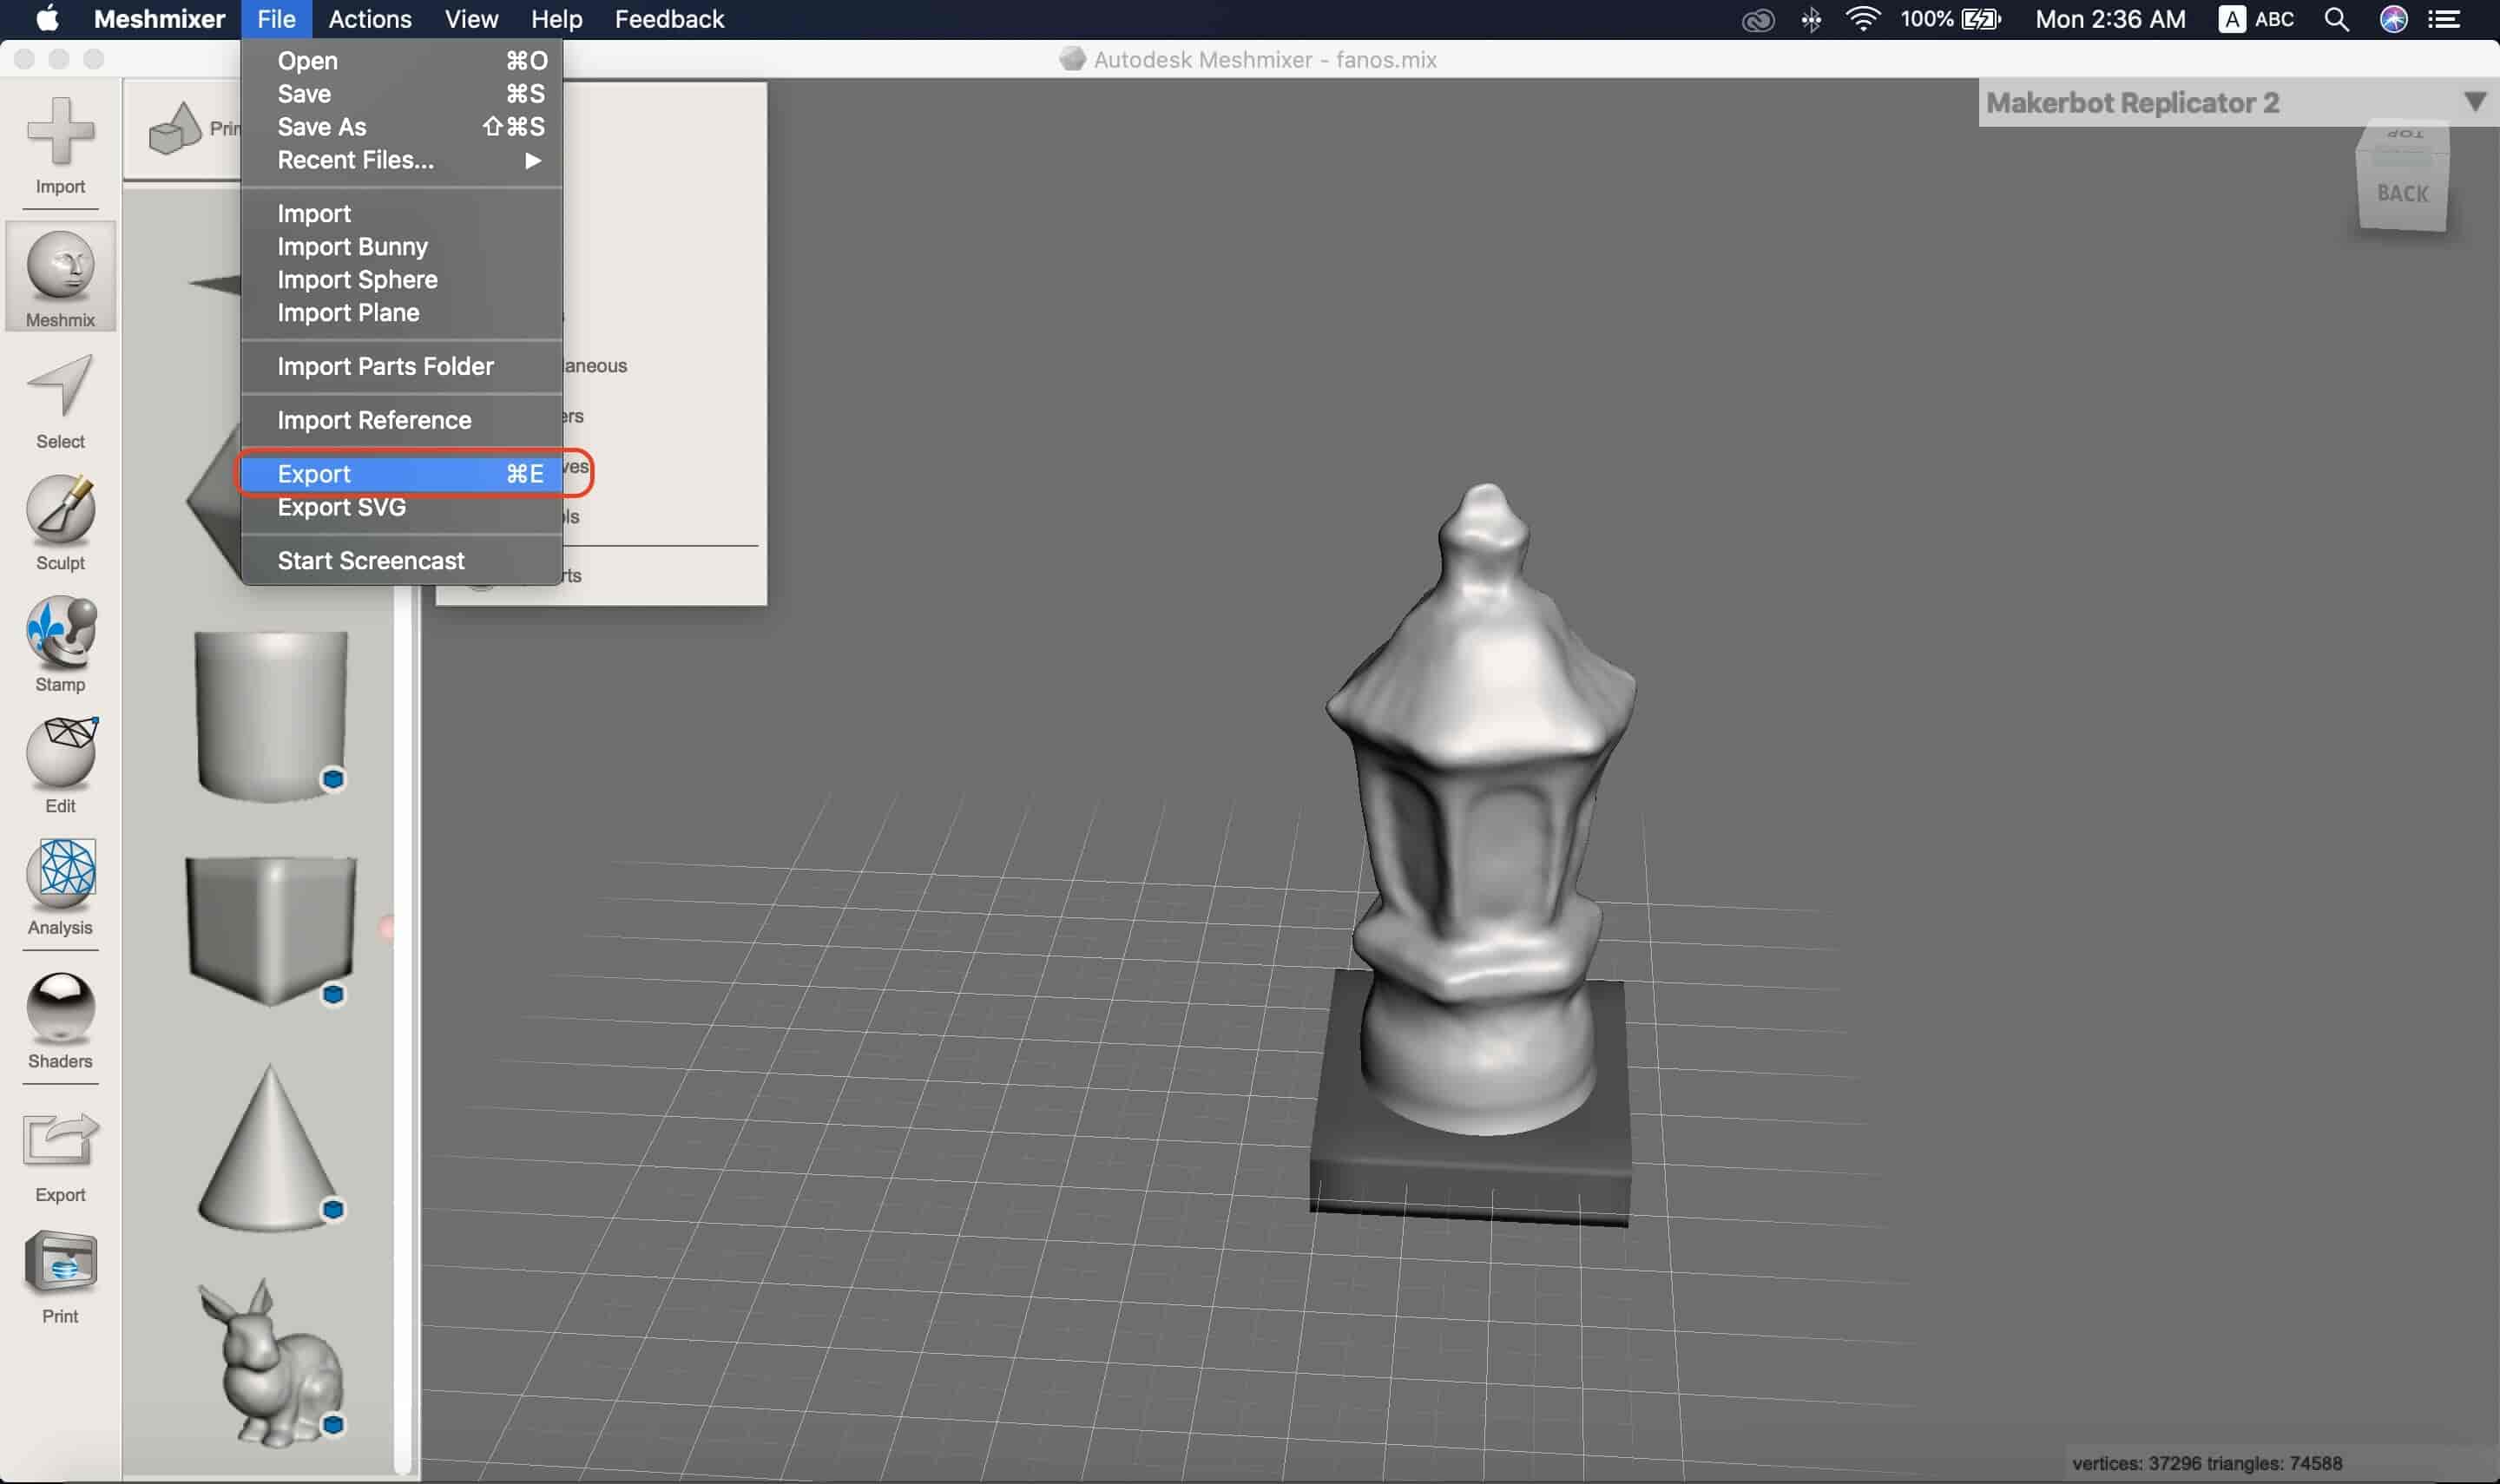
Today, I’m using the Photogrammetry technique to scan my object, 3D Scanning is the process of using multiple 2D images or photographs to create a 3D model. To be more specific I'm using an IOS mobile app called TRNIO that can analyze a bunch of photos for an object to create a 3D model for it. I wanna scan this beautiful lantern that my dad bought me when i was young!
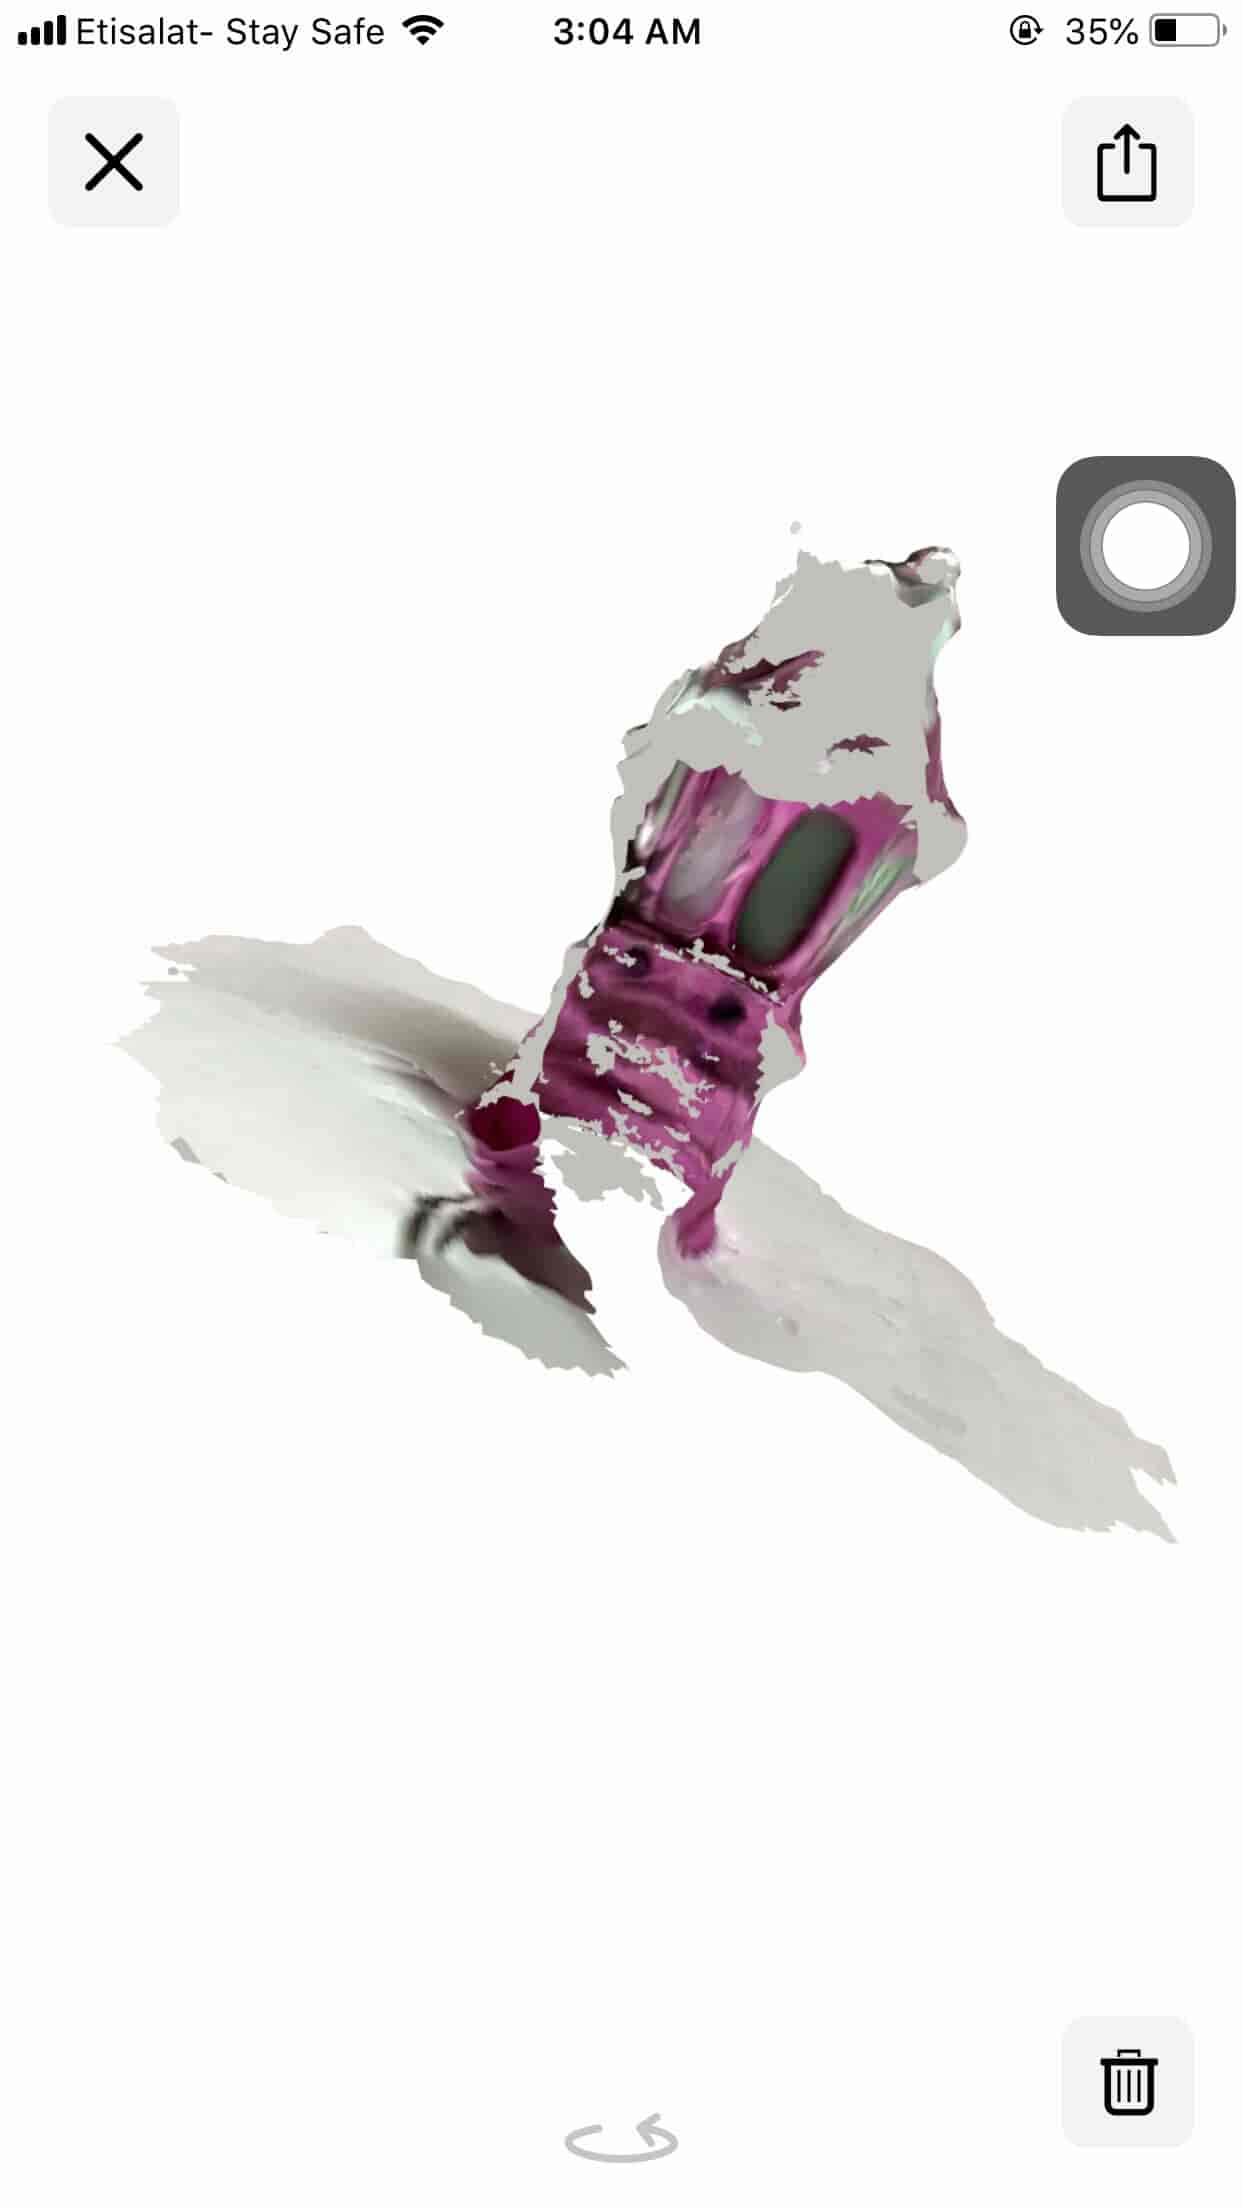
The first try to scan the lantern didn’t work out so well, I guess that’s because the lighting condition in this moment is not perfect. But I will give it another shot tomorrow in the daylight.

The next morning I gave it another try. The results turned out very good. But, I wanna make some refinements to it!

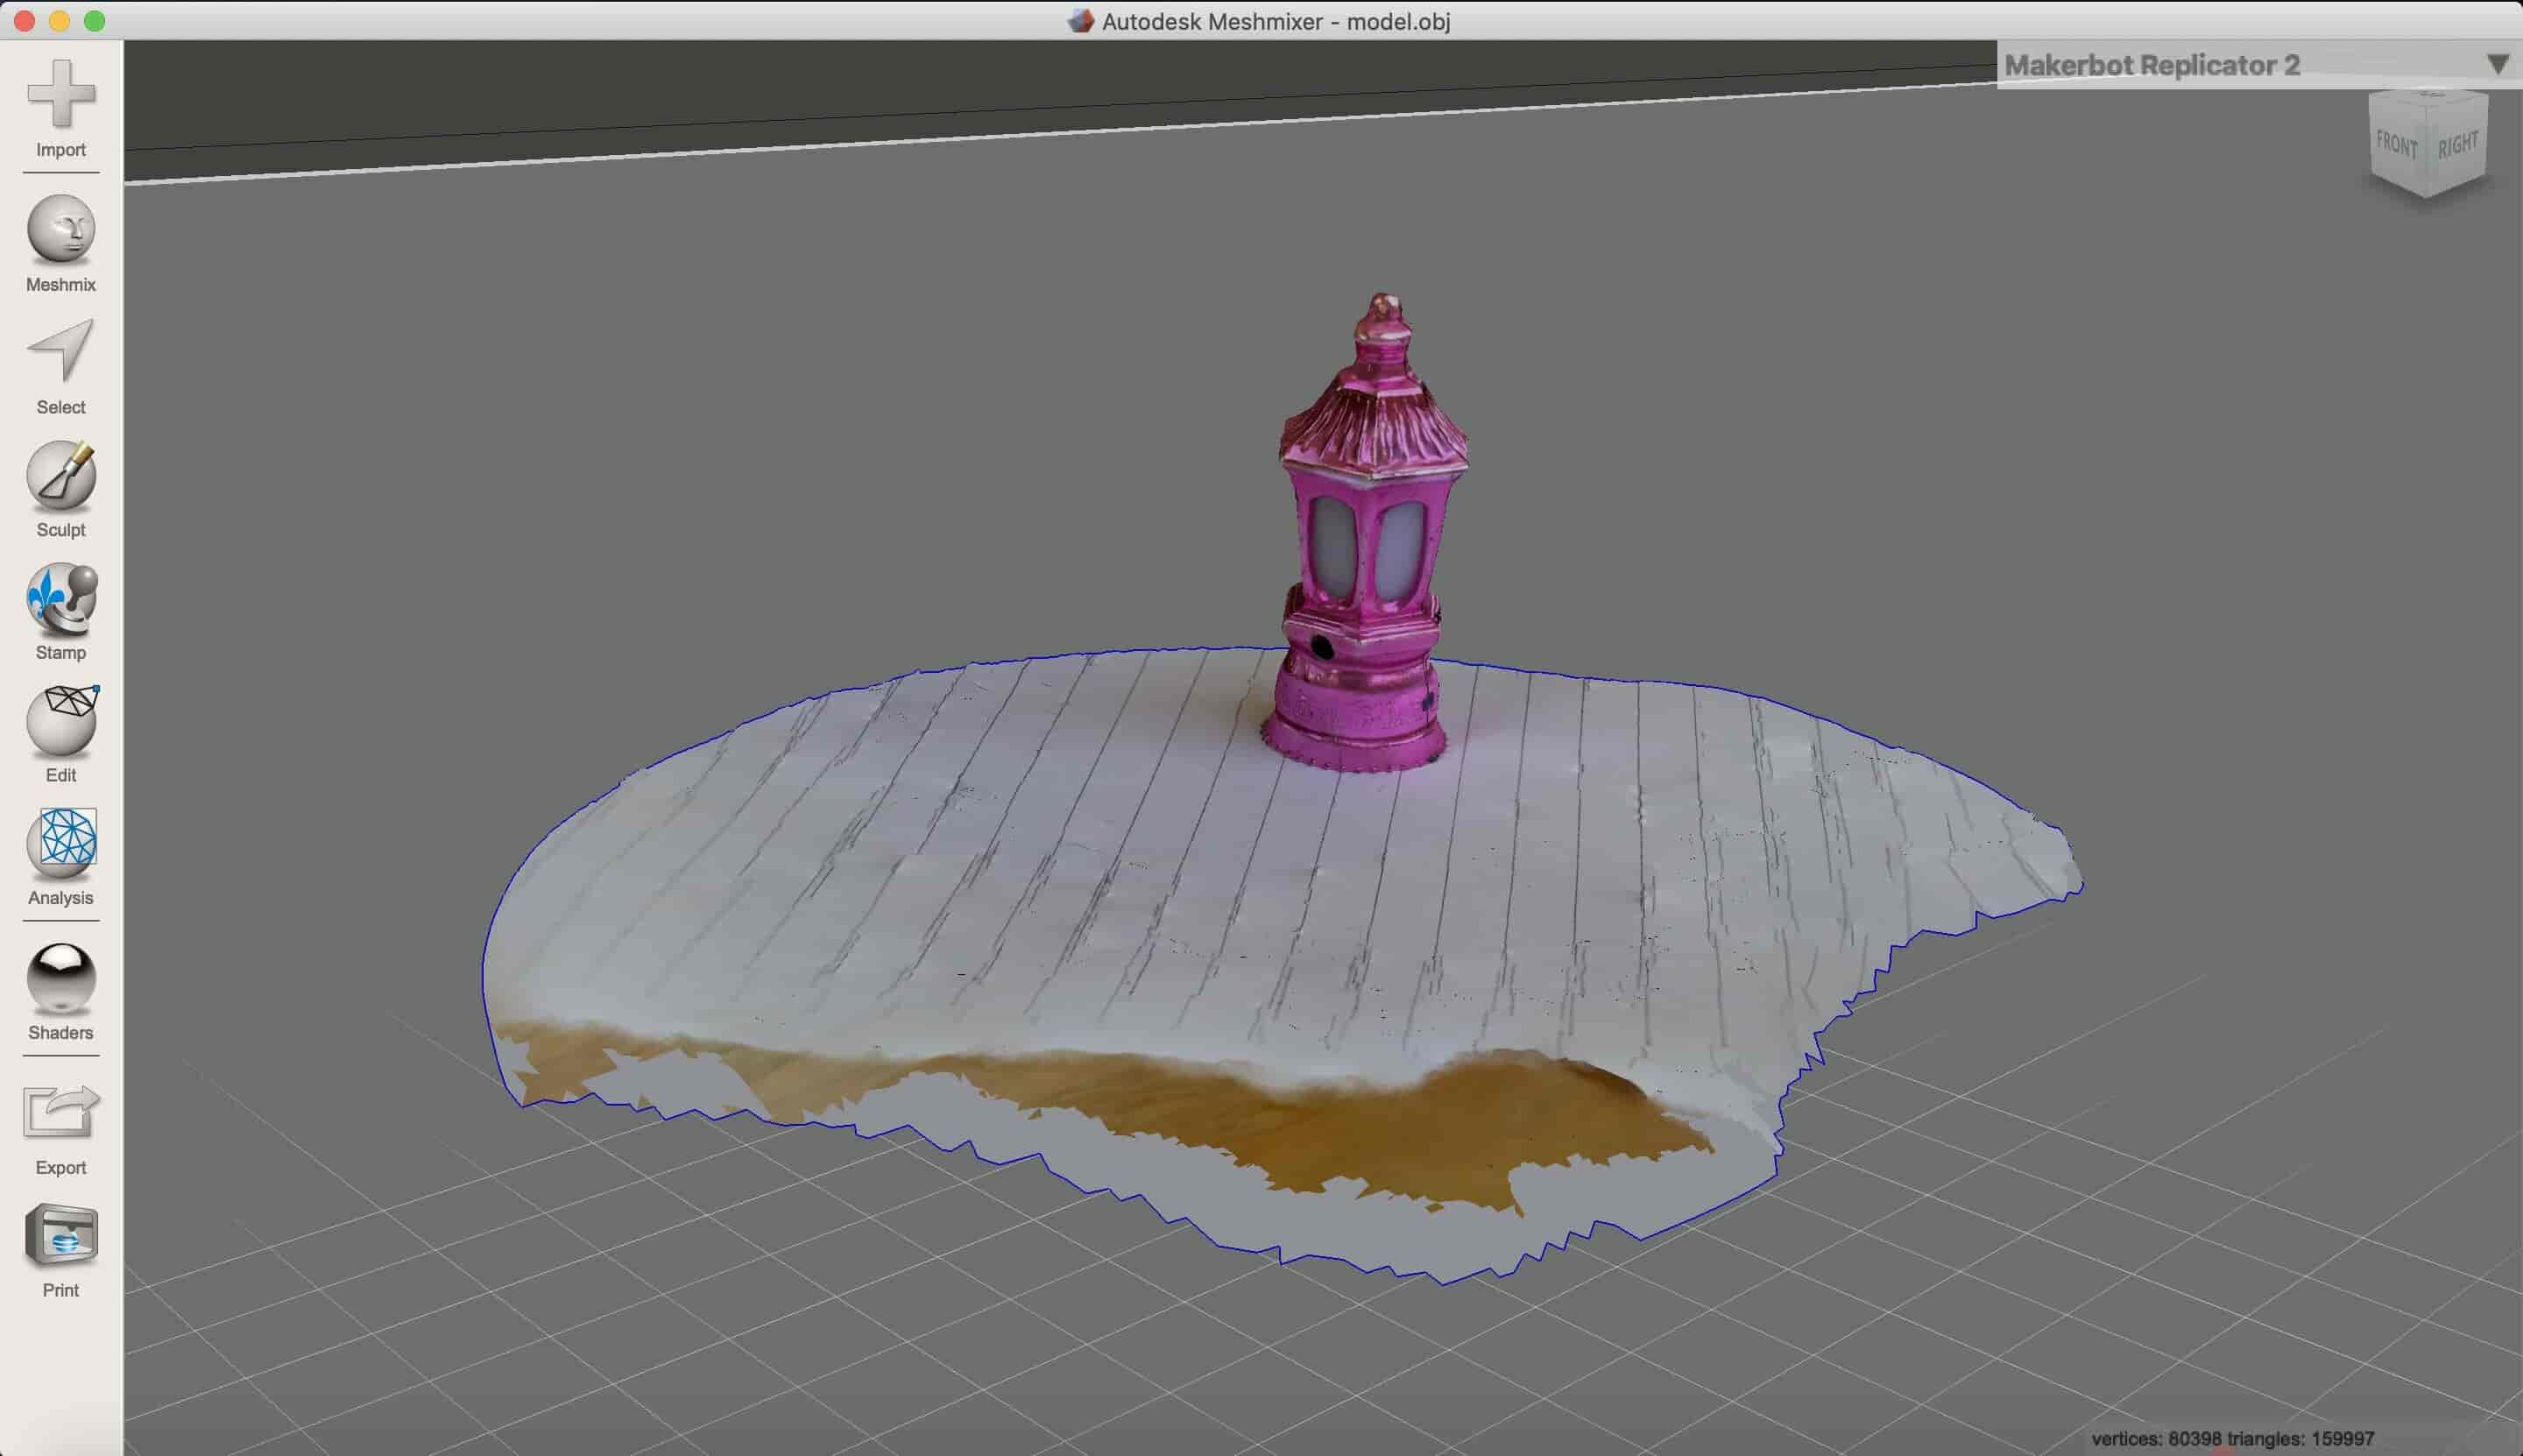
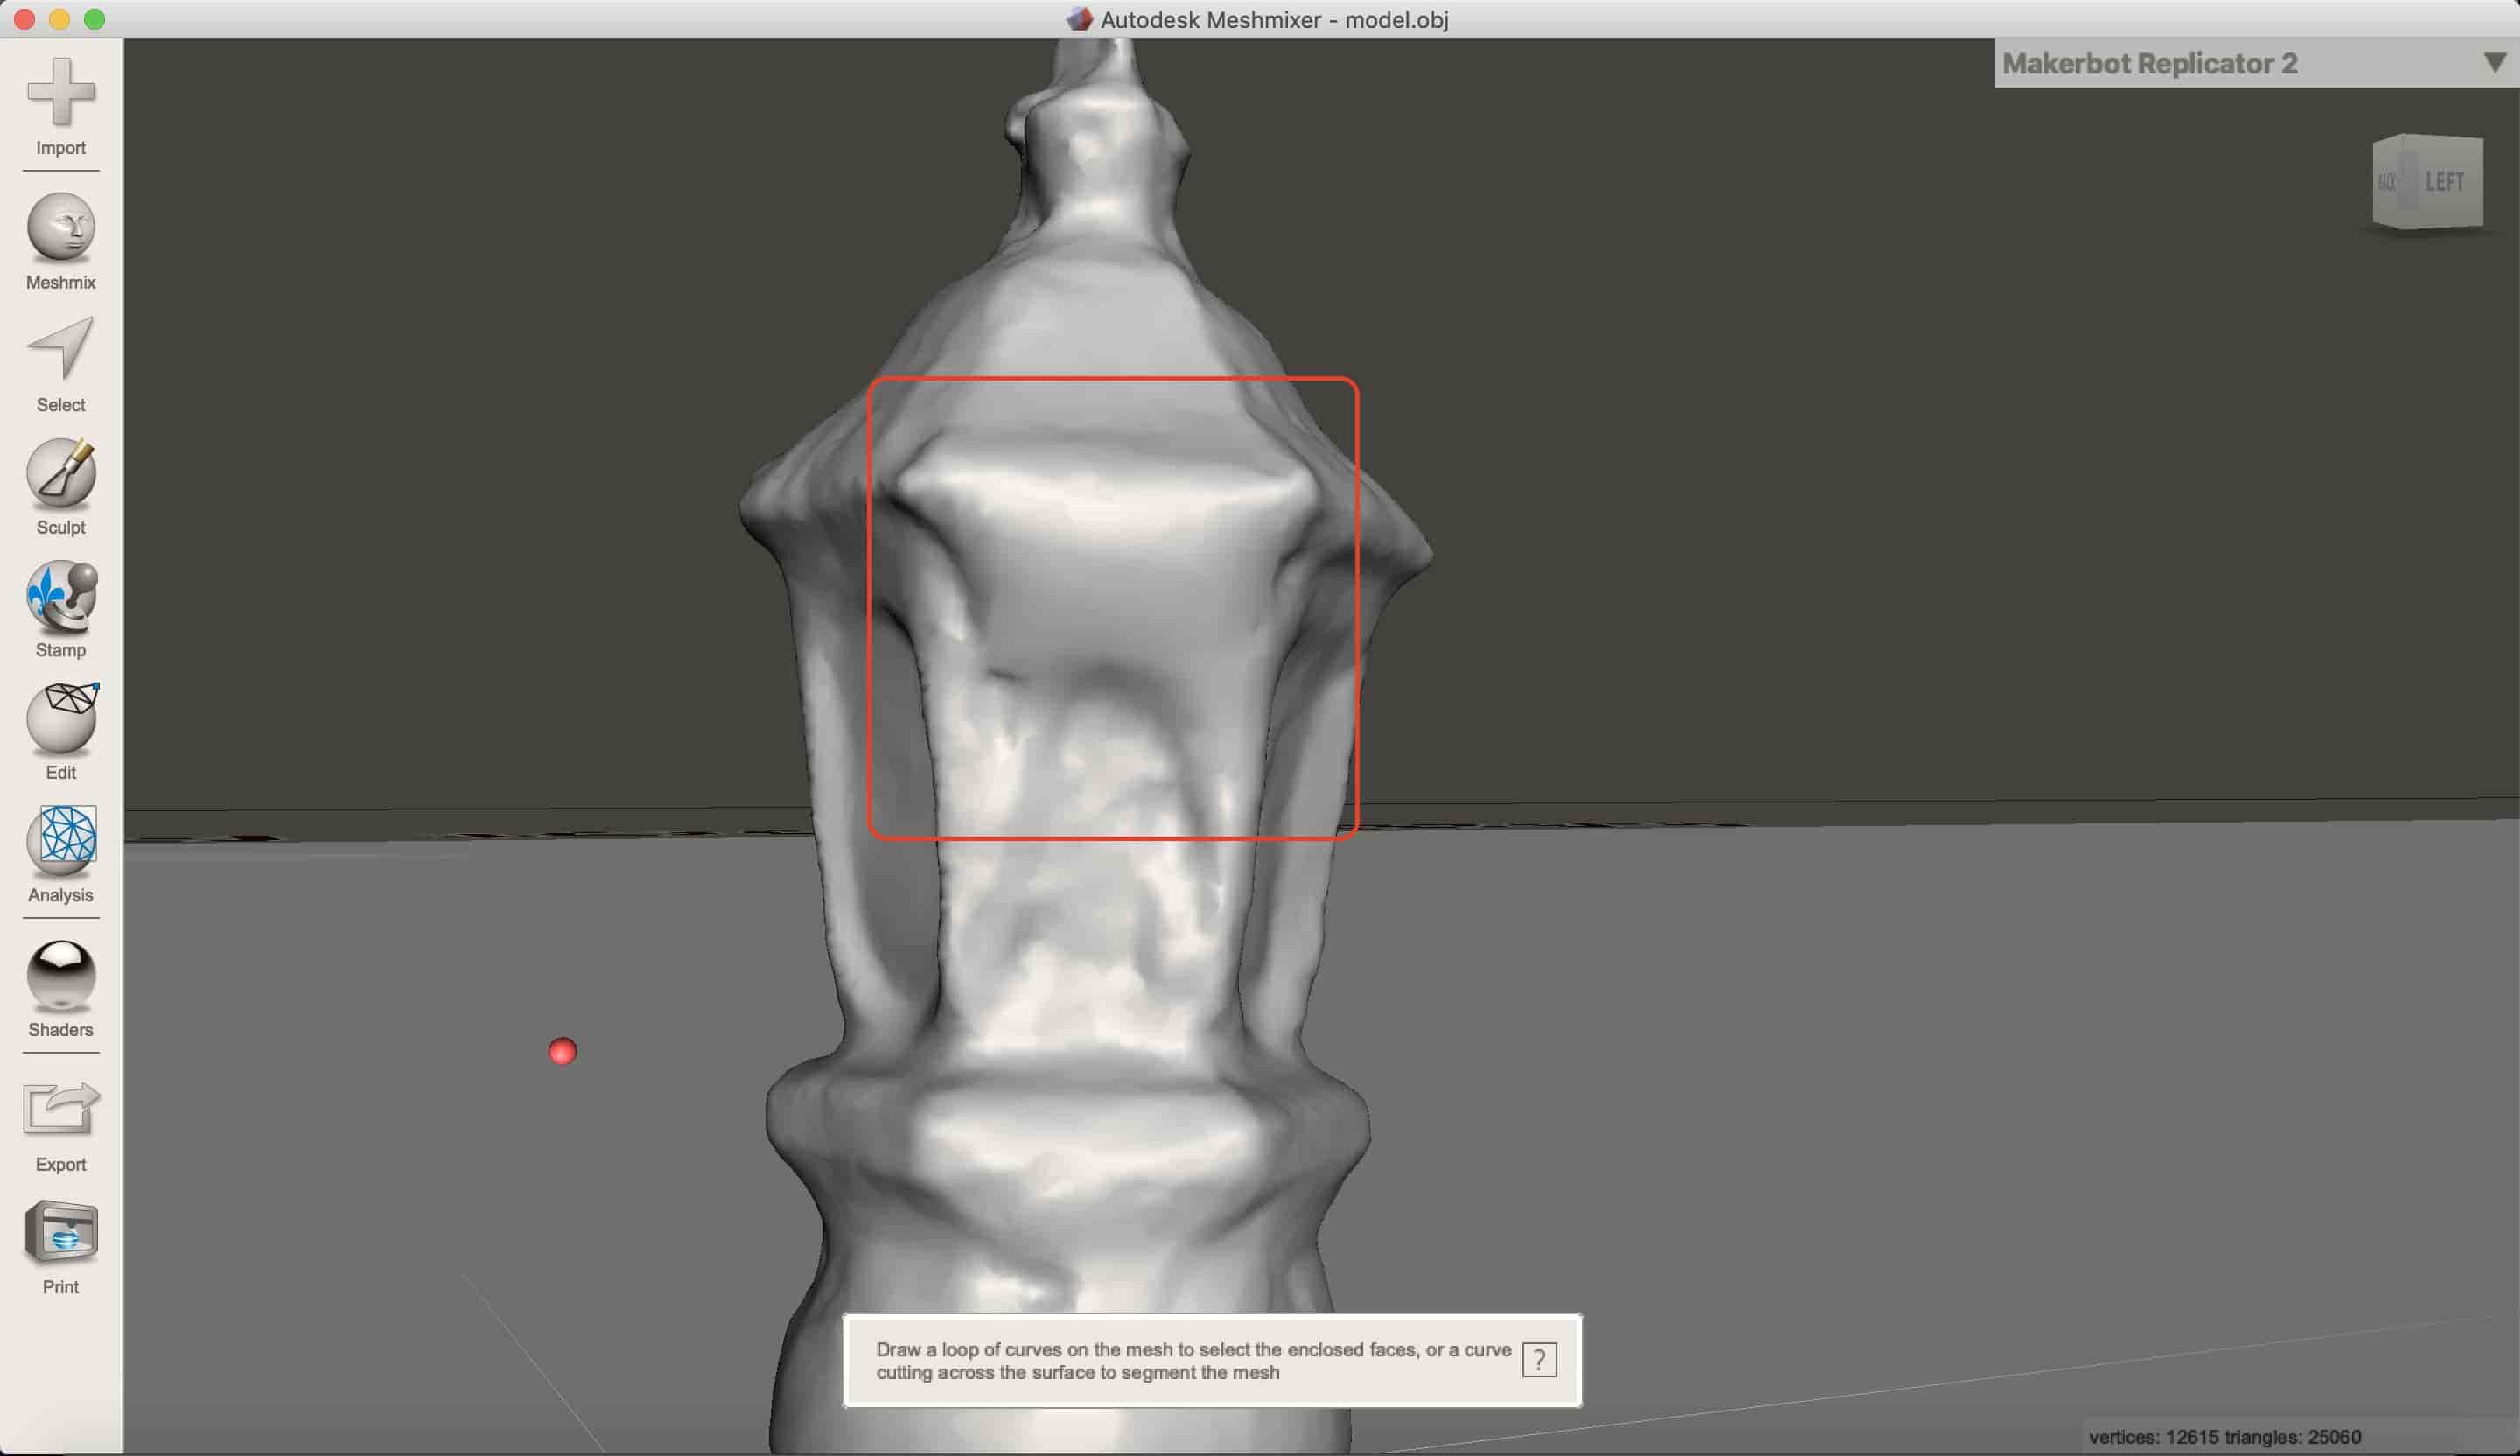
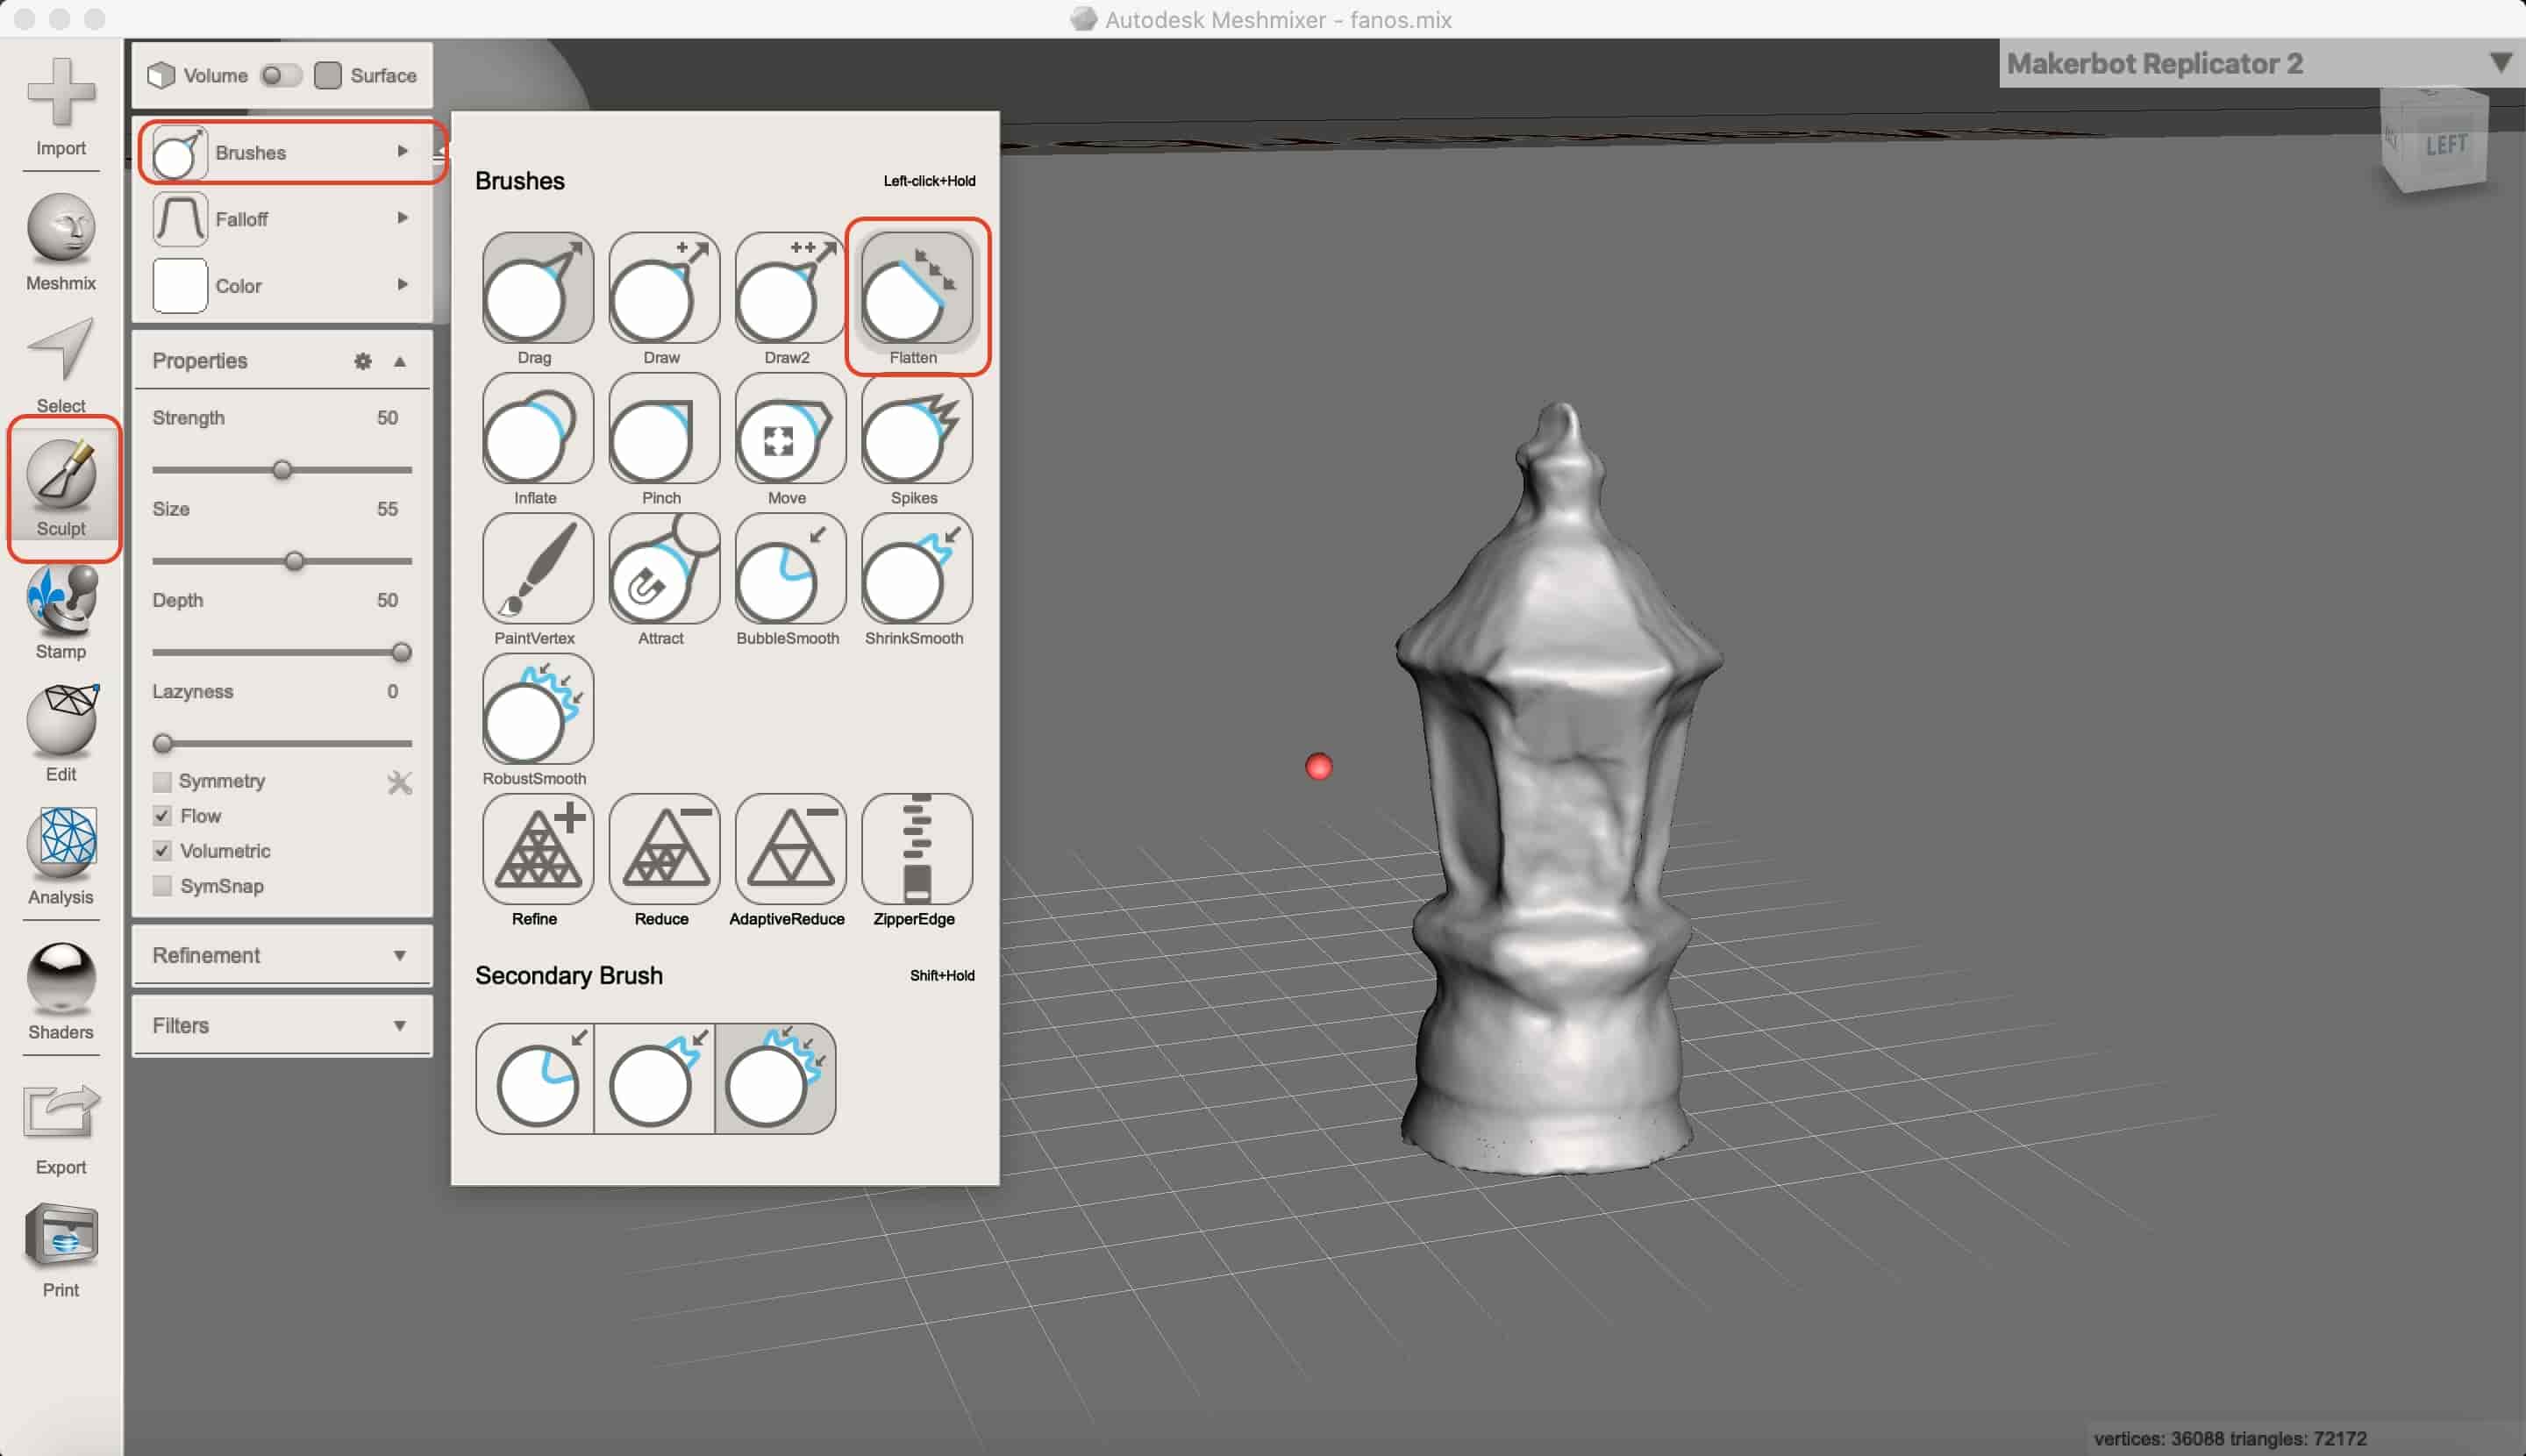
Now, let’s refine our model using the awesome MeshMixer software. First, I removed the color, any extra parts, and the texture of the model.
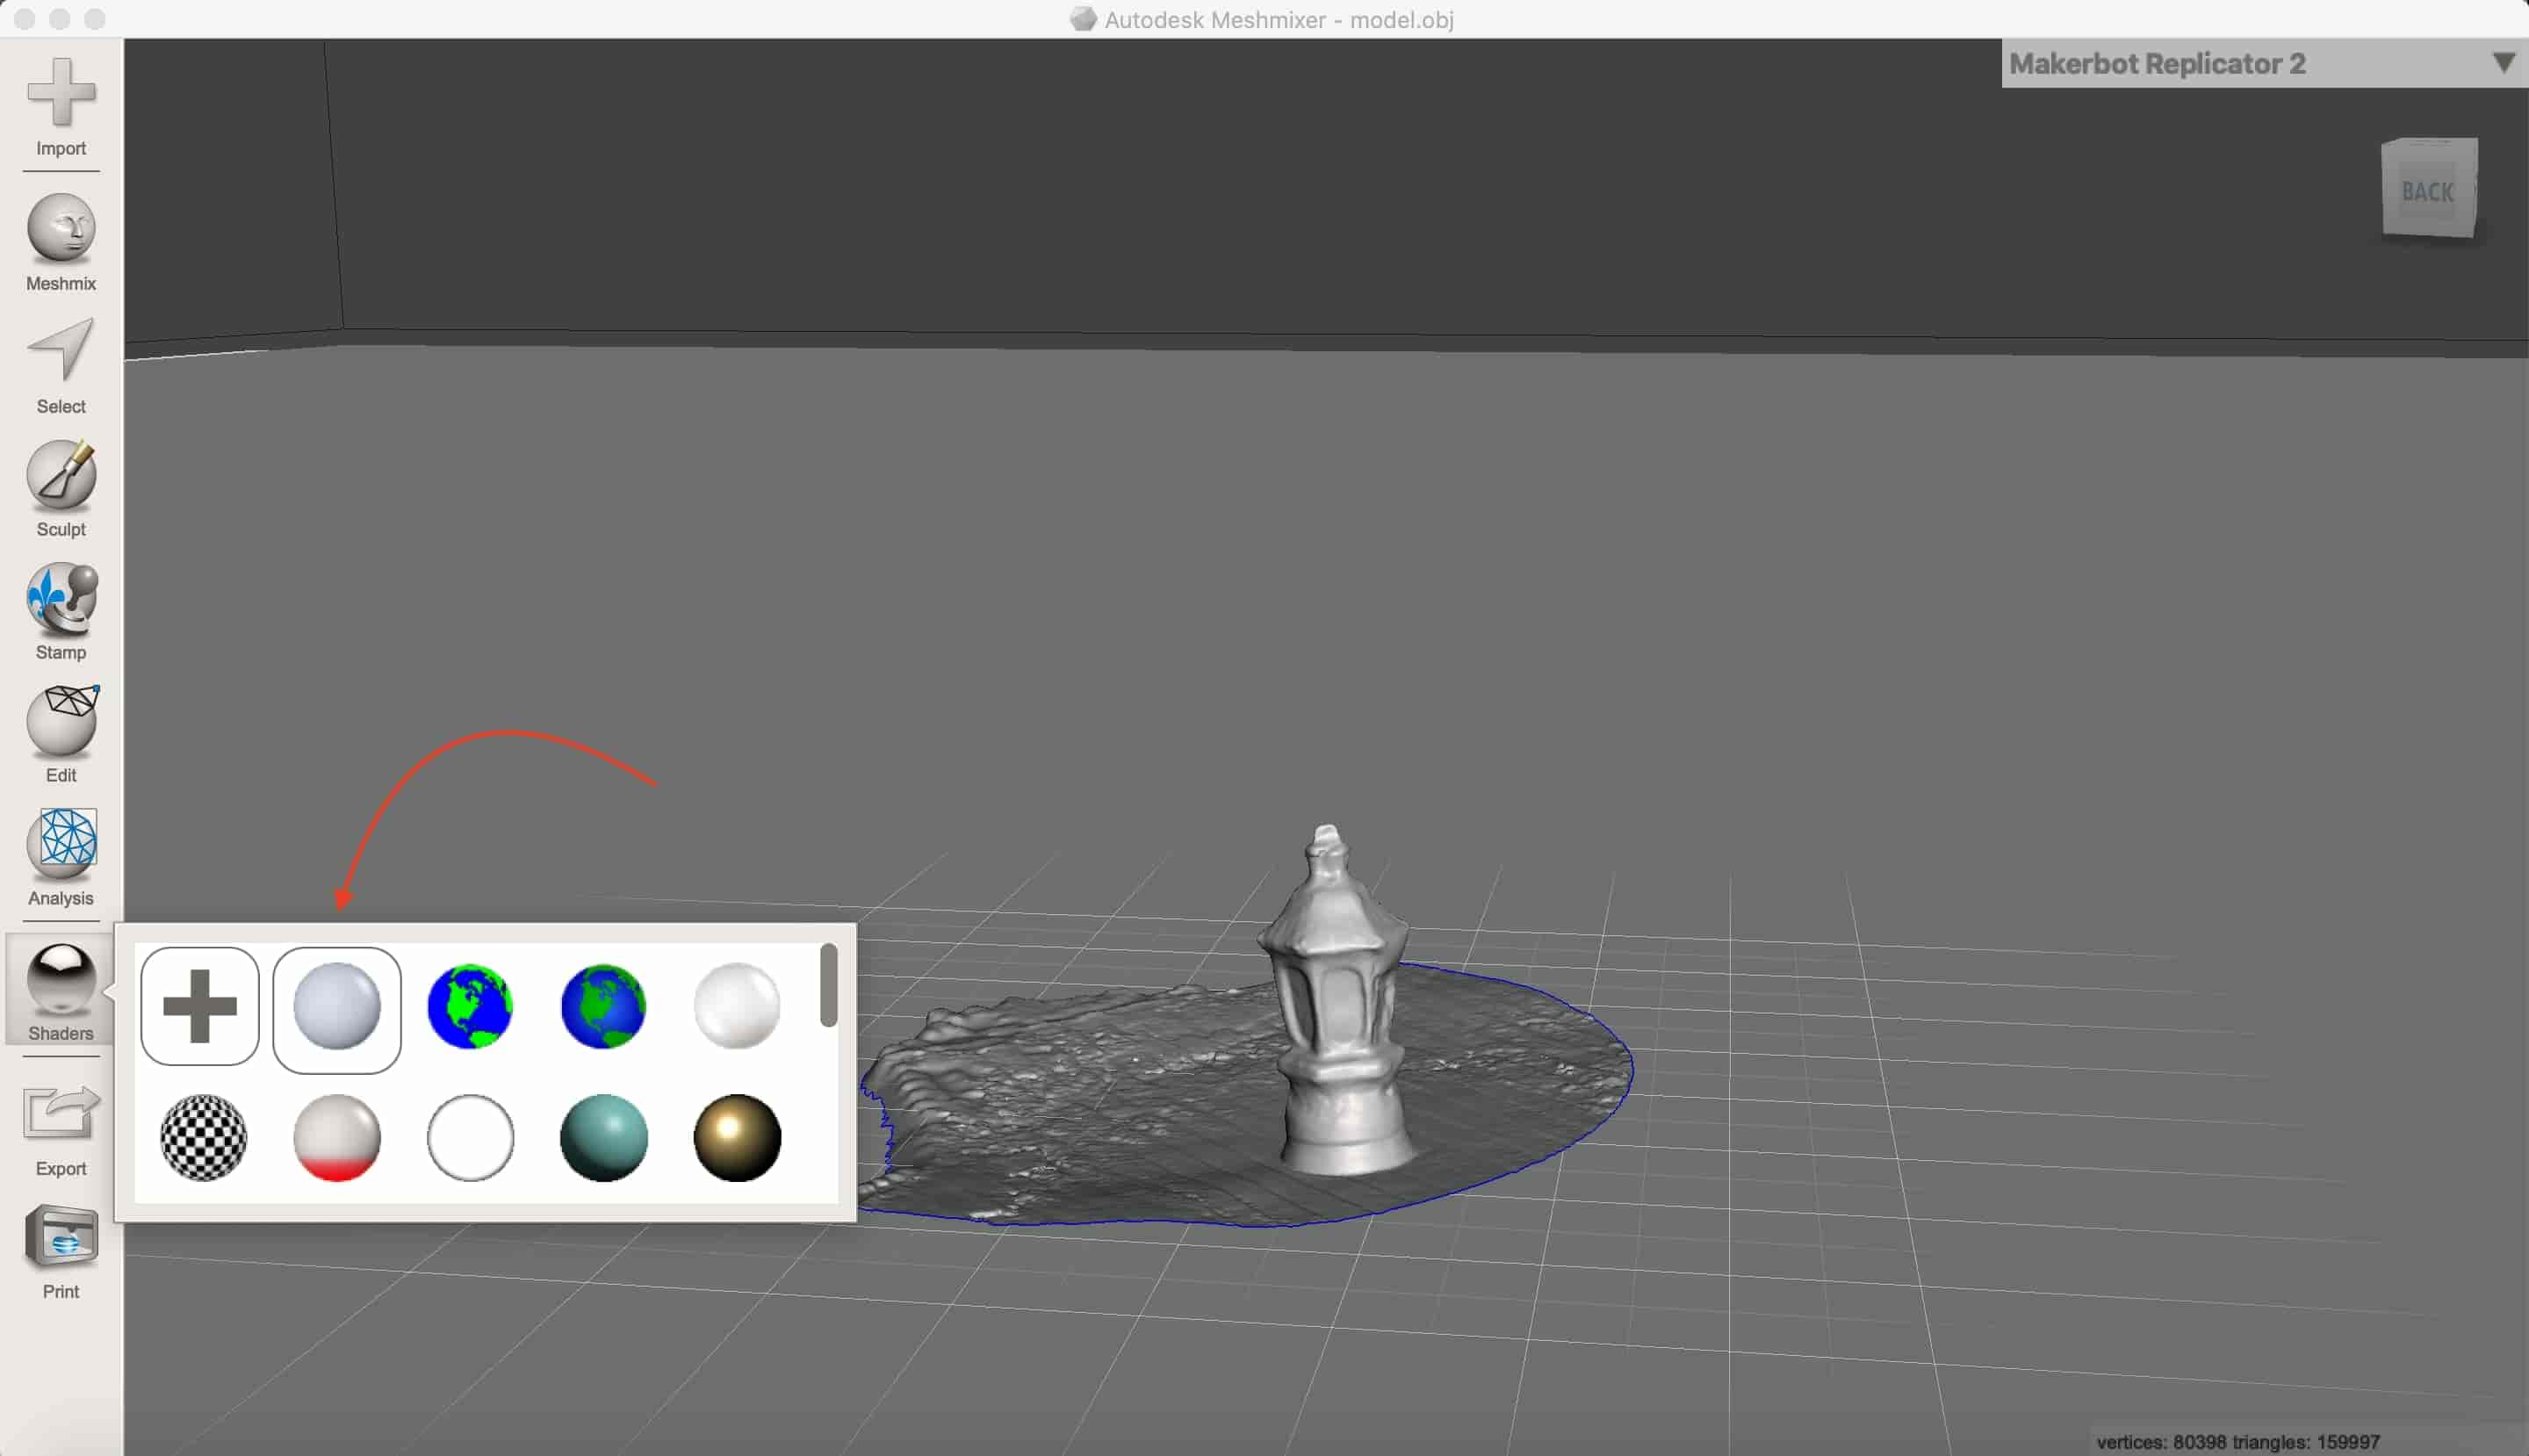
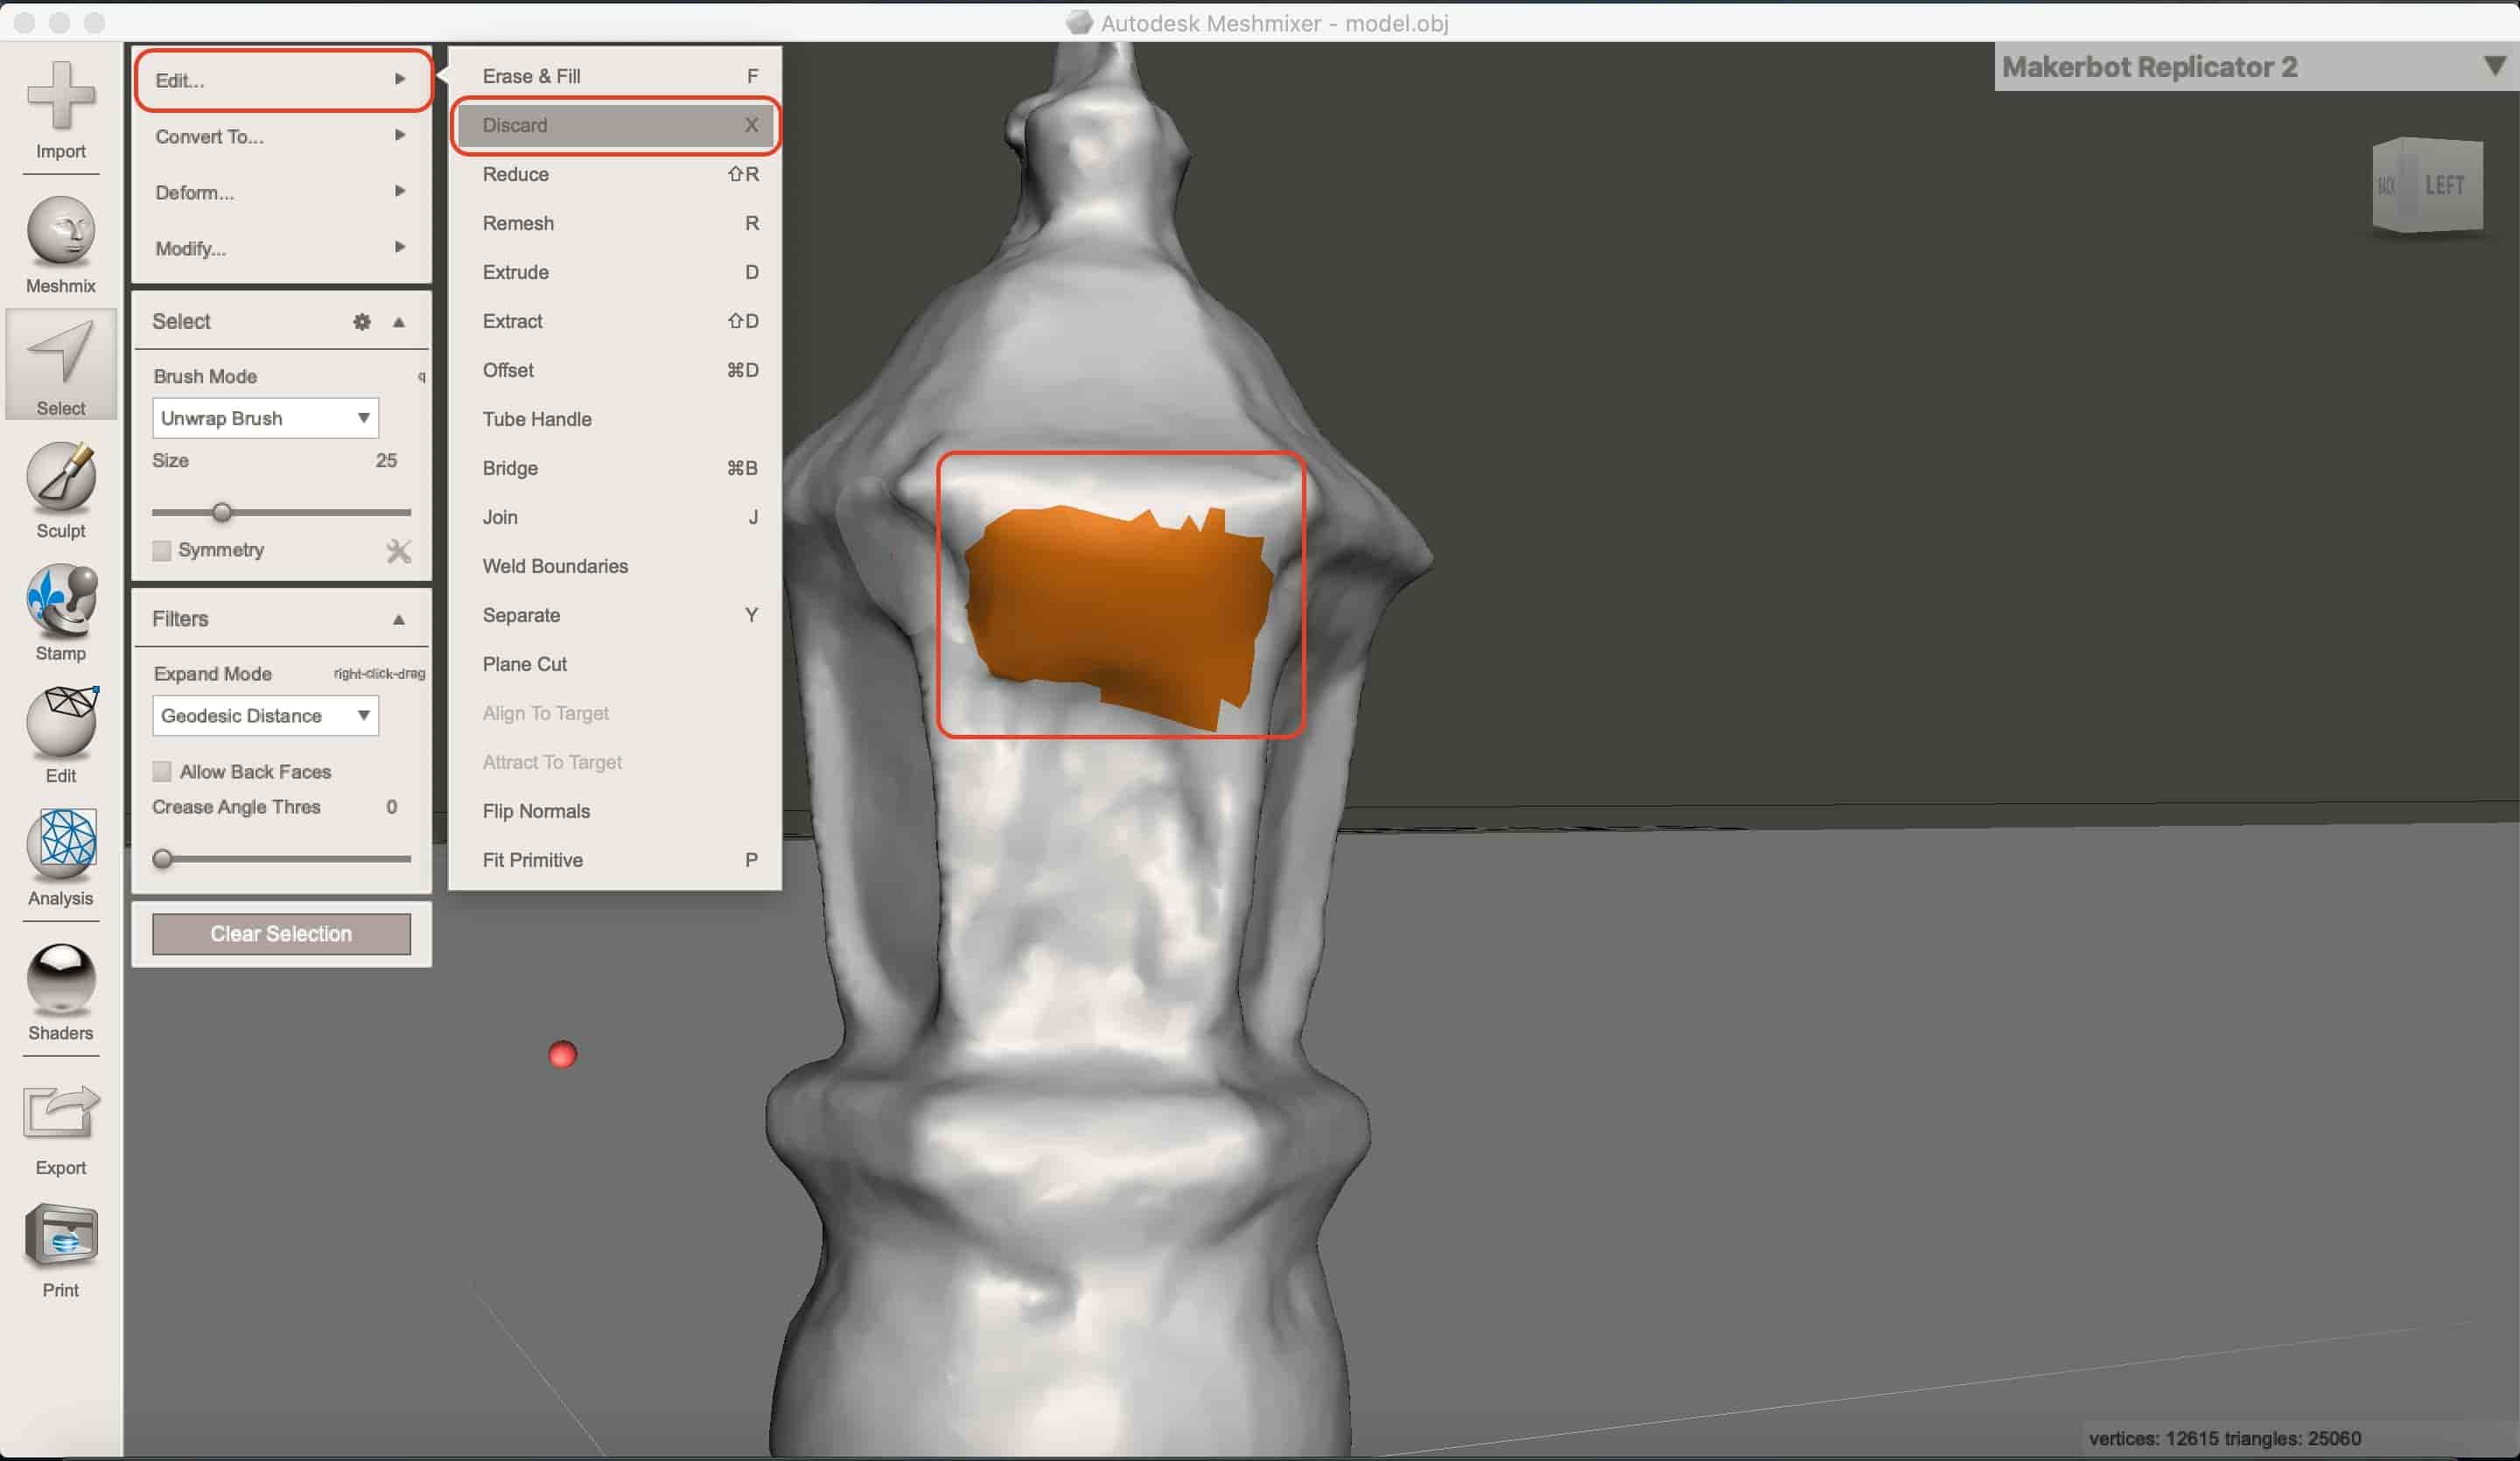
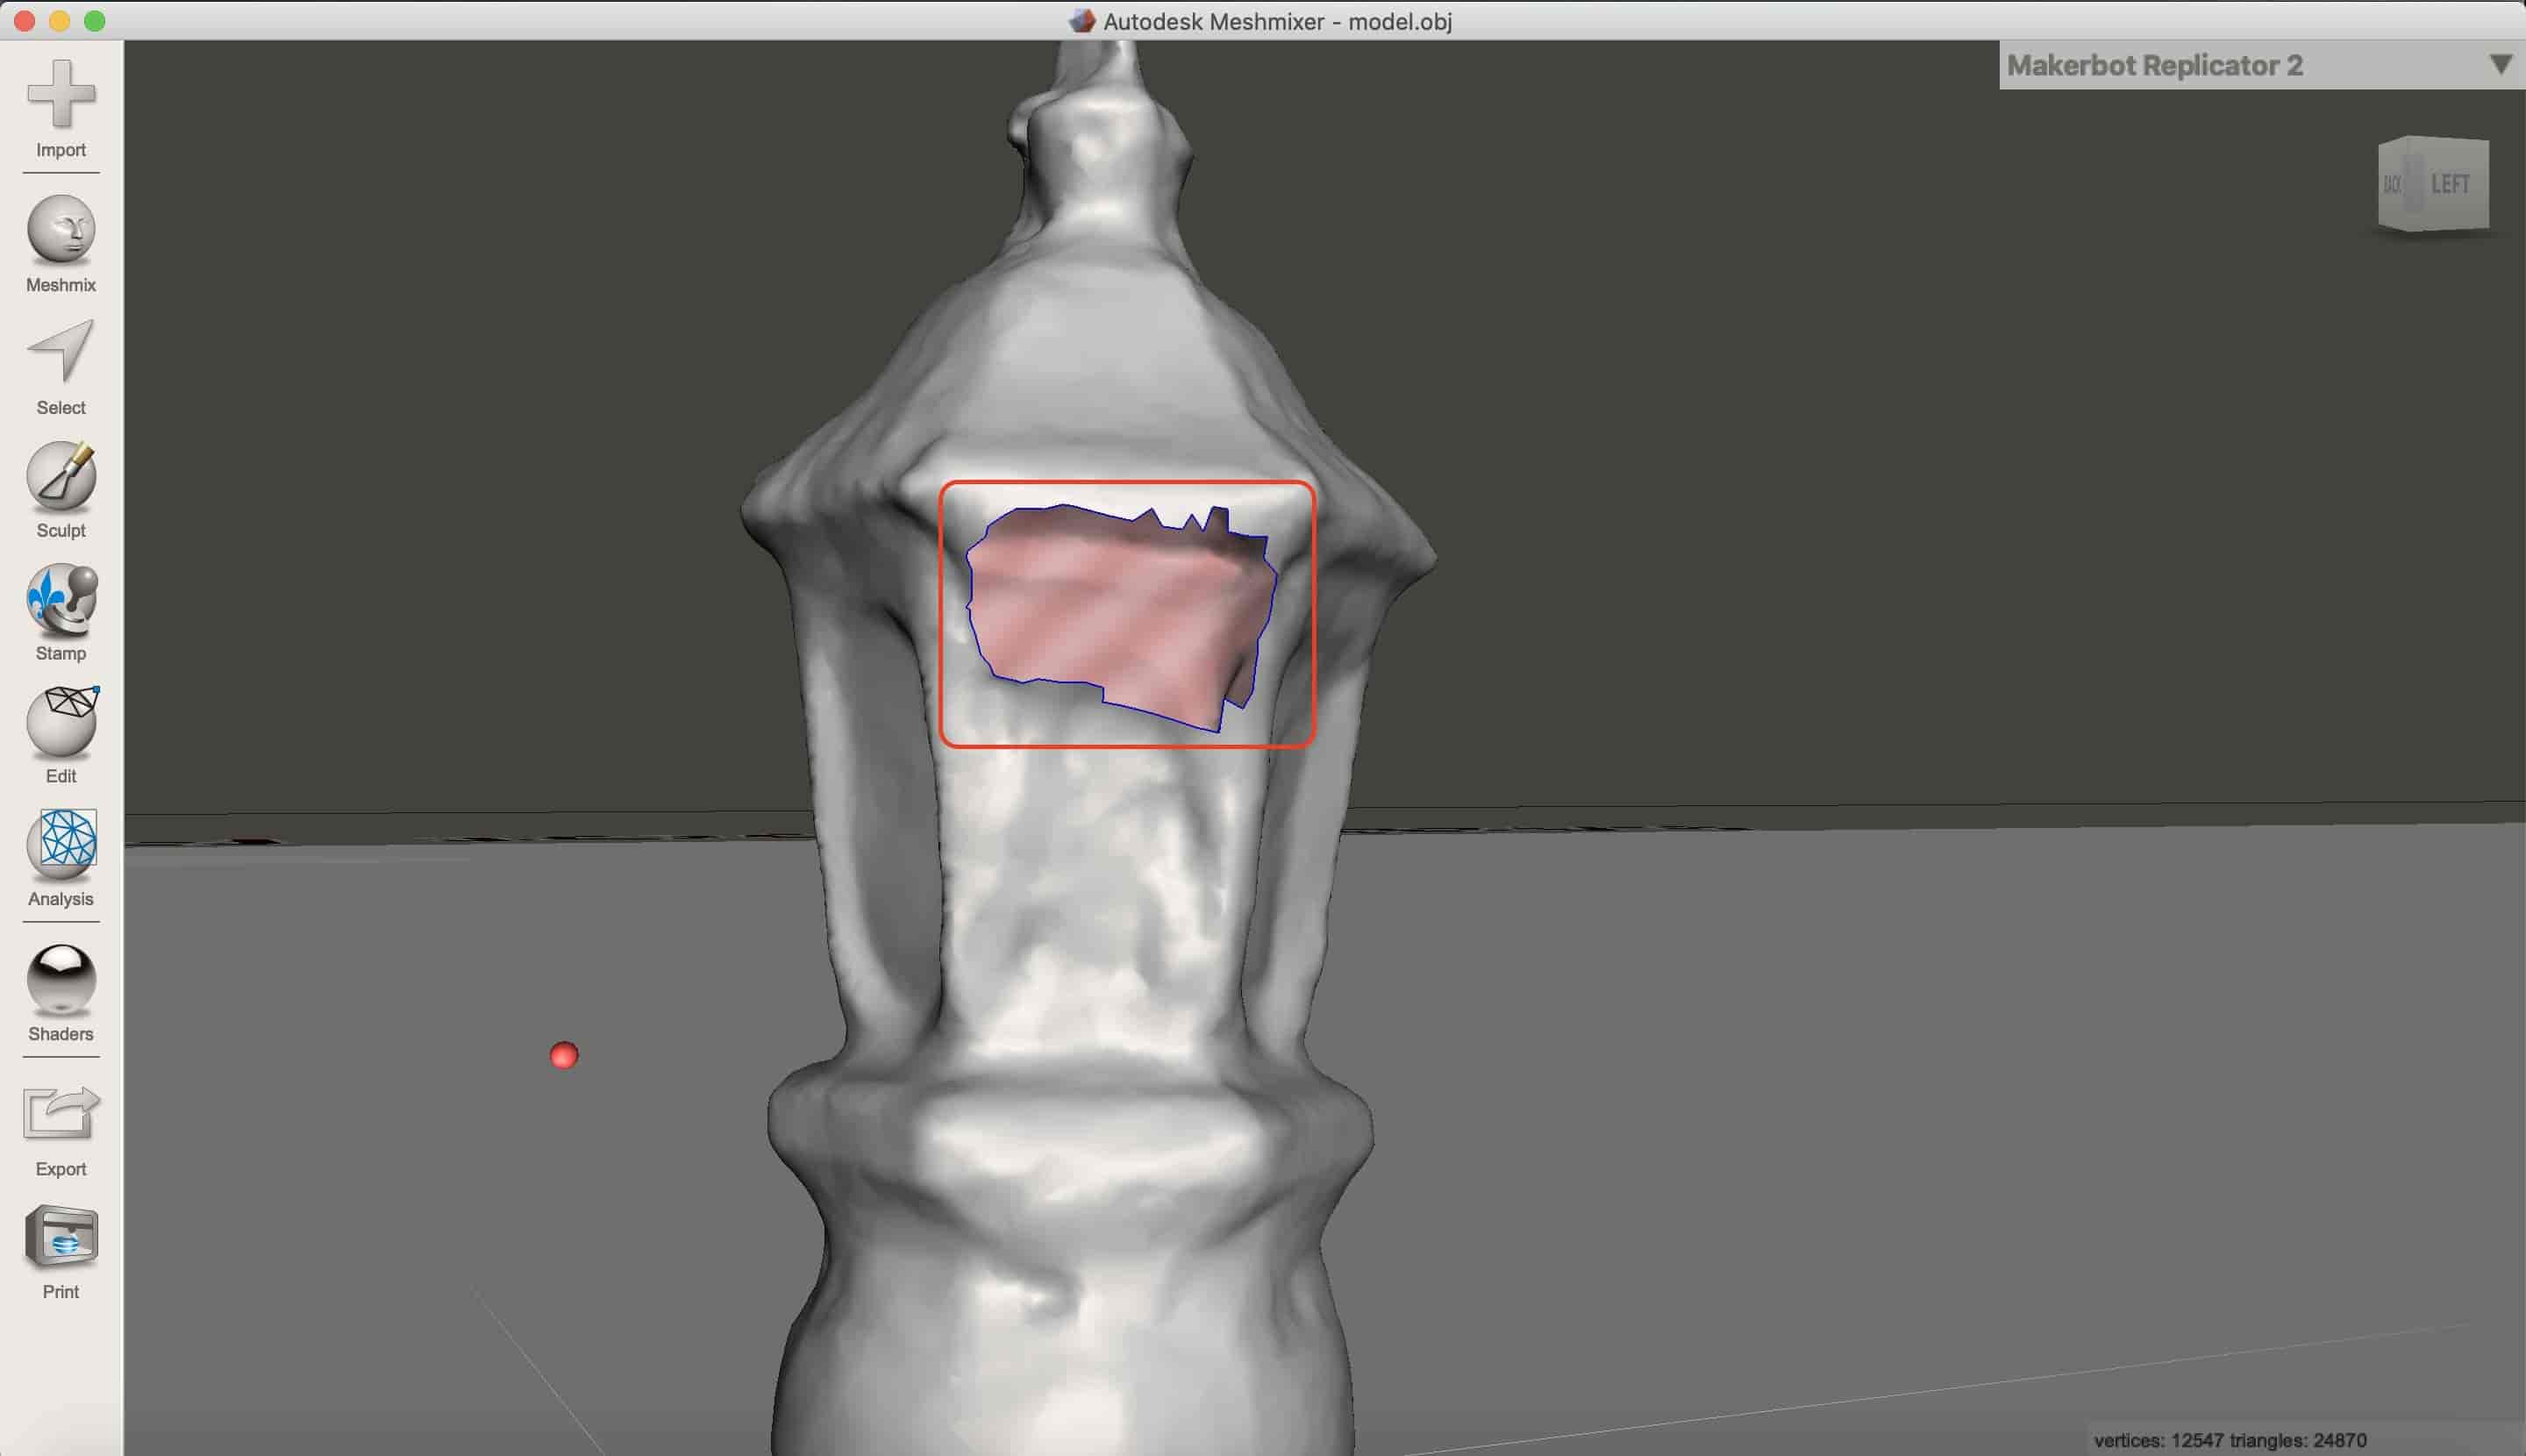
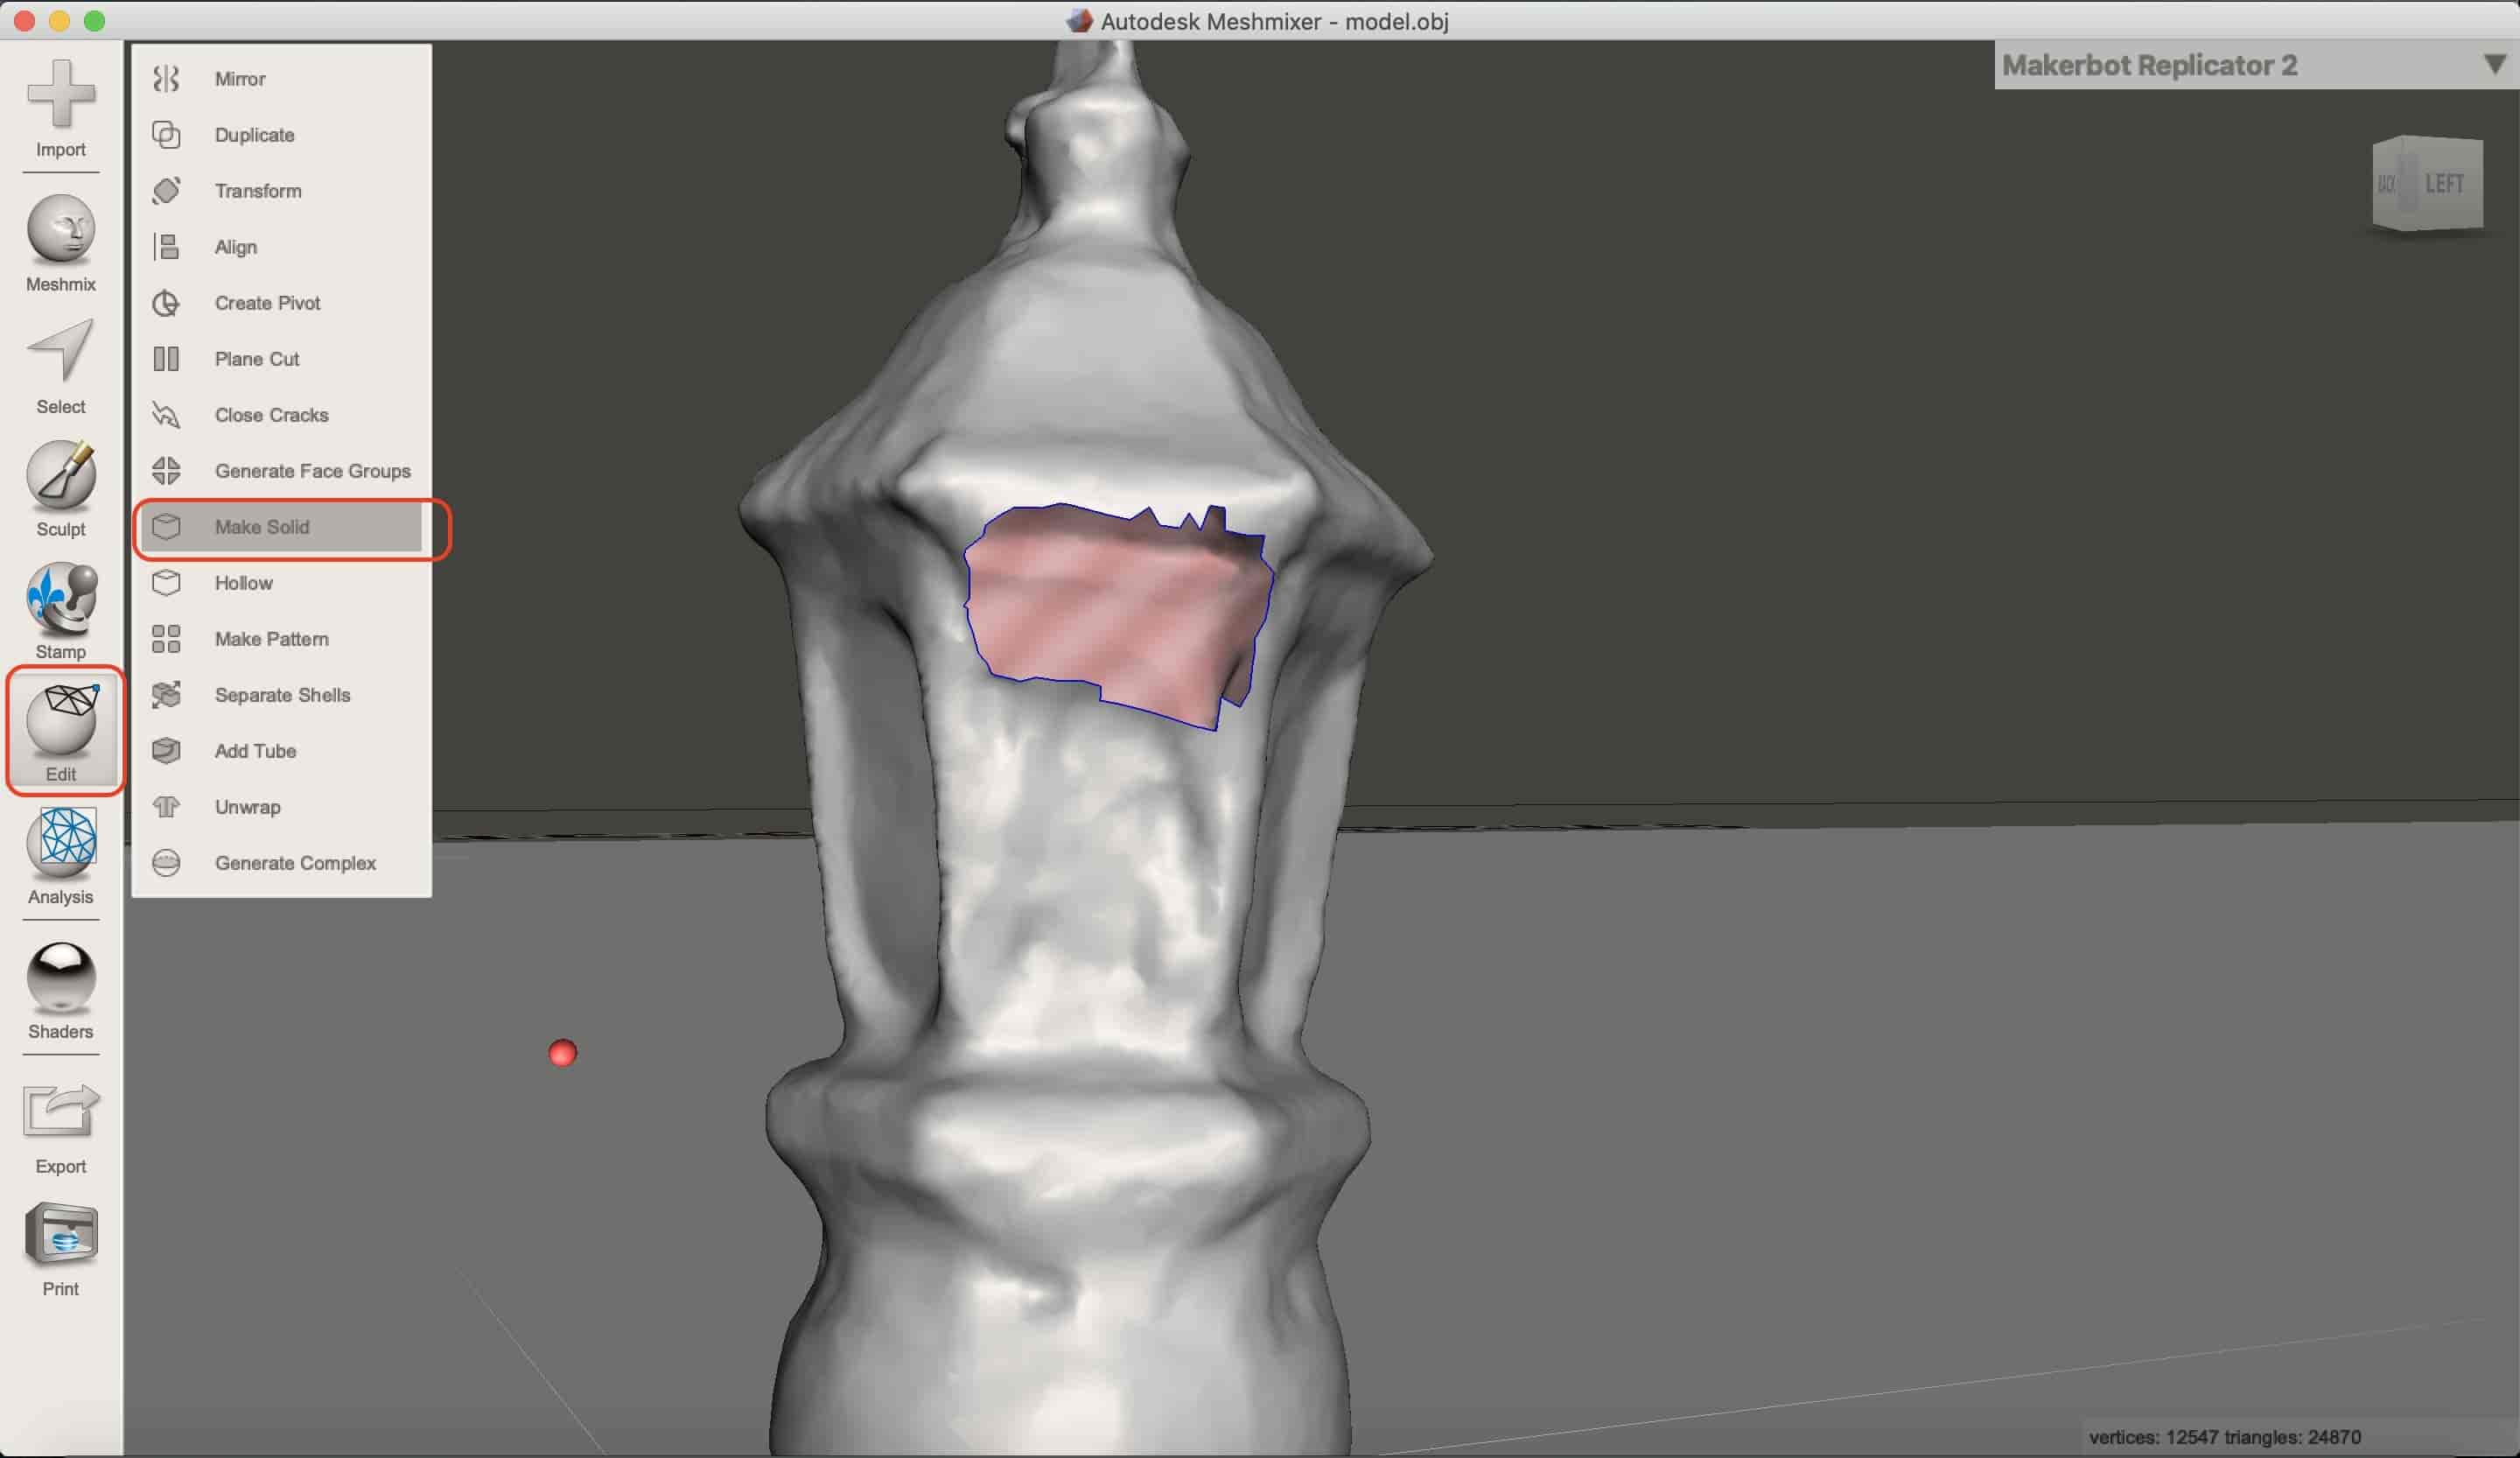
I cleaned up some geometries that doesn’t scan properly using the Select->delete tool. Then from the Edit menu select “Make Solid” to make the body solid from the inside.
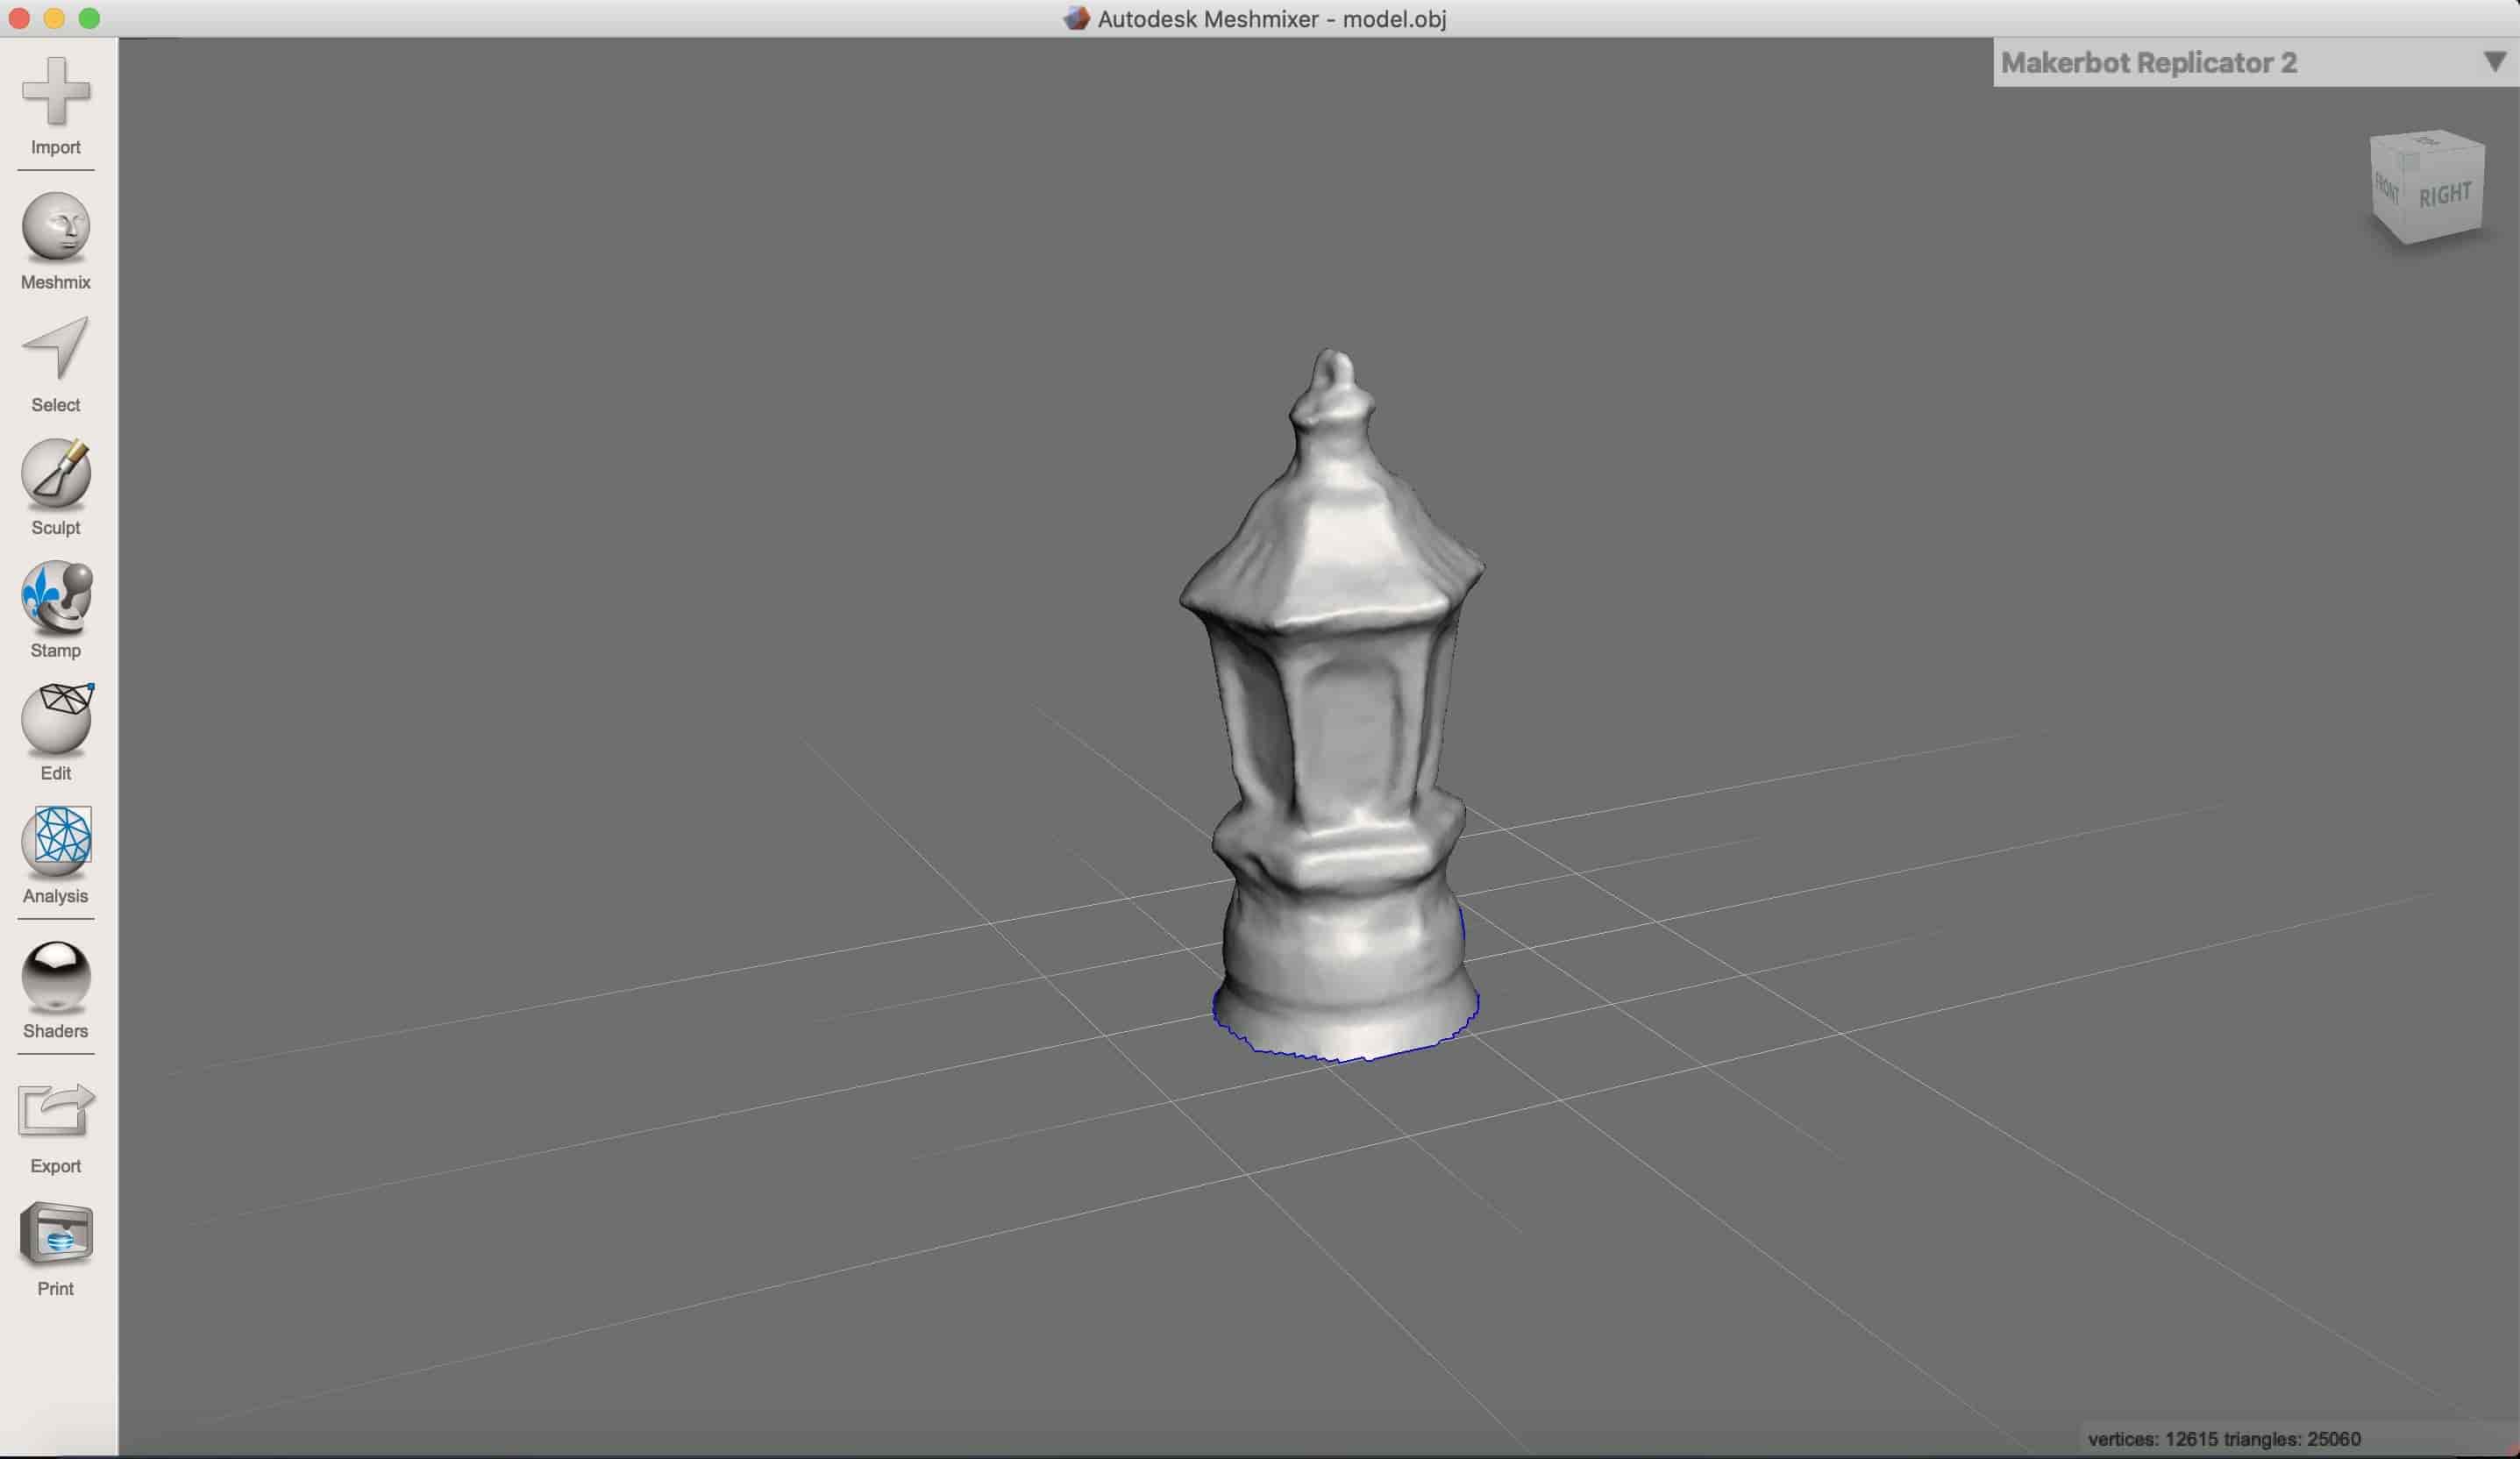
And to smooth any areas that are not scanned properly, I used the Sculpt-Flatte tool. Also, after playing with some brushes, the model looks nicer now!
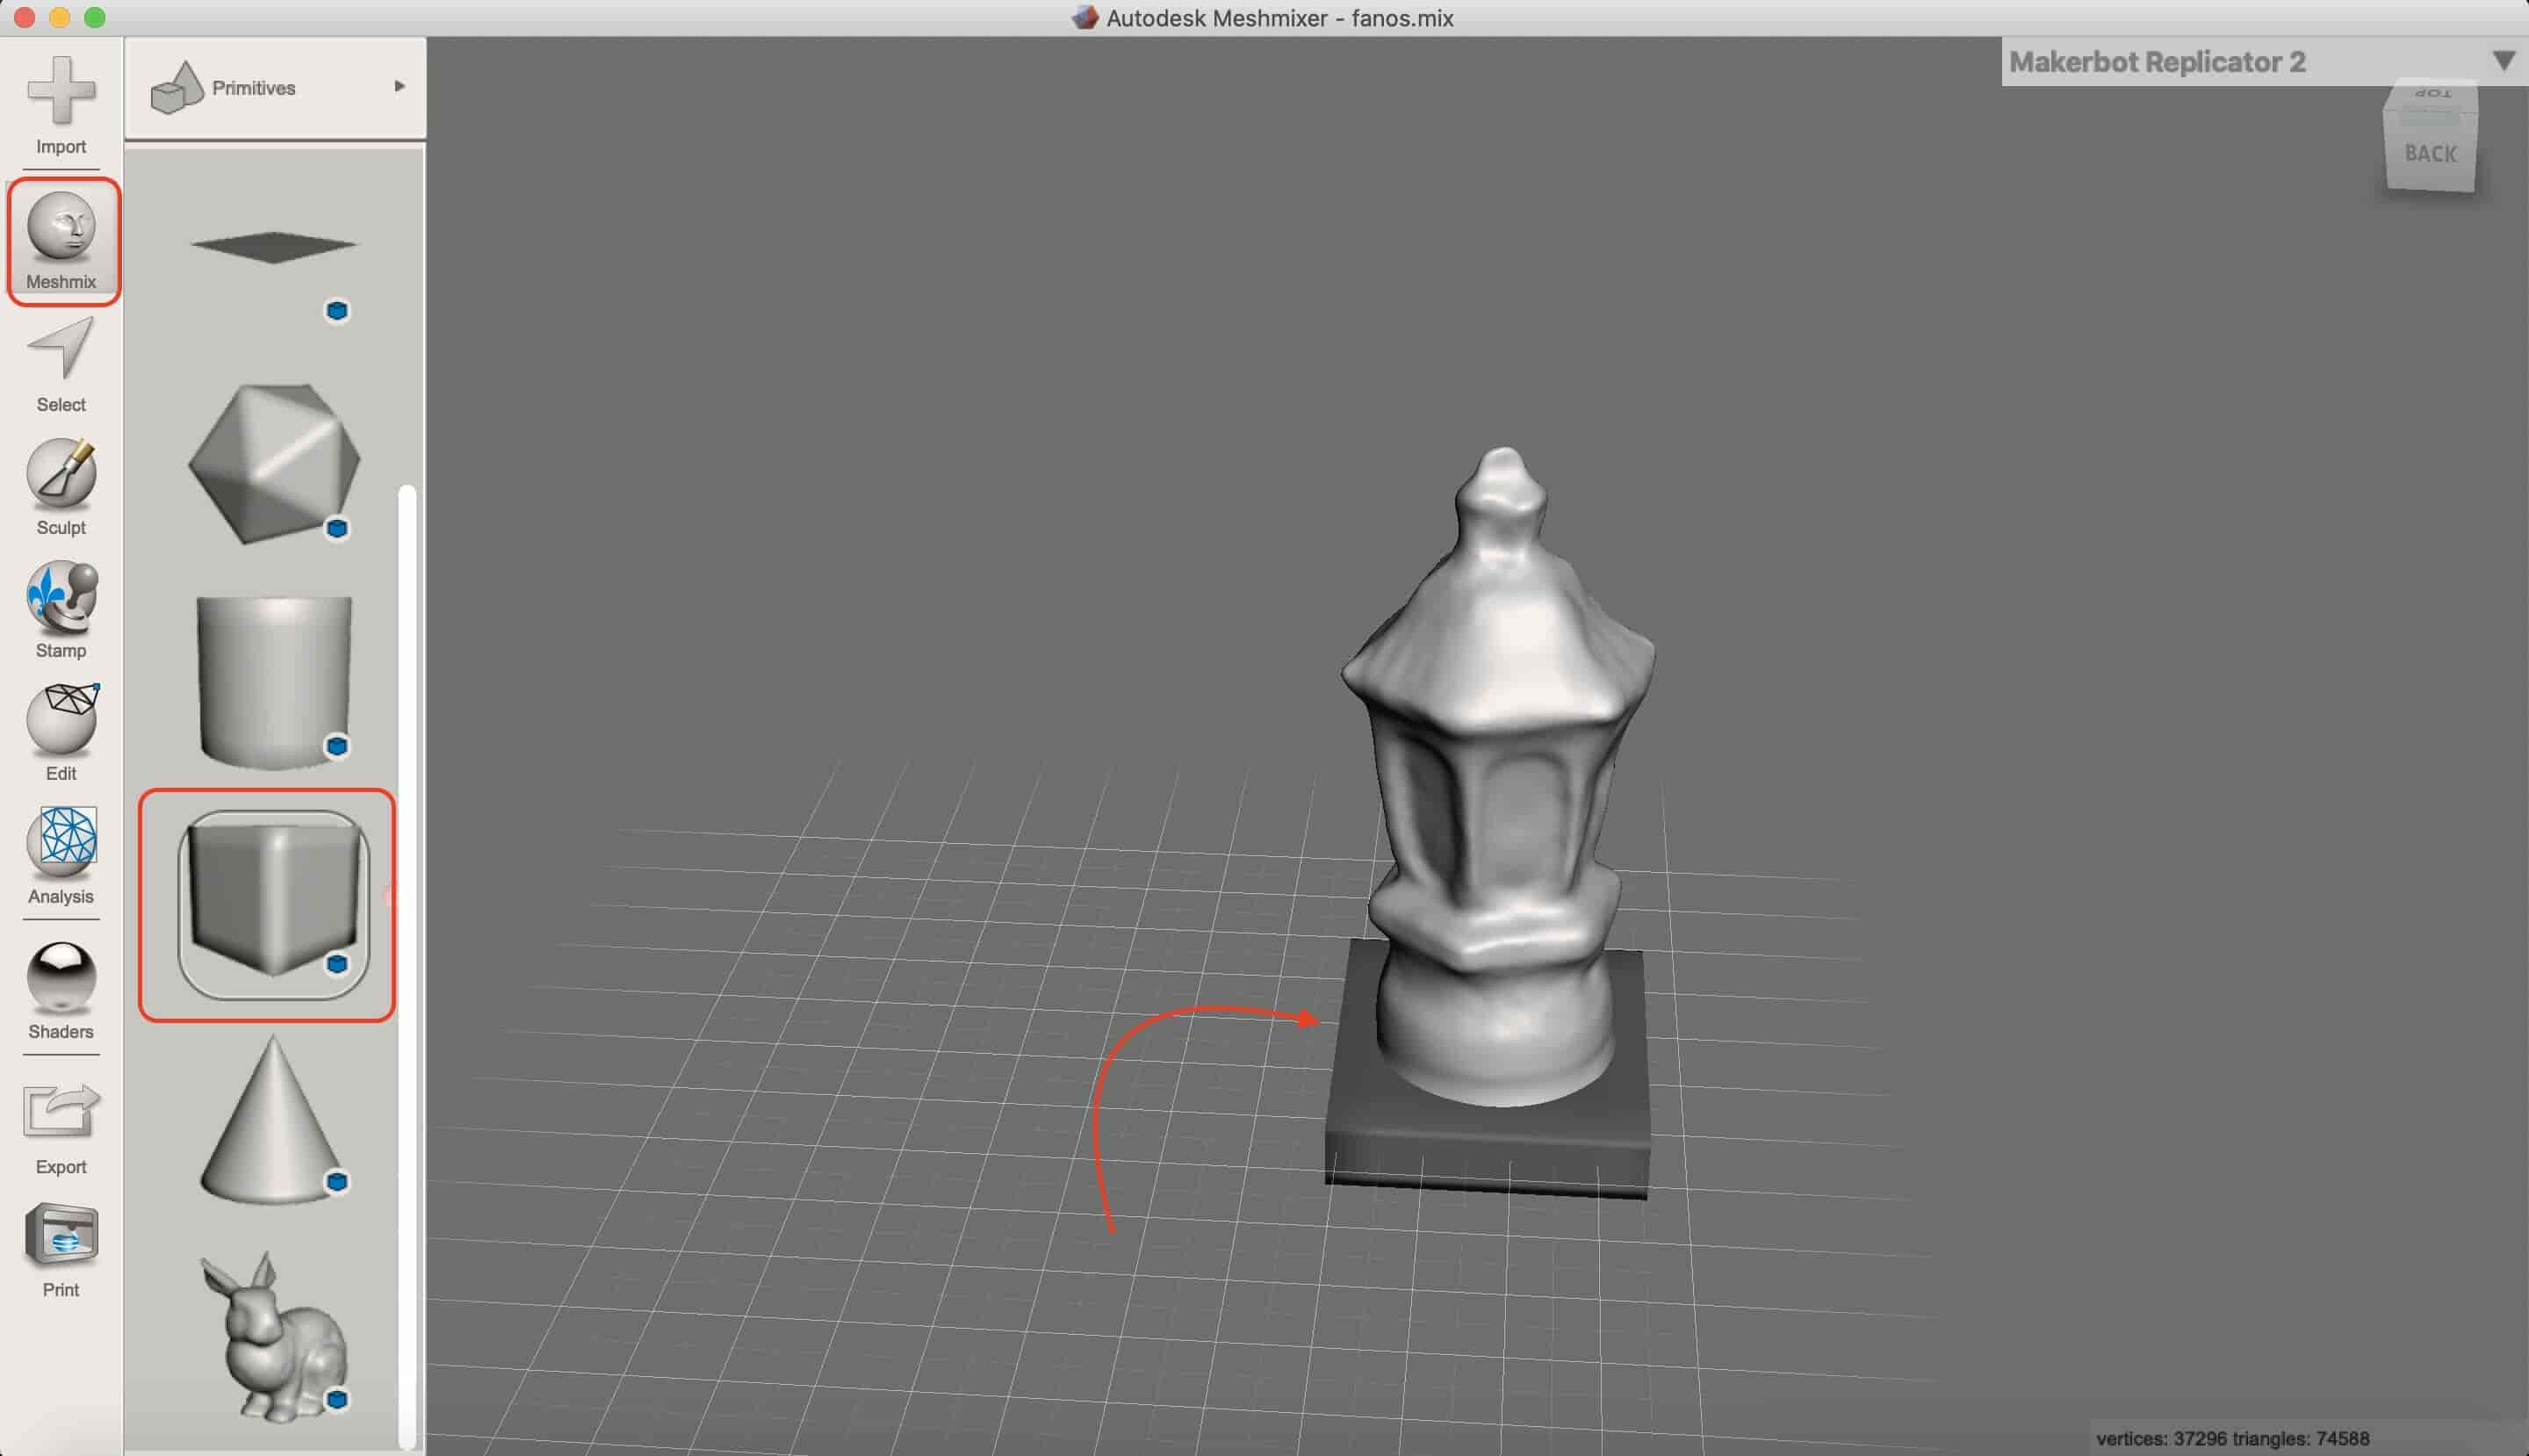
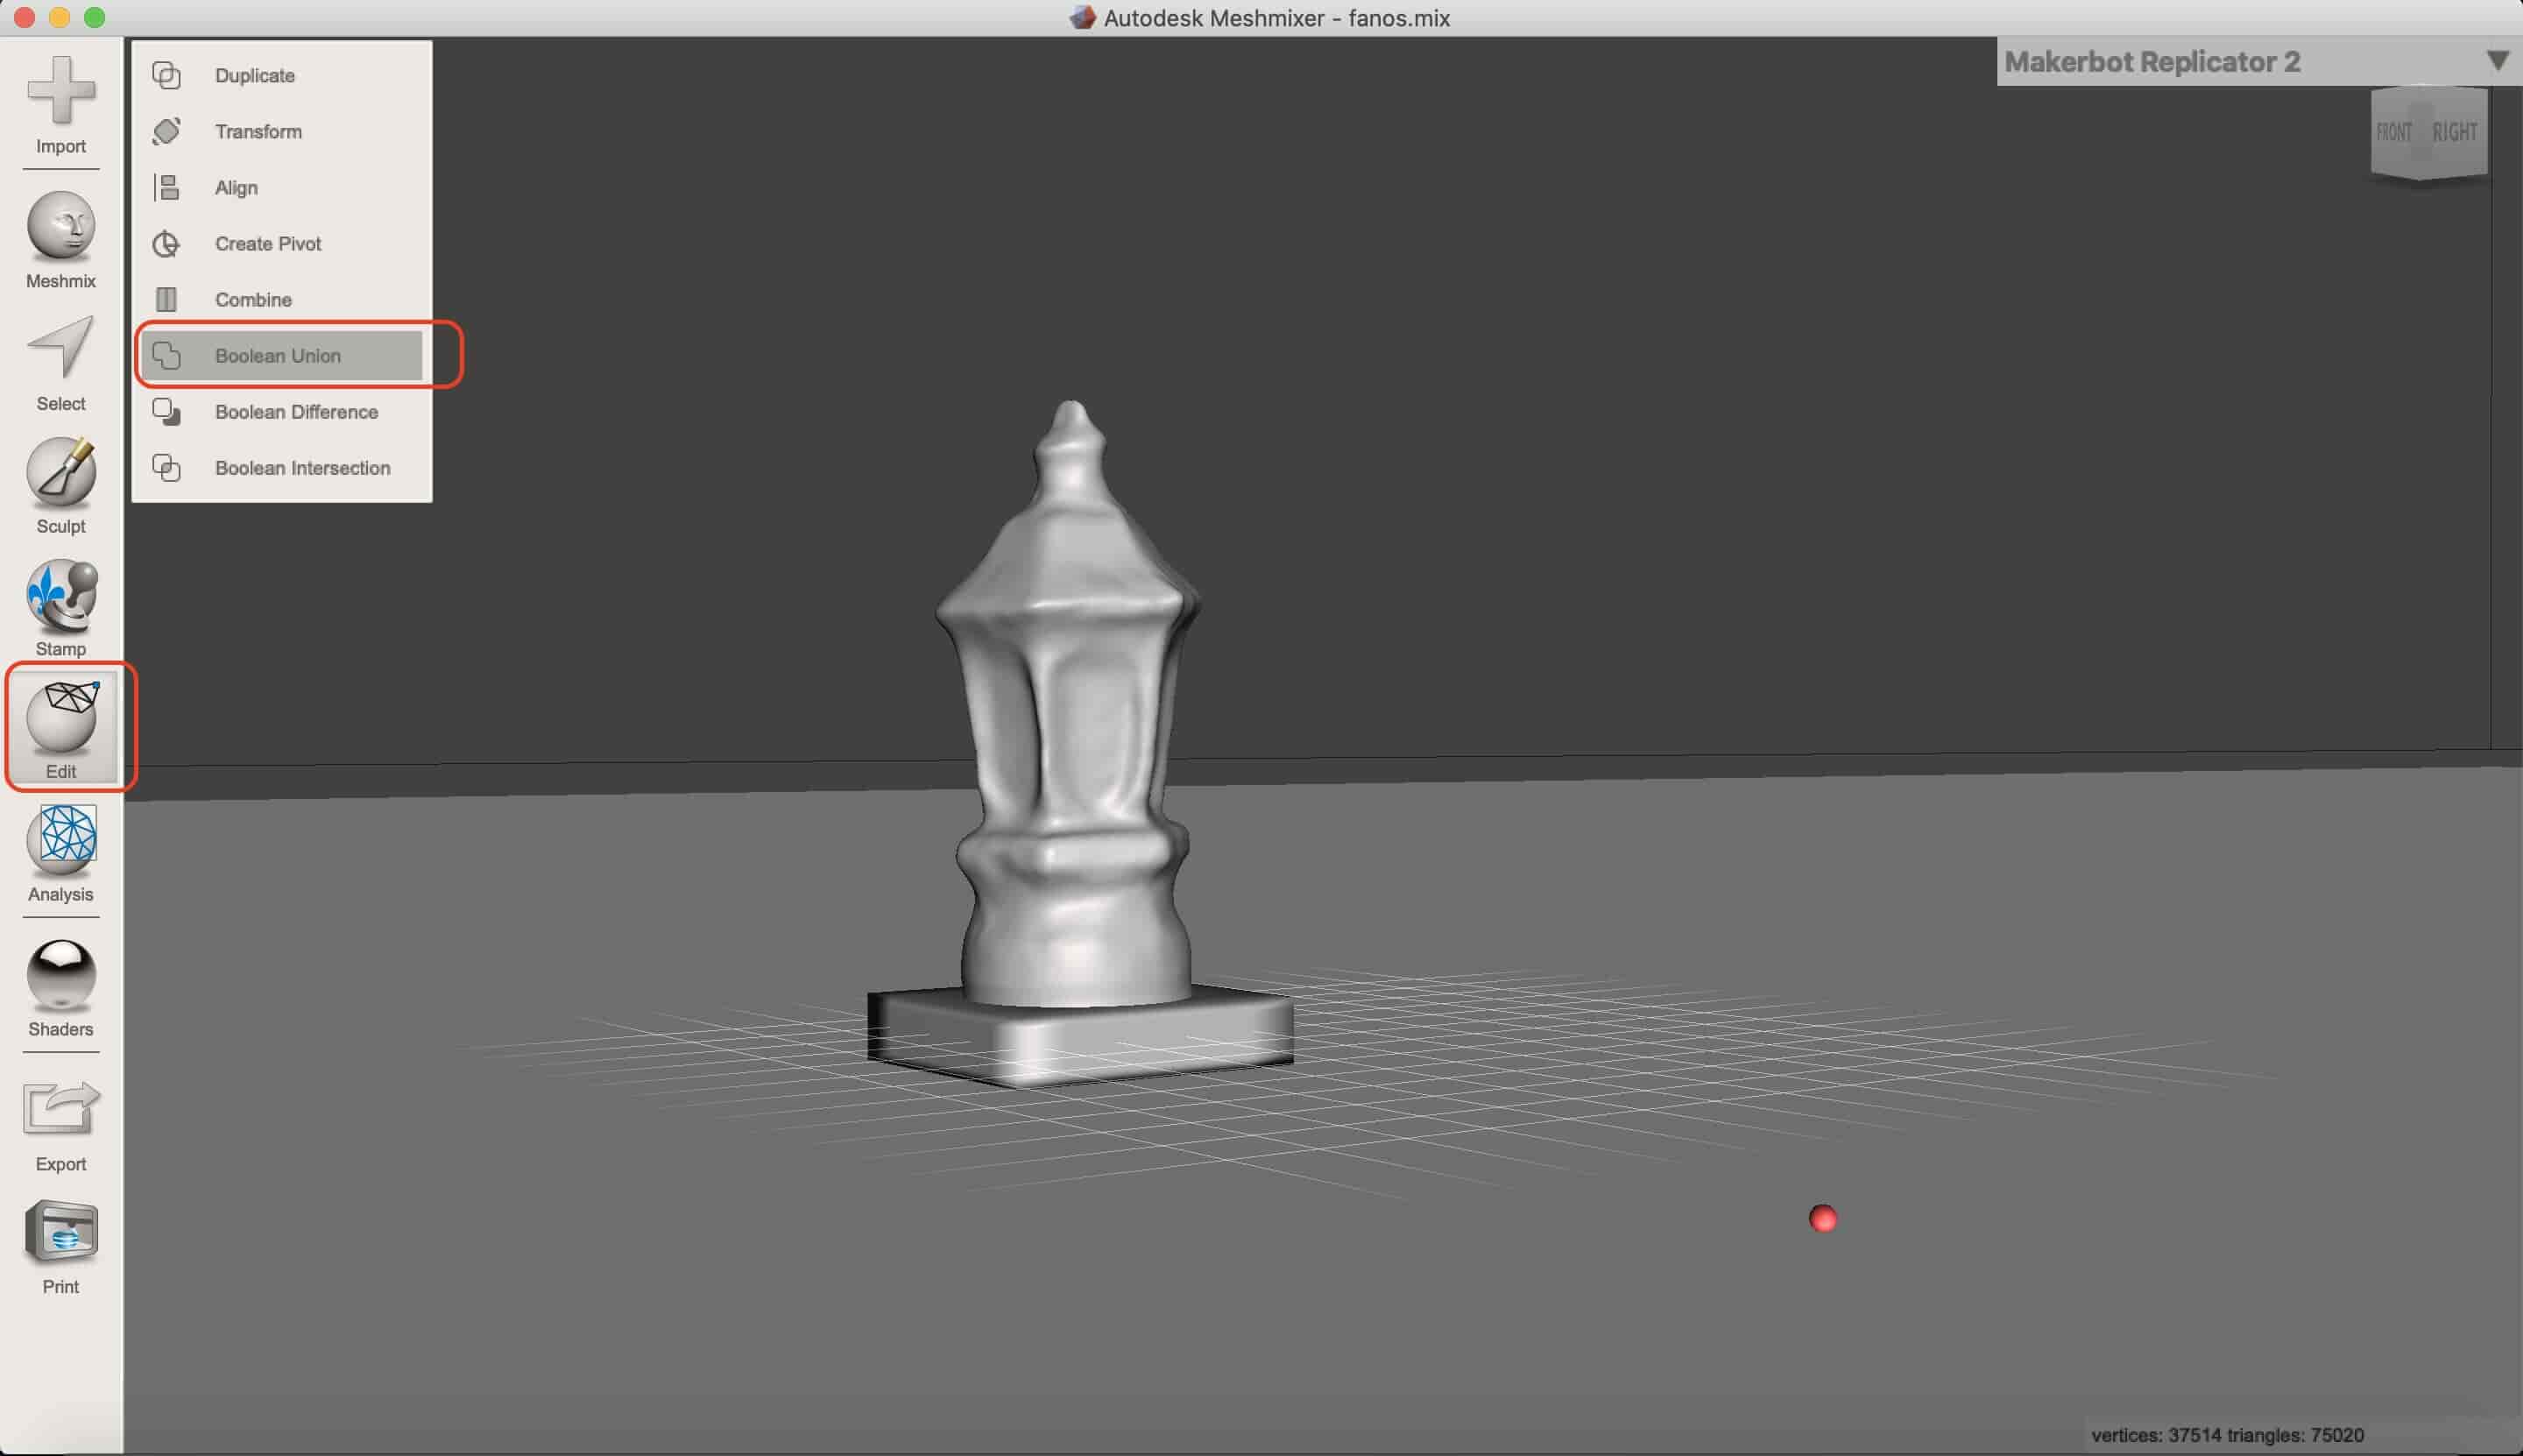
And, to make the body flat from the base, I added a solid rectangle and I used the Boolean-Union command to join them together.
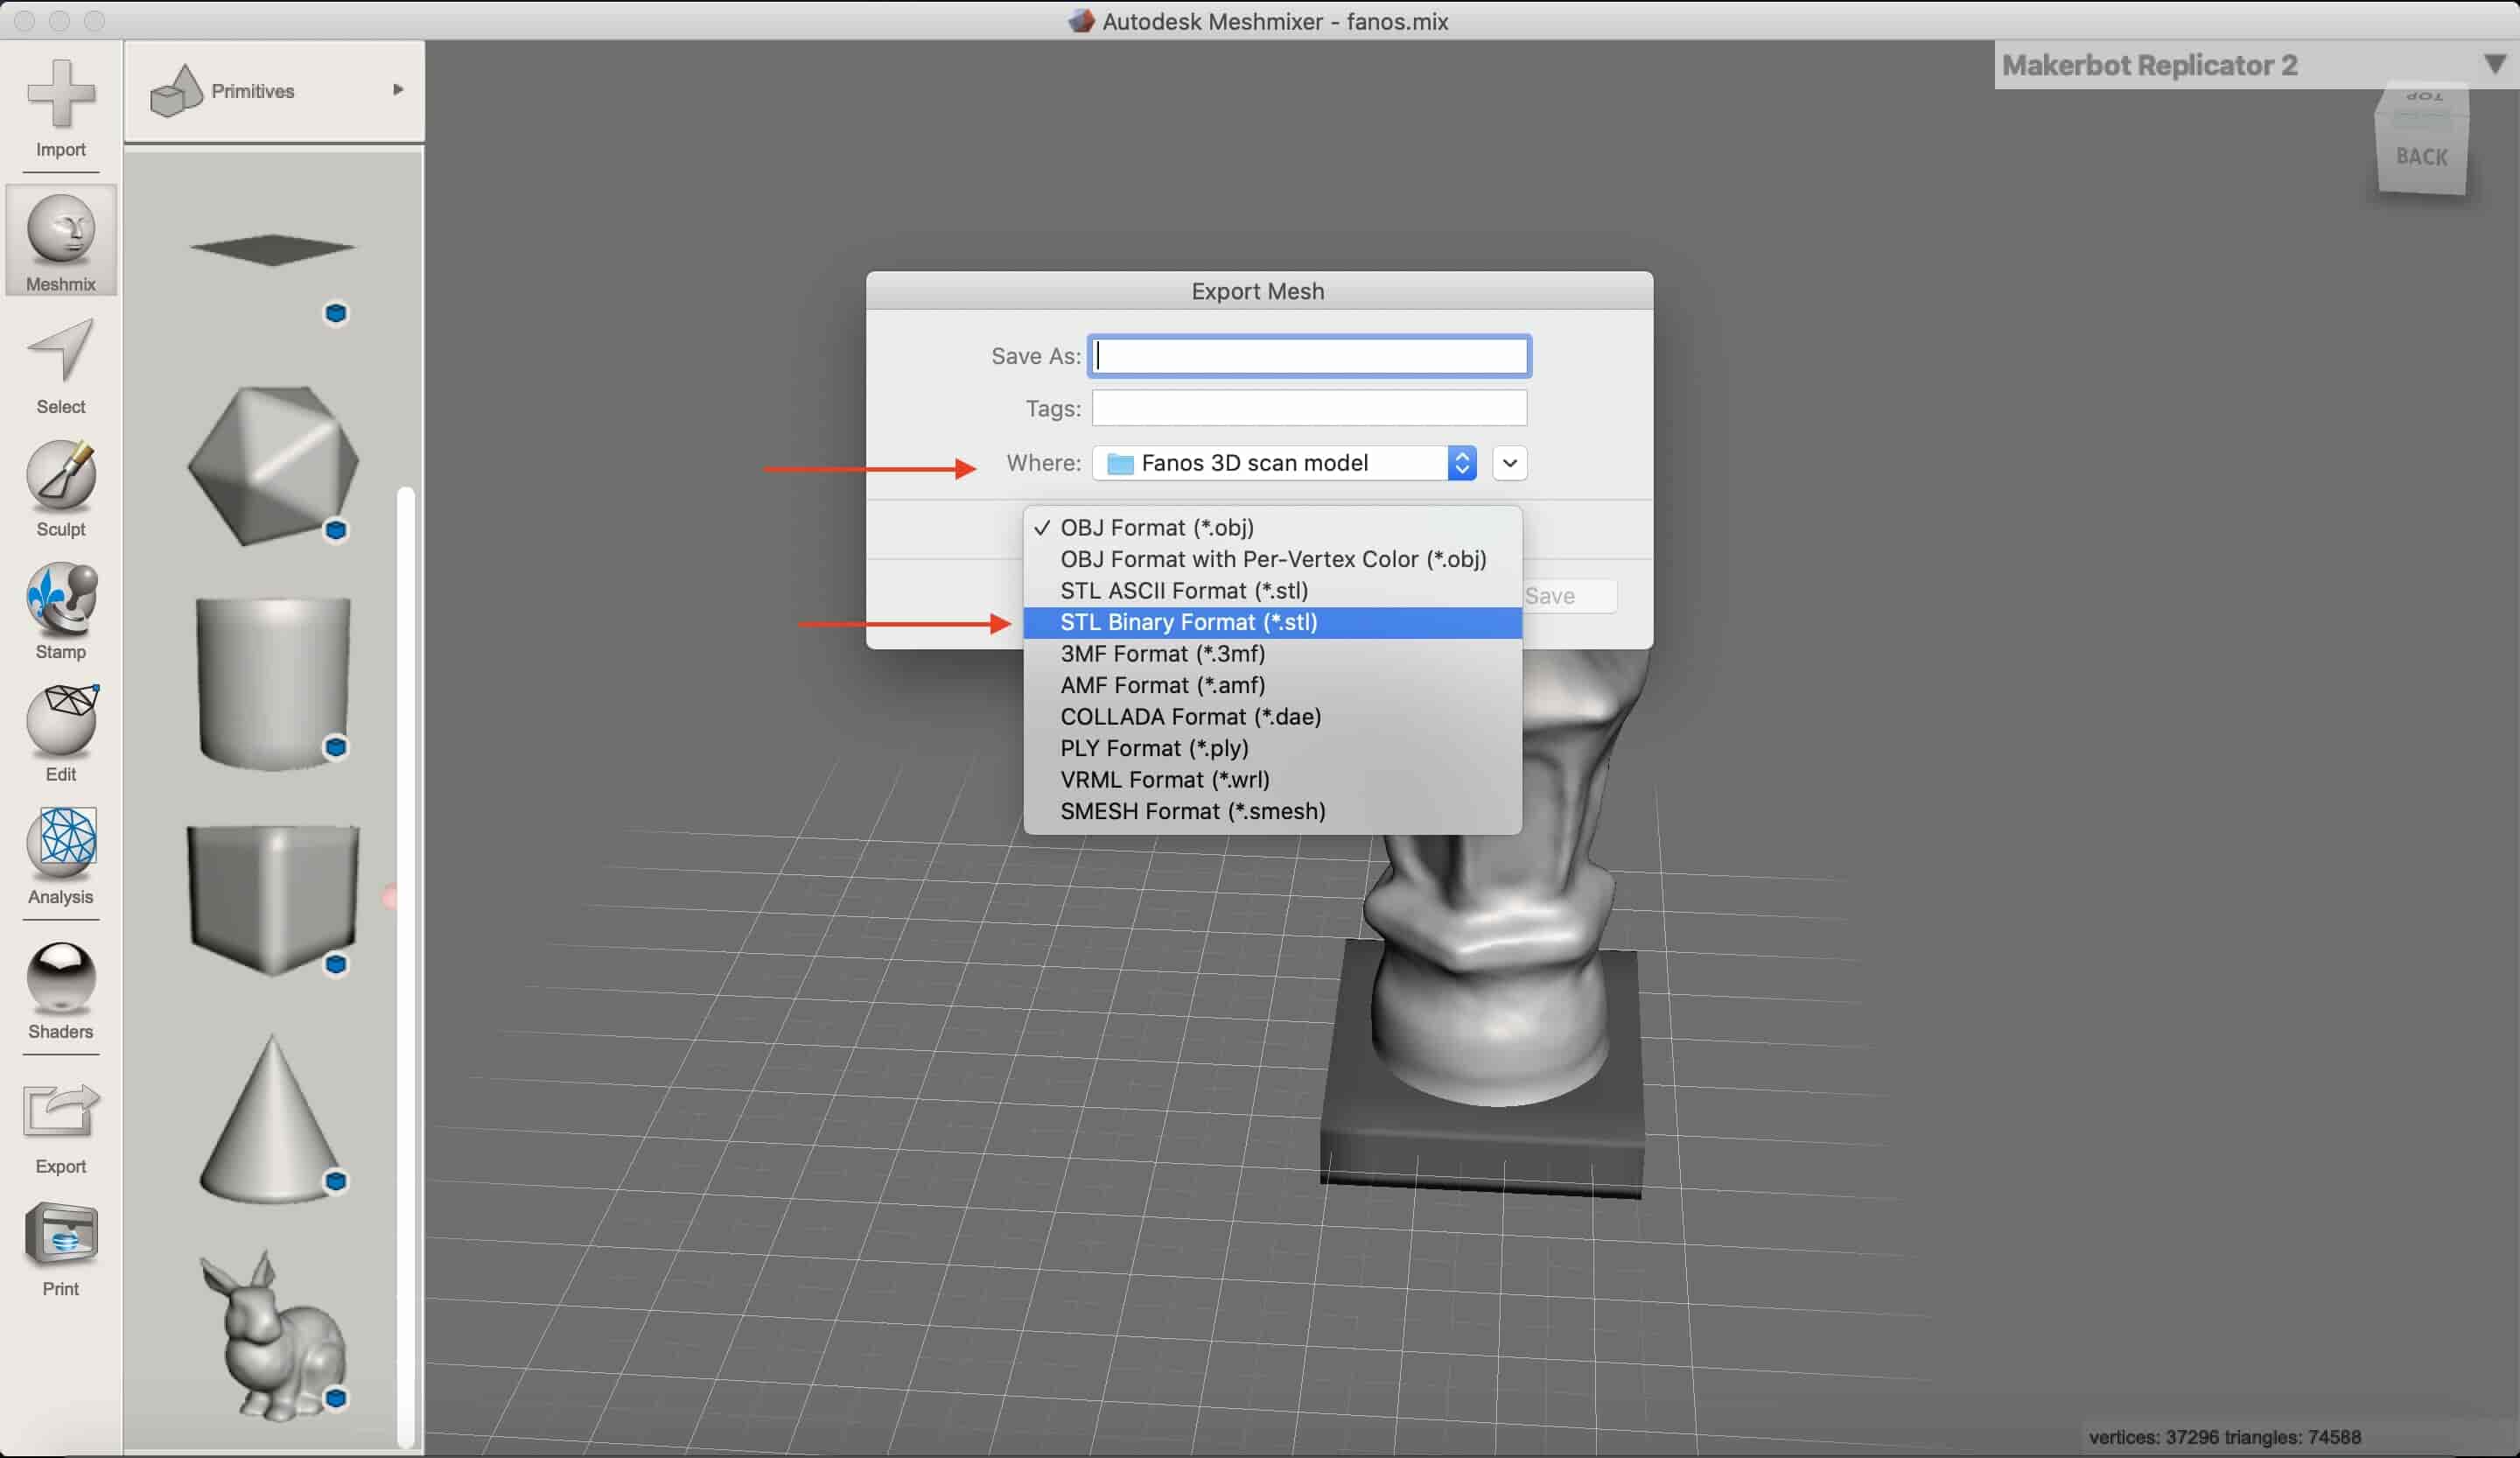
Then I exported the final model as an binary STL file.
Oh! Where’s the model, I guess I have to scale it up :D
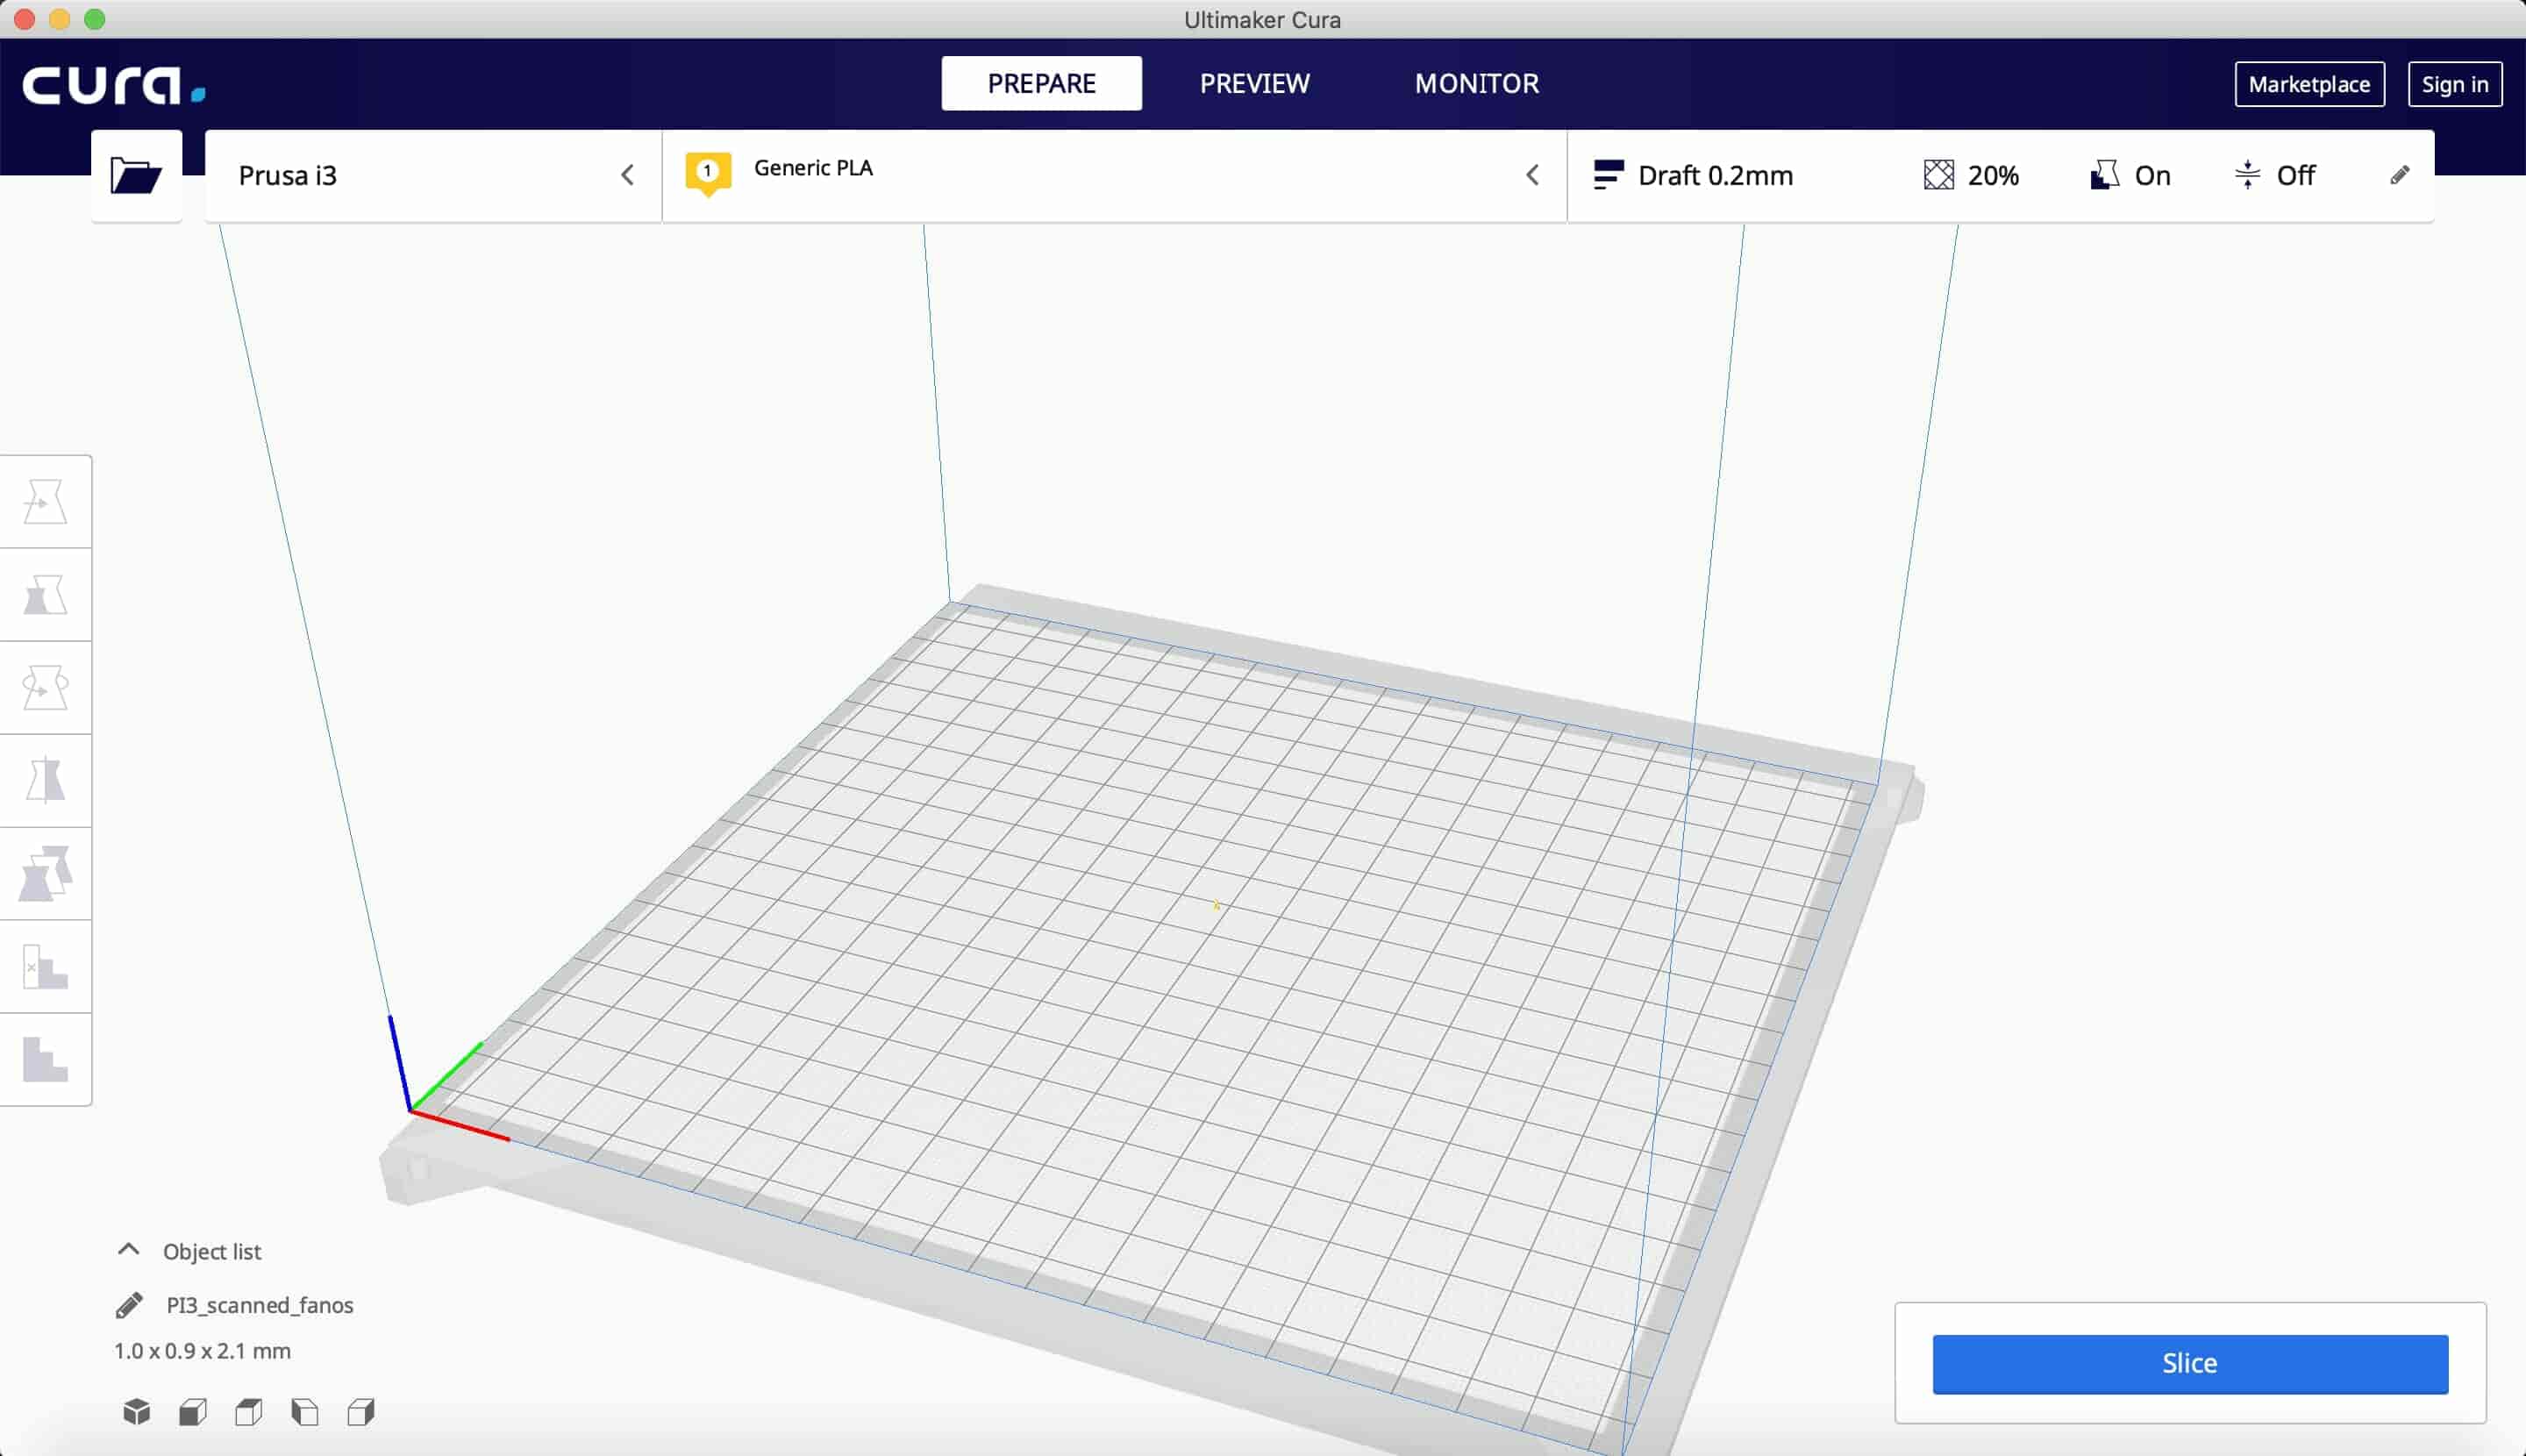
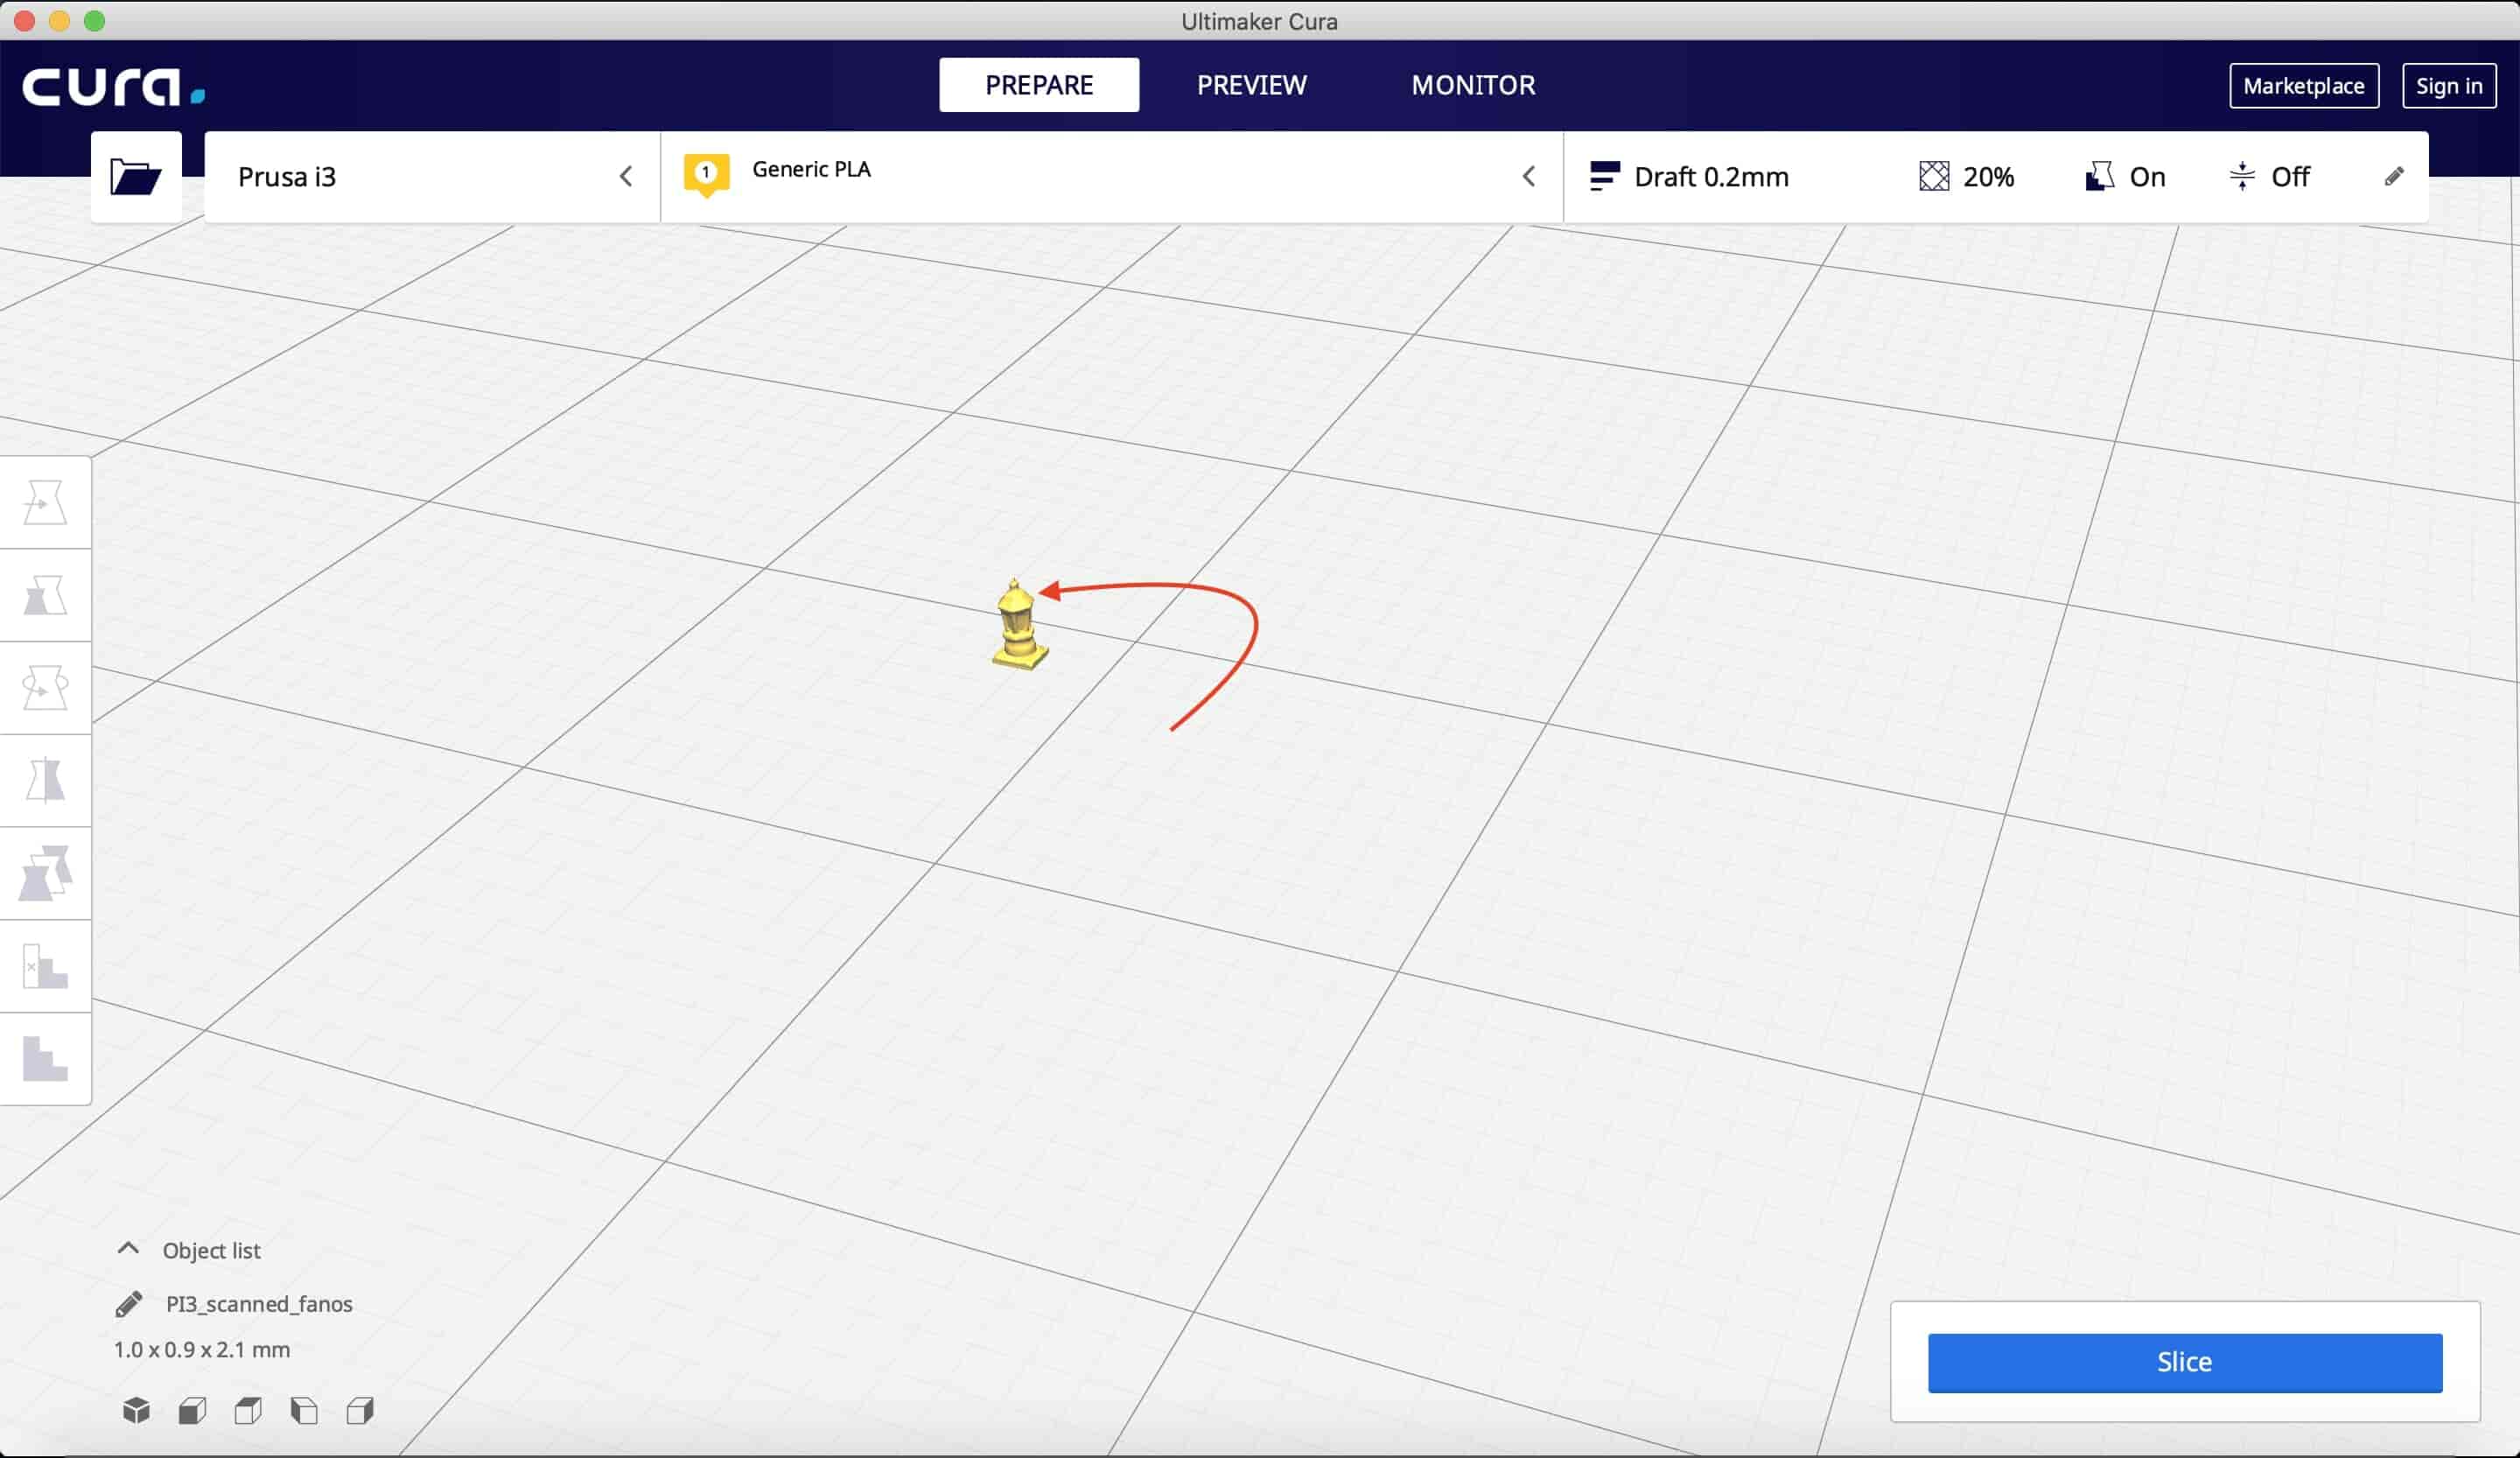
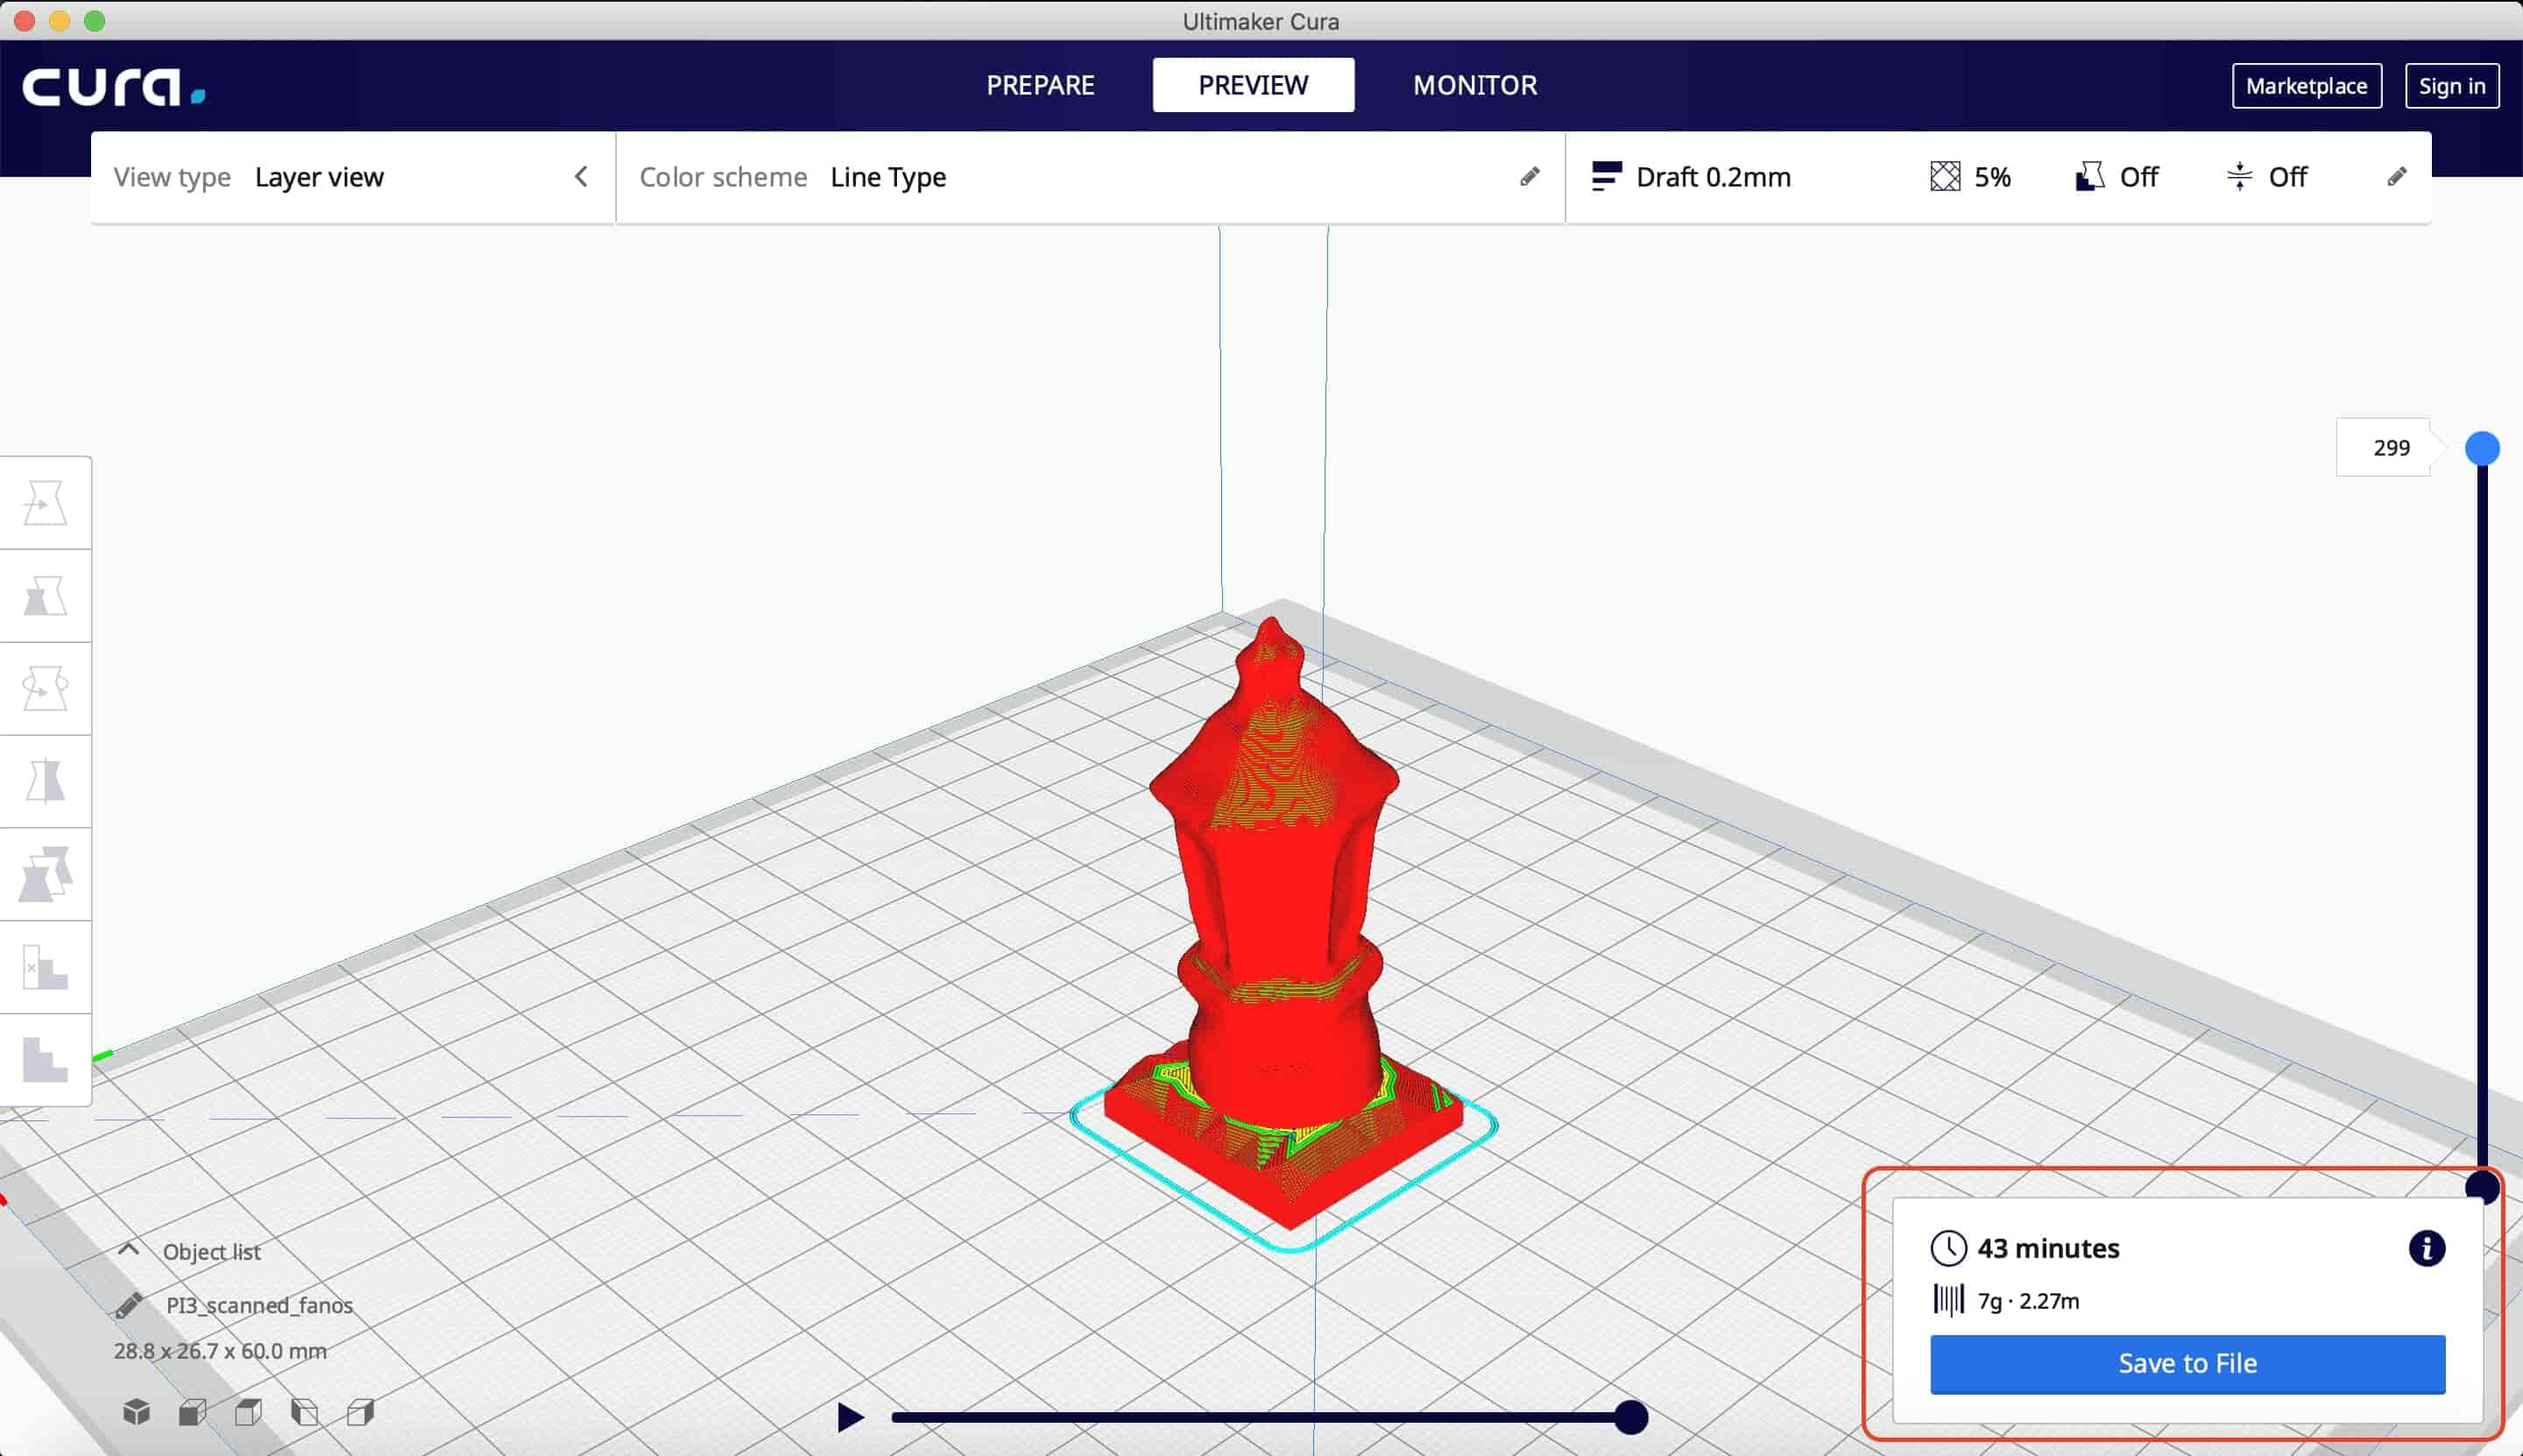
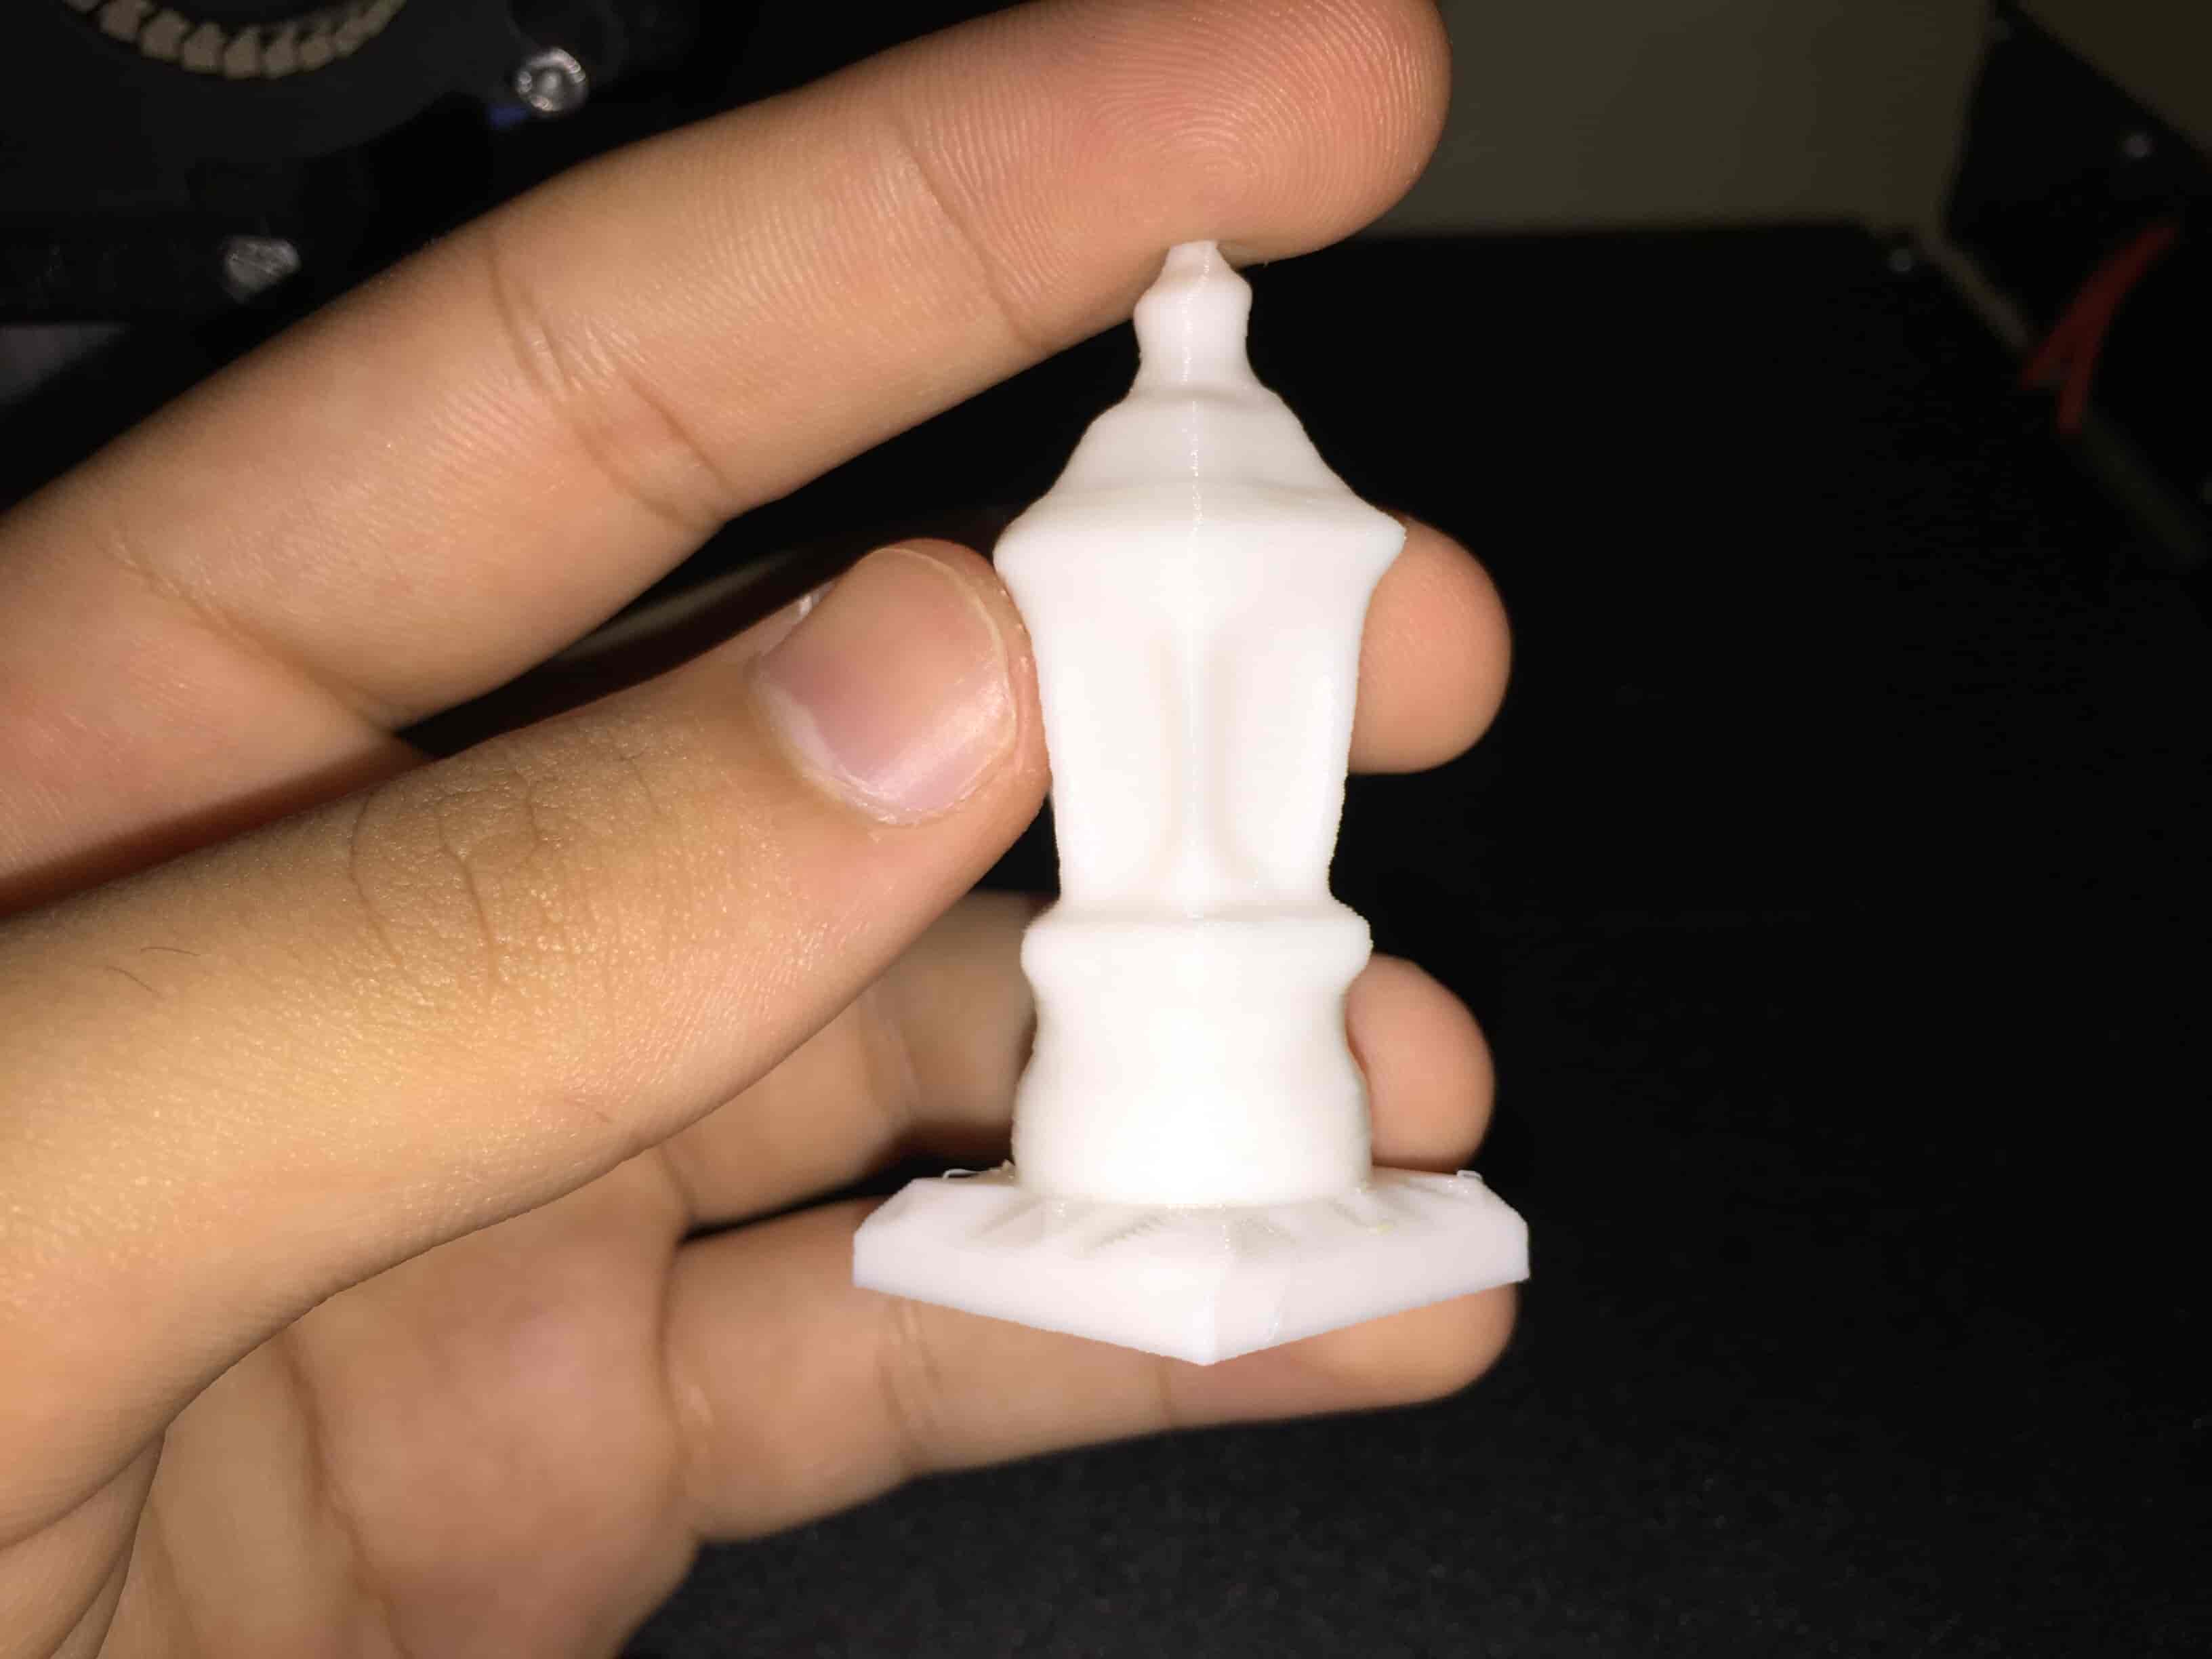
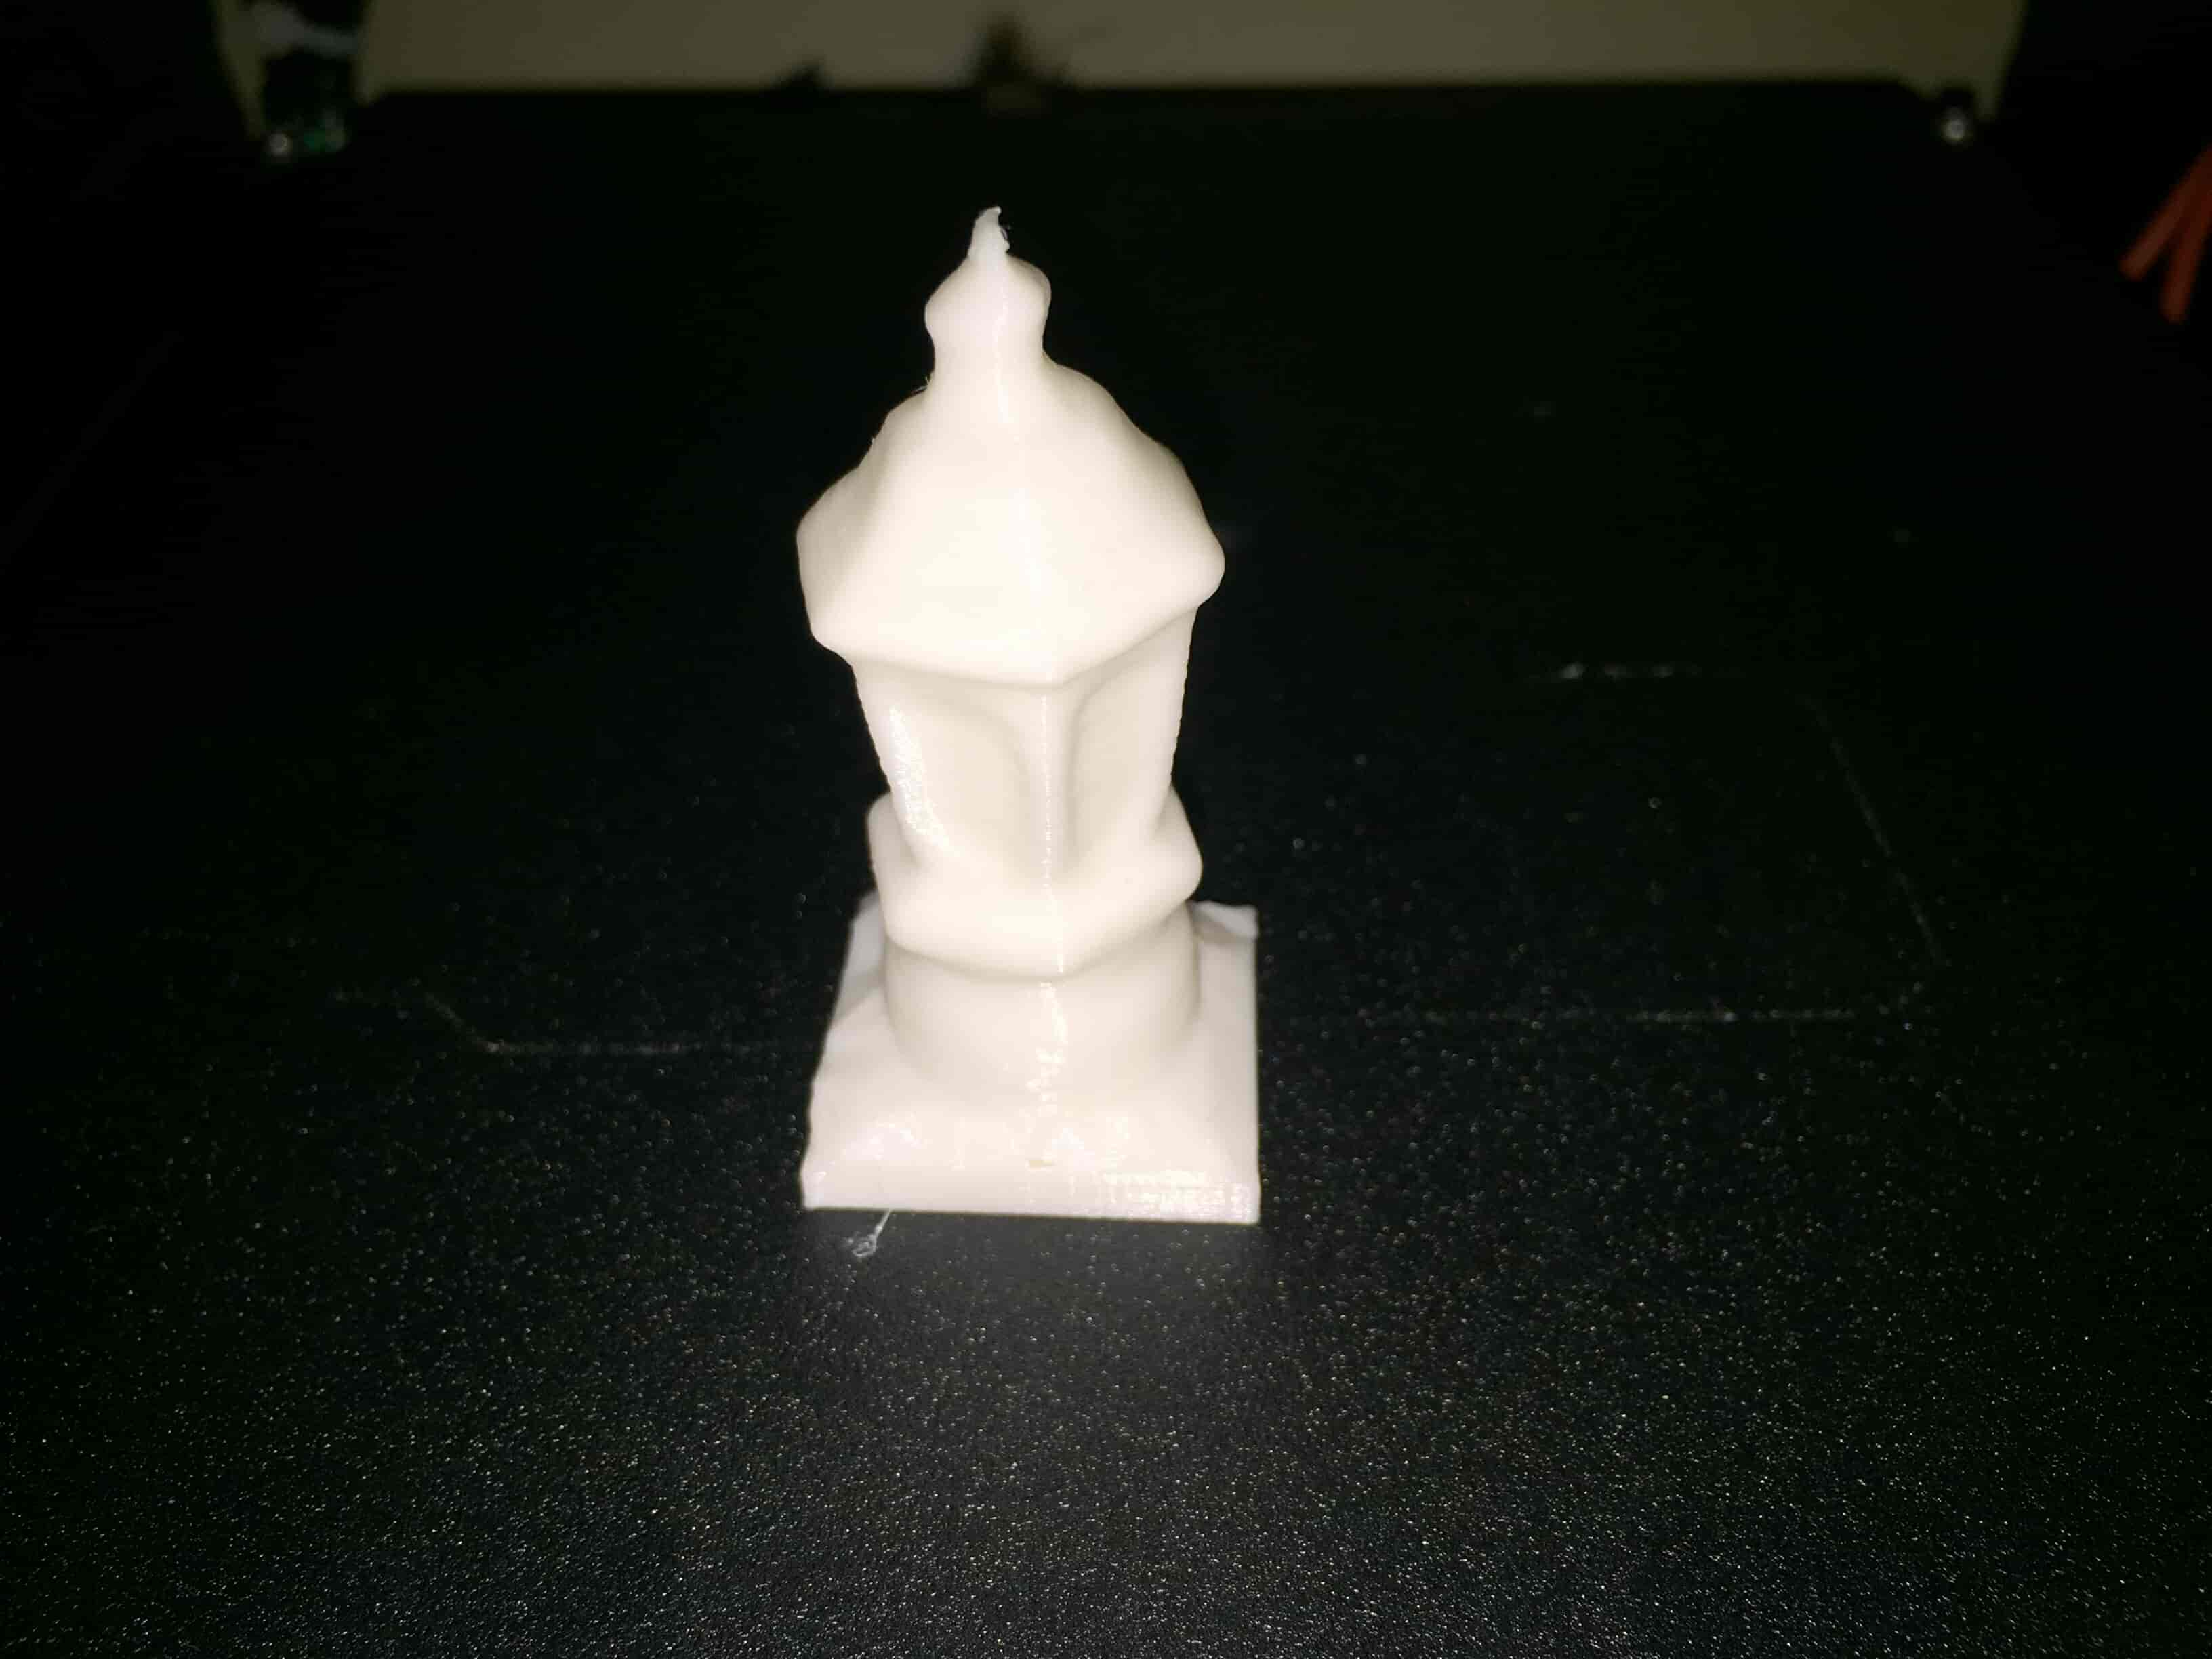
Then I sliced my model with 0.2mm layer height, 5% infill, and no supports. I exported the Gcode to my lovely 3D printer SD card and printed that super cool lantern :D