Project Management
What do we need to do today?
Today, we need to build a website and deploy it on the global server. So, anyone can access it and see your dope work.
Today, we will cover:
- Getting started with html, CSS, Bootstrap.
- How to use them to build your first website.
- What is Git, Gitlab?
- Connecting your local machine with the Gitlab server.
- Dealing with Git commands.
Some important concepts
We as humans, can communicate with each other through speaking, since we both understand english language then we can communicate and understand each other easily. But, to computers it’s kinda different, we can’t communicate with computers with plain english like we do as humans. We need to learn the languages that the computer understands to be able To tell it the instructions we need to execute.
That’s what we will do today, we will learn some languages that will allow us as humans to tell computers what to do. Like, telling the computer to put an image in the middle of the page, putting a paragraph, adding some buttons, changing the background color, ...etc
To make it easy, let’s divide the web page into three main parts:
- The page main structure(paragraphs, images, buttons, headers,...).
To build the main structure of a web page we need to learn a language called “HTML” which stands for “Hyper Text Markup Language” . It consists of a series of elements which tell the browser how to display the web page content. These elements are represented by something called tags.
- Making that structure looks pretty(changing colors, adding spacing, adding borders,...).
“CSS” makes some styling, It stands for “cascading style sheet”. After building the web page main structure, we need to make this structure look nice, here comes CSS to make some styling. It's a language that describes the style of an HTML element. It consists of some selectors and deceleration blocks.
- Making the web page interactive(adding some animations, …).
Javascript, it’s a programming language that we will use to make the web page more interactive like adding some animations, maps and more cool stuff. Actually I didn’t use javascript in my web page. As Prof. Neil mentioned in the first session, To build a website, there are a lot of ways you can go, you can build it from scratch using Markdown or HTML and it’s loyal friends CSS and JS. Or even using a premade template then you edit on it. Since I’m a software nerd and I love playing with code, I chose to build it from scratch using HTML, CSS, Bootstrap.
Website development
First thing, I started by drawing a little sketch describing my website idea(Concept) on a piece of paper to make everything clear and solid before doing any kind of coding.
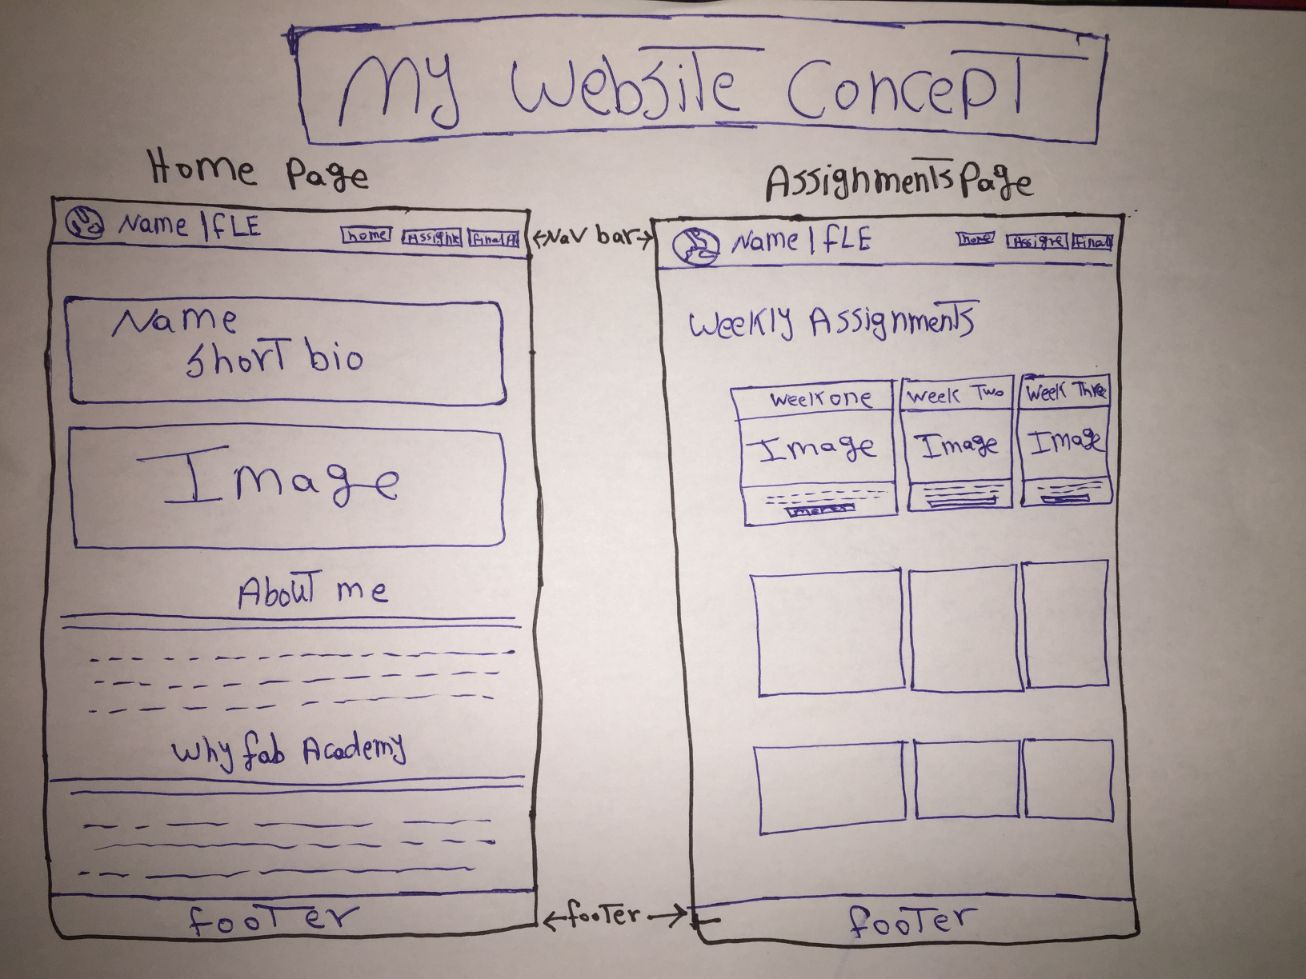
- The Home page.
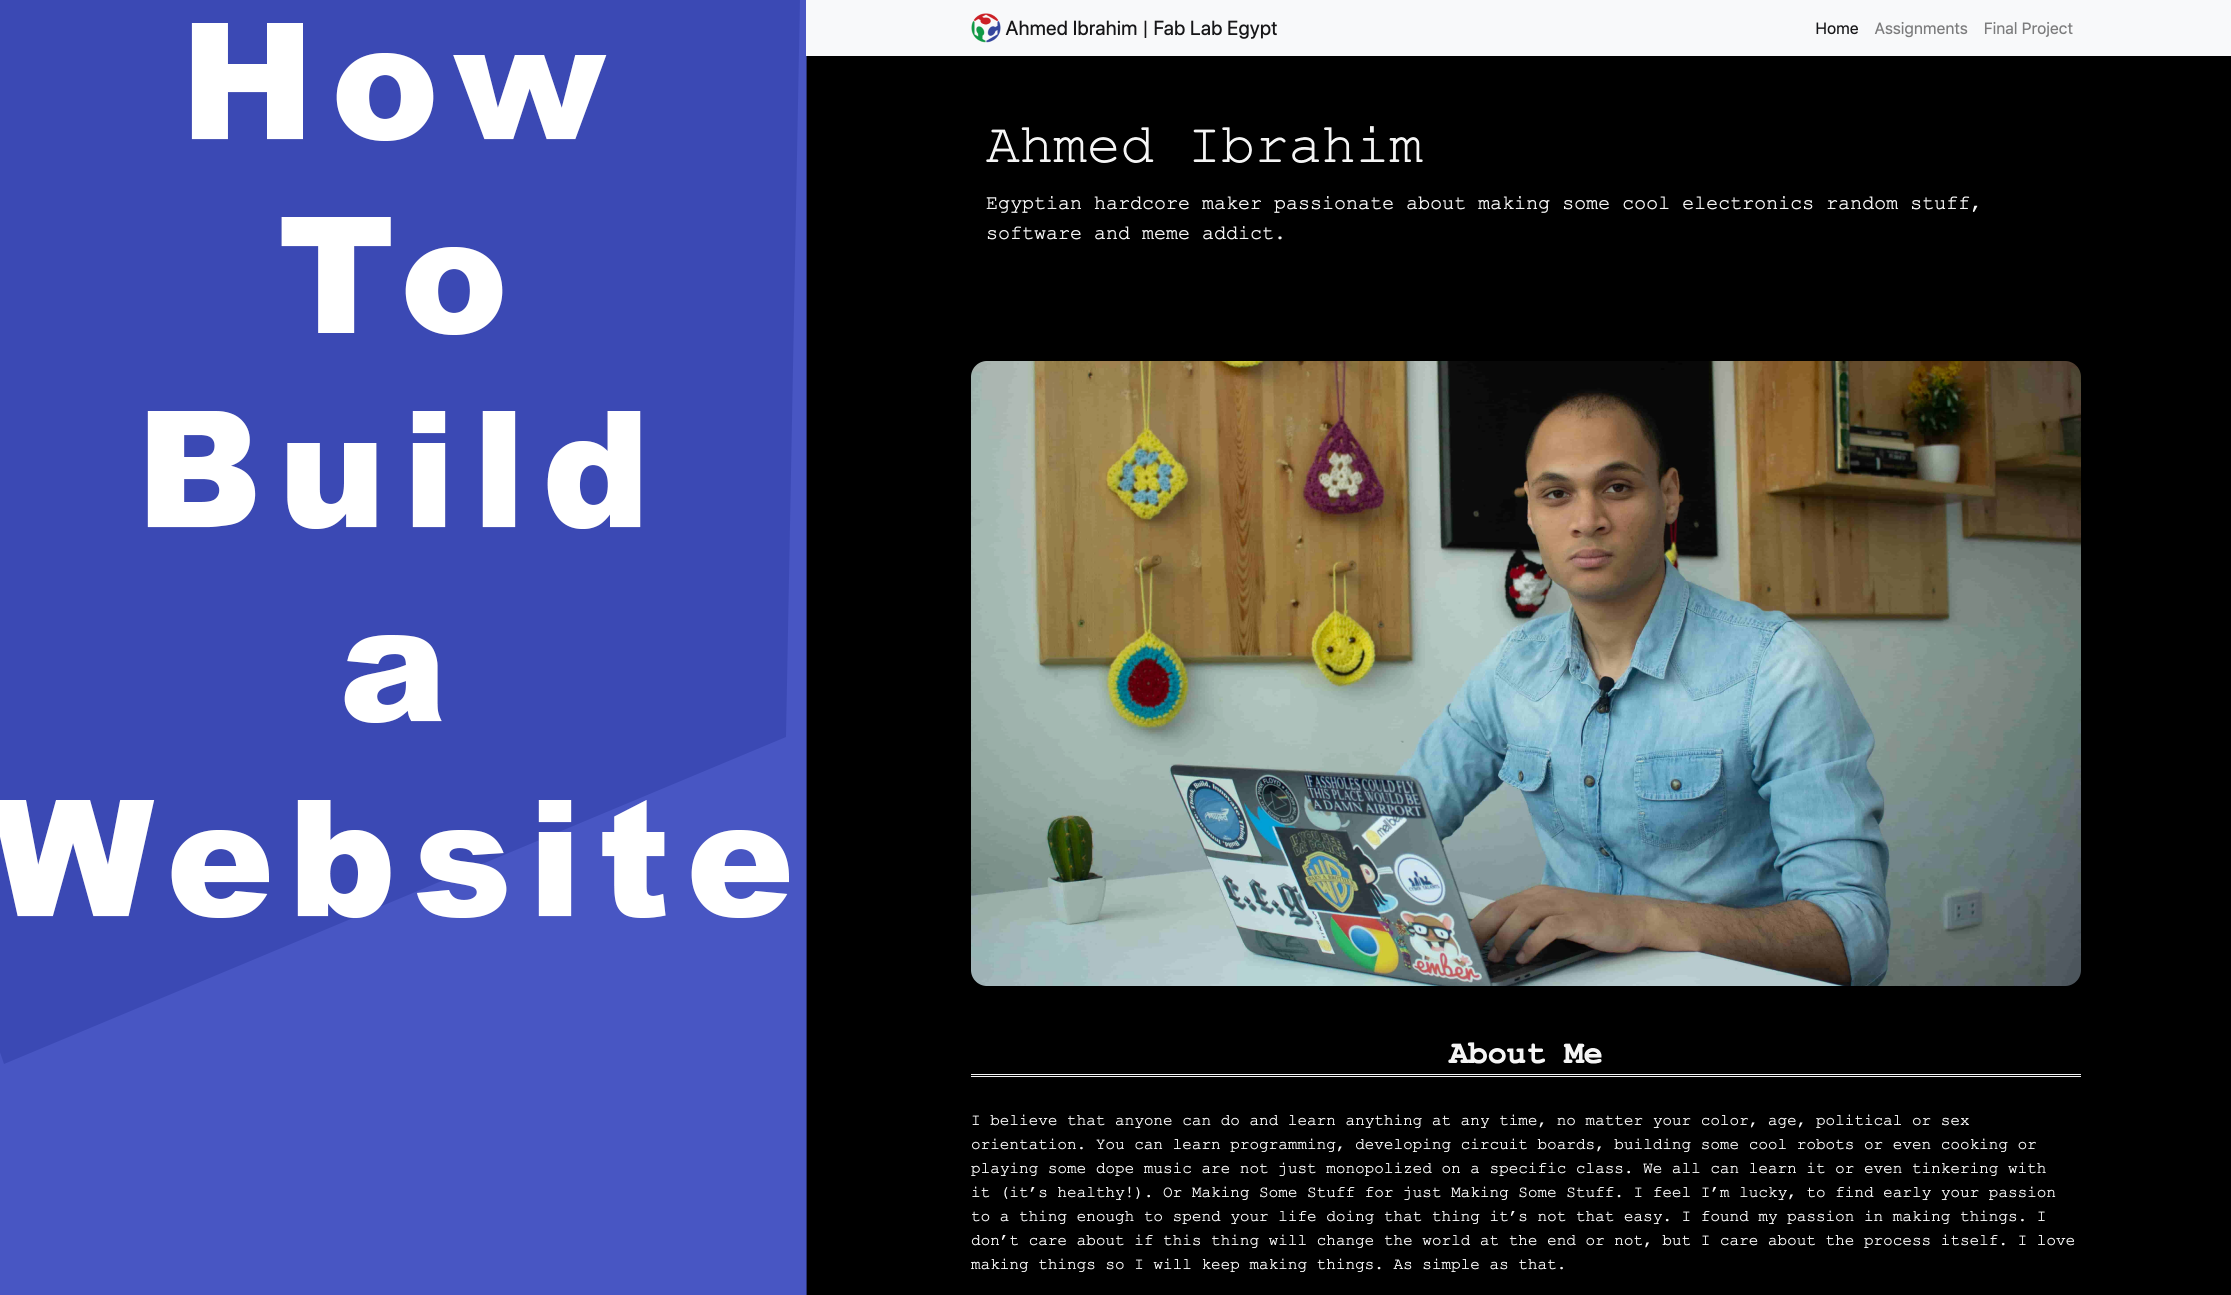
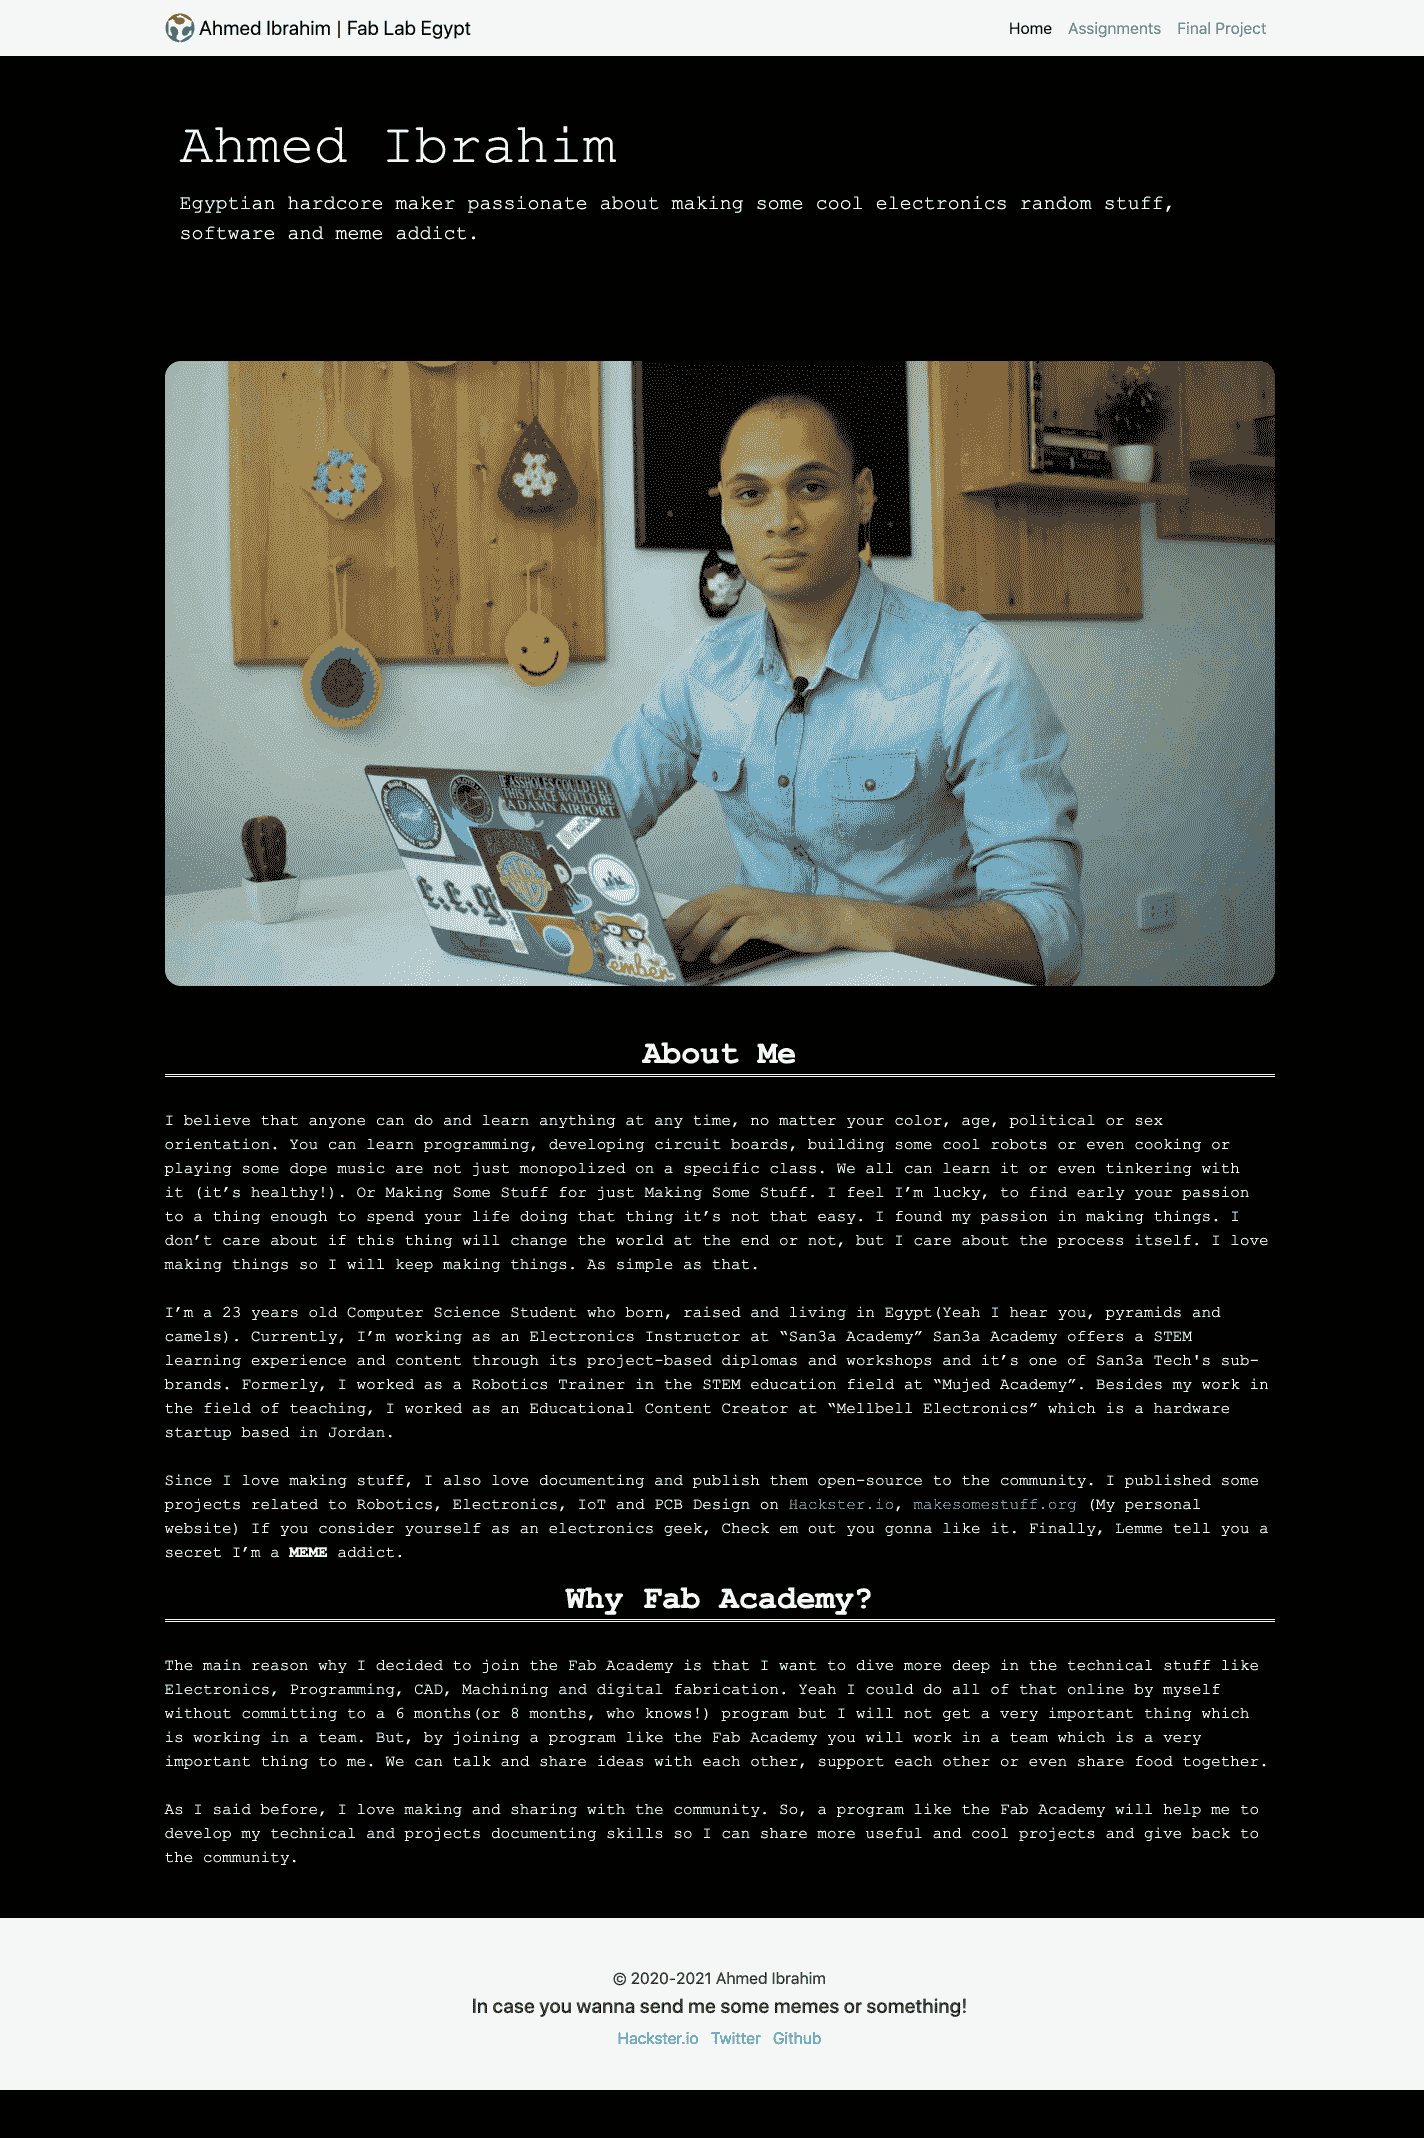
Which contains my name with a very short description, a deep personal image(Do I look like a guy with a plan?), “About Me” talking about who I’m and my previous experience, “Why Fab Academy” talking about my personal motivation to join you guys in the Fab Academy.
- The assignments page.
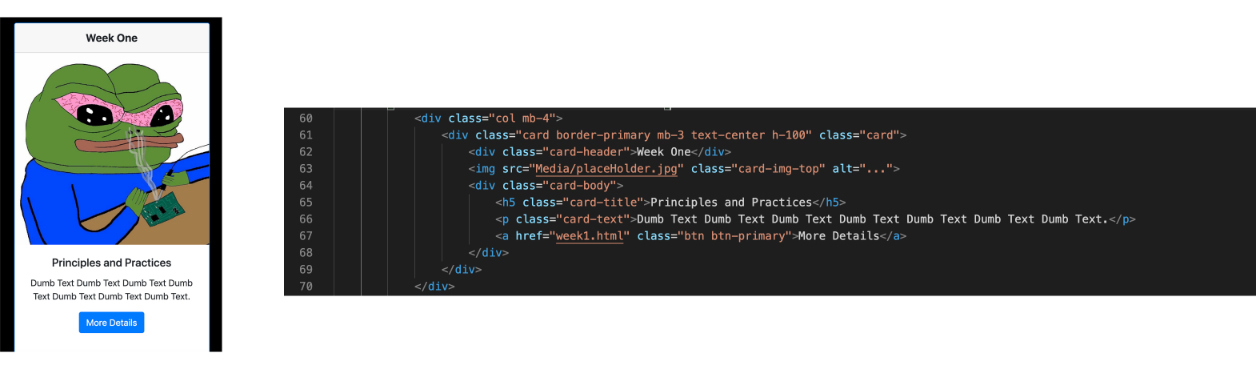
Which contains twenty cards in a three columns grid system, each card represents an assignment page. When you press on the “More Details” button, it will take you to the pressed assignment page.
I found that this grid system layout will be very nice to organize the weekly assignments in a comfortable, easy to find way. Also, it gives a nice preview on each assignment which is cool.

- The final project page.
Which contains the final project documentation(it’s now an empty page).
Developing the Website pages
The website consists of some pages(home page, assignments page, final project page, ...etc). All these pages have something in common which is the Navbar and the Footer.
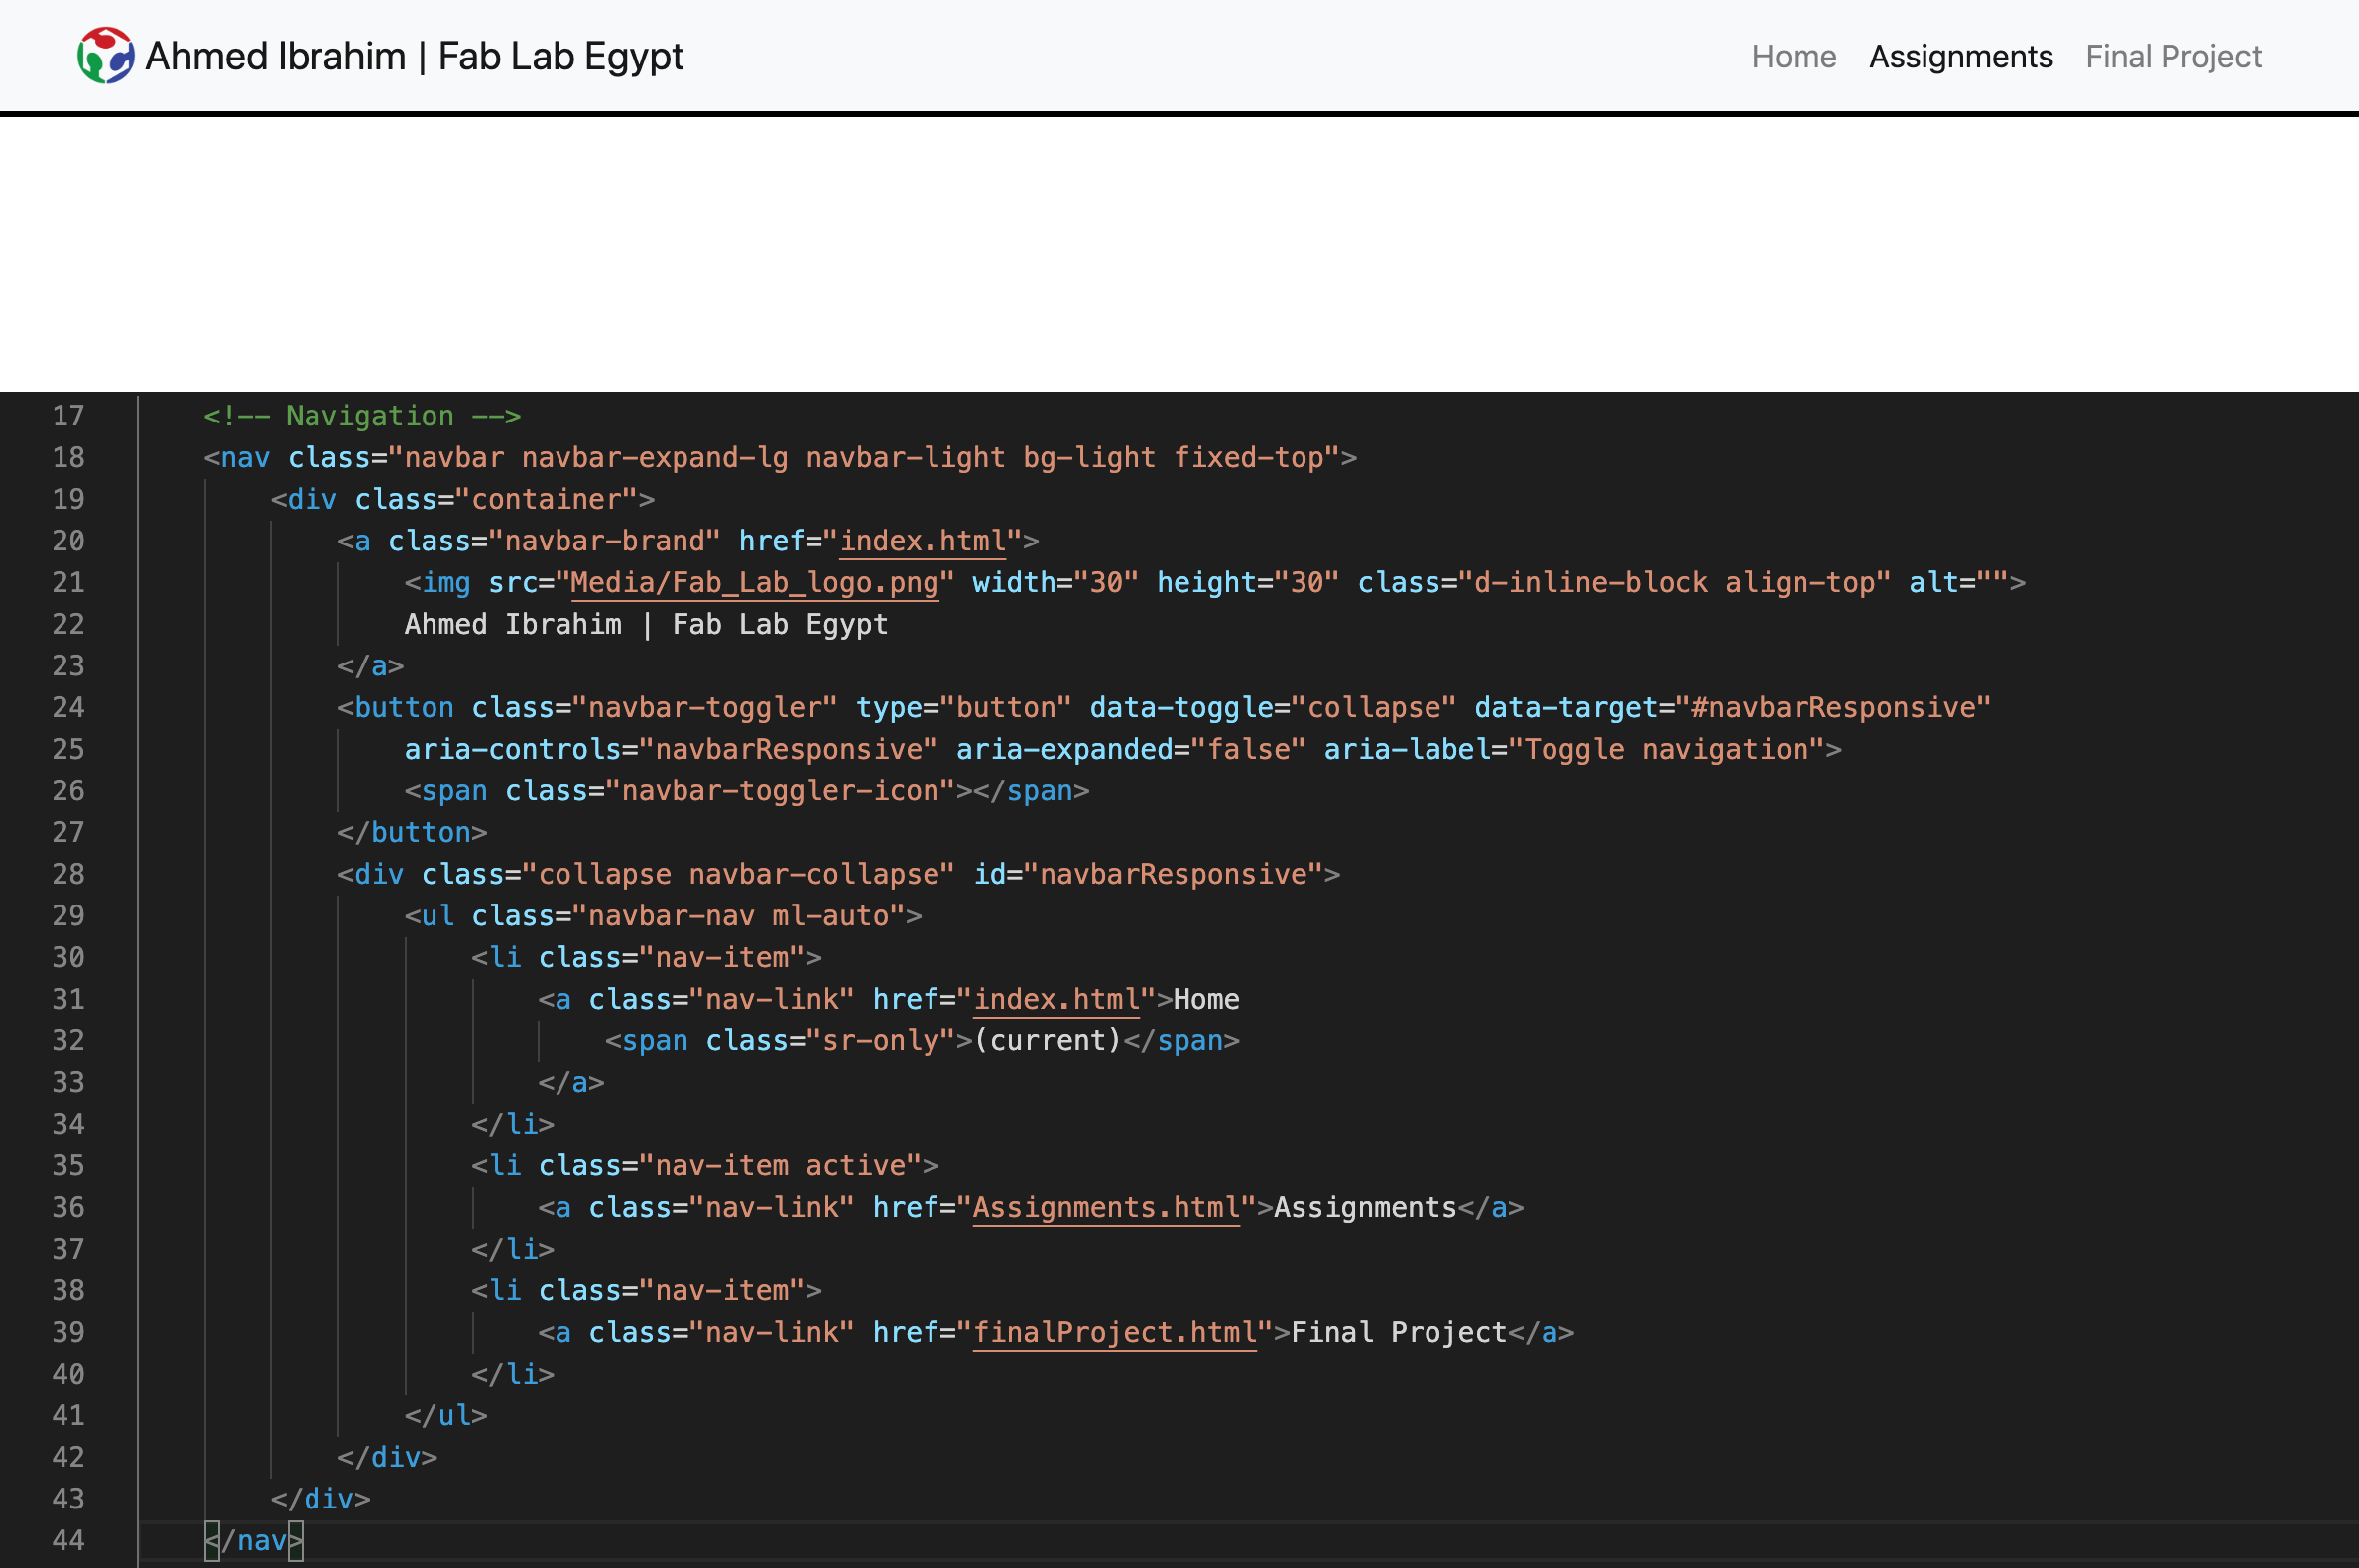
Using the “nav” HTML tag with some Bootstrap styling to change its color and content also to make it responsive by setting up the sizing to make a navigation bar with
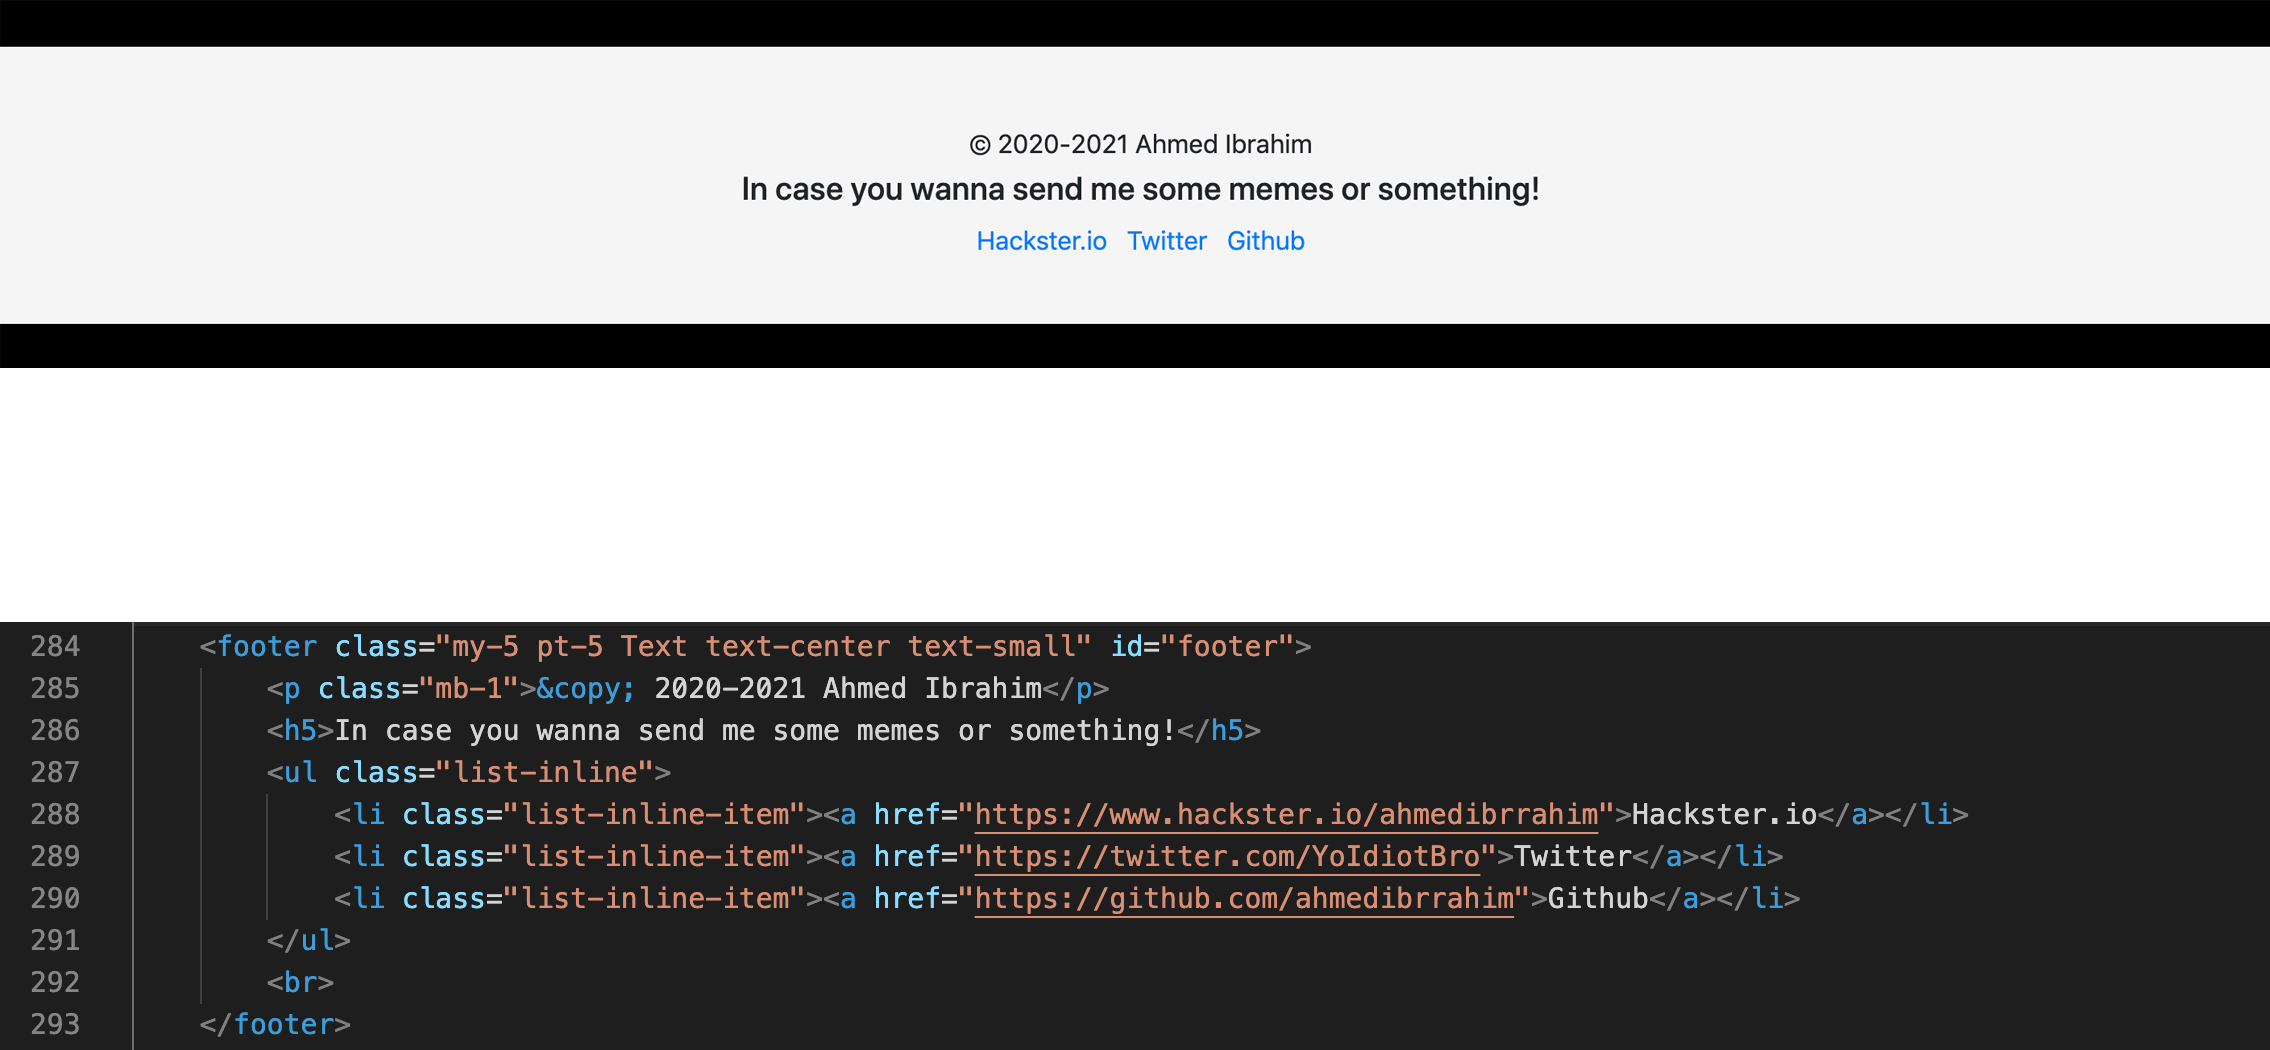
Adding the footer, we are using the “footer” HTML tag with some Bootstrap styling, also using the “a” HTML tag to insert URLs inside the footer for the “contact me” part.
The Home Page
This web page consists of some components and elements.
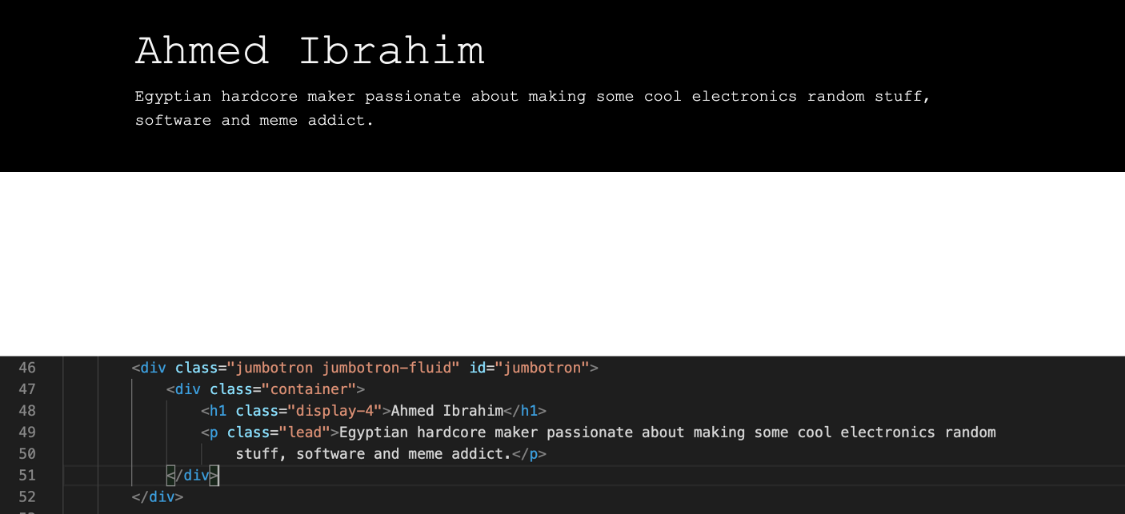
I’m using a “Jumbotron” component from bootstrap to display my name with a short description. Using the “h1” html tag to display my name as a header and a “p” html tag to display my short description as a normal paragraph with adding some bootstrap styling to both of them.
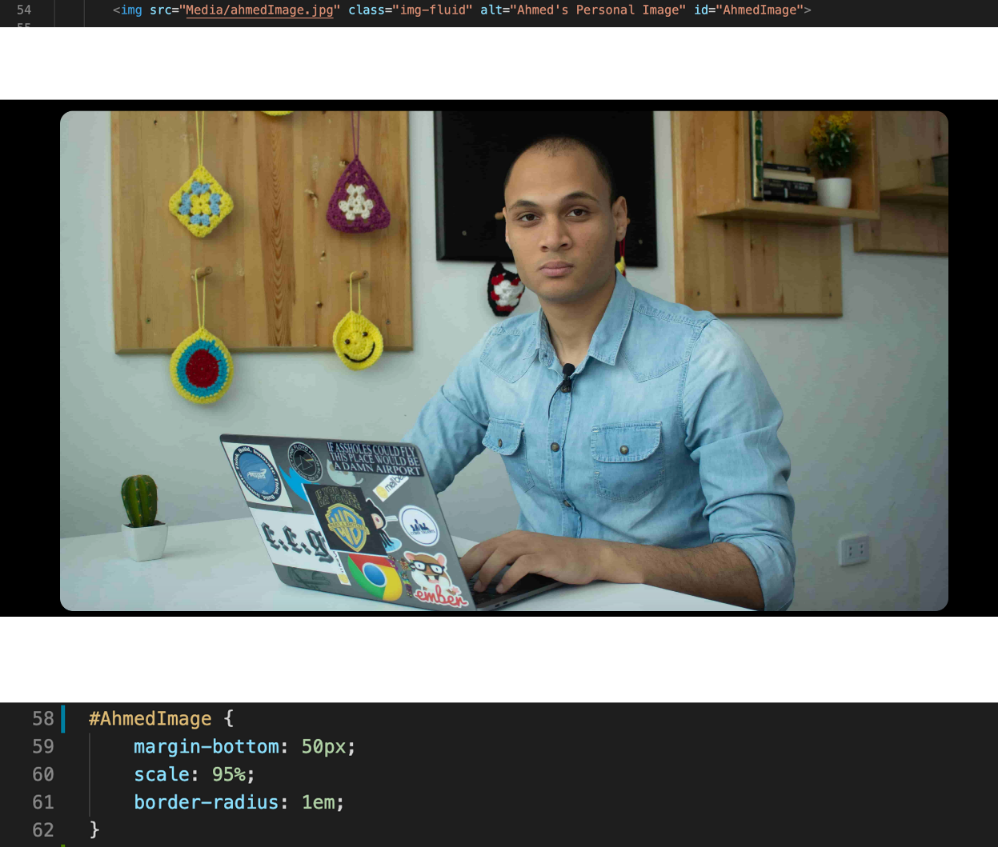
It’s the time for a super cool image, I used the “img” HTML tag to display my personal image with adding some bootstrap styling to make it responsive. To specify the path of the image, we are using the “src=” attribute, you can enter the image path from your machine or add an image URL from the web.
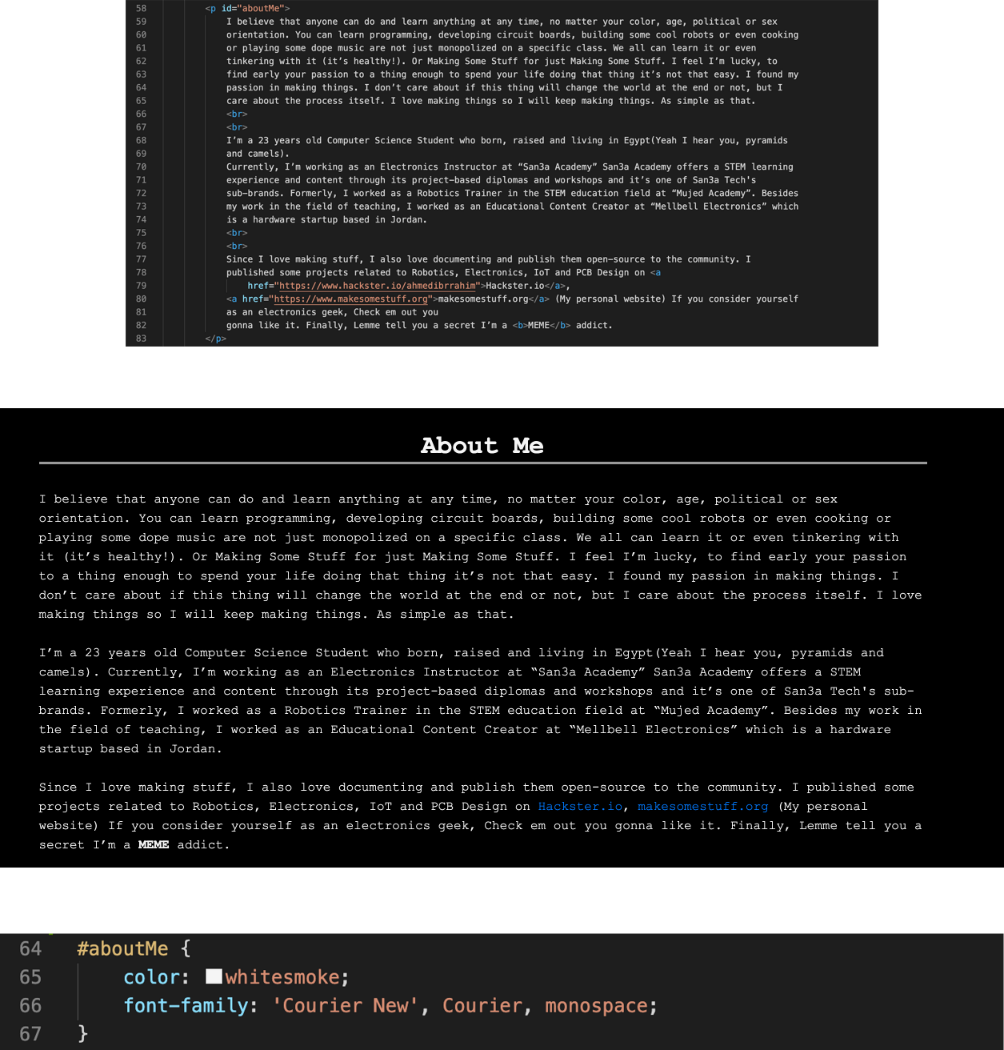
Lemme introduce myself, I’m using the “h2” HTML tag to display “About Me” as a header, and using the “p” HTML tag to display paragraph.
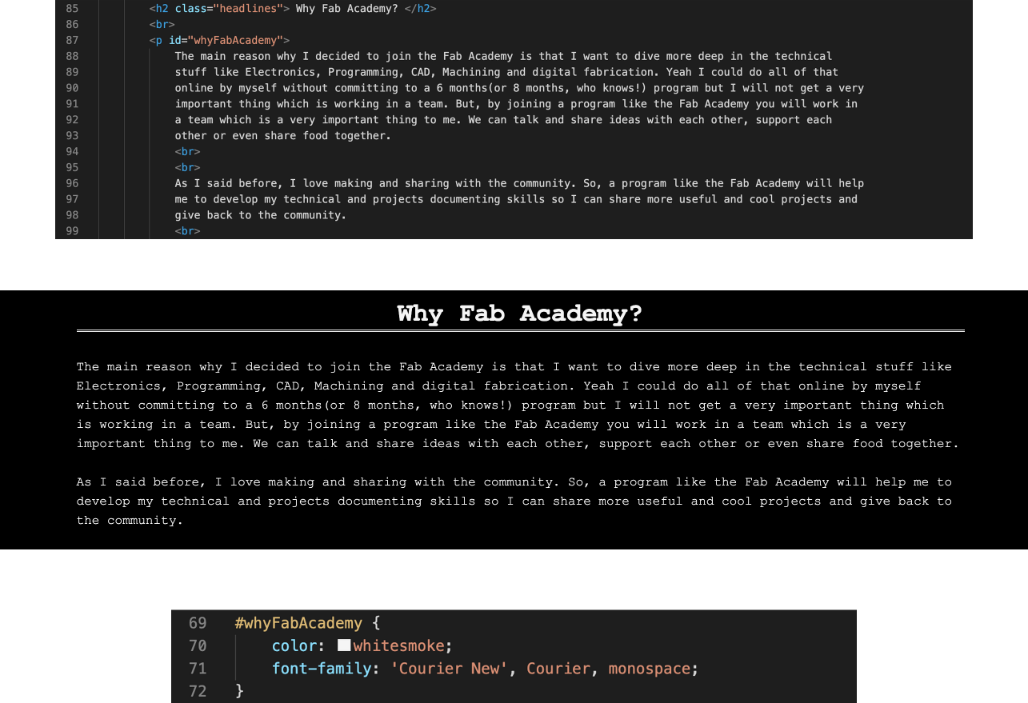
Again, using the “h2” HTML tag to display “Why Fab Academy '' as a header, and using the “p” HTML tag to display a paragraph.
All the above components are nested inside a bootstrap layout element called “container”, a fixed container is a (responsive) fixed width container. As you resize your browser, its width remains intact, until it passes a certain breakpoint. It also keeps our content in the centre of the page.
The Assignments Page
This web page consists of some components and elements.
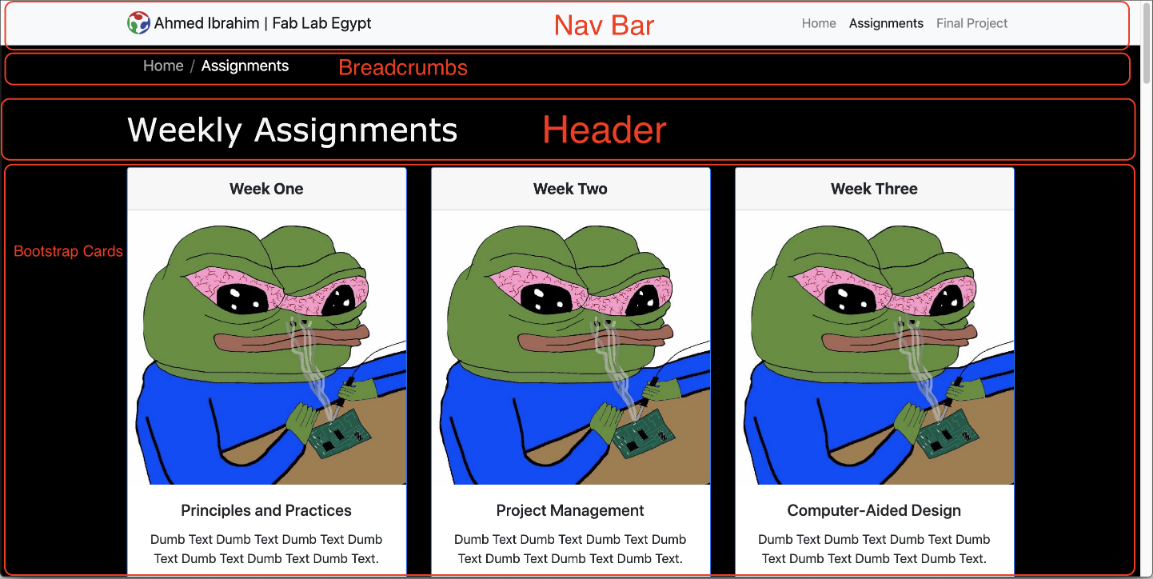
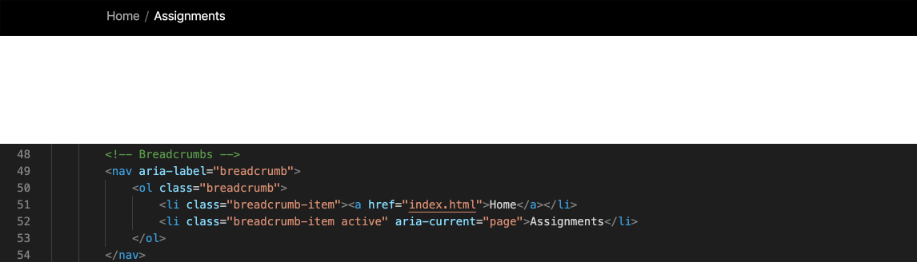
The first thing appears is the “Breadcrumbs” under the Navbar which Indicates the current page’s location within a navigational hierarchy. That’s a good UI/UX practice to let the user know where he/she is inside your website.
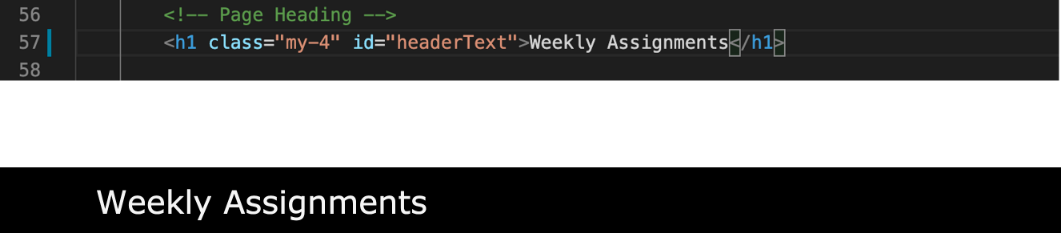
Then using the “h1” HTML tag to display a header at the top of the page “Weekly Assignments”.
It’s the time to layout our page using the grid system. Each row will have 3 columns on the medium & large screens, and only 1 column on the small screens making the page responsive to all the screen sizes without crashing.

Adding some cards to the grid system, we are using bootstrap to add some columns to the grid system, each column in the grid system is a card representing a different week. Each card has its own content separately(card title, card, header, card image, card text).
You should control the files sizes that you are using in developing your website, especially images. Any image size that you are going to use inside your website should not be more than 250kb So, I’m using an online tool called image compressor to optimize my images sizes.
What Is Git & Gitlab?
“Git is a distributed version-control system for tracking changes in source code during software development. It is designed for coordinating work among programmers, but it can be used to track changes in any set of files. Its goals include speed, data integrity, and support for distributed, non-linear workflows.” Wikipedia
Gitlab,Bitbucket and Github are all cloud-based hosting services that rely on Git to provide some services and features like code tracking, CI ”Continuous integration”, and CD “Continuous Development” and more.
Connecting your local machine with the Gitlab server
Gitlab allows you to modify, change, update your code locally on your machine then you can share ”Push” your changes to the Gitlab server. But, to do that we need a secure channel or communication between our local machine(PC or Laptop) and the Gitlab server. Here comes the SSH Protocol thing.
To communicate with Gitlab server from your local machine through the “SSH protocol” we have to generate something called SSH key pair which authenticate our local machine with Gitlab server without asking for our username or password each time you make a commit or push.
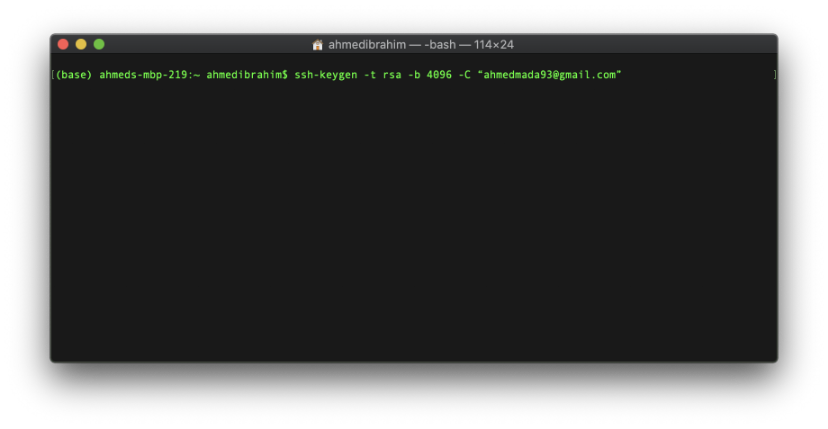
There are two different types of SSH keys, ED25519 and RSA. RSA keys are the most common ones and therefore the most compatible with servers that may have an old OpenSSH version. Actually, I tried to use the ED25519 key but it didn’t work for me. But, when I tried the RSA key it worked fine. I generated the RSA Key pair using this command “ssh-keygen -t rsa -b 4096 -C “ahmedmada93@gmail.com” don't forget to replace my email with yours.
Then navigate to the path that your key is saved in, in my case it is “~/.ssh/config”
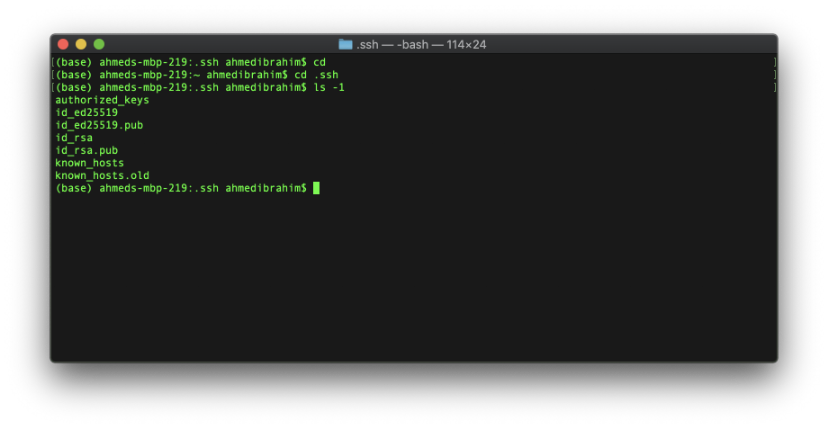
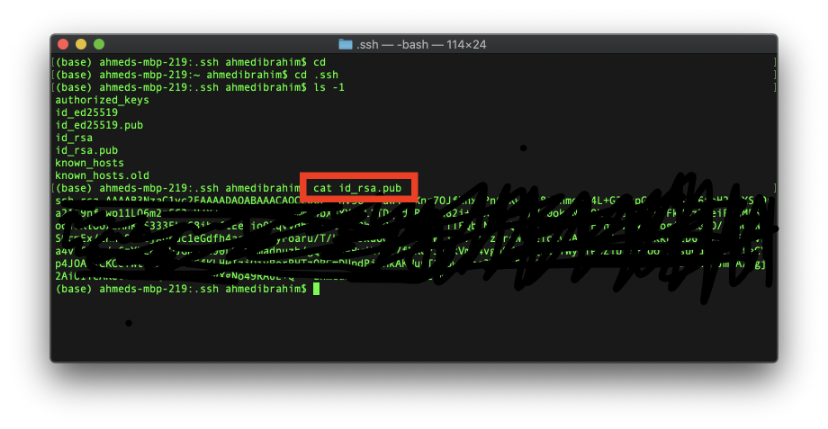
Then view the file “id_rsa.pub” using the command “cat”, Your RSA SSH key should start with “ssh-rsa” and ends with your email
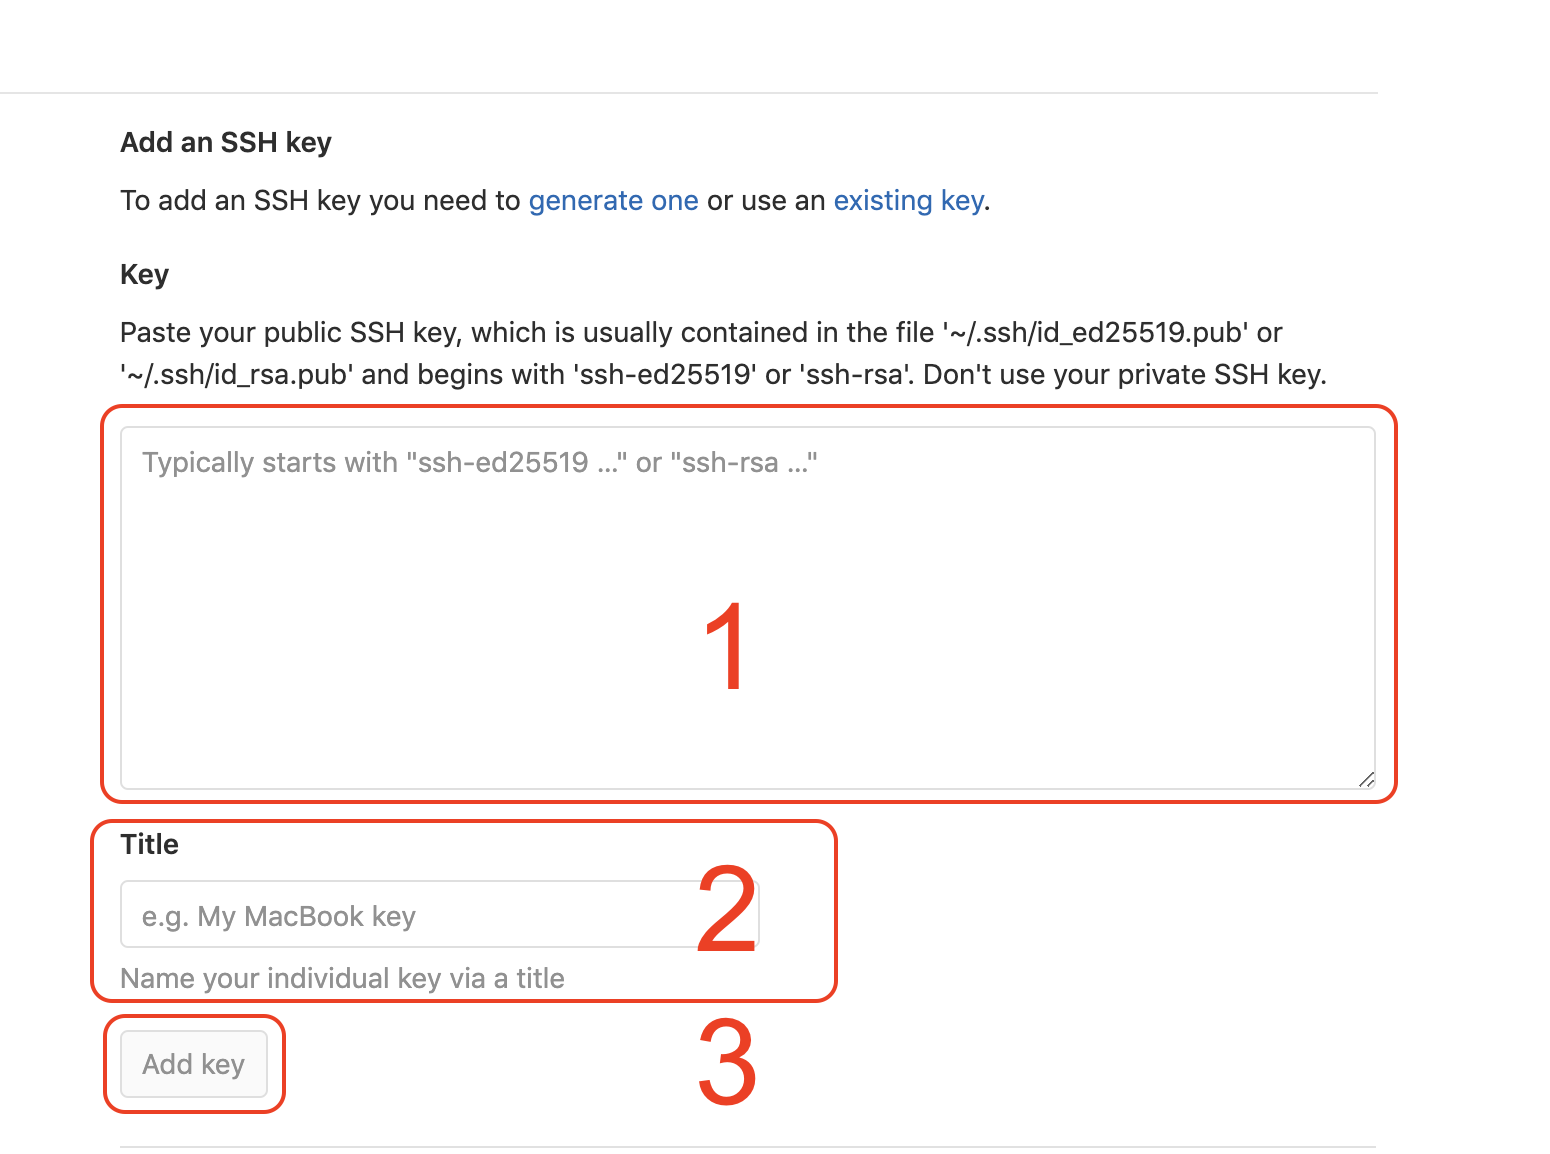
Go to your Gitlab account → settings → SSH Keys.

Put your RSA SSH Key here(1), if you created your key with a comment, it will appear automatically in the title field(2). Lastly, click the “add key” button(3).
At this point, we should be able to communicate with Gitlab server from our local machine without any problem.
Dealing with Git commands.
At this point, we should be able to communicate with Gitlab server from our local machine without any problem. But, hold on there’s something missing! We must install “Git” on our local machine, you can install it from this link.
After installing Git on our local machine, Git wants to know some data information us, let’s configure it.
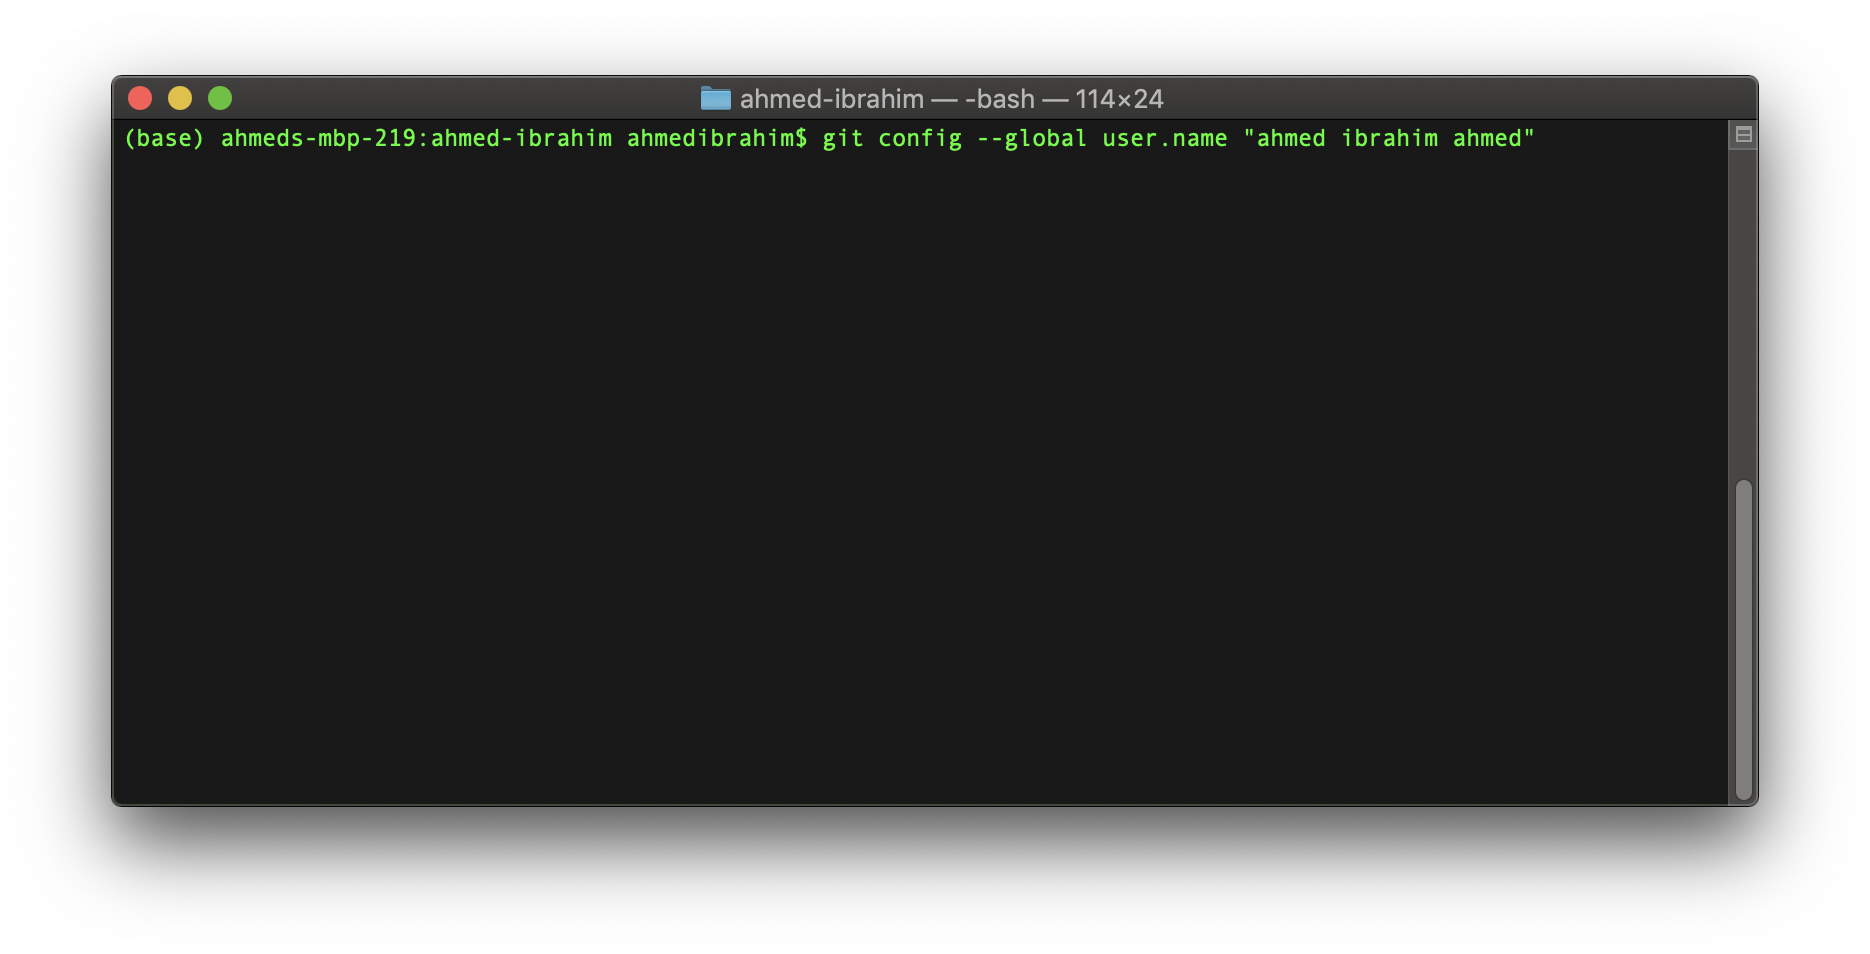
I configured my user name by using this command git config --global user.name “put your user name here” use your Gitlab user name. Using git config --global user.name command returns the user name, use it after setting your username to make sure that everything is correct.
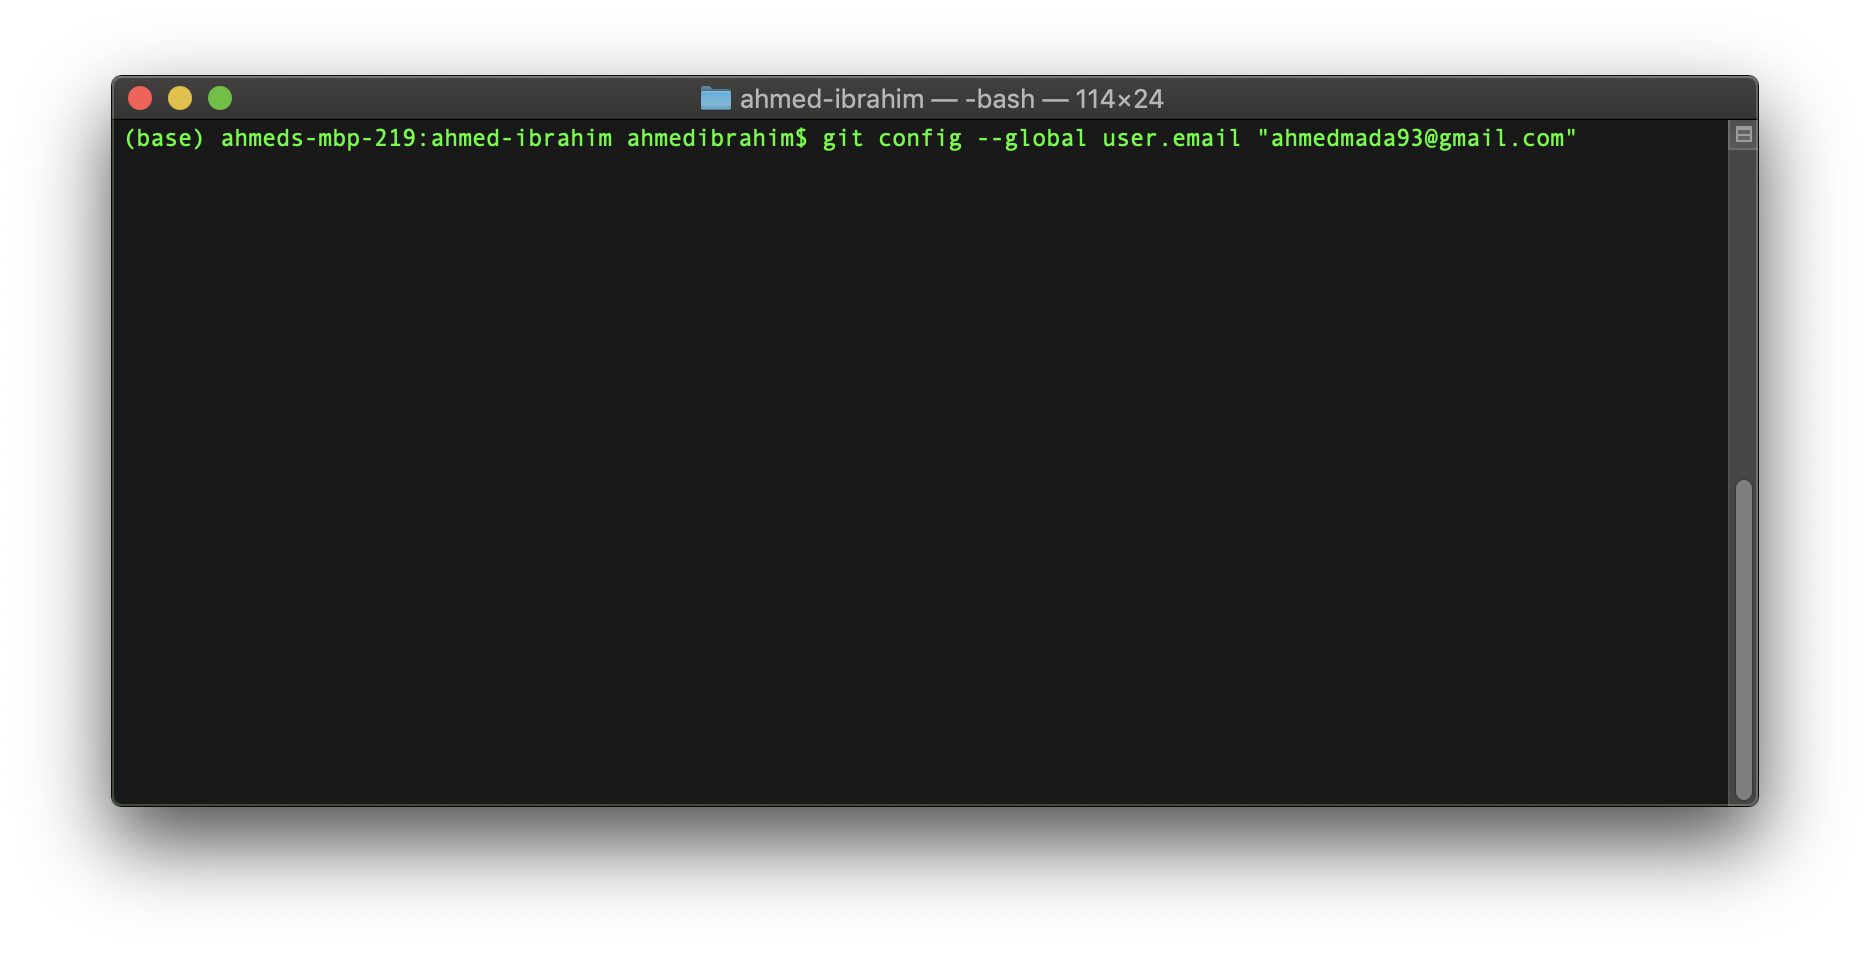
Also configure my email by using git config --global user.email “put your email here” use your Gitlab email. You can use git config --global user.email to make sure that you set your email correctly.
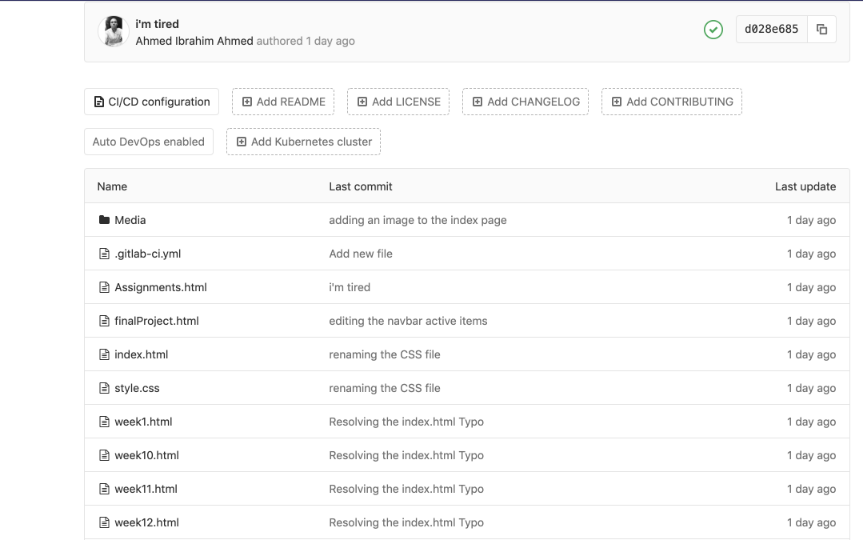
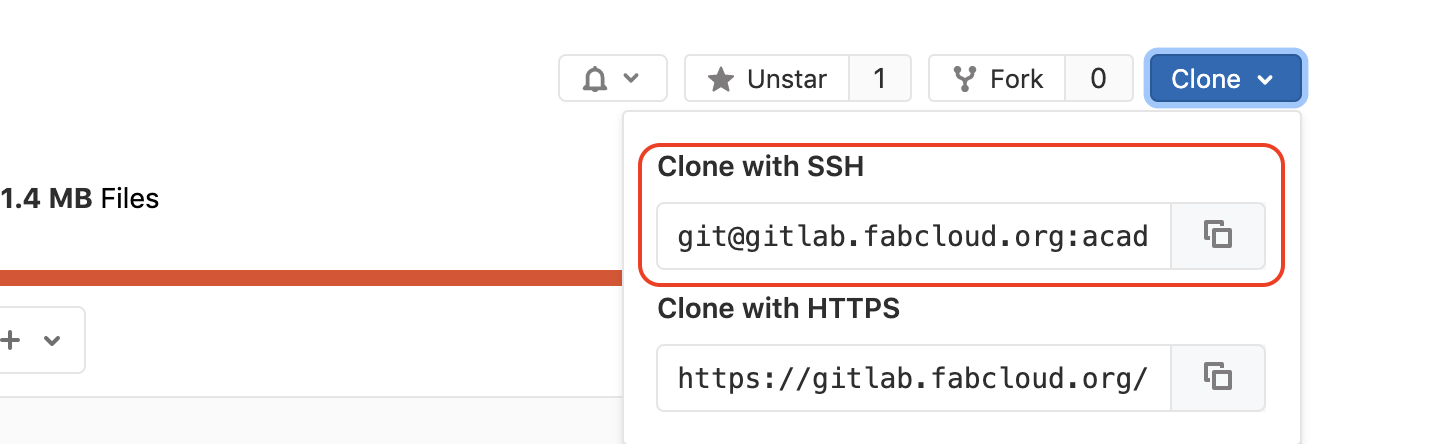
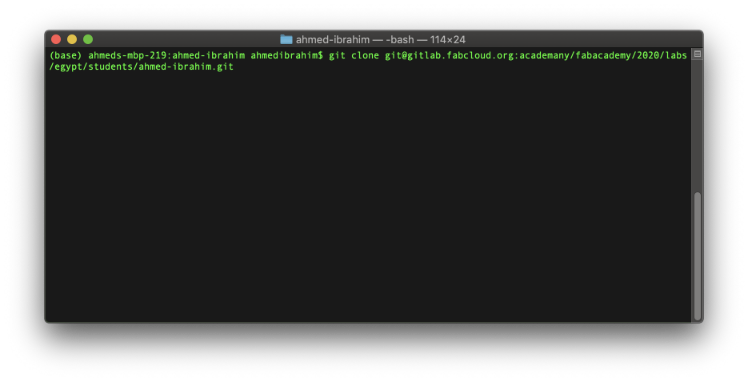
Now we need to download a copy of our Gitlab Repository on our local machine to modify or edit it locally. Then, we will push our changes to the Gitlab server. First, we need to create a new folder to download our website inside.
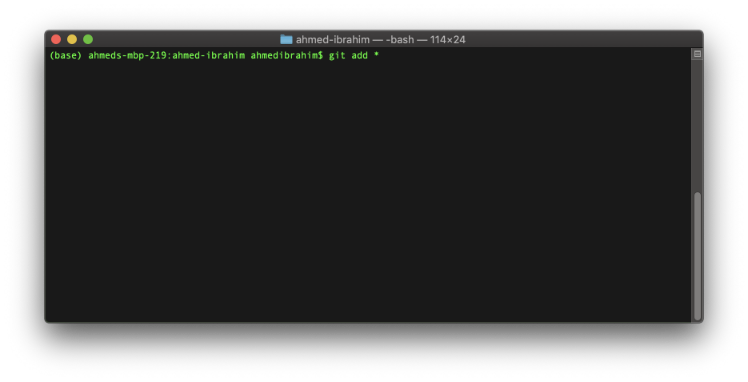
Add the website files that we built before inside the Repo that we downloaded on our local machine. Then use the command “ git add * ” to propose the changes we made locally(adding it to the head) which is a staging area.
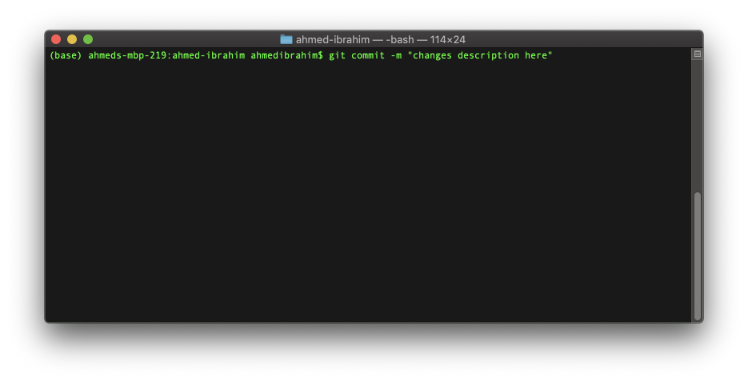
Now our changes are ready to get committed to the “index” which points to the last commit we have made. The “msg” attribute is any message you want to put to describe your changes, keep it meaningful to make it easy for your team to understand the changes you made.
At this step, we still didn’t push any data to the Gitlab remote server, We just sent the changes to the “index”. So we will use this command to push our changes to our remote Repo on Gitlab.

Now, you should open your Gitlab Repo and refresh the page to see the changes.