
Make (Almost) Anything Anywhere
Week 6
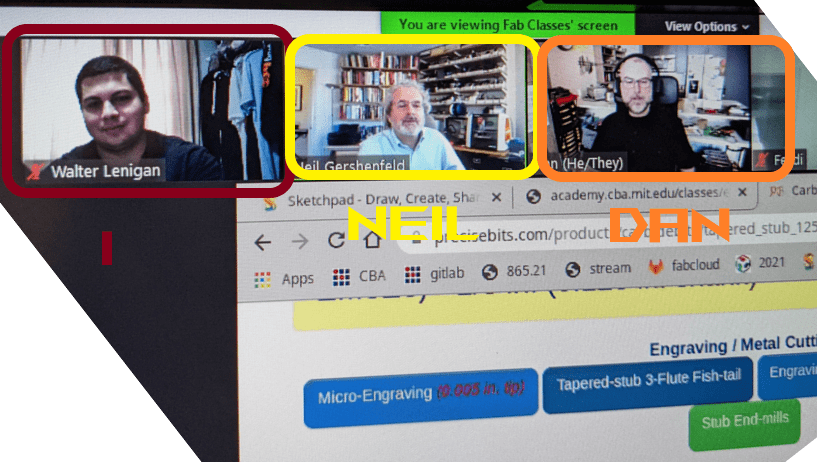
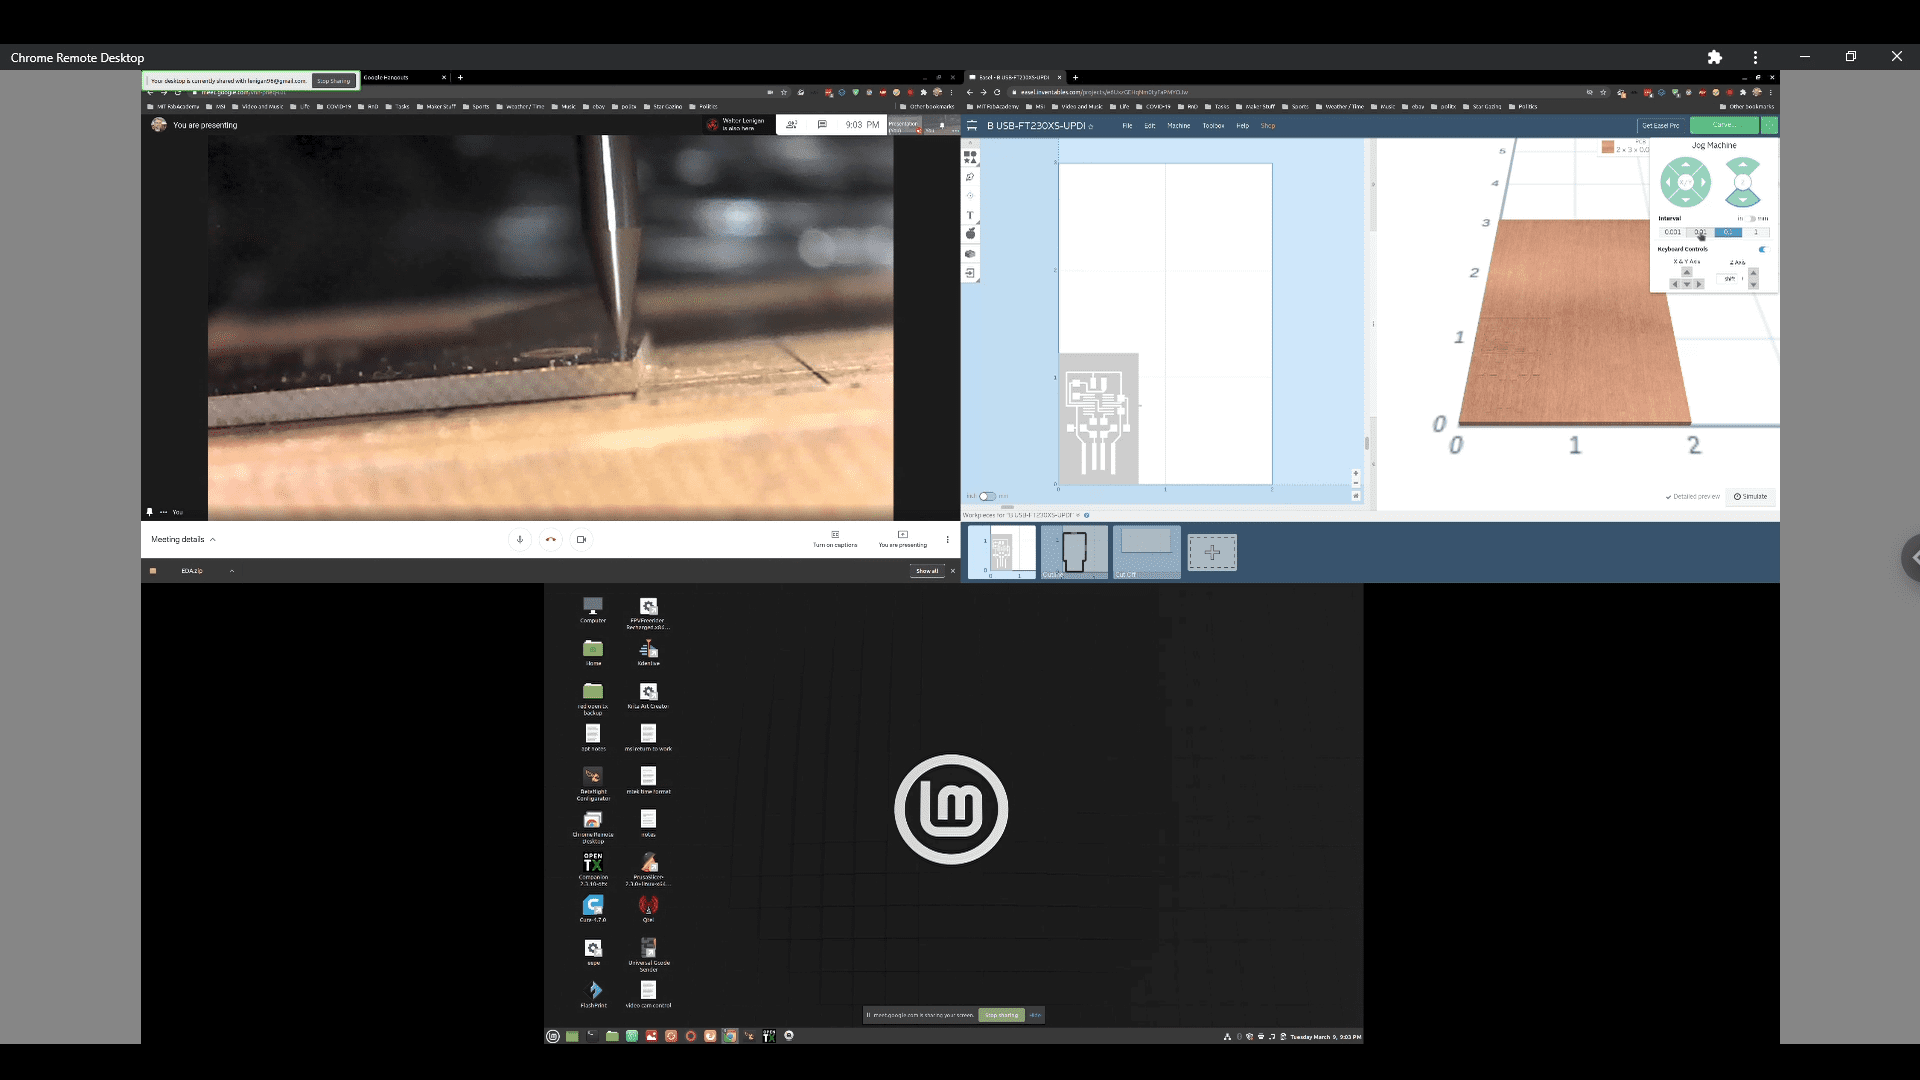
Dan and I have been working together to create a way to work remotely! Thanks to the support Dan (Dan used to works in Chicago’s Museum of Science + Industry Fab Lab ) has given me he was able to acquire a big list of components for me. In Honduras through hole components are really hard to find. Taking this into consideration you can make the safe assumption that it’s close to impossible to find SMD components in Honduras. Dan also helped me bought some components from Digi-Key! After securing the components Dan also helped me mill my boards with his X-Carve. ( Click here to see Dan’s Setup .) Dan milled the first board by himself, but then we decided to set up a “Test Drive” so that I could set up remotely the parameters needed on his CNC. We used Chrome Remote Desktop to connect his computer with mine. Dan’s computer is running Linux and mine Windows 10. This makes it easy to confirm that I’m connected to his computer.
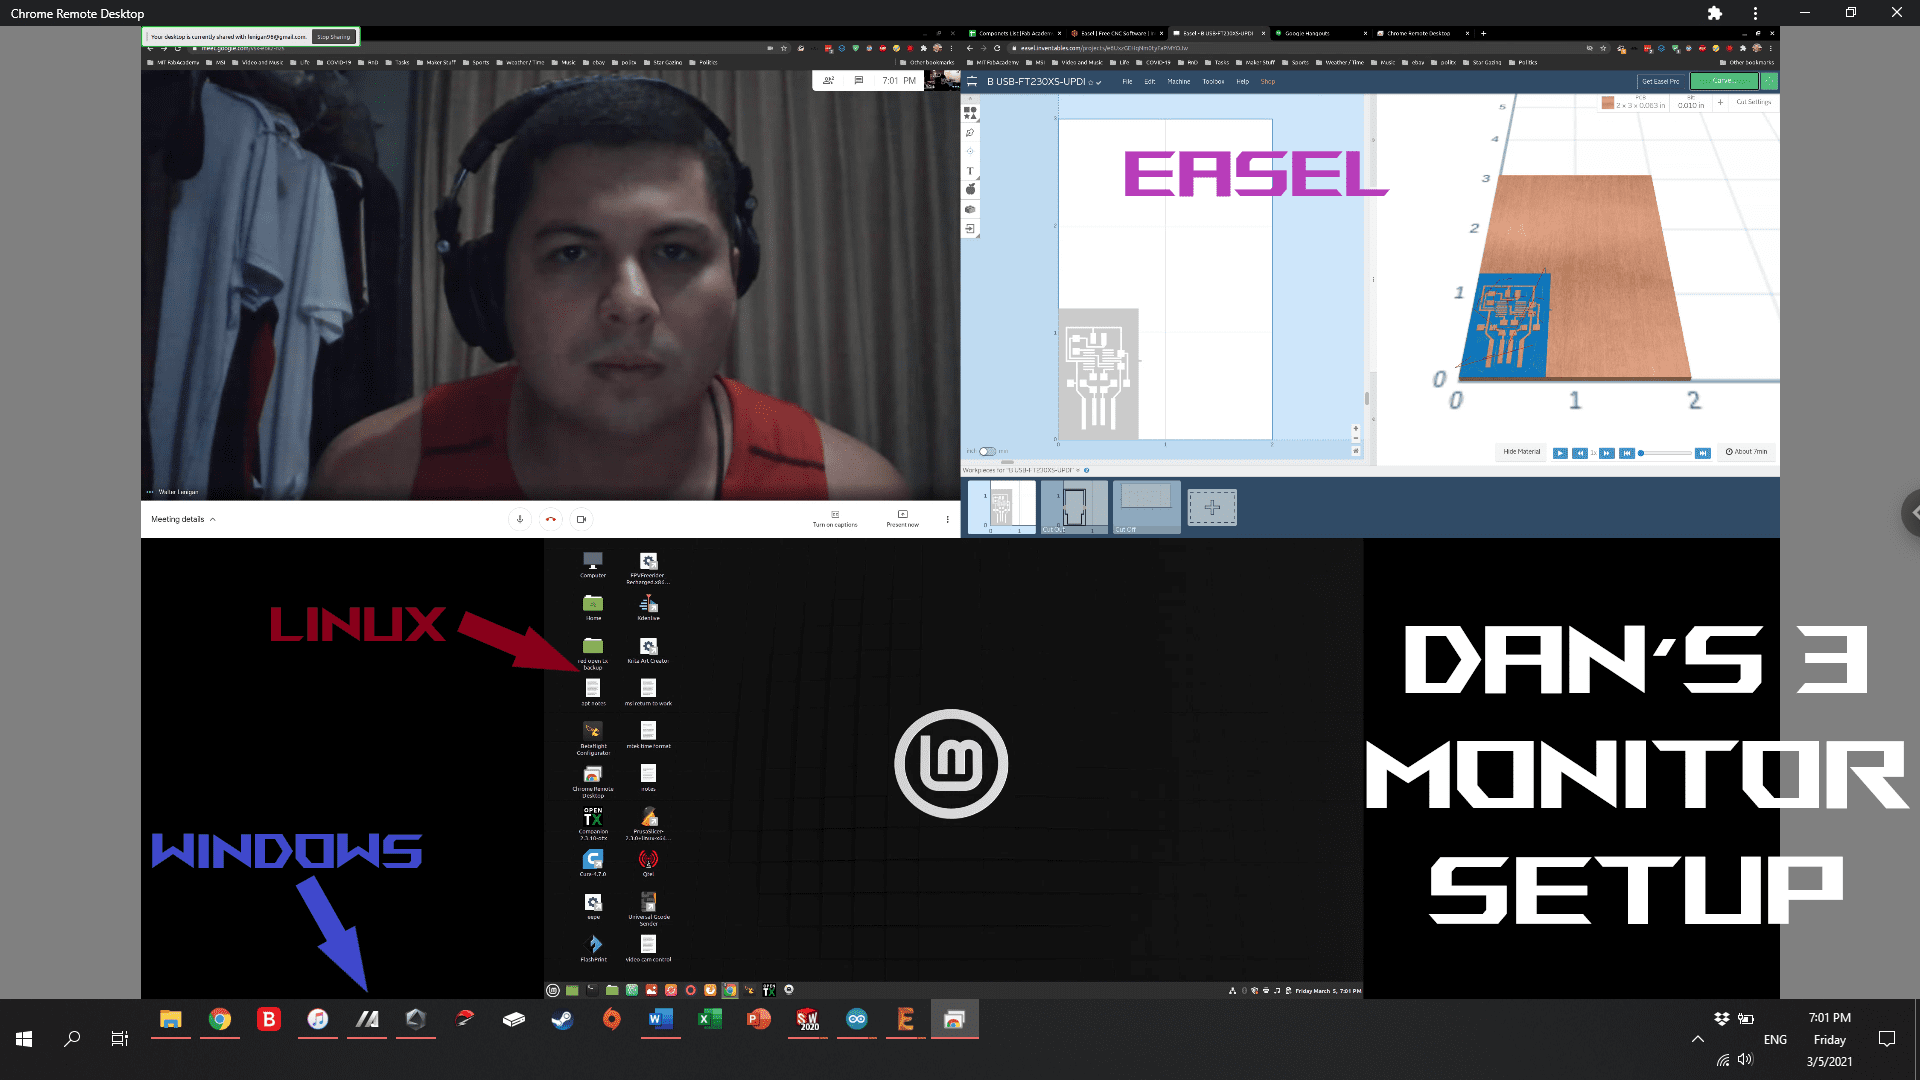

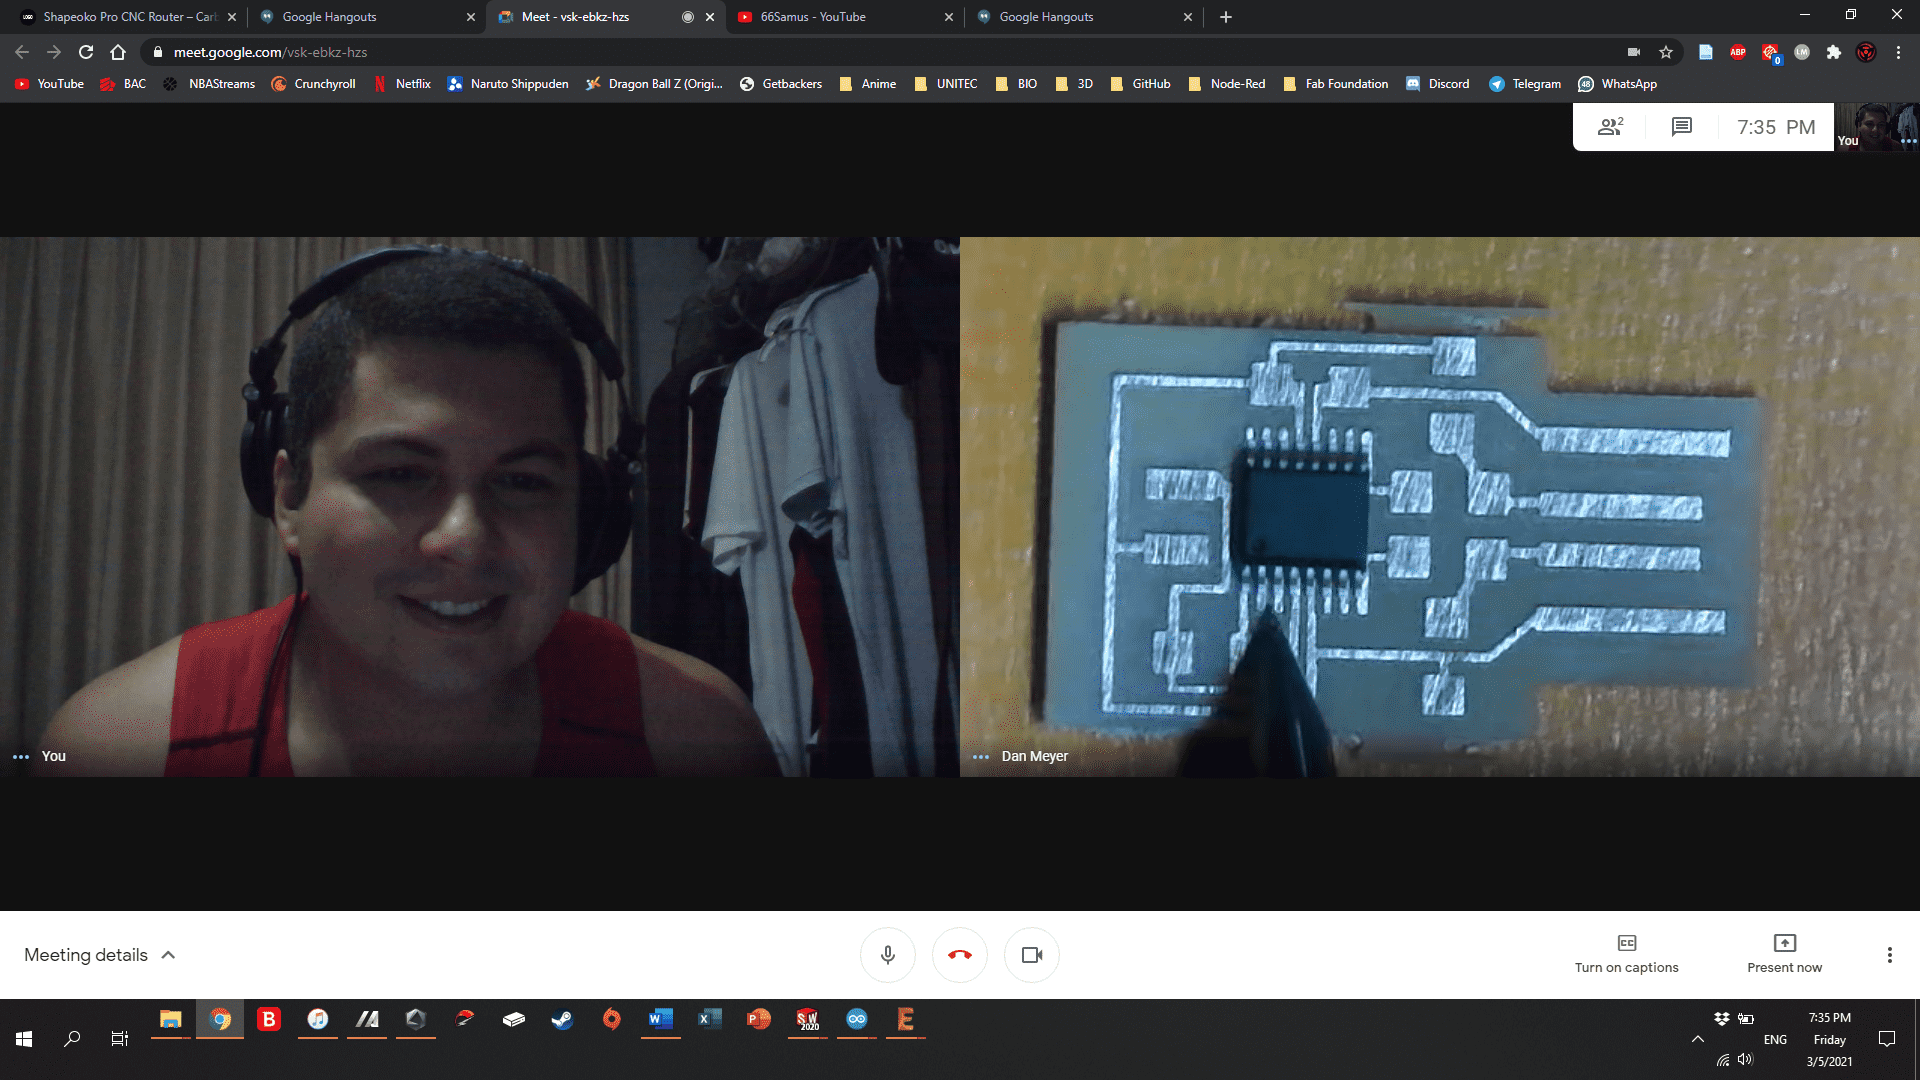
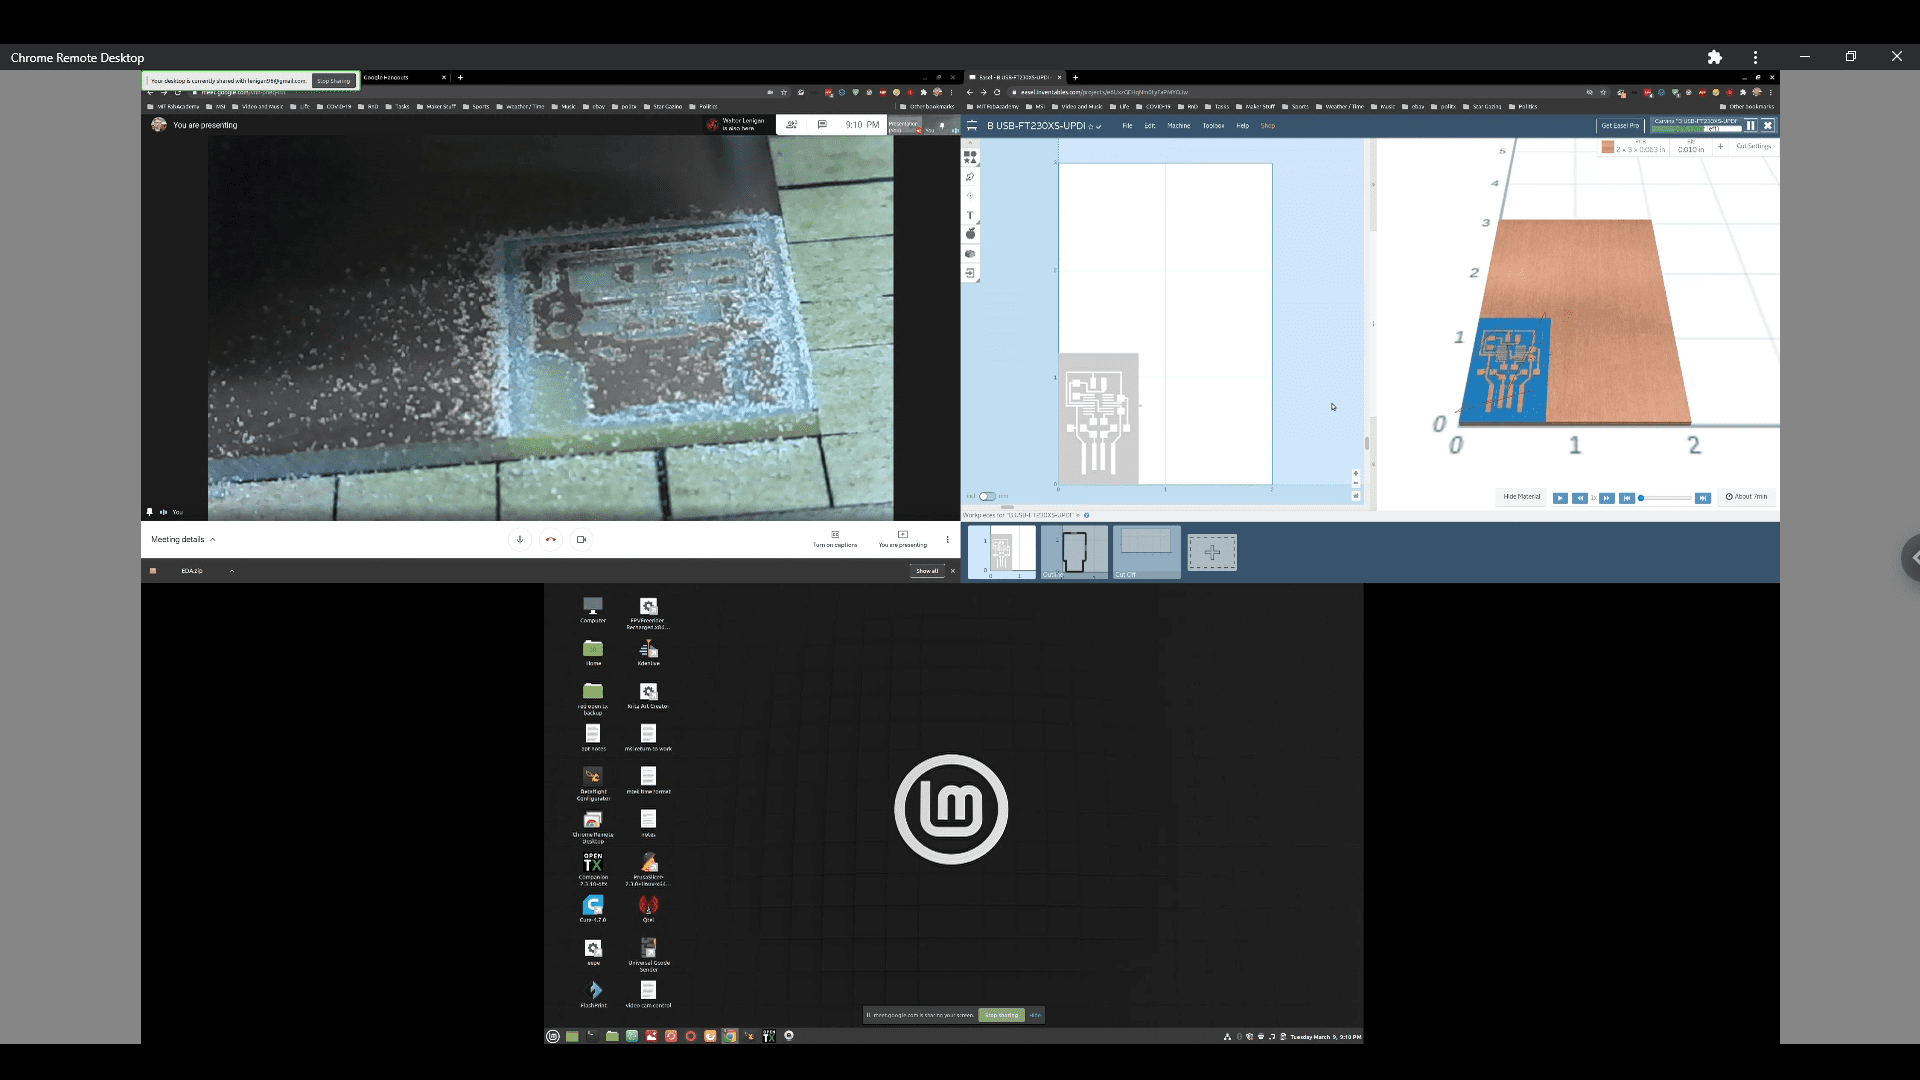
My laptop has a 17in. screen and because of this I was having a hard time reading the text on the 3-screen setup. Dan and I decided to leave a 2-screen setup so that could control the machine and see through his webcam at the same time. After this dan grabbed an LCD flashlight to illuminate better the work area. After he turned the LCD light (LCD flashlights use Pulse Width Modulation) the PWM seen though the camera was helping me have a better look of the rotating spindle. Dan gave me orders to set the origin of the milling tool and set the final parameters of the machine. Then the moment of truth… CARVE! To have a better look of what was happening Dan was trying to set up his microscope and he succeeded. I managed to record mi screen and our conversation while we were setting everything up.
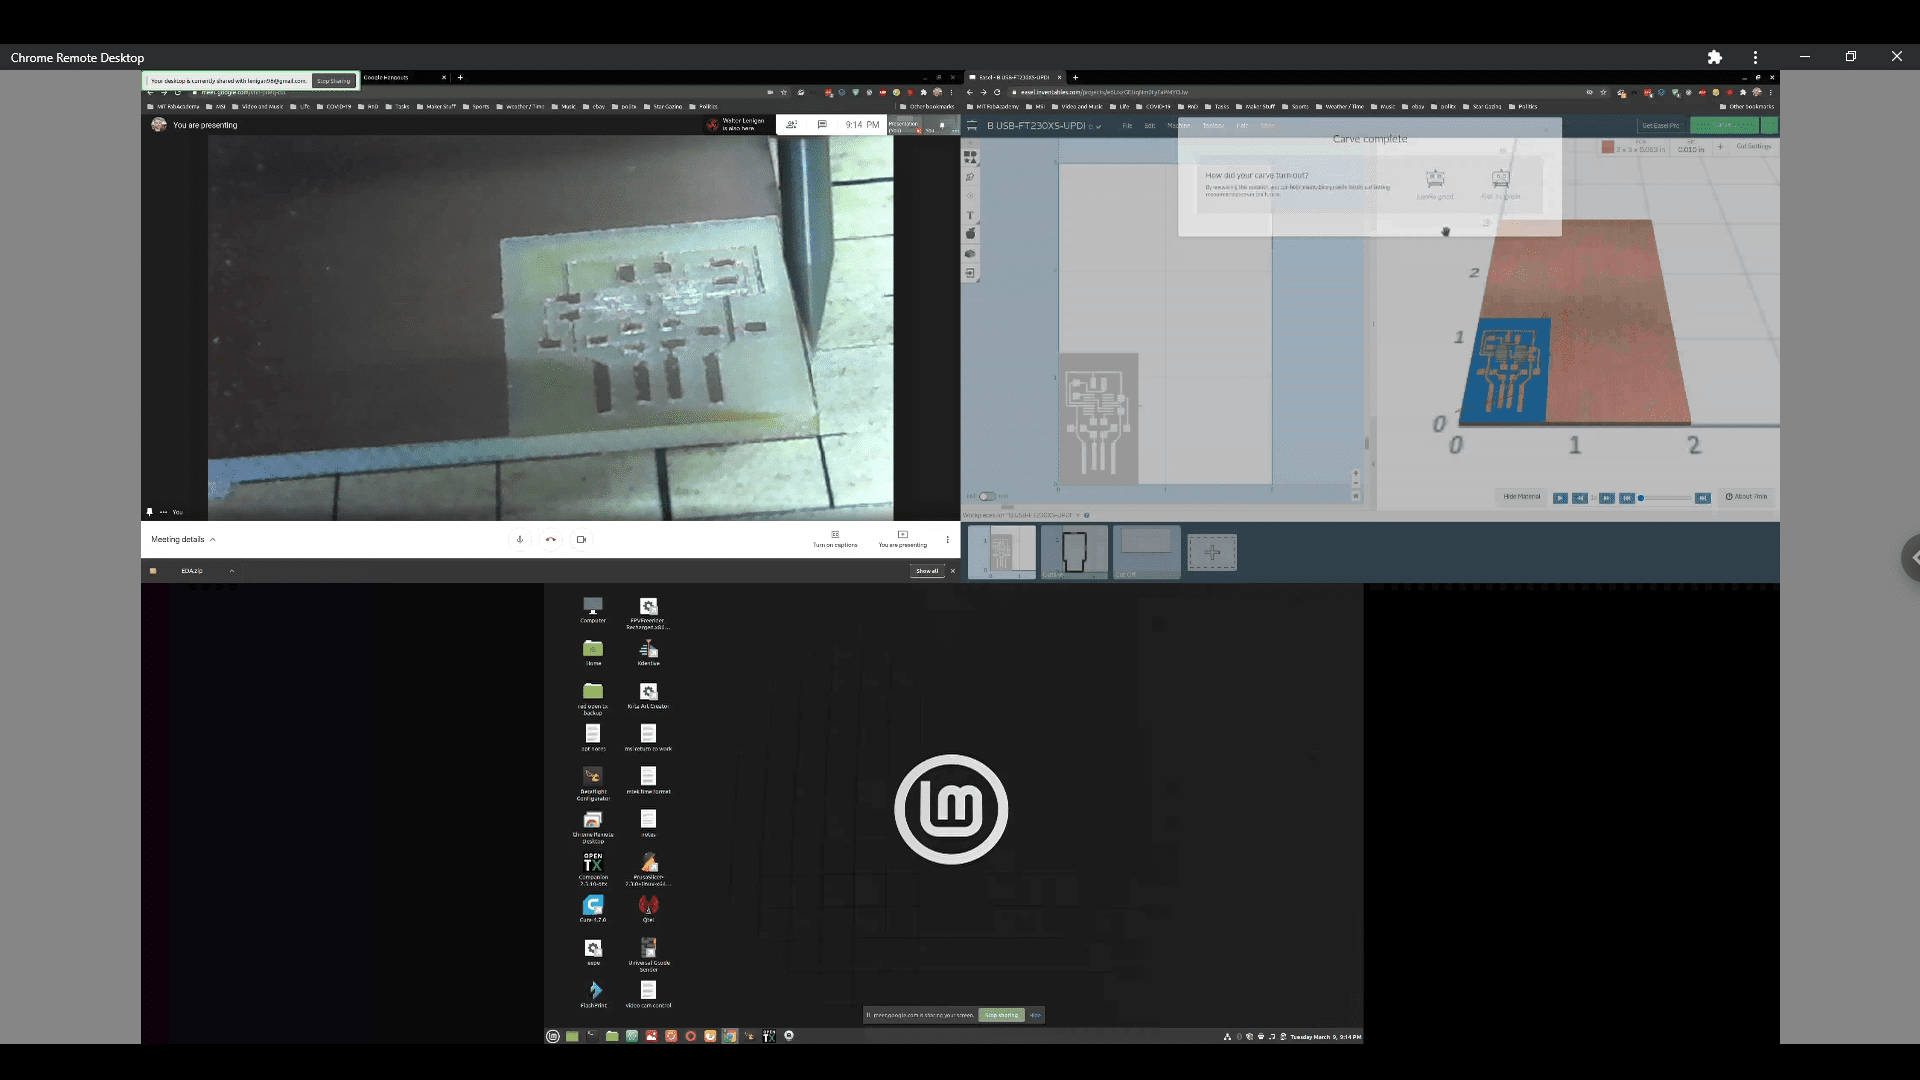
To finish the experiment, we did an inspection to the finished PCB. Dan’s microscope is essential to have a better remote experience. I’m going to do my best to help Dan design a camara mount so that it’s easier to fallow around the milling tool. We are planning on keeping up this experiment even after I manage to get my own CNC. Now that we know this is possible for the mean time I’ll be making my PCBs with his help.
Dan and I were having a conversation of changing the MCU I was going to work with (ATtiny3216) because some traces didn’t come out ok. We decide to stay with the same MCU because getting acquainted with it was more important and valuable. Dan had a theory that by moving the working area closer to one of the corners could give better rigidity to control vibrations. After doing that I pointed that the bit could’ve lost its sharpness. We decided to inspect a bit with the Microscope.
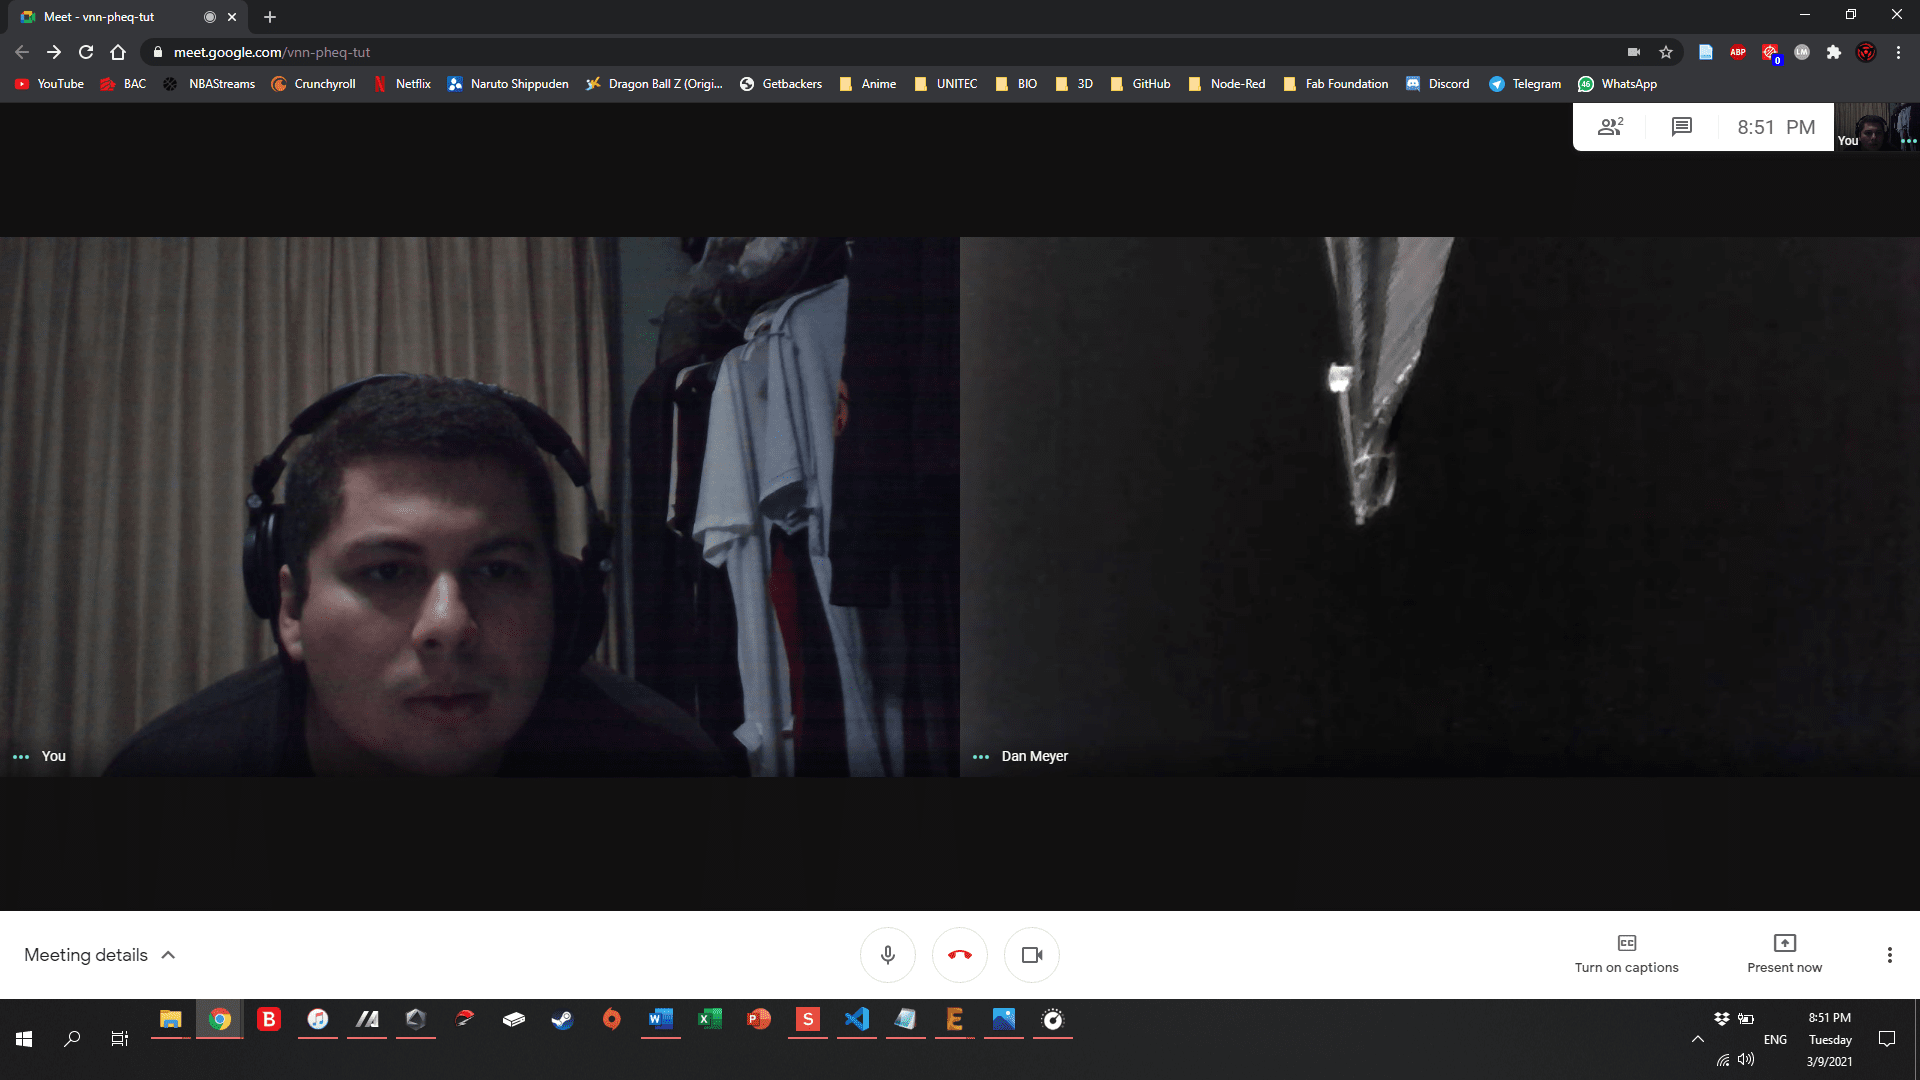
We determined that the problem was the bit because the vibration problem was solved after repositioning the milling area. The PCB had a really rough finish due to the problem with the bit (We just need a new bit). The microscope view is definitely a game changer on remote milling. Gives a better perspective of what’s happening and give the remote user more security when moving the spindle around. With no problem I was able to locate the new origin for the milling tool.
Make (Almost) Anything