02
Assignments
Group Assignments (1)
For this assignment, since they were delayed in the weekly planning and the arrival of the quarantine by COVID-19, it has not been possible to carry out what was proposed on the scheduled date.
-
Review the safety data sheets for each of your molding and casting materials.
- Smooth-Cast 305 (70D Urethane Medium Set Resin), however this is only one part of the two components.
- It is a resin for general use, easy to apply paint and finish.
- Smooth Cast® 300 liquid plastics are very low viscosity resins that produce virtually white castings free of air bubbles. They do not require vacuum degassing. They offer a convenient one-to-one mixing ratio (part A to part B by volume).
- Hardened castings are strong, durable, machinable, and can be painted. They resist humidity and light solvents. Its applications include the reproduction of small and medium sculptures, prototypes and elements for special effects.
For this week as a group we must review the safety data sheets for each of the molding and casting materials that we are going to use. In this sense, we have been informed that we only have the following in the Fab to work with:


According to the observation presented in the safety data sheet, respiratory protection is not required when the products are used in places or environments with good natural or artificial ventilation. If necessary, appropriate filter equipment should be used to support good work practices.
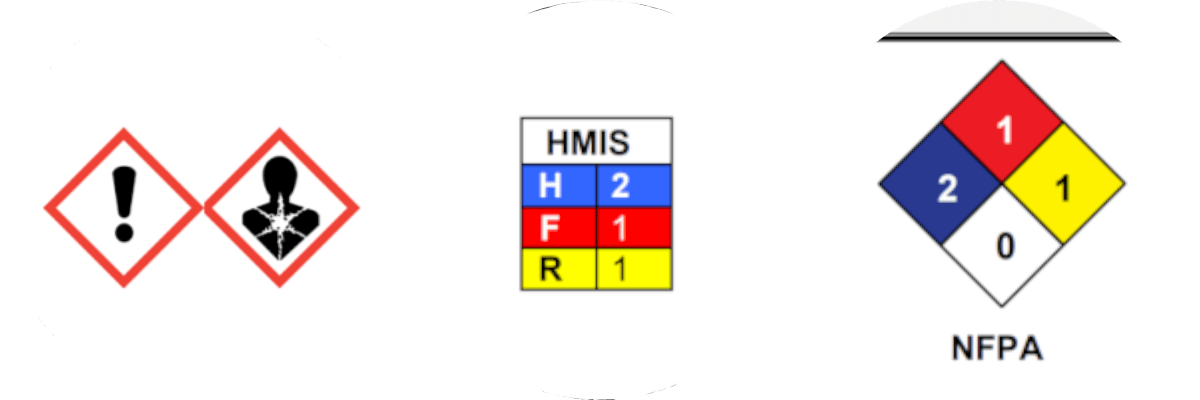
In the case of hands, gloves based on butyl rubber, neoprene or pvc should be used.
For eye and face protection, glasses with side protection should be used.
For the protection of the skin in general, no additional protection is necessary, however I would recommend overall type dresses; it never hurts.
After working with the products, you should take a shower.
Observations: - Do not eat, drink or smoke in the work area and maintain personal hygiene at all times. - For the disposal of waste, the manufacturer's requirements must be met, in addition to complying with the safety laws of the republic.
Safety - Materials should be stored and used in a warm environment (73° F / 23° C). These products have a limited shelf life and should be used as soon as possible. All liquid urethanes are moisture sensitive and will absorb atmospheric moisture. Mixing tools and containers should be clean and made of metal, glass or plastic. Mixing should be done in a well-ventilated area. Wear safety glasses, long sleeves and rubber gloves to minimize contamination risk. Because no two applications are quite the same, a small test application to determine suitability for your project is recommended if performance of this material is in question.
For a more detailed reference consult the tech sheet... (Smooth-Cast® 300<)
-
Make and compare test casts with each of them.
As for this topic, due to the above (materials), we can only play a bit with the proportions of the one we have, until we are supplied with another type of material or simply change the proportions of the one we have to categorize its characteristics, when we can safely return to the FabLab.
Individual Assignments (2)
-
Design a 3D mould around the stock and tooling that you'll be using, mill it (rough cut + (at least) three-axis finish cut), and use it to cast parts.
Regarding 2D design, I wanted to 3D model the logo of my final project, since in a certain way it is a very sinuous design and that possibly will give me something to do or learn in the course of its manufacture.
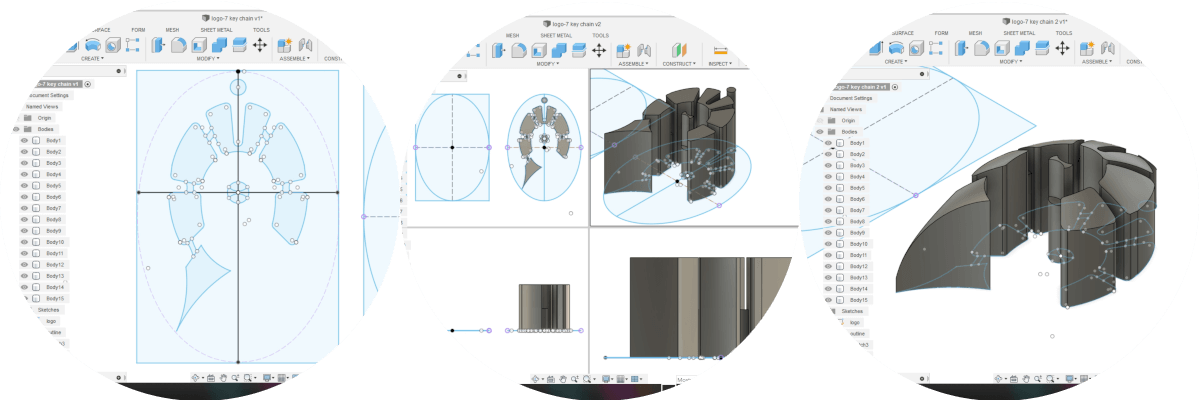

The development of this new technique is quite an adventure, especially because I analyze it as having a digital prototype, then fit it into a cubic mold to extract the prototype to create the negative piece and it turns out that you must place that mold in another cube to subtract the negative mold again to have the positive mold which is the one that you are really going to use to machine in the milling.
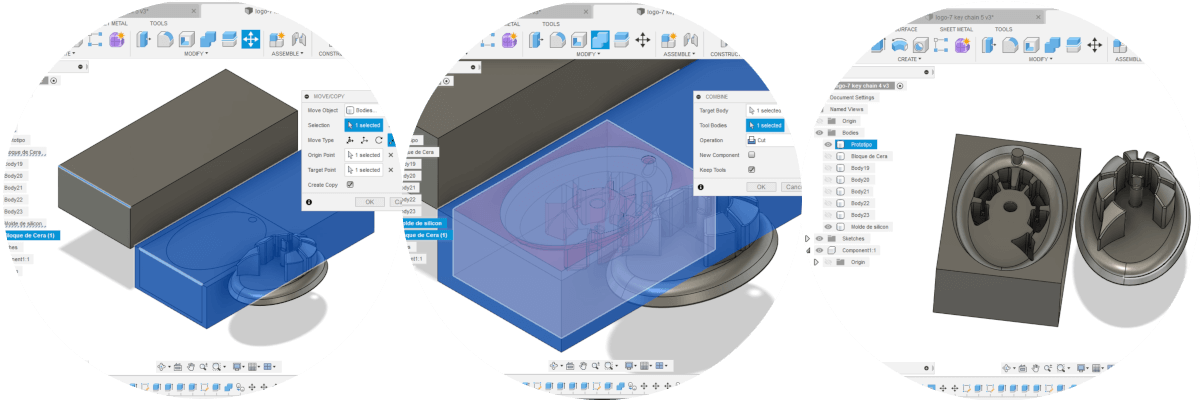
Once you have the model of the positive in design of Fusion 360, proceed + or to perform in the machining section regarding the setting of the parameters to obtain the respective gcode. First, according to the explanation given by video conference by the local instructor, I understood that I should use a 2-dimensional setting with 2D Pocket, where you must choose:
- The type of Tool (3 mm end ball, 5000 rpm, 47.1239 m/min, 1000 mm/min, ).
- Select the Geometries (all flat faces).
- Set the Heights (retract eight, offset 10 mm, Stock top 5 mm, left climb millling).
- Set the Passes (Tolerance 0.1 mm, maximum stepover 0.6 mm).
- Set the Linking (preserve rapid movement, safedistance 1 mm, maximun Stay-Down 50 mm, Lead-in Entry 0.3 mm @ 90°, Ramp Type Helix).
Of course, in each of these sections you must verify their properties.
However, in another session we realized that it was better to configure the parameters to machine in 3D, given the complicated average volumetric model that I made and that I was not willing to let myself be won by the circumstances. Configuring the same parameters previously exposed with the difference that now begins to carry out the work as I had imagined.
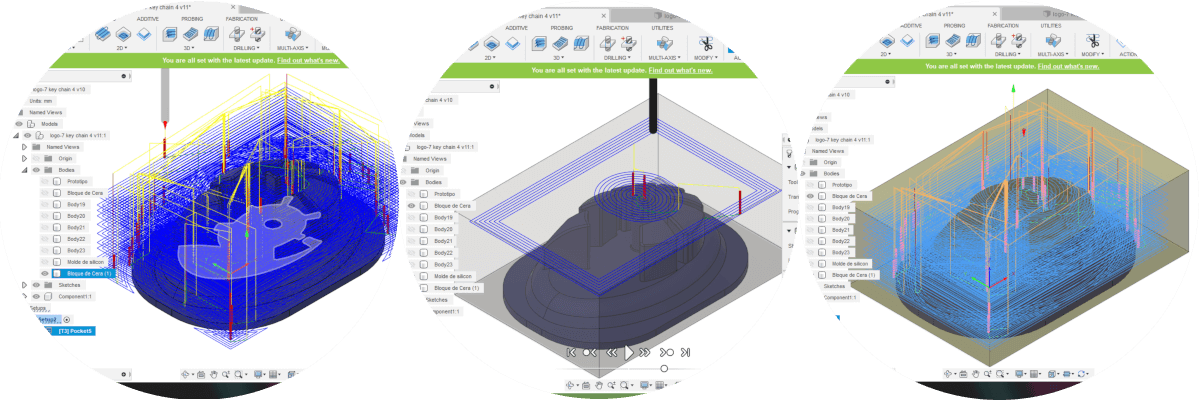
Once all the parameters have been verified, we will go through the setup to start the simulation of the machining process and press play, if everything goes well we proceed to Create the NC Program.

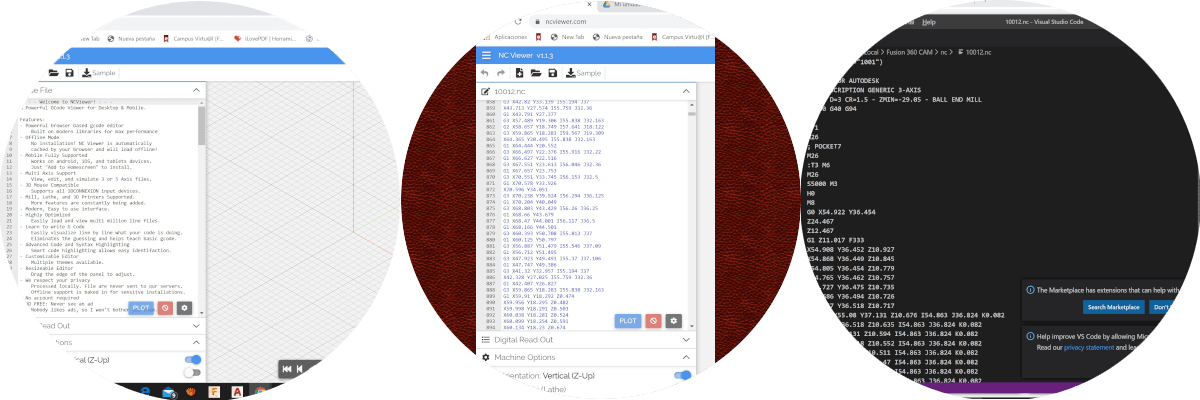
As I have no way to verify the final result of the prototype, I decided to combine the code in two different viewers, the first is an online visualizer and the second is installed on the laptop; the result is that both displays show the same content, NC Viewer and Visual Studio Code.
Inconveniences - Delays
One of the limitations may be the size of the solid wax cube, since it does not allow other types of tests with larger dimensions to be carried out. For this we proceeded to take the dimensions of the wax bar, however, the logo design was the one I decided to use, to create a logo by expanding the design size 1.5 times so that it was appreciable and had no problems with the drill bit. when machining the wax stick. Model the logo design, looking to do something unique, albeit with some technical work for myself as a designer and to observe the working arrangements of cnc milling.
We have not yet been able to access the FabLab, nor the corresponding equipment to carry out the physical practices, which in my case are very necessary since it is not the same as simulating situations with characteristics given by default.
In addition to the above, we have been greatly affected by the quarantine decreed by COVID-19.