# Why?
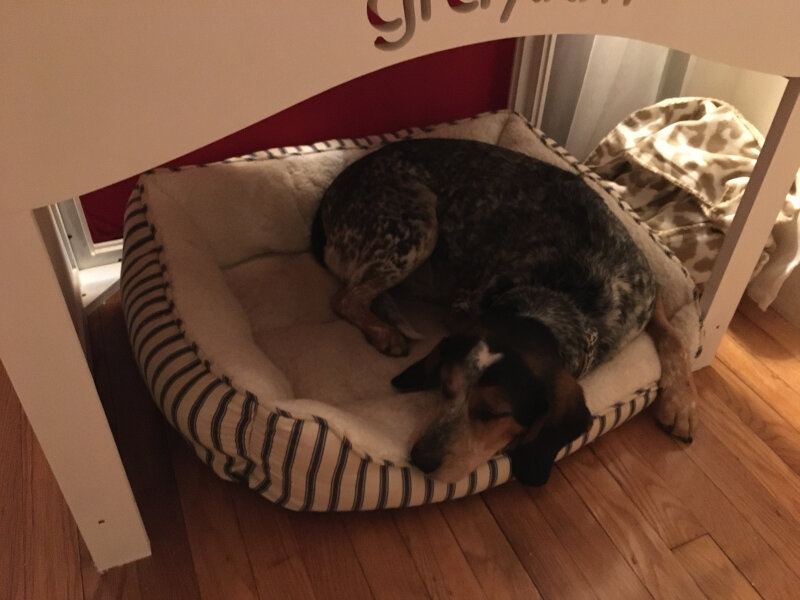
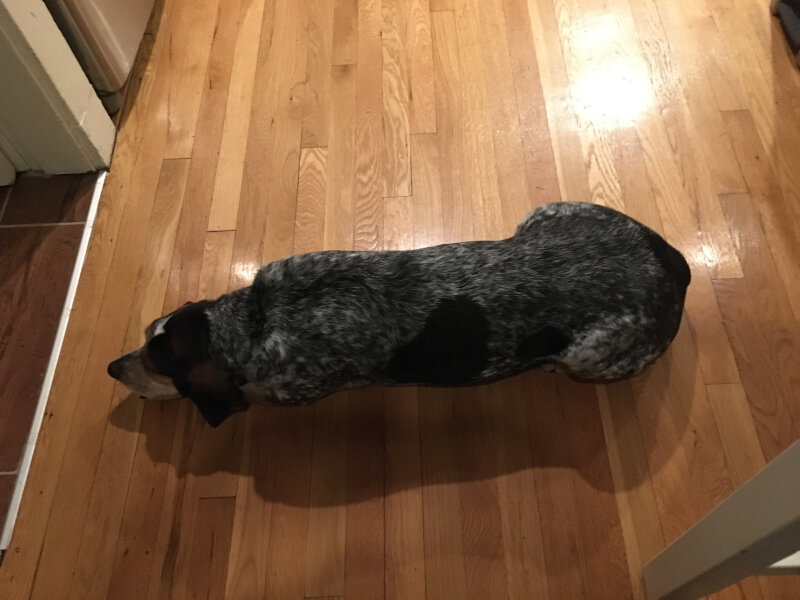
Because my dog has nowhere to sleep and is the saddest of dogs.
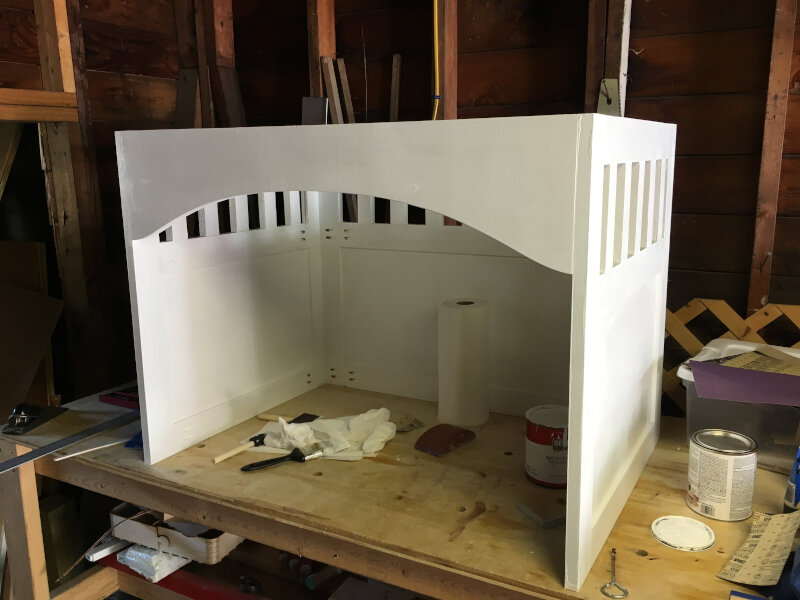
# Version 1 - hand tools and power tools
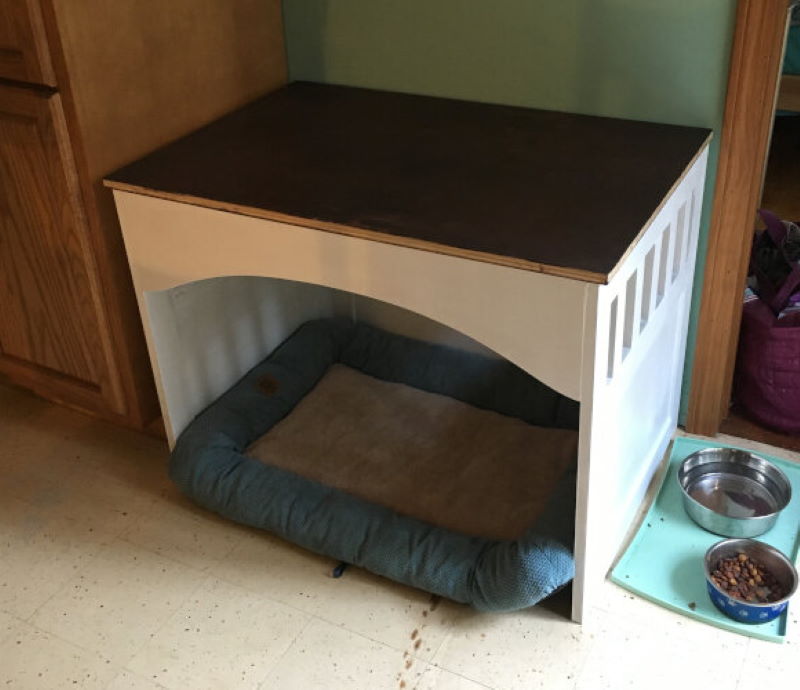
That's not entirely true: world's saddest dog actually has a whole custom made, Solidworks designed, handmade dog crate / end table combo.
# Version 2 - CNC
However, this dog bed lives with him at his mom's. That would obviously not do when she brings him over, or when I steal him away from her for a weekend! Unfortunately, by the time the first one was made, winter had rolled around and I had not desire to spend hours outside playing with a table saw anymore. Plus, the cost of the wood on the first version had run up higher than I had hoped and I was eager to try a different approach.
The design parameters for this CNC compatible version 2 were as follows:
- The whole design had to nest as well as possible in 2x4 sheets: my car is entirely too small to transport 4x8 sheets to the Lab and I wanted to do this 100% by myself
- Since it is (or was when this design began) too cold to spend any significant time in my garage / workshop, this design had to require as little additional work as possible after CNCing
- To minimize costs, it would be ideal to fit this design in as few sheets as possible, and to go with a cheaper material such as MDF
- Finally, the whole design was slightly resized to fit better in my living room
# Design
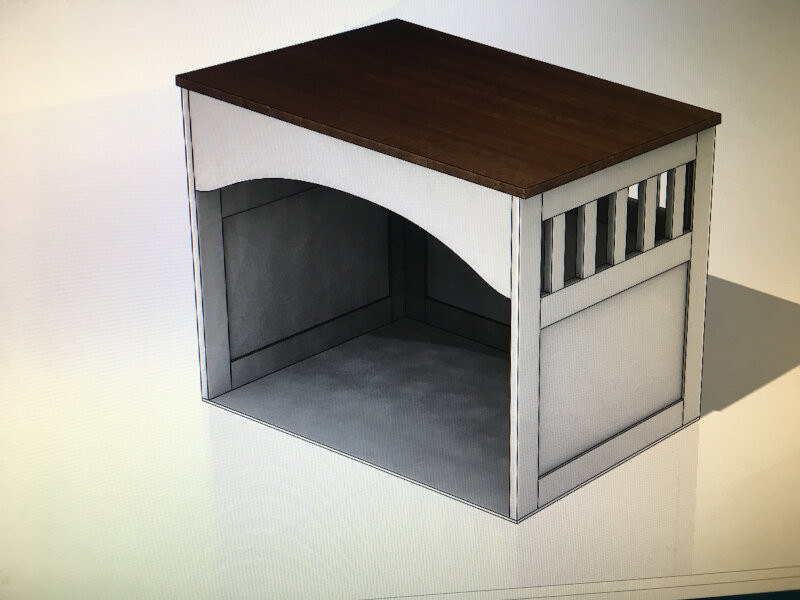
The CAD design was fairly straight forward (original files to be included soon).
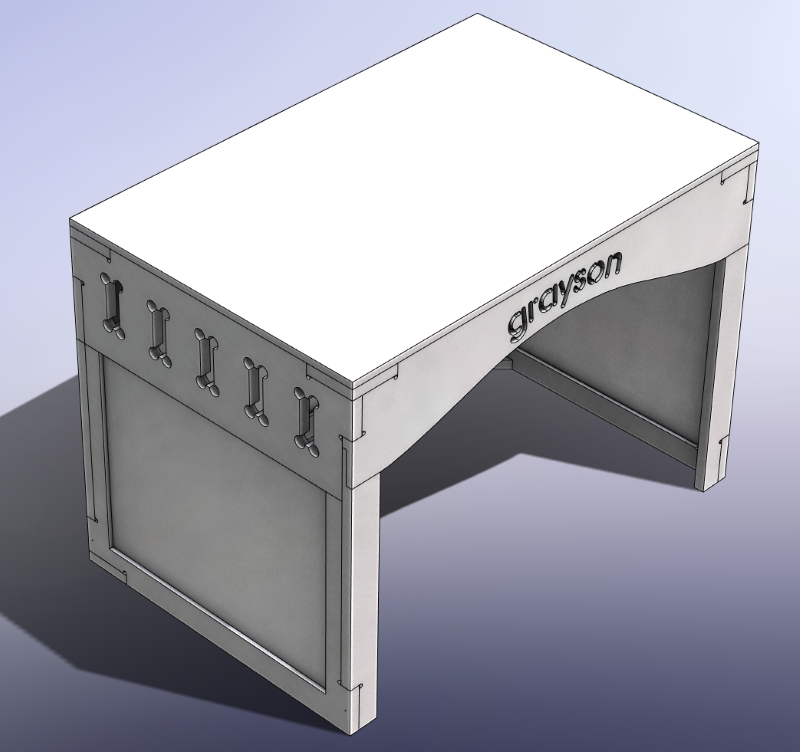
Note that the top of each panel on all four sides is a separate part from the bottom: this was required to allow the design to fit on 2x4 sheets. This entire process would have been way simpler with 4x8 sheets but where's the fun in that?
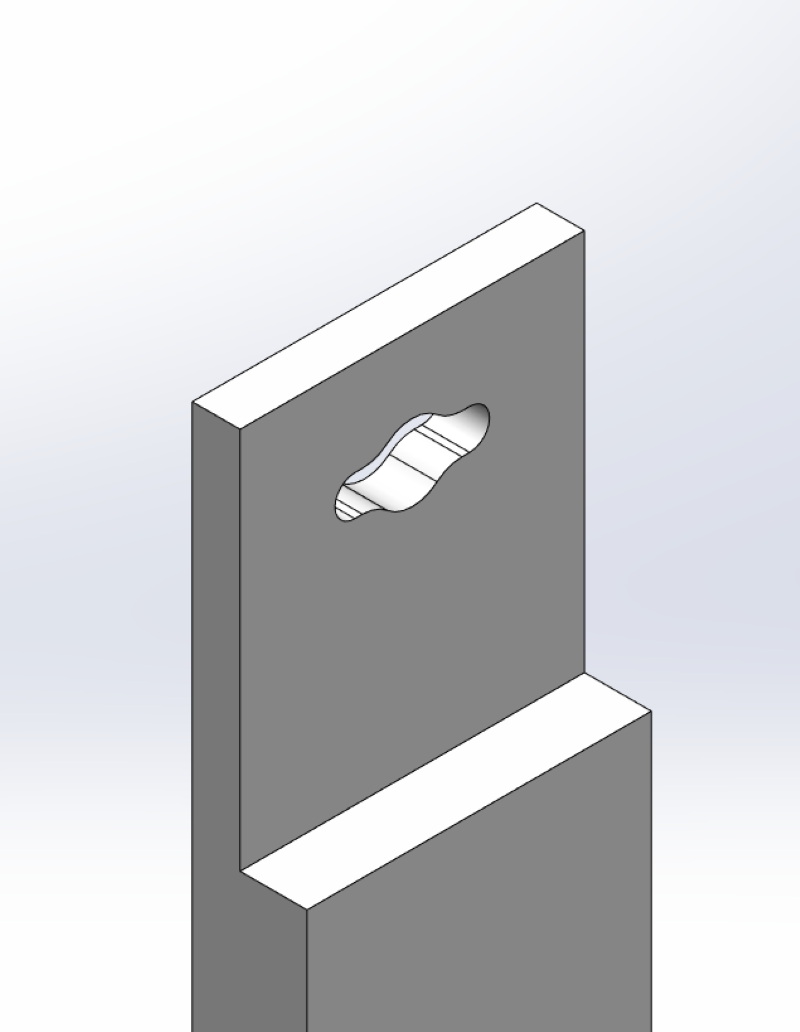
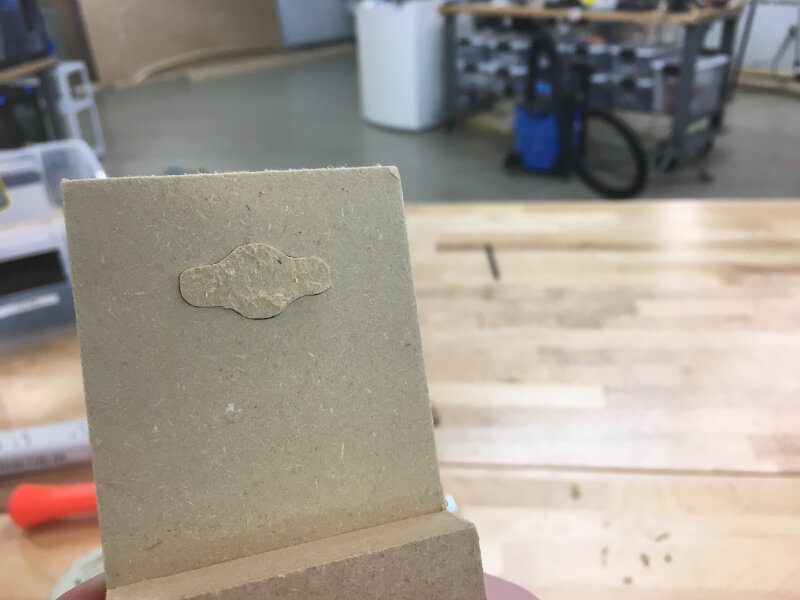
The most interesting feature of the model, I think, is the (relative) complexity of the joints.
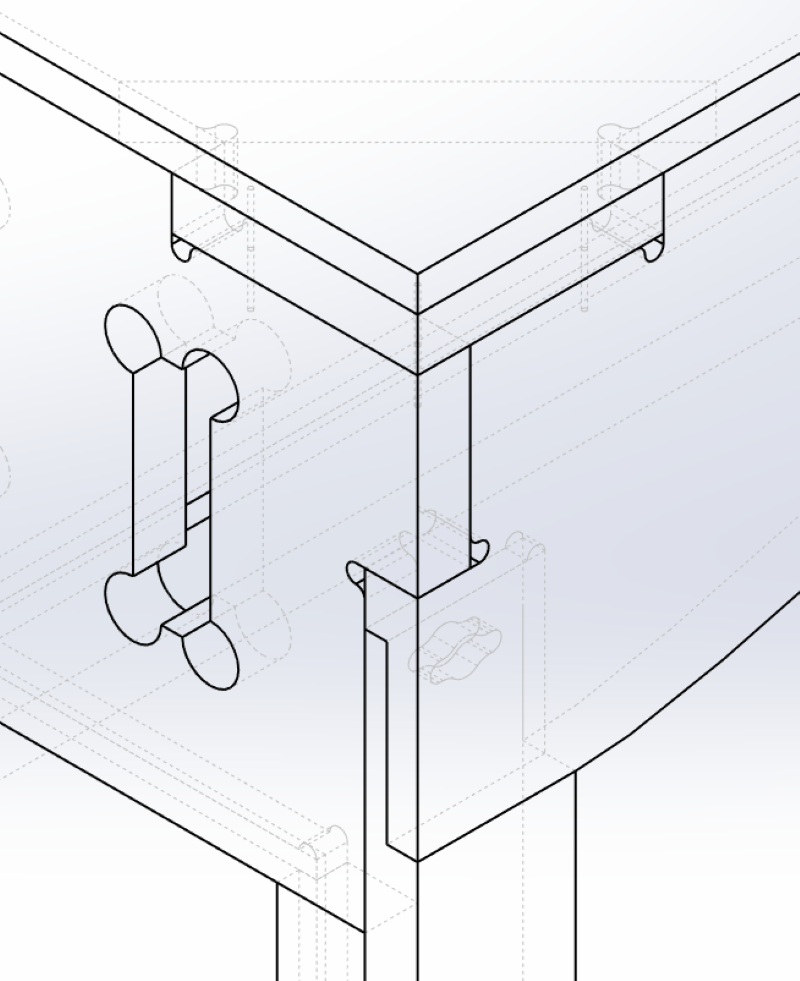
My goal here was to produce what is essentially a half-lap joint with a key to guide assembly. As you'll see later, that didn't quite work out but it was a learning experience!
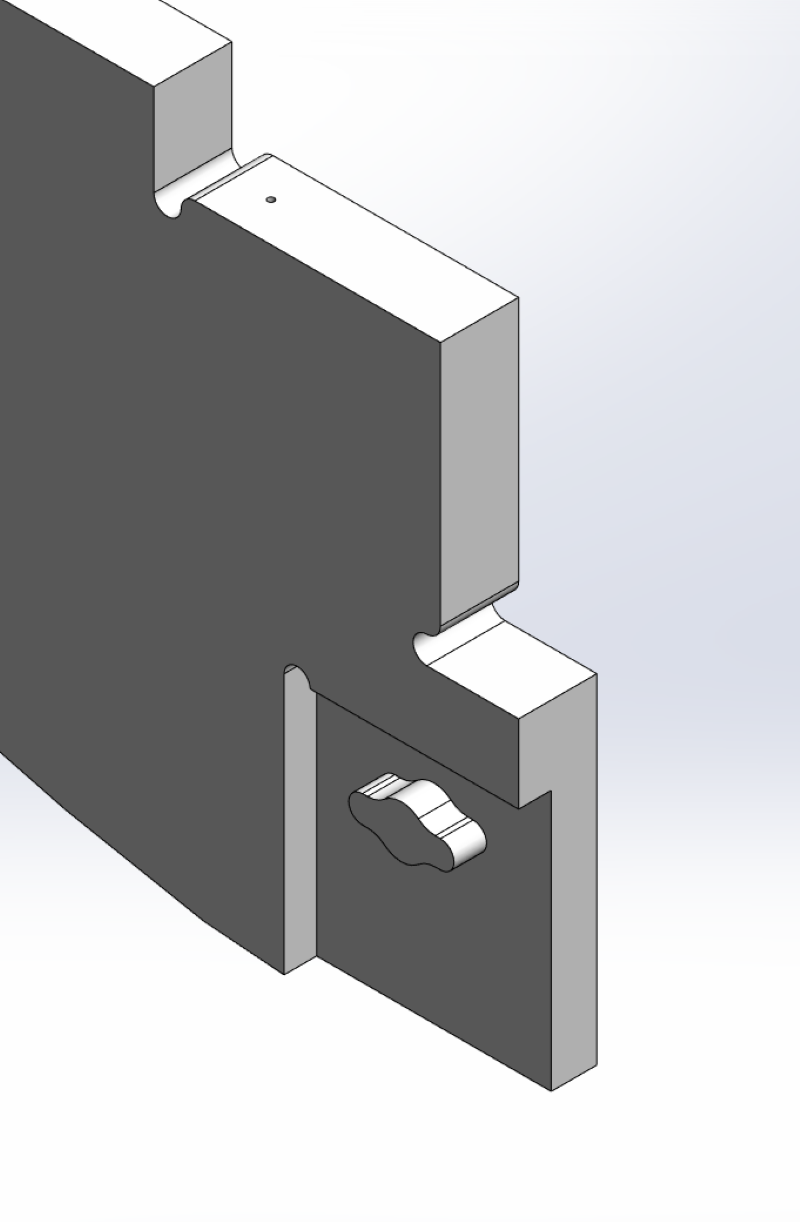
Note that the rest of the joints between top and bottom of the other panels are meant to simply be end to end glue joints. This will be relevant later!
# CAM
The cut was set up in vCarve over two sheets:

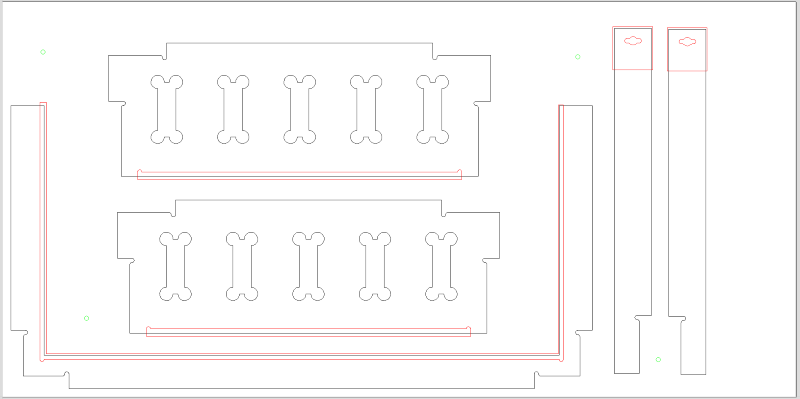
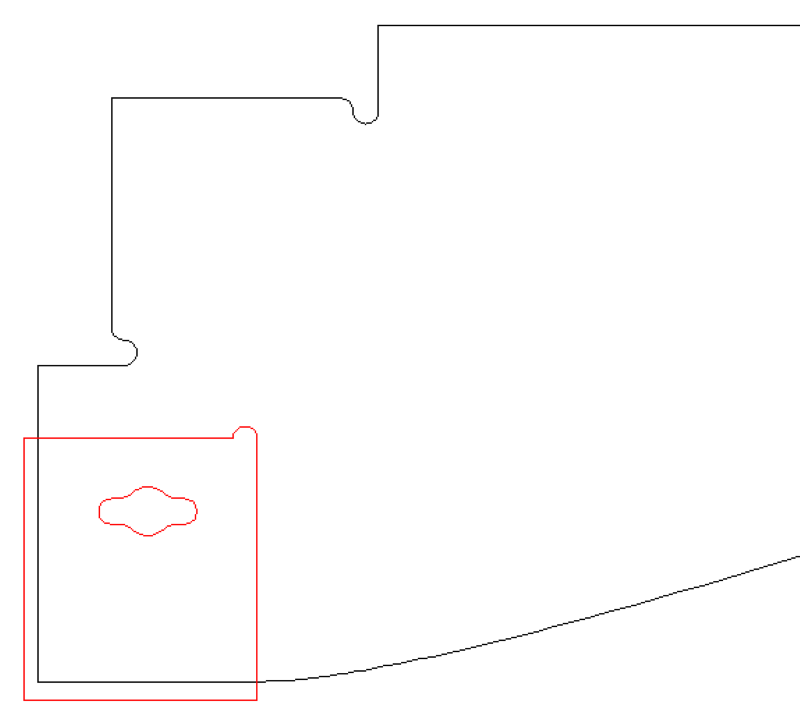
Setting up the cuts presented an interesting challenge, at least in vCarve: the half lap joints needed a pocket clearing operation, but also a profile cut operation that would leave clean "inside" corners.
I ended up going with a simple (but perhaps silly?) solution of simply extending the relevant curves in vCarve and cutting both a pocket with the red polygon and an blind inside profile. The oversized bottom left corner of the red shape ensured that the cut would clear out corners correctly.
# Manufacture
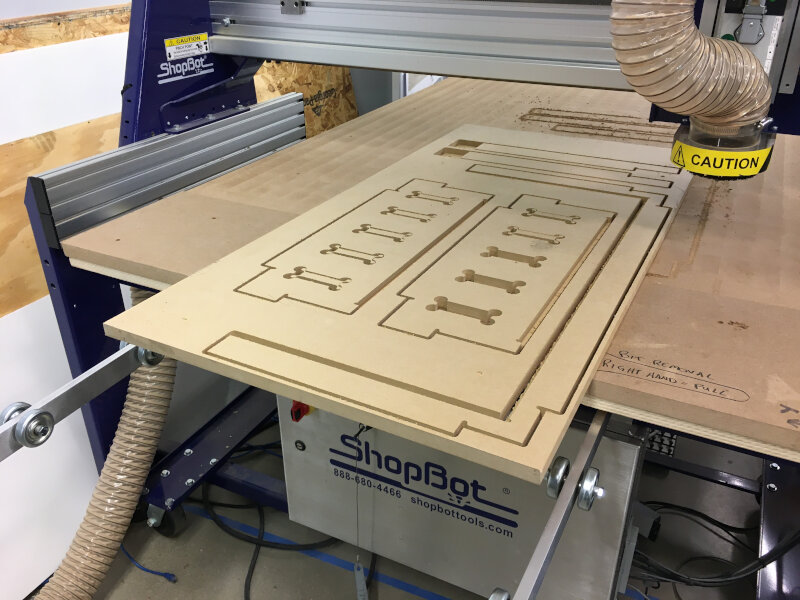
Setting up the cuts correctly was a little time consuming (mostly to make sure that pockets and corner would be cleared correctly and would assemble, and to set up the various inside and outside profiles for shapes and inner cuts like the front text); the manufacturing process did fairly smoothly from there however!
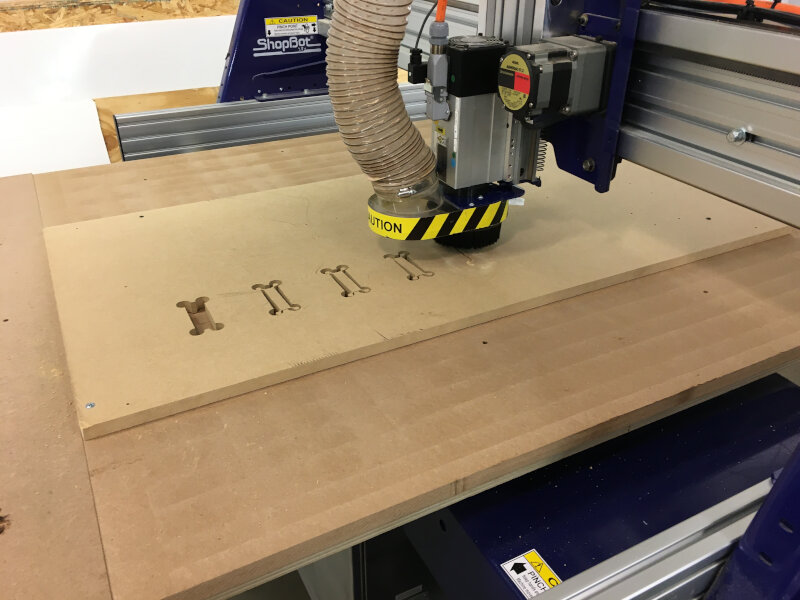
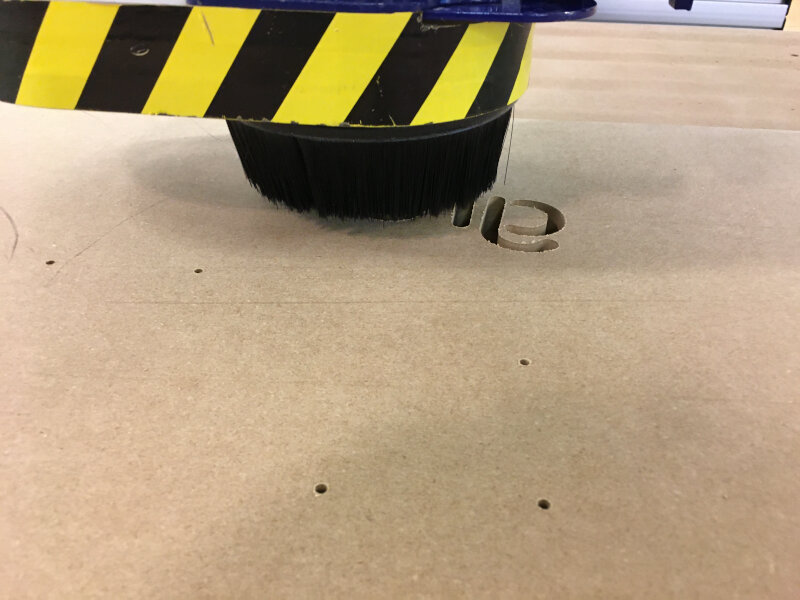
Watching this pocket be cut while preserving the cut was kind of fascinating:
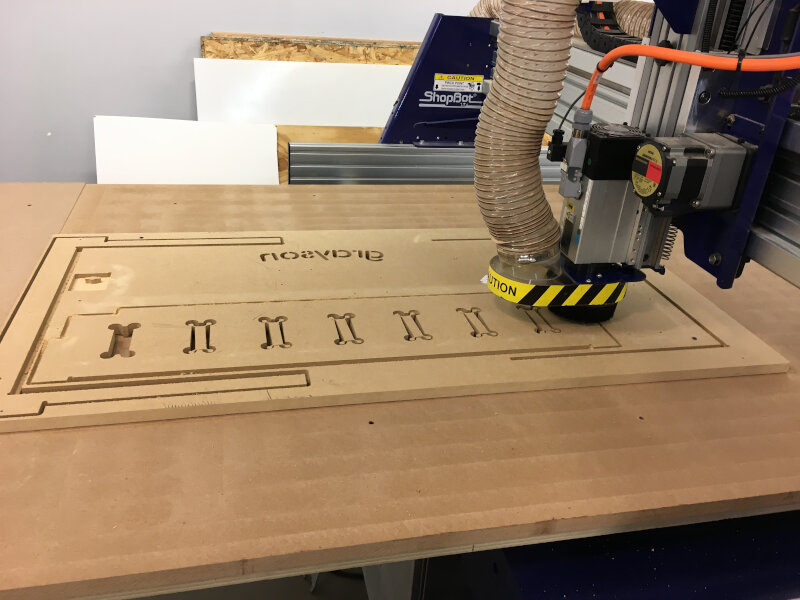
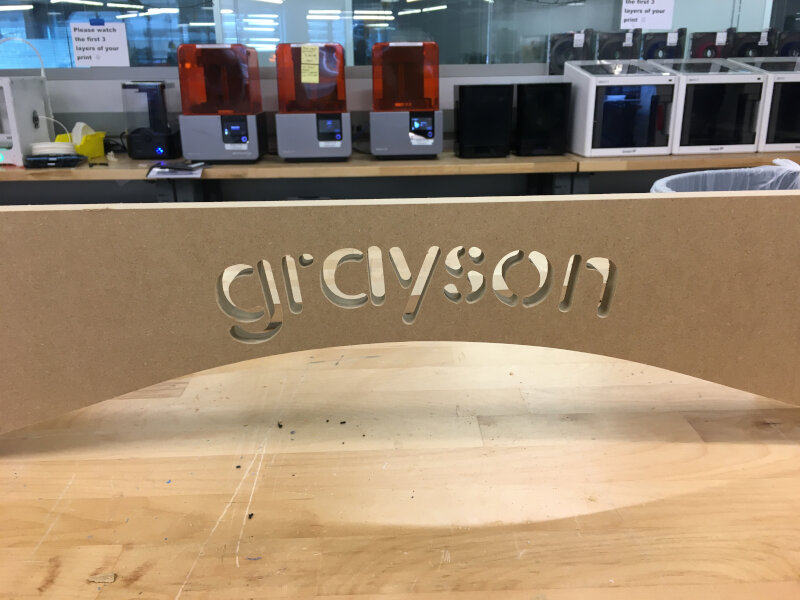
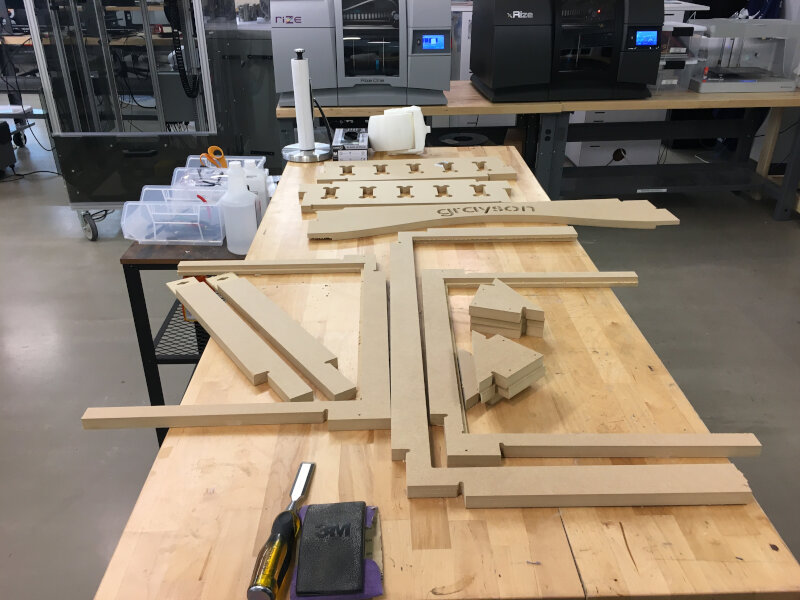
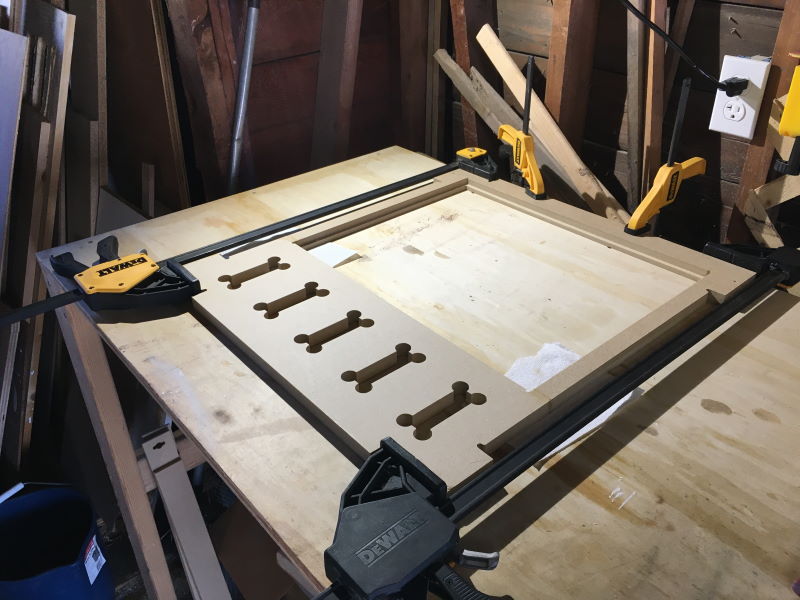
And finally, both sheets were ready!
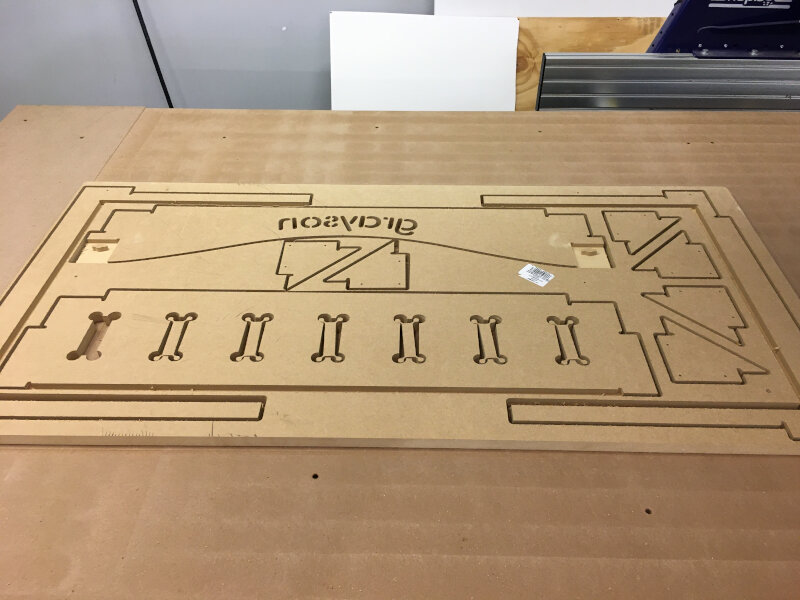
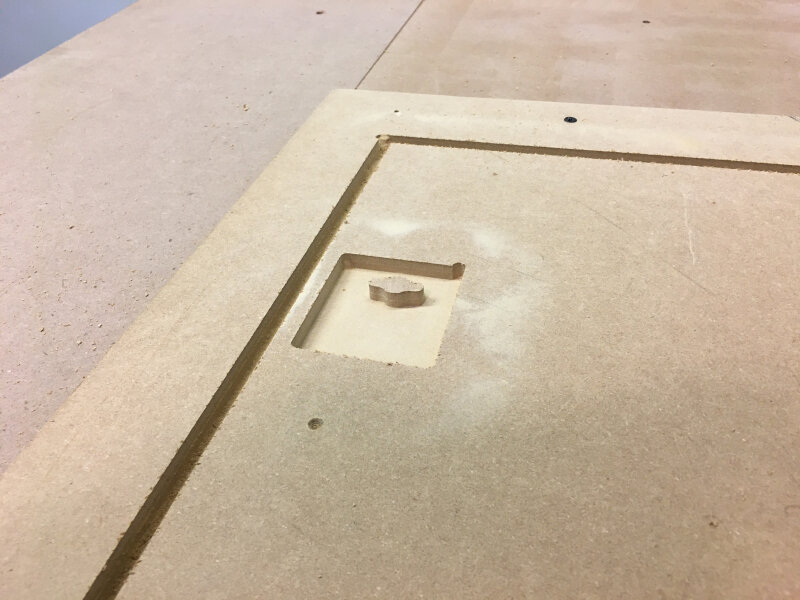
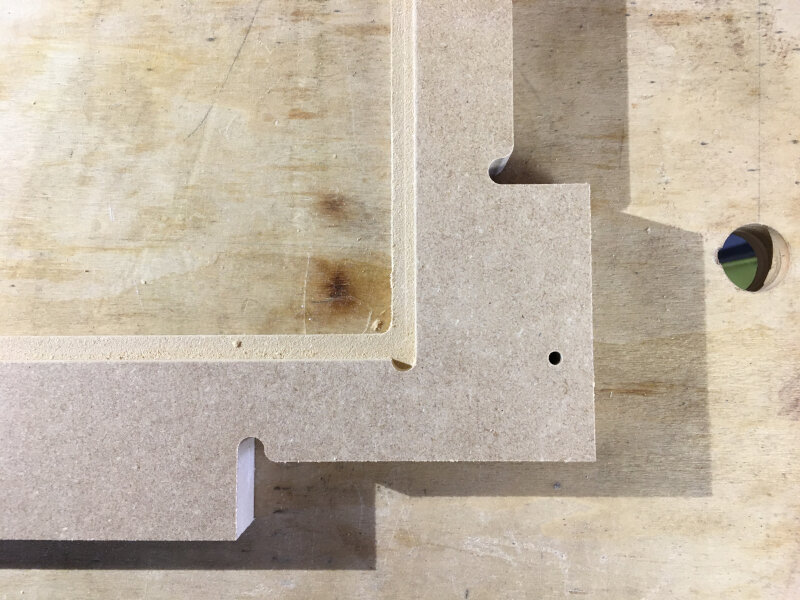
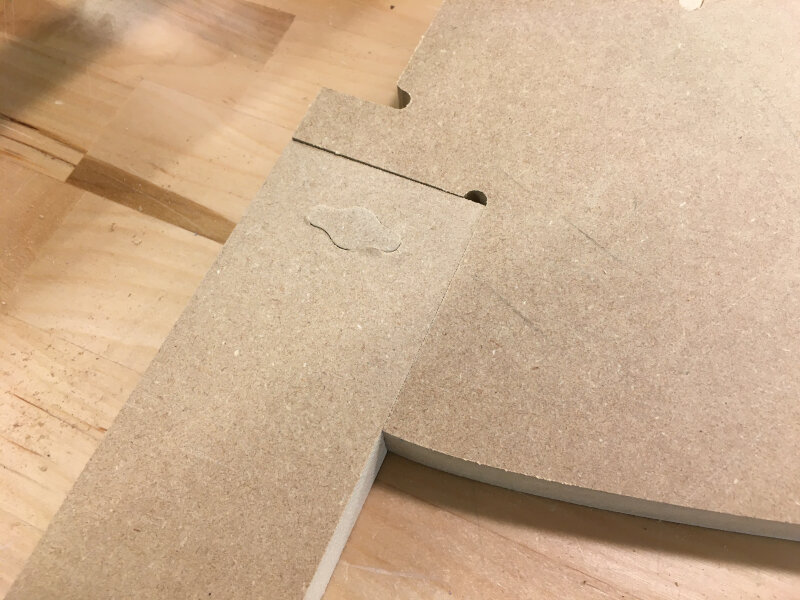
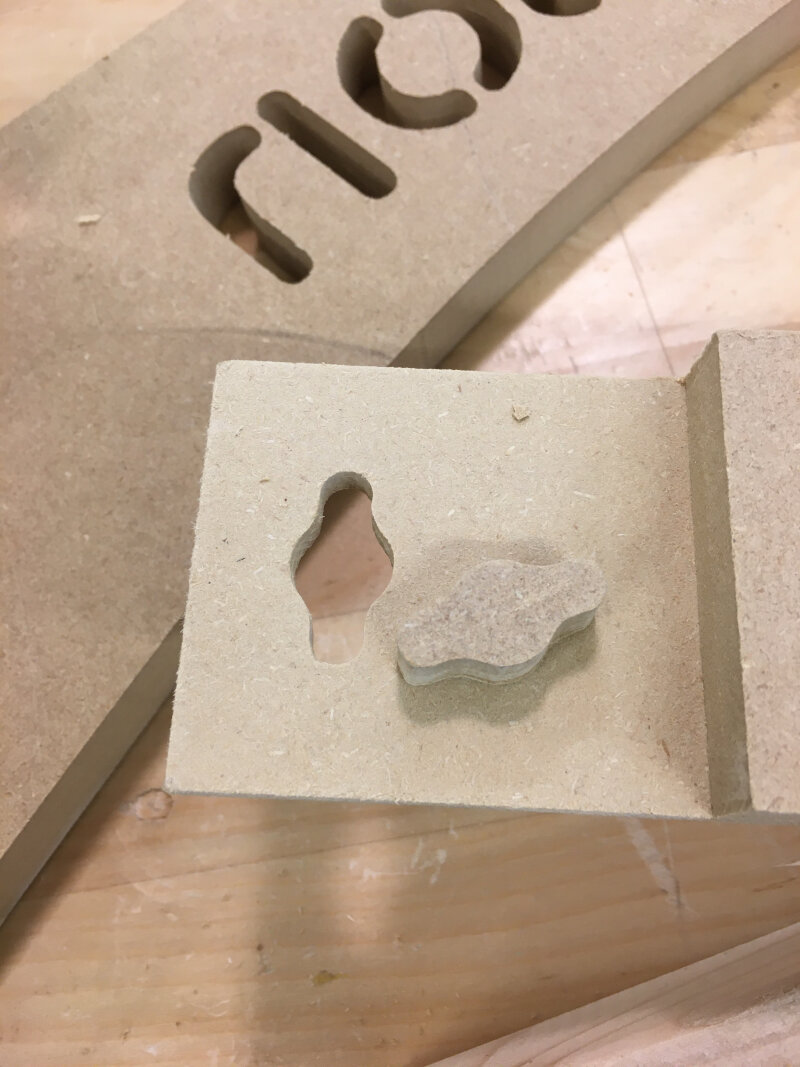
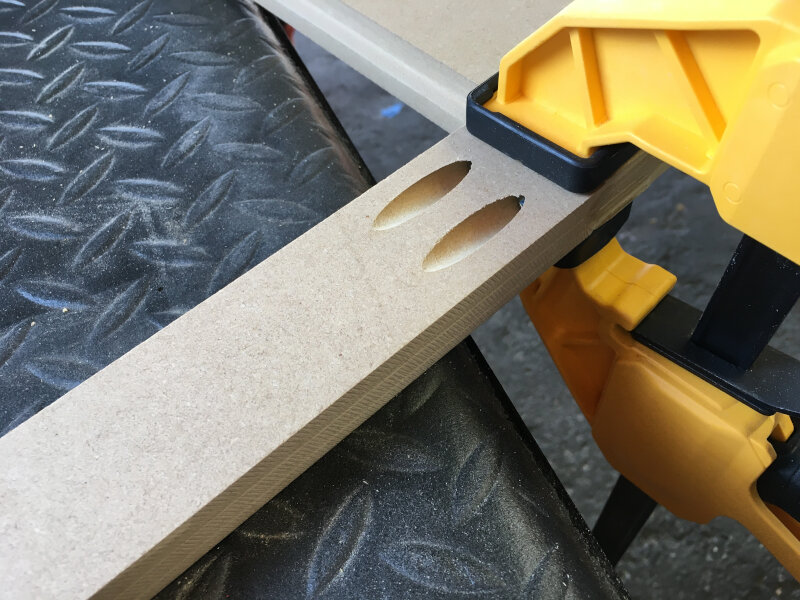
I found this detail of a corner, showing the recess for side panels and the dogbones required for assembly, quite interesting to look at:
# Assemble
Now that we have all of our pieces...
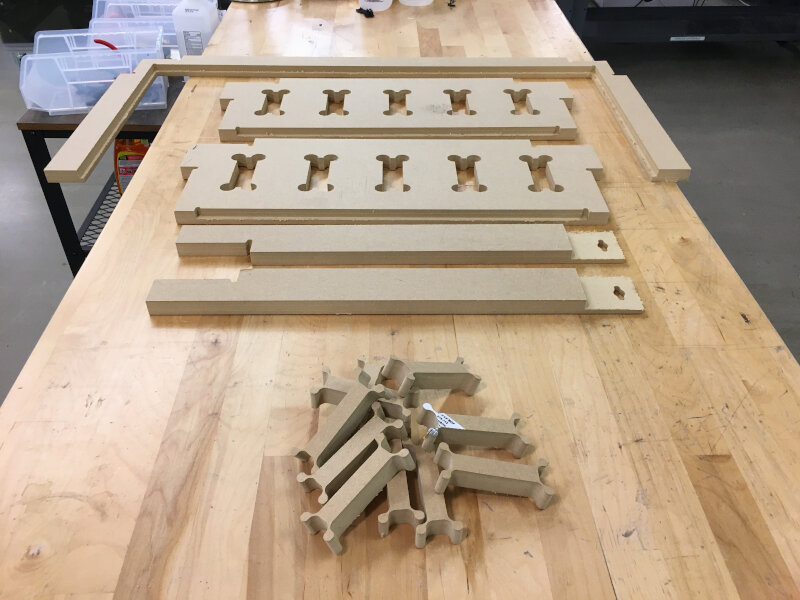
We're ready to start assembly!
The most urgent step here was to test out the key in the half lap joints. Thankfully, the lab has a large mallet for just such a purpose.
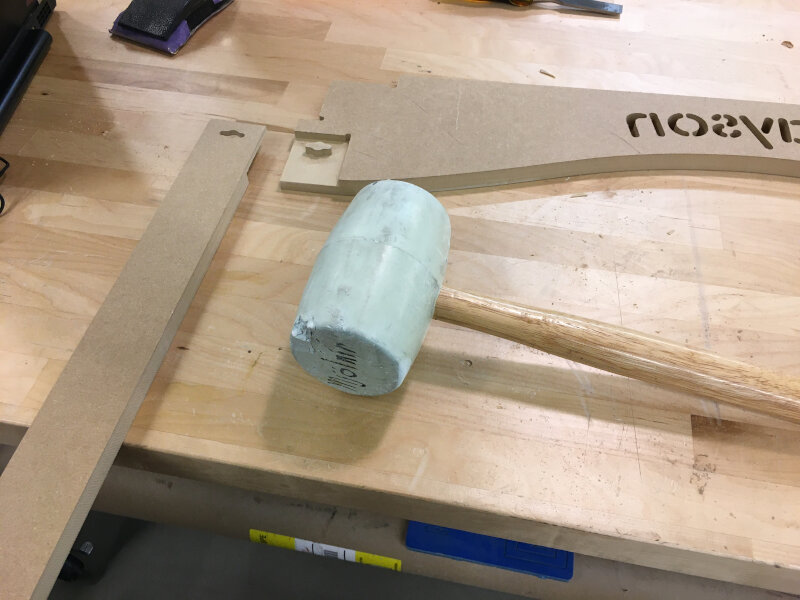
Victory! It assembles quite nicely! Time to take it out, add glue and re-assemble.
Oops.
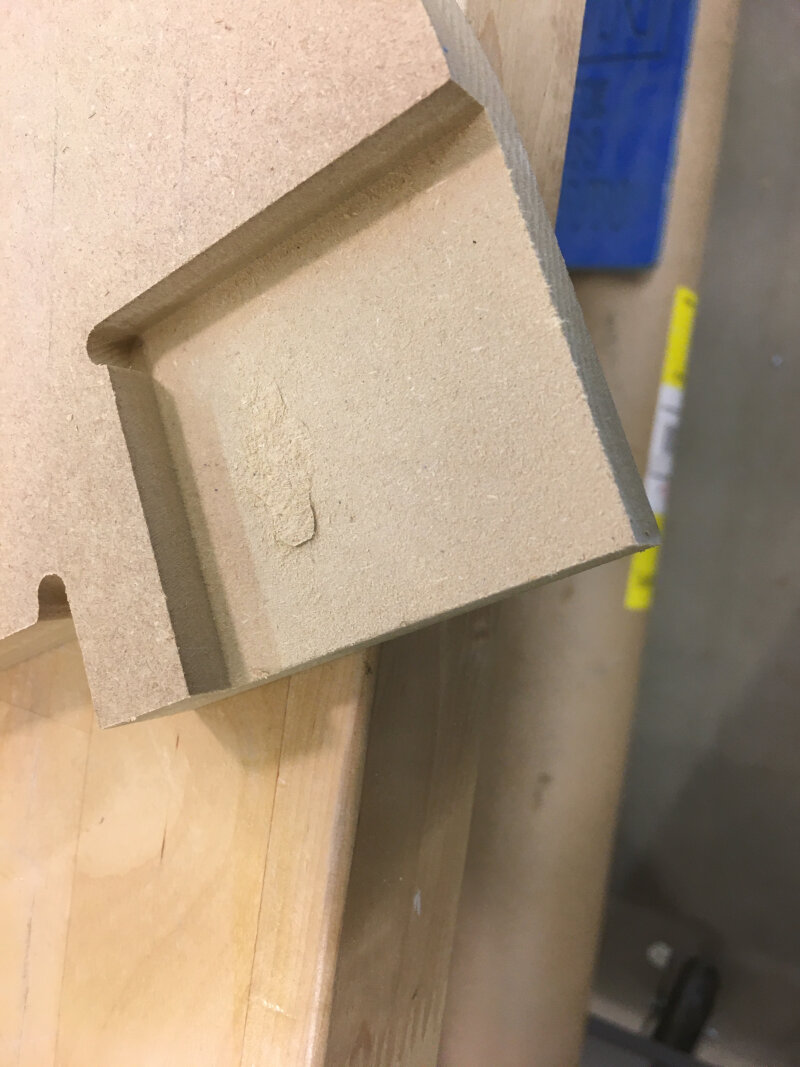
Oh no.
Well, that didn't work.
As should perhaps have been obvious, this design didn't take into account that the fibers in MDF are quite fragile (it is mostly sawdust and glue, after all...) and will not resist this type of stress.
In the end, rather than go back to the drawing board, I kept this part and just glued it all together. This is a useful lesson for the future, however: I still think this type of key can be useful but it needs to be larger to limit this problem. Some sources online also recommend matching the direction of the key to the grain of the wood, if using something that has grain.
Let's press on with assembly!
Some panels were glued:
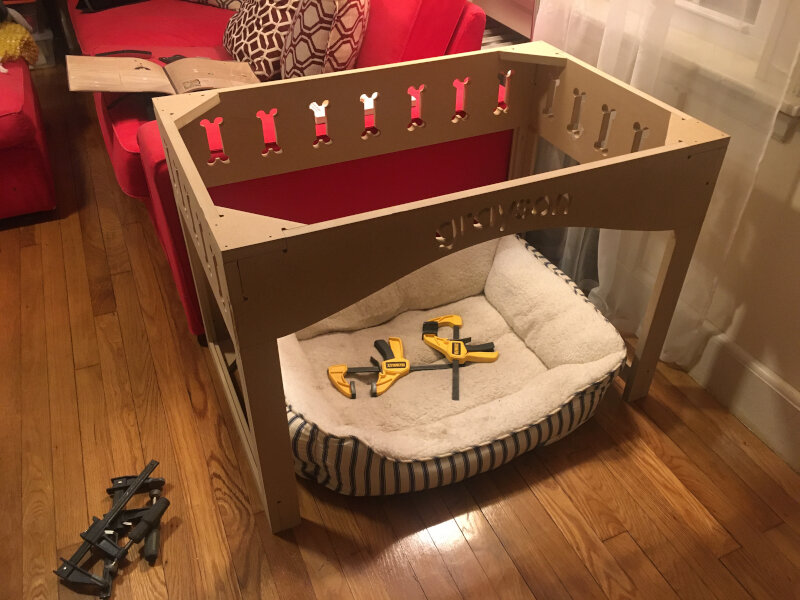
When this proved extremely annoying to do in practice (largely because wood glue does not dry well in a freezing cold garage), some panels were assembled with pocket screws:
Finally, with the panels assembled, it was time to test fit the corner pieces and see how stable the whole assembly was:
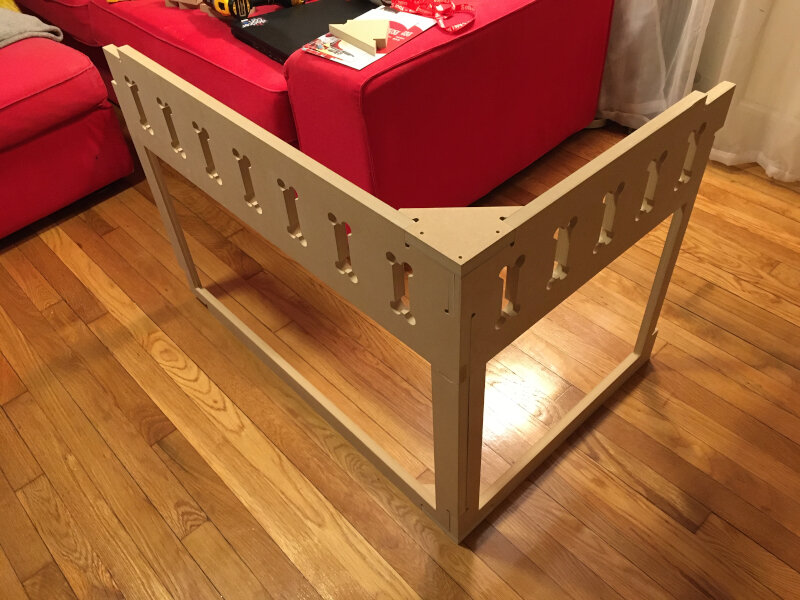
And finally:
# Finish
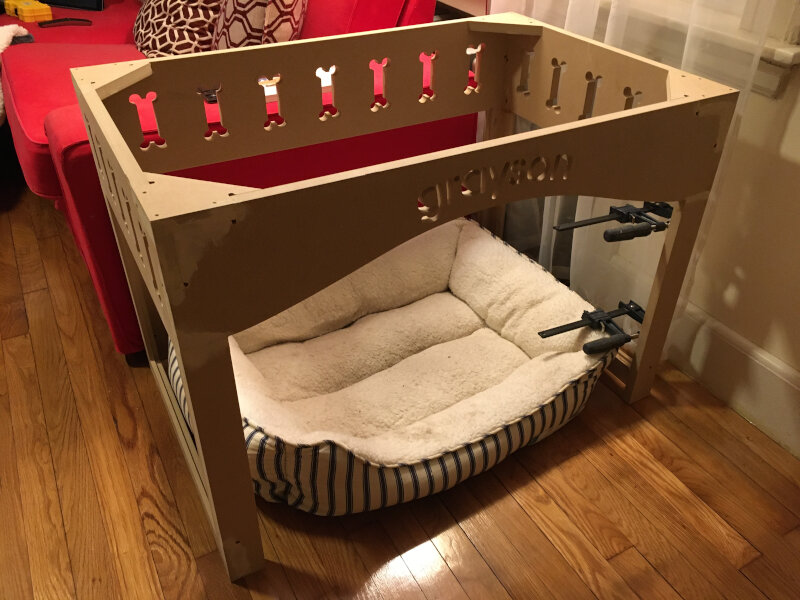
Finally, after assembly, the bed was sanded and painted! I'm actually not 100% finished with this step but the results are fairly satisfying already:
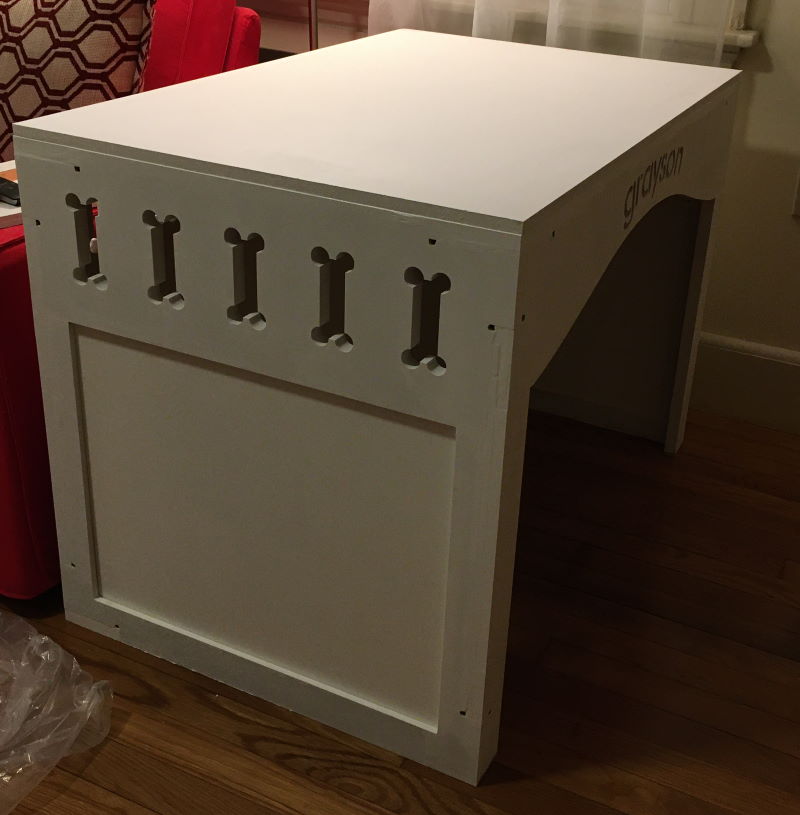
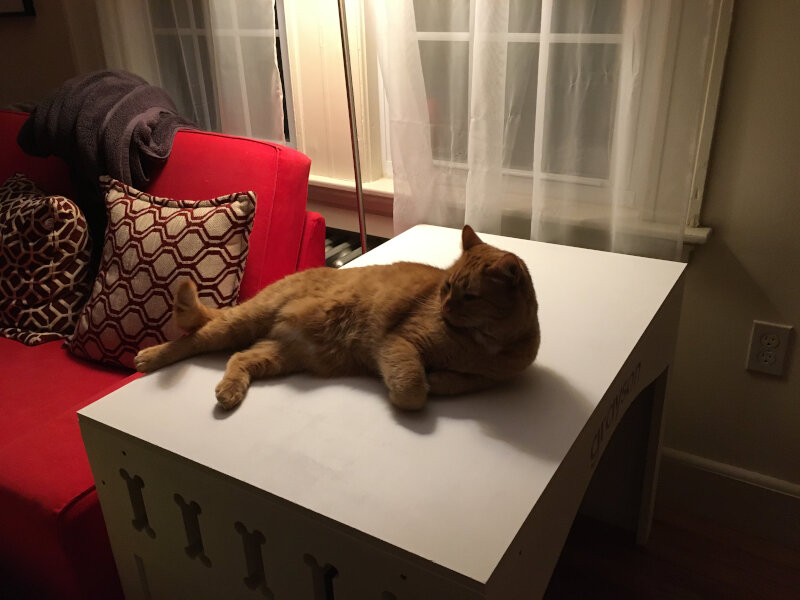
This design also passes inspection from both pets: