Notes from Greg's Lesson
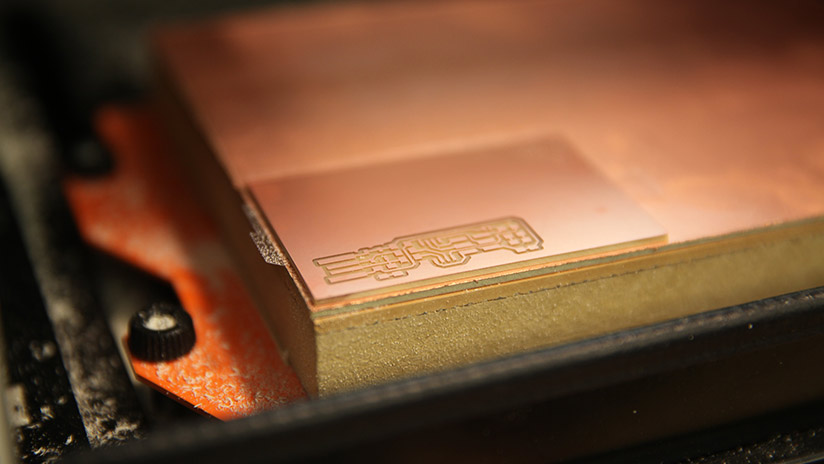
This week, we are building an ISP which is an in-system programmer. It's kind of like a microcontroller which is a small computer that can have some information on it... microcontrollers are on arduinos. We will use FR1 Copper Clad Boards which have a thin layer of copper laminated on to an insulator that will not conduct electricity. We then mill that board to create our printed circuit board. The parts we soder to are called pads which are the square looking things.
Greg's drawings always really help !
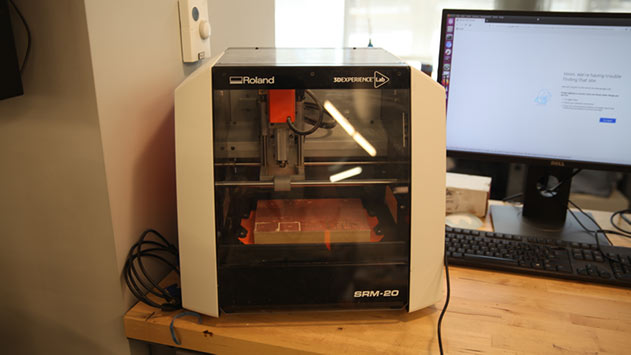
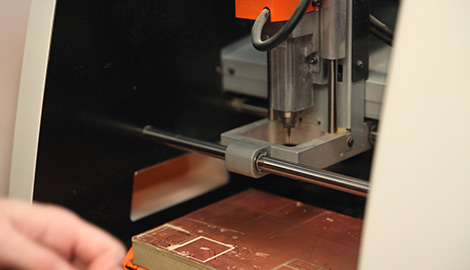
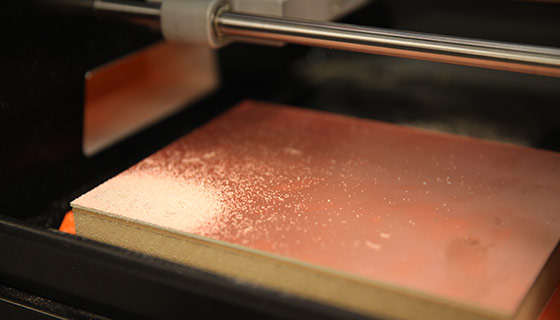
The PCB Mill. Roland SRM 20.
Greg got started by pulling up mods and seeing if the Roland and computer were connecting.
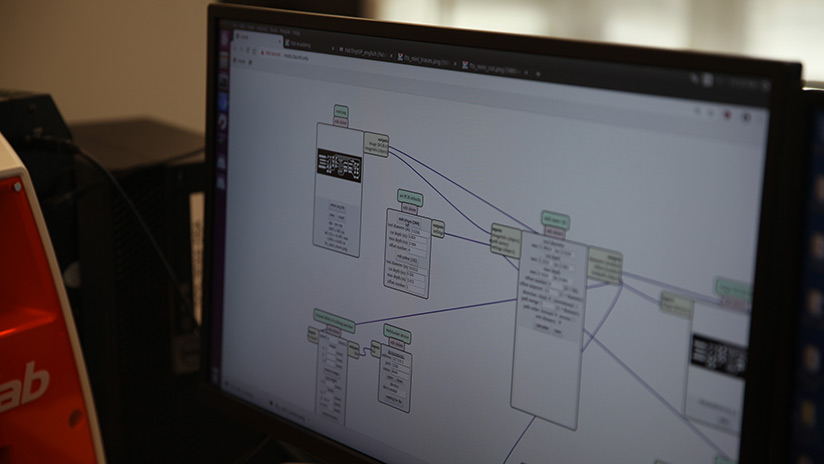
This is mods with our TRACE file pulled up.
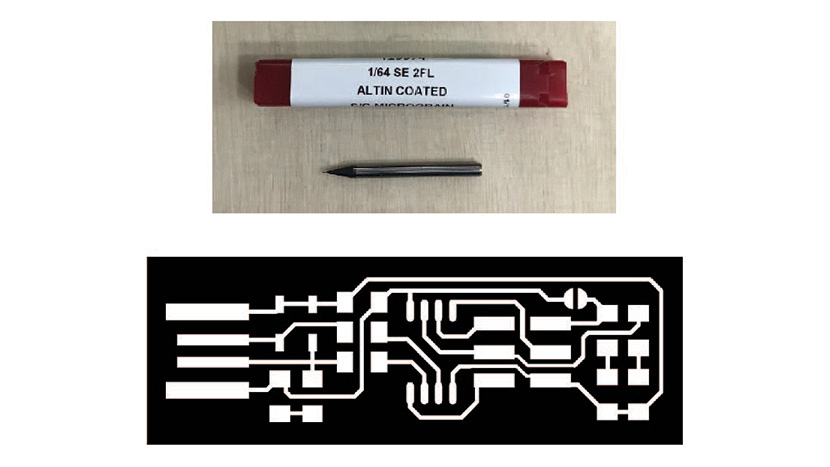
We milled this using a 1/64 bit with the TRACE file.
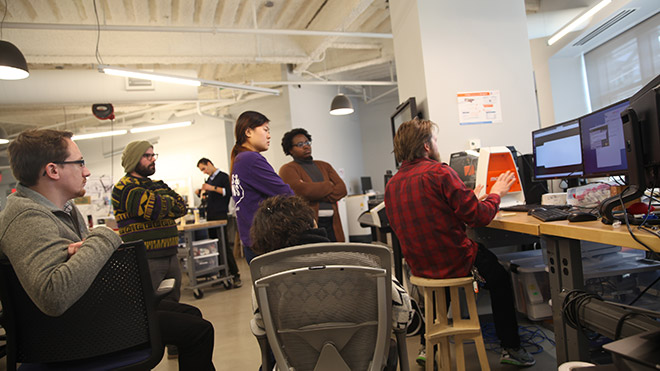
I wondered why we wern't using a reuglar CNC and Greg explained it's because PCB mills have micron level precision. We then cut the board out and Greg began to show us how to solder and collect our parts.
Greg used double sided tape to keep all of the tiny pieces together.
Greg used double sided tape to keep all of the tiny pieces together.
Group Assignment
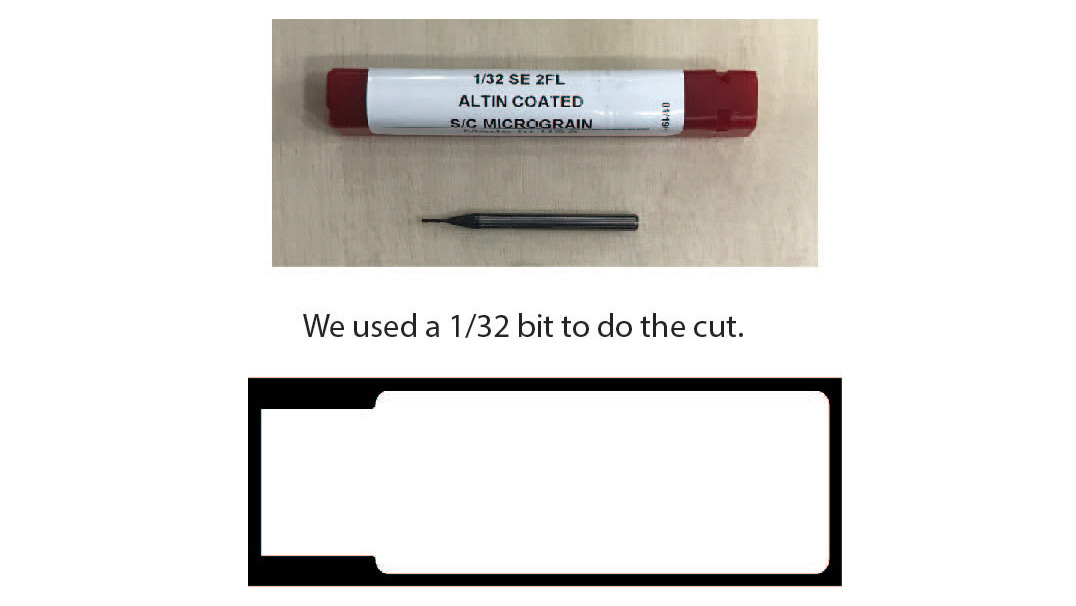
The group assignment for this week is to characterize the design rules for our PCB production process. We use this detialed image with both a 1/64 inch bit and a 1/32 inch bit.
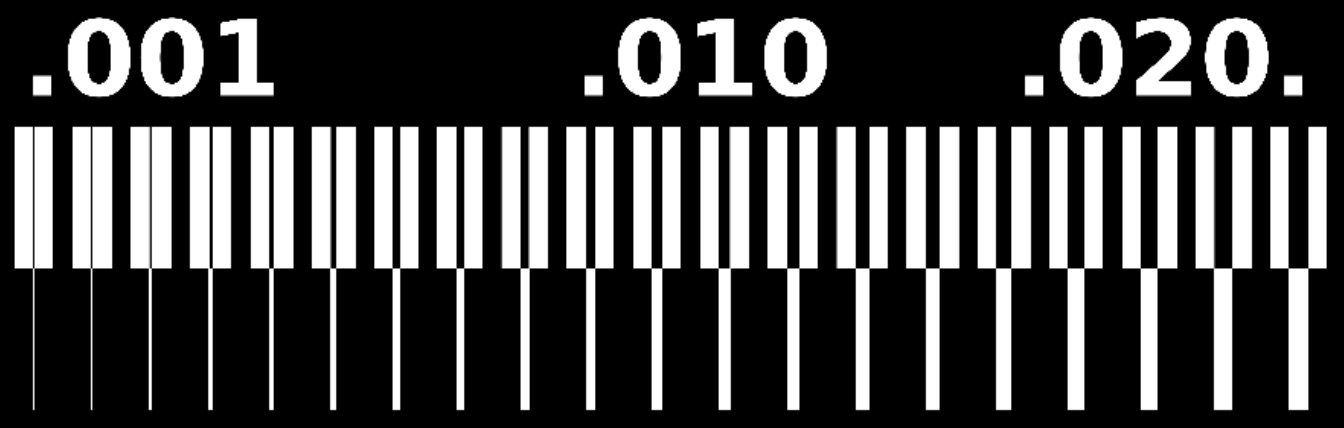
This is the trace we used to measure how the different bits perfromed...
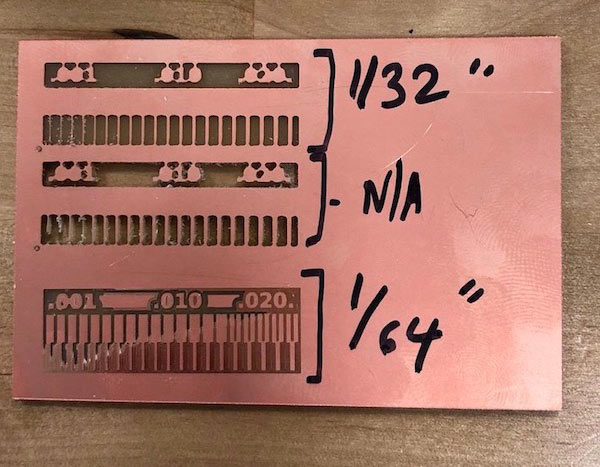
These are the results.
Now, my turn...
Choosing Bits
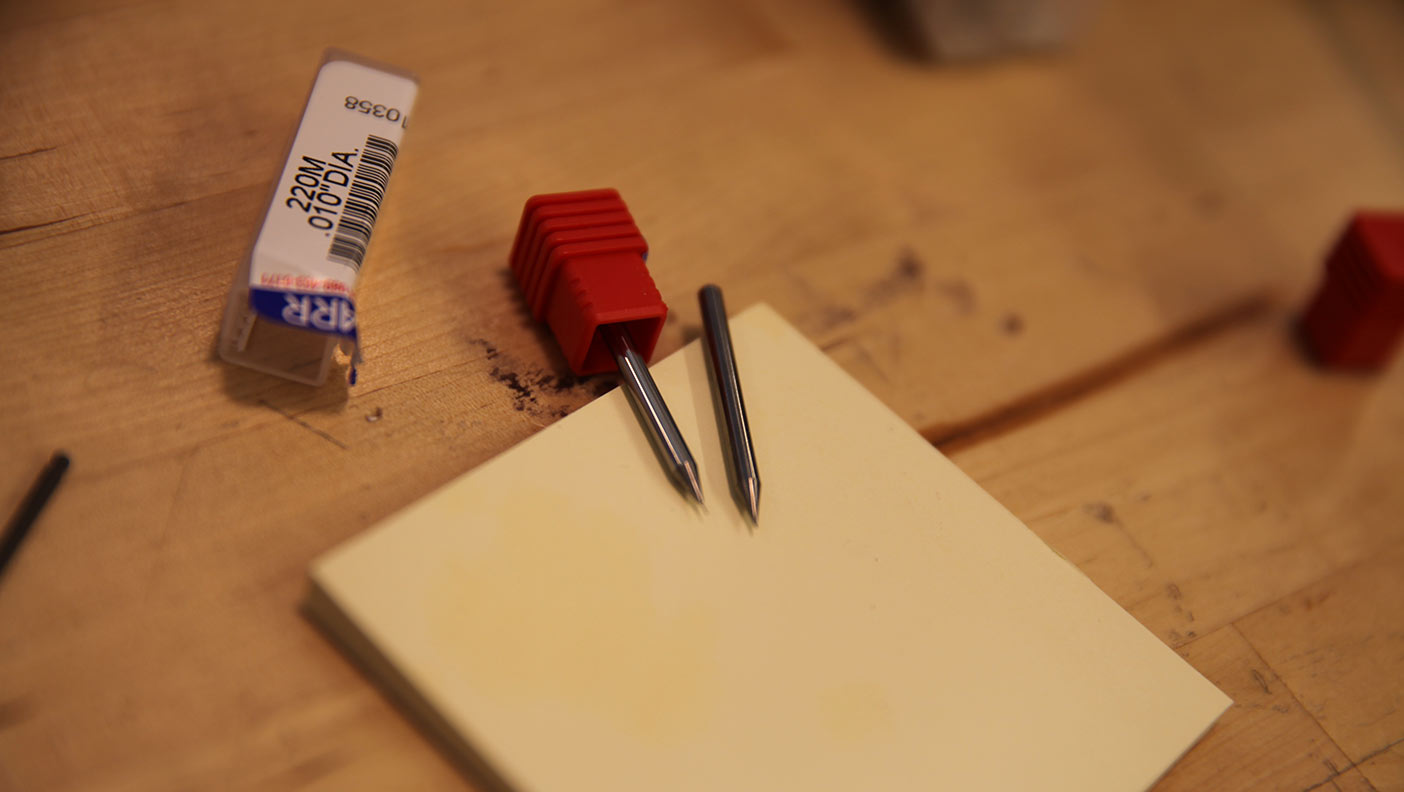
We started by trying to decide which bits to use.
Insert Tool in Collet
We used a small hexagonal wrench while holding the bit lightly with one finger.
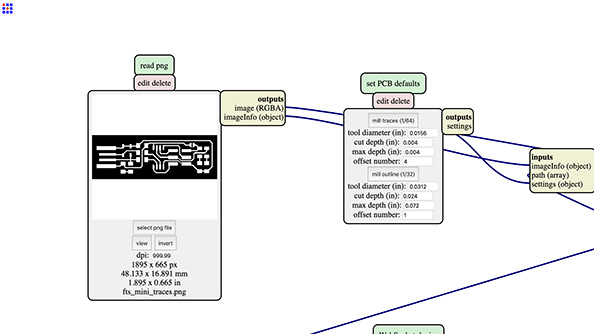
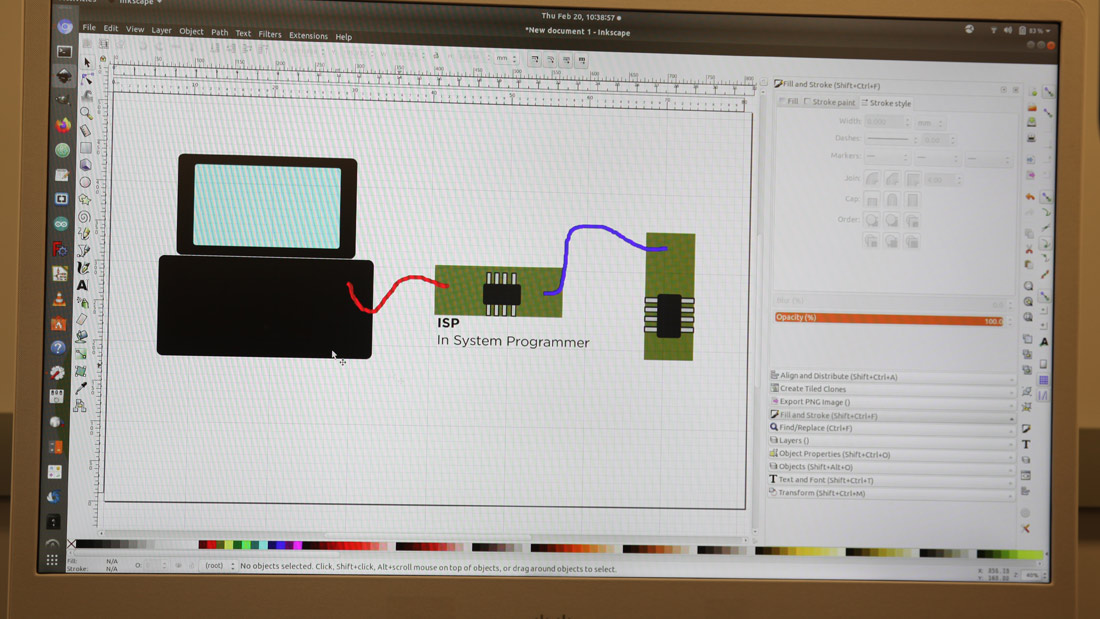
Mods
To create the toolpaths, we used Mods.
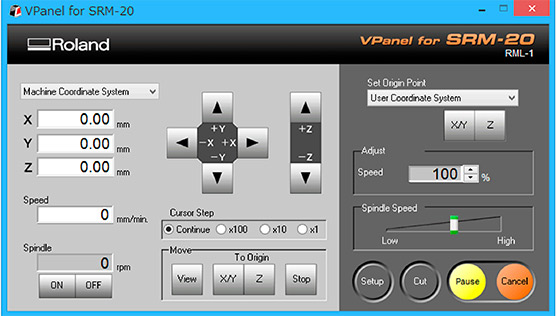
V Panel
We also ended up using the V Panel which is Roland's software. We mostly used it for setting the z axis and homing.
Secure Copper Board to Sacrificial Board
We tried to find carpet tape or event double sided duct tape but ended up trying to use painters tape with super glue... we ended up using double sided scoth which still wasn't great.

1/32 Didn't Work the First Time
In hindsight I think we must not have programmed something correctly but at the time we thought it was too big...
Some broke...
We ended up breaking a few bits really small bits. The first because the jog hieght wasn't high enough and the second mid way through the cut.
Then we tried the 1/64
We tried the 1/64 for the trace and it worked.
The right bits...
We tried the 1/32 for cut and it worked.
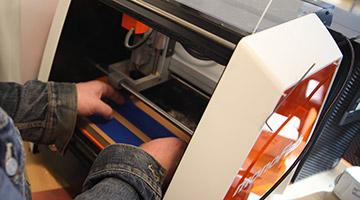
Leave it in!
We did it! And then I used a small vacuum to clear the dust so I could see if it did what I was hoping. Then we took out the 1/64 bit and swapped it for the 1/32 bit and cut it out.
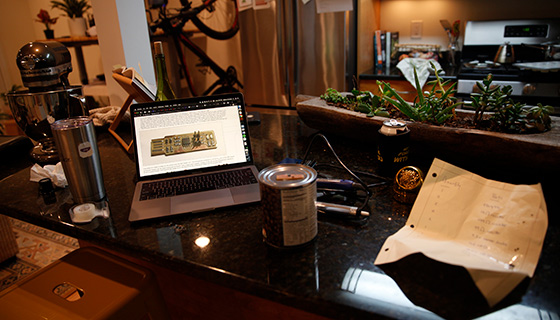
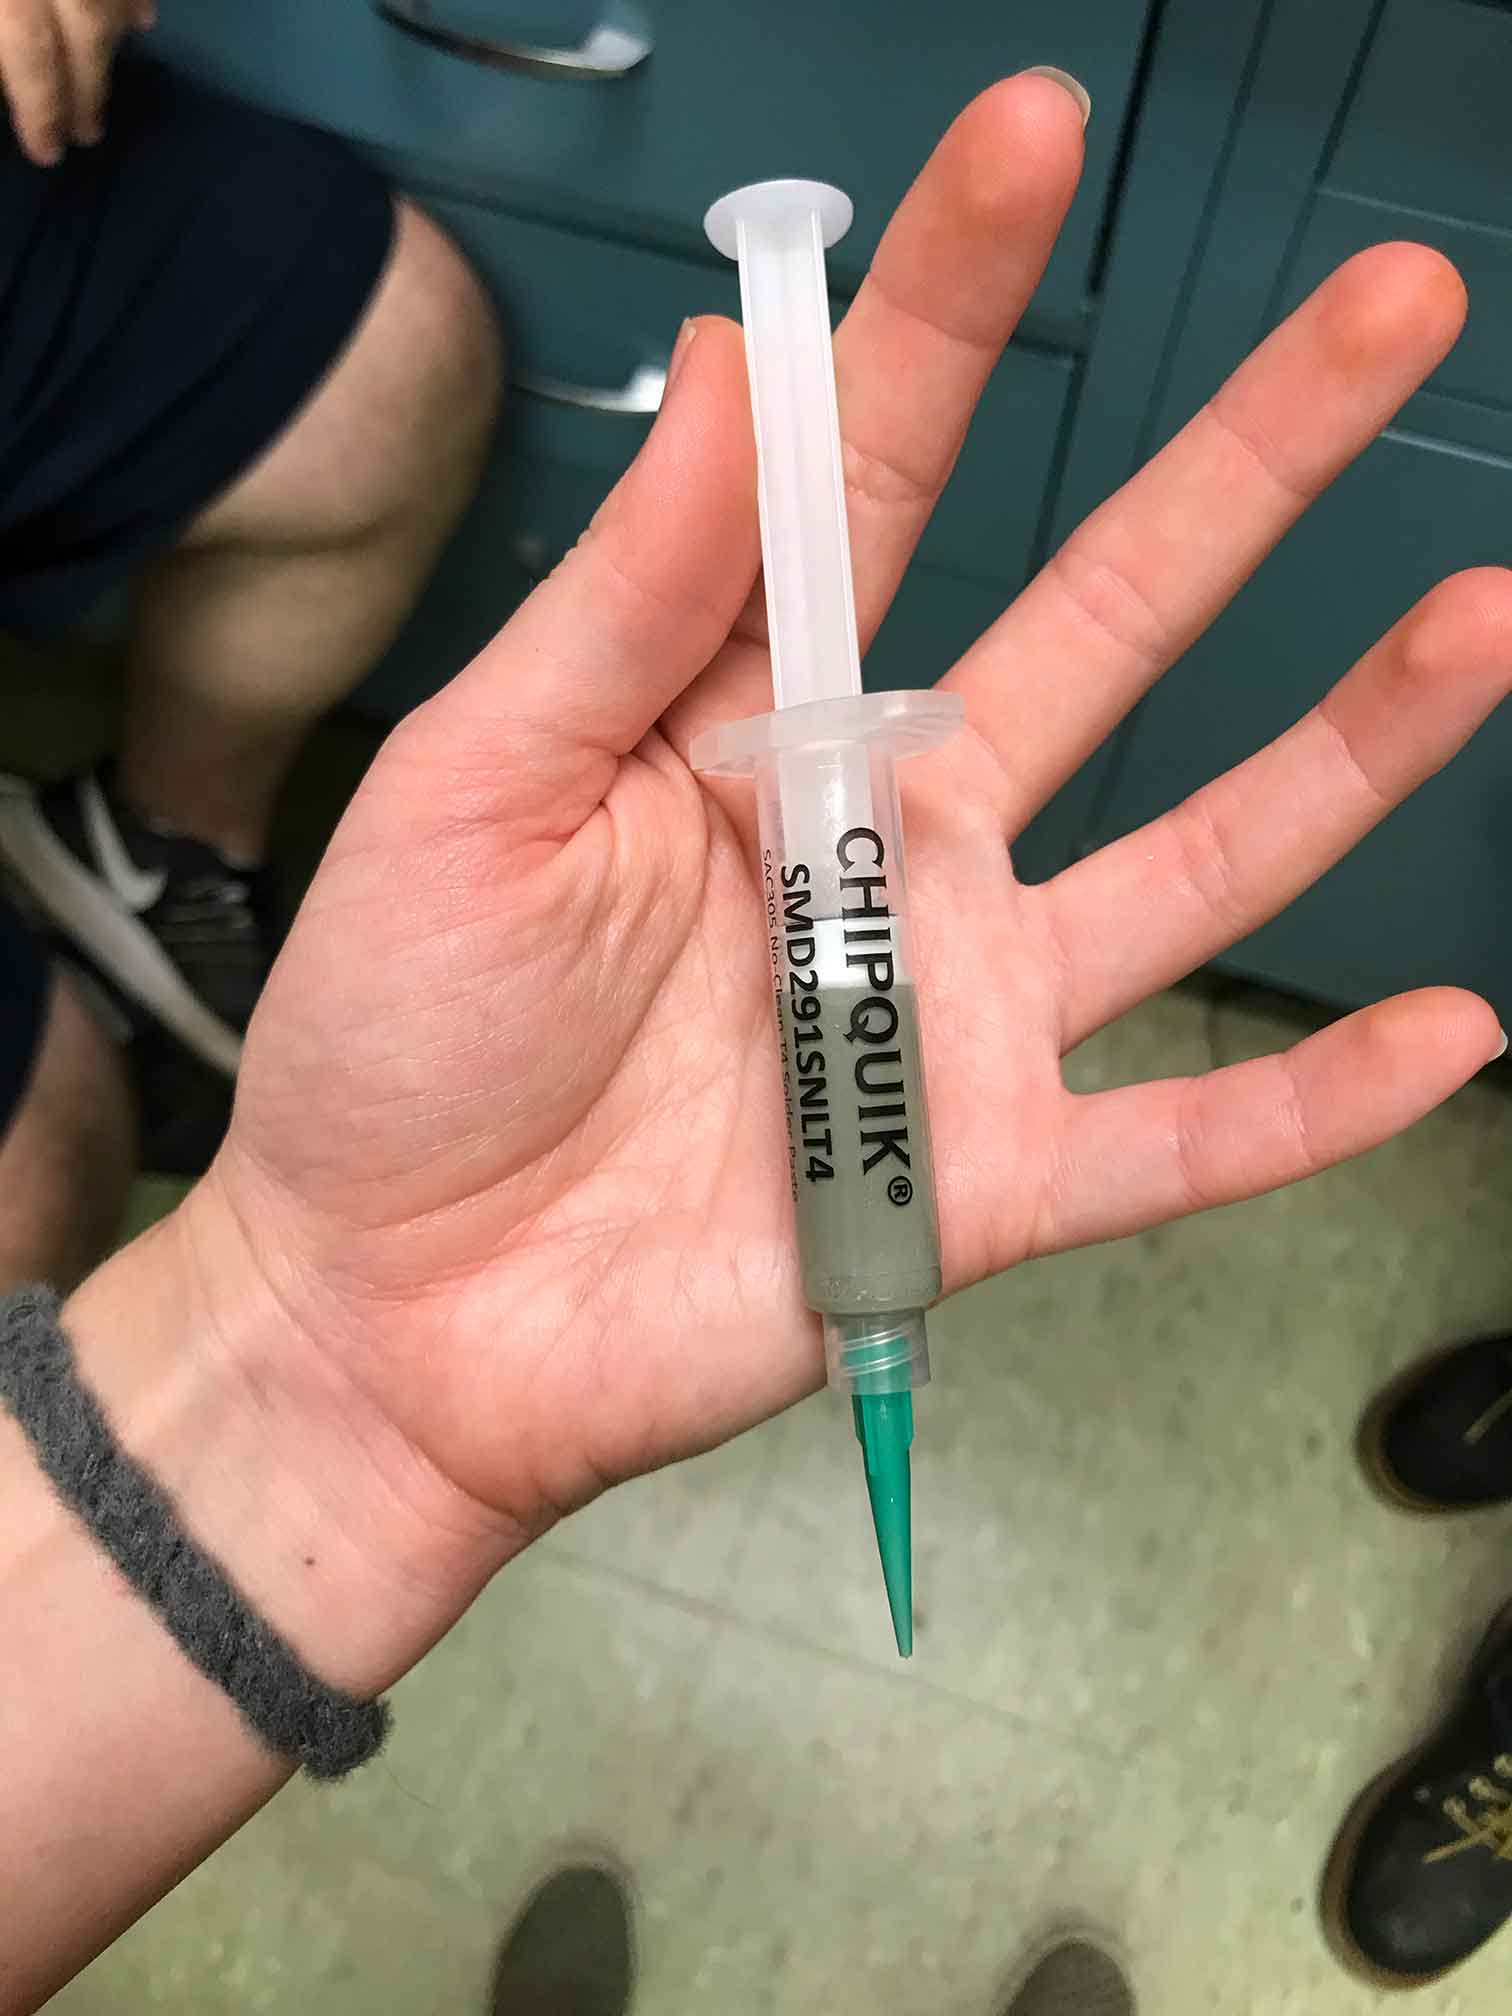
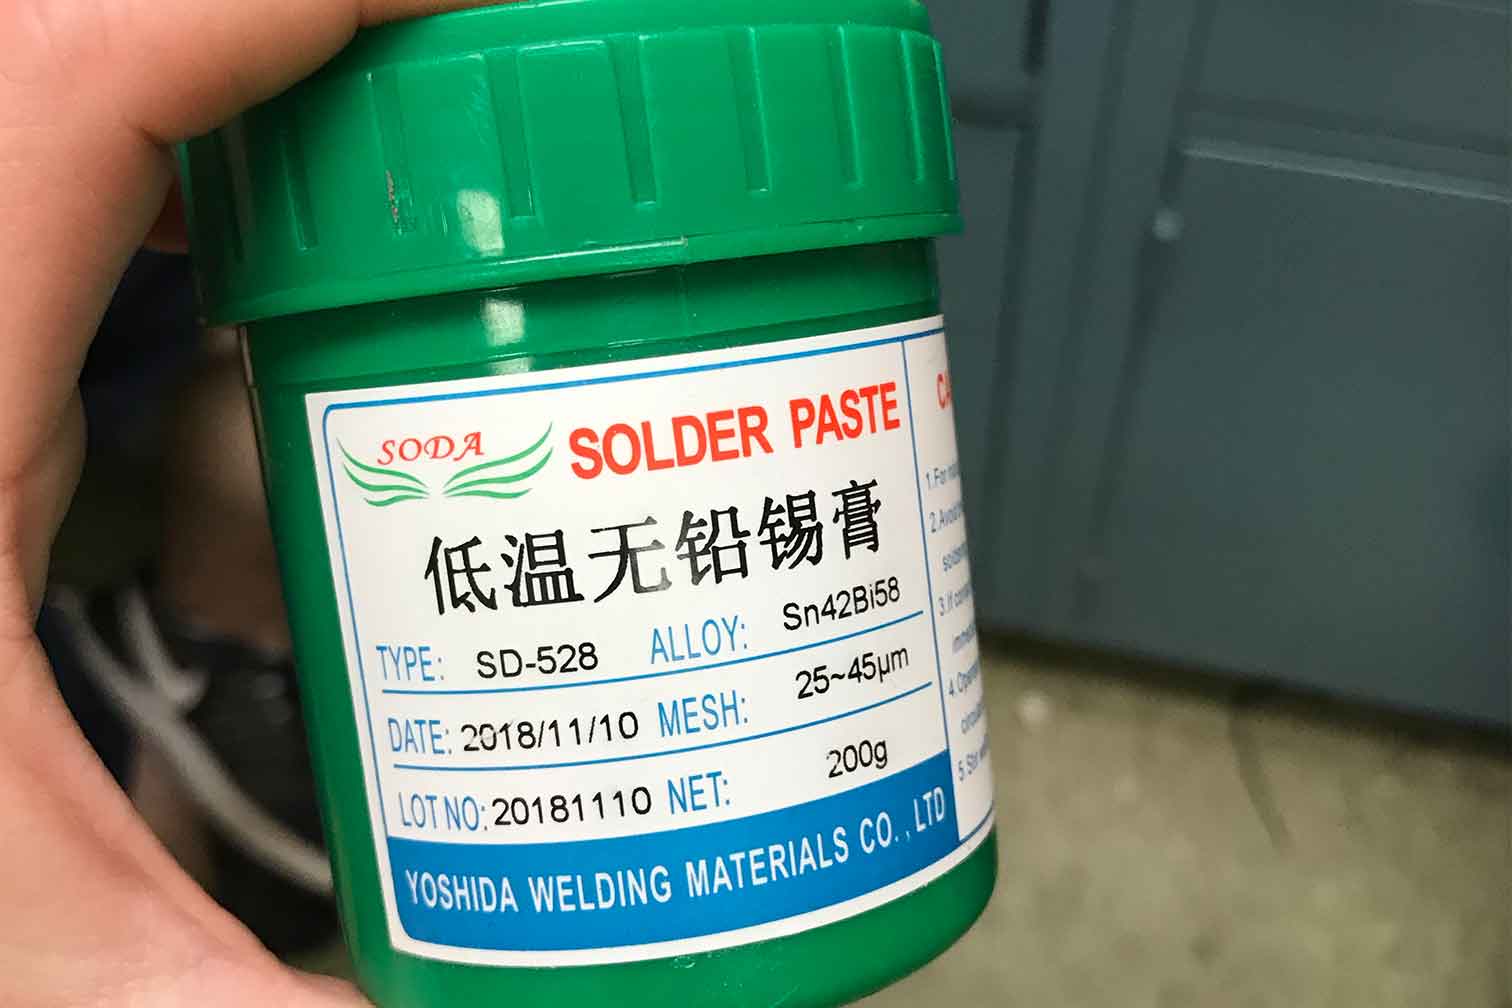
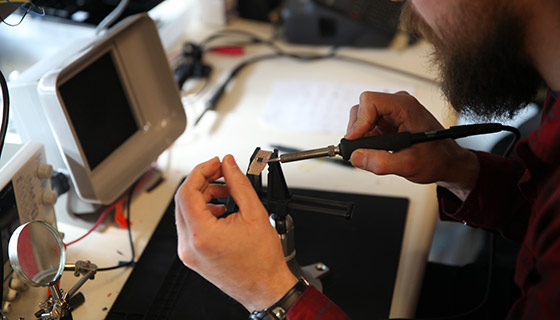
Time to solder
I don't have a soldering station so I set up in my kitchen where we have the brightest light. This was the hardest part for me. I didn't understand why certain components needed to be oriented in specific ways while other didn't.
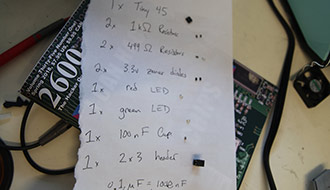
What components do I even have?
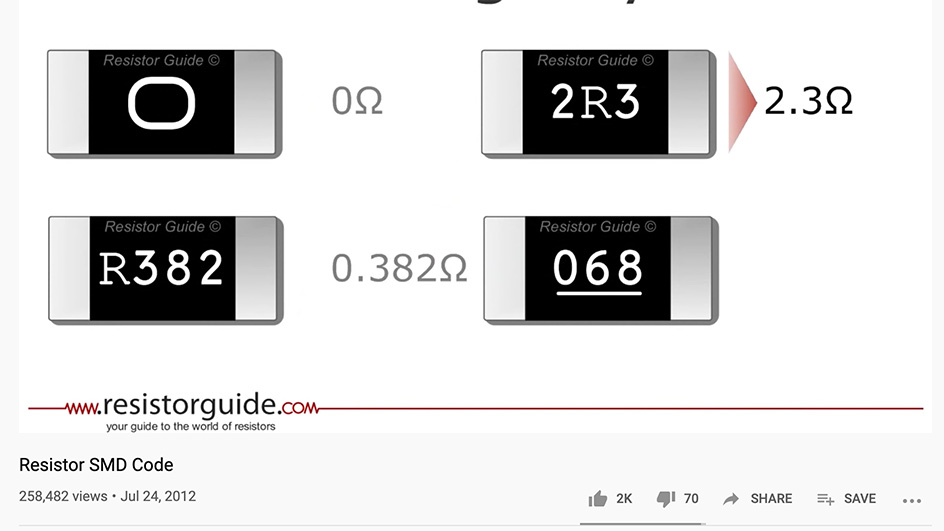
At the beginning I just quinted really hard and tried to use the photos other students took to see how my components were supposed to be soldered on but once I realized my components didn't even look like the right ones I had to do some research. This video taught me that the ohm symbol is like a decimal. That helped so much!!!
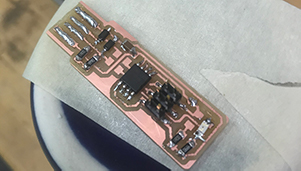
Missing Components
This was where I realized I didn't have the rest of the components. I almost gave up here.
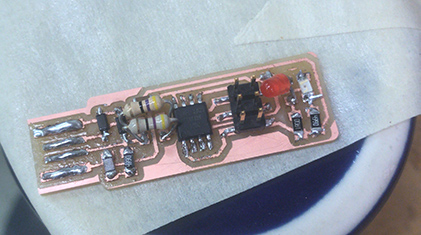
Call in the Subs
A student who studies where I work was intrigued by what I was working on and volunteered to help me out. He explained to me that resistors aren't poloraized? That there orientation doesn't matter. And then he gave me the smallest ones he had and a red led... and I tried to make it work. This one did not pass the smoke test though the light did turn on!
Up next... Program it
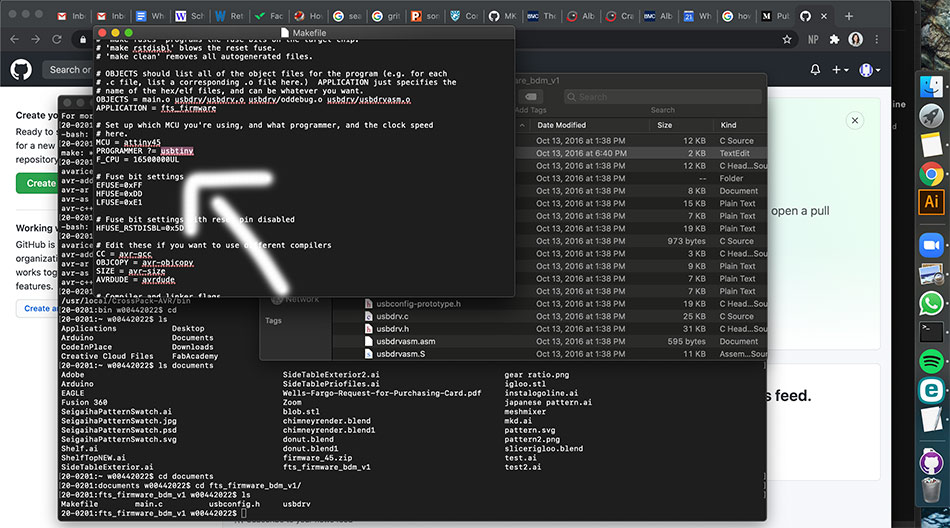
Super important to do this step... Basically when you get to this step, you need to type in usbtiny which identifies the programmer you are using. Otherwise the computer doesn't register that it's there.
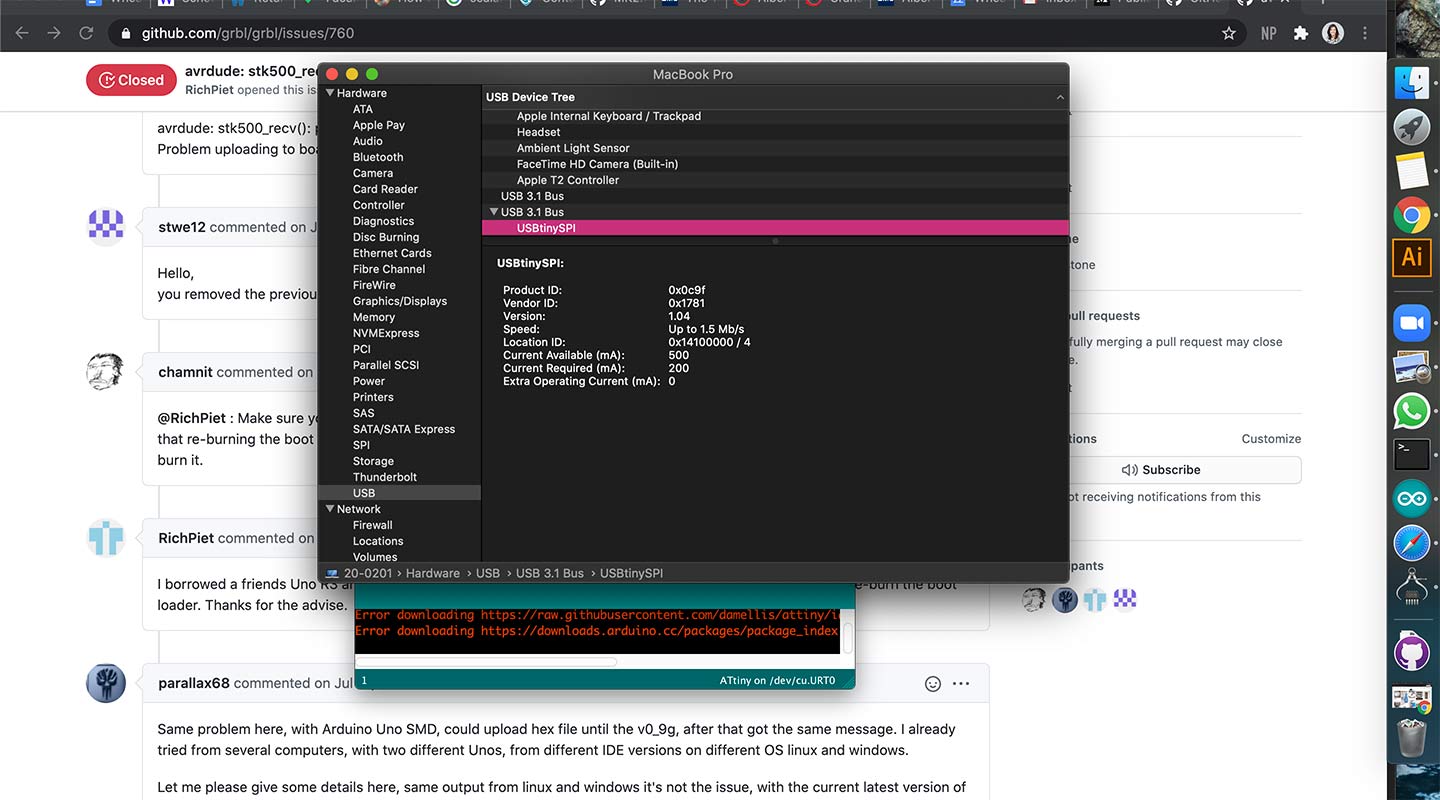
I was having alot of issues getting the board to be recognized by my Mac.
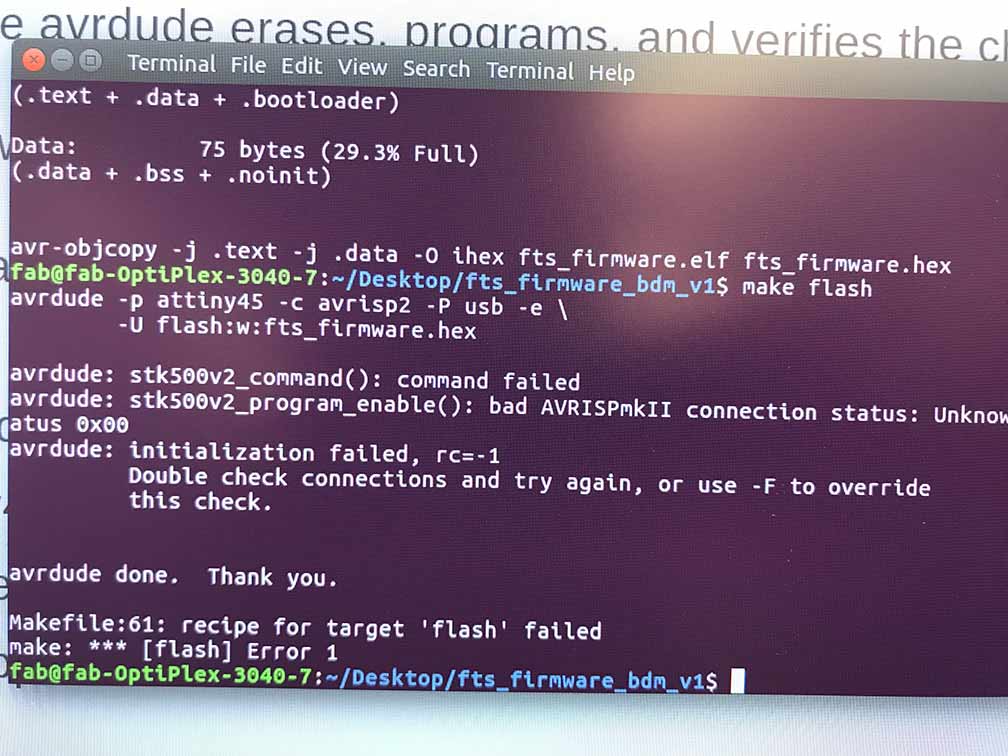
Some troubleshooting on the terminal on a Linux in the lab... and ten migraines later...

FYI, doing this on a Mac (especially if you have the new one) is near impossible.

More things happening...
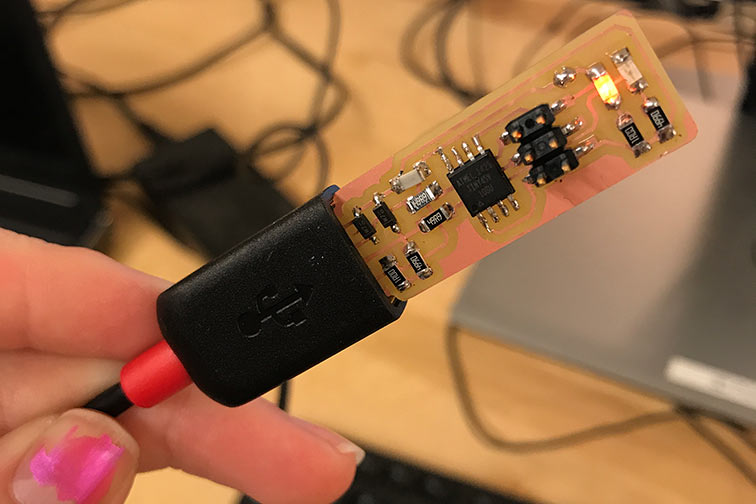
And then... the most woderful thing happened!!! :D And it passed the magic smoke test! As in, the magic smoke stayed in! LOL!
Some tips
Learn how to perform a continuity test. A continuity test can be done using a multimeter and is used to determine if an electrical path can be established between two points; that is if an electrical circuit can be made. If you have a new Mac, give up now on trying to use your Mac. Use the Ubuntu hooked up to the lab hooked up to the Roland Mill. Apple has made it extremely challenging... Also, READ the tutorial thouroughly! This may be pathetic, but I only realized there were tutorials one month into FabAcademy. These are there for a reason and you should read them! While this week at the time didn;t make alot of since I ultimately learned how to use an ocillioscope and I learned alot more about what each of these individual components do and hos they work together. See a board that works and a more detailed description of what happened and why on my Final Proejct Electronics page.
Solering 101
Before this week, I never really soldered before and an in depth lesson would have been helpful. Greg showed us the basics but I think more research and hands on practice with different techniques is necessary. If you google "how to solder", you're not going to get great information becuase the type of soldering you will need to do in this course is specifically doing ALOT of surface mount component soldering. What this means is basically tinier pieces and higher precision. Below is a video I ended up watching which goes through how to apply flux and braid and how to solder REALLY tiny stuff. This week was the easiest week in terms of soldering and it only gets harder from here so PRACTICE! And do research on good materials and techniques :D