Week 10: applications and implications
individual assignments
Propose a final project masterpiece that integrates the range of units covered, answering:
Your project should incorporate 2D and 3D design, additive and subtractive fabrication processes, electronics design and production, embedded microcontroller interfacing and programming, system integration and packaging.
Where possible, you should make rather than buy the parts of your project
Projects can be separate or joint, but need to show individual mastery of the skills, and be independently operable
and my original idea for final project
for this assignment you can go to the final project tab on the menu or here to see what is all the fuzz about
in here i'll just try my best to answer the questions on the assignment directly like a regular quiz
- 1.- What will it do?
in order to answer this completly i should mention my problem
so, i've been working now as a tech advisor in our fablab and' i've noticed the lack of order in the user that has access to the machines in our laboratory
we are located inside an university campus so the laser cutter and 3d printer and such are aviable for the students at our university
only those who has taken the propper course can use the registered machines
so, this final project is an assistant for the fablab tech advisor personel.
in order to allow students to use the machines and automatically register their uses
- 2.-Who's done what beforehand?
this i already answered in week 1 i belive, before starting academy 2020 i was looking for inspirations and ideas and i came across something like this my final project here philippe's final project was aiming to help the fab tech advisors with something similar like i'm proposing he and i shared similar ideas of functionality
- 3.-What will you design?
philippe's final project used a solid state relay (the kind that is used in heating elements in thermoforming machines) to switch the control signal into power supply and i aim to use a magnetic contactor for 3 phase machines like our axyz router, so philippe's case won't help me in my design i have to make it a little bigger to store all the components in a case i'll have to redesign all of the housing elements
- 4.-What materials and components will be used?
i'll try to mantain all of the materials as common as posible in order to easy the replicability i think i'll stay with acrylic and MDF for the laser cutted parts and PLA for the 3D printed ones
- 5.- Where will come from?
i don't quite follow this question but i'm getting it from our local vendors.
we already have some components in our lab for the electronics and MDF and PLA for the mechanic assembly parts.
- 6.-How much will they cost?
i still do not have this answer yet but i can make some predictions.
- (1)1220mm X 2440mm X 3mm MDF= $ xxx.xx
- (1)1220mm x 2440mm X 3mm Acrylic= $ xxx.xx
- (1)1 kg PLA= $ xxx.xx
- (10)100mm X 100mm single sided copper board= $ xxx.xx
- (1)2 hp magnetic contactor = $ xxx.xx
- (4)1/2" gland connector= $ xxx.xx
- 7.-What parts and systems will be made?
- housing
- control board
- relay board
- 8.-What processes will be used?
- +i plan to use additive manufacturing for the wall mountin brackets
- + and the rest of the housing usin 3mm mdf and 3mm acrilyc laser cutted
- + some milling on the roland for the pcb's of the final assembly
- 9.-What questions need to be answered?
here i need some info about in how to use propperly a wifi board for conectign to a local server in the campus and comunicate to the data base on sql language
- 10.- How will it be evaluated?
i will use an existing data base with my data as admiinistrative personel of the university and try to use a machine (laser cutter) and read if any value has been added to the data base
project plan
this is the draft of how the progression of the project should be implemented
- 1.-Create a sketch of the general design
- 2.-Create a bill of materials to use
- 3.-Design a good housing for the electronics and the wiring
- 4.-Program an attiny44
- 5.-Make a pcb with a push button and a LED and make it blink with the atTiny whe the button is pressed
- 6.-Make a relay PCB with some headers and use it to turn a light bulb using the atTiny button PCB
- 7.-Attatch a rfID shield to the atTiny board and read some ID's to get the data out of them
- 8.-Control the light bulb using the rfID data without the data base just granting acces with the data of the code
- 9.-Integrate the mySQL database locally on a pc attached to the atTiny to read data from the database and control the light bulb
- 10.-attatch a wifi shield to the atTiny board to read the mySQL data base from a locally served host with a static IP
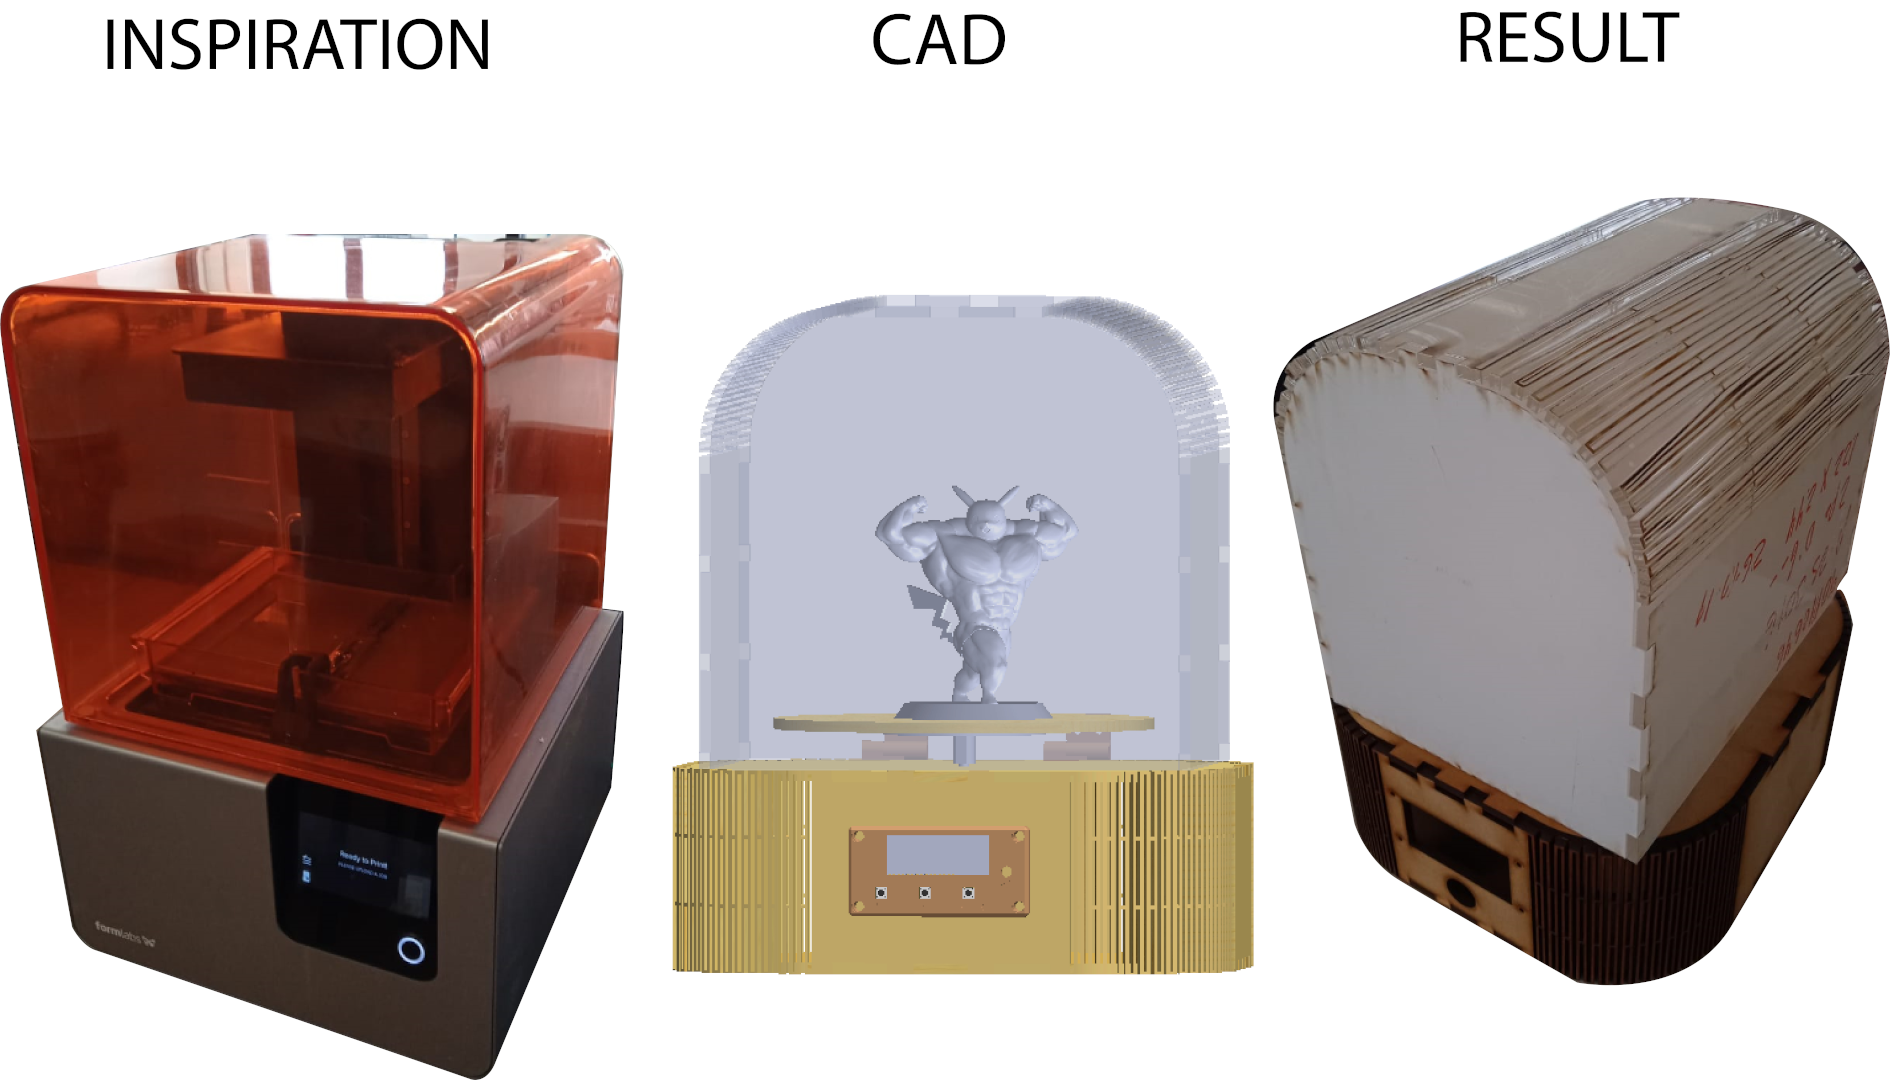
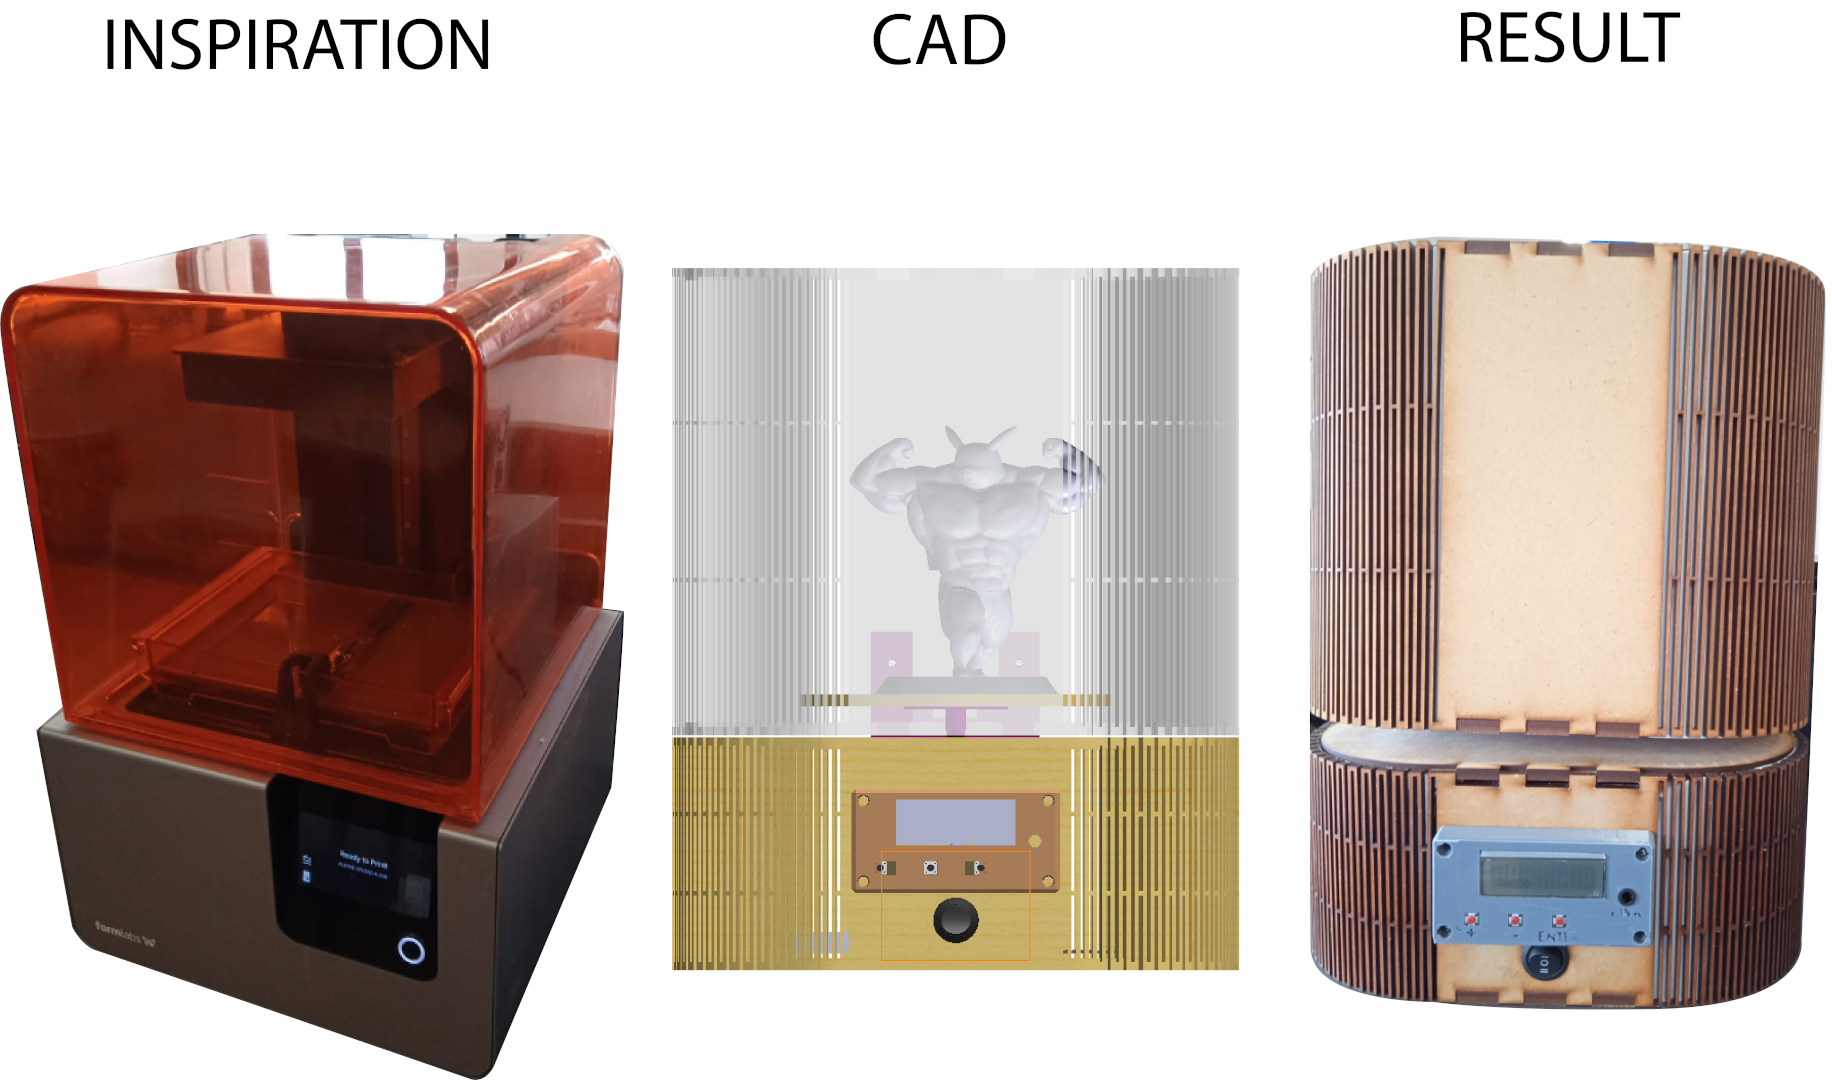
Smart curing station
On week 13 of the fabacademy i decided to change my final project idea.
so here again i will answer in the week 10 assignment for implications and applications regarding the new final project idea
1.- What will it do?
it's Function is to cure SLA prints from 3D printers
2.-Who's done what beforehand?
I haven't been able to find someone from prior years on the fabacademy archives to attempt to do something similar.
But there are several examples although may be not quite as elaborated.
Because the ones that i have seen on the internet are a lot simpler.
3.-What will you design?
I'll design a nice housing from MDF and the electronic circuits
4.-What materials and components will be used?
5.- Where will come from?
6.-How much will they cost?
in order to answer #4, 5, and 6 i will make a list here.
Some of the parts like electonics components, MDF boards and PLA we already have them available in our FabLab.
But, some stuf like mirrors and bluetooth shield i'll be purshasing them promtly.
7.-What parts and systems will be made?
Im making the PCBs for the curing station myself and the housing is made mostly with CNC routing and 3D printing except for the mirrors.
8.-What processes will be used?
- Electronics Design
- 3D printning
- CNC routing
- Laser engraving
- application programming
9.-What questions need to be answered?
i need some info about how to comunicate a bluetooth module to an aTtiny procesor.
10.- How will it be evaluated?
I will cure real prints in our FabLab using the presettings i will integrate in the application. and compare them to a piece cured in sun light.
After my final presentation on 2021
HERE i will summarize what happend along the way with my final project.
But for this assignment i will Summarize all of this assignment again.
First the Name of the project is SMART CURING STATION.
The reason for this to be needed is that we could finish the 3d prints even in the night or a rainy day when there's no natural UV light.
then the comertial products outhere are quite expensive about $699.00 USD plus taxes LIKE
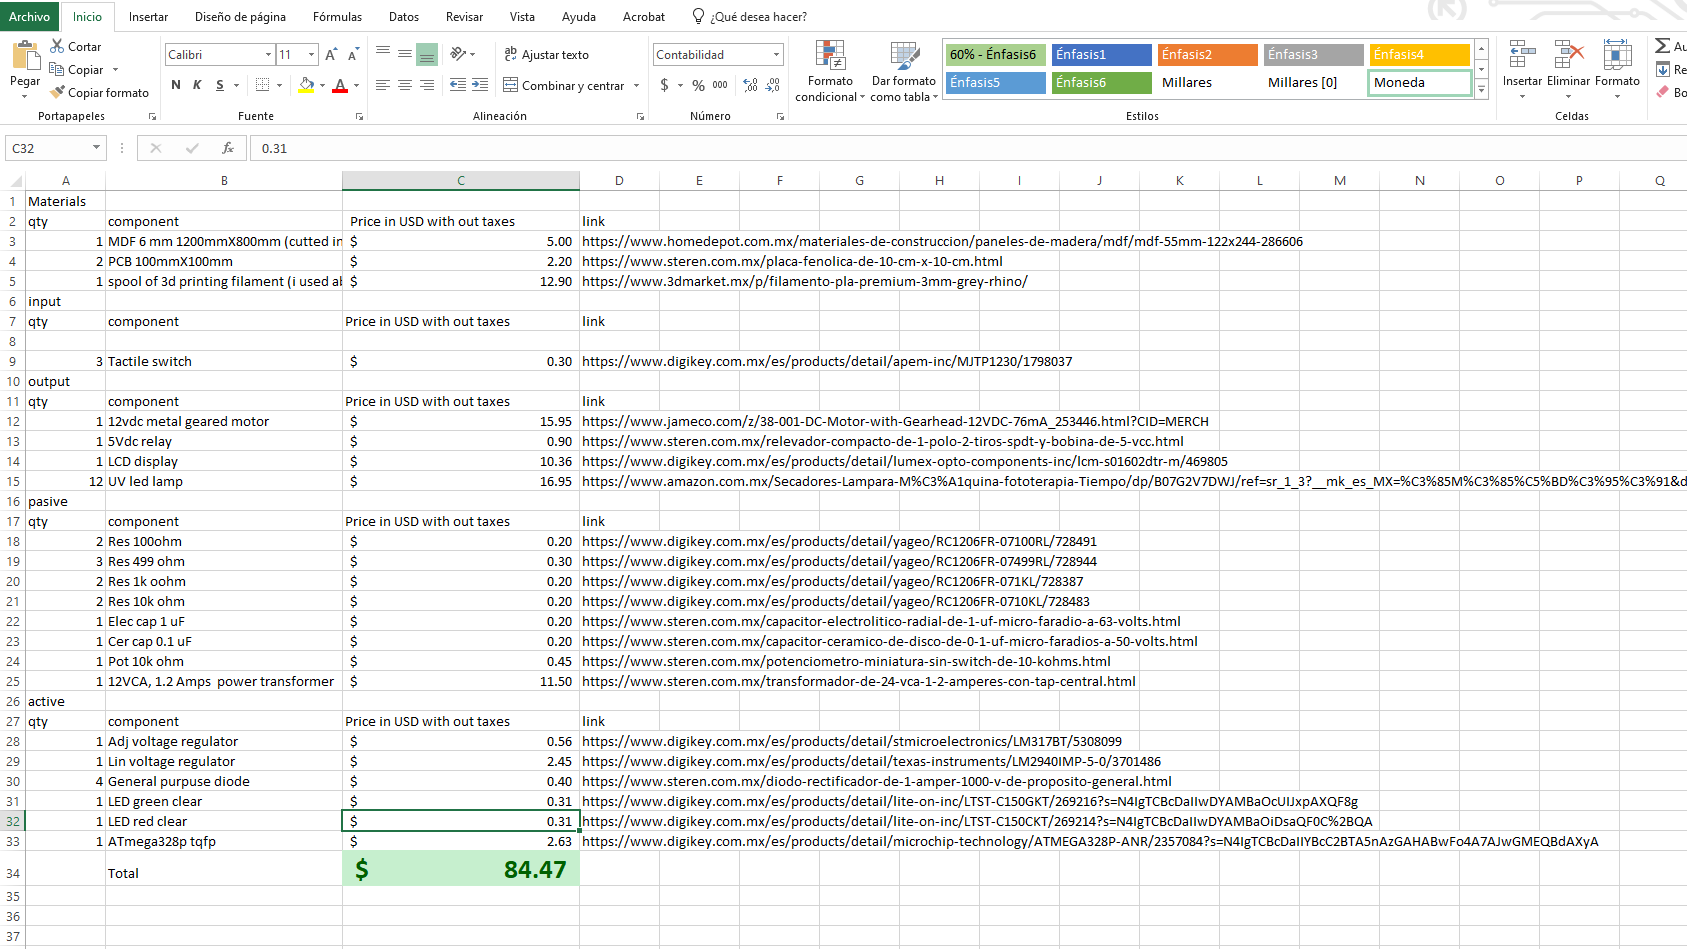
as you can see in the Bill of materials for my final project. I only needed about $85.00 worth of materials
To make a machine that's roughly one eight the cost of the comertial product.
The designs
As is said i'm an electromechanical engnineer but i focus mostly on mechanical design tools.
therefore i designed averything that i could posibly do.
The versions
V1
The first version of my final project helped me as a draft.

in this one i intended to use some fluorescent lamps. But Unfortunately one of them broke. and instead of some fragile glass lamps i choose to go with an UV LED lamp that i found locally.
in the project developement assignment i talk more about what changed from v1 to v2
V2
The Second version of my final project helped me to choose materials.
in this version y intended to copy the bending on the top cover using 6mm acrylic.
in the project developement assignment i talk more about why this was a bad idea.
V3
The third and final version of my final project.
finally the v3 was the last of my designs
in the project developement assignment i explain my conclusions about this version's design flaws and how to overcome them.
The Materials
as i said before version 2 of the shape helped me to define the materials i used in this project
in the project developement assignment i explain why i choose those materials.
HERE you can download the BILL of Materials Below.
thanks to my global instructor luis carvao
i belive this to be because of chrome but i can't be sure.
So here is the bill of materials in pdf. also downloadable from HERE
as stated in the BOM the entire project is about $85 .
What parts and systems will be made?
I've already pushed my design and fabrication files on Final project page under the CAD/CAM category for all the systems i've made.
What processes will be used?
i used the laser cutter as sustractive and 3D printing as aditive process of manufacture
i intended to use Molding and casting for one pieces. However i messed up the mold and had to redisigned it in order to test it but i came short in time for the presentations.
What questions need to be answered?
could you cure photosensitive resin using only the power of a simple UV nail curator?
How will it be evaluated?
Use it to cure Something.
Unfortunately i did not documented the curing process of a 3d printable gag i found on thingiverse.
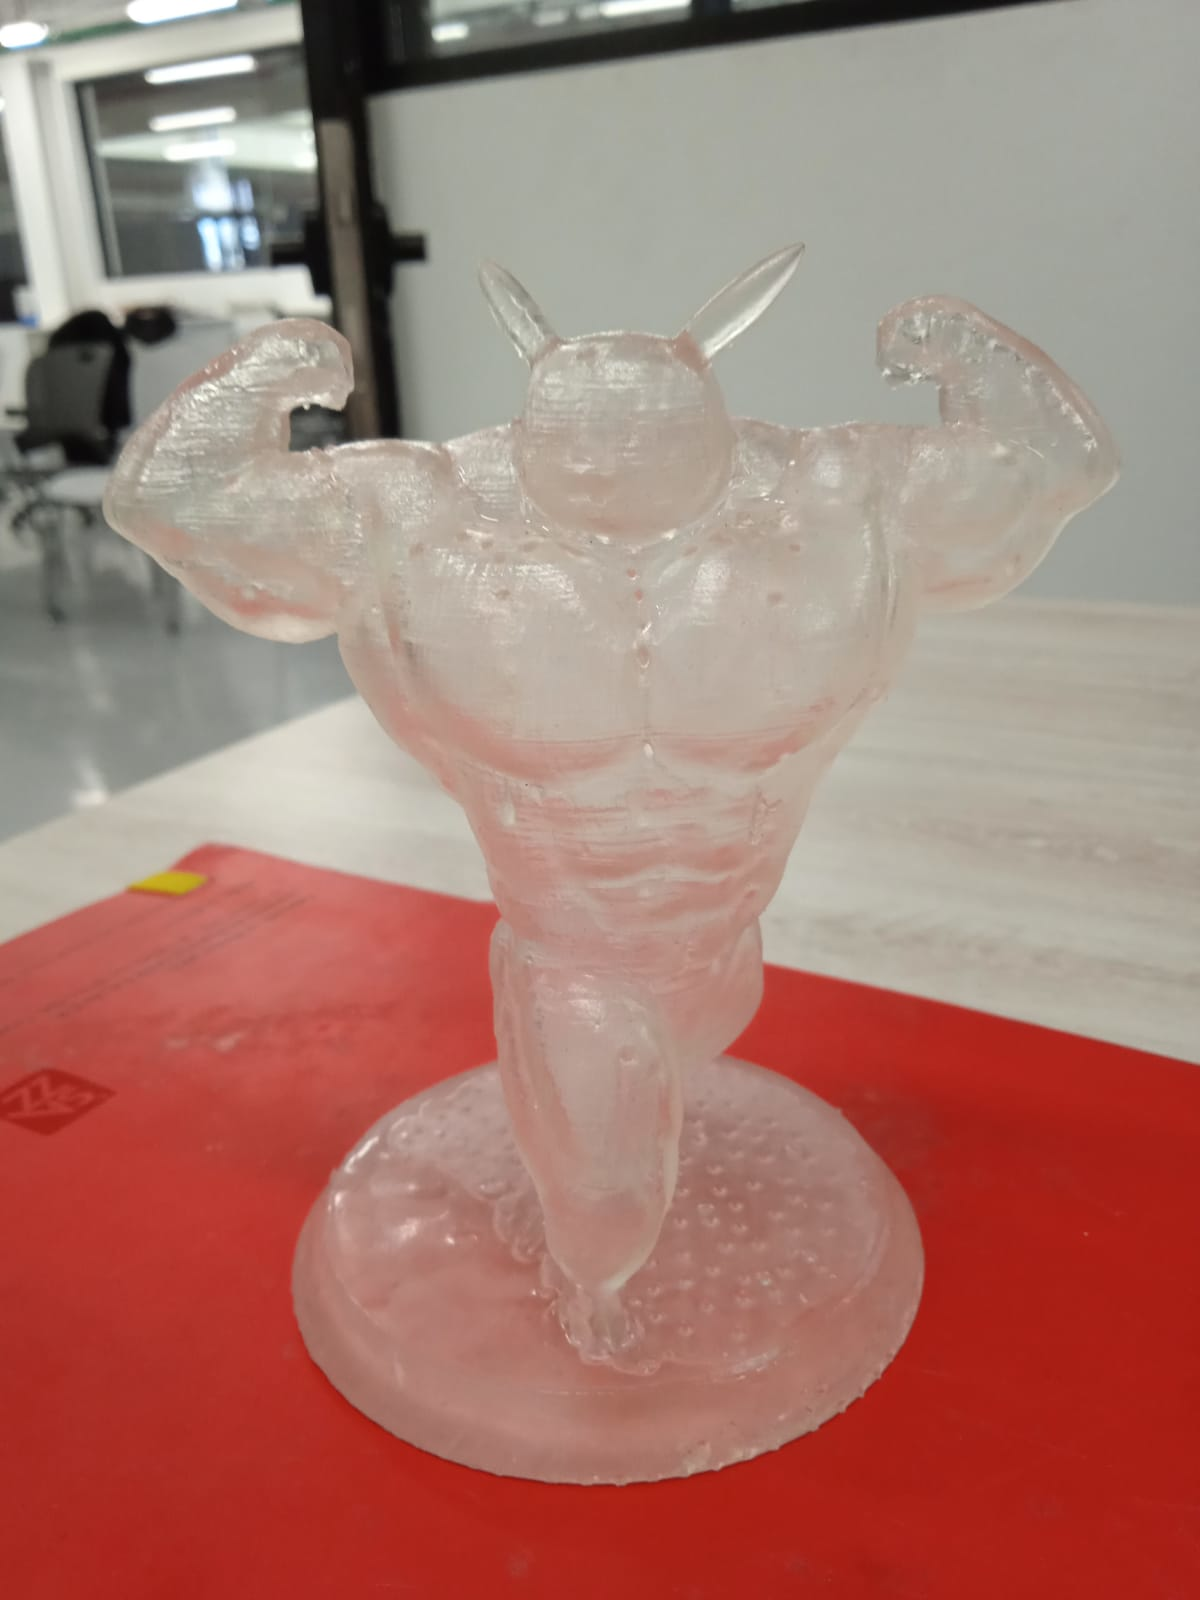
HERE you can get the same file
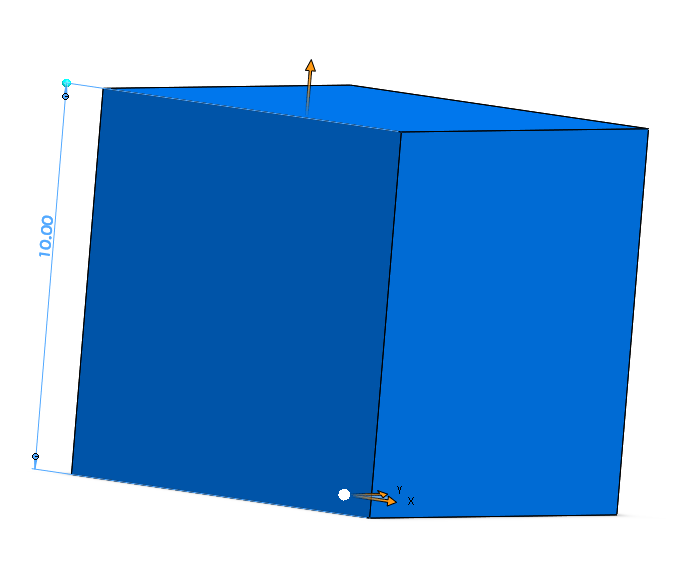 i made a simple 10mmX10mmX10mm extrusion on solidworks you can download it from HERE
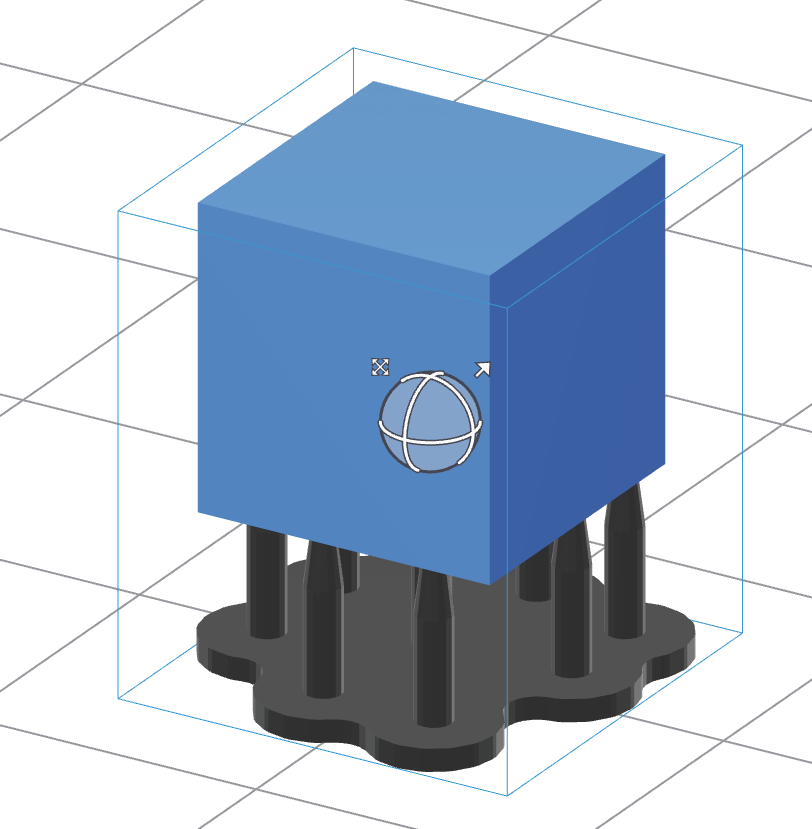
this is just the slicer called preForm
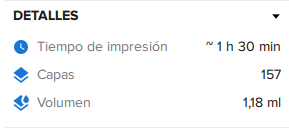
this is just the aproximate time and volume (including supports).