What you will find on this page:
-
2013 project
From idea to mass production
But what about prototyping?
What about FabAcademy 2019
Molding and casting with kids
Datasheets
Manuals and files
This week will be more of a walk through through my evolution in molding and casting over the past years.
Just as with a lot of my FabAcademy projects, I've lost the files
of the 2013 assignments. I still have the rough blender files, but no Gerber files for the CNC milling.
Anyway, let's say that molding and casting got introduced to me during this week. I did work with it as a kid (mainly lime), but let's not count that.
2013 project
In the Academy of 2013 I got introduced to several materials:
| Machinable wax | Lime (again) |
| composites (though that was another week I'll include it here) |
| silicones |
We started out with using one of our 3D scans and 3D files to make our mold. In case of the modela 3D scan function, we used a piece of chess. For the original 3D files, I used my viking boat that I drew in Blender during the CAD-week.
 Milling out the mold
 Milled out mold of my Drakkar from the CAD week.
After the milling it was time to cast the mold. For that we used silicone so that we'd have a soft material to cast a hard one in. I used lime and epoxy as those were the two options
available in the lab.
The lime went pretty good. There were very few bubbles and the result came out great.
With the epoxy I had a different result. Everything was bubbly. Not what I wanted. Later I learned that there were two causes to this. The first one was the way of
pooring the material in the mold. Don't just poor it in, put tilt the mold and start in a corner!
A second reason was that we didn't take out the bubbles. Again, later
I learned that you need or a vibrating plate, or a hot flame to take the bubbles out. A last reason of the bubbles was how we mixed the material. Don't add air to the mix when
mixing the two components.
 A lot of things went wrong in this one!
From idea to mass production
The next time I'd come into contact with molds was in design school. In our second year we got an introduction to 3D printing and they asked us to make something for the Dremel Online Part Library.
As a second step, we had to translate this piece into a mold that could be casted in mass production in China by injection molding.
I came up with a paper roll dispenser holder (we needed to use a half fabricate + 3D print piece and a household item). On the point of small serie production I ended with the Gleypa.
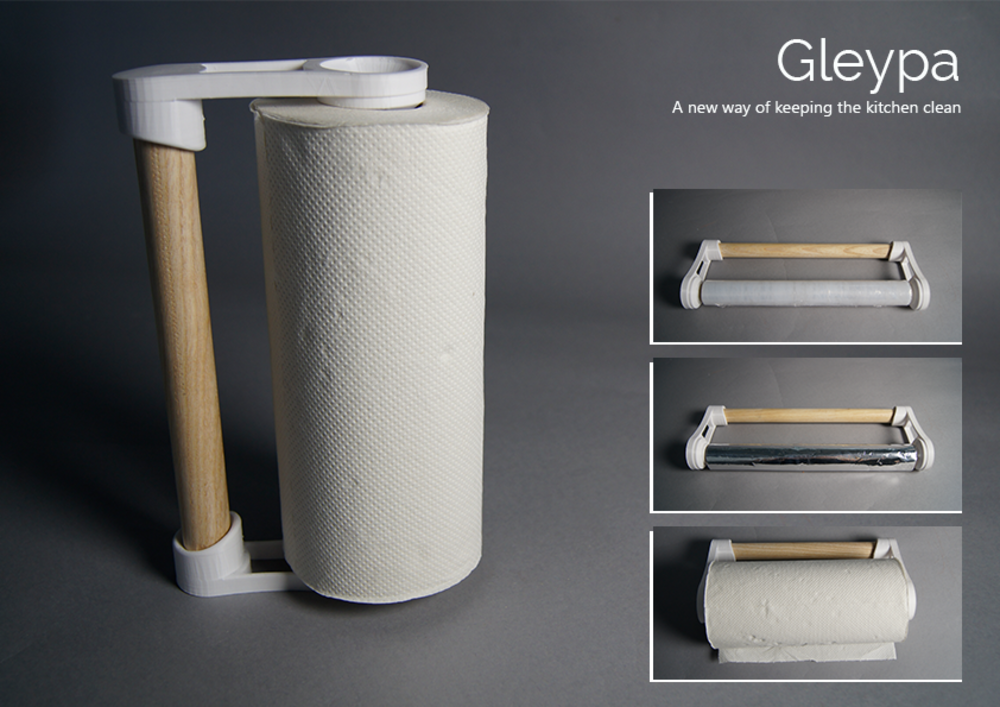 Final product presentation for the Gleypa, a lot of prototypes went ahead of this!
The next step was to go from small production to mass production and see how the design would change. I did this parallel to the development from the 3D print as that was less time consuming to find back all my files in the end. After several prototypes and simulations, I ended up with the version that you can find below. Having the experience that I have now, I'd put my mold halfs on other places as they ain't perfect now.
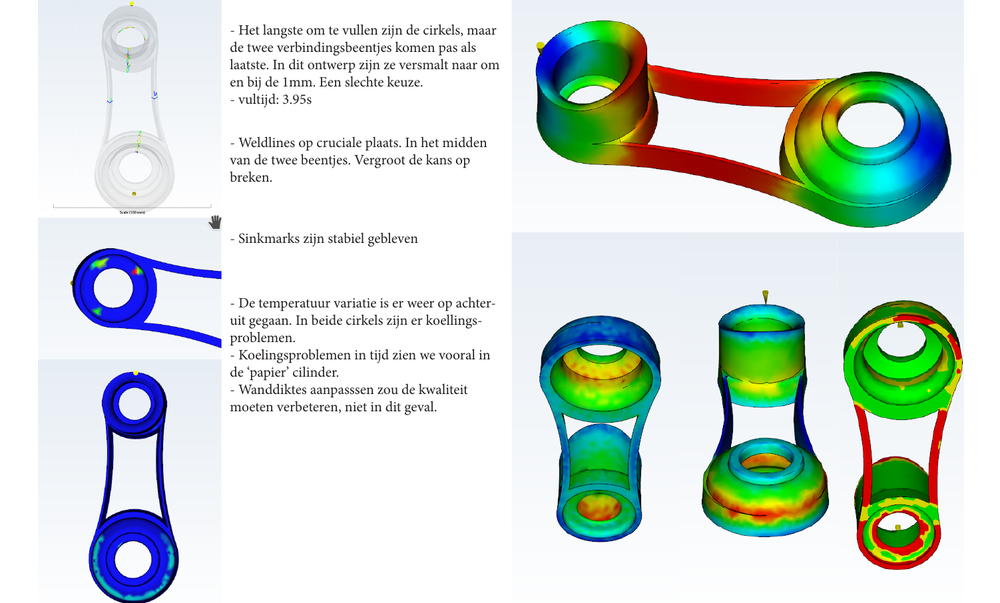 Simulation in Siemens NX to see where the design needs to be changed if used for injection molding
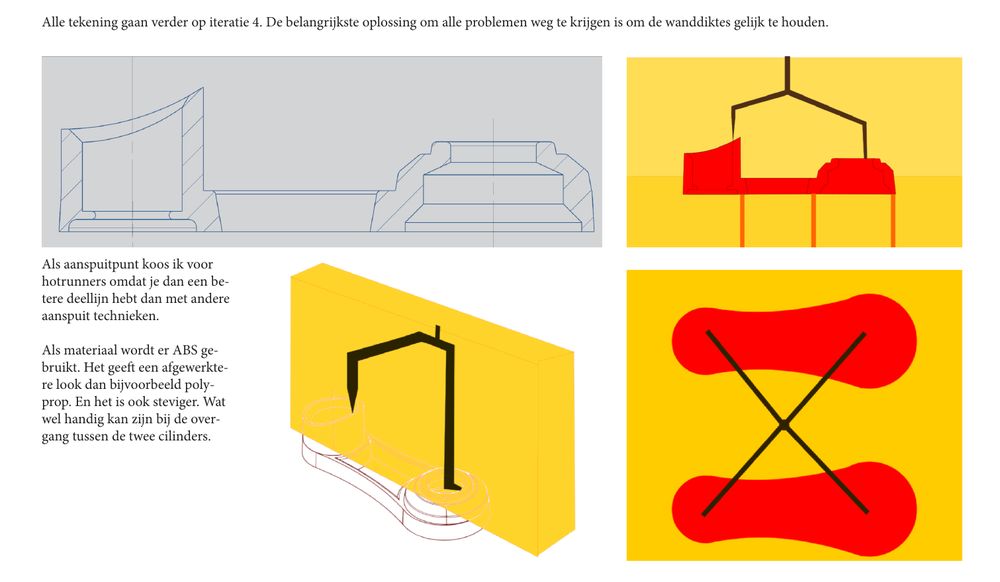 Basic drawing of how the mold should look like
To top
But what about prototyping?
What we didn't have to do in the first project was actually molding and casting the part. But time's aren't always that easy and in another assignment we did have to mold and cast our full product. We started, again from a 3D print. But our finishing was chosen that way that you never saw that fact that it was originally a 3D print in the mold. To come to this point we used several techniques for finishing. Going from sandblasting the part to using 'putty' for epoxy to fill the small holes and sand it down. The last option was the best option. Once sanded down, the part would feel extremely smooth.
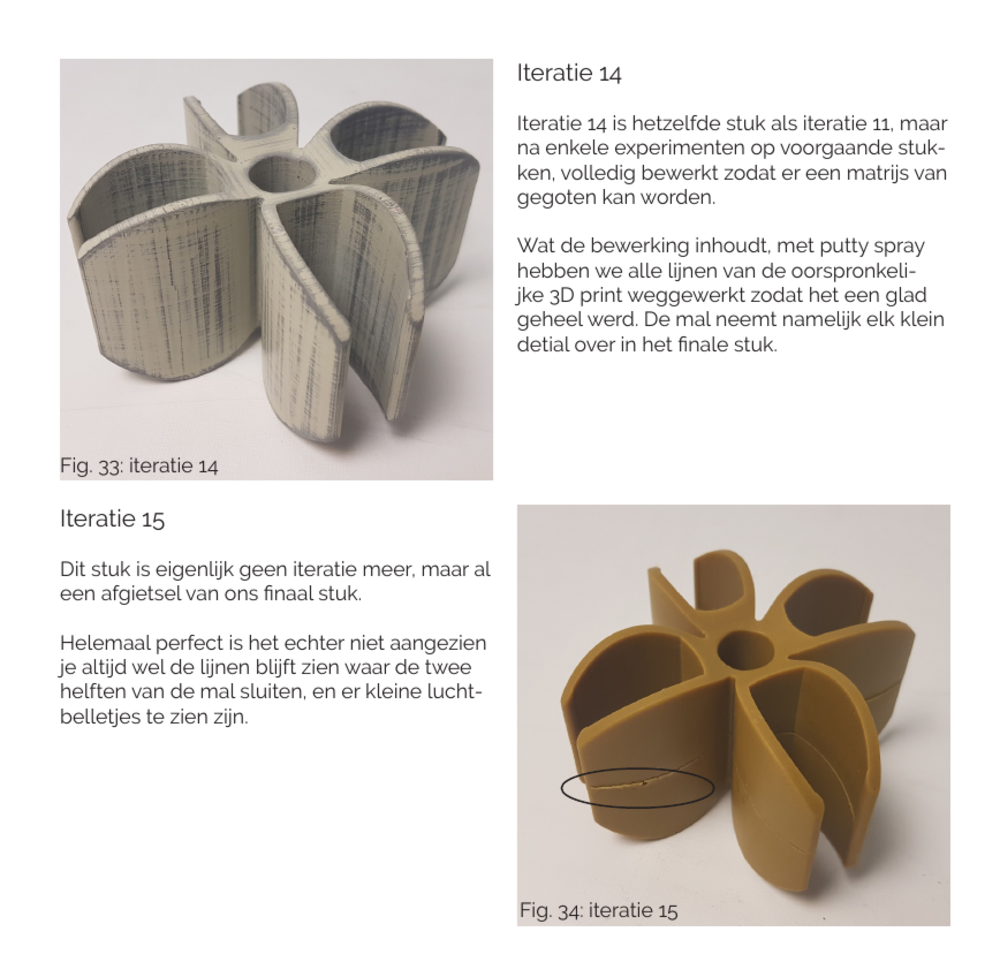 Changing prototypes: from 3D print to silicone mold and SBS casting.
The way we build up the mold reduced the amount of flashing. Though, some parts were better, other were worse on that part. During the resarch we had talks with injection molding companies
and they told us that after prodution every piece has to go through quality control. One of the reasons is to cut off flashing. Even industrial molds will still have this problem >/p>
 How the mold was made
The process of making the mold was one in a lot of steps. In the manual section of this page you can find the full description back on how I made the mold for this piece.
We started out with the sanded down 3D print. Once I had this, I put play doh around the base of the print to where I wanted my first half to end. I poored in the silicone mix and
waited 24hours for it to cure. After this, I could turn the mold around and take out the play doh. In order for the mold not to stick together, I used a special spray to make sure
that it became loose in the end.
After this I had my 2 pieces of the mold, with pins and connections to make sure they were connected right when casting. The next step was to go casting in the wished material.
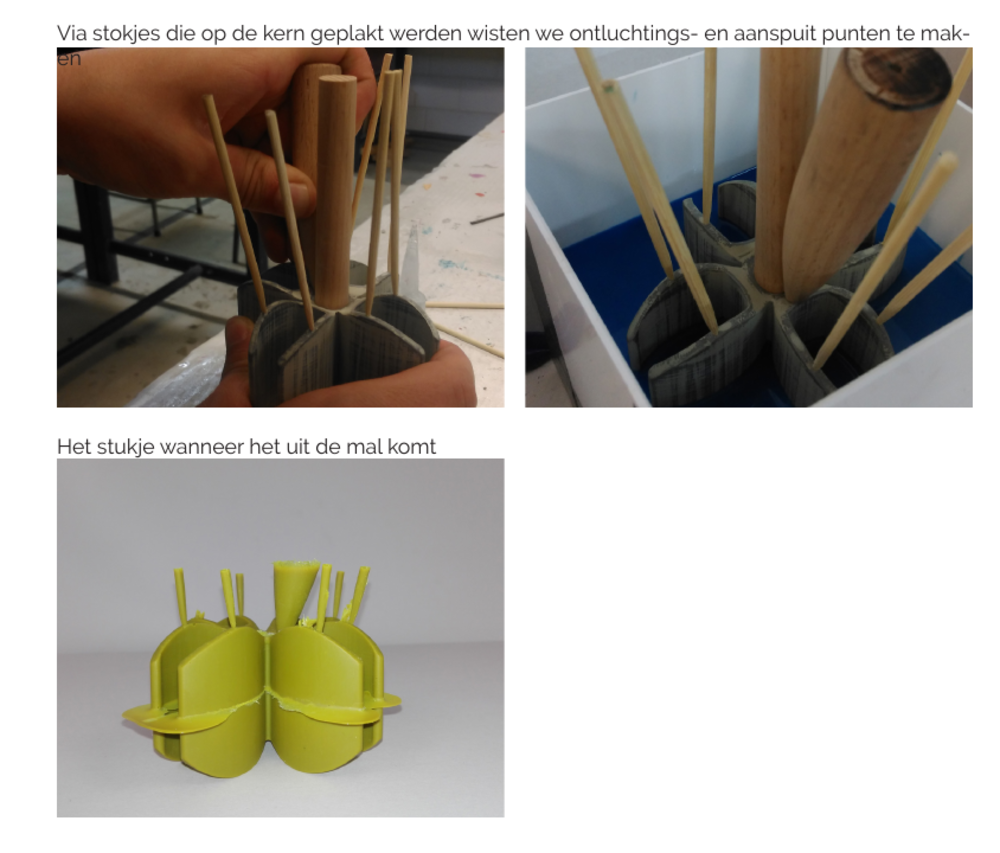
There is a special mention for air pockets and airoutlets. If you cast a mold, you need to make sure that the air can escape to. If you make a mold in one piece, that's open to one side, that's no problem, but with 2 or more parts, you need to calculate this in. Therefore I put little sticks on my part before making the mold. This way, the air would always have a way out when casting. Second, there are bubbles. Just like we saw in the pictures of 2013, here to we could have had problems with bubbles in the mold. The solution for this was the vacum machine. Once we stirred the components together, we put everything in the vacum machine.
To top
What about the FabAcademy 2019?
As my moto is that learning never stops, and actually starts the moment that you're out of school, it was time to get some news skills or dust of some old ones. I do not have milling wax at
home and my PU-foam (in which I normally make my models), is to thick for the milling machine. So I resorted back to wood.
I'm fully aware of the fact that I ignored the rules of molding and casting. I did not use any champers on the sides of my drawing. Simply because the software that I use does not allow
to have 3D objects in the milling machine. At the time of writing I'm setting up other programs and converting the CNC to run with them. But time is precious and I didn't get to the end.
Strangely enough, even though I normally love molding and casting, I had no idea on what to make this week. I could make stuff for my boat, but that didn't include the CNC milling machine.
That was my main blockage this week: you need to use the CNC milling machine.
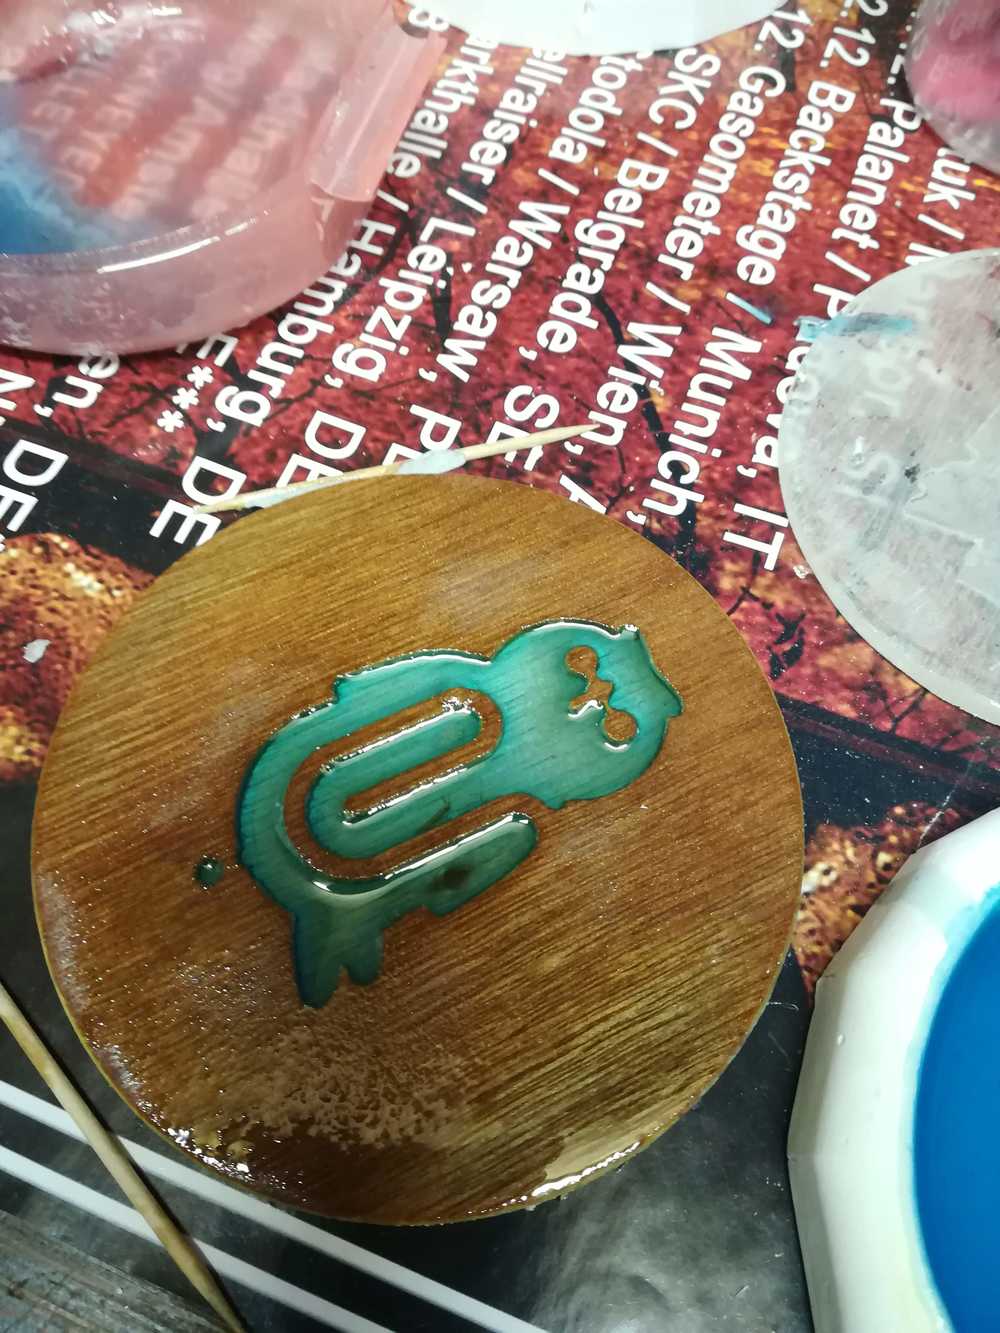
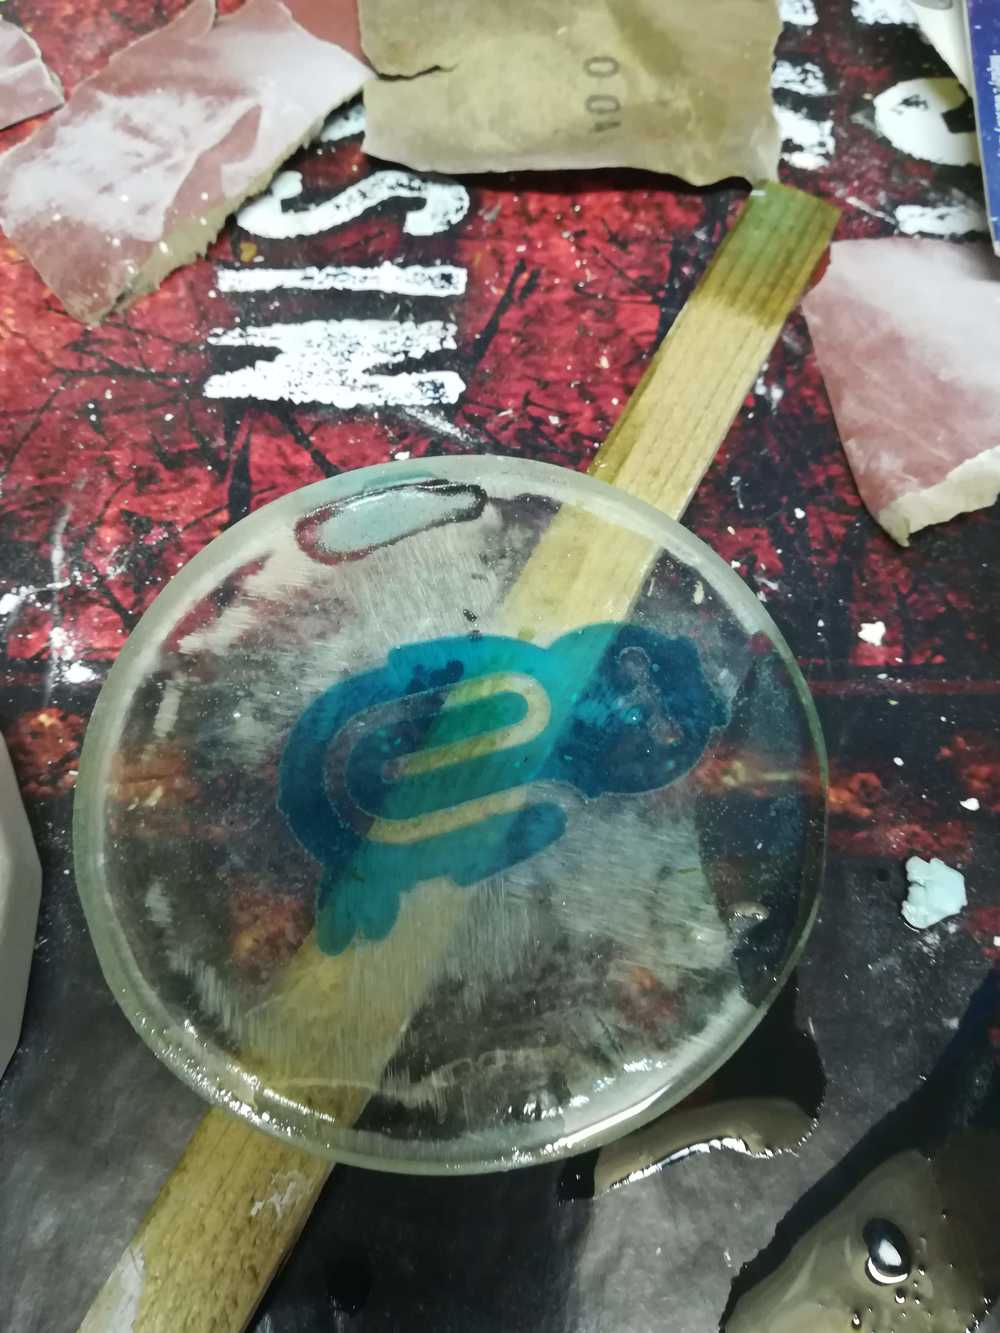
It resulted in my actually milling out some things, plates for glasses on the M.A.N.T.A and for in the lab. I always feel guilty when my cup of tea makes circles on the wooden surface of our labtables.
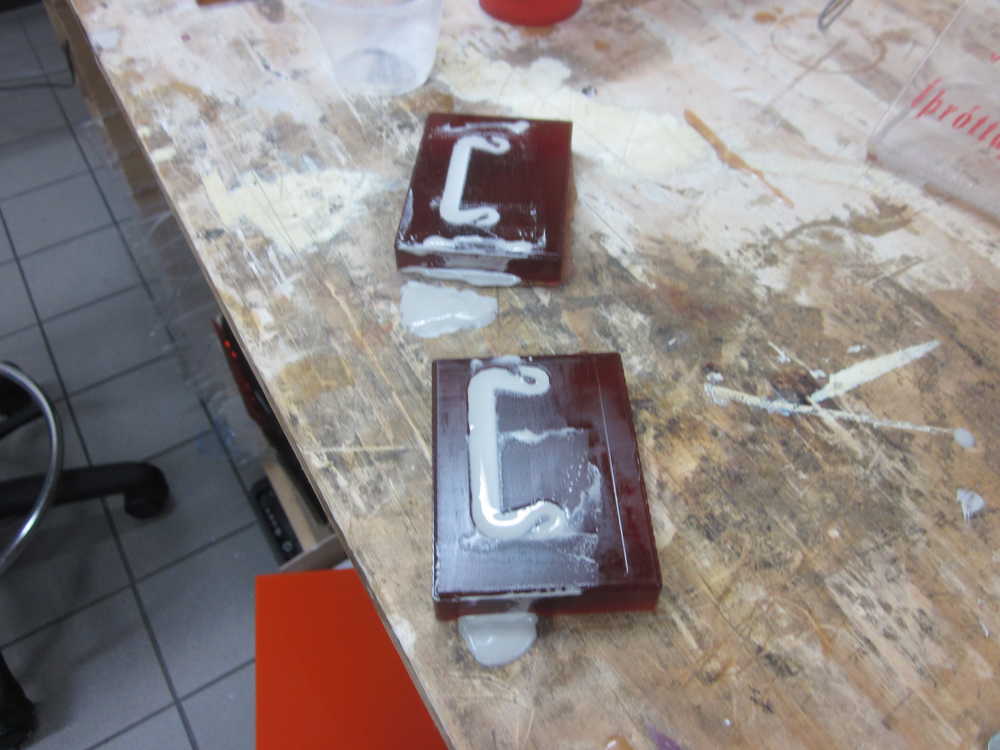
I prepared 2 versions: one that can have an epoxy inlay and a second one that I can use for casting. As The piece isn't that big, I didn't bother with champers of 2 / 3 degrees.
I didnt get to the point where I finished up both plans. The epoxy needed to cure at least 48 hours before sanding it down. And time to make a mall wasn't found this week.
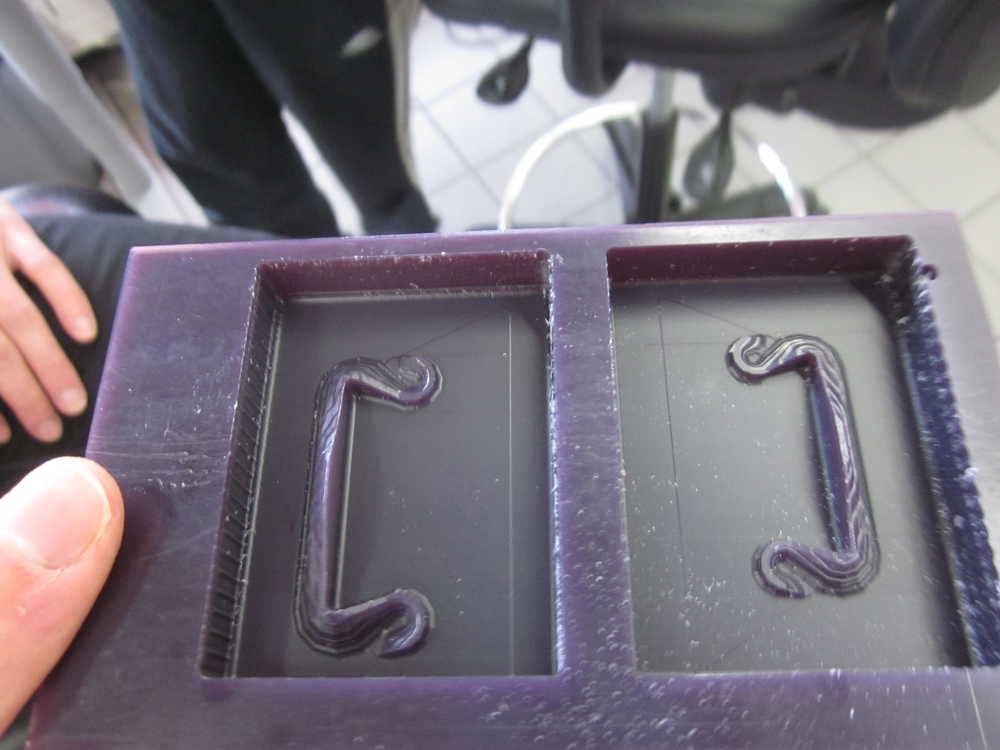
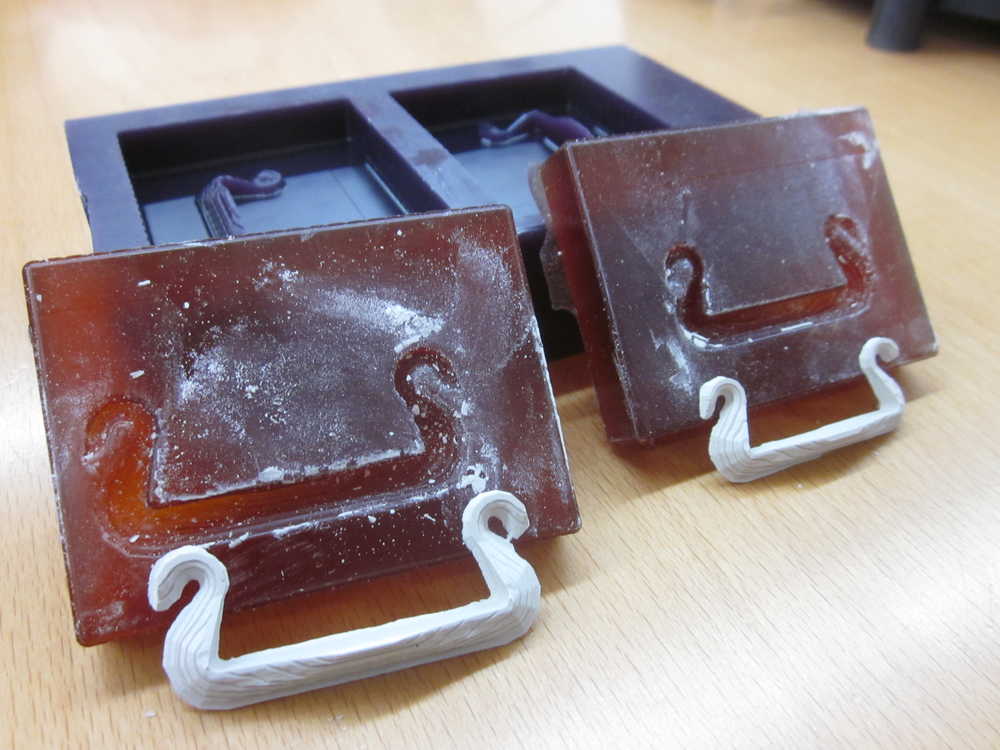
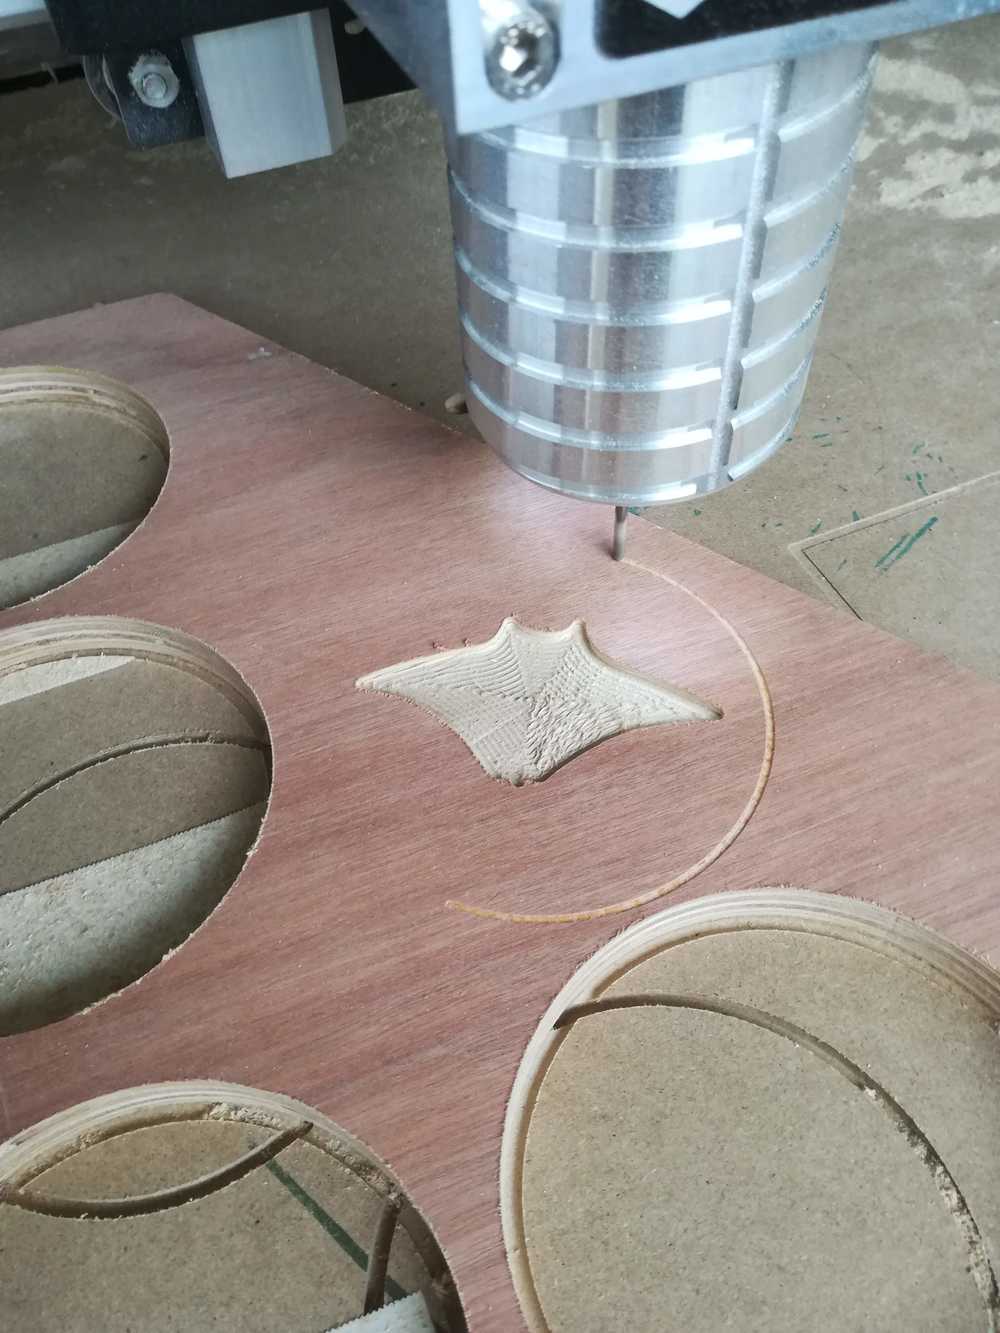 Milling out my forms
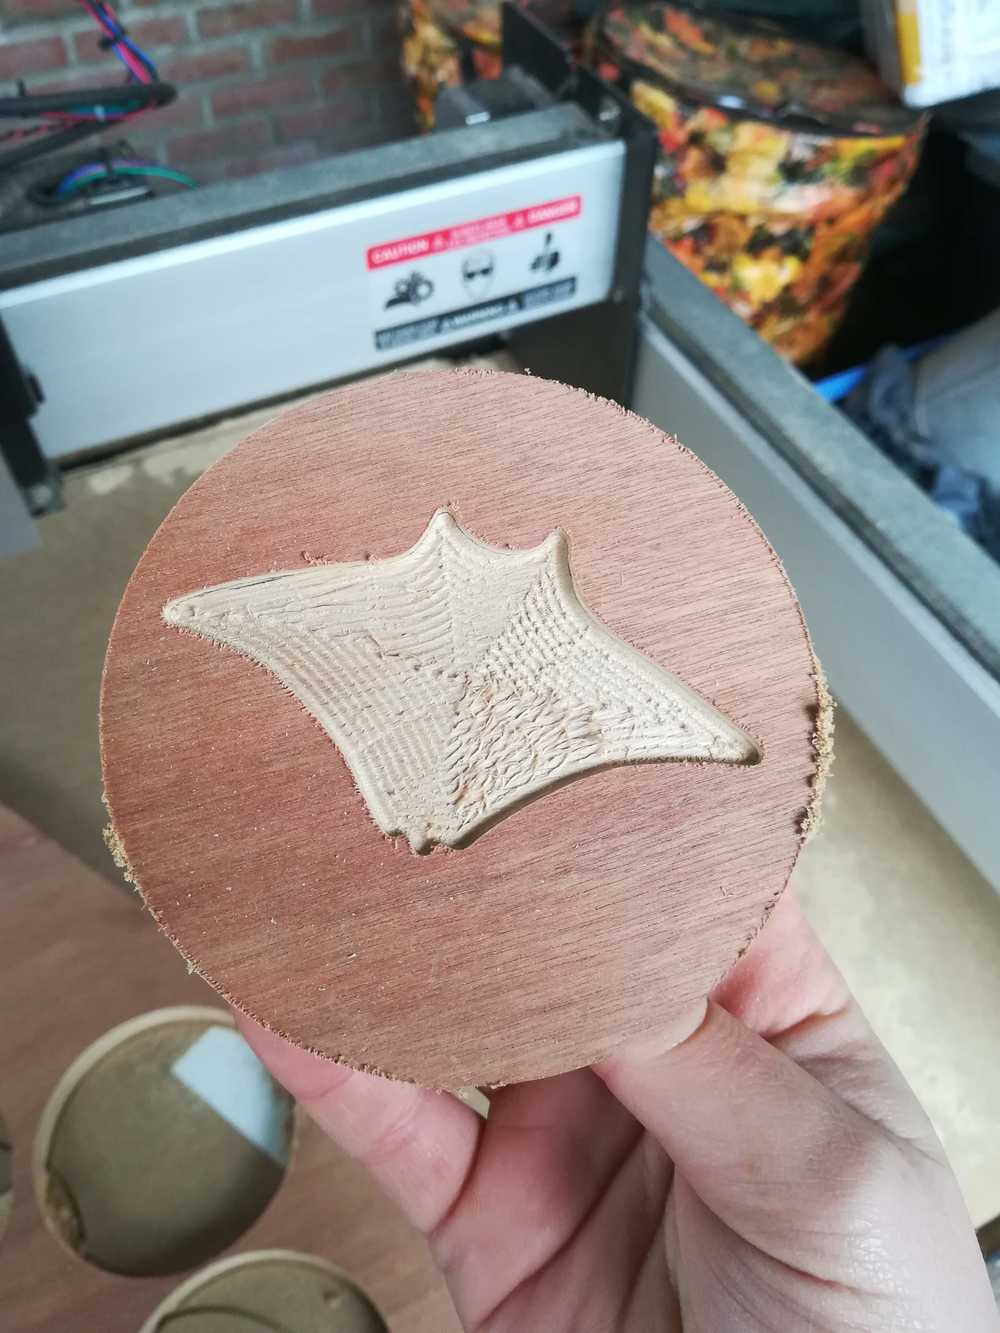 Finished milling, before sanding down
 Fist try wit epoxy. Clear color comes due the heating of the epoxy to get air bubbles out
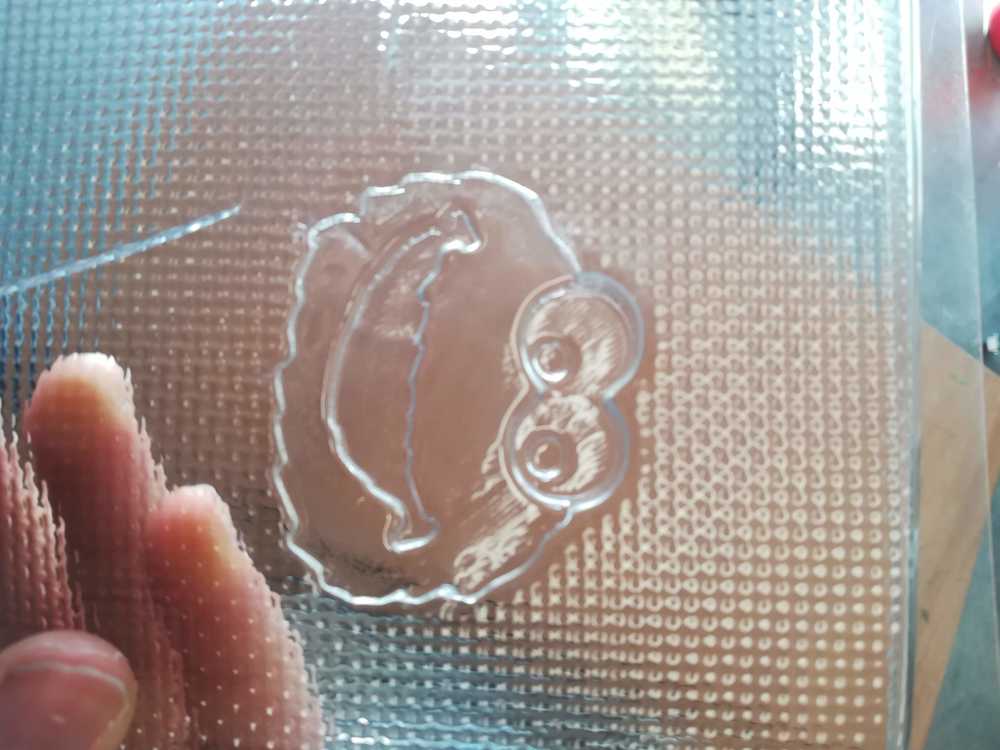
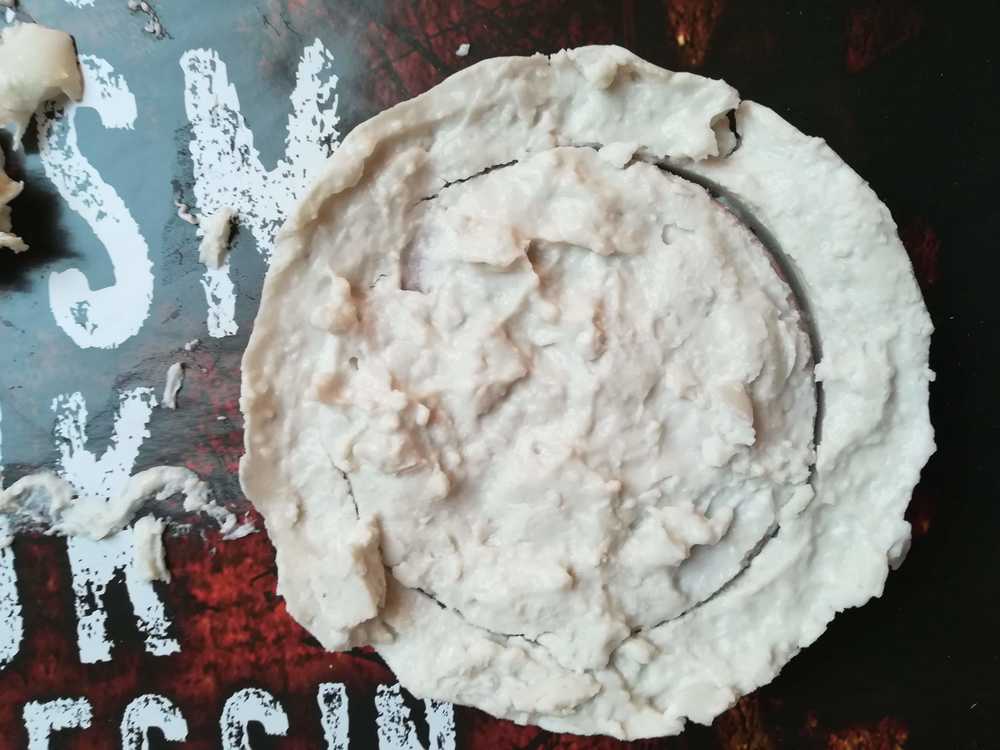 Alginaat hardened out much harder than expected on first try to make a mold
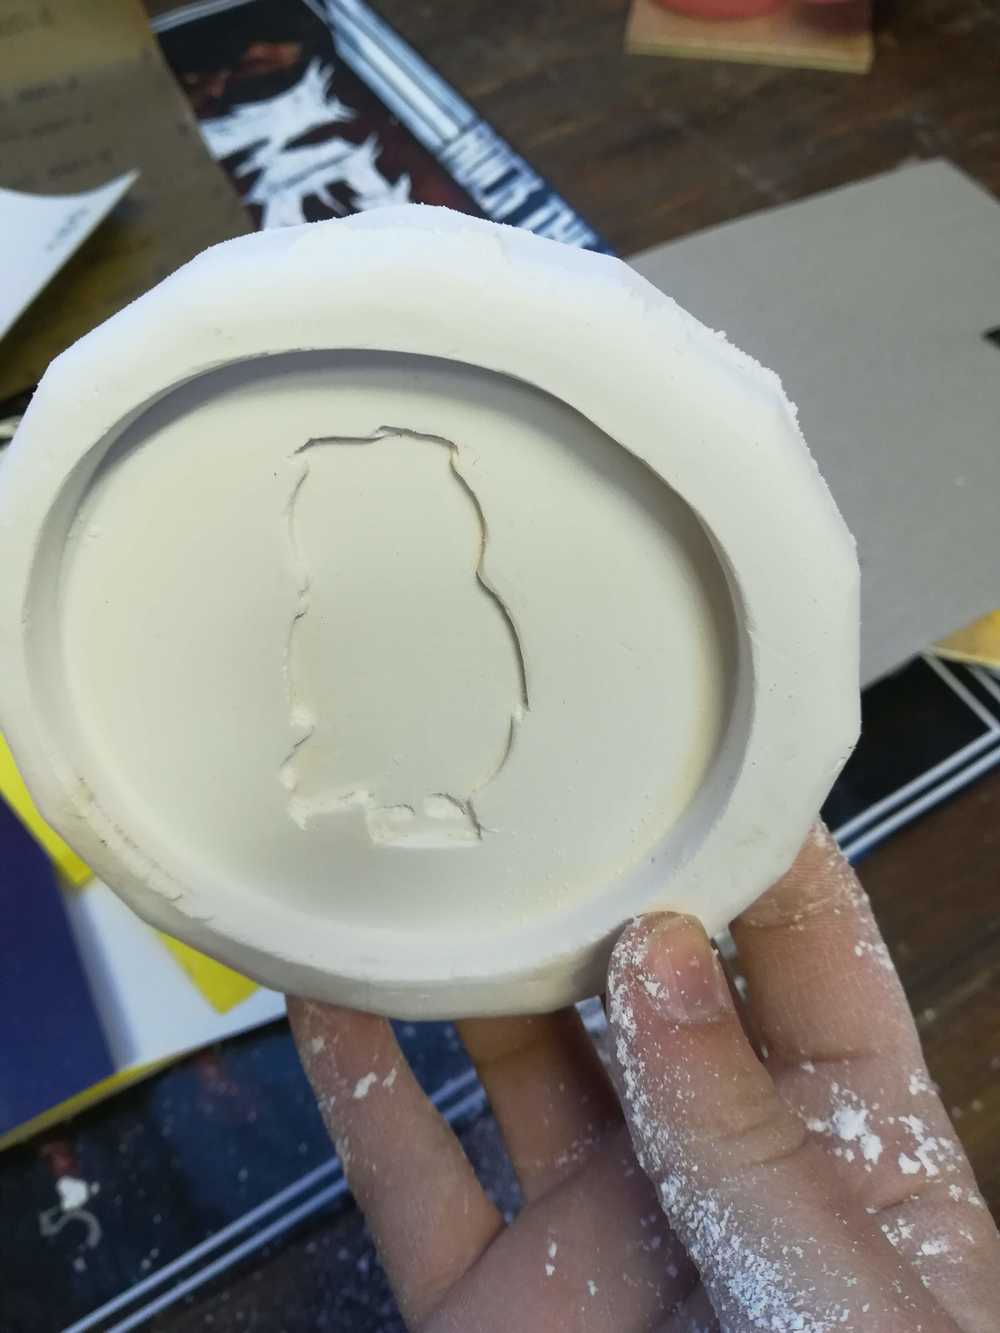 Mold made from alginaat
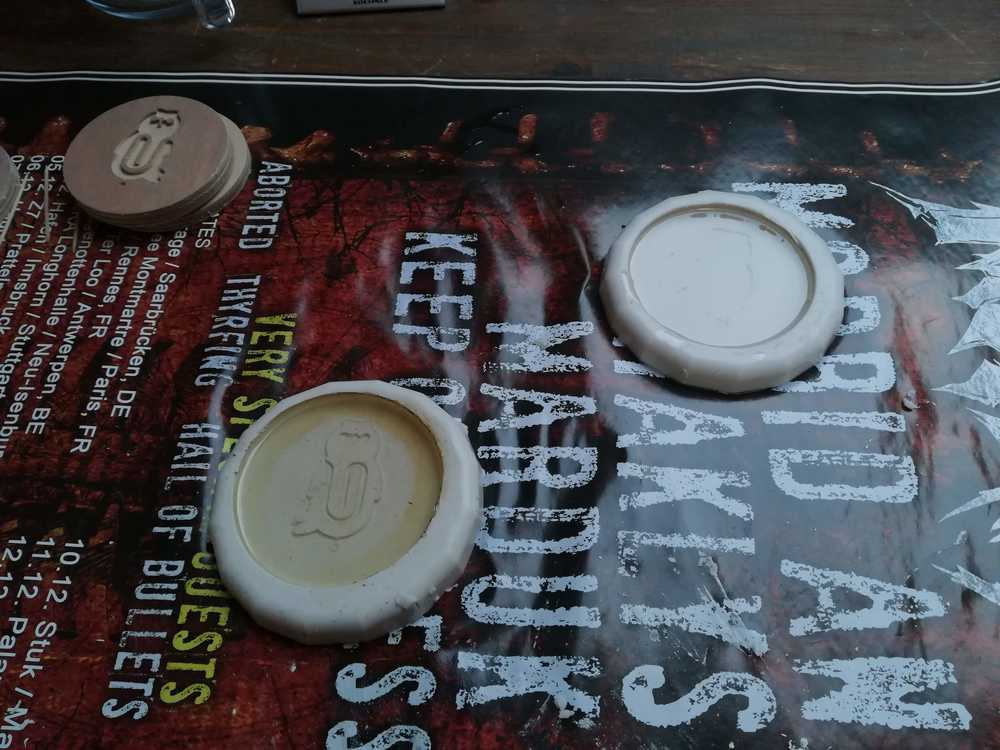
 Another mold
 Curing out the epoxy for 48 hours. It's special epoxy for boats that I had around
 Finished curing
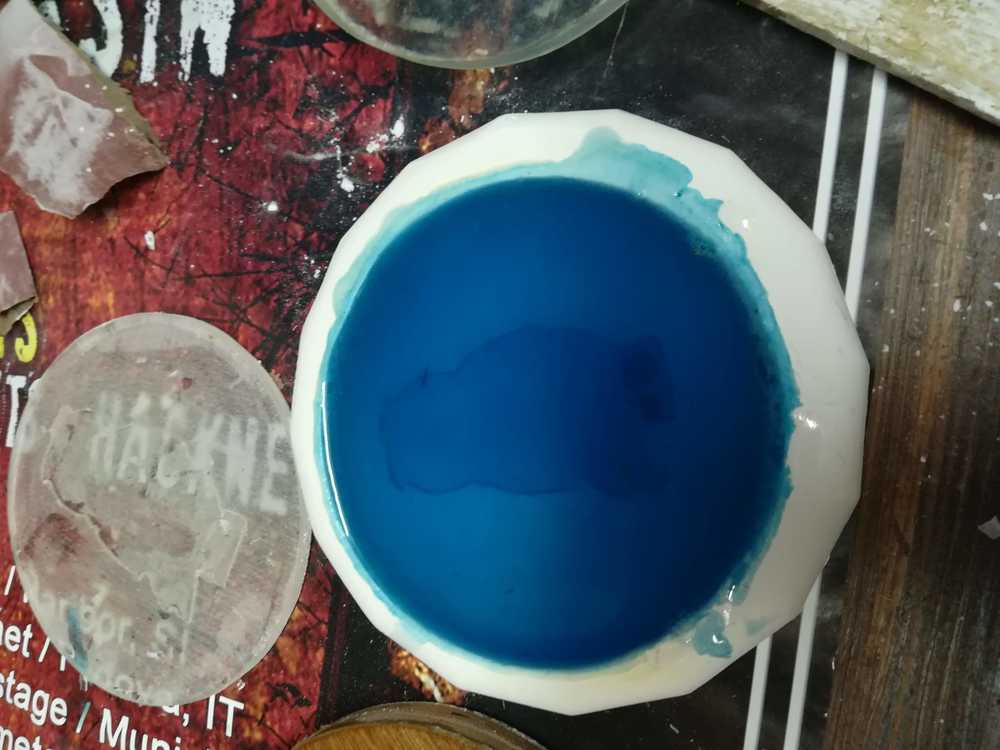 Multicolor try.
 Another color
 Finished part, just some more sanding and a protective cover.
To top
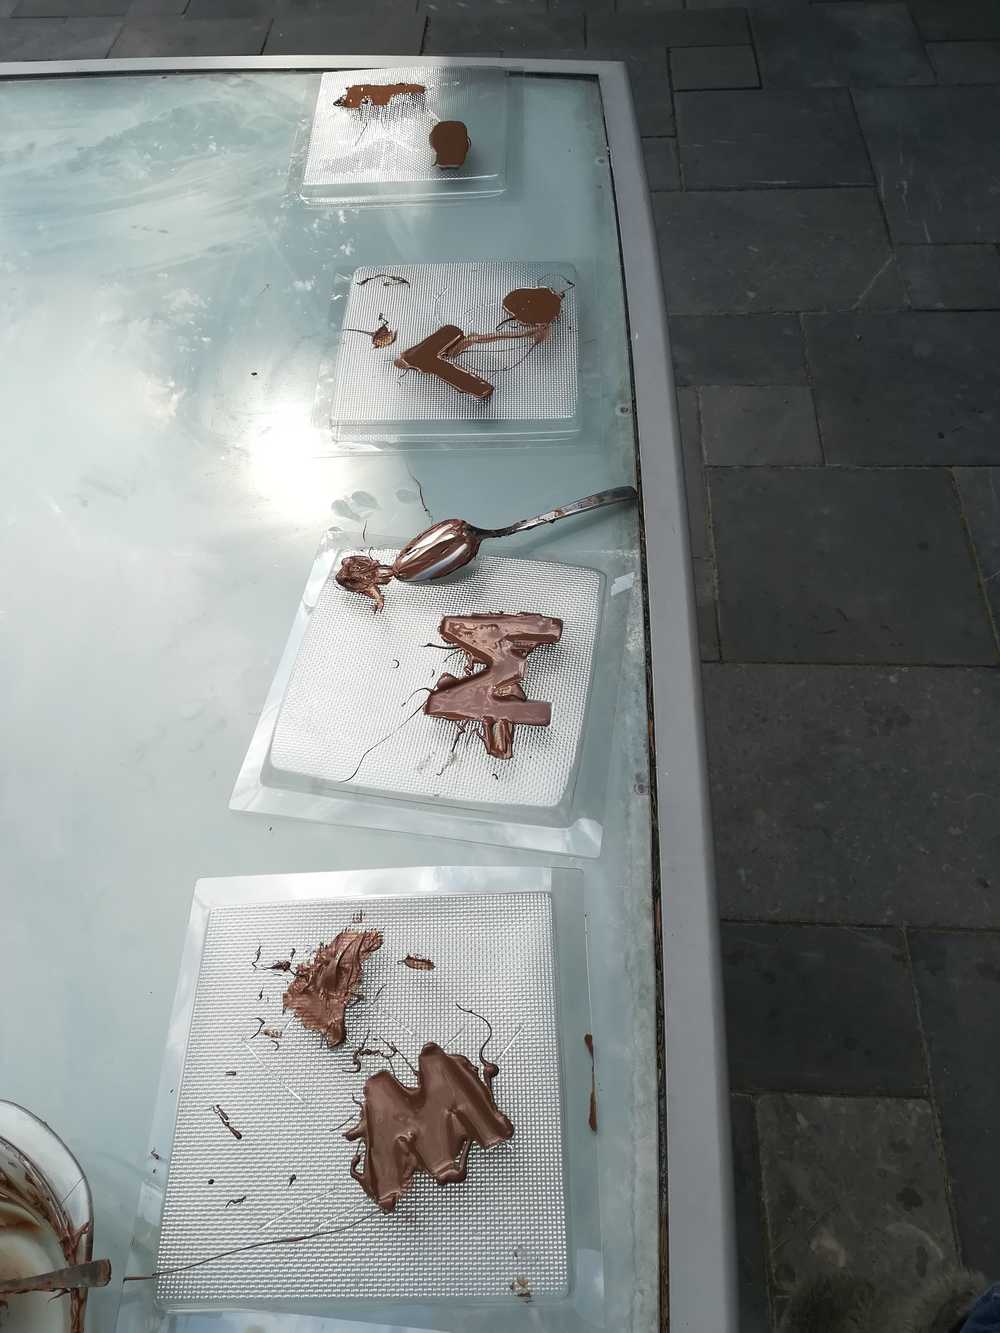
Molding and casting with kids
It became a bit of a tradition to do molding and casting with the children of the easter holidays camps. And so, this year to, we took out our pots and pans to make molds for chocolate. The children, aged 5 to 9, could chose, make or 3D print their own object that they wanted to cast in chocolate. Later on, we vacuum formed all their forms. The last part was for them, filling up their molds with chocolate.
 Finished part, just some more sanding and a protective cover.
 Finished part, just some more sanding and a protective cover.
 Finished part, just some more sanding and a protective cover.
To top
Datasheets
As epoxy can be a quite dangerous product, it's always important to read the datasheet that comes with it. As we are all trying to use less paper these days, it wasn't in the delivery. Luckely the seller has all of them on the website, and I've added them here. As I had already worked with epoxy before, I didn't learn a lot of new things, but here are some things that you need to keep in mind:
- Read the back of the bottles
- Wear gloves
- Wear dirty clothes
- Wear protective gear when sanding down
The back of the bottles will tell you how you have to mix the components. It's not just always 1/1
Epoxy can be very sticky, especially when mixed. Always wear gloves to protect your hands
Don't put on your best clothes when working with epoxy. It can be a real mess. And I personally have the habbit to clean of my hands on my pants or work apron.
The material can be odorless, but be carefull when sanding down the parts. Small particles can enter your longs and do great damage.
To top
Manuals and files
-
File for the manta drawing
File for the Ingegno logo from my work
.Zip with the datasheets for the epoxy, in Dutch