What you will find on this page:
-
My website in 2013
Version Control: GitLab
How I made my FabAcademy 2019 website
Reflection on this week
Manuals and files
2013 project
So, web-development. Back in 2013 it was the first time I had to make a website. We were encouraged to start from scratch. As I didn't have any background in development back then, I literally made my website in notepad. It was only much later that I discovered jet-brains, dreamweaver, intelligence... The site from back then gave a good idea of my skills in 2013. As I know that the site will never be deleted, I'll make it easy for you to find some horrible pictures back. There is one thing that I still haven't learned since then, and that's working with color. People who have seen me in real life will have noticed that my cloths are mostly black (with sometimes some blue), my next website will be grey-ish.
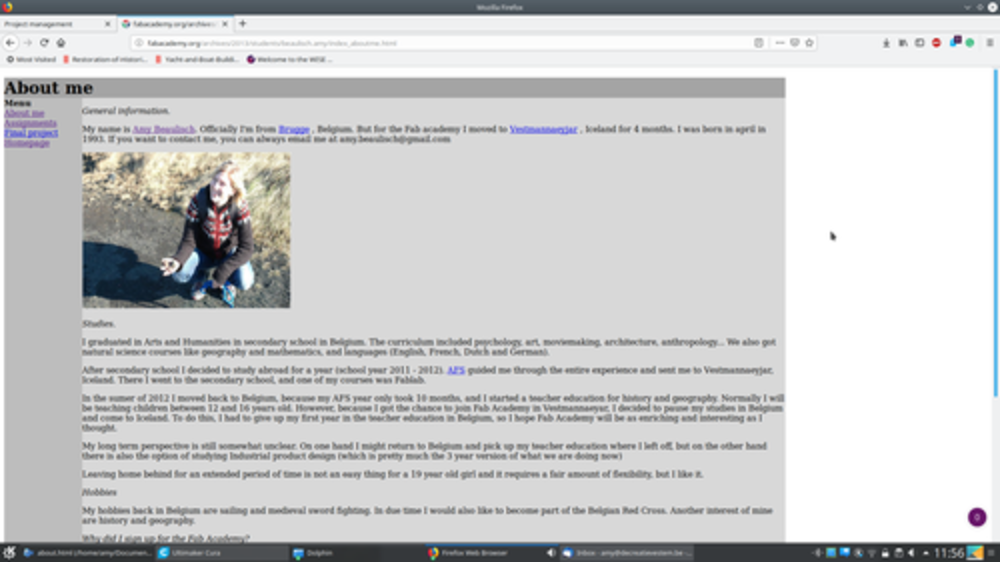 My 'about' on my old website
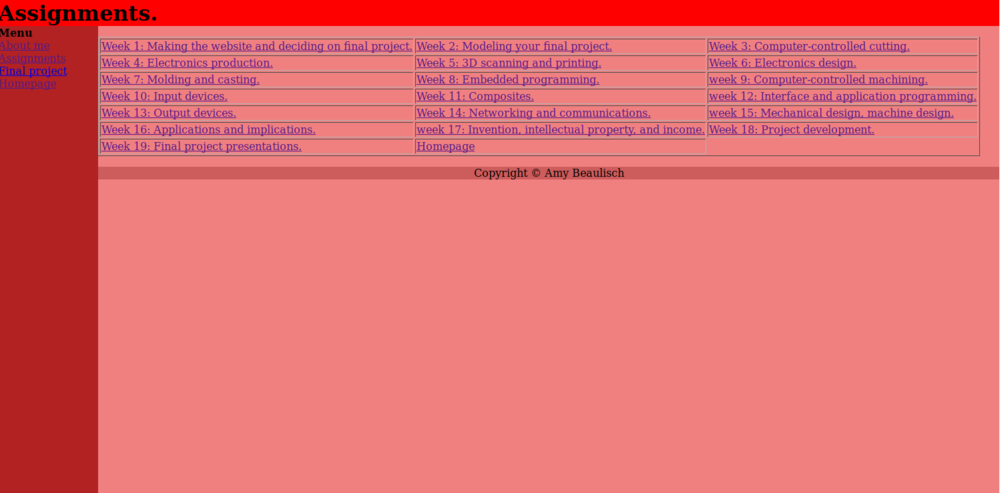 My old assignments page
Later in life, I actually got better in web-development. Javascript was still a problem, but at least I could make better looking websites than before.
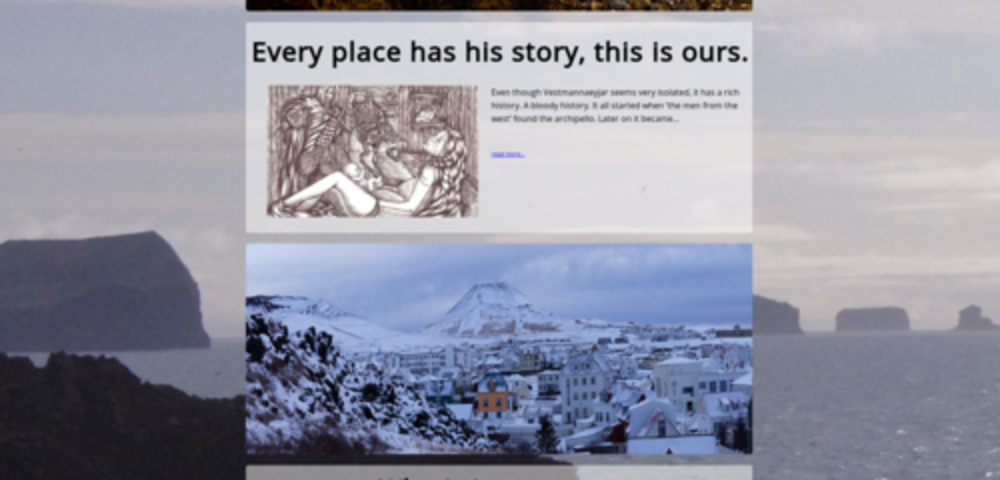 A website made for school about the history of Vestmannaeyjar, Iceland
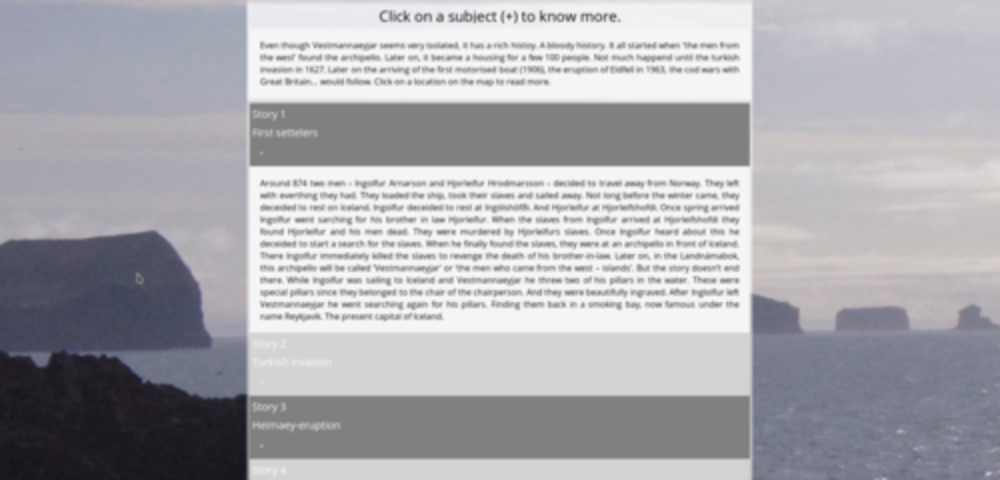 A website made for school about the history of Vestmannaeyjar, Iceland
As you can see, this website looks quite neat. Even though it is very basic. I wanted something simple as I want to limit my time-spending on the website. There are far more important things to do.
To top
Version control: gitlab
Although version control isn't completely new to me, Github and Gitlab are. Why do I also mention Github? Because
while I'm learning Gitlab for the FabAcademy, we been using GitHub for quite a while at work. Having to learn GitLab for the Academy also made my supervisors give me more rights
on the work-GitHub.
In this part you will find:
- How to get Git on your system
- How to pull and push with Git
- Extra commando's that might be useful at some point.
Getting Git onto your system
If you're in linux: yeeey. It's with 99% chance already installed, in case it is not here are some steps:
Has git been installed? If yes, what version?
Add your credentials to log in
Verify that you have the correct user
Add your email for login
Verify your email
- Clone/download a git repository
Remarque's
My biggest question after this was: how do I login with multiple accounts? git config --list gives you all the necessary info. But even then I felt lost it wasn't until I started pulling and pushing that I got a sense of how it worked. If I'm in the folder 'MIT' I'm on a local level (I made this folder and it only exists on my computer), but the files in it are pulled from the FabAcademyCloud and therfore git files. To pull and push in those folders I'll use the FabAcademy credentials. Do I find myself in the folder 'ULB' (local), then all the files inside that folder will need my 'ULB' credentials.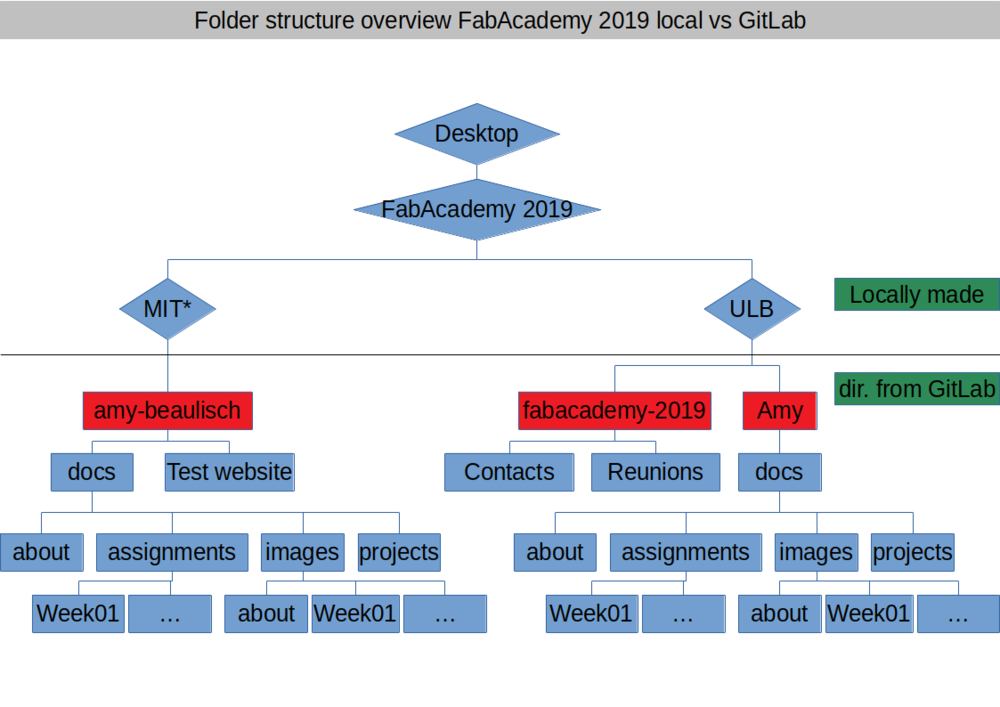 My current folder structure for gitlab
To top
How to pull and push with Git
Back in 2013 it took me a while to realize that pull, merge and push were ment quite... literally. See it as a friendship book that you took home from school after a friend gave it to you (pull). After you wrote in it you give it back to that friend (push) and it will be available for all other friends to look in it. Or as a library: you take a book home (pull), make notes from it, and after a few weeks you return it to the library (pull).
pull all the changes to your own local directory. Do this the first time, but also before every push as peers might have changed files in the time that you are working on yours
e.g. all the files in the folders and sub-folders or only the index file.
What did you change? Give it a useful message as people might be reading it, and it's also easy for you.
Final push to git. It will now ask for your username and password. Use the right ones!
To top
Other useful commando's
Install a program. e.g. remarkable for markdown code
I started from Downloads as that was where the zipped file was. DO NOT UNZIP! Also check version number. In case of missing dependencies, add the last command.
Folder hierarchy and other commando's
At some point you'll need to move around between folders.
I want to refer to the folder above
../aboutI want to refer to a file in the current folder
I want to change directory (folders)
I want to make a new directory
I want to copy a folder file
Print a file in the console
Compressing and resizing files
Start with installing ImageMagick, after that you can move on to converting pictures.
To top
How I made my FabAcademy 2019 website
Learning MarkDown
- One of the most complete cheat sheets that I found is this one: Markdown on GitHub
- A YouTube tutorial: you can find it here.
- Basic editing software (both with code and visual): Remarkable
At some point this week I stopped being stubborn about the whole Markdown thing and did give it a change. In the end, I love learning so I would learn it anyway while no one is watching.
The first thing I did was open google and YouTube and see what I could find on documentation on Markdown.
There were a lot of sites that would explain markdown and help you on your way. But what I was missing was templates and examples made in Markdown.
I did manage however to make my 'about' page look almost exactly like the one that I got with the bootstrap. Sadly, during the pushing, pulling and all the frustration, I did already
delete the file. I will however share some interesting links.
Adding html to gitlab
This time I did use a bootstrap. All credits and love to
Start Bootstrap for making a good base for my
new webpage.
Ofcourse I wasn't completely happy with what I found online so I changed
a few things (and over time already took out a lot of extra features):
- Collapsible for chapters on assignment pages
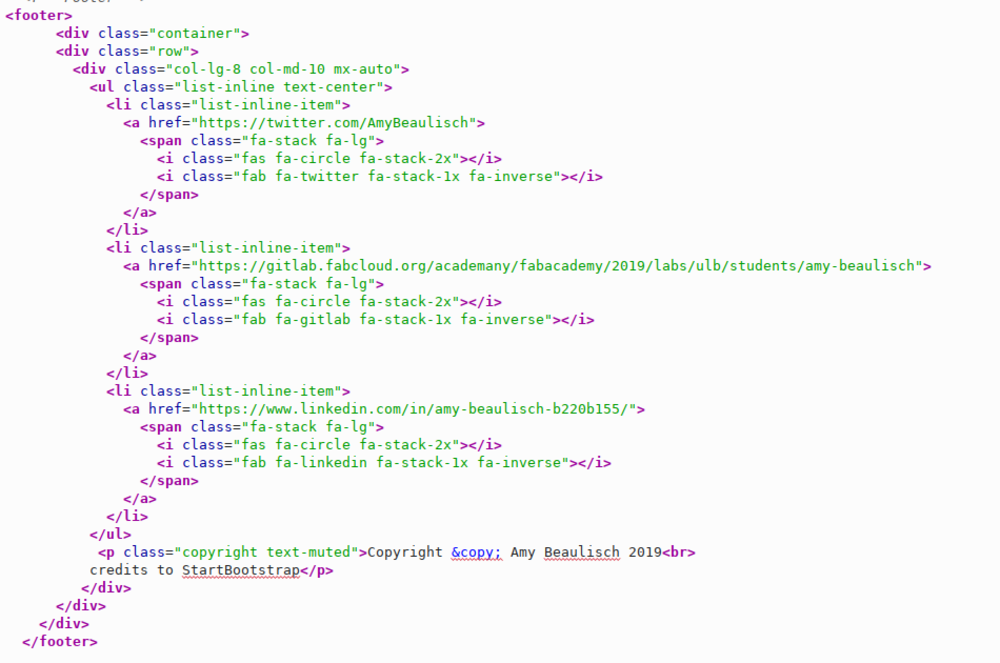
- Other icons to the social media My biggest AHA!-moment of this week. On W3Schools there is a list of icons that you can use to have easy links to e.g. social media. Basically it is a letter type made only by and for this purpose and exists out of logo's of common websites. And there I was, trying to get the right amount of pixels. The code used in the footer at the moment looks like this:
- A new contact form
The more you do each week the more content. And sometimes I'm to lazy to go and search within long texts. So here we go. Smaller chapters made as collapsibles on one page. Pick one and learn about the subject! But more importantly, how did I do it? Well it took me a lot of time.
My first idea was to re-use the code from the menu to drop down. It worked, but the text would always overlap. I decided to skip this idea.
My second idea was to use a 'read more / read less' button. Even though I've programmed this before, it didn't seem to work. As I couldn't get the link right, nor the layout with the pictures. I wasn't really patient with it so moved on to the next solution

Third time good time! It worked. The solution was within adding a button with a class called 'collapsible' and of course make new CSS for the whole thing. Next to that, the whole construction needed to be placed outside of a div. Update April 2018: I've deleted most of the collapsibles by now as they didn't fit into the style of the website and replaced it by index tables at the beginning of the page. Those titles will give you the possibility to jump to certain points in the documentation.
New enrollment, new website!
And also some new stuff to learn. Here you can find the code for the collapsible Big thanks to W2Schools
html
CSS code
JavaScript
To top
As a static website is a site without php, I threw out the original contact form that would need server-contact and email, to have a more simple one. In the end, I also don't want to be spammed with random mails. The info online should suffice to find and contact me.
As you notice, when clicking on the pictures, all of them should enlarge. Due to resize and quality they sometimes appear smaller, but apart from that it's often a nice solution to make
things more clear. I used 2 small extra css and js files for that. I've added them to the original html files and after some troubleshooting and trying out some stuff, my pictures are enlarging.
The files can be found at the bottom of the page in a zip. The css goes into the css folder and the javascript into the js folder. In the html you add the css to the other css files
and the js at the end of the html file. See below in the pictures.
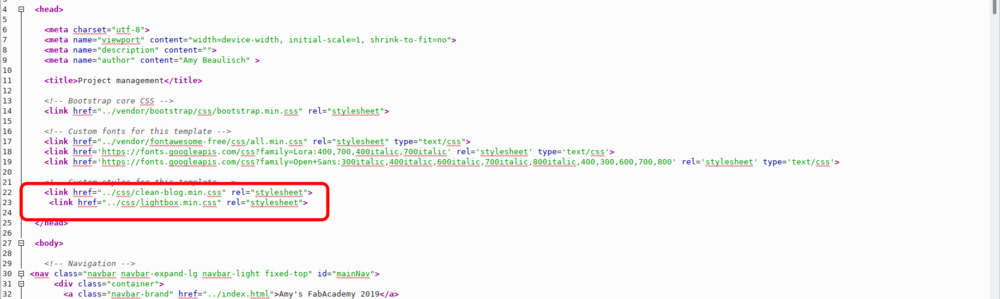 The line of code that you need to add to the css in the upper part of your file.
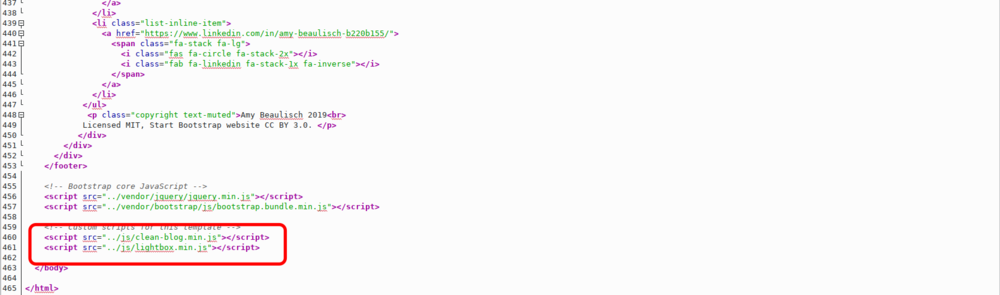 The line of code to make your javascript work
 How to refer to the images in the html itself
Remarques / costumer journey
But what frustrated me the most was that we had to work in git and Markdown and it felt like all my preparation work would have been for nothing. We even got templates. Temp-lates! My first step wasn't learning how to work with GitLab, but how to get that new html/css website up and running on the gitlab. Of-course, as you can guess, that was just the receipt for trouble. Wishing to run before you can walk or even crawl. So, as you are reading this I didn't throw my laptop out of the window - yet. Here is a small - funny and full of emotion- re-cap of the past 2 weeks.
- Before the start of the Academy: that ugly site from 2013 has to go. Let's start building a new one already so that I can gain some time during the academy.
- First class: instructors: we're going to work in git. You better start practicing now as you'll really need it. Me: awesome! Hints, heads up, support. I can do this.
- Weekend after first class: So, eum, what is this? Tutorial 1 doesn't work. Nr. 2 to help me on 1 neighter, 3 also not. I'm confused. Help? Anyone? Maybe I should reach out to the instructors? Nah, Wednesday!
- Second class: Neil: Welcome to Git! Have fun! Me to instructor: I have a html/git question.
- Thusday: tried something, a thing called pages, not what I wanted. What about the url? Will they find me back if I change stuff? Let's just wait until I have time this weekend
- Until Saturday noon: what is this sh*t?! I want my html website, not markdown
- Saturday: I'll just stop being stubborn and adjust the freaking template. Bye bye other site. I'll miss you
- Also Saturday: Friend, I need help with that html/css site.

He: ask me specific questions. Me: *chaos*! He: spe-ci-fic questions! Me: this!
I owe him dinner now. - Sunday: let's just drop the whole html/css site on the ULB gitlab, see what happens. What works, what doesn't. Bad plan. Okay, lets take a breath and do it file by file, through cmd, to the FabAcademy GitLab. Remember, step by step, troubleshoot, use cmd to practice. Keep breathing. No laptop throwing.
- Sunday afternoon: Victory!
For the record, the description above is what we call a 'costumer journey". Mostly it is mapped out horizontally with problems, solutions and remarks. It gives you a view on where things went wrong and what went good. As my final project will be tested during the academy, more of those will follow.
Manuals and files
Files for the enlargement of pictures