Week 4: Computer-Controlled Cutting
Assignment
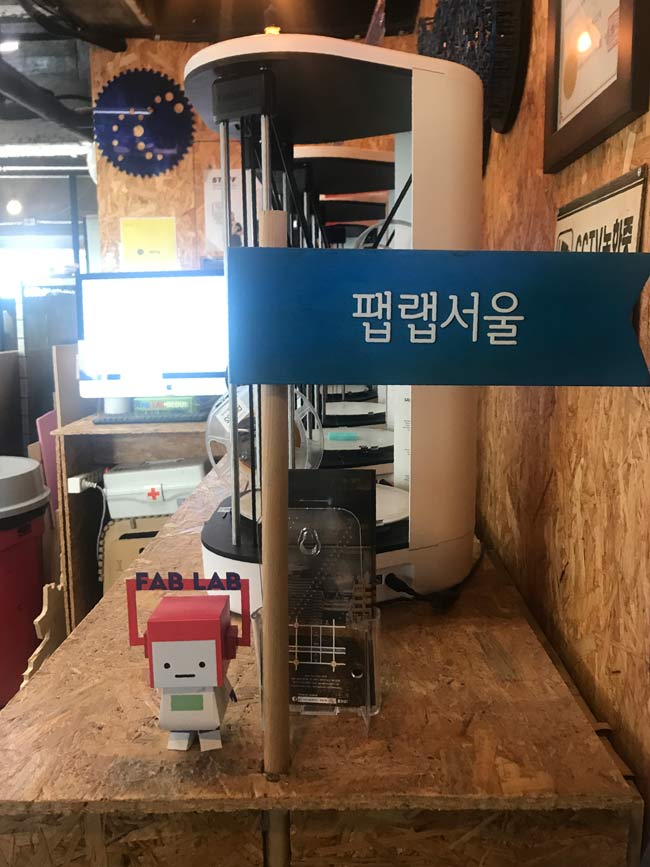
Vinyl Cutter
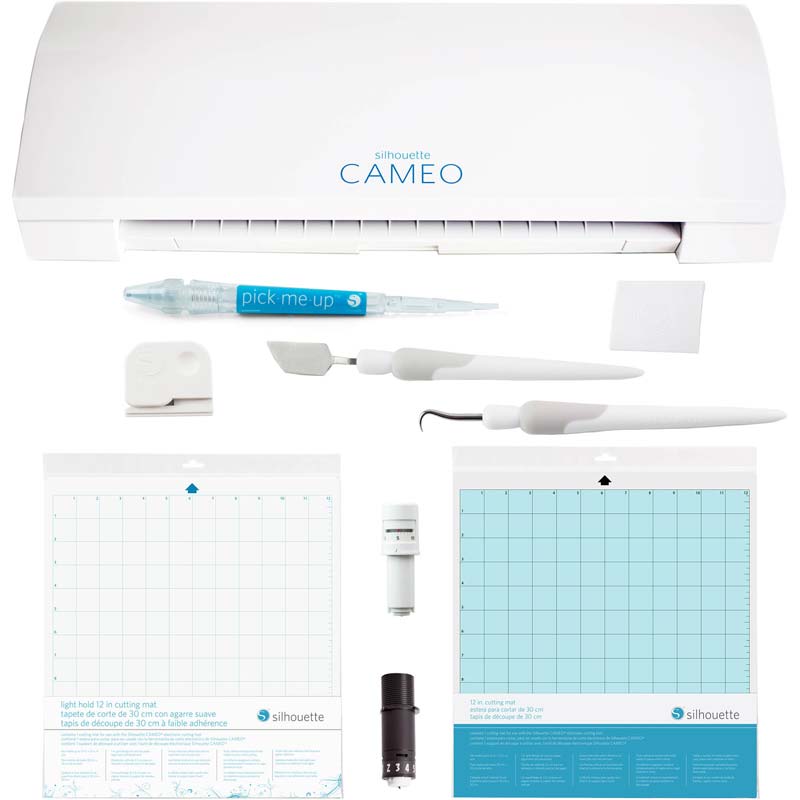
The vinyl cutter at Fab Lab Seoul is a Silhouette Cameo 3...
I've used it a few times before.
 It's was tricky because the mat to help hold materials in place during
 fabrication was too worn out.
 It works with most graphic files quite well, but having a vector file or
a dxf file ready will be most helpful.
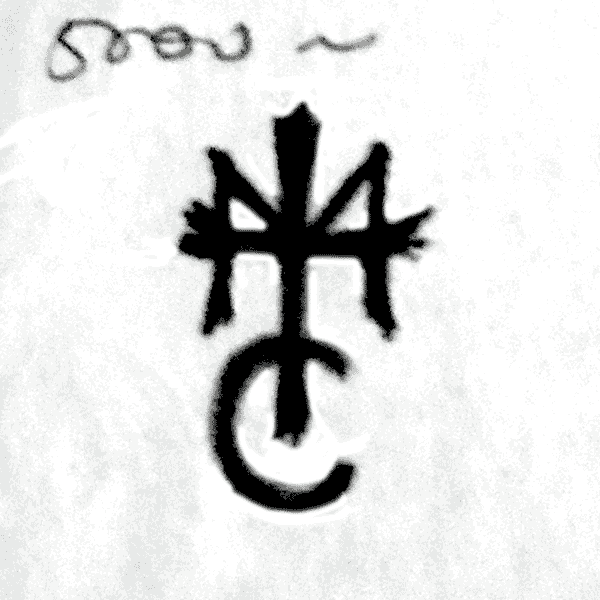 Just like last week, using a sketch that I had made,
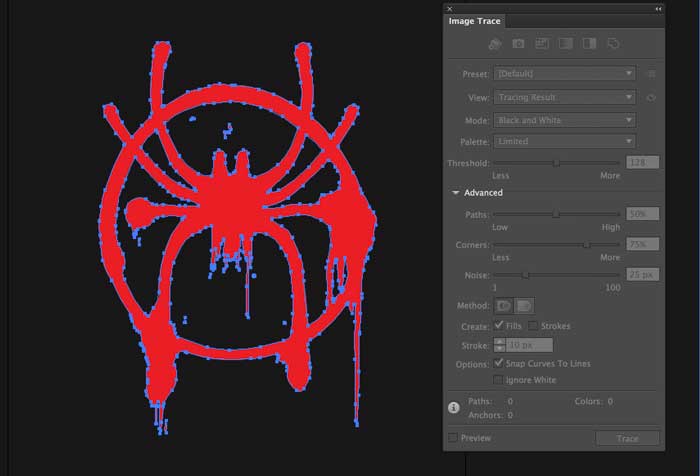
I vectorized it using illustrator.
(remember... you want a clear good drawing.)
 I made two versions, one with much more details.
 Take the protective film off of the mat,(crucial for the longevity of your mat)
and stick your material onto it.
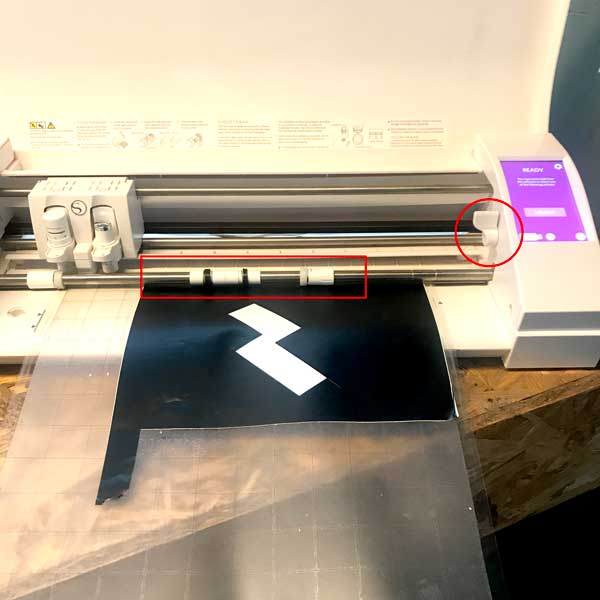 Clamp your mat into the machine, and press load button on the screen interface to the right.
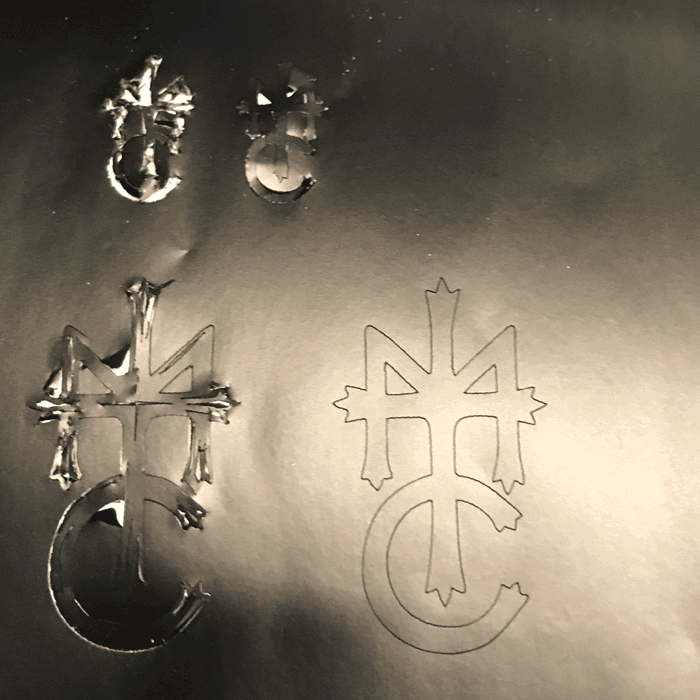
the smaller design did not make it.
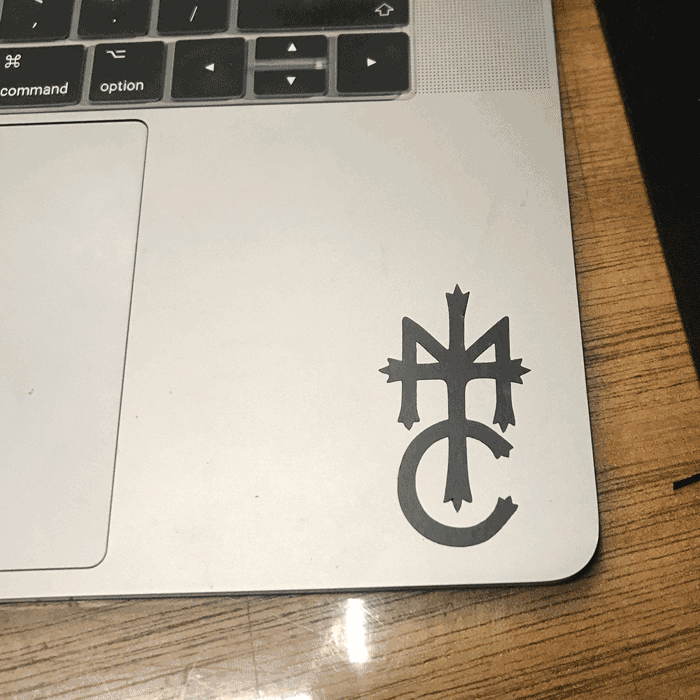
still was very nicely done.
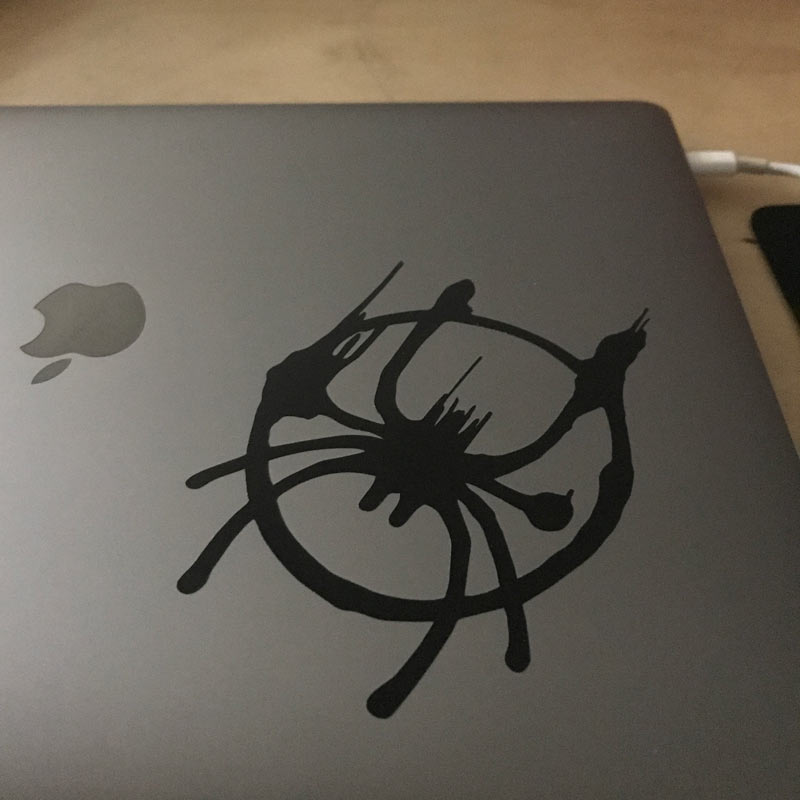
I found a picture of the Spiderman logo of the newest Spiderman movie, vectorized it and cut it.
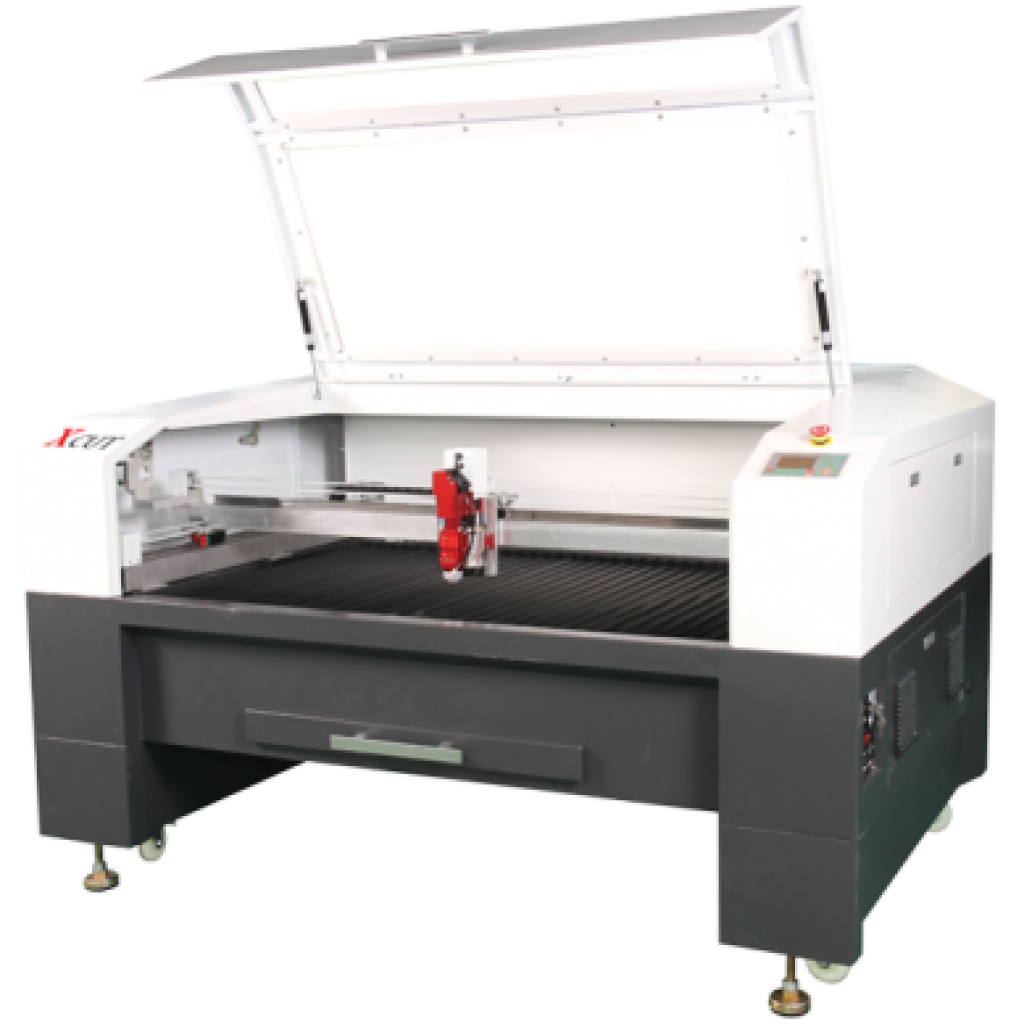
Laser cutter
the laser cutter was pretty fun to use, and I want to make more stuff using it.
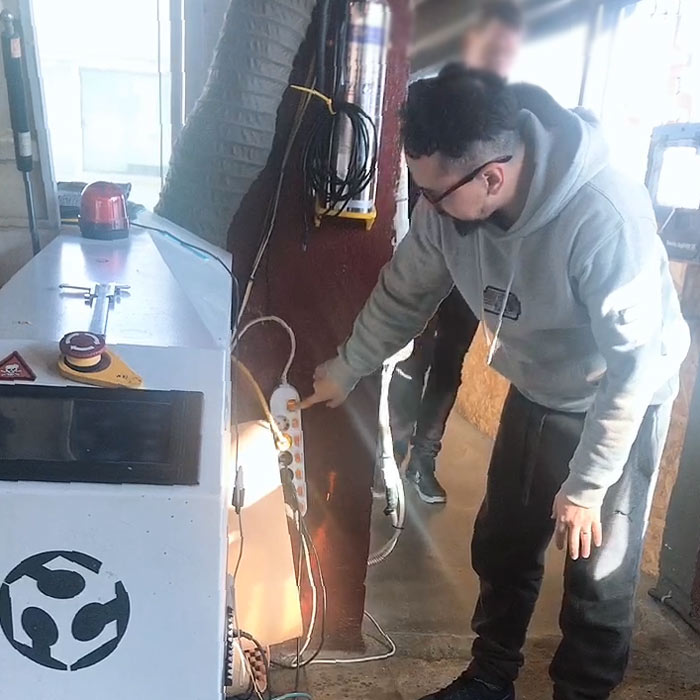
 First, turn on the machines connected to the laser cutter.
then, turn the red knob to turn on the laser cutter.
First, turn on the machines connected to the laser cutter.
then, turn the red knob to turn on the laser cutter.
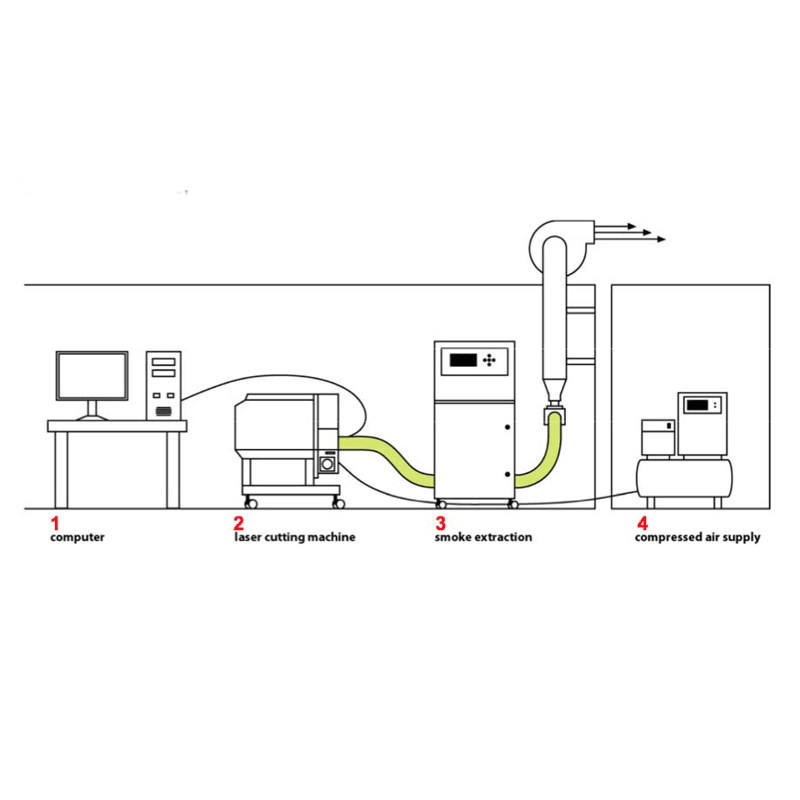 These are the machines that are needed to run the laser cutting machine.
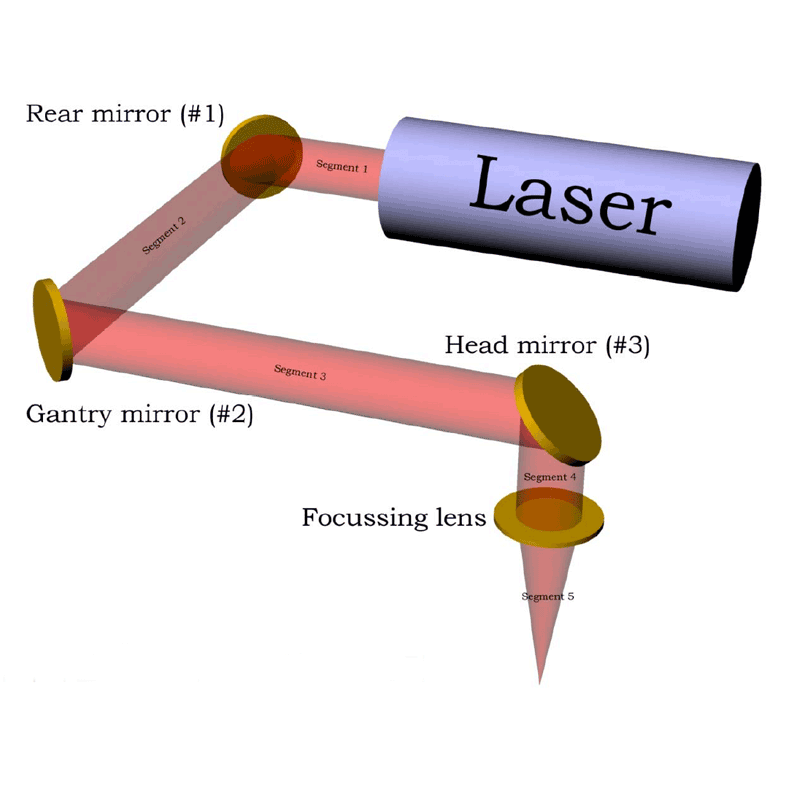
Laser is condensed powerful light. the light doesn't come out straight from the nozzle, but from a tube in the back of the machine. Light generated from there is reflected on mirrors to the focus lense that the user can use to concentrate the light on to the material.
Setting up
Set your material in the machine. Use the grate inside to line up your board. The following is a table about materials.
| ... Can Cut ... | Cannot Cut | Shouldn't Cut |
|---|---|---|
| Wood | Glass | Foam Core |
| Paper | Metalics | Foam board |
| Acryl | Inorganic Material | Styrofoam |
| PETG | PolyCarbonate | Melting materials |
| ABS | ||
| PP | ||
| Fabric | ||
| Leather |
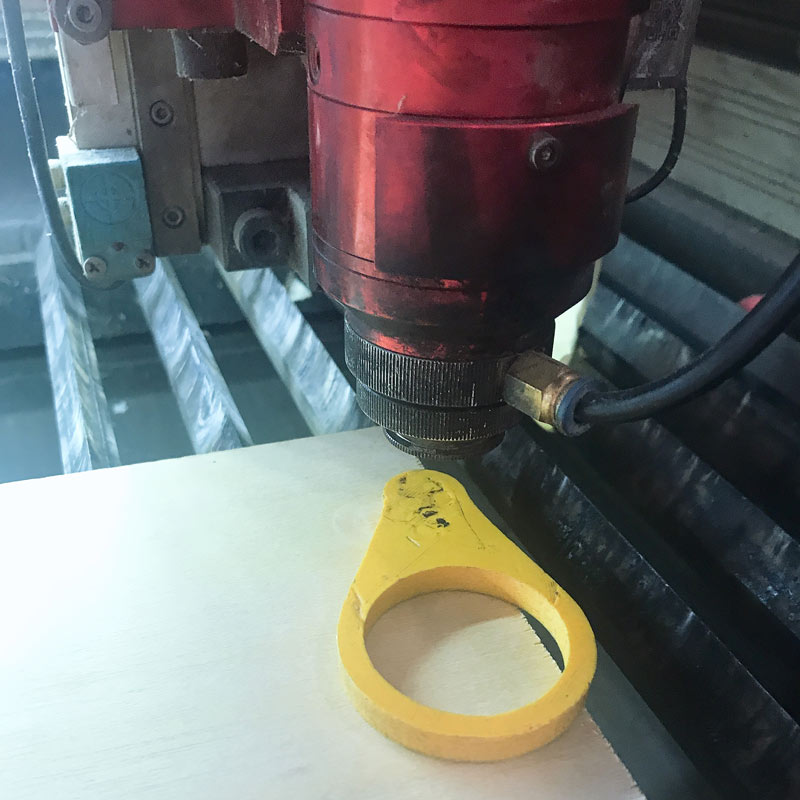
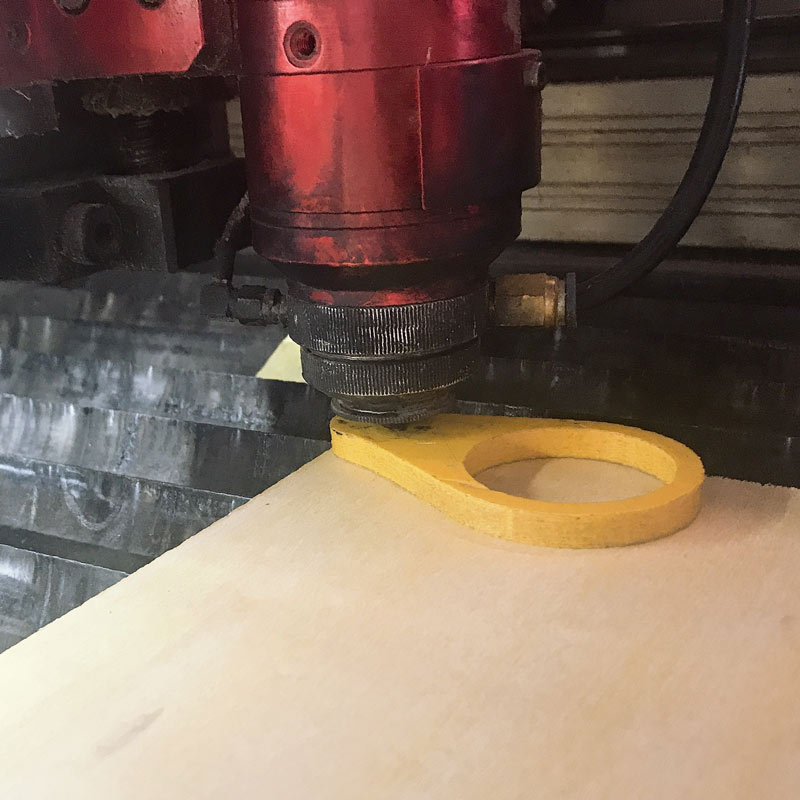
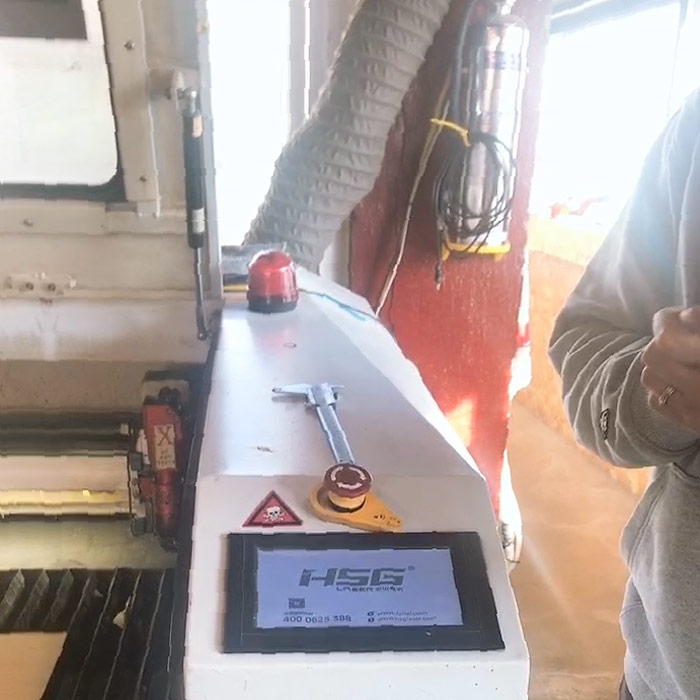
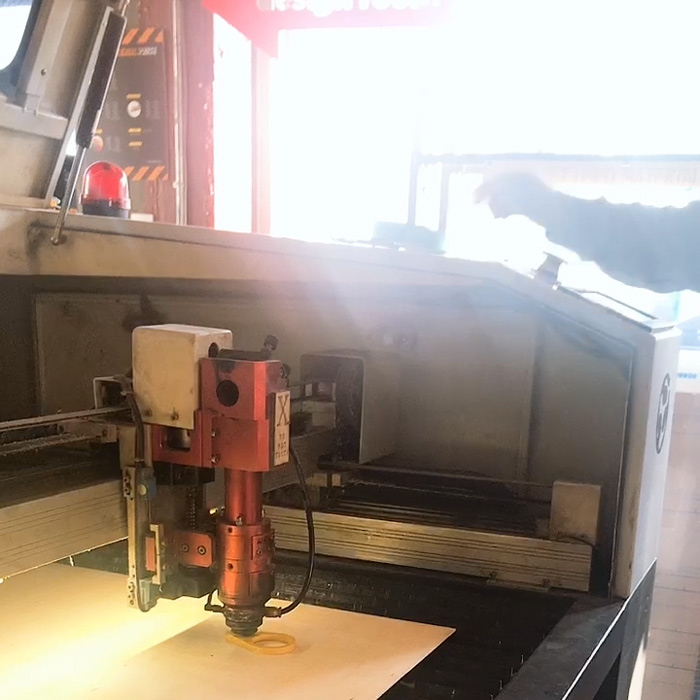
Set the ring on your material. On the screen to your right, navigate the axis to lower the nozzle on to the ring until they touch. Take out the ring, and move the axis to set your personal origin on the board.
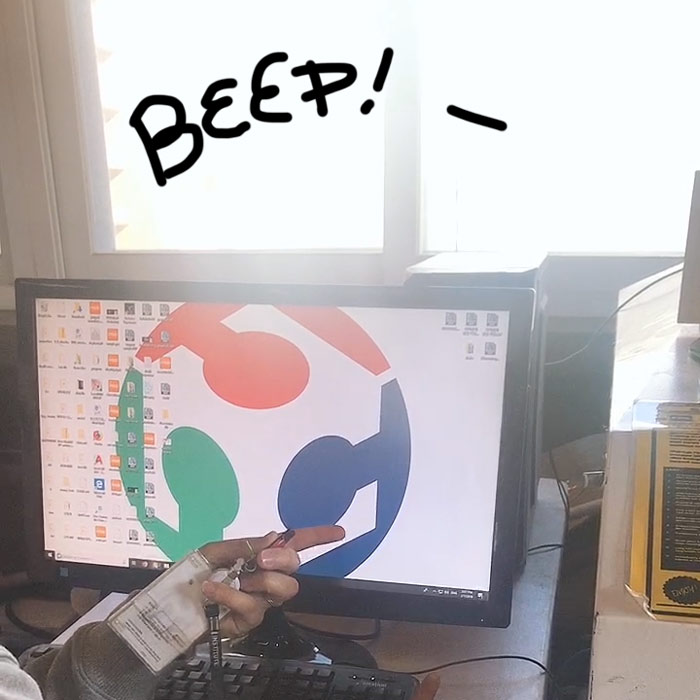
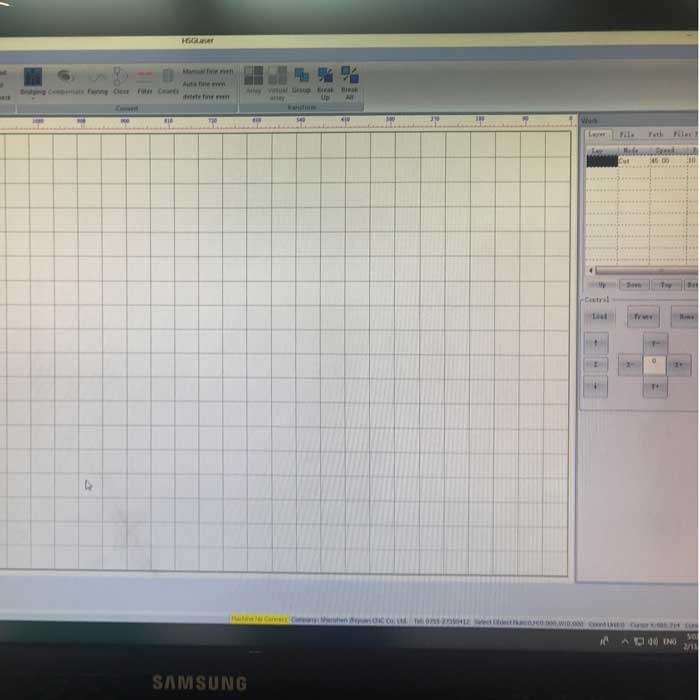
When you turn on your computer connected to the laser cutter, the machine will communicate that it is indeed connected, with a beep sound. When you open the program, it will make triple beeps. (I had an error, and when that happens, the machine will keep beeping. in that case, turn it off and on again.) now load your dxf file.

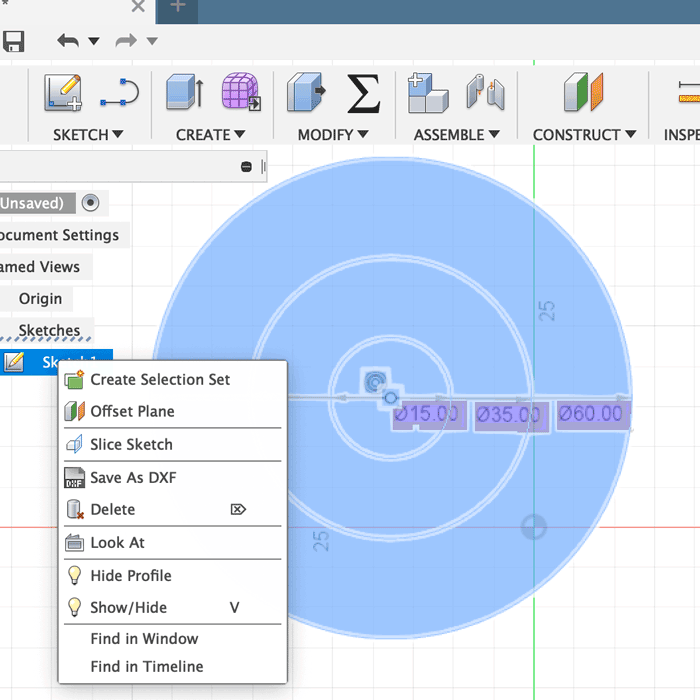
My instructor Rodrigo gave us an assignment to cut three ringed circle to practice, so I used fusion to make the rings, and saved it as dxf from the sketch mode.
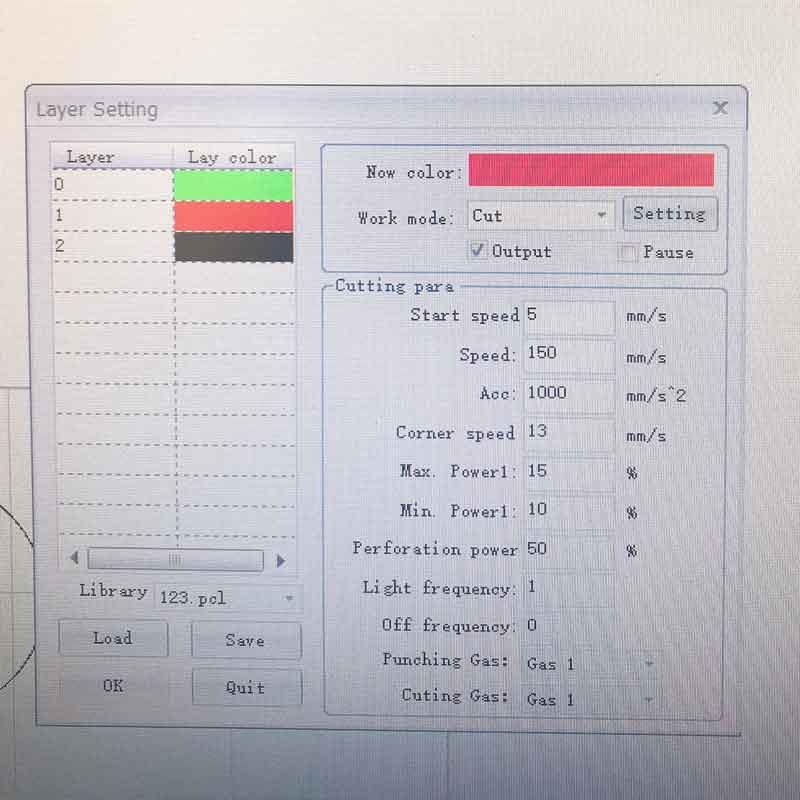
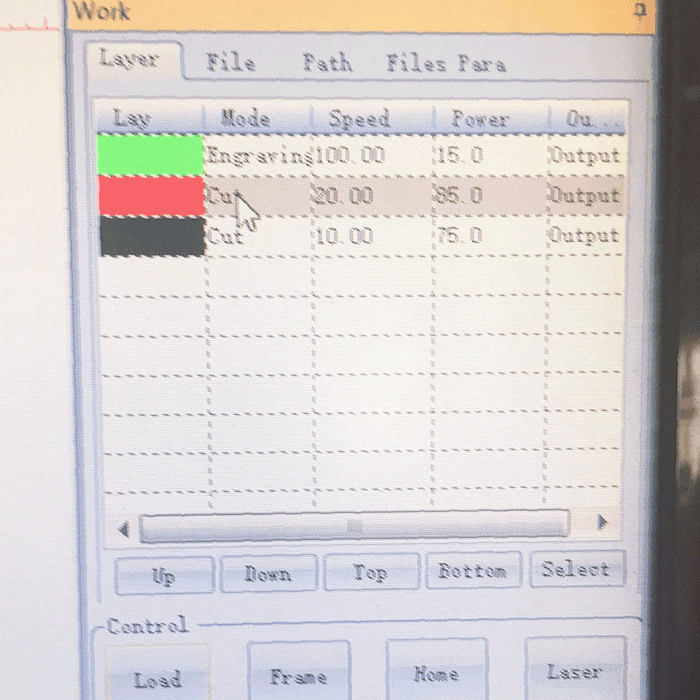
You can draw on the software as well, and edit them. I changed the colors for the three rings to test different settings. The green circle was set to engrave, the red circle was set for vector cut and the black line was set to cut out. The cut out has to be the last or else your material will fall out and the engraving will be inaccurate
 empty screen
After loading and adjusting the position to your liking (after adjusting the speed and power, press ok. if you just tap enter, it goes back to the original setting...), click the load button. The machine will beep at you again.
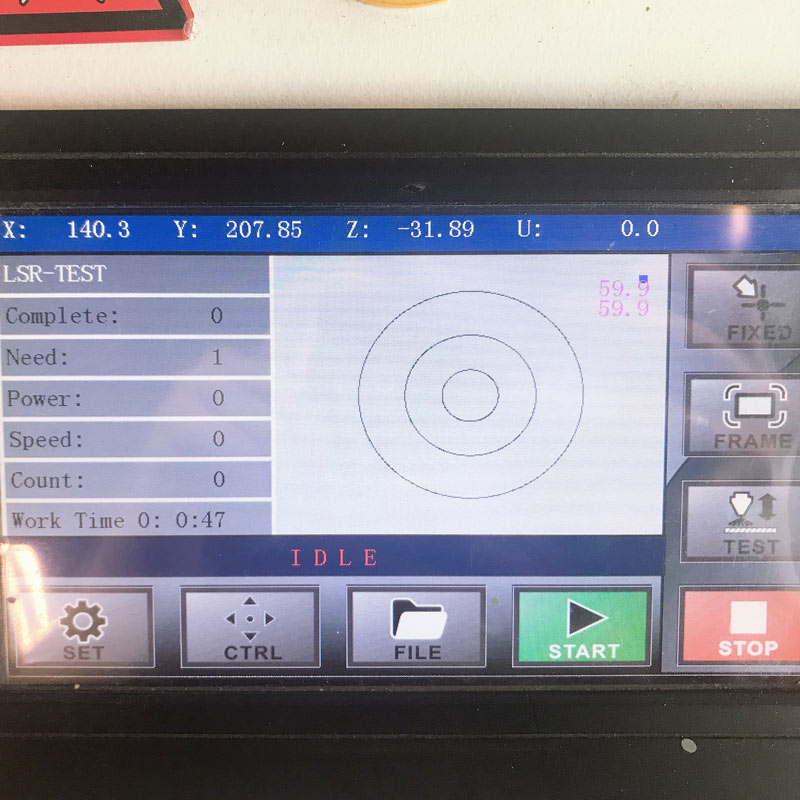
the screen on the machine will show your file loaded up. Here, you can check the frame to make sure your cut is within the material. and press start.
The following is a table of materials that I tested out for speed and power.
| Cut | Vector Cut | Engrave | |
|---|---|---|---|
| Speed | 10-20 | 150 | 150 |
| Power(%) | 70-75 | 10-15 | 15-20 |
| Cut | Vector Cut | Engrave | |
|---|---|---|---|
| Speed | 10 | 300 | 300 |
| Power(%) | 70-75 | 10-15 | 55 |
| Cut | Vector Cut | Engrave | |
|---|---|---|---|
| Speed | 5 | 150 | 300 |
| Power(%) | 80-85 | 10-15 | 55% |
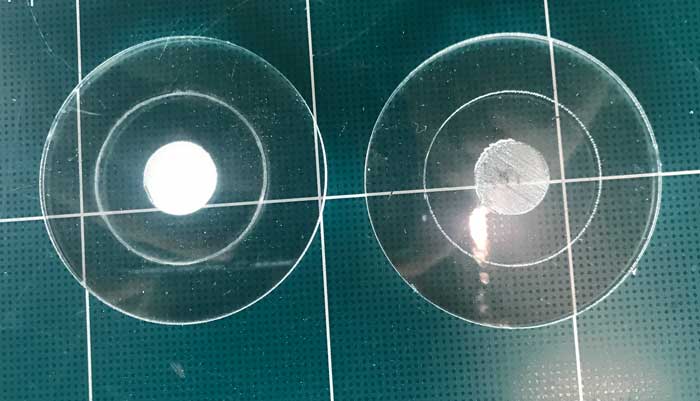
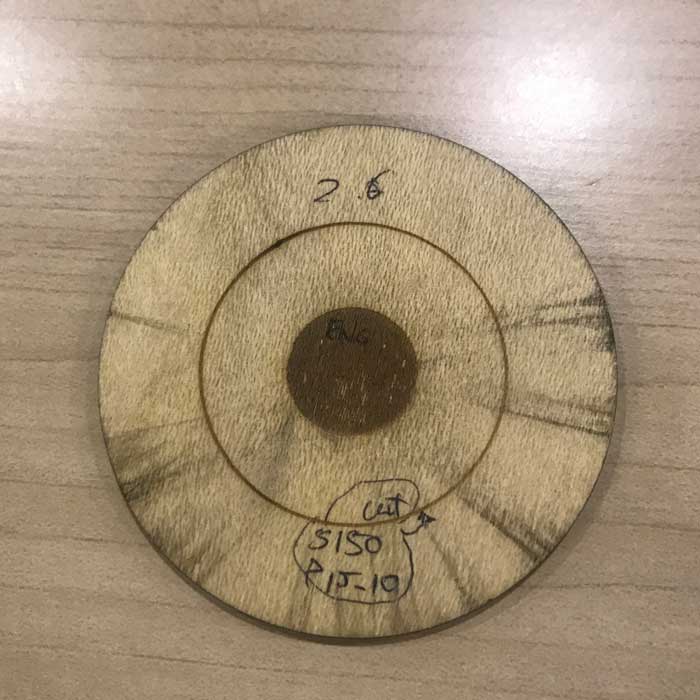
I tried with acryl, it worked fine except for the thin protective film on the acryl melted onto the engrave. So I made another one after removing the film.
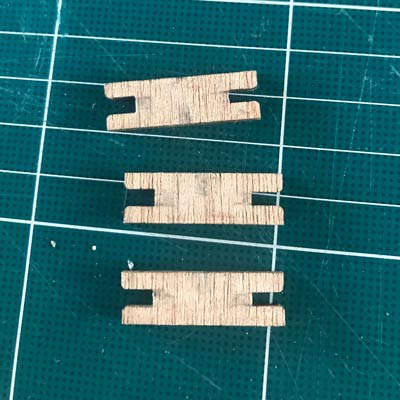
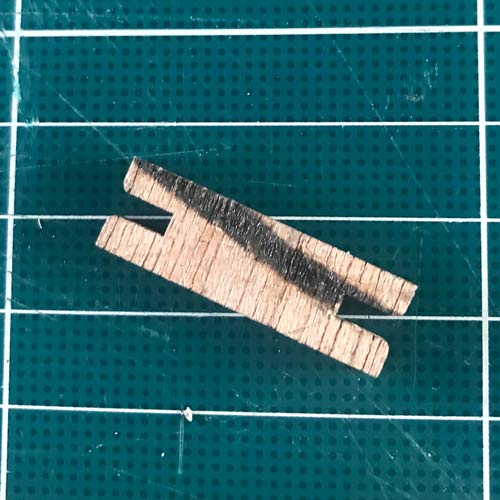
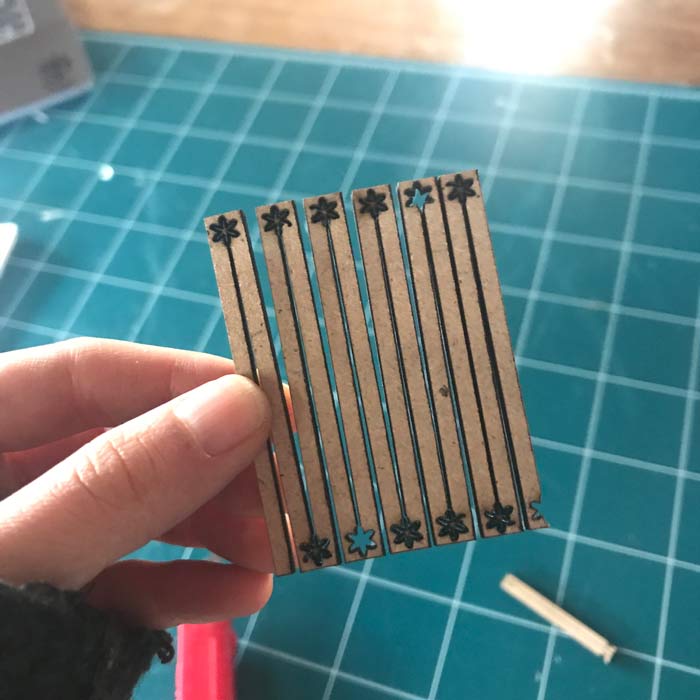
Comb for kerfing

Kerf is the measurement of the part that is cut or burned away.
So if I were to use a saw to cut, the part that will be cut away will change depending on the thickness of the blade. I used a caliper to check the width of my material. I made the comb on fusion. I knew that the kerf would be in 0.0mm unit.
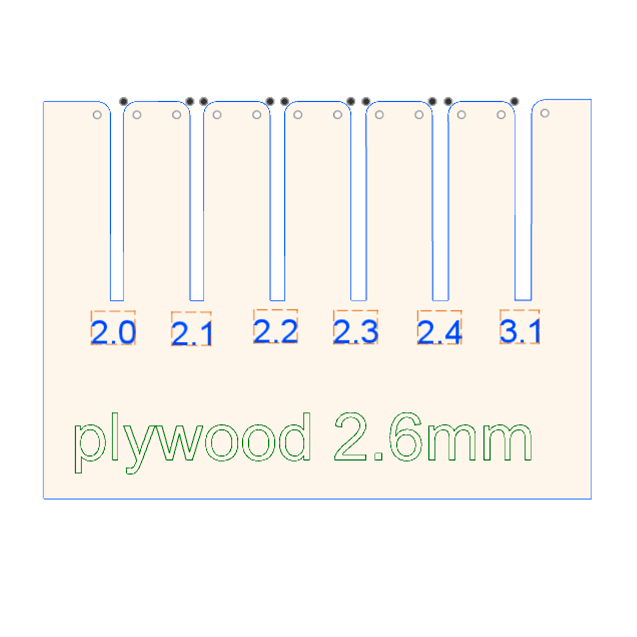
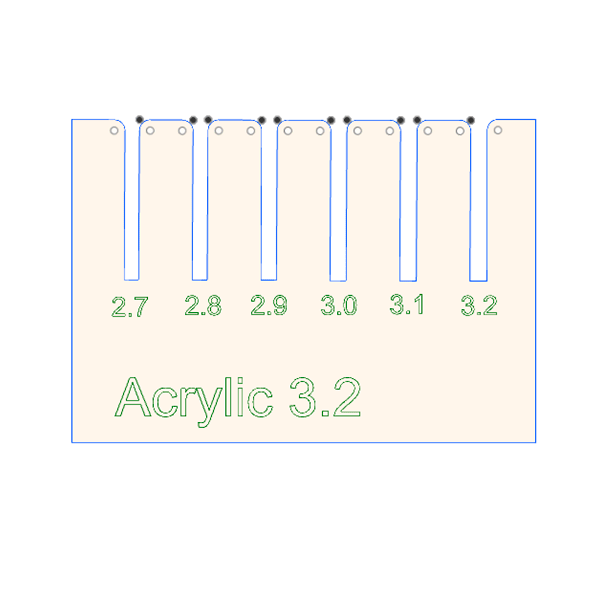 I put in the numbers and text in from fusion. I forgot to expand the text so it didn't get cut in the first try. when the text is green, it is possible to cut.

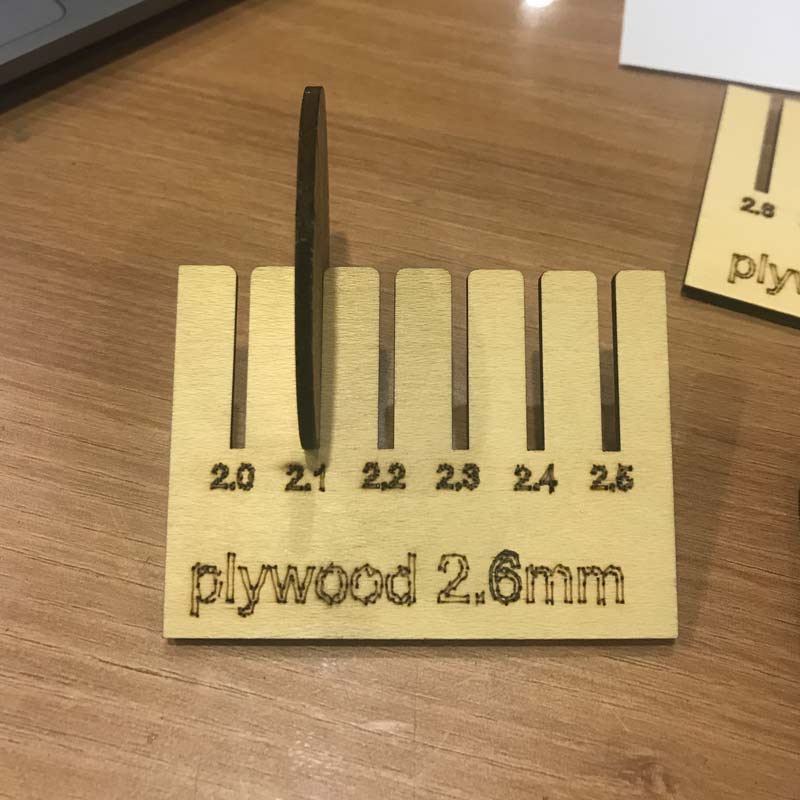 I fit in each slot to find the perfect fit; tight enough that it will not fall out when shaken; but not so tight that it will break the material.
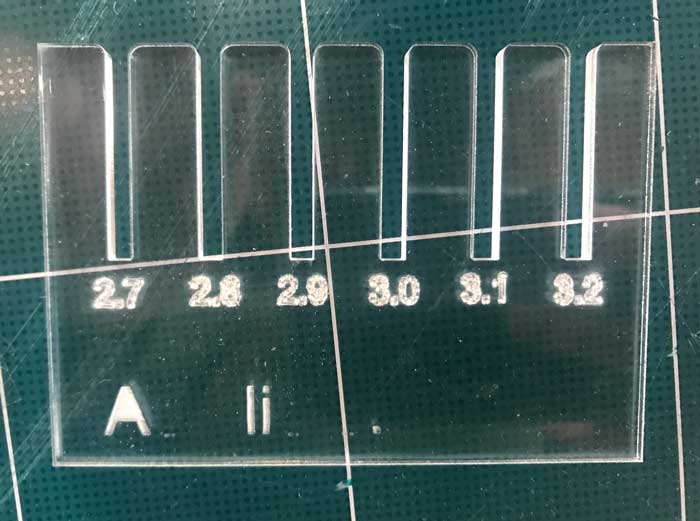
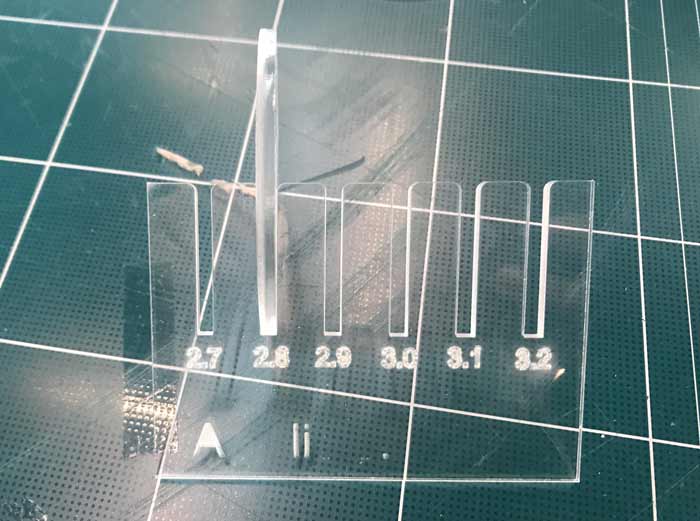 I tried it with 3.2mm acryl board
From the test the kerf will be around 0.2 ~0.25 mm
I tried it with 3.2mm acryl board
From the test the kerf will be around 0.2 ~0.25 mm (Plywood is 2.6mm it fit into a slot that was 2.1mm so around 0.25mm)
(Acrylic is 3.2mm it fit into a slot that was 2.8mm so around 0.2mm)
Parametric Design Kit
Parametric Design is using a set unit measurement for multiple parts of the design so that when the measurement changes, the parts of the design that is applied will also change accordingly.
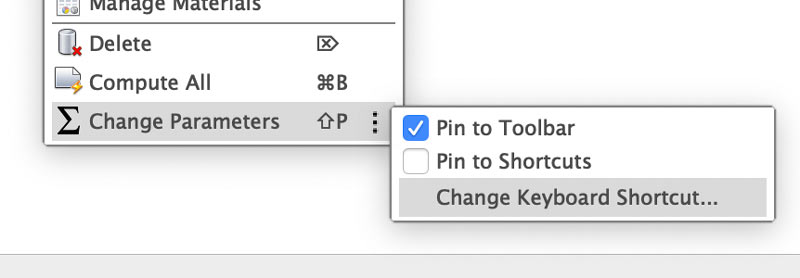
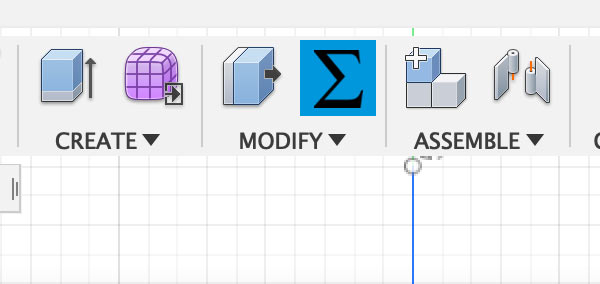 Under modify, at the end of the menu, there is a big E for parameter set. Click the three dotted part and set it as shortcut or pin it to toolbar.
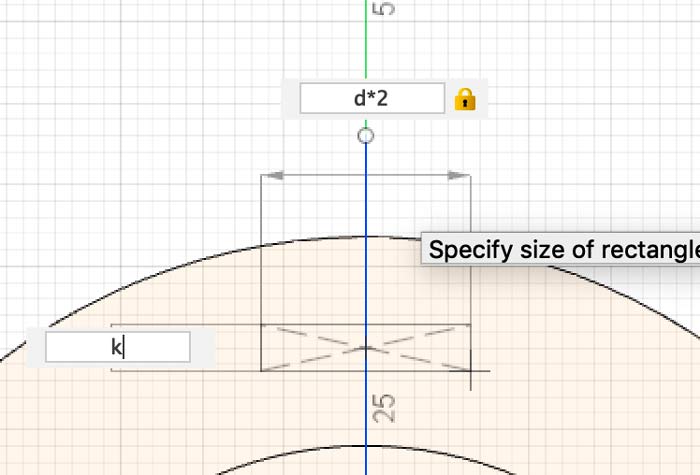
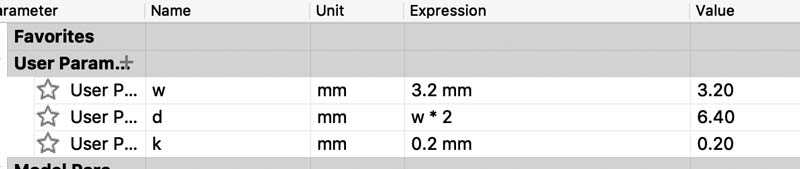 The width of the material(3.2mm acryl) and the kerf (0.2)
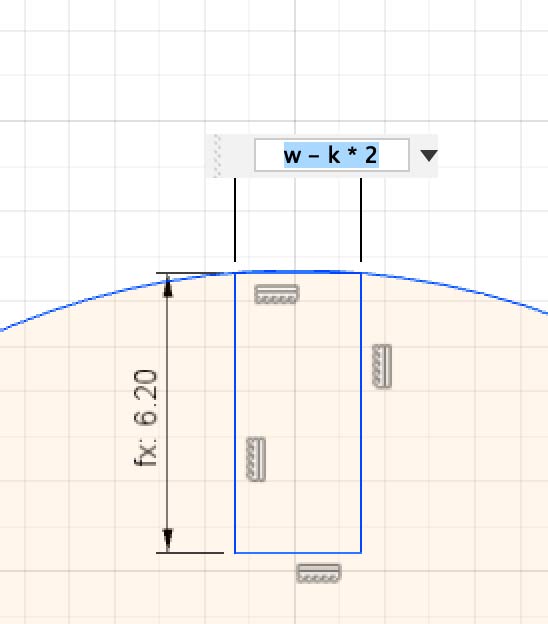
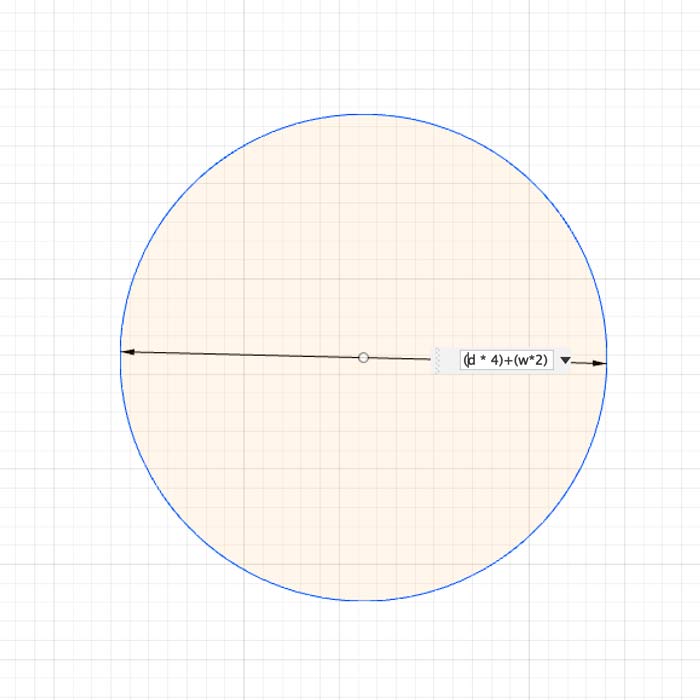
 I wanted to make a kit that can make something circular. So I started out with circles. I used the width. (w*23), (w*15)
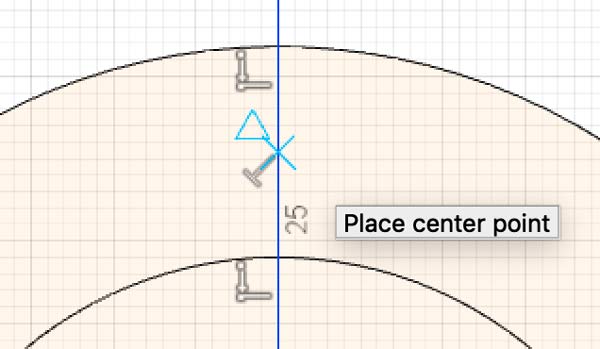
 I used the center point rectangle to put in the slots (X with a triangle next to it means it is the center.)
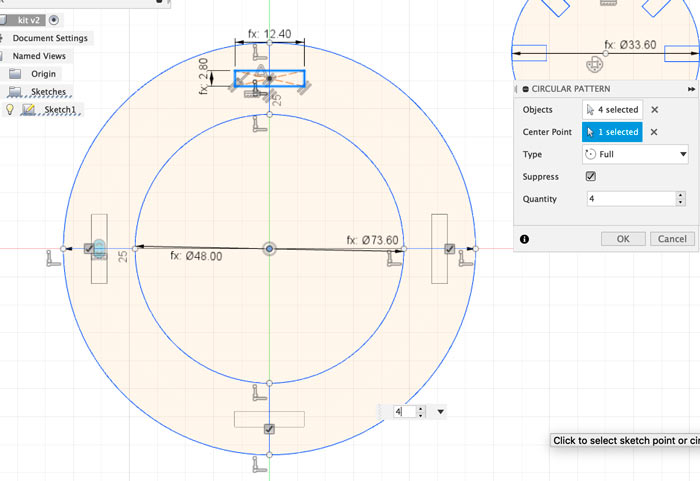
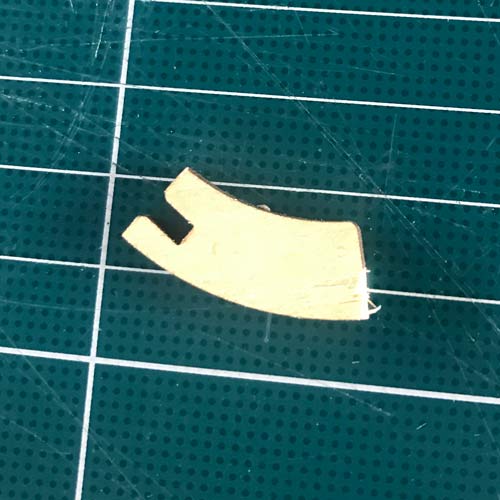
 While using the circular pattern for the inside connecter, I realized I forgot the kerf so I fixed it.
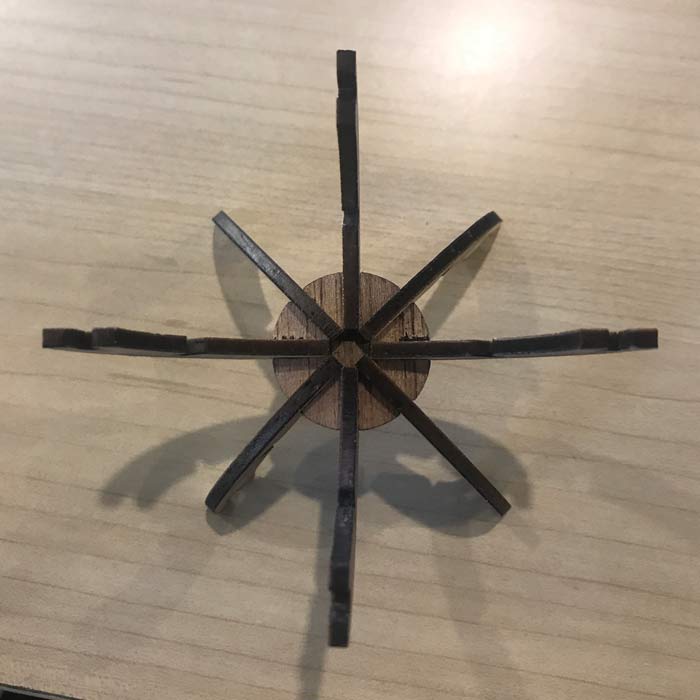 For the inside piece, I wanted there to be 6 connecters so that it can be in various angles. For that to happen, the piece had to be wide enough to accommodate 6 pieces fitted into it at the same time.
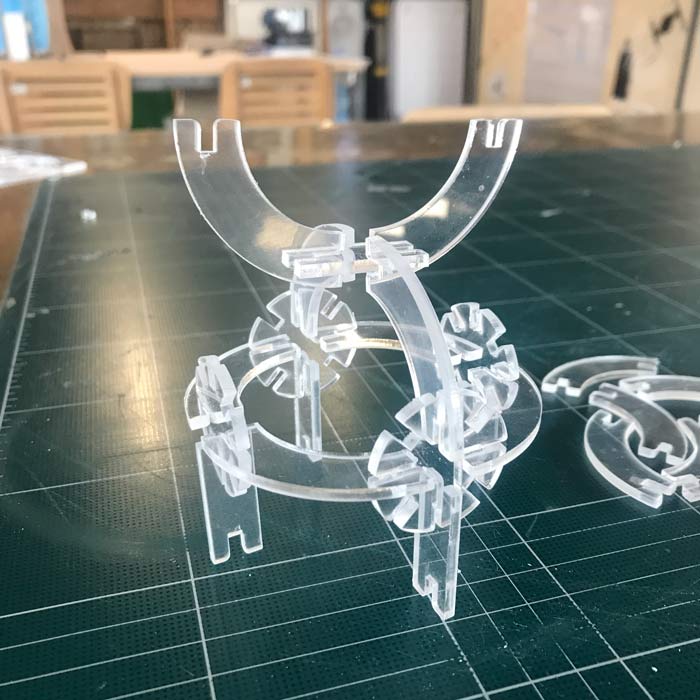
 It was very nice and well fitted. But I had made it for my 5year old niece...
There was a problem.
It was very nice and well fitted. But I had made it for my 5year old niece...
There was a problem.
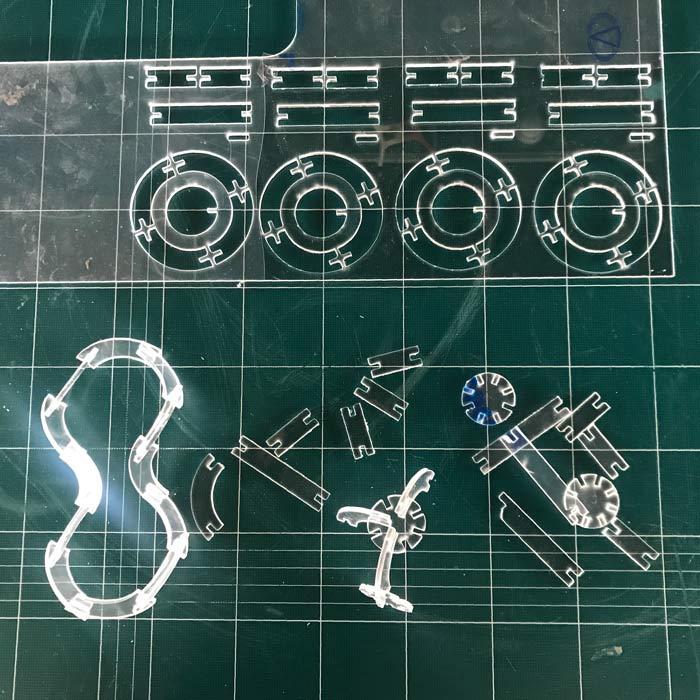
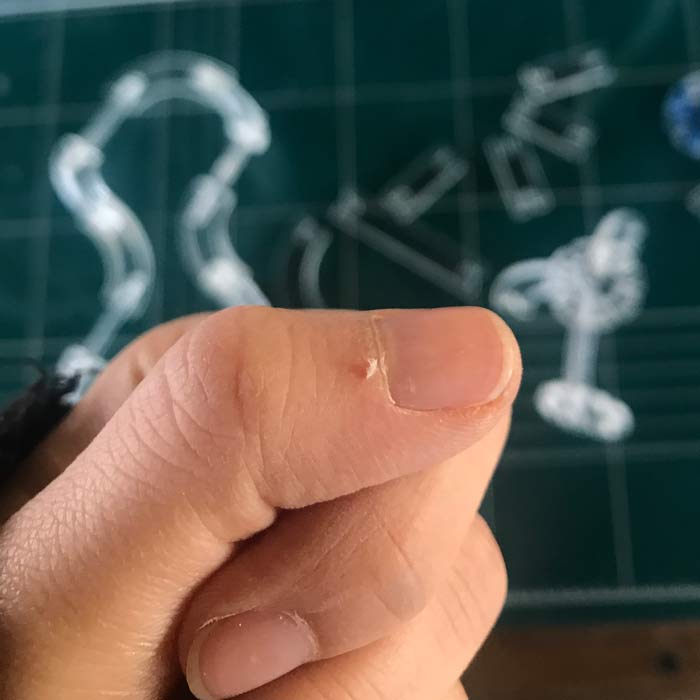 I kept cutting my hand... So I needed to make it again with some other material.
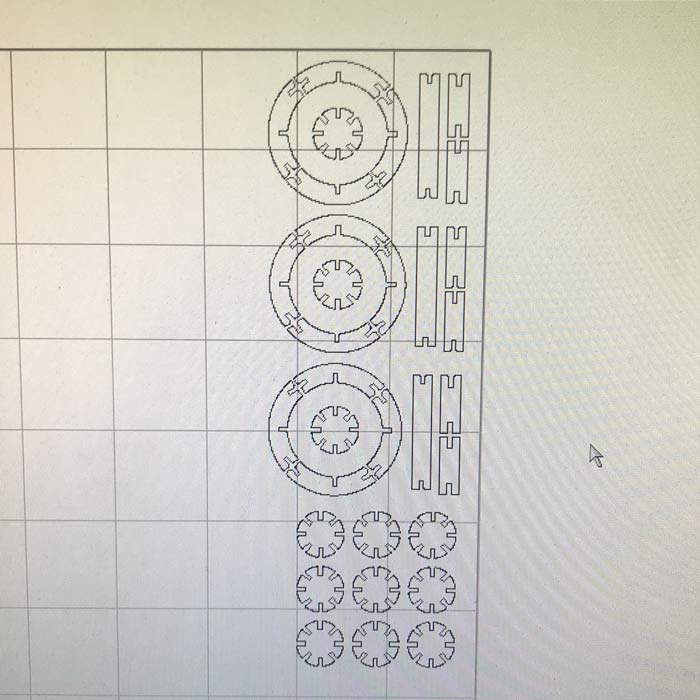
With the use of parametric setting. I quickly changed the width to plywood (2.6mm)
I kept cutting my hand... So I needed to make it again with some other material.
With the use of parametric setting. I quickly changed the width to plywood (2.6mm)
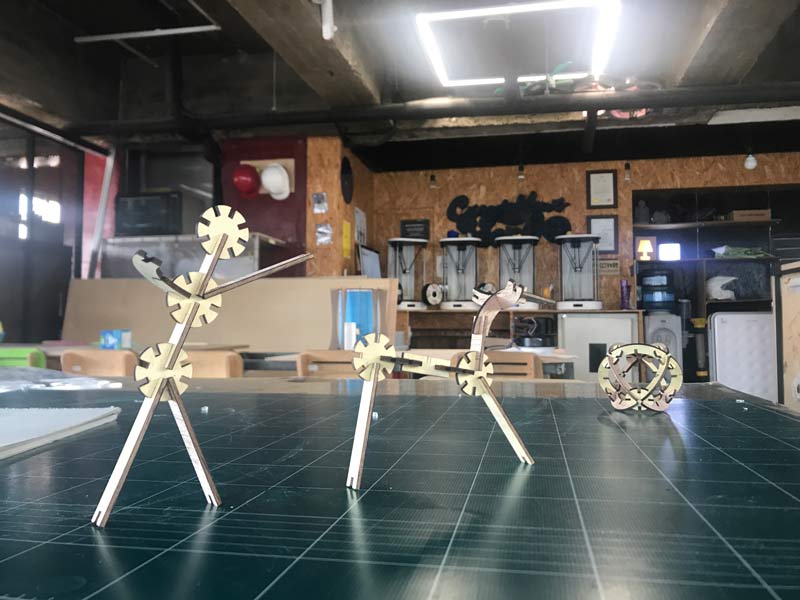
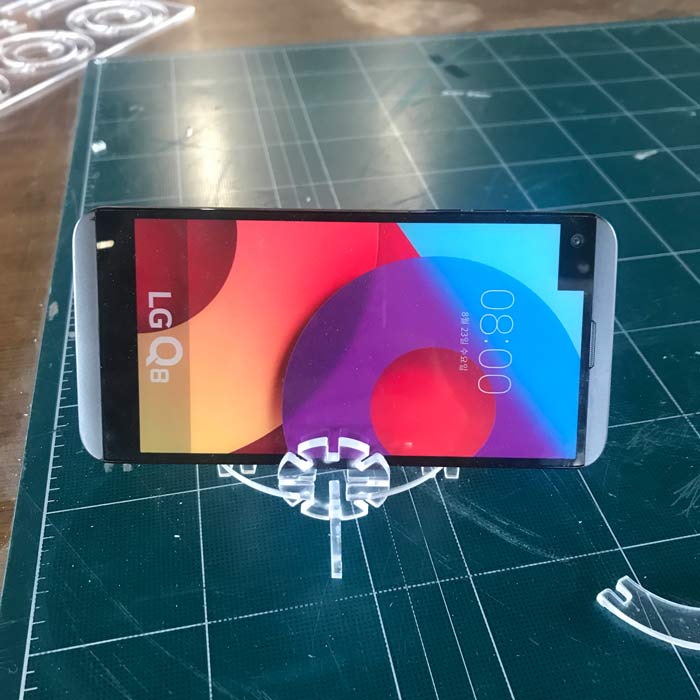
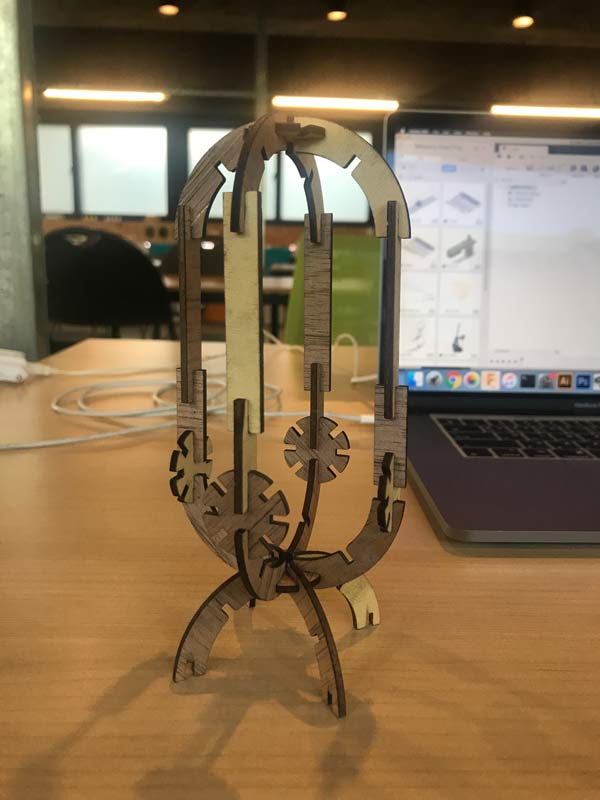 YAY~!!! Now I can make almost anything with my parametric kit.
Troubles
The problems that I had before cutting, during cutting and after cutting.
- 1. didn't final check. so one slot is wider than the other.
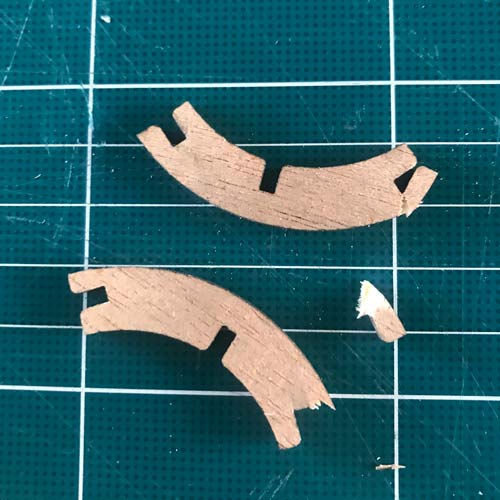
- 2. the piece fell out during the laser cutting, and was burnt.
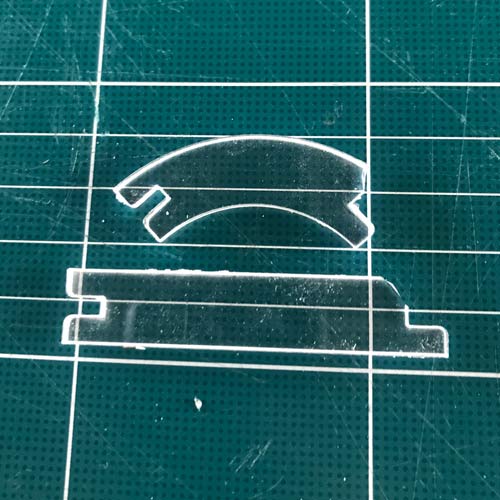
- 3. arc piece was hanging on during cutting, and was broken by the head as it was passing by.
- 4.broken while taking out of the board.
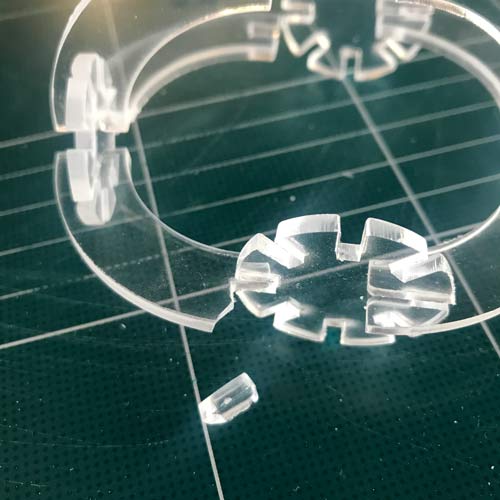
- 5,6. broken while disassembling.
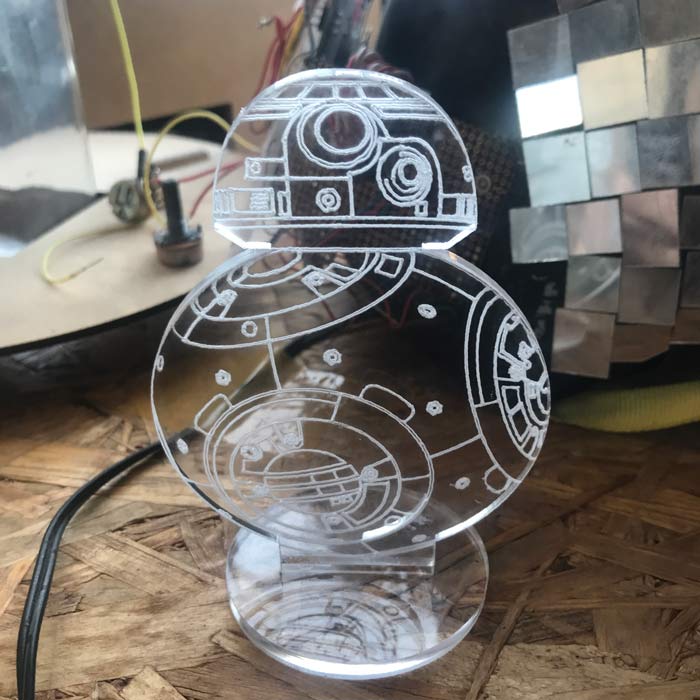
EXTRA!!!
Here are some of the stuff I tried out using laser cutter.
 this is a trial for hinge laser cut
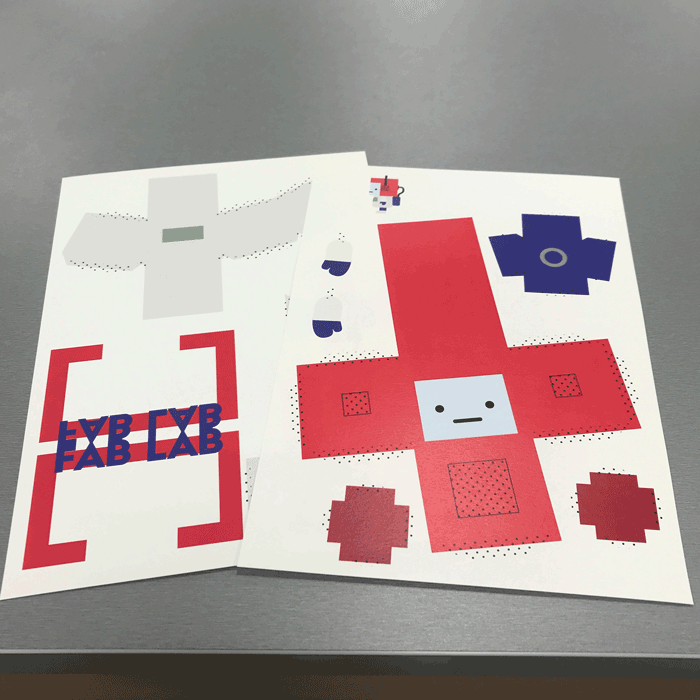 This is a papertoy I made for vinyl cutting, but lining the print with the cut was not working very well. so I used lasercutter to cut it.
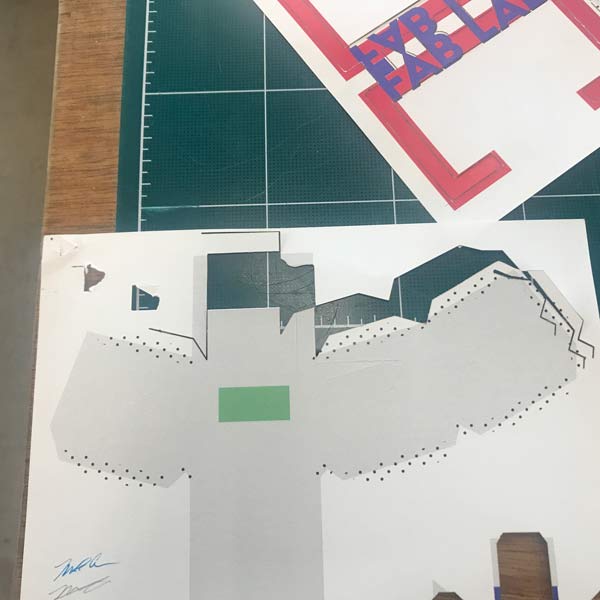
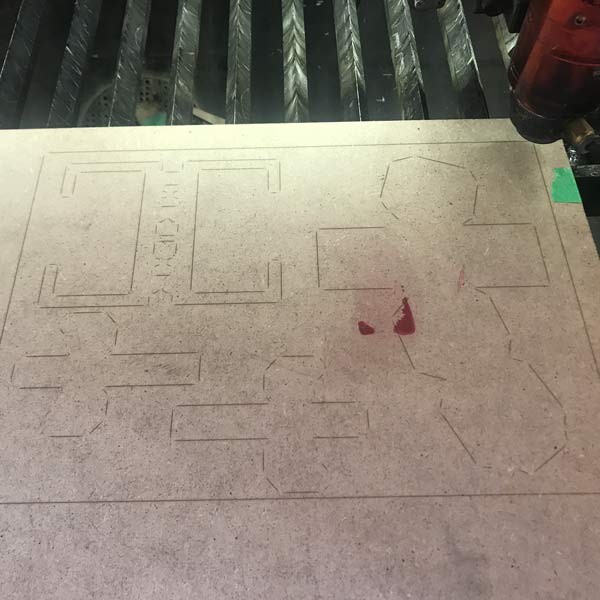
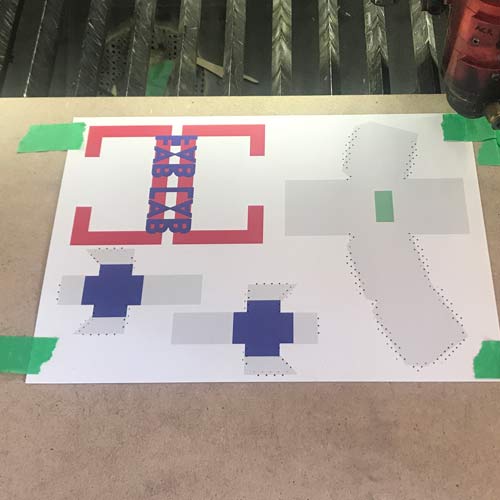
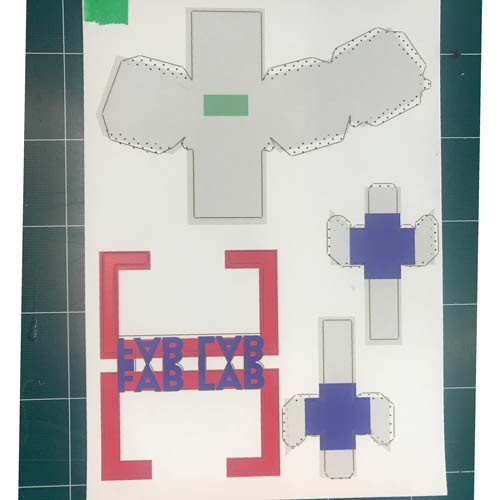 My instructor gave me the idea of making the laser line on a board first and then lining up the paper to the board to make the cuts accurate with the print.