Computer-Controlled Cutting
Vinyl and laser cutting
This week, the assignment was divided into two parts; Vinyl Cutting and Laser Printing, both being methods of computer controlled cutting.
Vinyl Cutting
For the vinyl cutting part, I decided to print my 7-year-old brother's favorite character, Darth Vader from Star Wars. The character looks great monochromatic since it's monochromatic in nature. What's even better is that the client, and demand are there.I found a flat illustration of Darth Vader online and launched Silhouette Studio:

I imported the illustration:
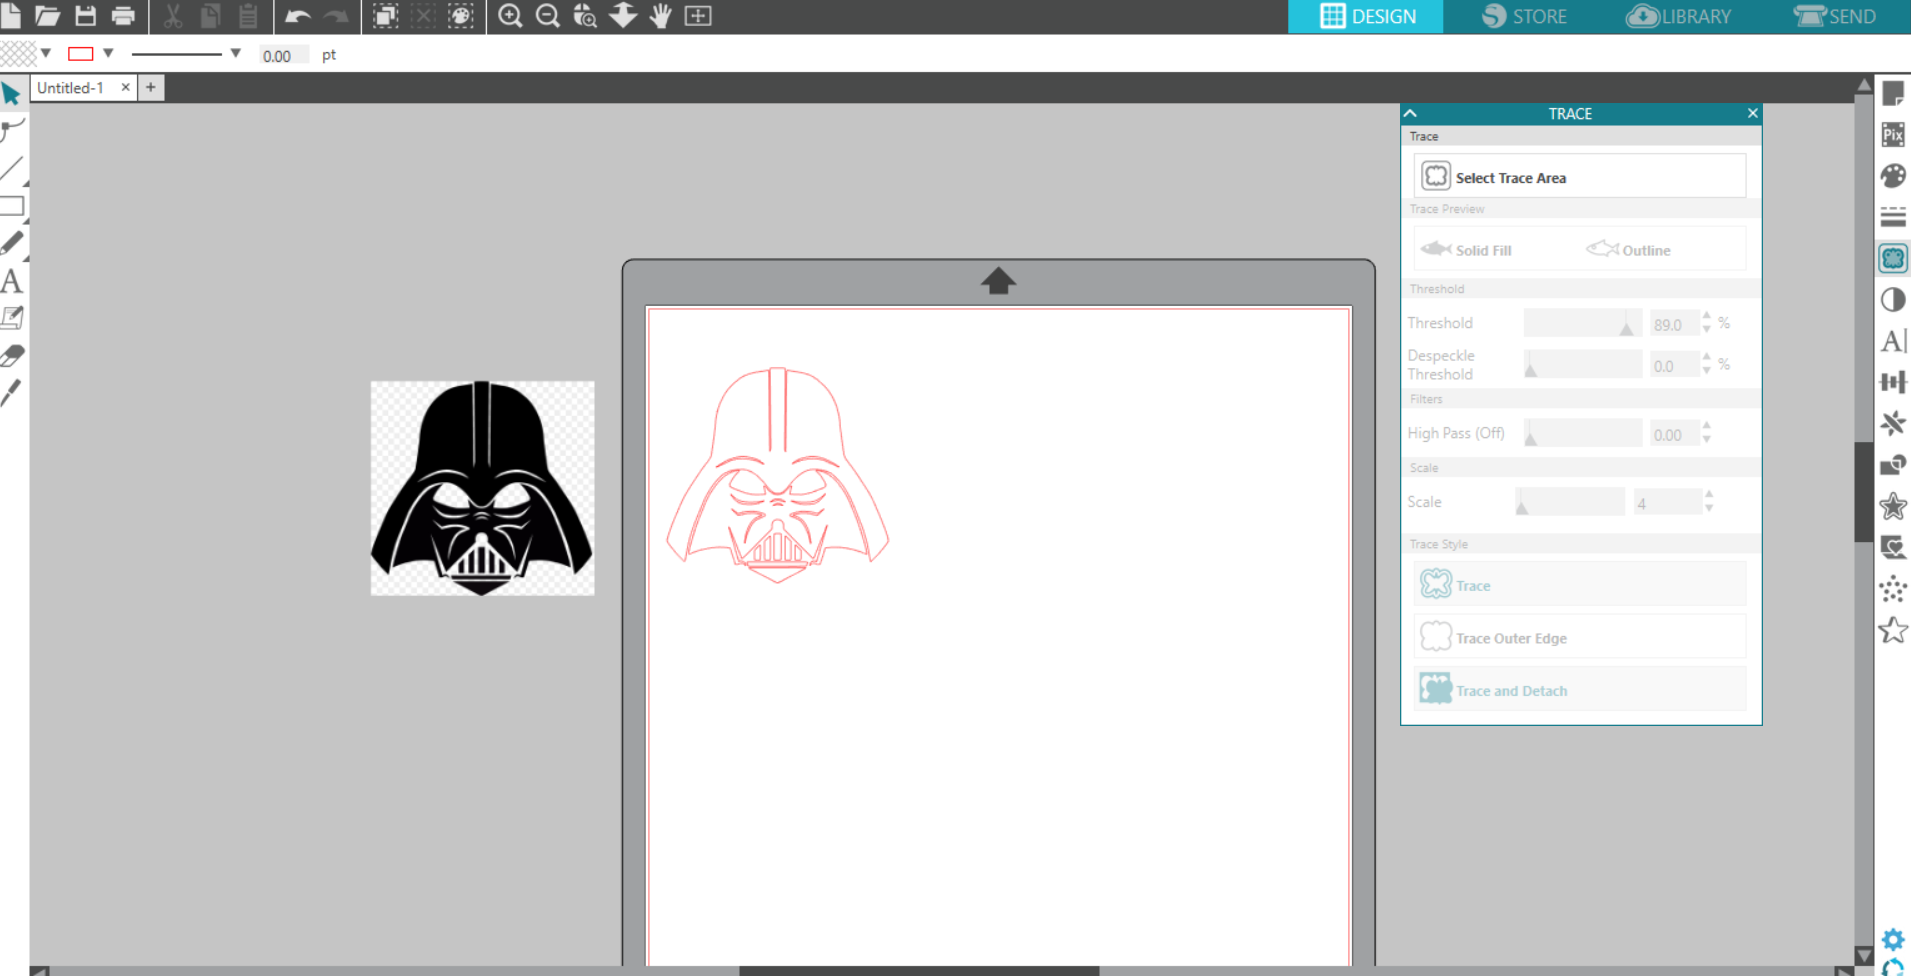
Traced it using the trace panel - Trace style is "Trace"
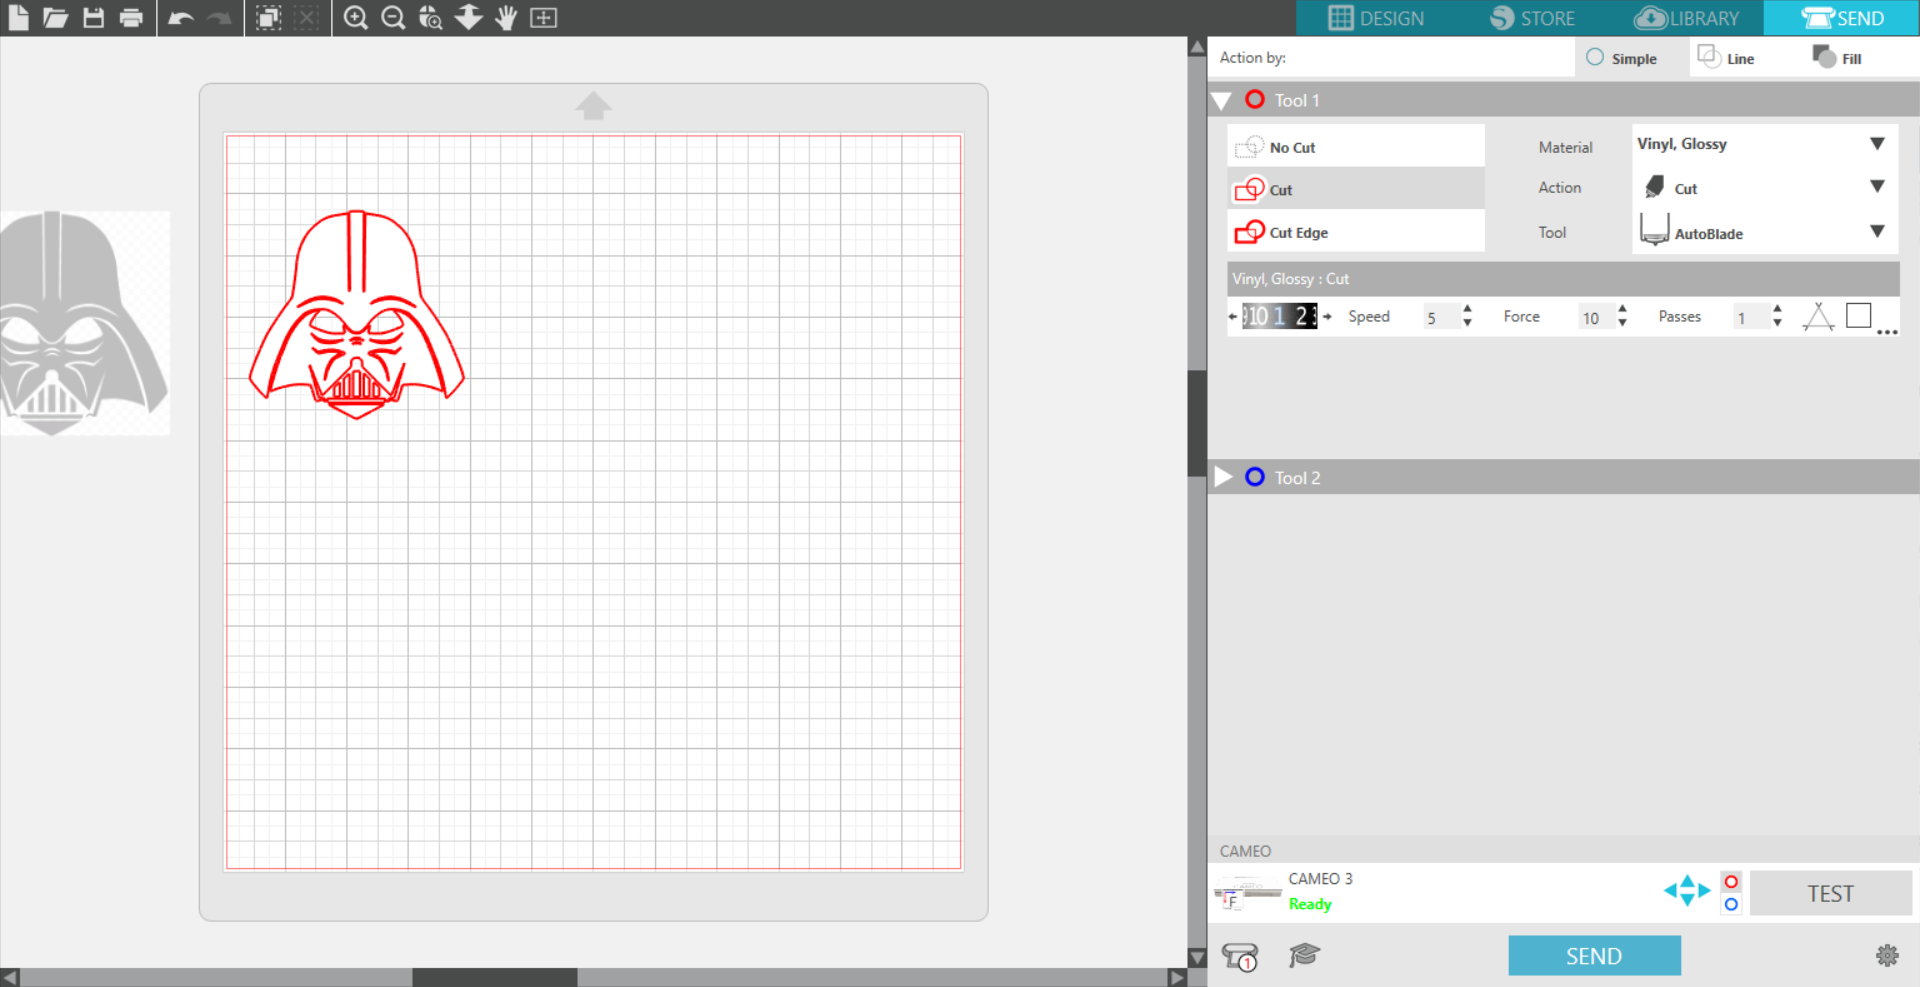
I used the USB cable to connect the Silhouette Cameo 3 to the laptop and switched it on. I then mounted the vinyl sheet on the cutting mat and inserted it under the roller bar. I then clicked on "Send" on the software
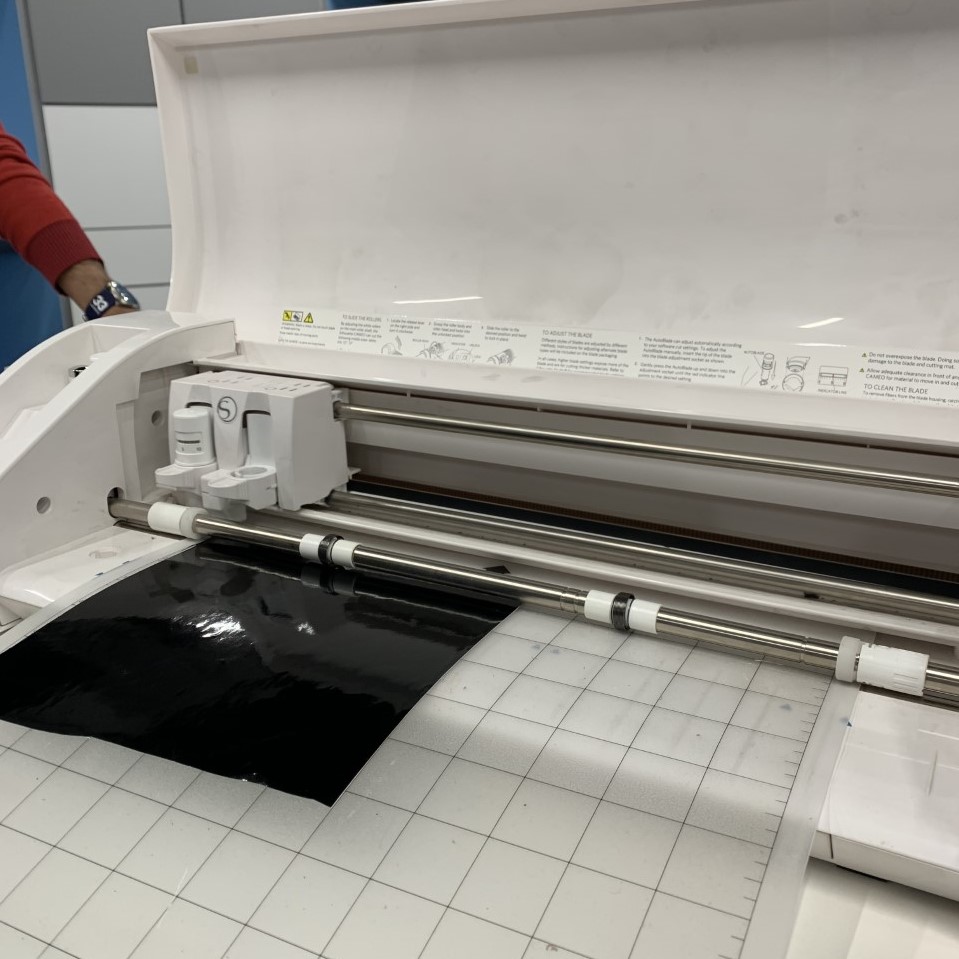
As expected, the machine calibrated itself for the job and the cutting strated right after.
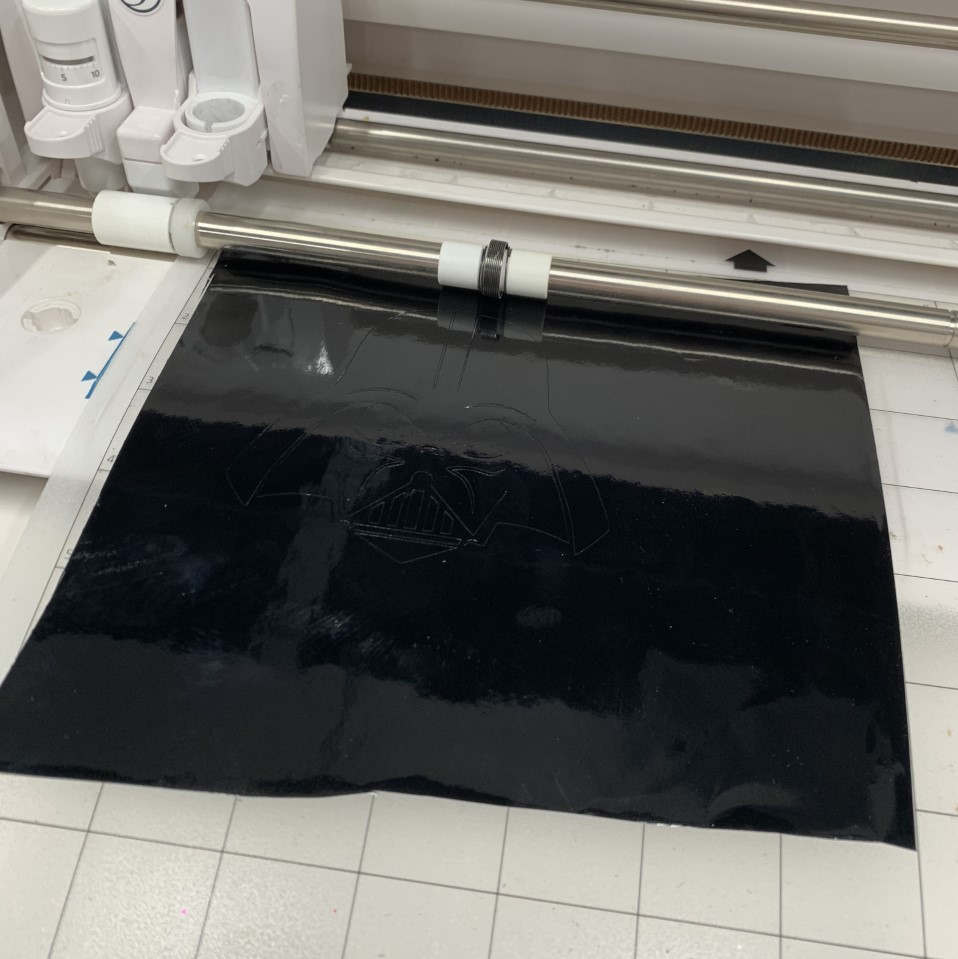
Afetr unloading the mat and removing the vinyl from it using a spatula and the hook.
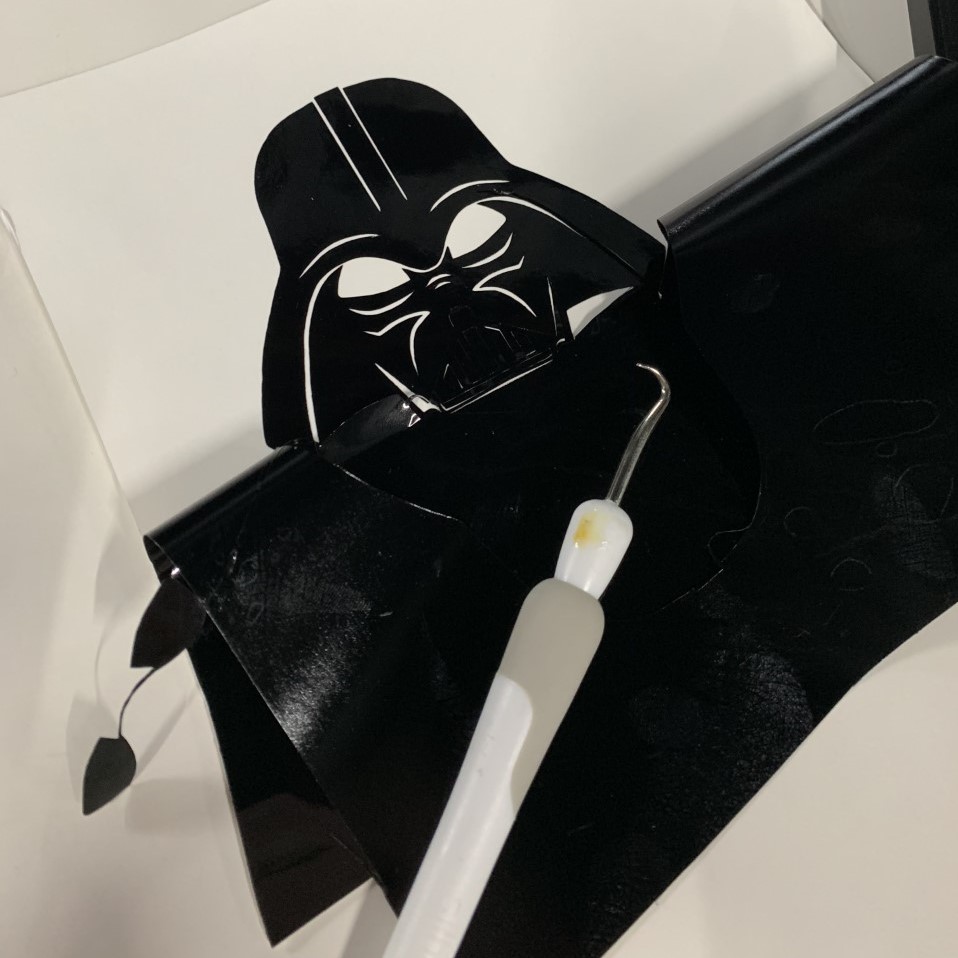
I covered the illustration using transfer tape and burnished.
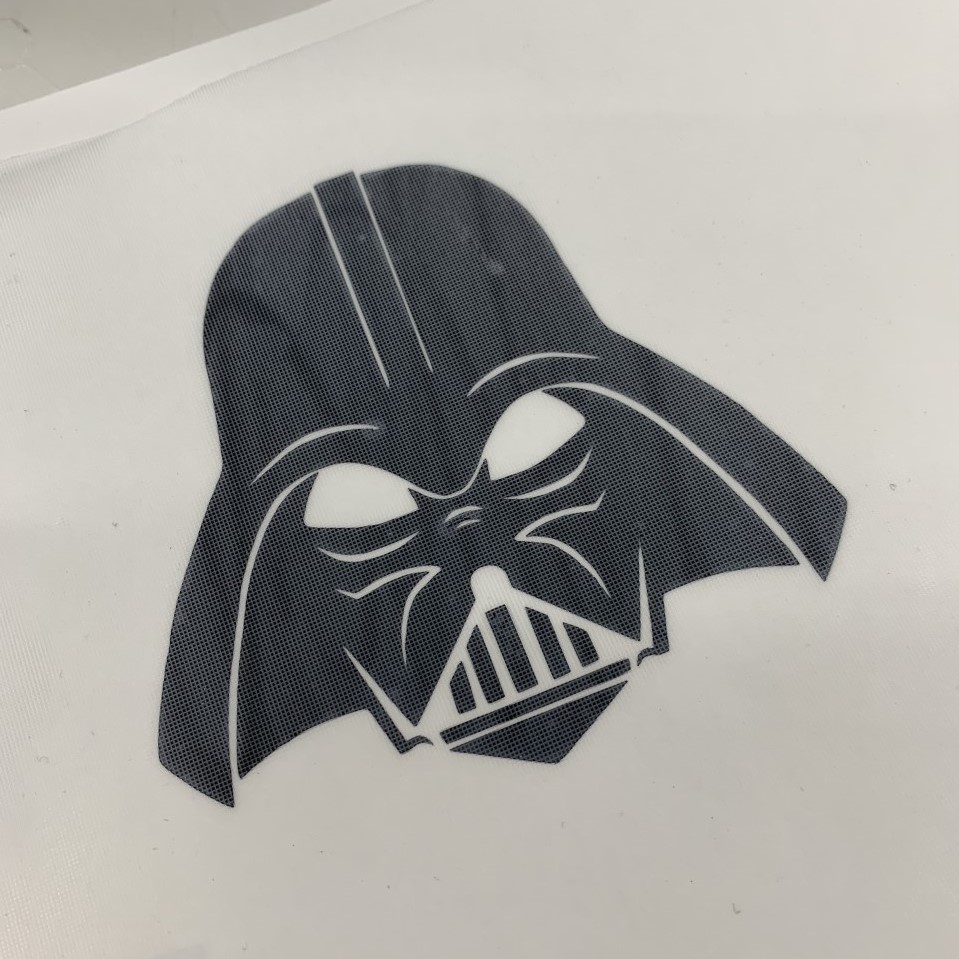
The sticker is now ready to use and can be applied easily by removing the transfer tape!
Laser Cutting
The second part of this week's assignment is laser cutting. I decided to create a laser-cut acrylic book rack. As always, the first step was in the CAD. What I had in mind was a board connected to smaller sheets on the other side. This will get more clear as we move on with the CAD:
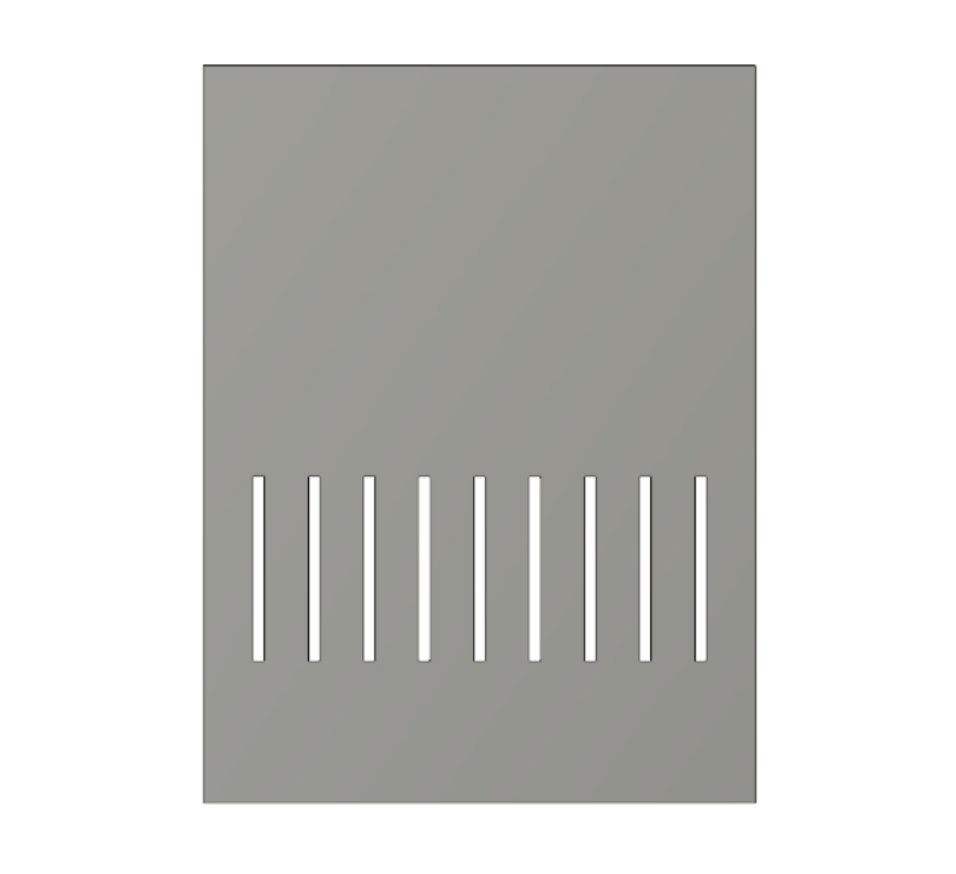
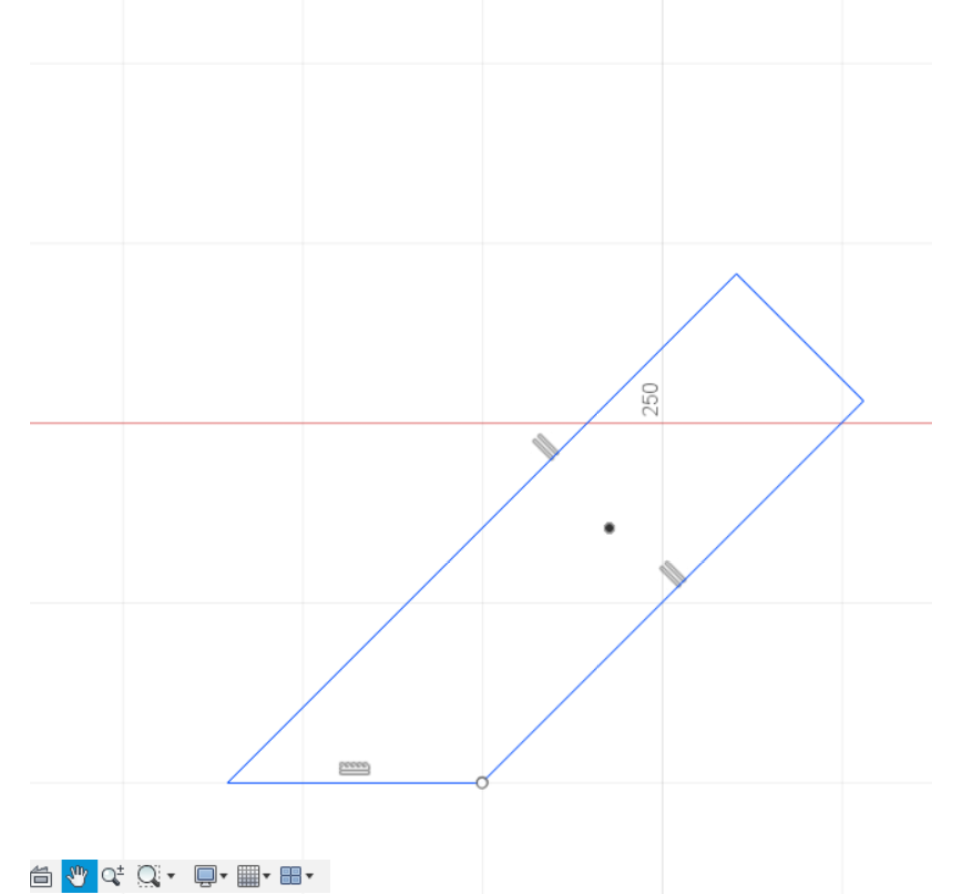
I created the first board. Extruded at 3 mm (thickness of the acrylic) with holes 3 mm wide, 50 mm high.
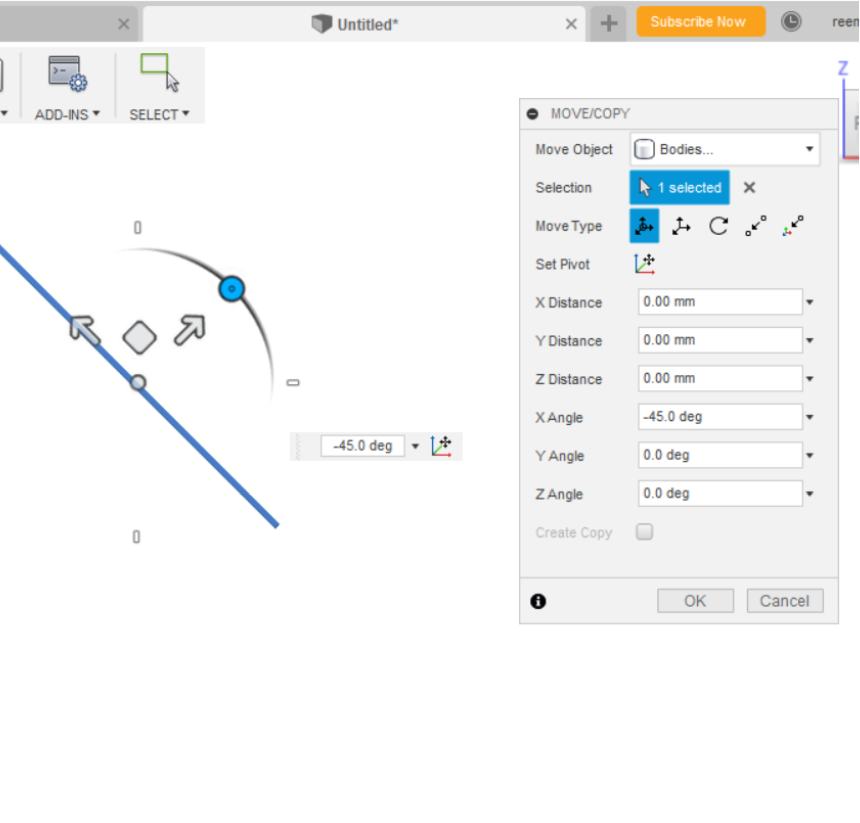
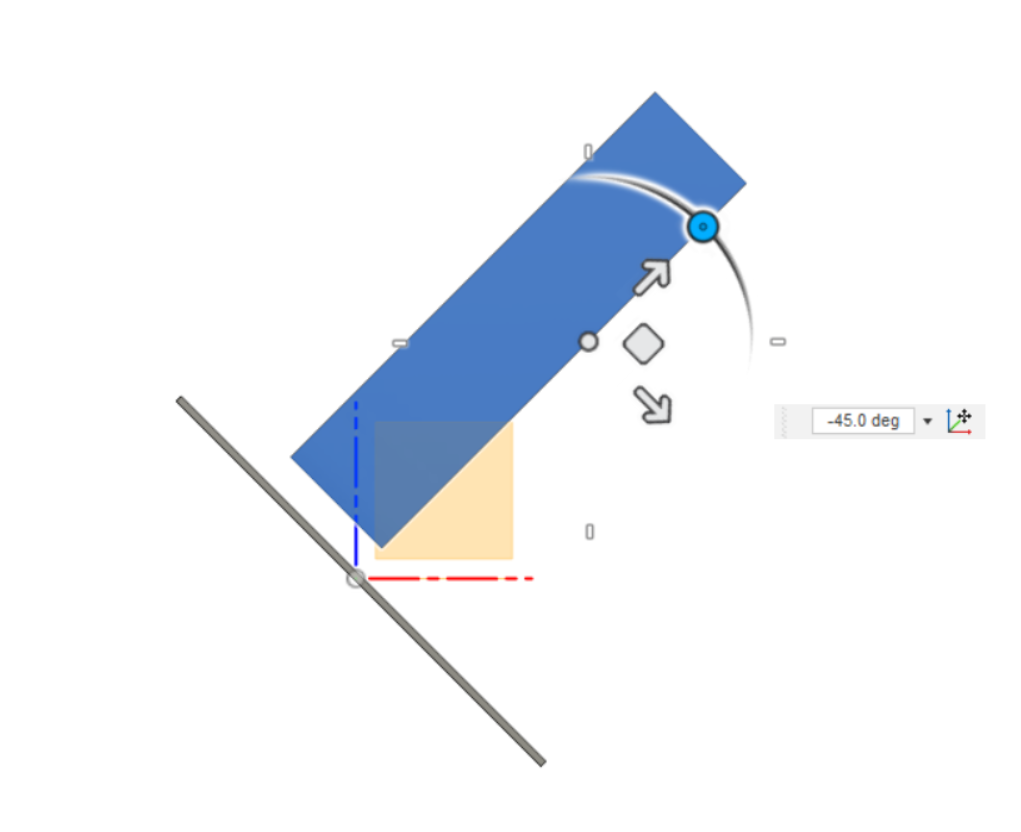
I tilted the board at 45 degrees.
Then, I created a sample of the potential sheets on the other side. A rectangle, 200 mm high, 50 mm wide - extruded at 3 mm.
I decided to shift the shape from a rectangle to a uniform geometric shape to make sure I have a strong base for the structure.
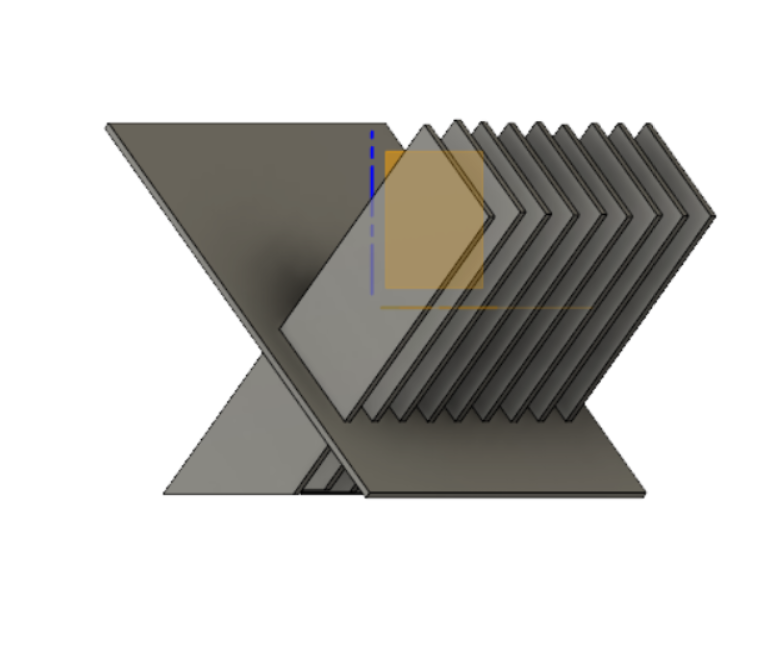
Extruding the previous shape at 3 mm and duplicating it resulted in this shape. Very clode to what I had in my head. However, to simplify the design and minimalize it, I reduced some of the material used in each of the sheets, similar to this:

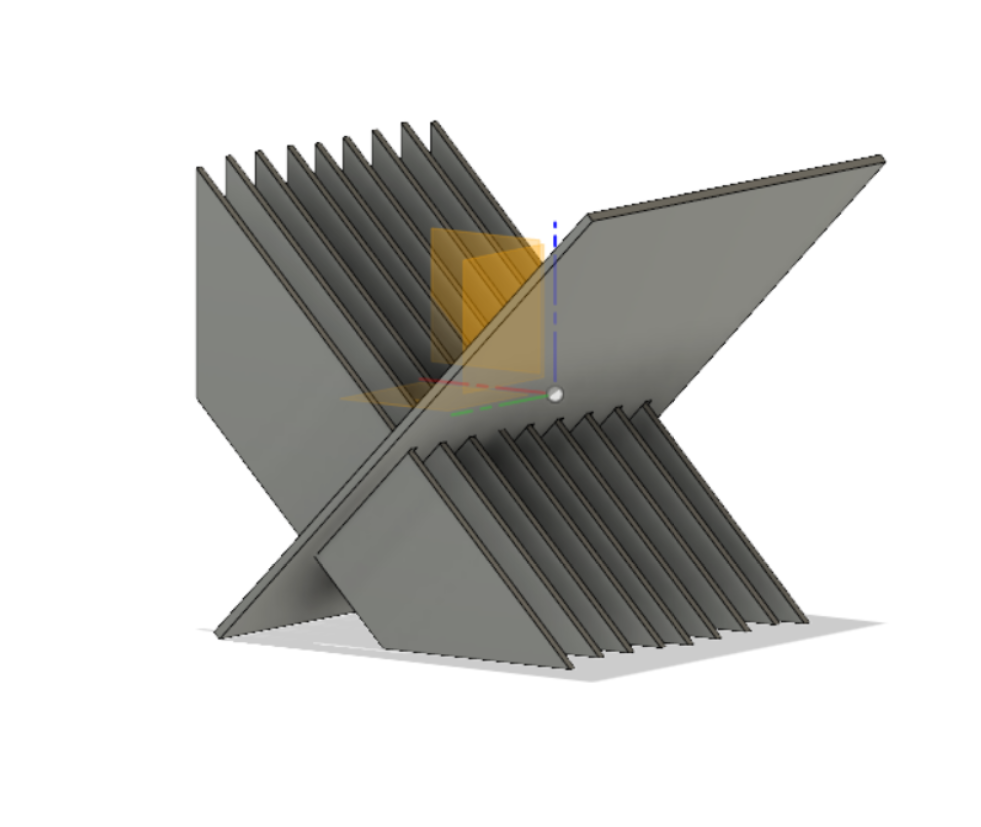
The final product should look similar to this:
Now, we move to production using these two final DXF files.
I exported both sketches as DXF and imported them into LaserCut 5.3 software to prepare my files for cutting. The software only operates when the safe lock USB is connected to the computer.
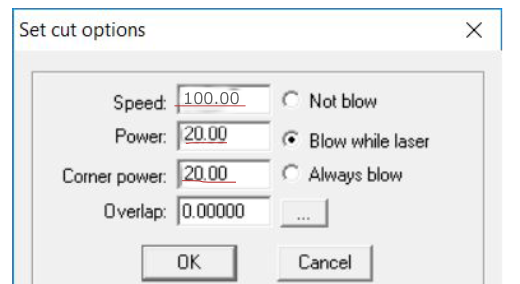
Once the file is imported, you can see the layers on the side. All my layers are cut and not engraved. These are the presets I used:
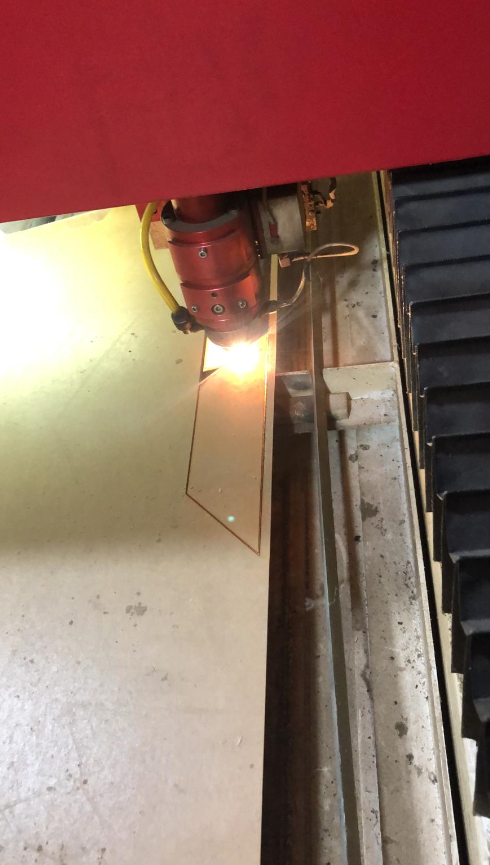
The file is then exported using the "download" button and saved into an external USB drive. The USB is inerted into the laser cutting machine, and then the job begins:
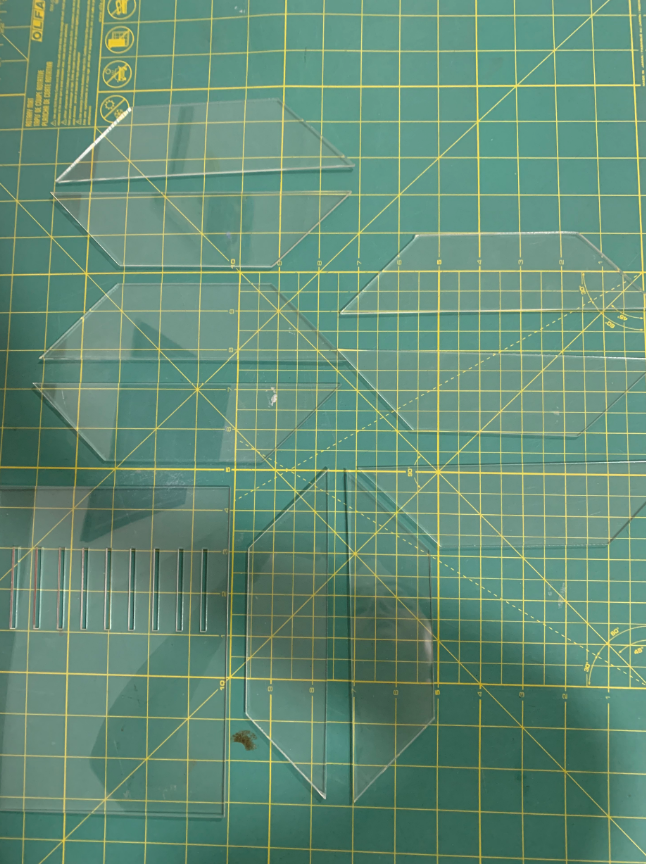
The pieces came out as designed:
After putting the pieces together, that's how the book rack looks with books in it.
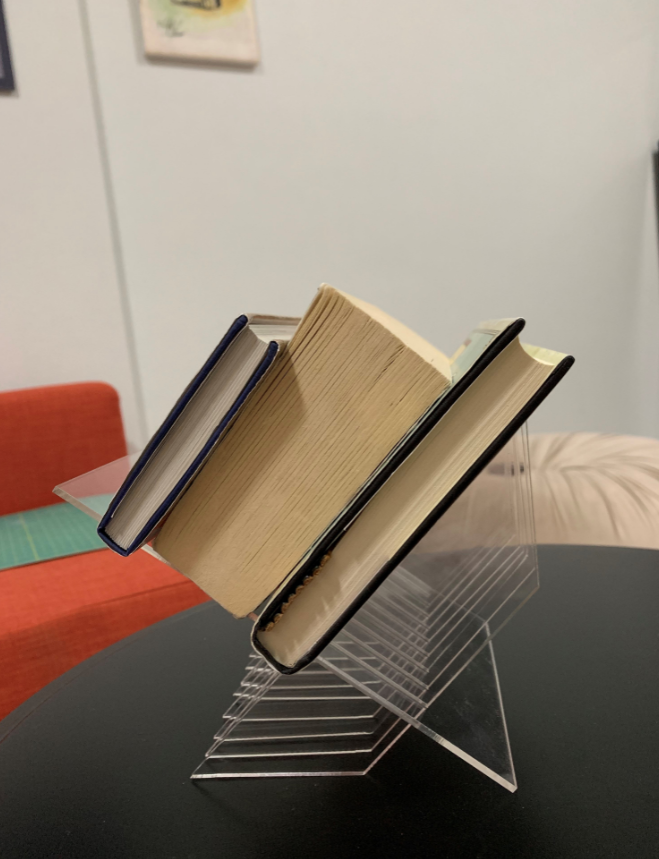
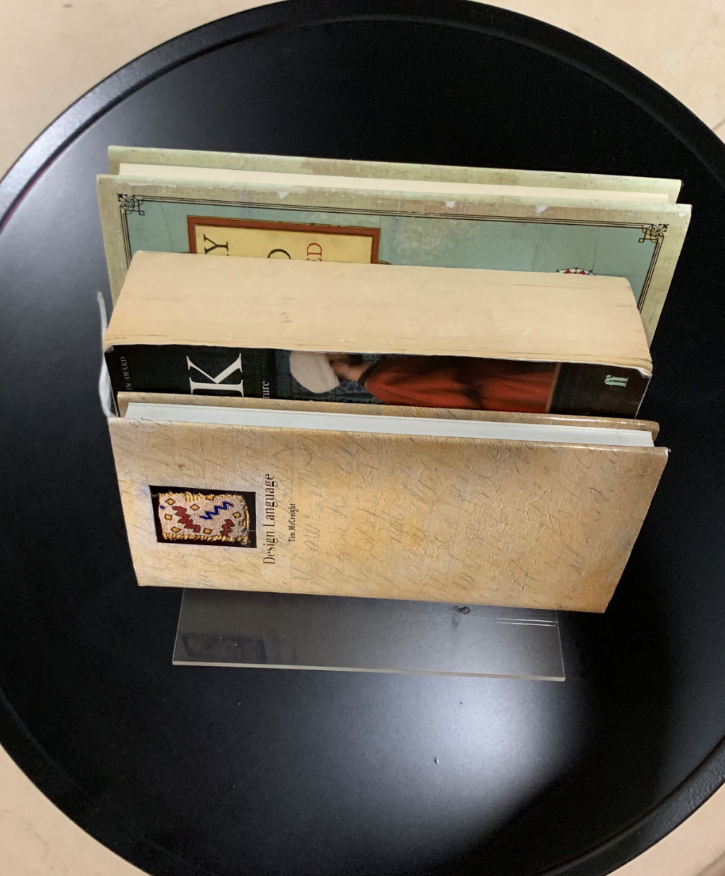
I was very satisfied with the final product. It looked great to keep the "currently reading" books on a side table nearby instead of putting them on the shelves evey time. The two amendments I would make if I was to re-produce this is to reduce the sizes of the holes so the sheets would fit perfectly in them (the rack isn't stable right now as the holes turned out larger than the sheets), and to increase the overall size so it would fit laregr books.
Files:
Board.dxfSheets.dxf