To view the group work please refare to this link.
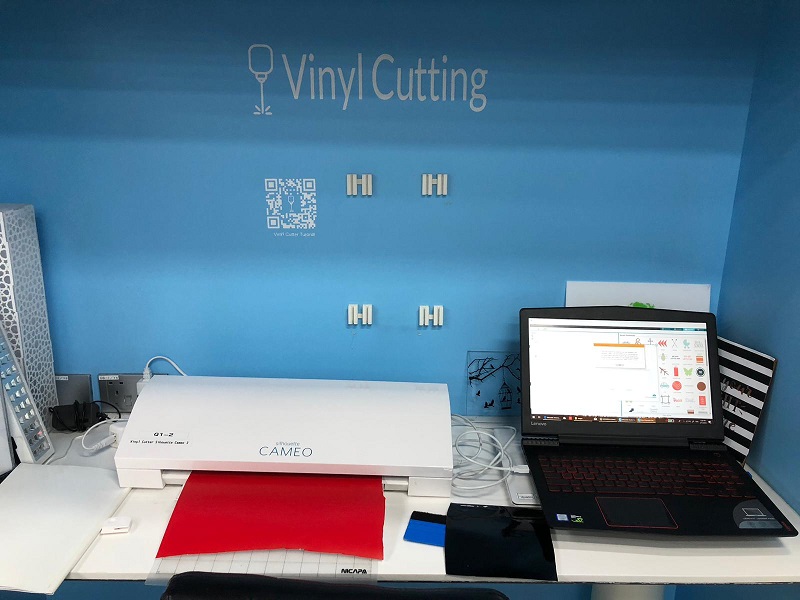
Vinyl Cutter
Silhouette Studio
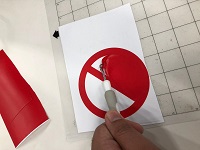
this is my first time using this machine. i wanted to try and do simple stikers using it. i used silhouette studio. its an open source tool that can trace images and create track for cutting tool.
its easy to use the software imported the image => from trace panel i selected the area and clicked trace => i deleted the orignal image leaving the trace behind => i fixed the sitting to match the material, cuttting tool and operation needed.
Cutting
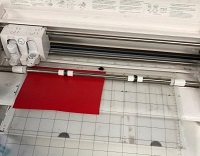
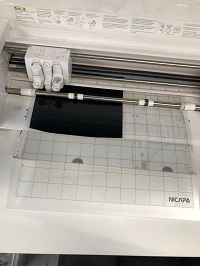
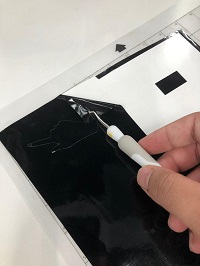
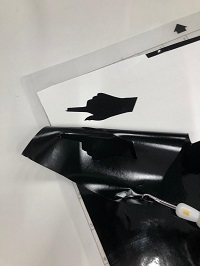
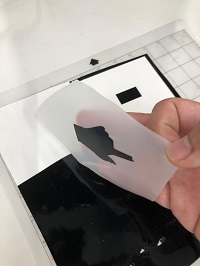
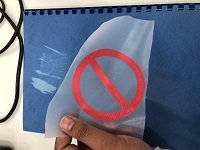
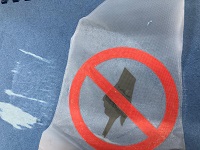
i attached the material on sticky mat then i loded it int he machine. once it was ready i started the operation from the software. it took less then 1 minuite to finish. i removed it from the machine then i removed the excess material carfully. then i used a tape to reasfare the sticker to another surface.
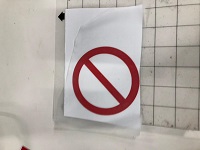
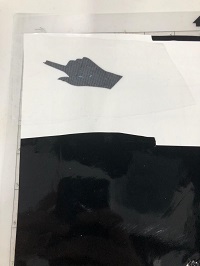
I repeated the process for another image.
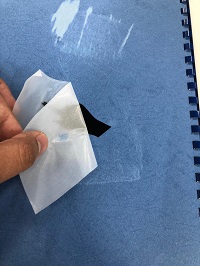
I sticked the stiker to my notebook.
i was shocked how easy is to use this machine i cant wait to explore it further for different applications.
Laser Cutter
Parametric Design
I used the solidworks to draw the kit.
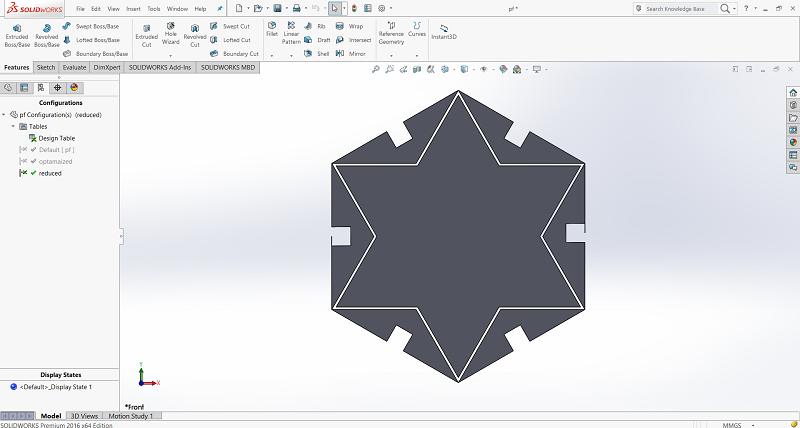
i draw a hexagon and extruded it.
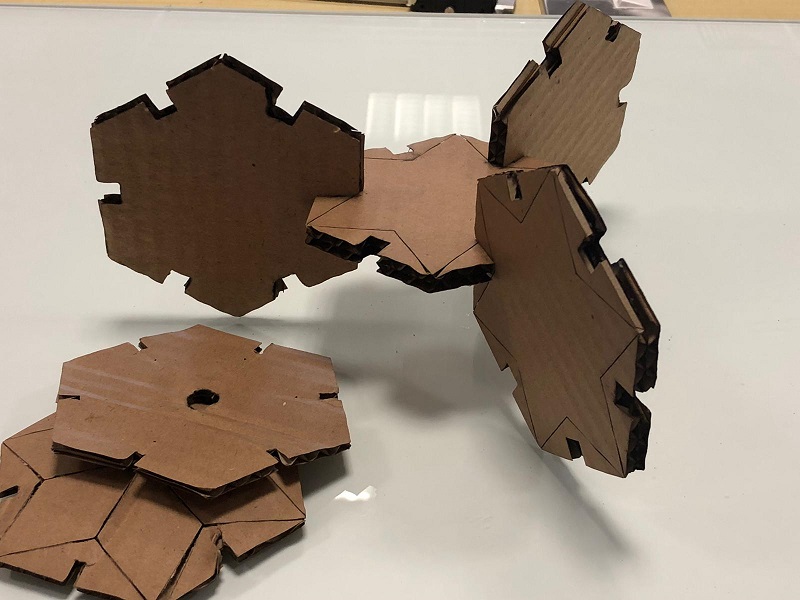
then i draw a star on the extruded part. this will be half-cut later just to add movemnt in the design.
then i added the positions of the slots by sketching a line and then used the thin feature to cut the slots. i used the size of the cardboard thinkness with a little bit of tolarence. and i applied equal relation to the different slots line.
By clicing the arrow in the top left in the menu. it takes you to the trace option settings. i used the rectangle tool and selected the image. then i asked it to trace. i had to tweek the adjuesments to get the best possibale trace. then i clicked ok.
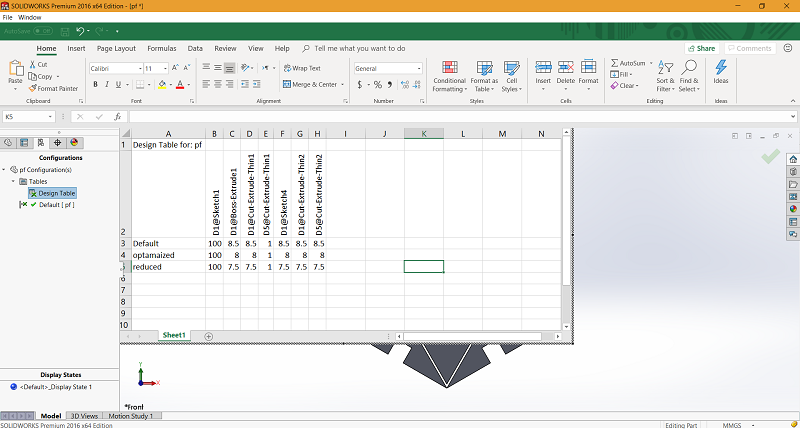
i added to the design table profiles with different material thikness.
when i select any off them the entire design changes accordingly.
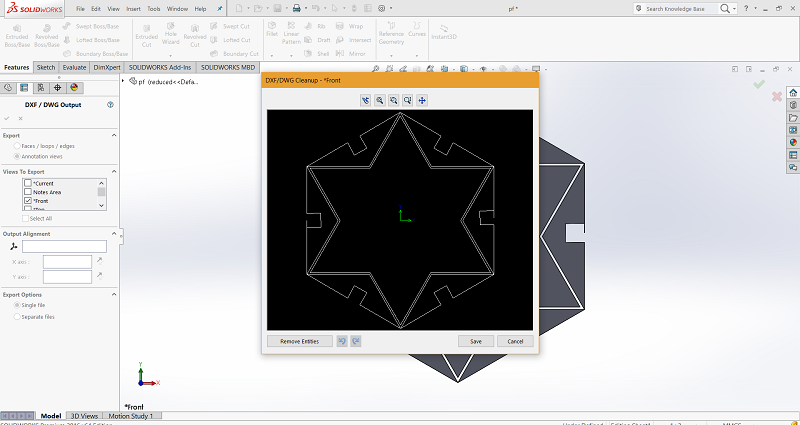
i exported a DXF file of the front plane.
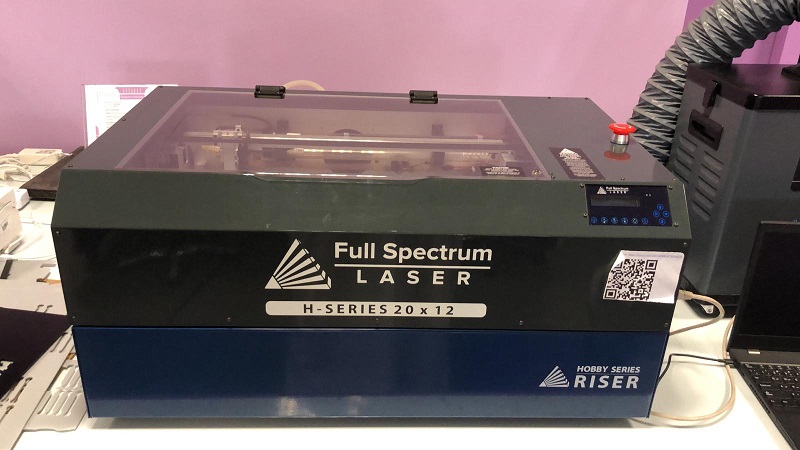
Setting the laser cutter
for this assignment the main laser cutter in the lab was not working so i worked in another lab. the machine they have is the full spectrum laser H series 20x12 CO2 40 Watts.
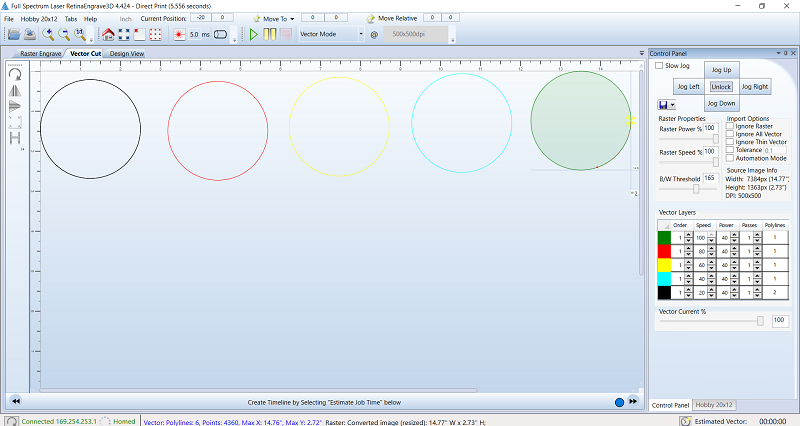
i used retina engrave software which comes with the laser cutter it has a simple interface with rastering and vector tab separate each with its settings.
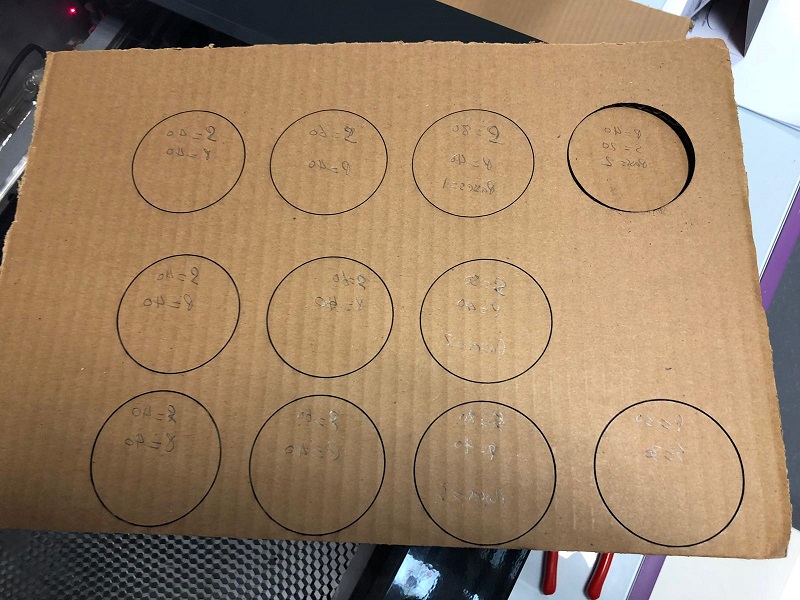
before inserting my design i want to test different working conditions for the material iam using. i used cardboard 8 mm. from my past expericance with machine and the material i set the power to 40 and played around with the speed and number of passes.
as expected the lowest speed resulted in fully cut peice with burned edges. as the speed increses the cutting quality was going down. it had to be compensated with increasing the passes to have fully cut piece with beautifull edges.
cutting
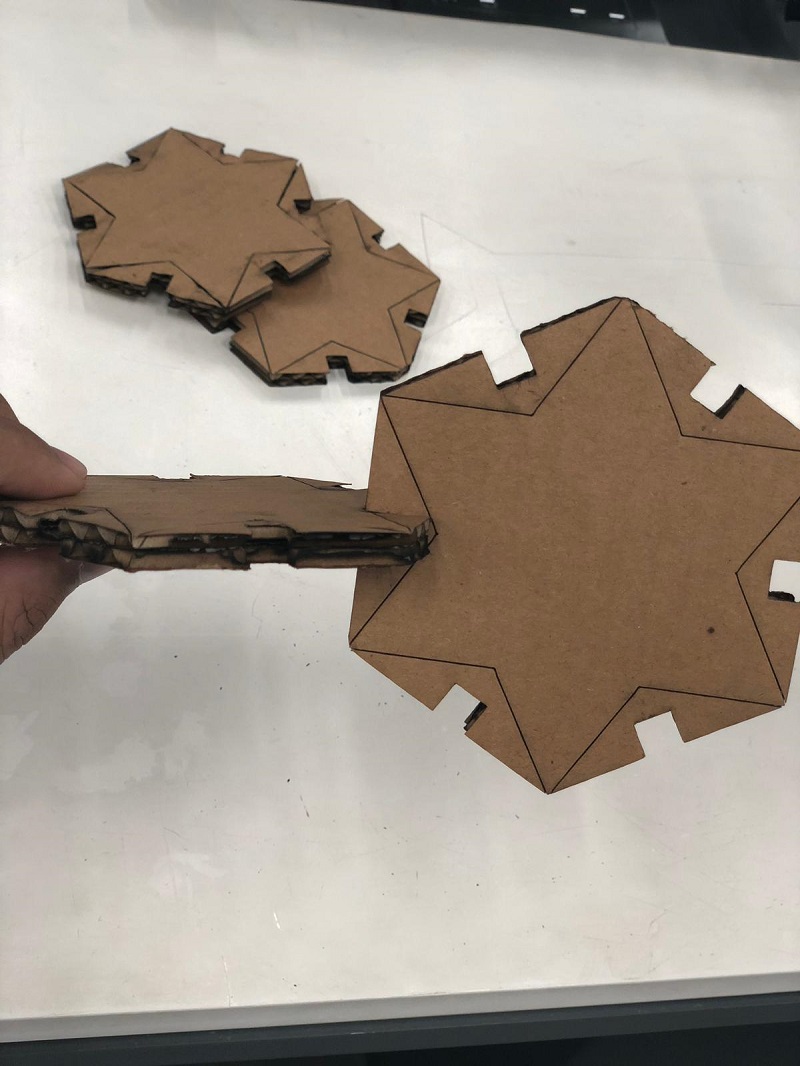
i set the main lines cutting speed and the power to 40 and 3 passes and for the inner lines i just want half cut to be able to bend it so i used double the speed and reduced power of about 30 with 1 pass only.
i wasent satisfied with the end result. the slots were bigger then the design by 1mm which could be due to the kerf resulted from the laser cutter. the inner lines are not functioning as i have imagend. they are stiff and not really adding degree of freedom to the design.


.png)
.png)
.png)
.png)

.png)
.png)
.png)
.png)

.png)