Week 8
Mar 6. Computer-Controlled Machining
Group Assignment
Test runout, alignment, speeds, feeds, and toolpaths for your machine.
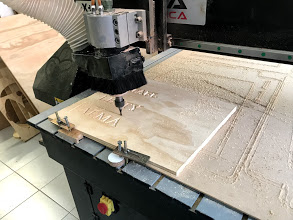
Engraving
Engraving test on Router to define how deep the tool should go. Default parameteres were the best option.
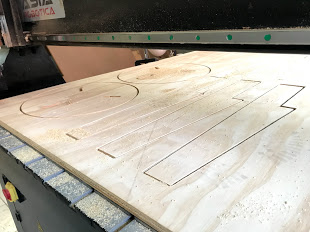
Cutting
Cutting Test to define how the tool should be used for cutting. Down: 15.1 mm was the correct parameter to ensure cutting the material (material was 15 mm).
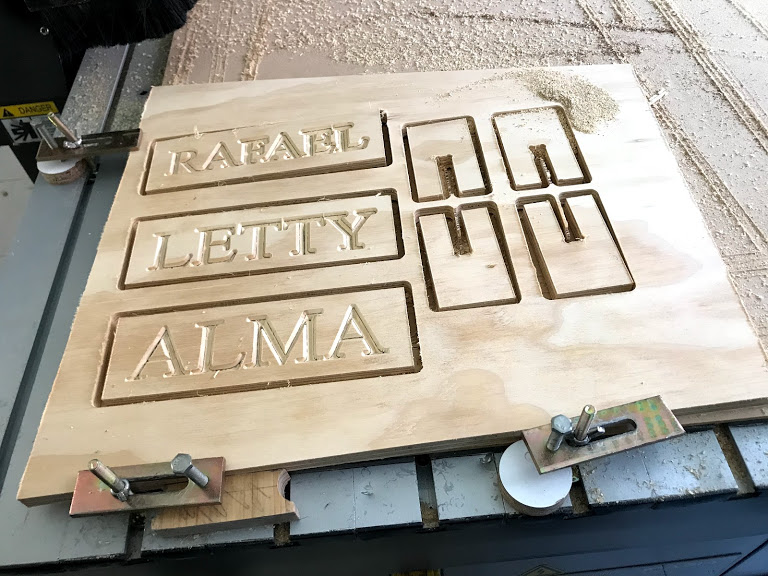
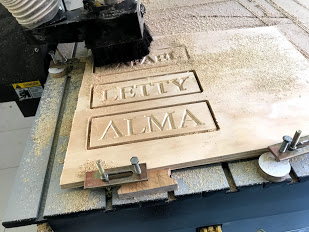
Pieces for Press Fit Test
The joints were cut through half of the final pieces and with a 15mm length to be press fitted between them.
Instructions
- Open Aspire
- Define rectangles with the names for engraving
- create the pieces for press fitting
- Create the dog bones in the pieces to press fit
- Select the letters for engraving
- Select the enclosing rectangles for cutting, as well as the press fit pieces
- Create two different files for the router
- On the first file include all engravings (you always engrave first)
- On the second file include all cutting definitions
- Set xy 0 in router
- Set z 0 in router
- Upload first file and press go
- Once its finished, upload the second file and press go (automatically returns to xyz0)
- Wait for everything to be cutted and separate the pieces
- Sand pieces
Individual Assignment
Make (design + mill + assemble) something big.
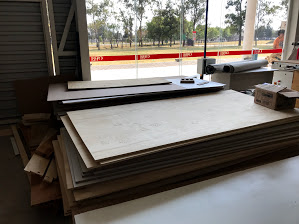
Material
Collect the maetrial from the warehouse.
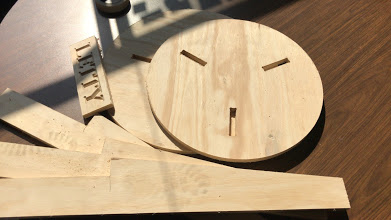
Cutted Pieces
All of the pieces without any other finish fitted perfectly.

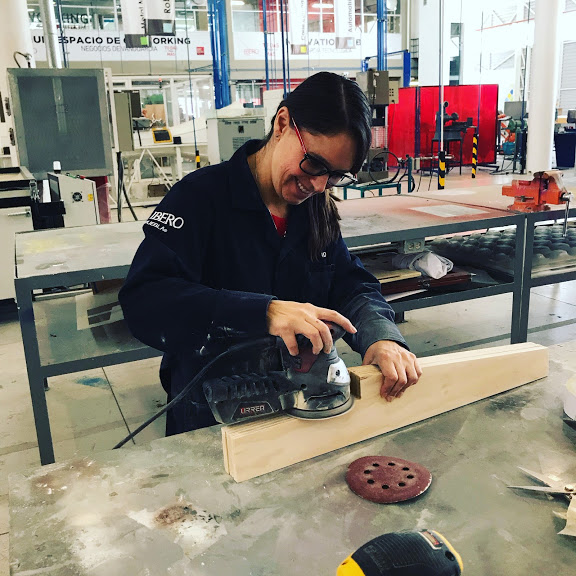
Sanding
Sanding to give a good finish.
Sanded Pieces
All the pieces finally sanded.
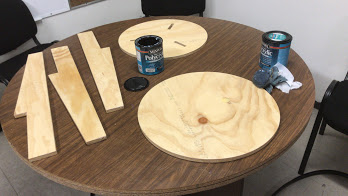
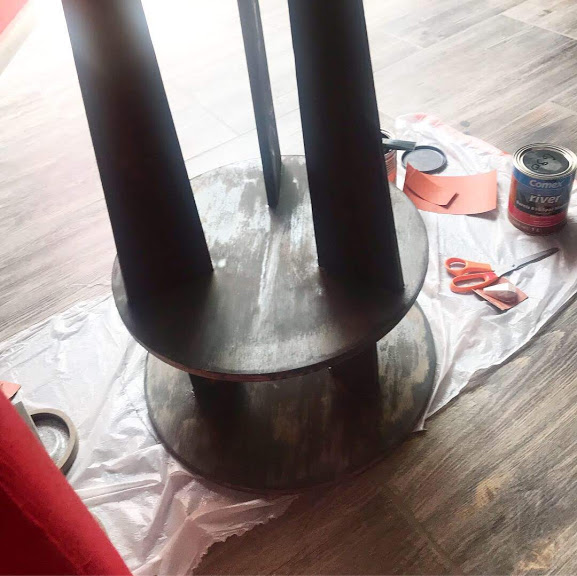
Final touches with sealer
Decided to seal it. Not the best idea.
.JPG)
Fitted before (not anymore)
Now they don't fit anymore.
Sanding again
I needed to sand all of my pieces again to make them fit (take away the sealer that I carefully applied).

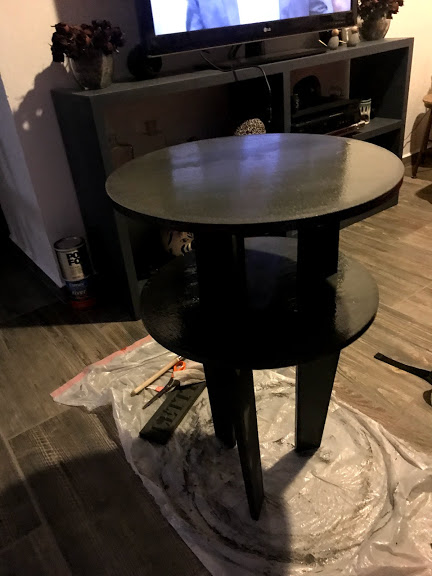
Final Product
Now everything fits and its pretty stable.
Painting Applied
I decided to paint the table in gray becasuse it matches the style of my home.
Drying
To make it easier to move afterwrds I decided to paint and finish it at home, where it will be used. I decided to paint once it was built.
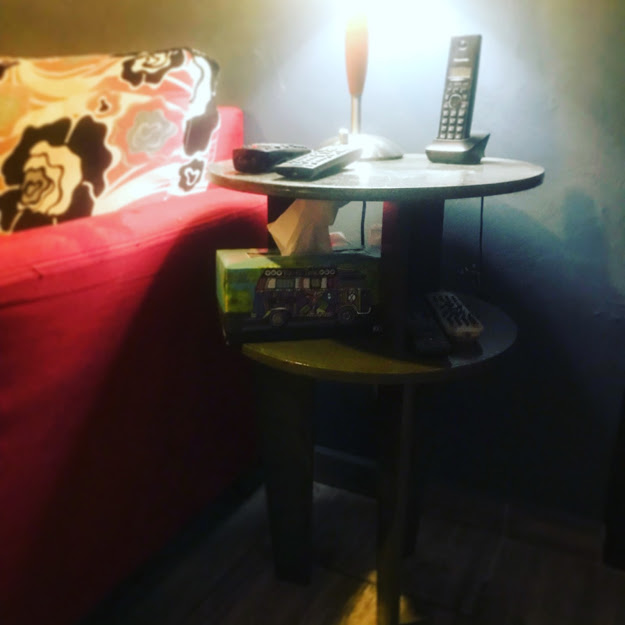
Final
The table's final home is at my house an it sesrves as an end table for the tv room.
Instructions
- Create the file with the pieces to make something big, in this case I decided to design a table
- Make the table parametric, this way you can sclate it after wards if necessary
- Convert file into aspire to add dog bones in boxes and inserts
- Test the file in another program to see if everything fits
- In aspire create two different files, one for boxing and one for cutting. The tool will be the same
- Update:
- Within aspire you need to identify each cutting line if its going to be an exterior or interior cut.
- Because all of the Router Bits leave a rounded edge you need to add "dogbones" to each corner to be able to actually press fit.
- I used a Flat Nose bit for cutting and boxing
- You need to define in aspire the size of your sheet (this makes allows you to use incomplete and remnants pieces of plywood), Isued the complete sheet as a start. This paramter includedd length, width and depth.
- The bit´s diameter is to be included in the parameters within aspire to guerantee your cuts are going to be exact, thinner bits give you a less rounded corner but it take slonger to cut.
- Every step in the router is equal to half the bit's diameter
- To avoid accidents you need to leave a gap iof double the bit's diamater between two external cuts of differetn pieces.
- If you are running different programs on the same sheet you should start with boxing and/or engraving, after this inner cuts and as a last step all of the outer cuts.
- To fix the material in the router you should always used clamps and add as many as you can, we always use one for each corner on both sides and at least two on the long side and one additional one on the short side if using a complete sheet (you can see our clamps on the pictures of the group work).
- Fix the material to the router
- Set router's XY to 0
- Update:
- To guarantee XY are correctly set to 0 run the programs on air (Z above the actual sheet not touching), at least the first time you do it, it helps to find any errors.
- After doing this, set Z to zero caerefully so you won't cause any damage to your material and or router.
- Run boxing file
- Run cutting file
- Test pieces to define if anything needs to be re-designed
- Sand everything to give it a professional finish
- Update Safety Measures:
- Gloves: We had this discussion recently in the office I thought the circular sander didn't need the use of gloves, but after careful consideration we decided they should be mandatory (this happened after the assignment was completed)
- Safety glasses: Because I wear actual glasses they are acceptable (at our facilities) as safety gogles for small jobs.
- Mask: Since it is a high ceiling we do not have a mndadtory policy for this, unless you are using a high risk material (not wood).
- Coat: You should alweays wear a coat while working with your hands.
- Boots: You should wear adequate footwear to use heavy materials.
- If you are going to paint or seal the material do so after it is assembled, if you do it before hand you'll end up re-sanding because they won't fit anymore
- I decided, after my failed encounter with the sealer, to tint it with alcohol based tint in gray.
- After applying the color I barnished it with clear barnish to guarantee the color will last.
- After everything was dry I used it as an end table that fits the room pretty good.
- Update (2):
- Since I do not have the program isntalled on my computer (licensing gets expensive) I looked on all of my USBs for the final file used for cutting and couldn’t find it, we use the same usb drive for everything that goes through the router and it gets overwritten a lot.