Week 6
Feb 20. 3D Scanning and Printing
Group Assignment
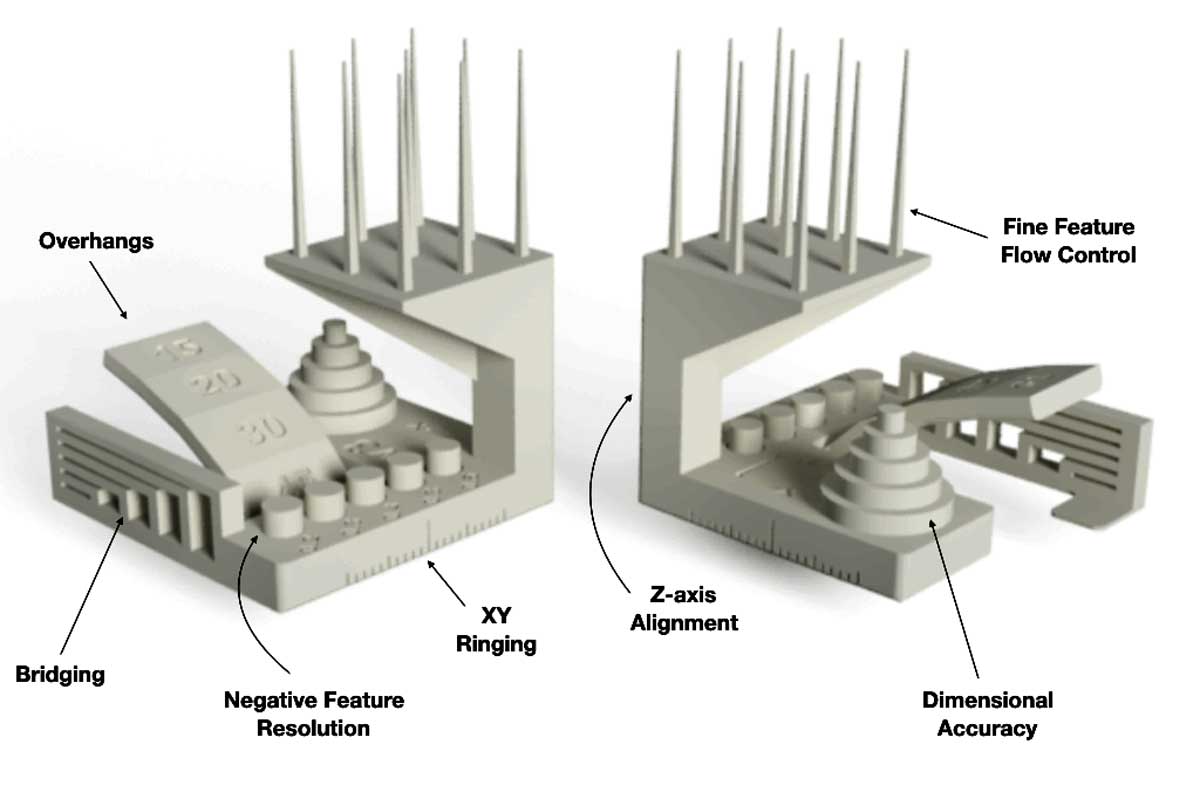
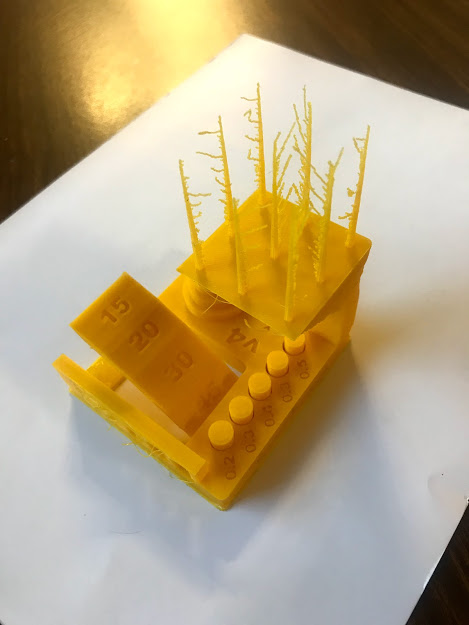
Test design rules for the 3D printer to be used. We tested three an ultimaker, a rostock and a syndoh to define which one to used in each assignment.
Instructions
- Look for a test model and download from Internet
- Guarantee is a small enough piece that it will print within a small am ouont of time (took 4 hours each)
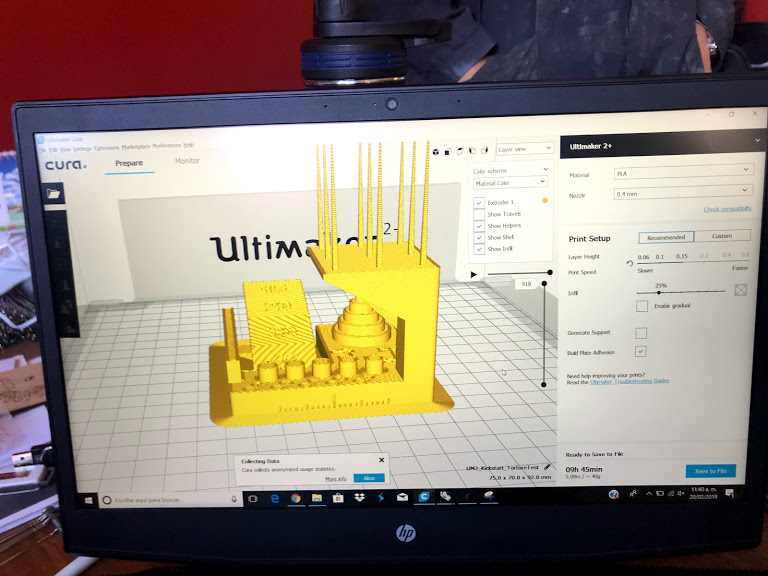
- Open in the program for 3D printing
- The parameters used for all printers were. layer height 0.15 and Fill 25%
- Open in 3D printer
- Press start
- Wait until ready
- Eliminate any excess material from the piece
- Repeat with Rostock and Syndoh
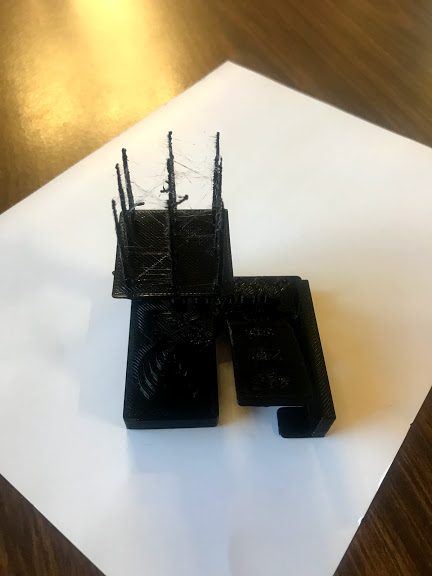
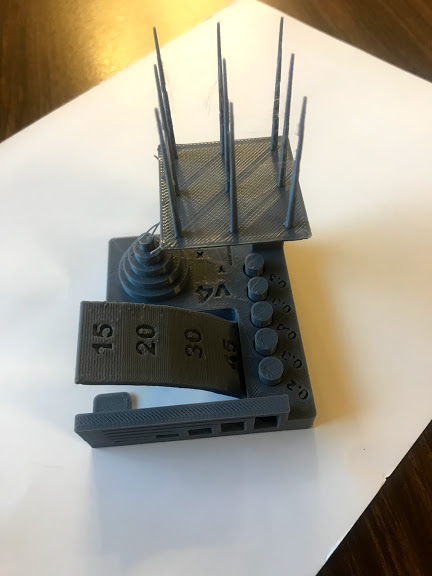
- Compare pieces
- I decided to print all of my pieces in the ultimaker despite Syndoh being the best quality overall becauase I did not need to print any angles or vertical lines.
Individual Assignment
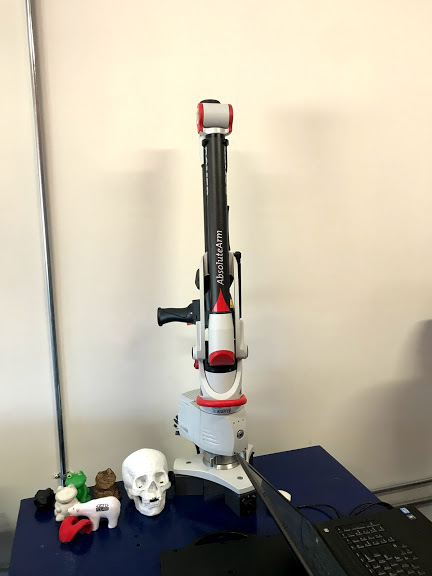
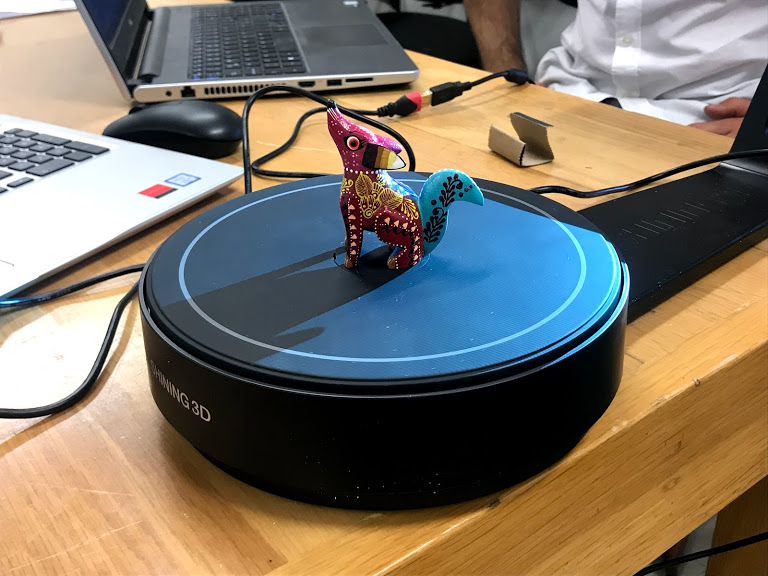
3D scan an object with different techniques and optionally print it. I used three different techniques, laser arm scan (Romer), white lighting scanning (Shining 3D) and photometrics (Qlone for iPhone).
Instructions Romer
- Start arm and connect to the computer
- Start software and open scanning mode
- Start moving the laser scan all around the piece
- Continuosly check that the piece is being formed in the computer software
- Continue scanning until th efigure is recognizable
- Save the final result as a txt with coordenates
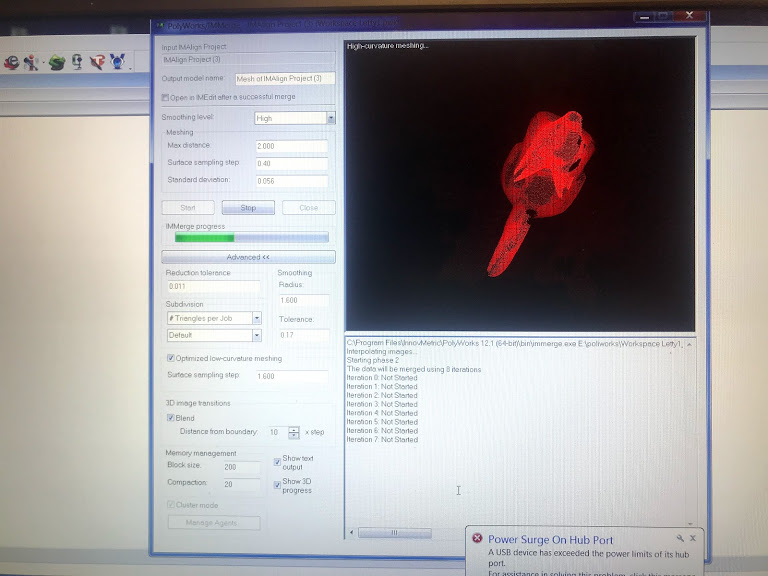
- Open txt fil in GeoMagic
- Close mesh as good as possible
- Define if you are going to priint the file, if yes export to .stl (I did not print this one)
Instructions Qlone
- Install Qlone onyour phone or tablet
- Print mat to define scanning region
- Put your piece in the center of mat
- Start app
- Follow your phone trying to get rid of the dome that the app creates over your piece
- Once the dome is transparent your piece is finished
- The end result is gorgeous, exactly like the original
- Export to as many formats as you want (and/or want to pay for)
- You can even play with your model with Augmented Reality
- I decided not print this model although it was the best by far, because creating an stl file came with a price
Instructions Lighting Scanner
- Install the scanner and connect to your computer
- Open the scanning software
- Callibrate, if the scanner is not callibrated it won't work (believe me we tried)
- Set your piece in the middle of the rotating plate
- Set the scanner to identify your piece, this means selecting the kind of color it will receive (light or dark pieces need differente parameters)
- Select the number of loops it will make, 25 loops in this case
- Press play and start scanning
- Don't move your piece while scanning, be patient
- After the scanning is finished put your piece on the side and start scanning again
- Don't move your piece
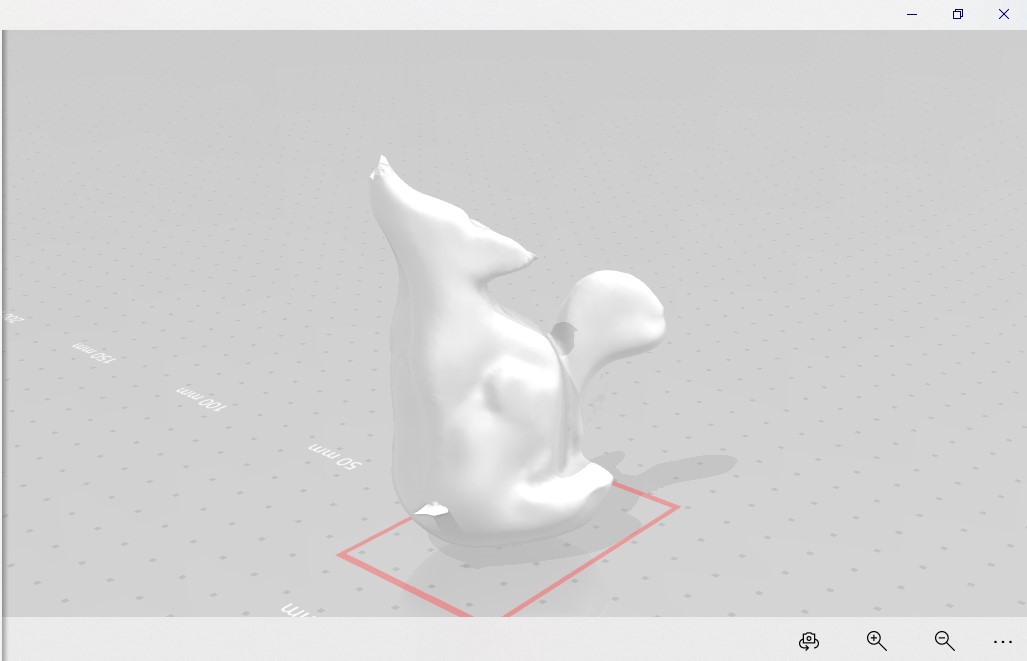
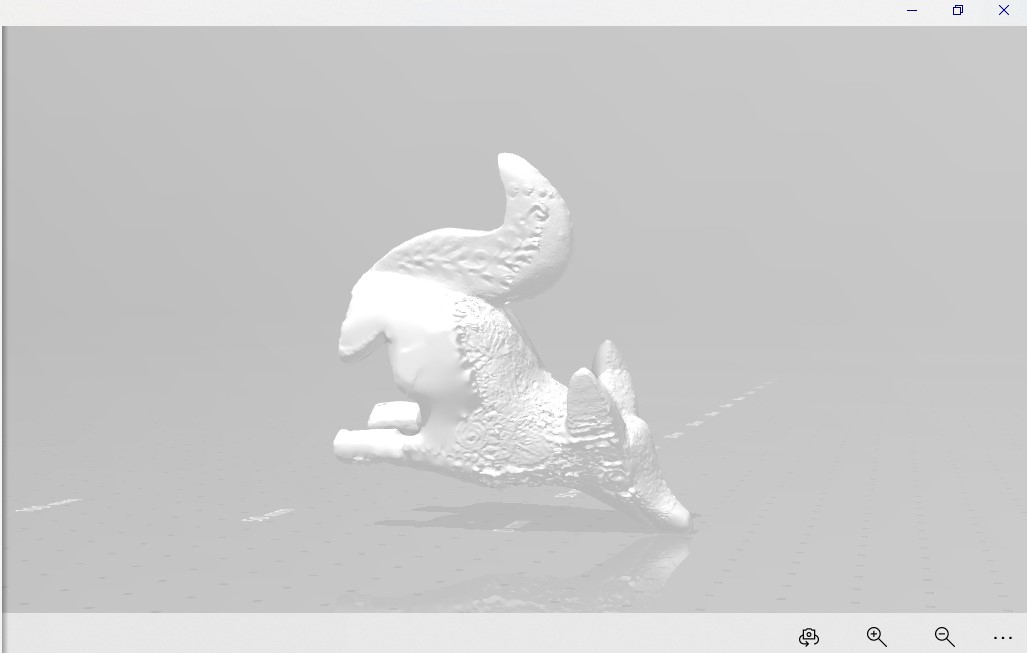
- After both scans are finished merge both mesh
- Save your project
- Open in Mesh mixer to clean up a bit
- Export to stl to be printed
- This was the easiest way to scan
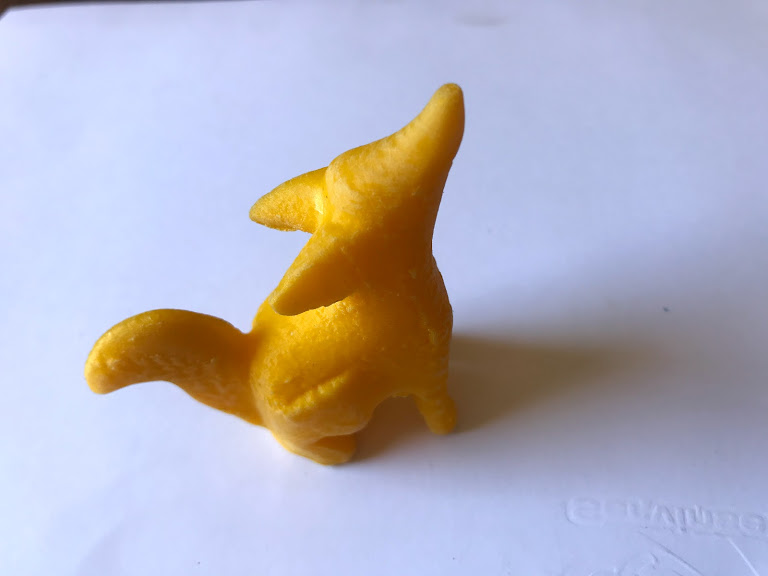
Instructions Printing
- Open in the program for 3D printing
- The parameters used for all printers were. layer height 0.15 and Fill 25%
- Open in 3D printer
- Press start
- Wait until ready
- Eliminate any excess material from the piece
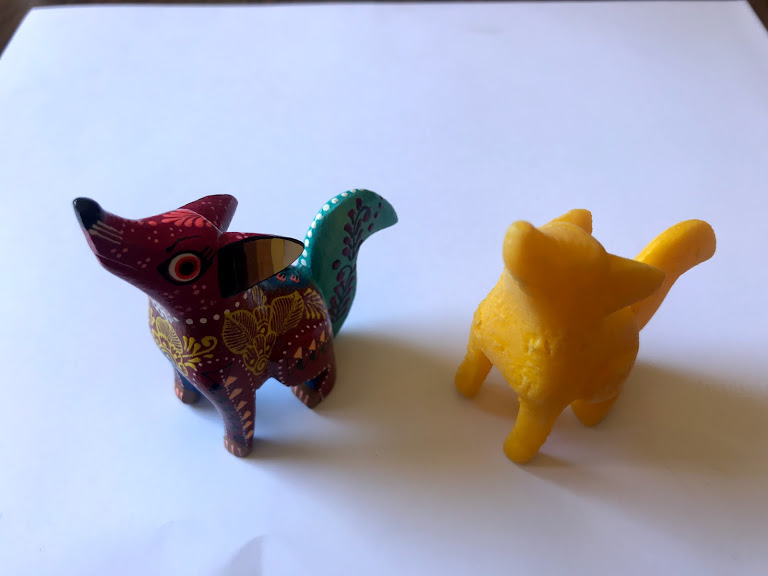
- Compare to original piece
Individual Assignment
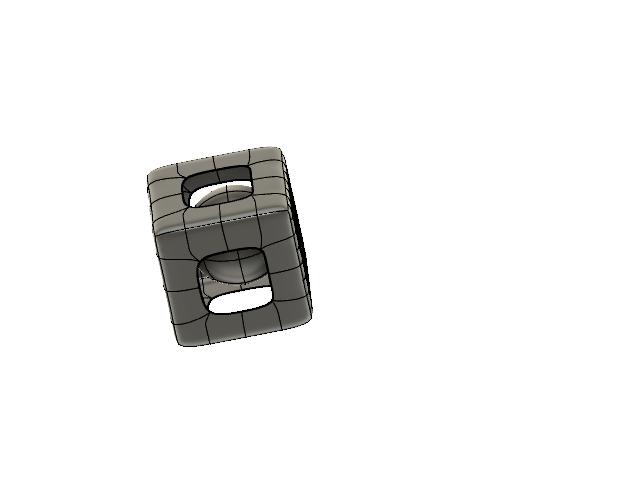
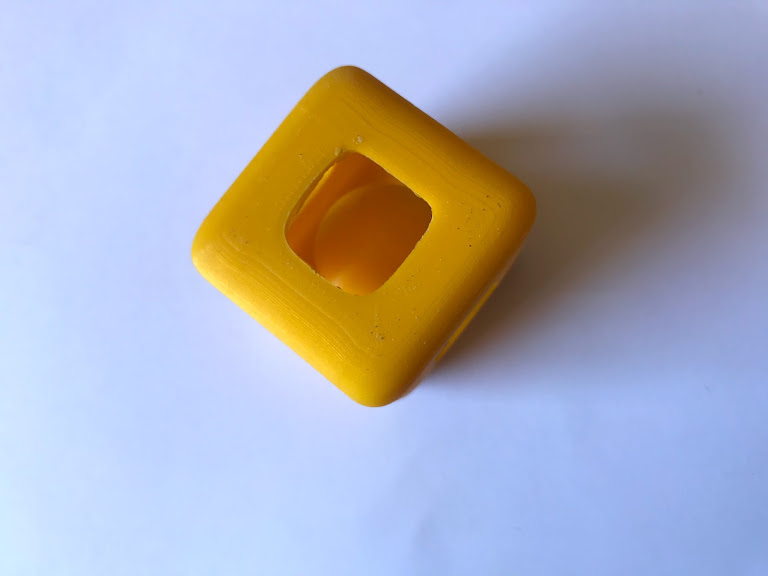
Design and 3D print an object (small, few sqaure centimeters, limited by printer time), that could not be made substractively.
Instructions
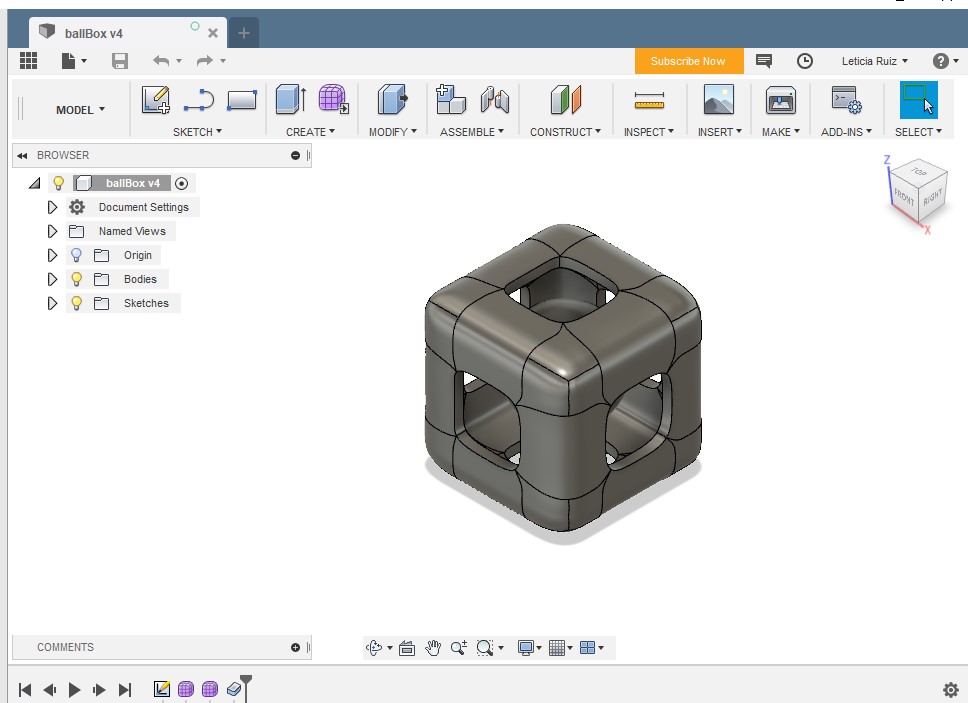
- Open Fusion 360
- Go to the sculpting tools
- Create a square and start subdividng each face
- Eliminate excess faces to create a whole in each side
- Create a sphere and insert within the square
- Extrude the square to 5 mm so it will have depth and can be printed (my first attemp was not extruded and couldn't be printed)
- Export to stl for 3D printing
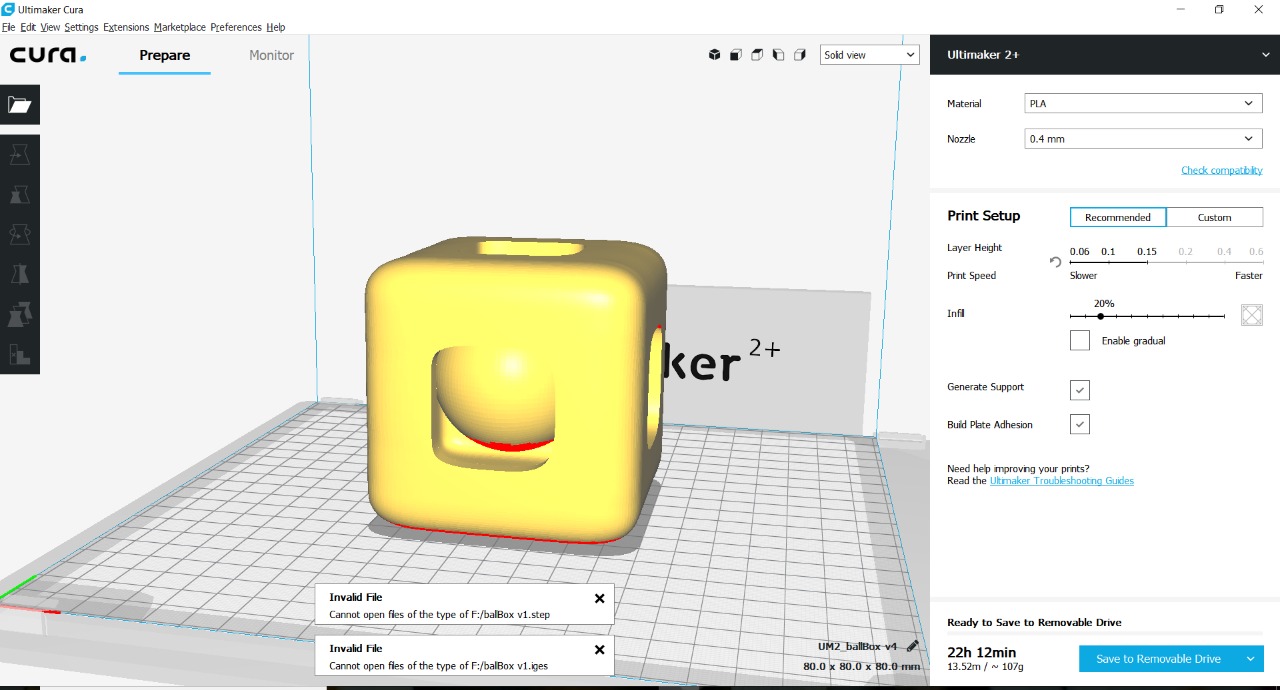
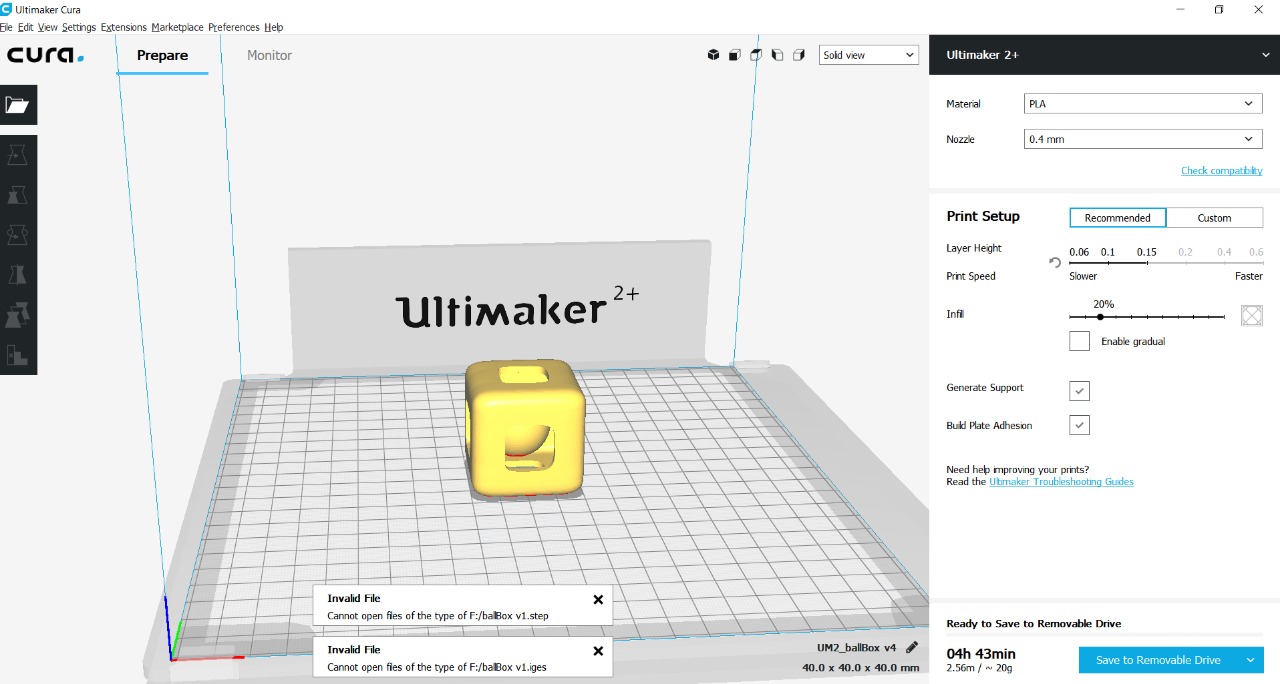
- Open in 3d printer software, set parameteres, fill 25%, minimum support
- Print and wait for final result
- Eliminate support and excess material from piece
- Play with it, it rattles!
