Week 4
Feb 06. Computer-Controlled Cutting
Group Assignment - Define Lasercutter Parameters
Characterize your lasercutter, making test part(s) that vary cutting settings and dimensions
Instructions
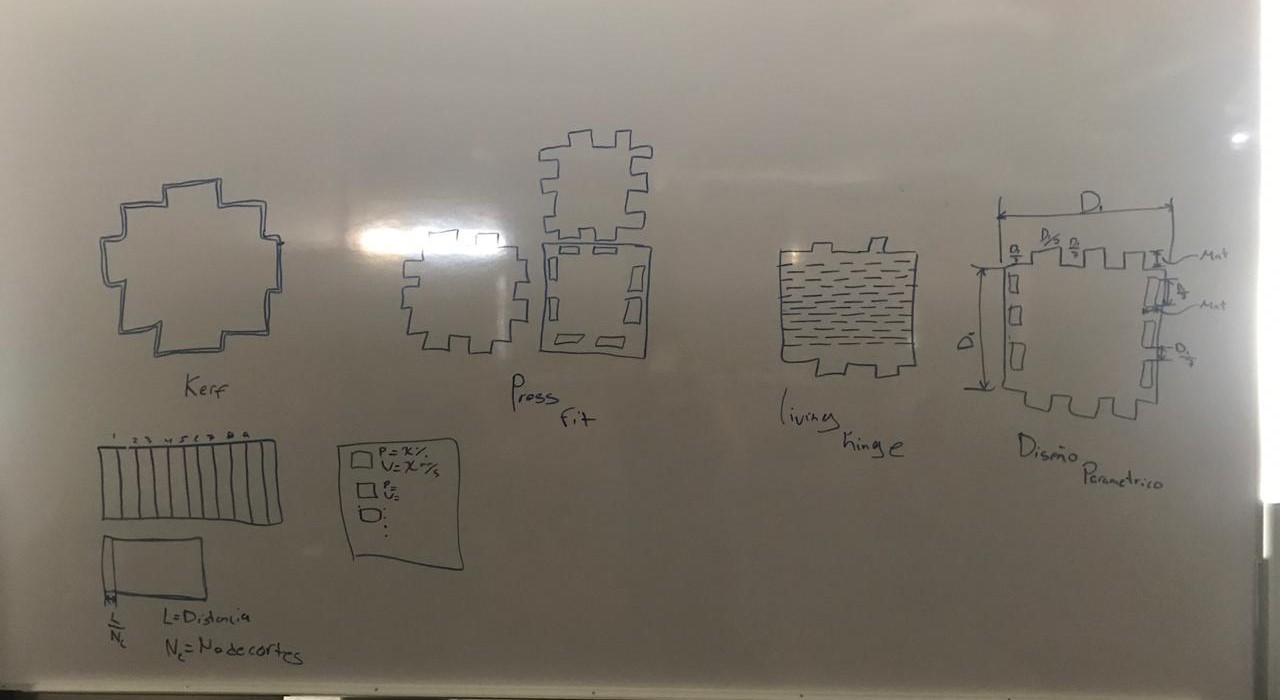
Kerf is the radio for the laser. Press fit is an interference fit between two parts in which one is forced under pressure into a slightly smaller hole in the other. A living hinge is a thin flexible hinge (flexure bearing) made from the same material as the two rigid pieces it connects. It is typically thinned or cut to allow the rigid pieces to bend along the line of the hinge. is a process based on algorithmic thinking that enables the expression of parameters and rules that, together, define, encode and clarify the relationship between design intent and design response.
Defining Parameters
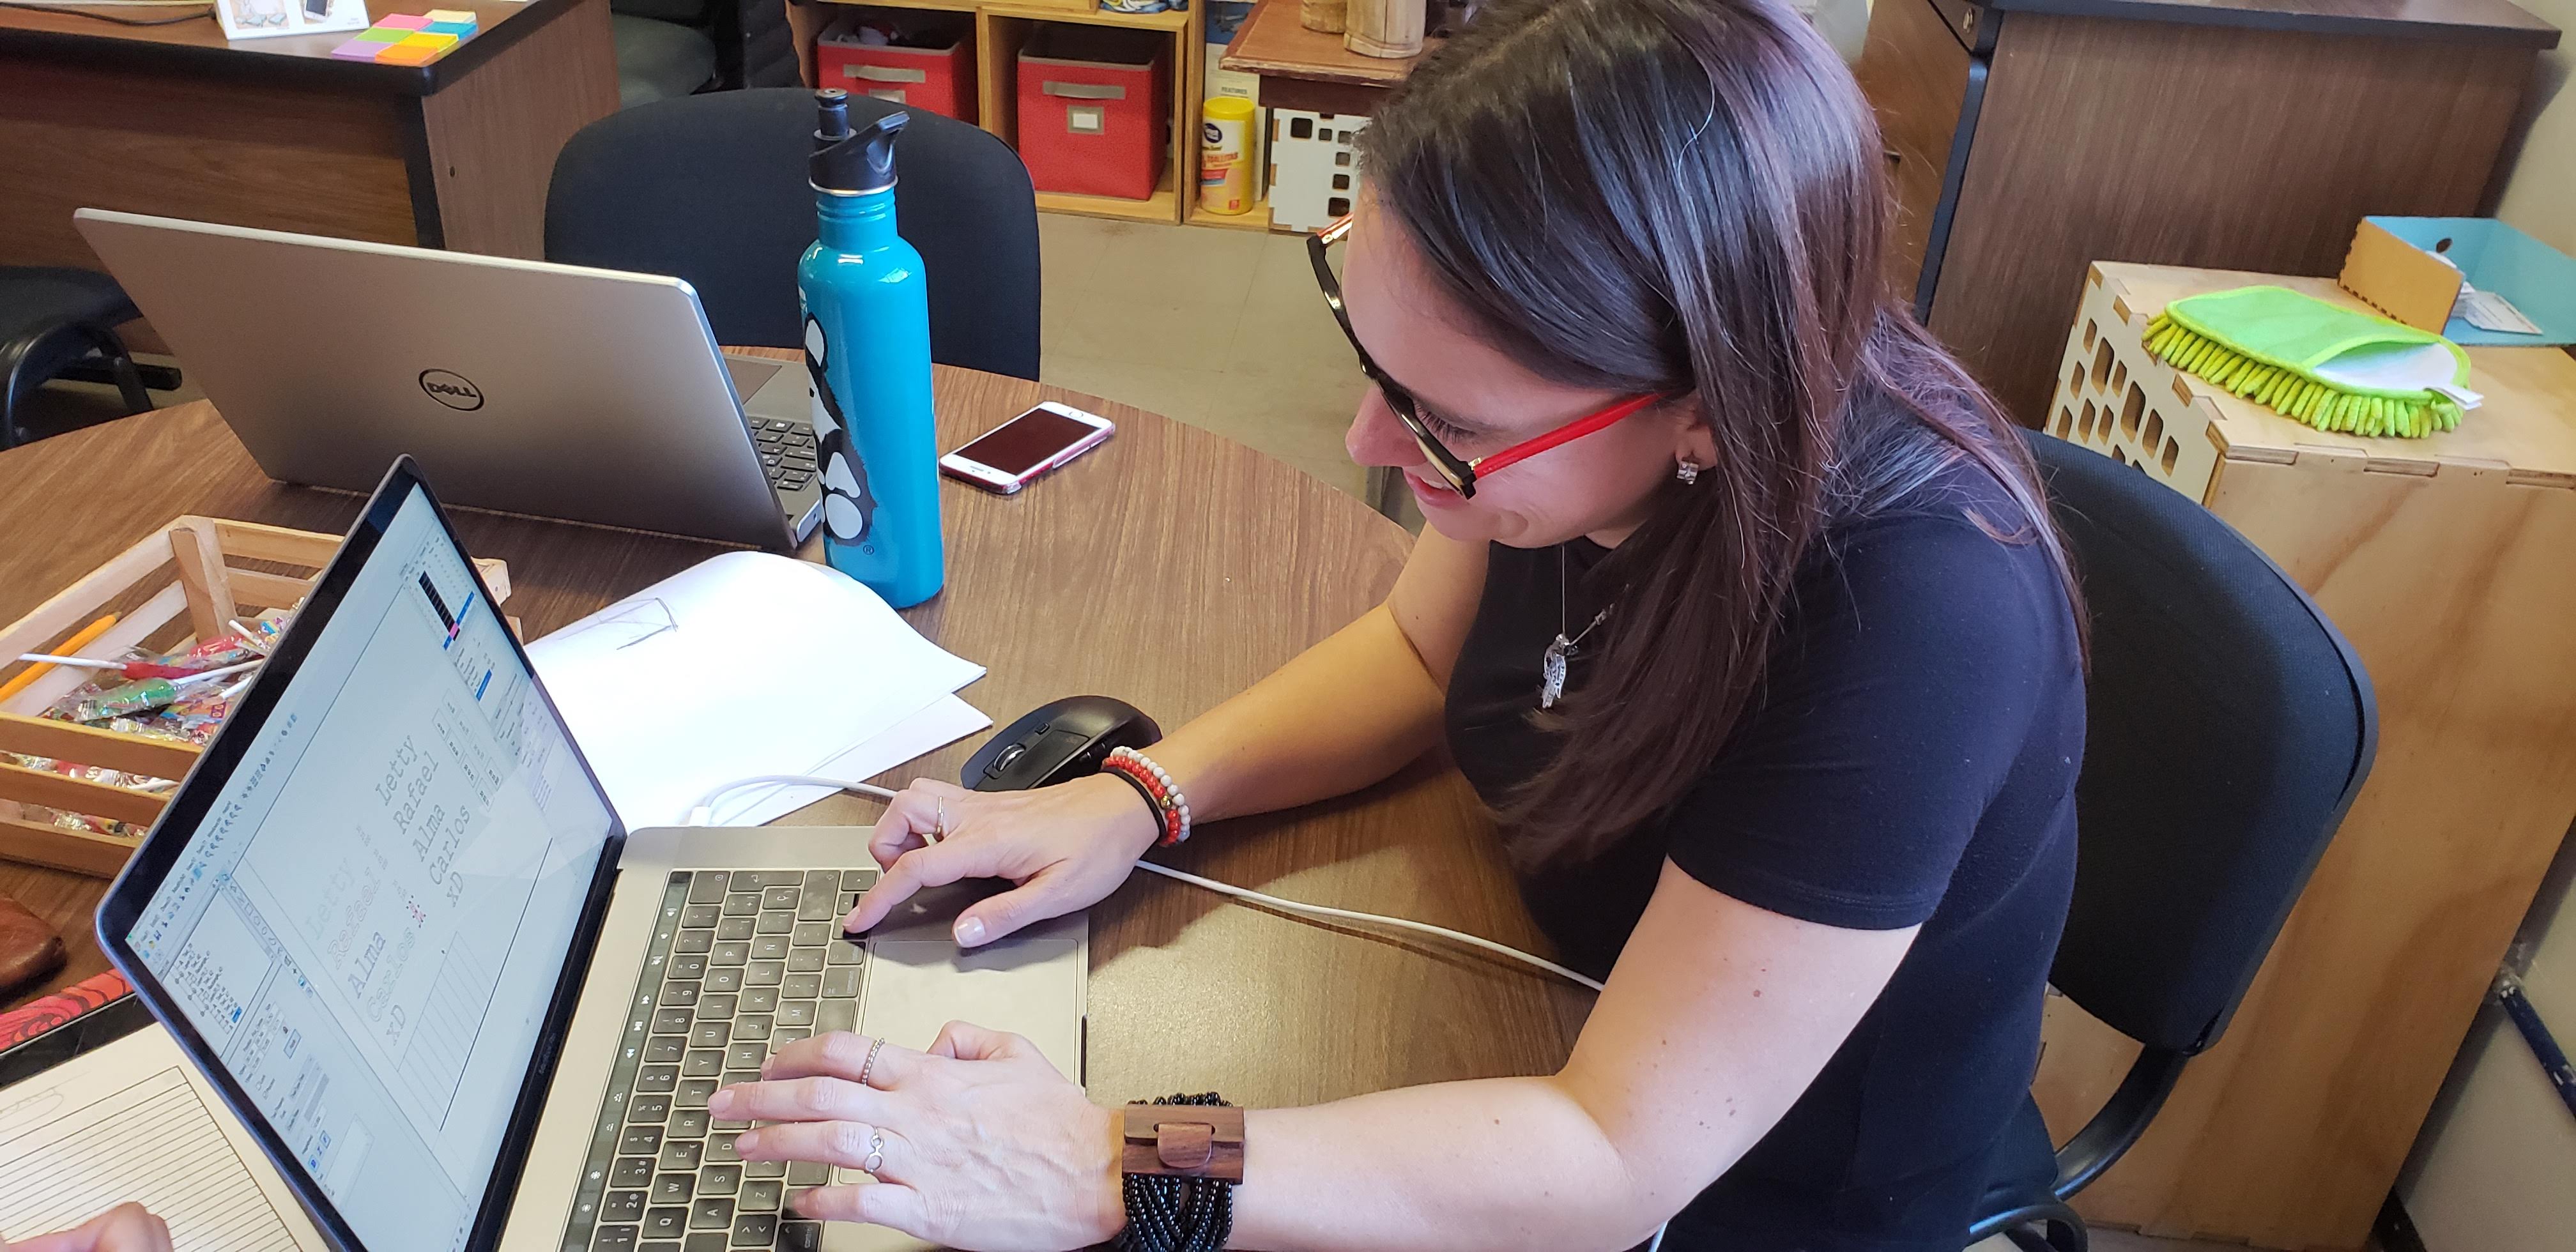
To define the parameters needed for our lasercutter we defined a file containing a rectangle with 10 pieces inside (making 11 cuts) as well as different tags and layers to verify which parameters would be the correct for our individual projects. The final parameters for the cutting layer were max 60, min 50, speed 18 and the layer for engraving max 25, min 20 and speed 40. The best height for the laser pointer is 6mm.
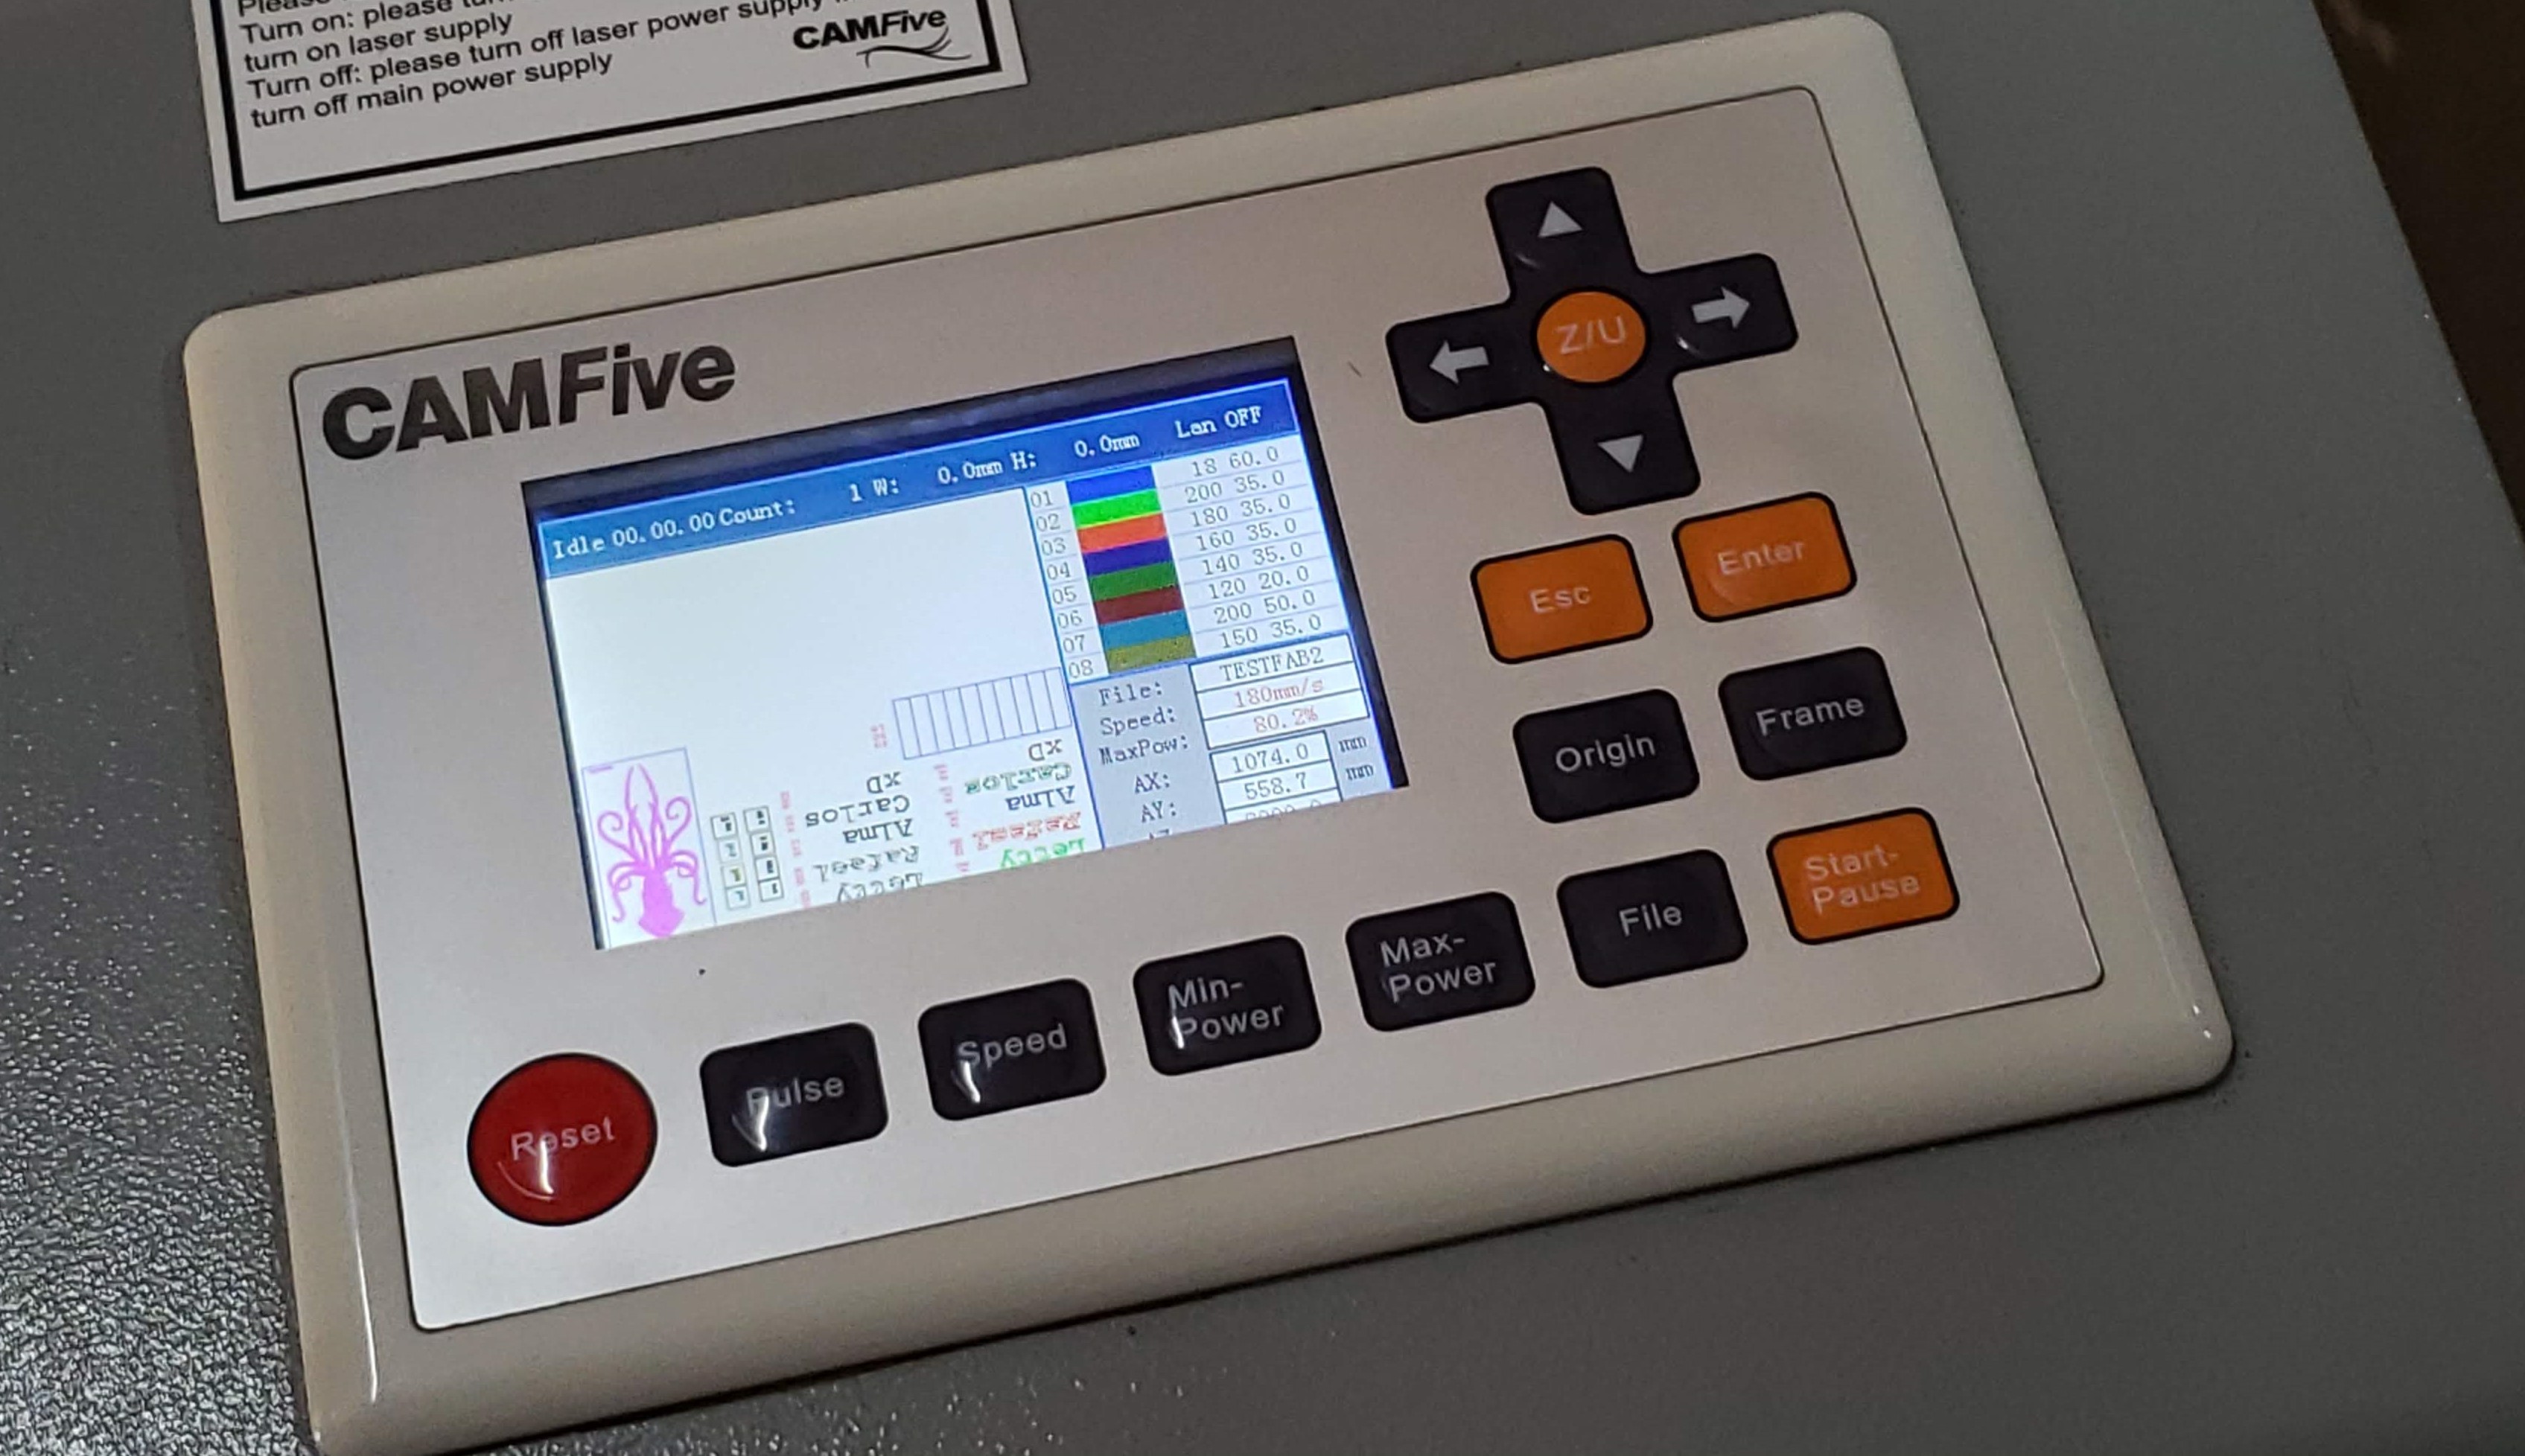
Finding the File
The file is opened in the lasercutting equipment via a usb, identifying the correct origin point so the complete file is cutted and/or engraved is critical for the project's success. Our lasser cutting equipment has a buckling on the cutting table, so its best to cut small files at a time and move the material to fit where it's at its best.
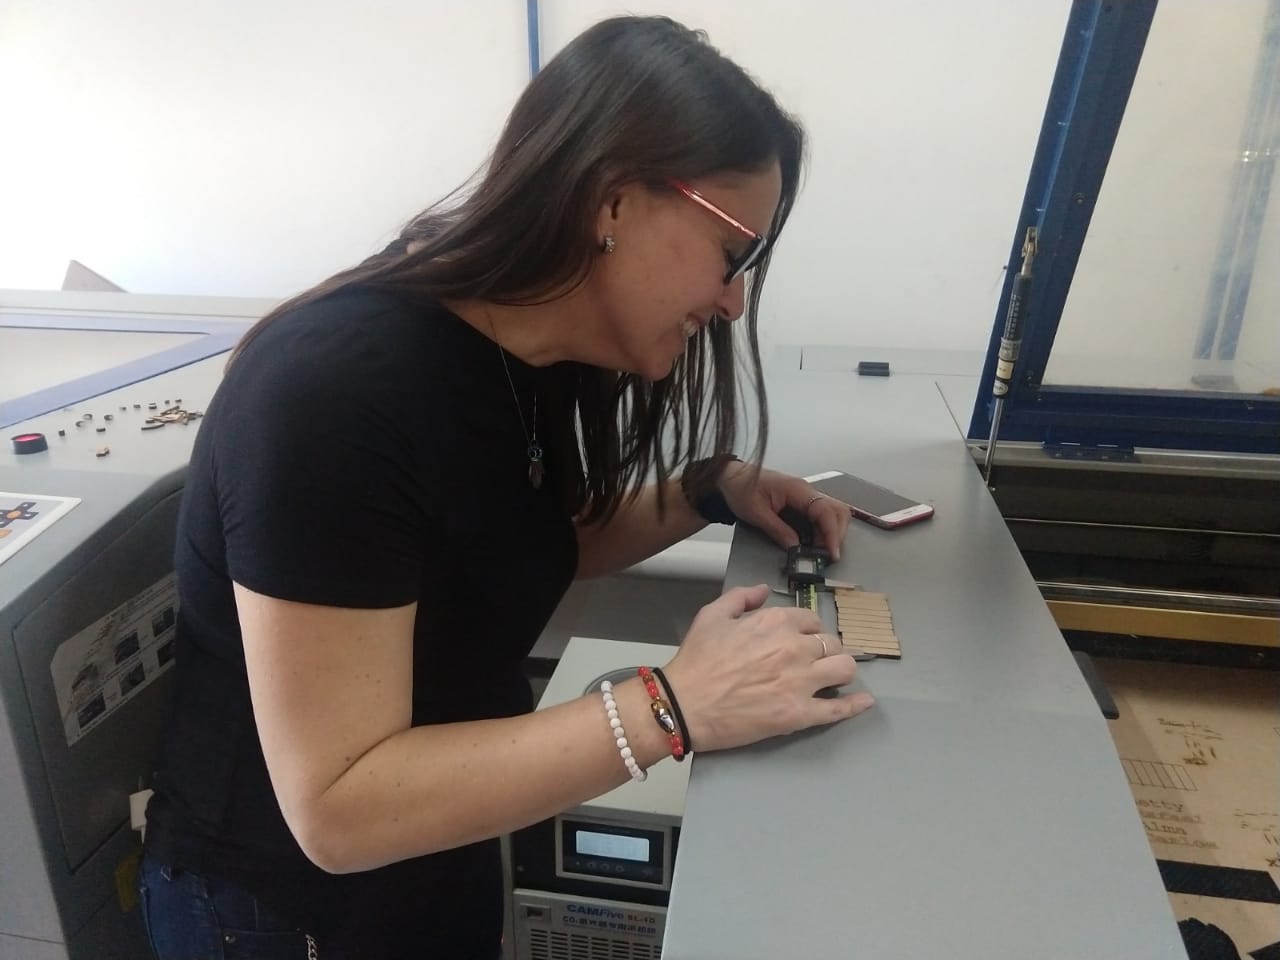
Measuring
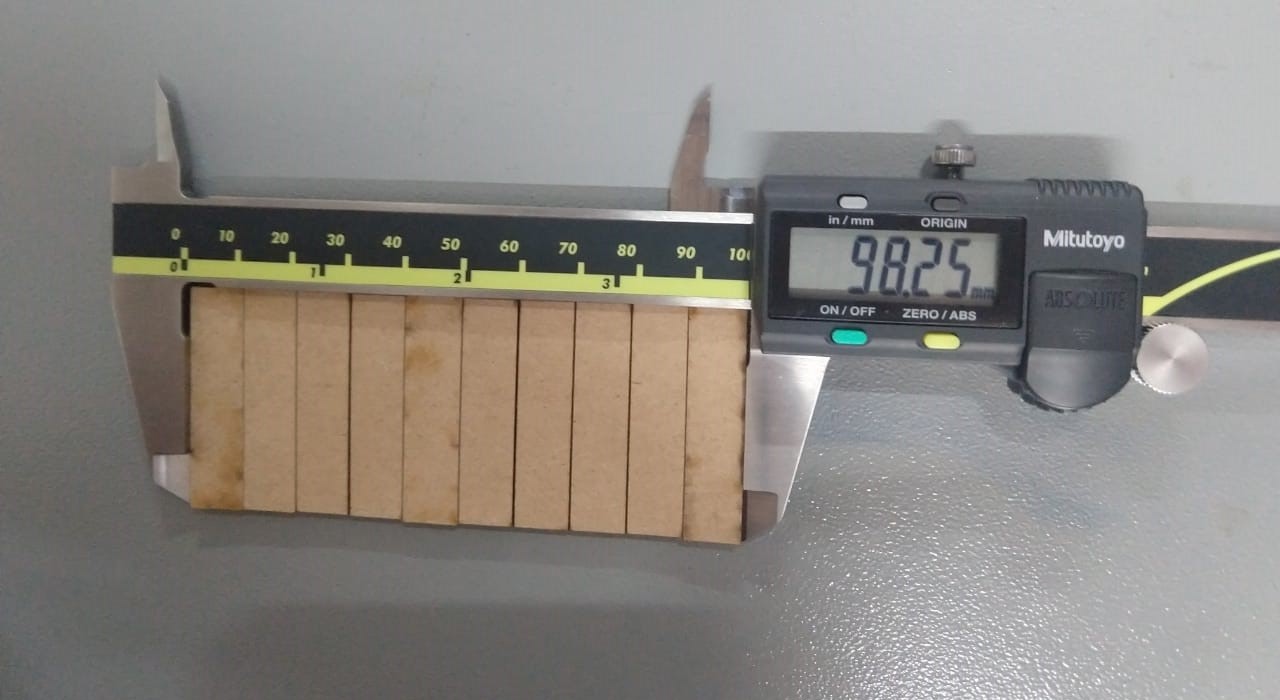
To measure the kerf we used a mitutoyo digital evrnier, to have the exact measuremnts, and we all took times measuring to be sure qe ere doing the right job.
Instructions
- Create CAD File to test different parameters and basic kerf measuring rectangle
- Copy the CAD file to the laser cutting software. The CAD file had several layers that included different parameters to be able to define the correct ones we would be using for the individual assignment
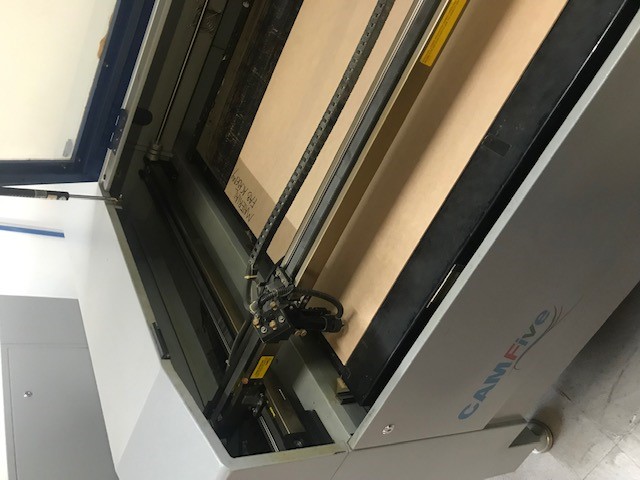
- Start the laser cutting equipment, start cutting and engraving
- Adjust the height for the laser
- Cut and engrave as many files as you need adjusting the settings until the result is what you need them to be, this is a trial and error job so be patient, it will take a few times to get it right. We changed the maximum and minsimum parameters as well as the speed until we were all satisfied with the end results.
- Write down the final parameters, I can't stress this enough, write them down or take a picture, you will forget them between the equipment and your laptop.
- To measure Kerf: define a rectangle, ours was 100 mm by 50 mm, with equidistant divisions (ours were 10 divisions at intervals of 10 mm), cut and after cutting measure the end result. The formula to obtain the kerf is: Original distance minus Final measurement divided by the number of cuts divided by two.
- Parameters for Cutting: max 60, min 50, speed 18
- Parameters for Engraving: max 25, min 20 and speed 40
- Kerf: 0.08 mm
- Height: 6 mm
Individual Assignment - Vinyl Cutting
Cut something on the vinylcutter design
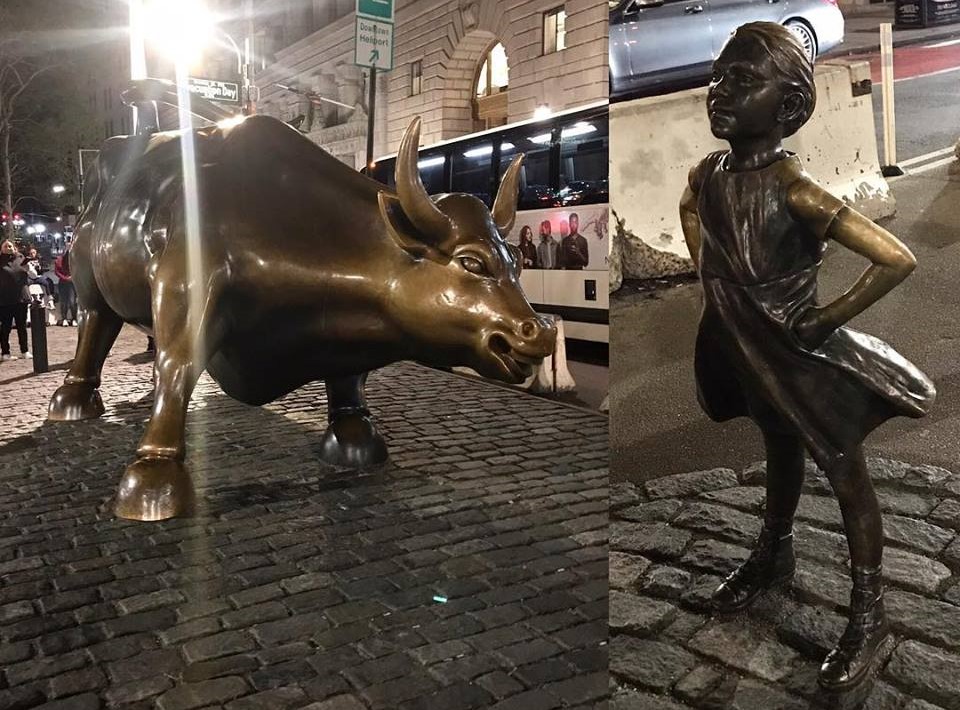
Original Image
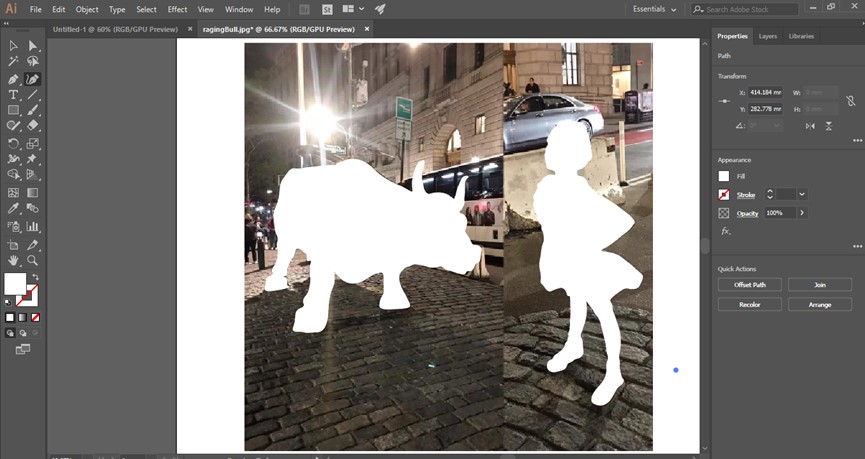
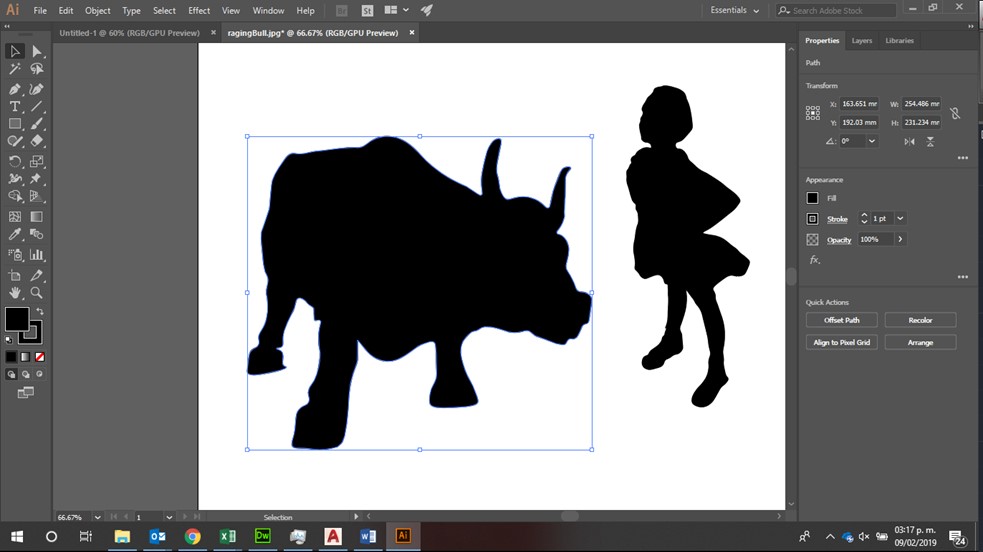
I chose the raging bull and girl as a composed image because I think it represents pretty much our daily paradoxes in decision making.
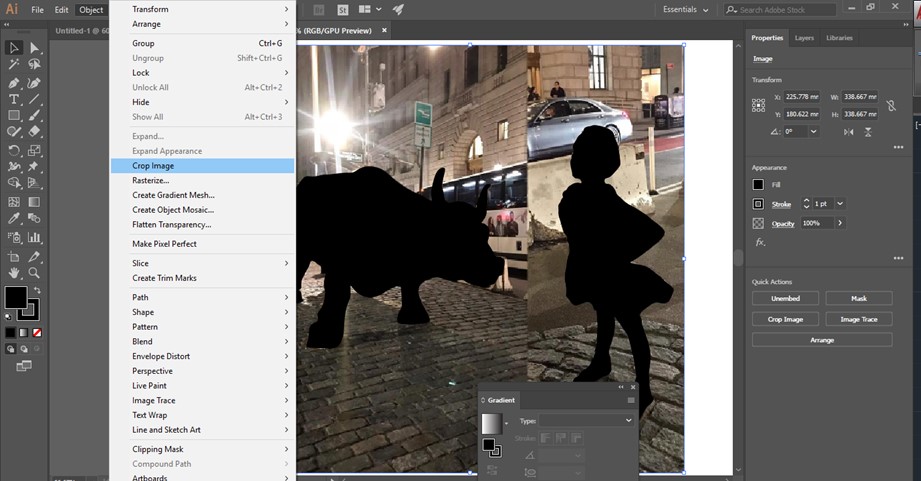
Change Siluette Color
Change the color of the siluette to black, this makes it easier to manipulate later.
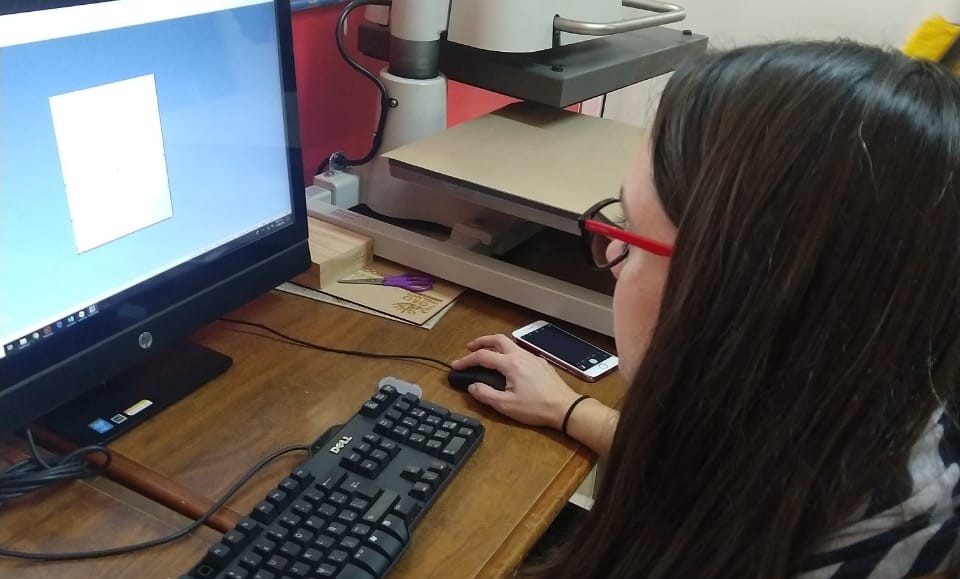
Save in Correct Version for Import
Our vinyl cutter software only recognizes Illustrator 8 files, this means you have to save it in that particular version to be able to use it.
Instructions
- Define which image, logo or photograph you want to vectorize
- Select a tool to use, I chose Adobe Illustrator
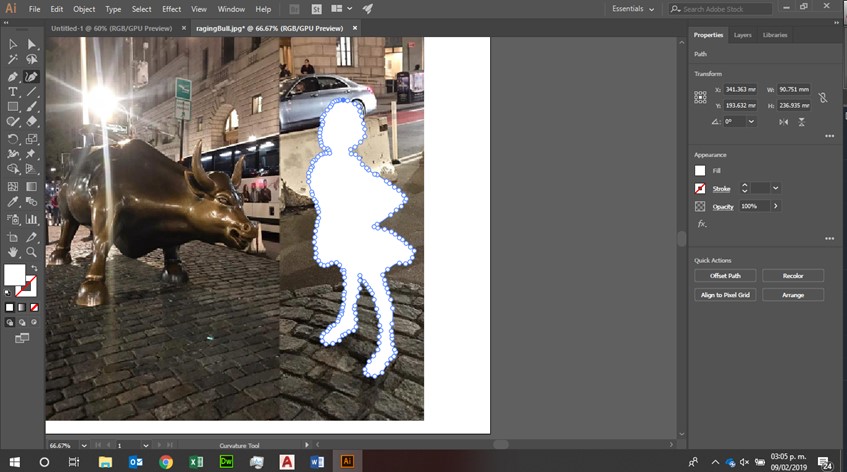
- Outline figure with the curvature tool
- One of the advantages of using this tool is that it creates several points which can be moved to give a better definition to your siluette
- I decided to do two images, for the purpose of the instructions just repeat the previous step for the number of siluettes you'll want to use from the picture
- Change the color of the siluette, I decided black because it is easier for me to have a contrast once you eliminate the background
- Select everything that is not a siluette and use the crop image tool to eliminate background, you'll end up with the siluettes over a white background, you are NOT done yet.
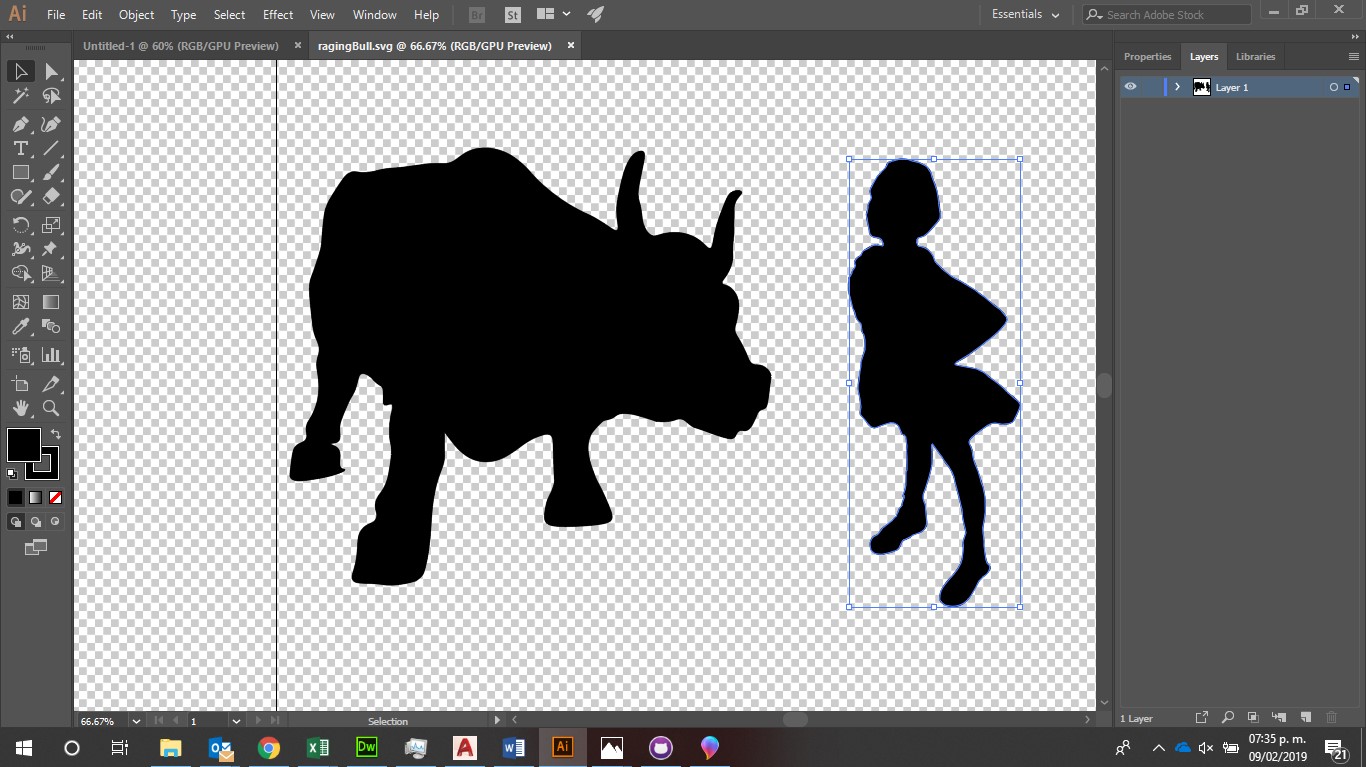
- Go to properties onyour right side and select no background, it is a checkered square, very easy to recognize
- Once you have a checkerd background behind the silkuettes you have vectors, you van use the make pixel perfecto tool to smooth edges
- Save the file as an illustrator file and as a SVG file to be able to process it in the vinyl cutter equipment
- Try to maintain your file small, the more quality you specify for the vectors, the bigger the file and it can cause problemas with some vinyl cutters
- Once you open the file in the computer with the vinyl cutter software open it in Illustrator and change the version to Illustrator 8.
- Open the vinyl cutter software and import the Illustrator 8 file with your vectors
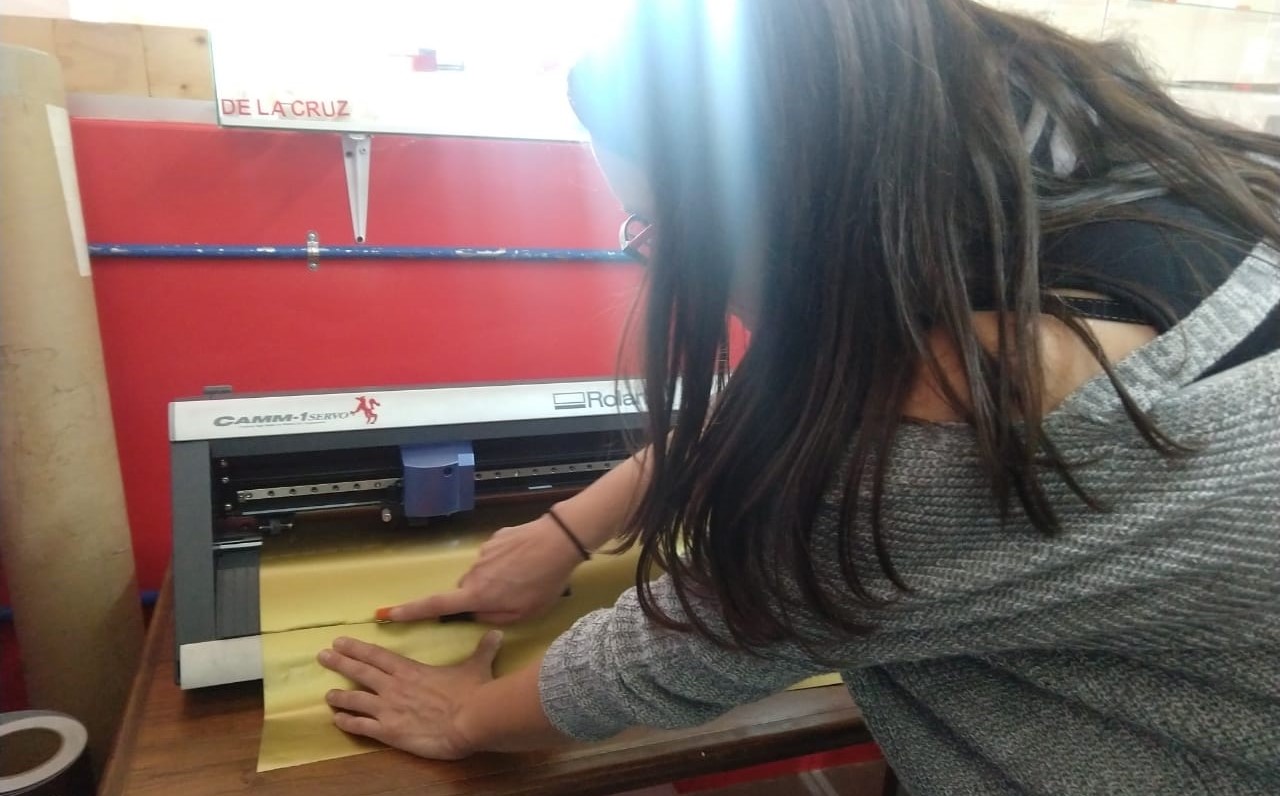
- Adjust the vinyl roll or piece of vinyl into the vinyl cutter, the color you chose shouold be color side up
- Press start on the vinyl cutter software and enjoy the show
- Once it finishes you'll need to adjust the roll so it allows you to cut clean your piece and waste as little material as possible. Use an exacto knife to achieve a clean cut.
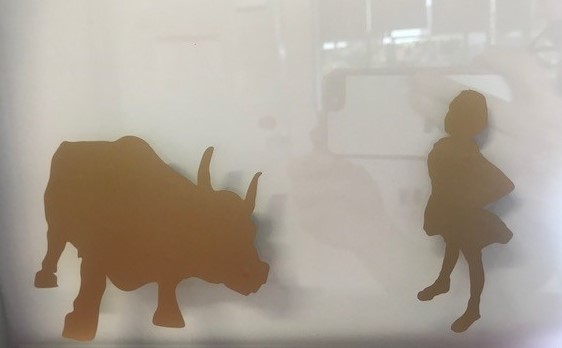
- Once you have the final piece take it from the vinyl rectangle you now have and attach it to a clean surface, I decided to put it in my window, other options are your cell-phone, laptop, table the sky is the limit.
- If you decide to use fabric vinyl you can actually iron it on a t-shirt or any fabric.
Individual Assignment - Parametric Press Fit Kit
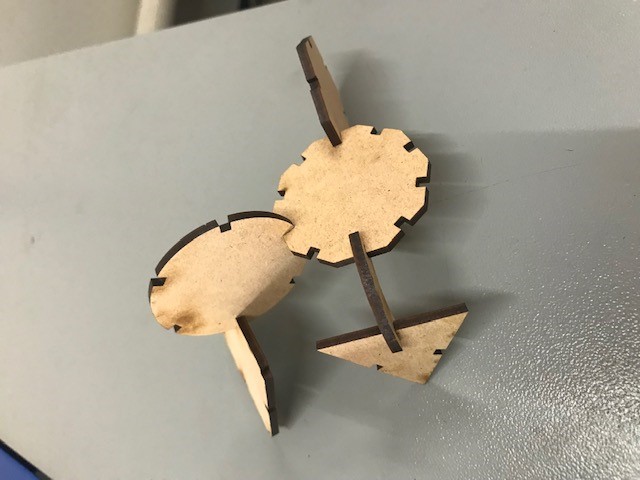
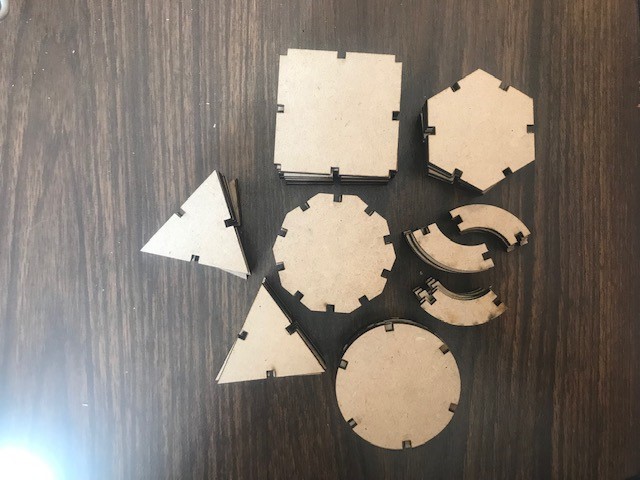
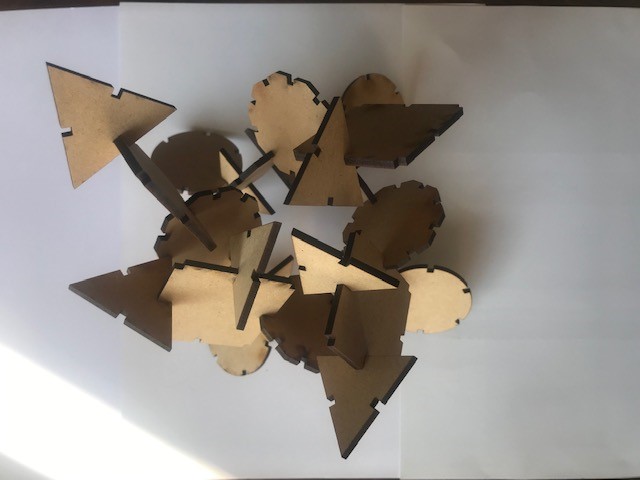
Cut something and document a parametric press-fit construction kit, accounting for the lasercutter kerf, which can be assembled in multiple ways
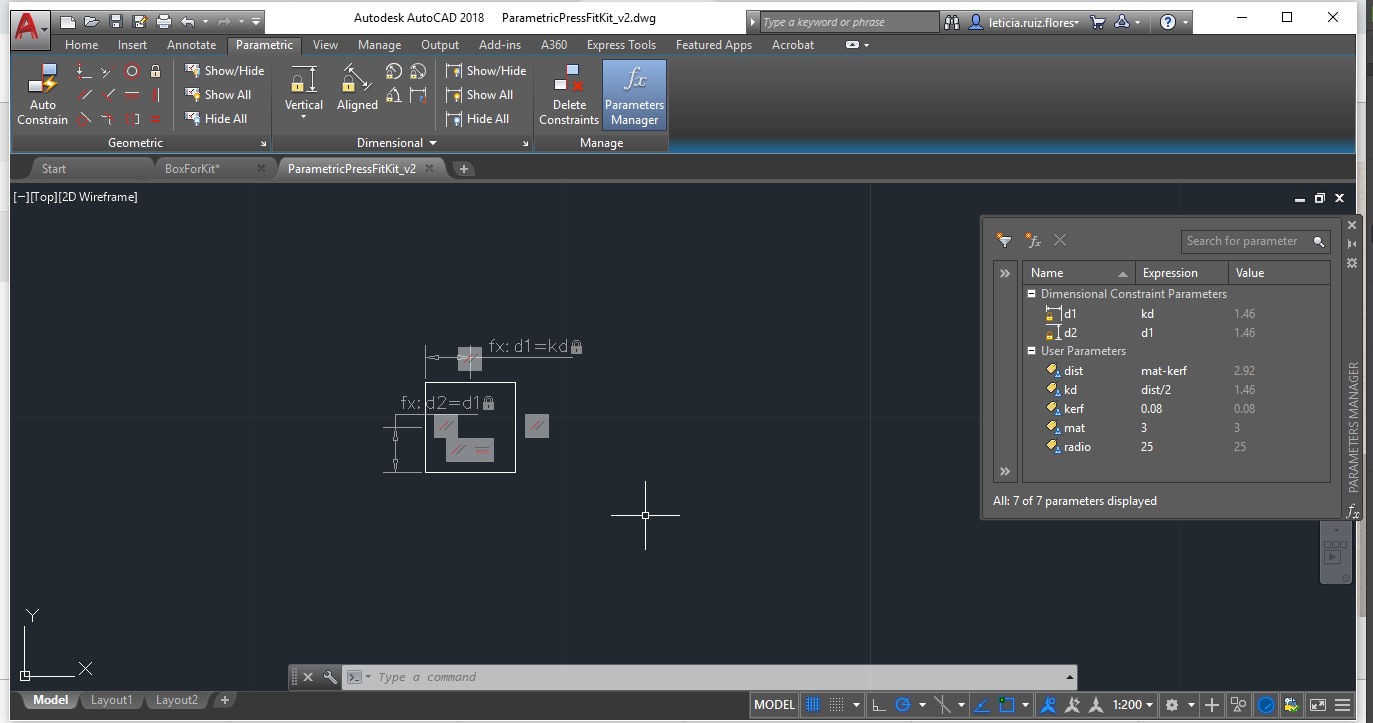
Parametric Square
Start with something easy, like a square, I started with the square needed to actually do a pressfit. Include allowance for the kerf on both sides, you'll have two lasercuts.
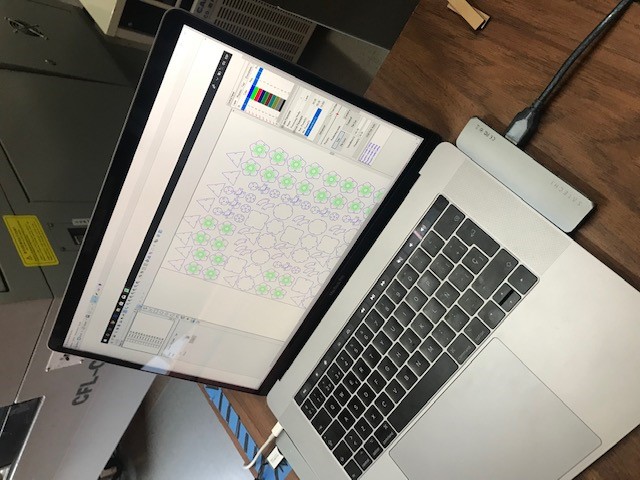
Preparing The File
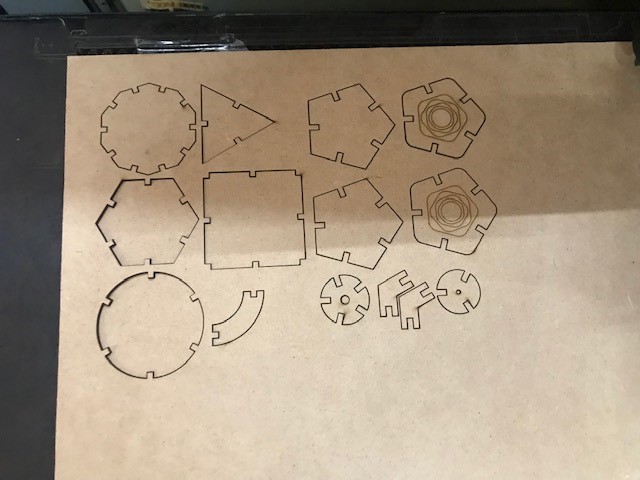
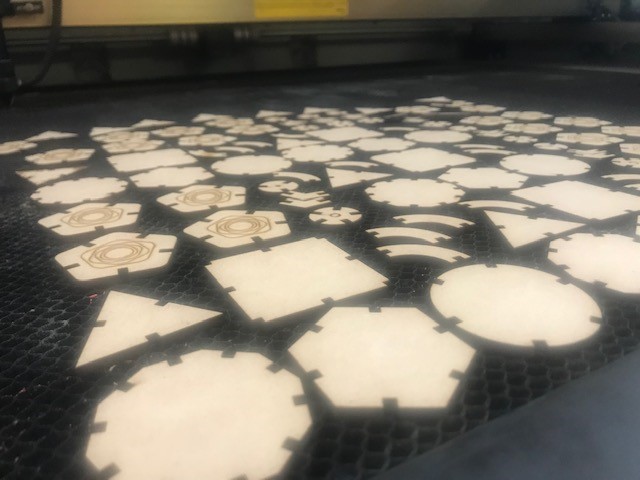
Organizing the pieces to fit the most pieces in the smallest space as to not waste as much material.
Instructions
-
Tips:
- Define which CAD program you'll be using and than stick to it until you totally rock it. Changing between softwares creates a nightmare worthy of a Hitchcock movie
- Contrary to my initial statement (see week 3), I actually decided to go with AutoCAD, its growing on me. It turned out that somehow I had a really bad configuration
- Don't use autoconstraint unless you want to have a headache, I tried it and went miserably wrong. It helps for basic formas but not for arcs and more complex polygons
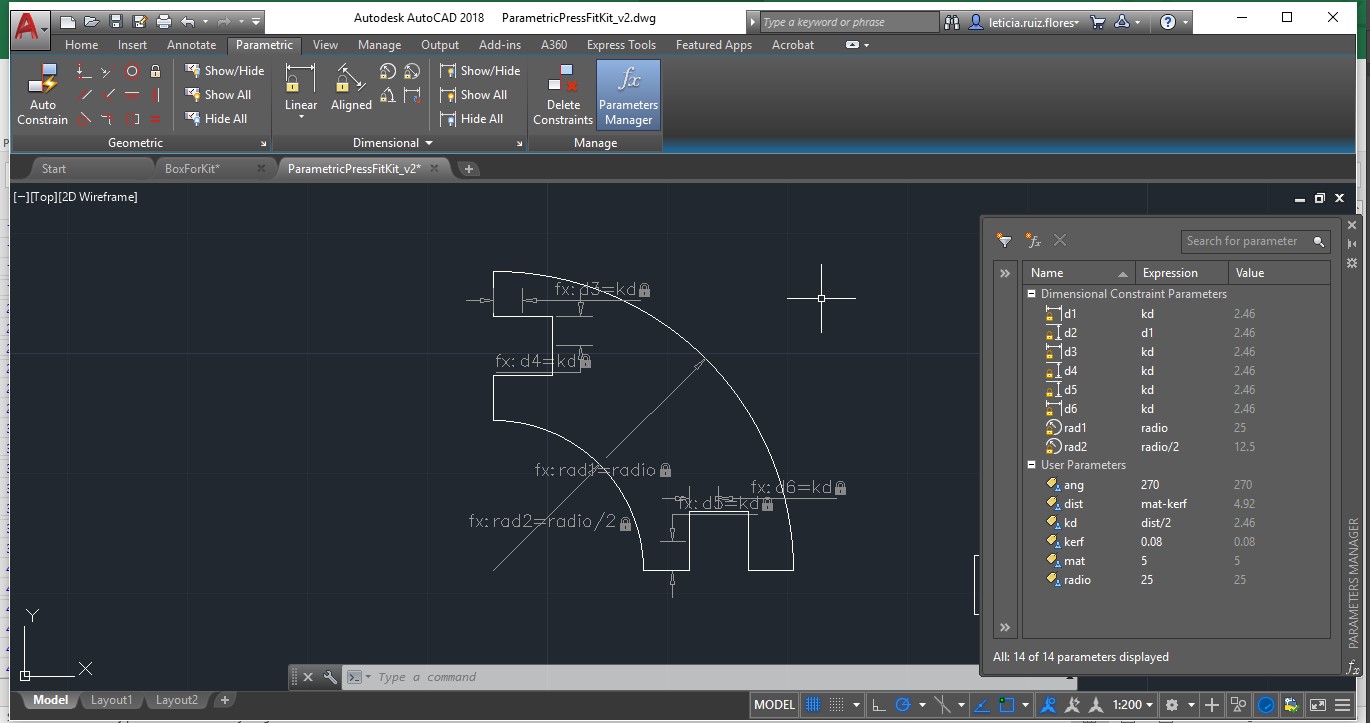
- Set your basic user parameters early on, such as material(mat), kerf, radio, distance for single cut with kerf allownace (dist) and distance for press fit with kerf allowance (kd). The names in parenthesis are the ones I sued but you can define your own
- Once you have one figure finished edit your dimensional constraint parameters, otherwise you'll end up with parameters named d1, d2 ... dn. Good luck identifying them
- Don't fixate on a single constraint, sometimes it is beter to change around the tools you use and experiment a little
-
Square:
- Create a square with the rectangle tool
- Define the constraints for equal sides
- Define the constraints for coincident points
- Define the distance for the sides, I decided to constraint each half of side as the material minus kerf to make the fitfor the actual press fit in each following piece
-
Arc:
- Draw two concentric circles
- Draw a line from the center to the largest circle in two directions, I decided to create an even 90 degree angle
- Copy the previously created square to the inside of the straight lines
- Trim the lines to create a press fit and the parts of the circle that will not be included in your arc
- Create a constraint of concentric circles
- Define a constraint for the ourter circle to have a defined radio
- Define a constraint for the inner circle to have a defined radio based on the outer circle measurements
- Define all the cosntraints for adjacent lines
- Define constraints for parellel lines
- Define constraints to define equal lines to both sides of each square
- Review that the constraints for squares are maintained
- Check that it actually works
-
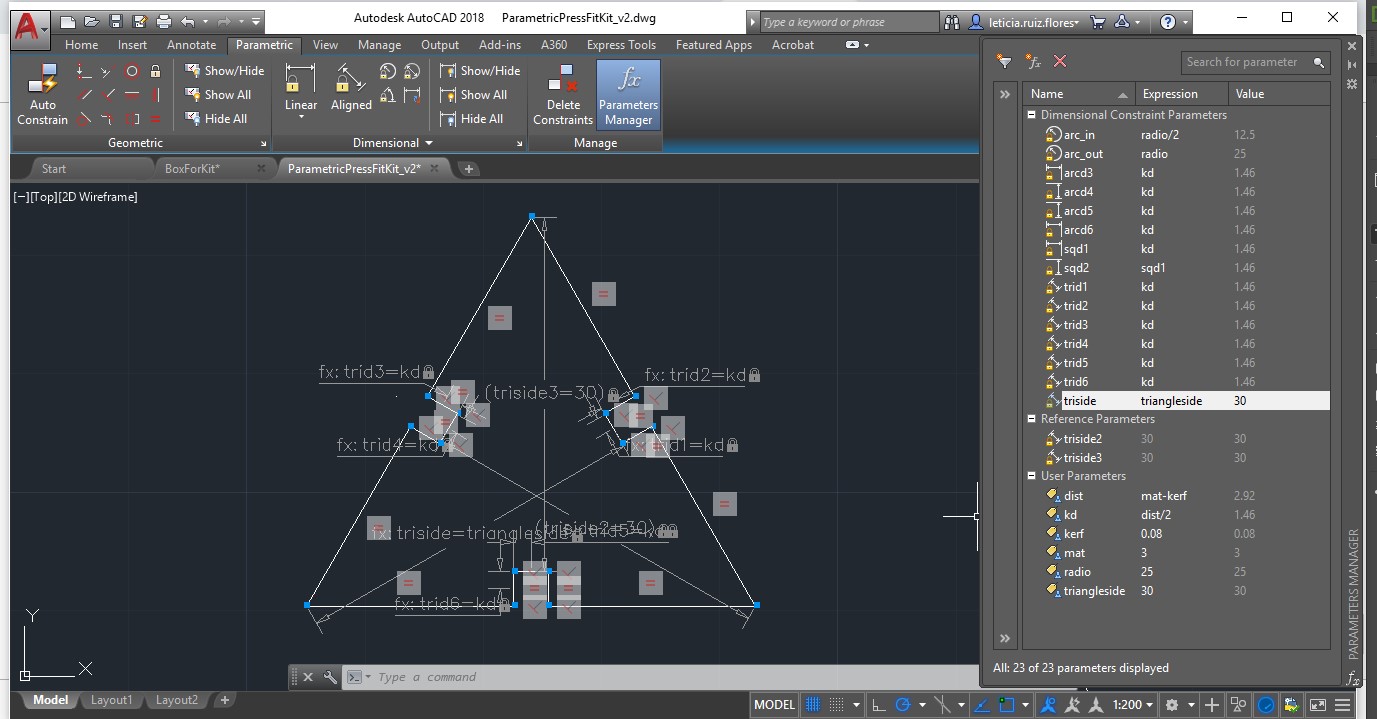
Triangle:
- Draw an equilateral Triangle, draw a circle and draw a 3 sided polygon constricted within it
- Copy the previously parametric square to the center of one side, on the inside
- Select the square and use the arraypolar with 3 sides, this will evenly arrange the squares inside the triangle
- Trim the circle and the lines for press fitting
- Define constraints for all unions
- Define constraints for perpendicluar lines
- Define constraints for equal lines
- Review constraints for sides in square, guaranteeing the parametric press fitting
- Create constraints from each point to the middle point of the square directly in front
- Rename all of your variables
- Check with different parameters to see if it actually works
-
Circle:
- Draw a circle
- Copy the previously parametric square to one side, on the inside
- Select the square and use the arraypolar with 6 sides, this will evenly arrange the squares inside the circle
- Define constraints for all unions
- Define constraints for perpendicluar lines
- Define constraints for equal lines
- Review constraints for sides in square, guaranteeing the parametric press fitting
- Create constraints from each point to the middle point of the square directly in front
- Rename all of your variables
- Check with different parameters to see if it actually works
-
Hexagon:
- Draw a Hexagon, draw a circle and draw a 6 sided polygon constricted within it
- Copy the previously parametric square to the center of one side, on the inside
- Select the square and use the arraypolar with 6 sides, this will evenly arrange the squares inside the triangle
- Trim the circle and the lines for press fitting
- Define constraints for all unions
- Define constraints for perpendicluar lines
- Define constraints for equal lines
- Review constraints for sides in square, guaranteeing the parametric press fitting
- Create constraints from each point to the middle point of the square directly in front
- Rename all of your variables
- Check with different parameters to see if it actually works
-
Decahedron:
- Draw a dechedron, draw a circle and draw a 10 sided polygon constricted within it
- Copy the previously parametric square to the center of one side, on the inside
- Select the square and use the arraypolar with 10 sides, this will evenly arrange the squares inside the triangle
- Trim the circle and the lines for press fitting
- Define constraints for all unions
- Define constraints for perpendicluar lines
- Define constraints for equal lines
- Review constraints for sides in square, guaranteeing the parametric press fitting
- Create constraints from each point to the middle point of the square directly in front
- Rename all of your variables
- Check with different parameters to see if it actually works
Documents
