Week 2
Jan 23. Project Management
GitLab Set-Up
The platform to share aour weekly progress is GitLab which uses GitHub at its base.
Tool Used
I decided to go with GitHub's own tool to synchroniza with GitLab so I installed Git Desktop on my laptop and started to configure it.
Getting Started
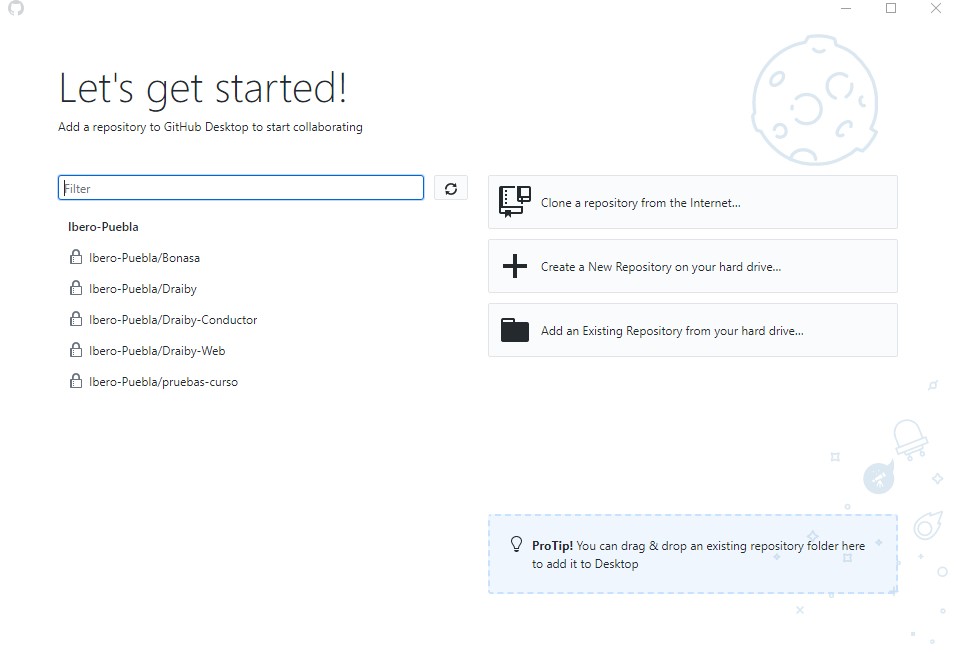
I decided to use the Clone a repsository functionality to download all of the information kindly left for us by the isntructors team and start creating form ther my own web page under the defined structure.
The Repository
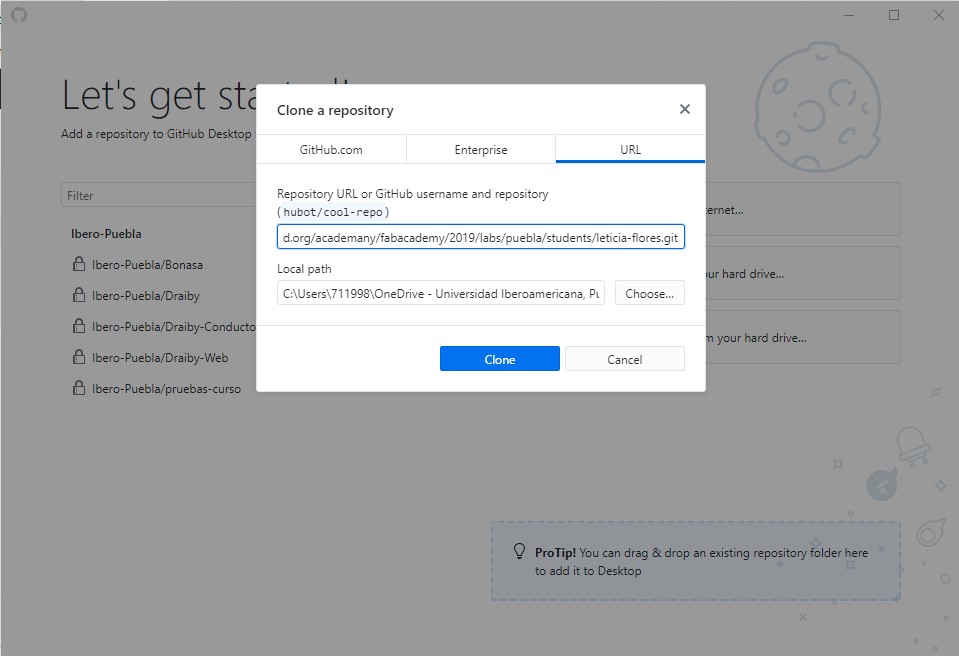
To have access to pull and push information from the already created repository I pasted the link provided by GitLab for my own repository and clicked on the clone button.
Instructions
- Download Git Desktop
- Start .exe and install on computer
- Start Git Desktop
- Clone repository from GitLab for leticia-flores
https://gitlab.fabcloud.org/academany/fabacademy/2019/labs/puebla/students/leticia-flores.git - Click fetch origin
- Once a couple of changes have been made to files within the cloned repository you have to give a summary of cahnges you're about to commit
- Click on commit to master
- Click on Push Origin
- Repeat steps 6 to 9 with every change made to the repository
- Update:
- Because I'm using a work provided laptop with a lot of restrictions I need to use github desktop to synchronize with gitLab, this actually makes it easier to work with due to the interface instead of a command line.
- GitLab manages version control directly within because it is based on GitHub. Each file on GitHub has a history, making it easy to explore the changes that occurred to it at different time points.
- GitHub creates a master branch but you can also fork a project as many times as you like. I di not use this function for Fab Academy.
- There are three main commands in Git:
- Pull: Obtain the latest version from the server into your computer.
- Commit: Send changes to copy to your online repository.
- Push: Copy all of the files you have updated to the server as the lastest copy.
- If you try to push a change with a large file (over 50 MB) GitLab will block you from pushing it, you'll need to minimizze it, zip it or reduce it some how.
Web Page Set-Up
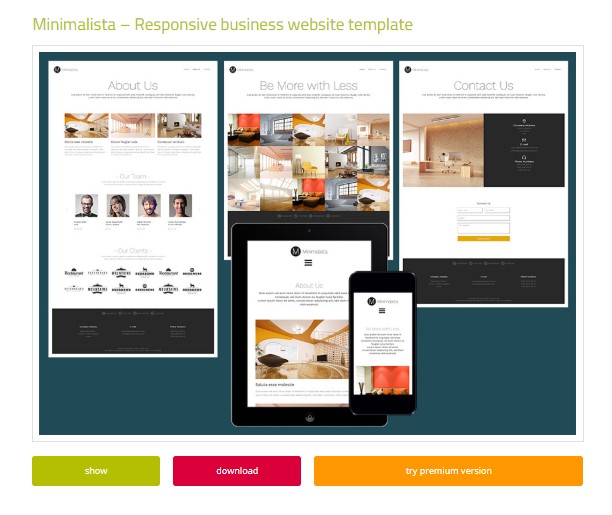
I decided to go with DreamWeaver as the main platform to create and update my web page, using a responsive template from Responsee5 called Minimalista that suited my needs and style, I decided to tweek it with personalized pictures, colors, and watercolors, hope you'll enjoy it.
Template
Deciding on a template is never easy, there are so many to choose from and to all are easy to use while also suiting my personality. I chose this one because it complies with both needs and while I thought it would be easier for me to use Dreamweaver because of the graphic interface I ended up going back to coding directly, which is also available while nicely having a live look and feel on the spot.
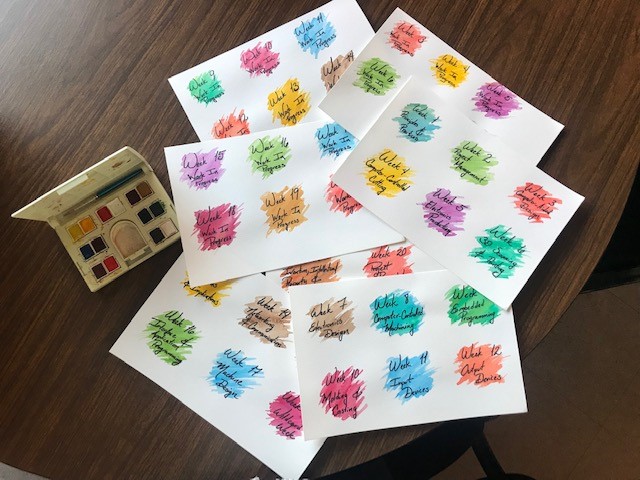
Watercolors
I decided to go with watercolors to make the web page mine, I've been coloring with watercolors, on and off, since college. I love that when you make a mistake in watercolors you don't cover it, instead you actually need to work with it, much like interacting with people in real life. Mistakes in watercolors become part of the final look and sometimes are what makes you gasp and say something its beautiful.

Logo
I know it does not match exactly the look and feel of the whole thing, but I been using it for my crafts for a while know and its become part of my creative persona. This page will be much like me, contrasting vintage and new, curvy and linear, creative and old-school hopefully reflecting what we learn together and what I enjoy about life.
Instructions
- Download and Install Adobe Dreamweaver on your computer. There is a trial version available
- Download a template you like, I found this one called Minimalist on Responsee5, there is a bunch you can choose from for free and some others for a fee
- Once you've selected the template you like unzip the downloaded files in your local repository
- Personalize colors and fonts if desired in css files, for example, changing the background color for each assignment:
.background-primary, .primary-color-primary .background-primary {

  					background-color: #6A0507;

} - Add any new custom configuration to the downloaded css, for example the code tag
code {

                  font-size: 0.85rem;

                  background: #DCDCDC;

                  line-height: 1.8rem;

                  padding: 0 8px;

} - Create your personalized images for assignments, I decided to go with watercolors but they could be stock images or photos you've taken over the years
- Include relevant data for you, for example adequate contact information, and start a final-project page
- Use a logo that applies to you, it can be something that speaks to you or a logo that you've been using for previous creative pursuits, it helps if it reflects you and your personality
- Create a basic layout for all of the assignments to be developed over the weeks so it gets easier every week to update the page as the asisgnments get harder and harder to get done on time
- Update:
- The web page is divided in four main sections: Home page and assignments (weekly projects), final project (which includes any updates required within an specific week), About Me with information about who I am and why I'm here, and finally Contact information for people top get a hold of me if necessary.
- The structure for each week is divided in group assignments with pictures, videos (when available) and instructions, individual assignment(s) with pictures, videos (when available) and instructions, finally there is a section with documents ready to download.
- For the images of each week I created watercolors which is the same technique I used for the scenarios in my final project.
- All videos and images included in the website were taken while working in each project week after week.
- Since I work better with general lists of instructions rather and a lot of information in one single paragraph, I organized my page this way.
Project Plan for Final Project
My chosen tool to plan and than to keep up with activities for not only the Final Project but the Fab Academy in general is MS Project, I've been using it for a long time and it just seemed easier for me to hang on to it.
Project Plan in MS Project
Project Plan in MS Project, click on image to download. The first Baseline is set and I decided to include the basic structure for the Fab Academy as well as the activities for the Final Project. If you need to have a look at the version that is being updated constantly go to the Final Project Page and click on Project Plan.
Project Plan in PDF
The first baseline is avilable to download as a PDF for anyonethat does not use MS Project, if you need the updated version of the file in pdf please contact me so I can send it or make it available for you.
Instructions
- If you are going to use MS Project you'll need to download it and pay for the license, since my line of work is project Management I actually work with it everyday
- Define your final project o bjective and alwayskeep it in mind at all times
- Define the requiement you'll need to fulfill
- Divide your requirements into activities
- Align your activities with each week's assignments so much of the work on the final project will be done as a weekly deliverable
- If any activities don't match with a weekly assignment decide when is the best time to start, you won't have time to do it on top of everything else if you don't plan it from the start
- Assign a timeframe for each activity, again try for most of them to align with the week's assignment
- I decided to include every week's assignments aligne dto the project plan, but it is not necessary, its just easier for me to have one single project plan for Fab Academy
- Assign responsibles, for most activities it will be you but there area a couple of group activities wihin Fab Academy and you should know who will be working with you on them
- Download Adobe Acrobat so you can convert your project plan into PDF so it could be read by everyone regardless of having MS Project or not
- Remember to update constantly a project plan that is not updated it's just a wish list of activities to be done