Task 15
Mechanical design
In this week, I was given a task to have a group assignment. The group assignment was to Design a machine that includes mechanism+actuation+automation, build the mechanical parts and operate it manually and document the group project and your individual contribution
Group Task
For this week, I did the group work with Micheal, Alok, Sahan and Jobin. A brief Introduction was being given by our local Instructor, also last year project videos were being domostrated to get an idea of what kind of week this is gonna be in terms of Mechanical Design.

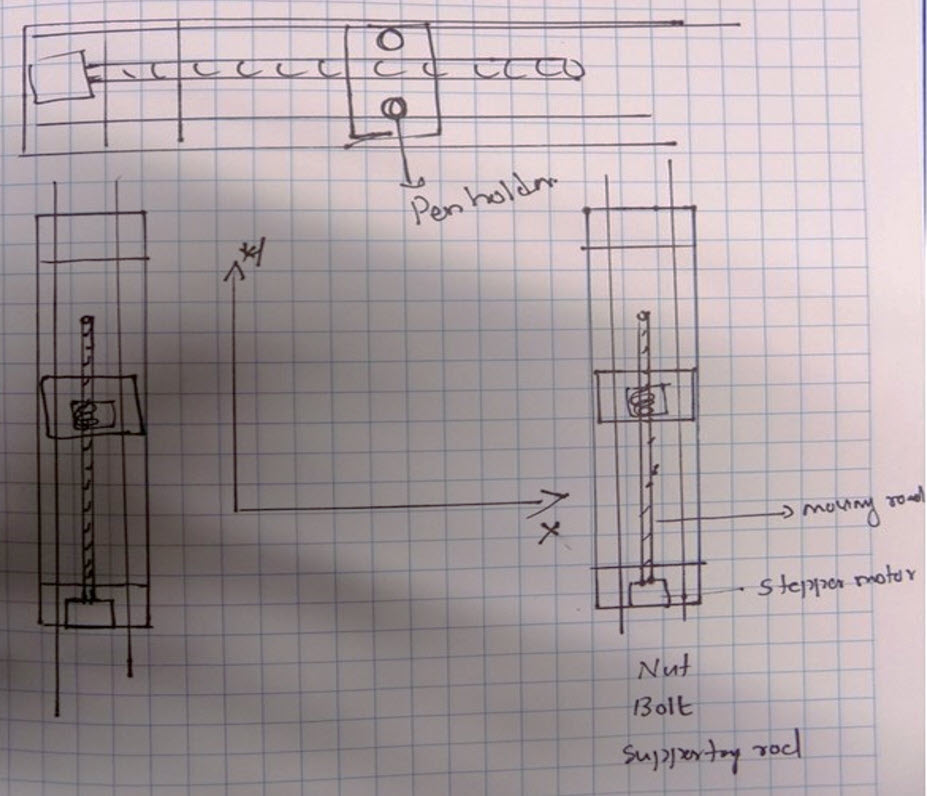
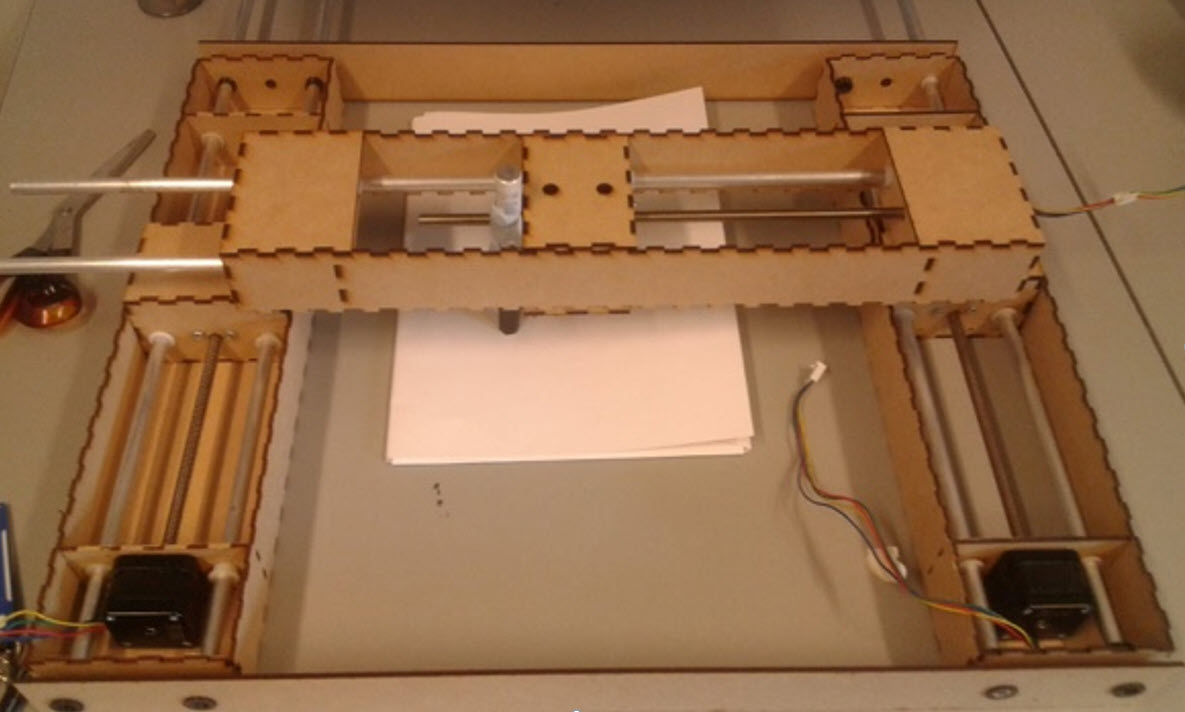
We all gathered around and discussed about the possiblities of projects that we can think. Plenty of ideas came and as per initial discussion we though to make an Automated Elevator but as per further discussion and due to its limited practical applications we abandoned the idea. The Next Idea was to make a writing bot that writes something it can draw shape or write a text. All of us agreed to endorse this idea starting giving input interms of design. Our Initial thought about this design was to have 2-axis movement that moving in x and y direction that required two movement mechanism that will use two motors but inorder to provide better stablity we decided to use two movement mechanism i.e x-axis and the y-axis movement mechanism shall be place on top inorder to acquire better stablity for the pen that will be placed on the y-axis mechanism. More details can be found on the group page
My Contribution
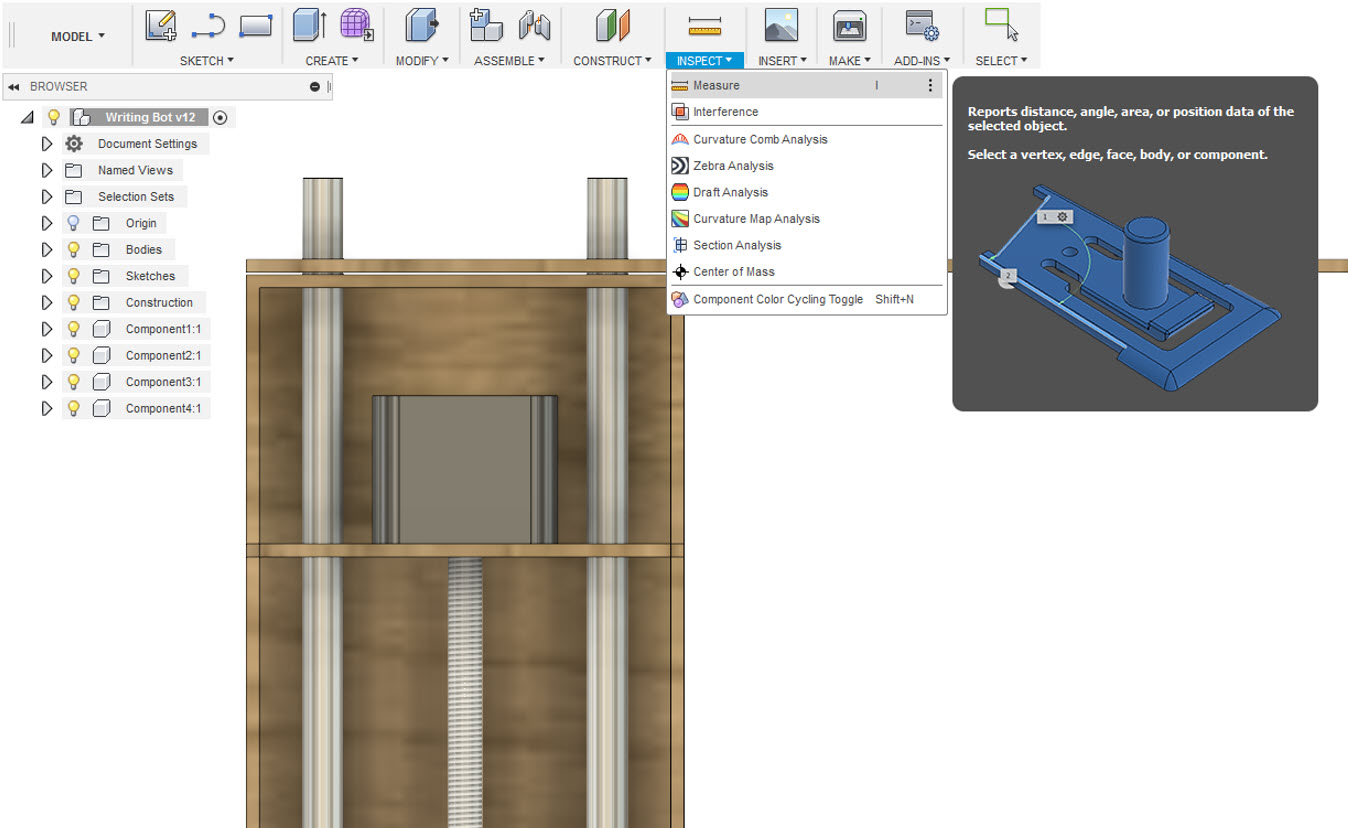
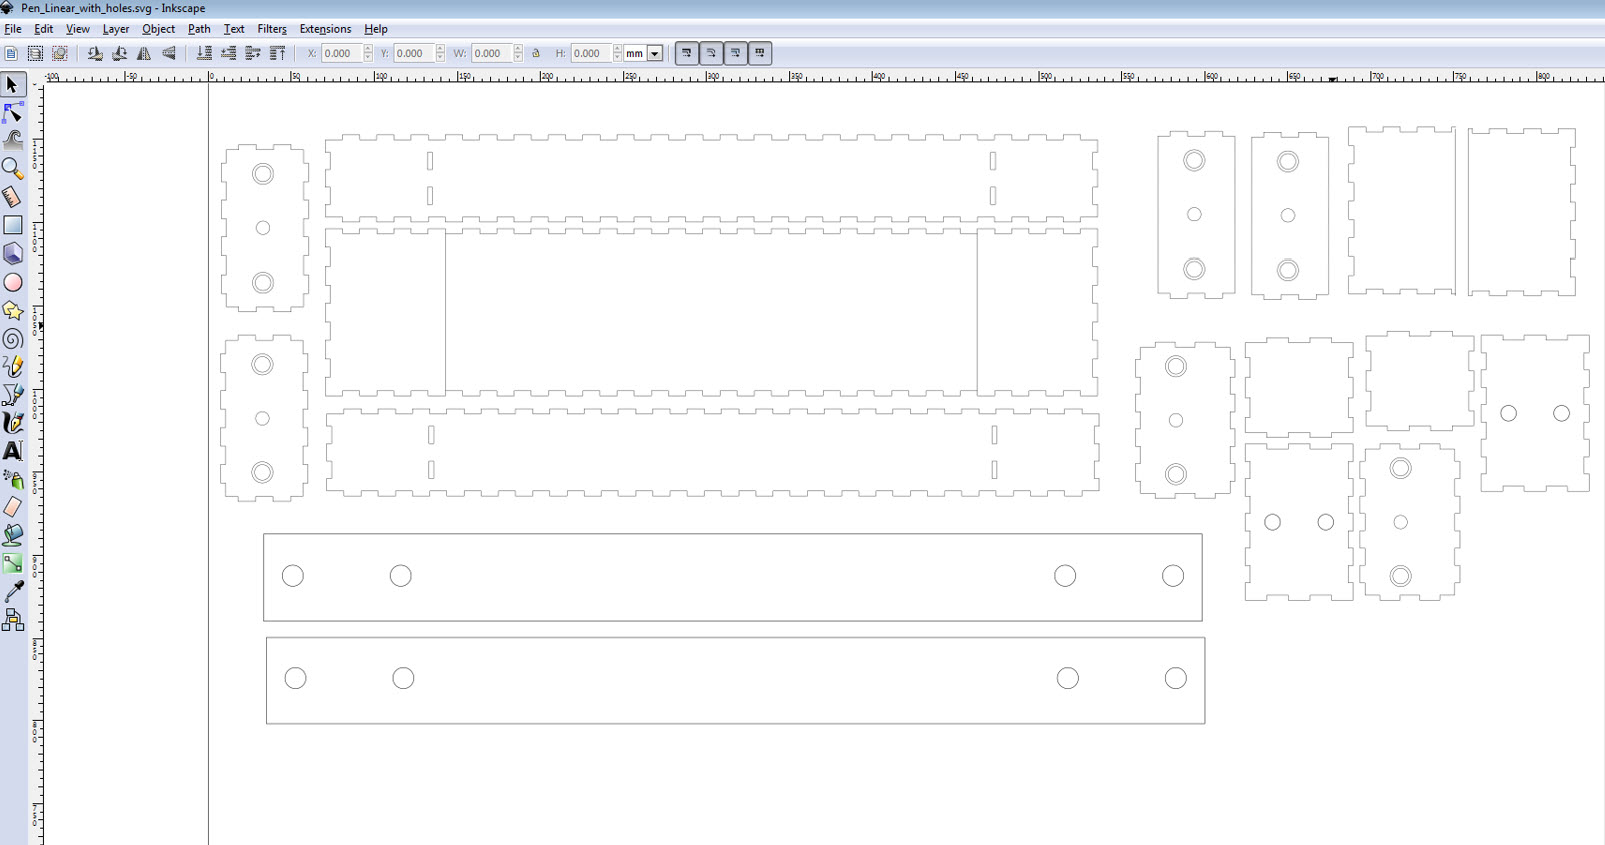
We all were taking step by step approach in the design process. Initially the first thing to do was a proper 3D Design of the Writing Bot. Sahan was given the responsiblity to do that with an input of a rough sketch from all of us. After the 3D design done on Fusion 360, the next step was to laser cut the parts individual parts to make a press fit constructions. Since the design made on Fusion 360 was not a pressfit. I took the responsiblity to measure each Linear box of X and Y Axis in fusion 360 and convert them into 2D Inkspace pressfit Environment so that the we can laser cut that.
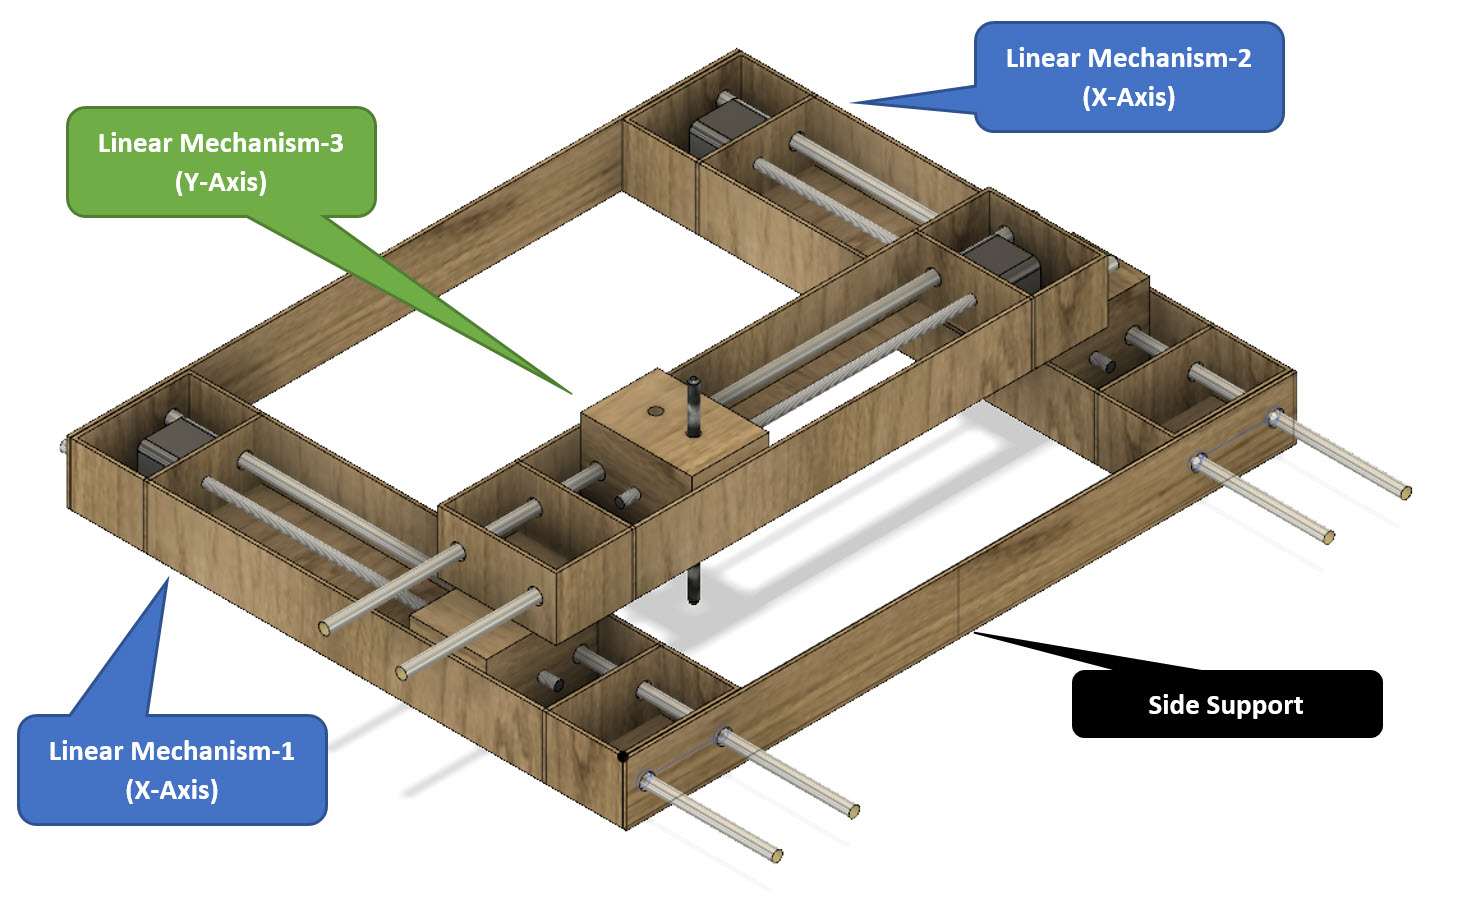
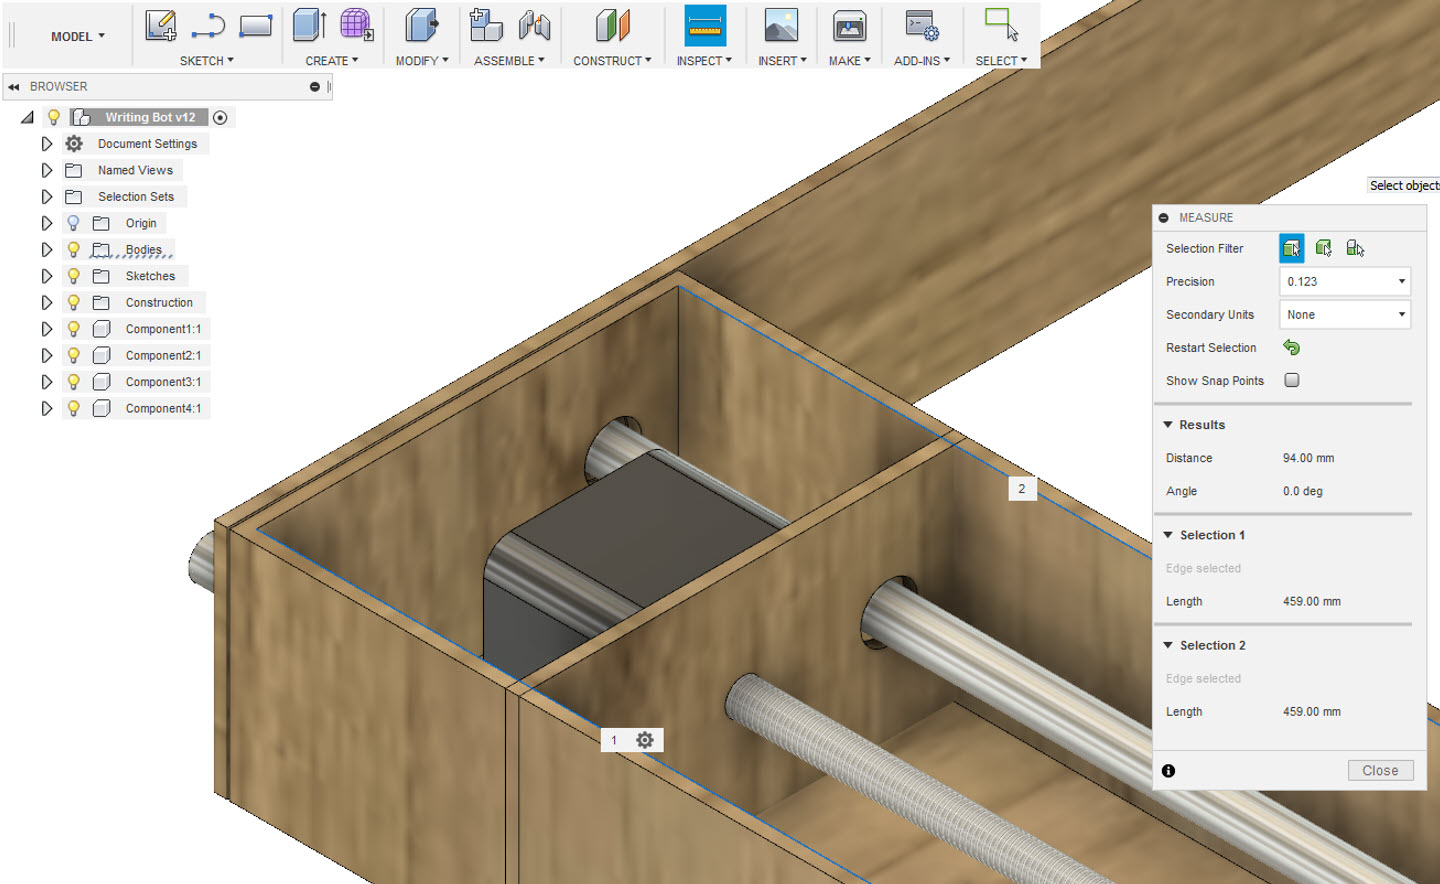
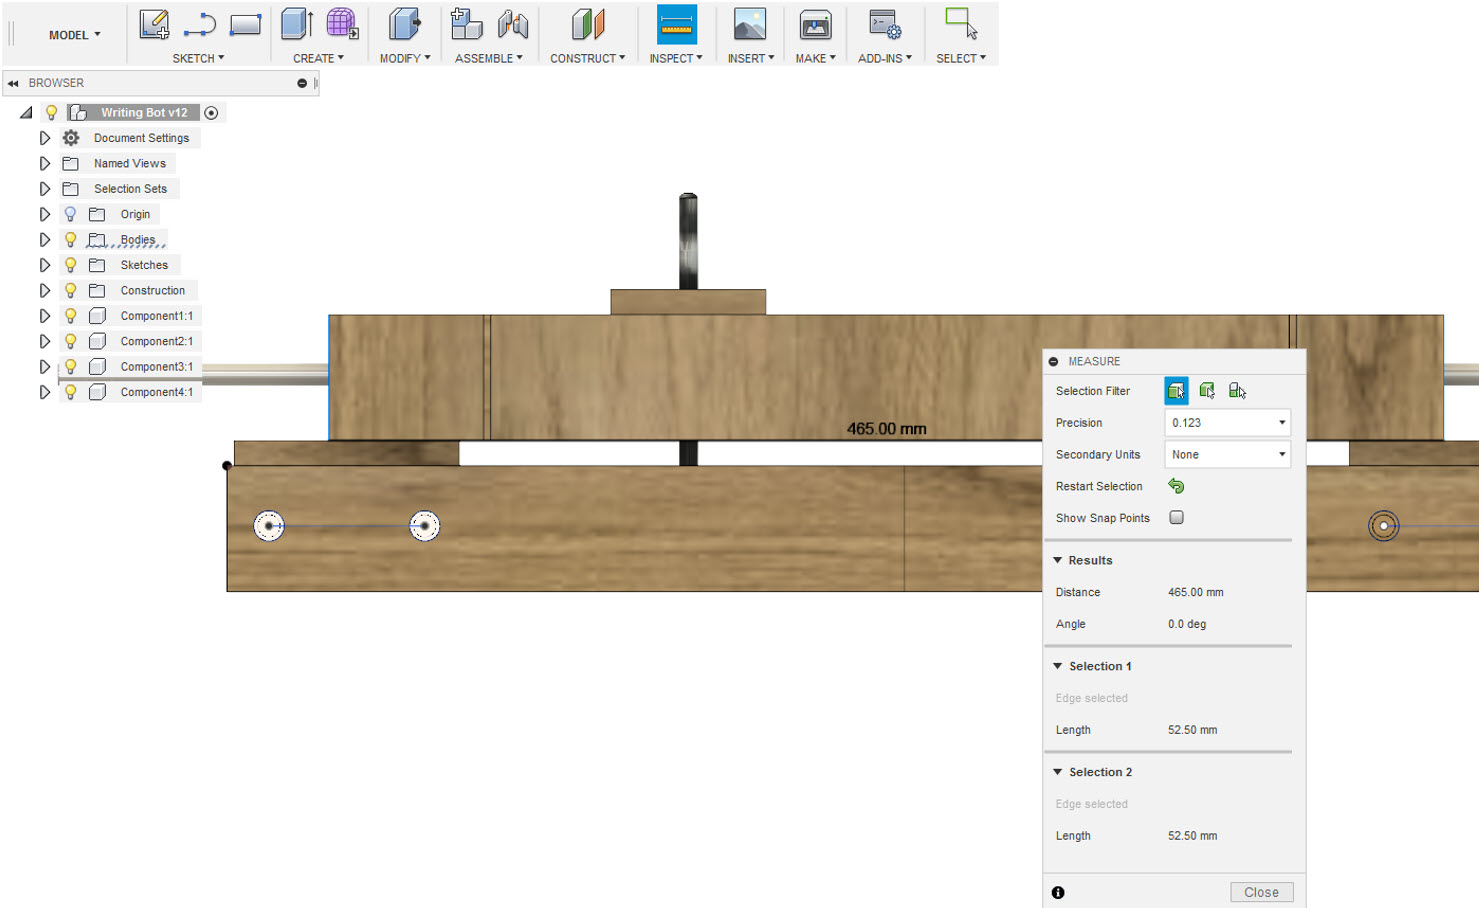
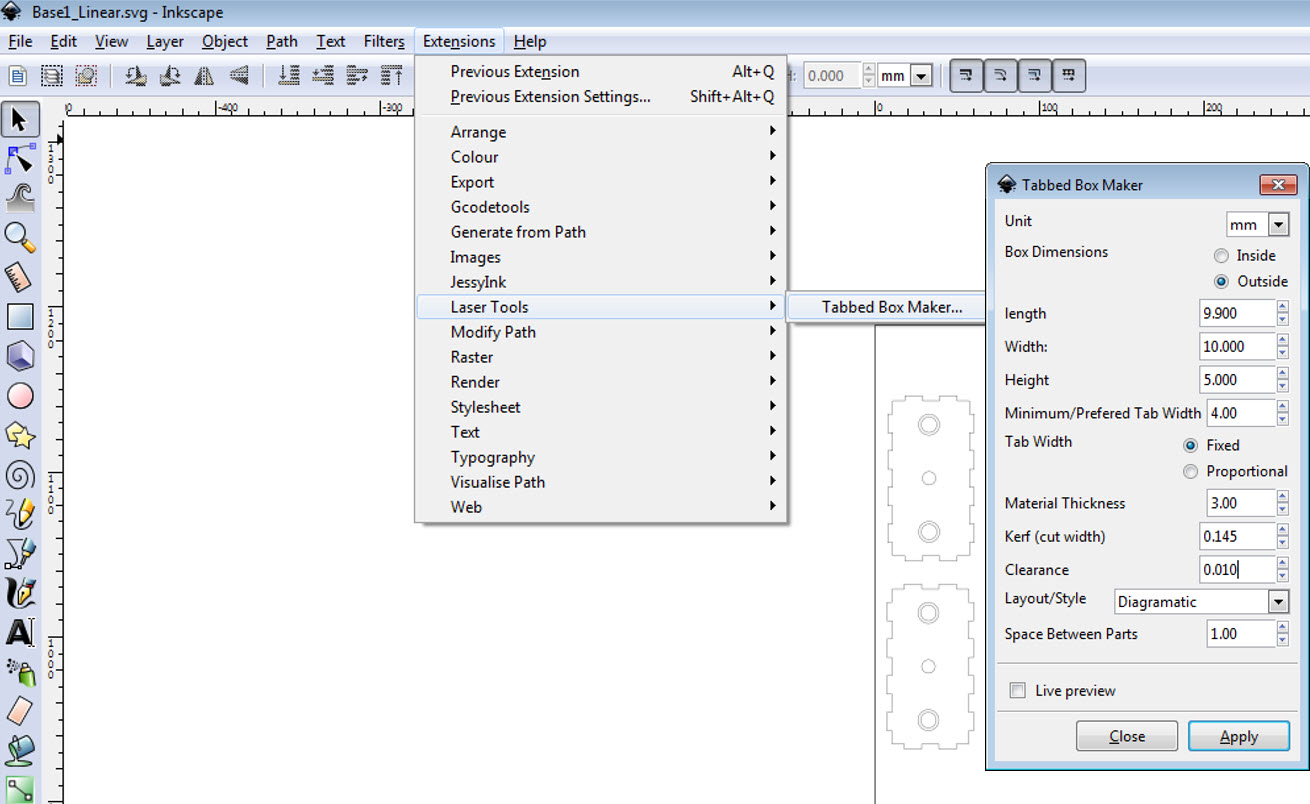
Inkspace Pressfit Design : Linear Mechanism 01 (X-Axis)
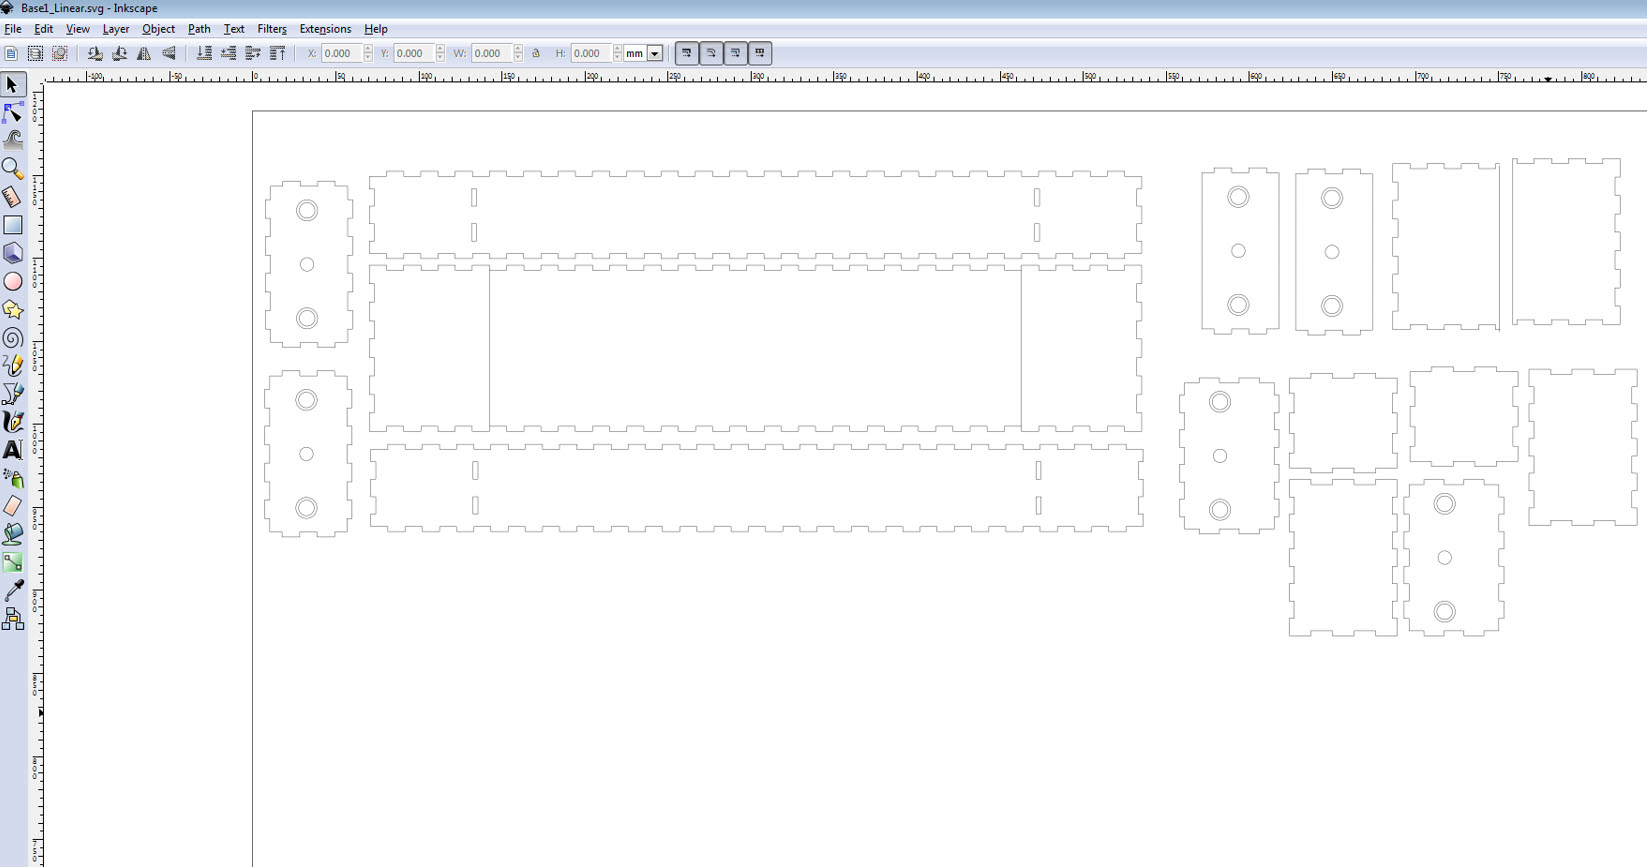
Inkspace Pressfit Design : Linear Mechanism 02 (X-Axis)

Inkspace Pressfit Design : Linear Mechanism 03 (Y-Axis) and Side Support
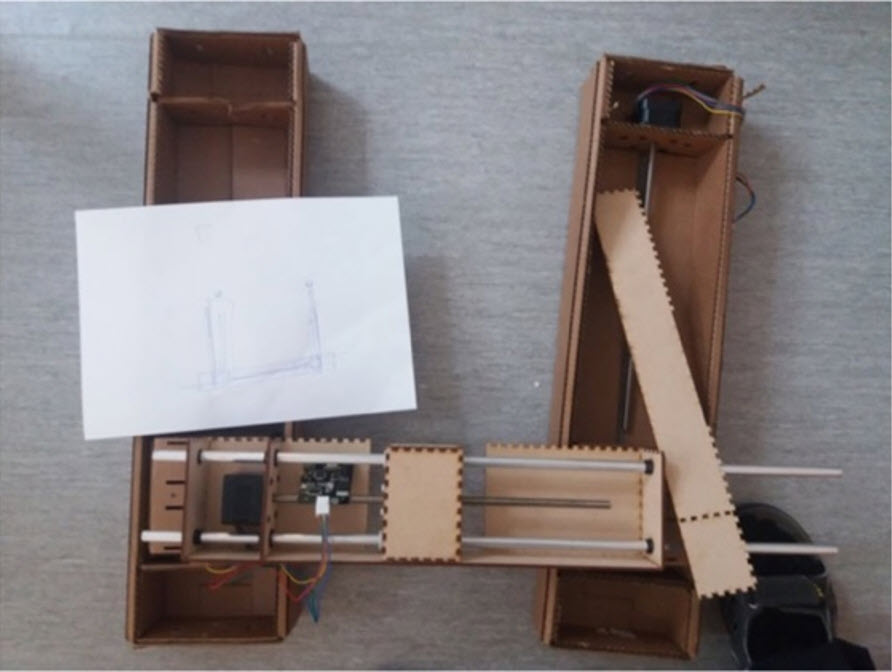
After the Tabbed Boxes were made and the files got ready, the next step was to Laser cut, the other group members were given the responsiblity to take over and process to the next stage.
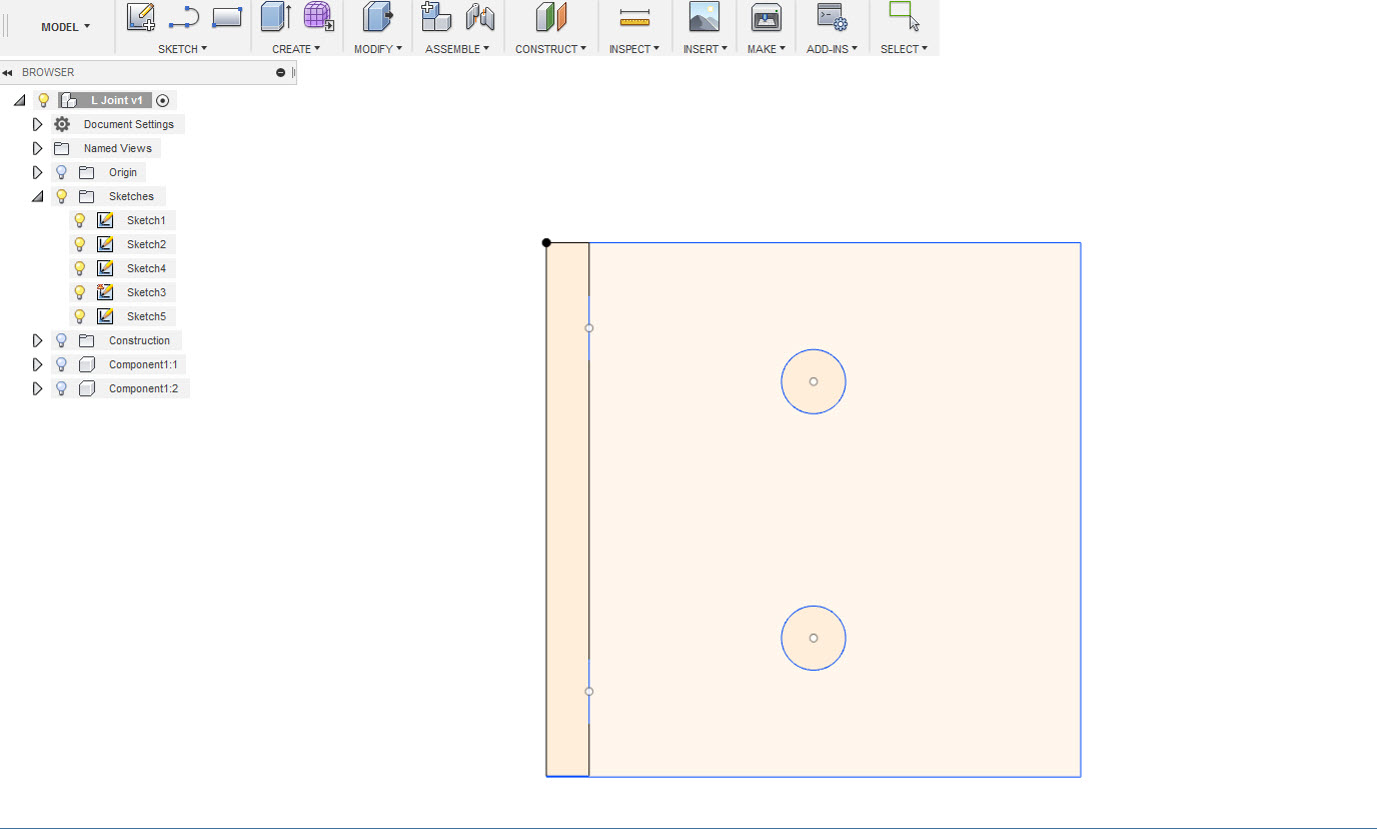
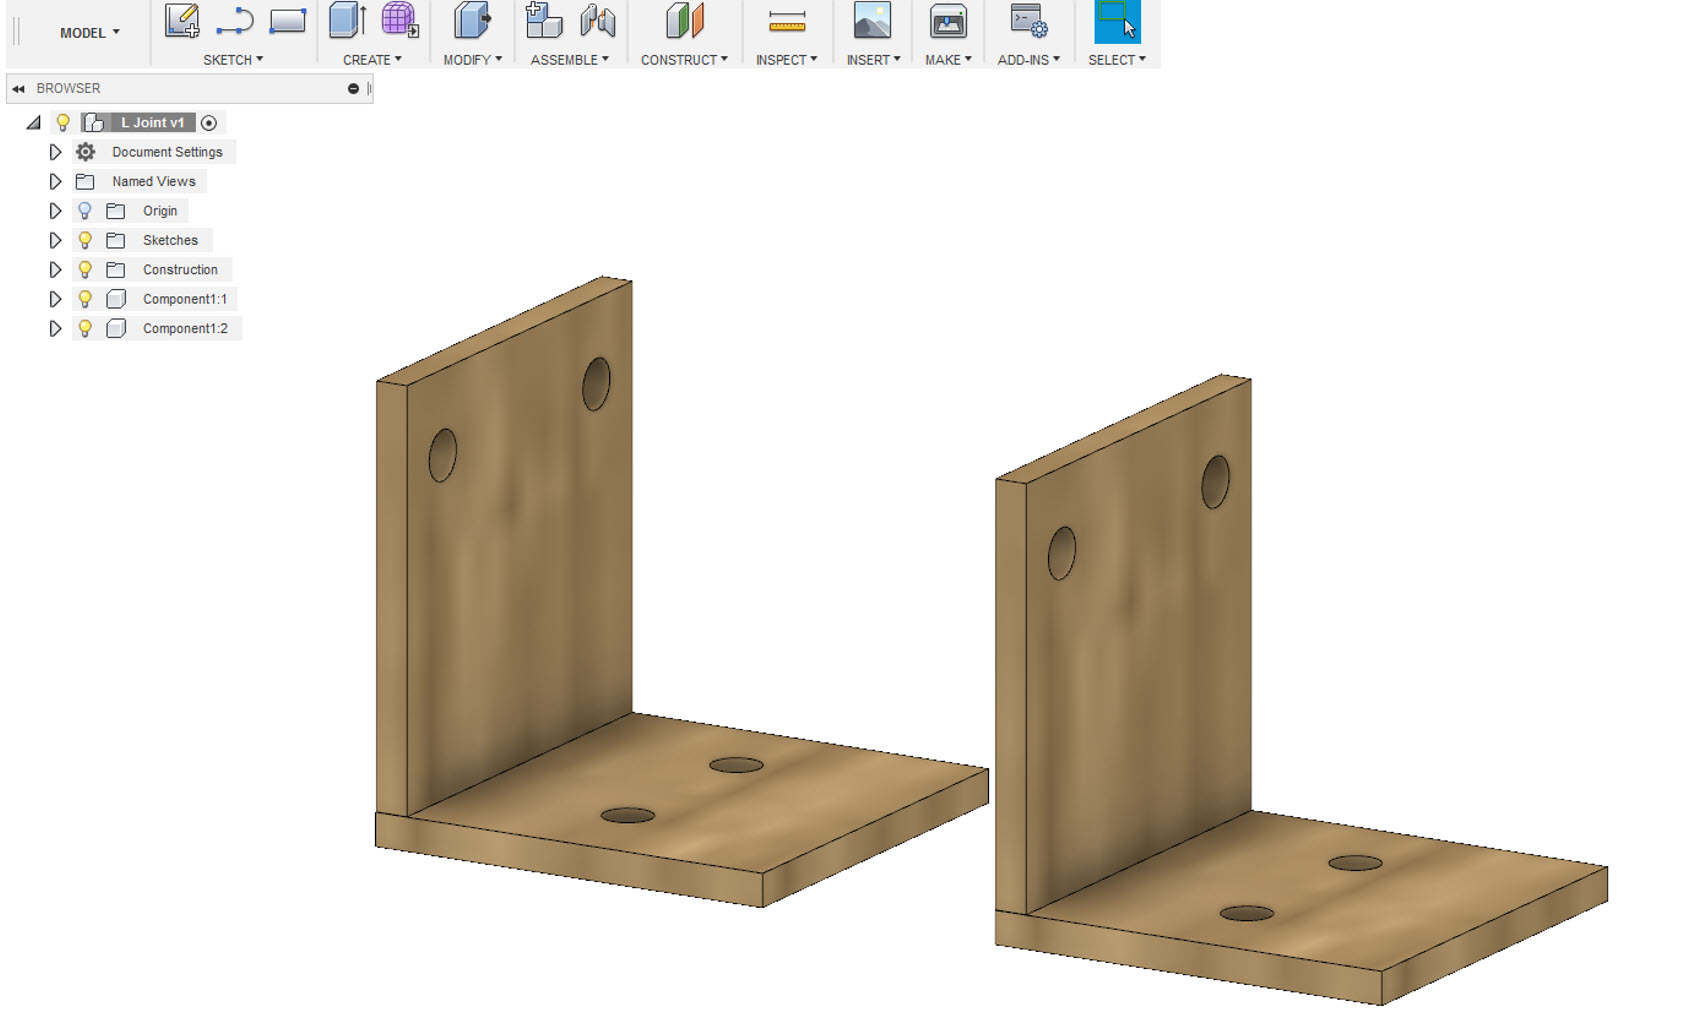
Technical Problem: Fixing Y-Axis on top of the two X-Axis
Well inorder to fix the Y-Axis, we decided to fix the Y-Axis on top of the X-Axis with a screw or glue but that doesn't seemed to be a good idea thereby inorder to fix this problem I decided to 3D Design and Print an L joint which shall be used to fix the Y Axis on top of the X-Axis.

Resources Utilized
- I utilized these resources for this task:
- Autodesk Fusion 360, for 3D Modelling
- Inkspace, for 2D Modelling