Week 10. Molding and Casting
Go to:
1. Group work
|
|
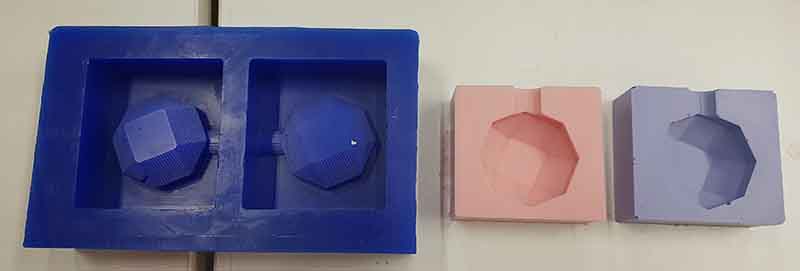
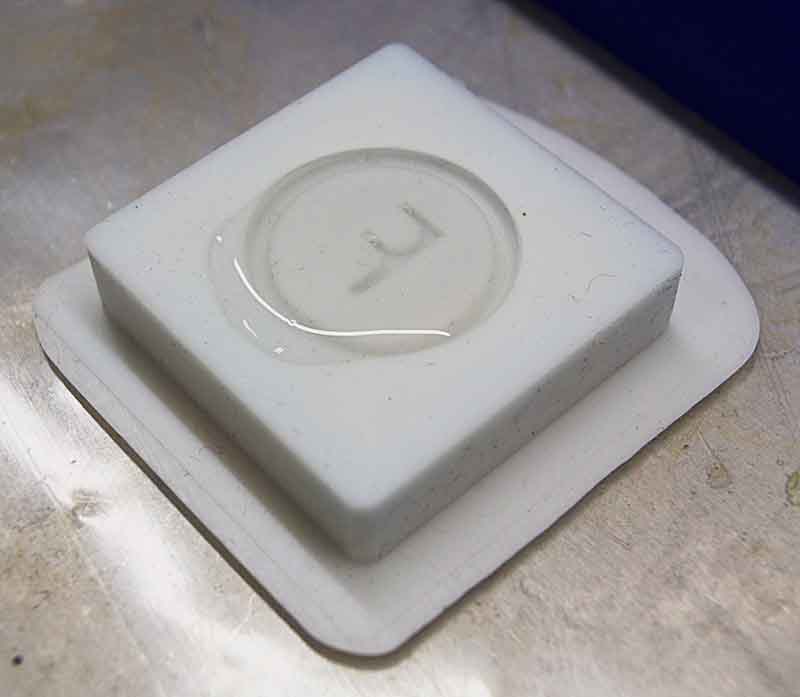
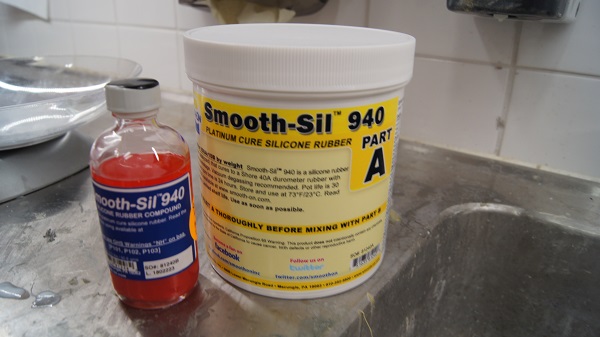
For the group part of work we tried a few different materials for molding and casting. We used positive and negative molds left from previous years. For molding we tried two similar materials Oomoo 30 and Smooth-Sil 940.
Safety [safety datasheets: Oomoo 30, Smooth-Sil]
- Use in a properly ventilated area
- Wear safety glasses
- Long sleeves and rubber gloves
- Vinyl gloves only. Latex gloves will inhibit the cure of the rubber
Making the negative mold from a positive mold
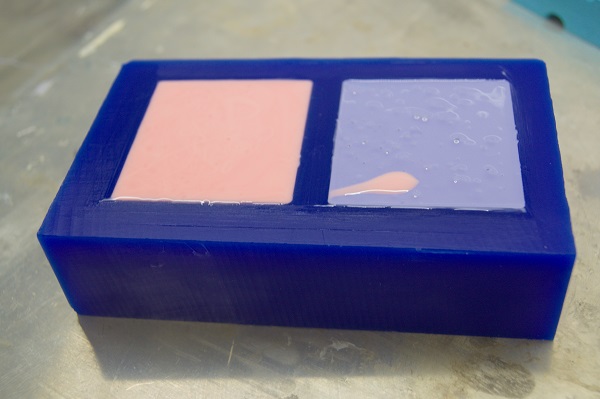
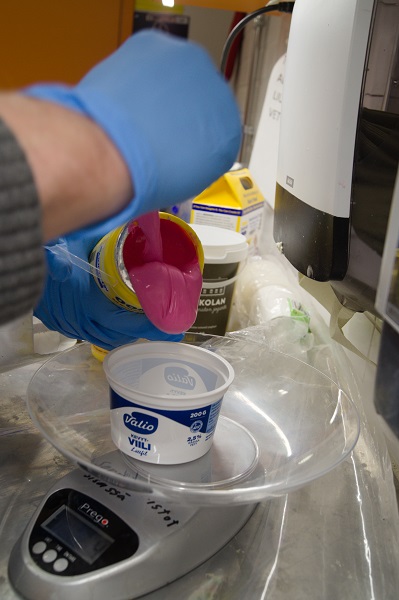
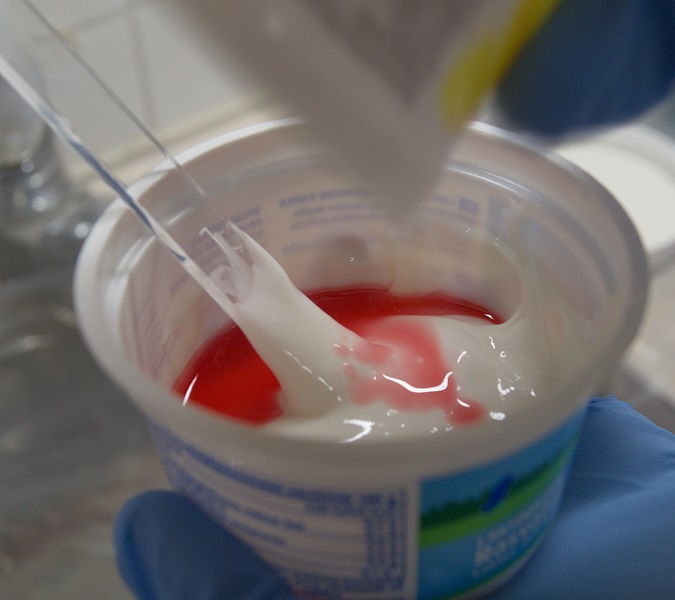
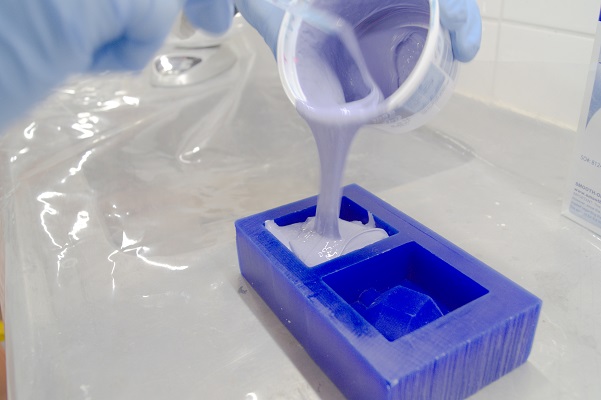
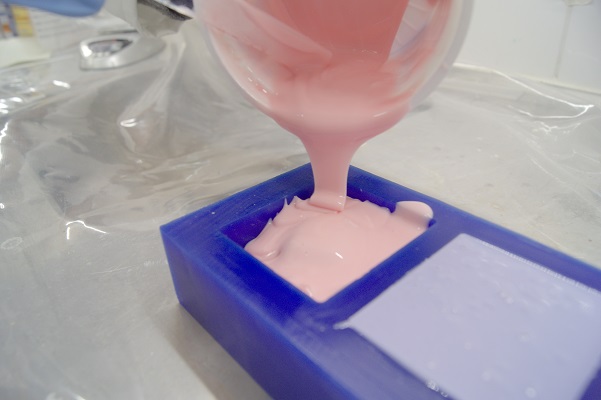
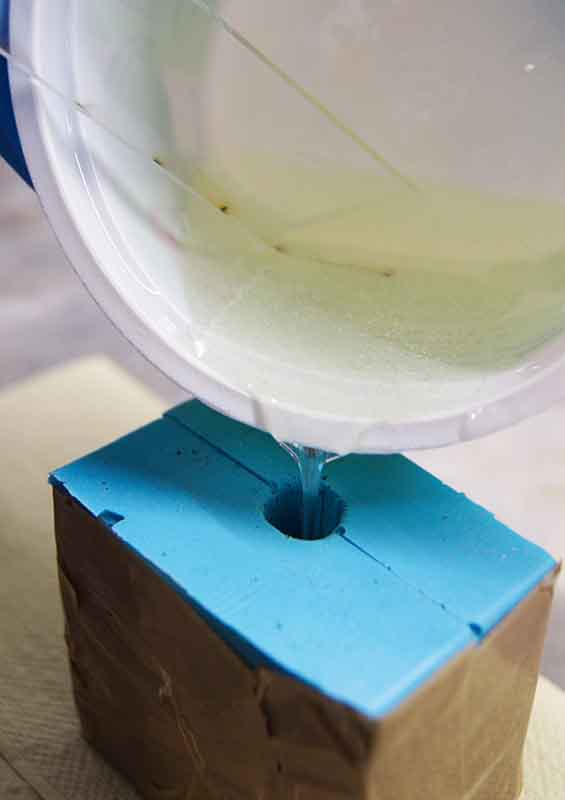
We used a positive mold made last year by Mikko Toivonen. It is a positive mold designed to make a two-part negative mold. So, one part we made from Oomoo 30 and another one with Smooth-Sil 940. Both, Oomoo 30 and Smooth-Sil 940, consist of two parts (A and B). So the first step is to mix components in a correct proportion. We had not any nice cups to measure out parts by volume, but we had scales to do it by weight. We made about 120 grams of Oomoo30 but about 40 left after we pured it into the mold. So when we were mixing Smooth-Sil we made about 85 grams and it was a perfect volume.
|
|
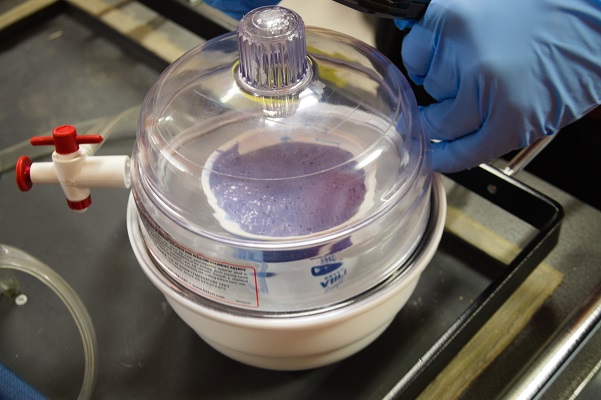
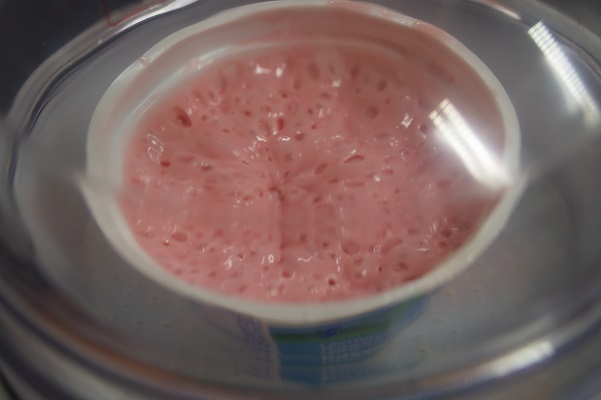
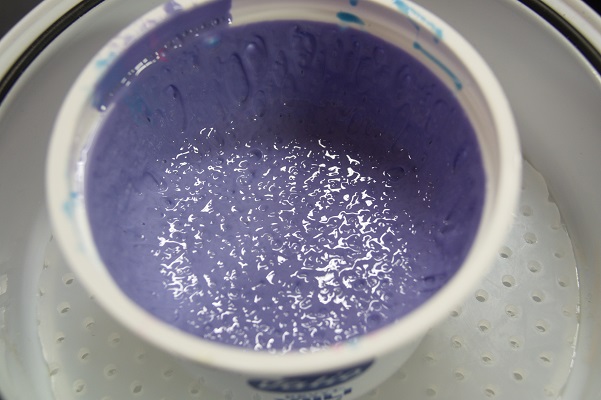
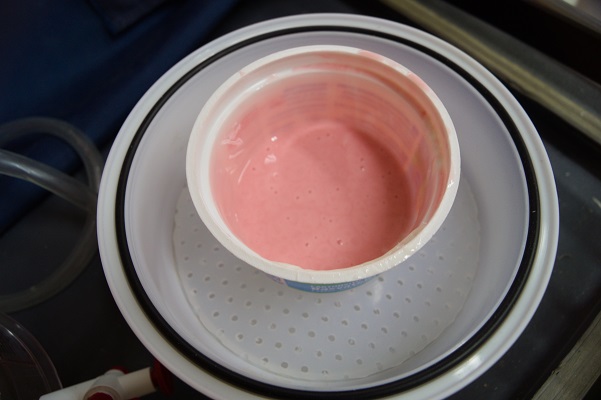
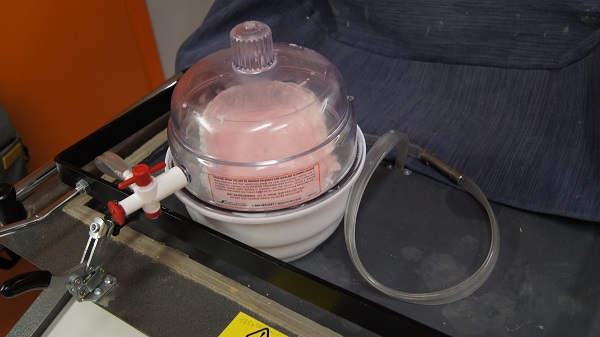
Then comes the vacuum chamber for 3-4 minutes to pull out air bubbles. At the beginning of this process the material goes up = air goes out, and in the end it starts to go down = almost no air inside. (after mixing Oomo 30 has violet color and Smooth-Sil is pink)
|
|
|
|
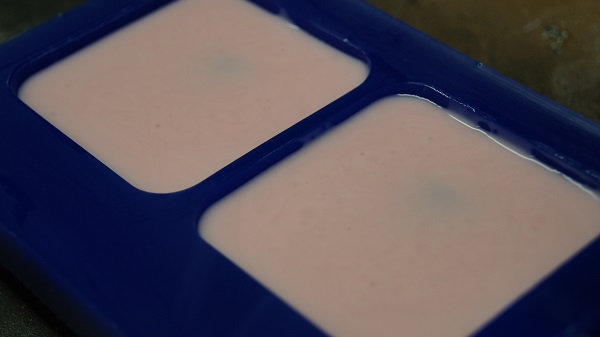
Then we gently poured materials into the mold. The pot life time for both materials is 30 min.
'
|
|
Casting
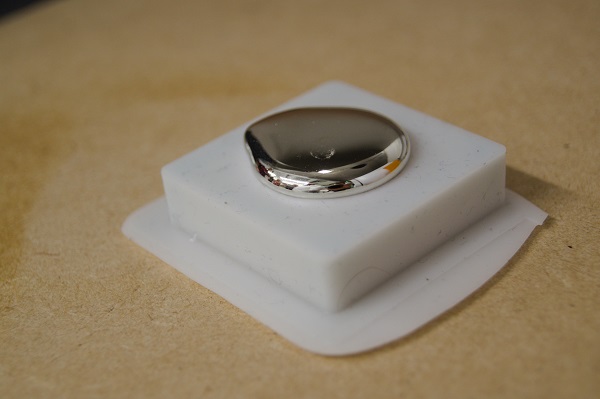
We used Smooth-Cast 300 to make a couple of test parts. We used open mold, and a couple of two part molds from the previous year (thanks to Mikko and Kati). The Pot life of this material is only 3 minutes. But it does not require vacuuming. Cure time is 10 min. Proportion to mix by weight is 100A:90B.


Fullmetal Fail
2. Model
For the individual assignment I designed a constant-width object. I took the idea from this video, Maker's Muse youtube channel. In the video you can find more about the shape and how to draw it in Fusion360.
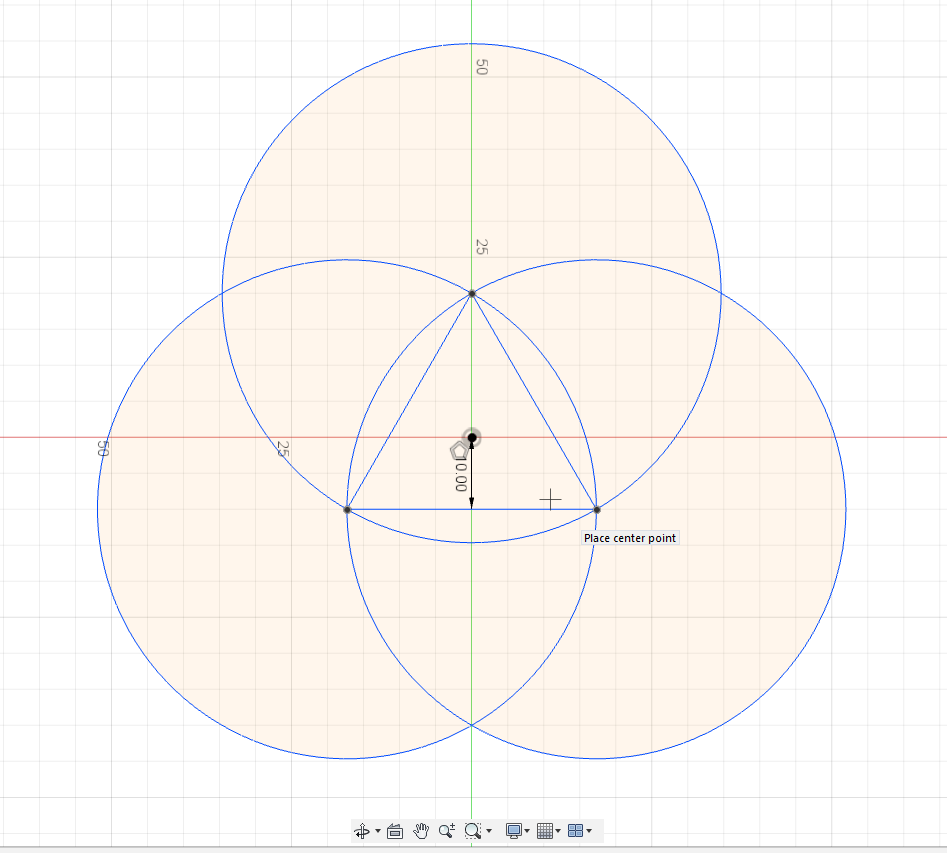
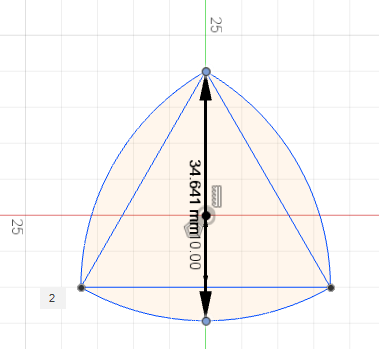
The shape
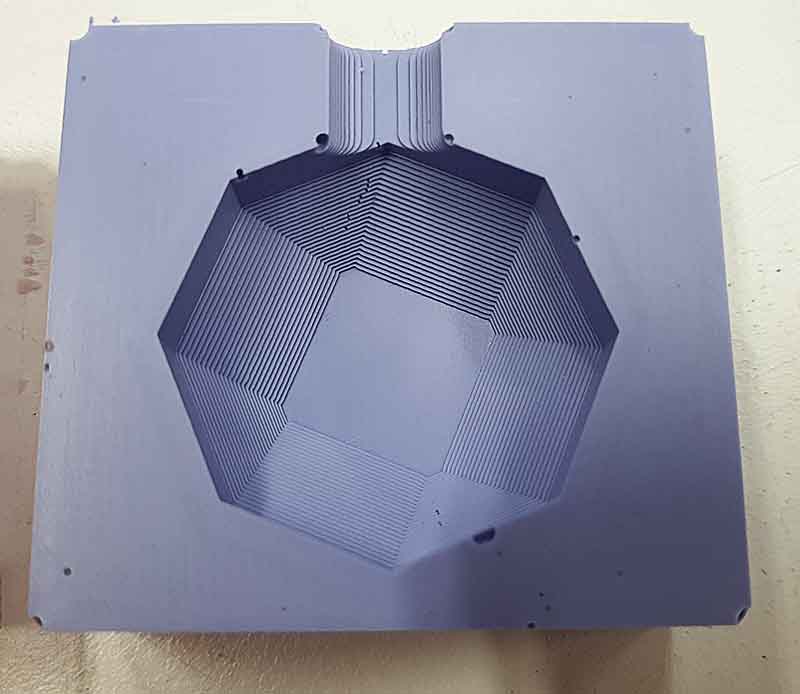
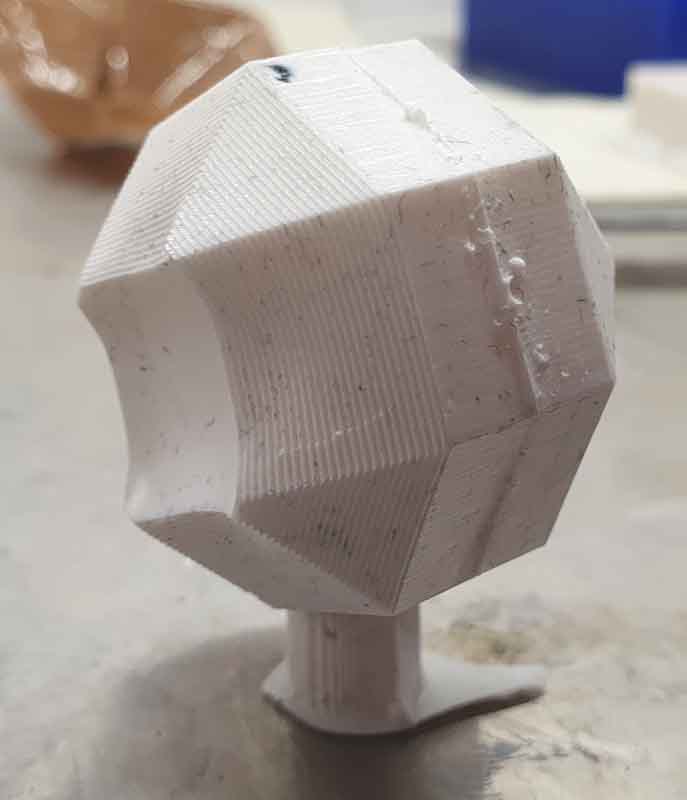
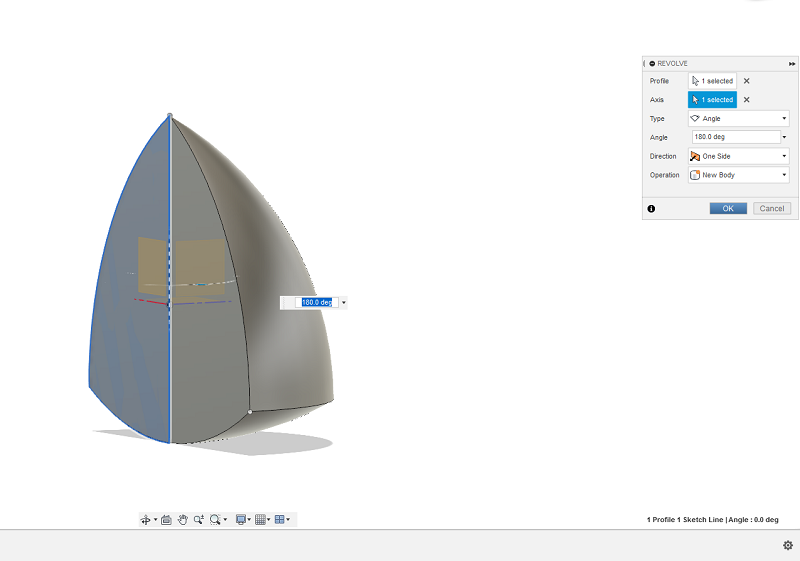
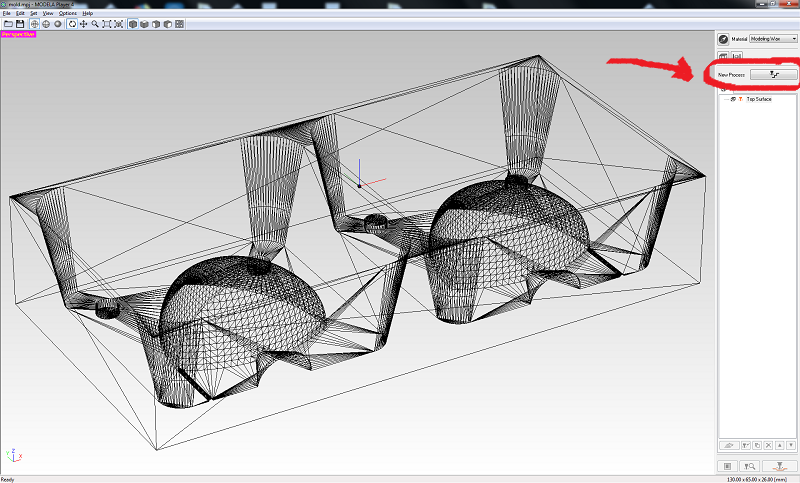
3. Positive mold
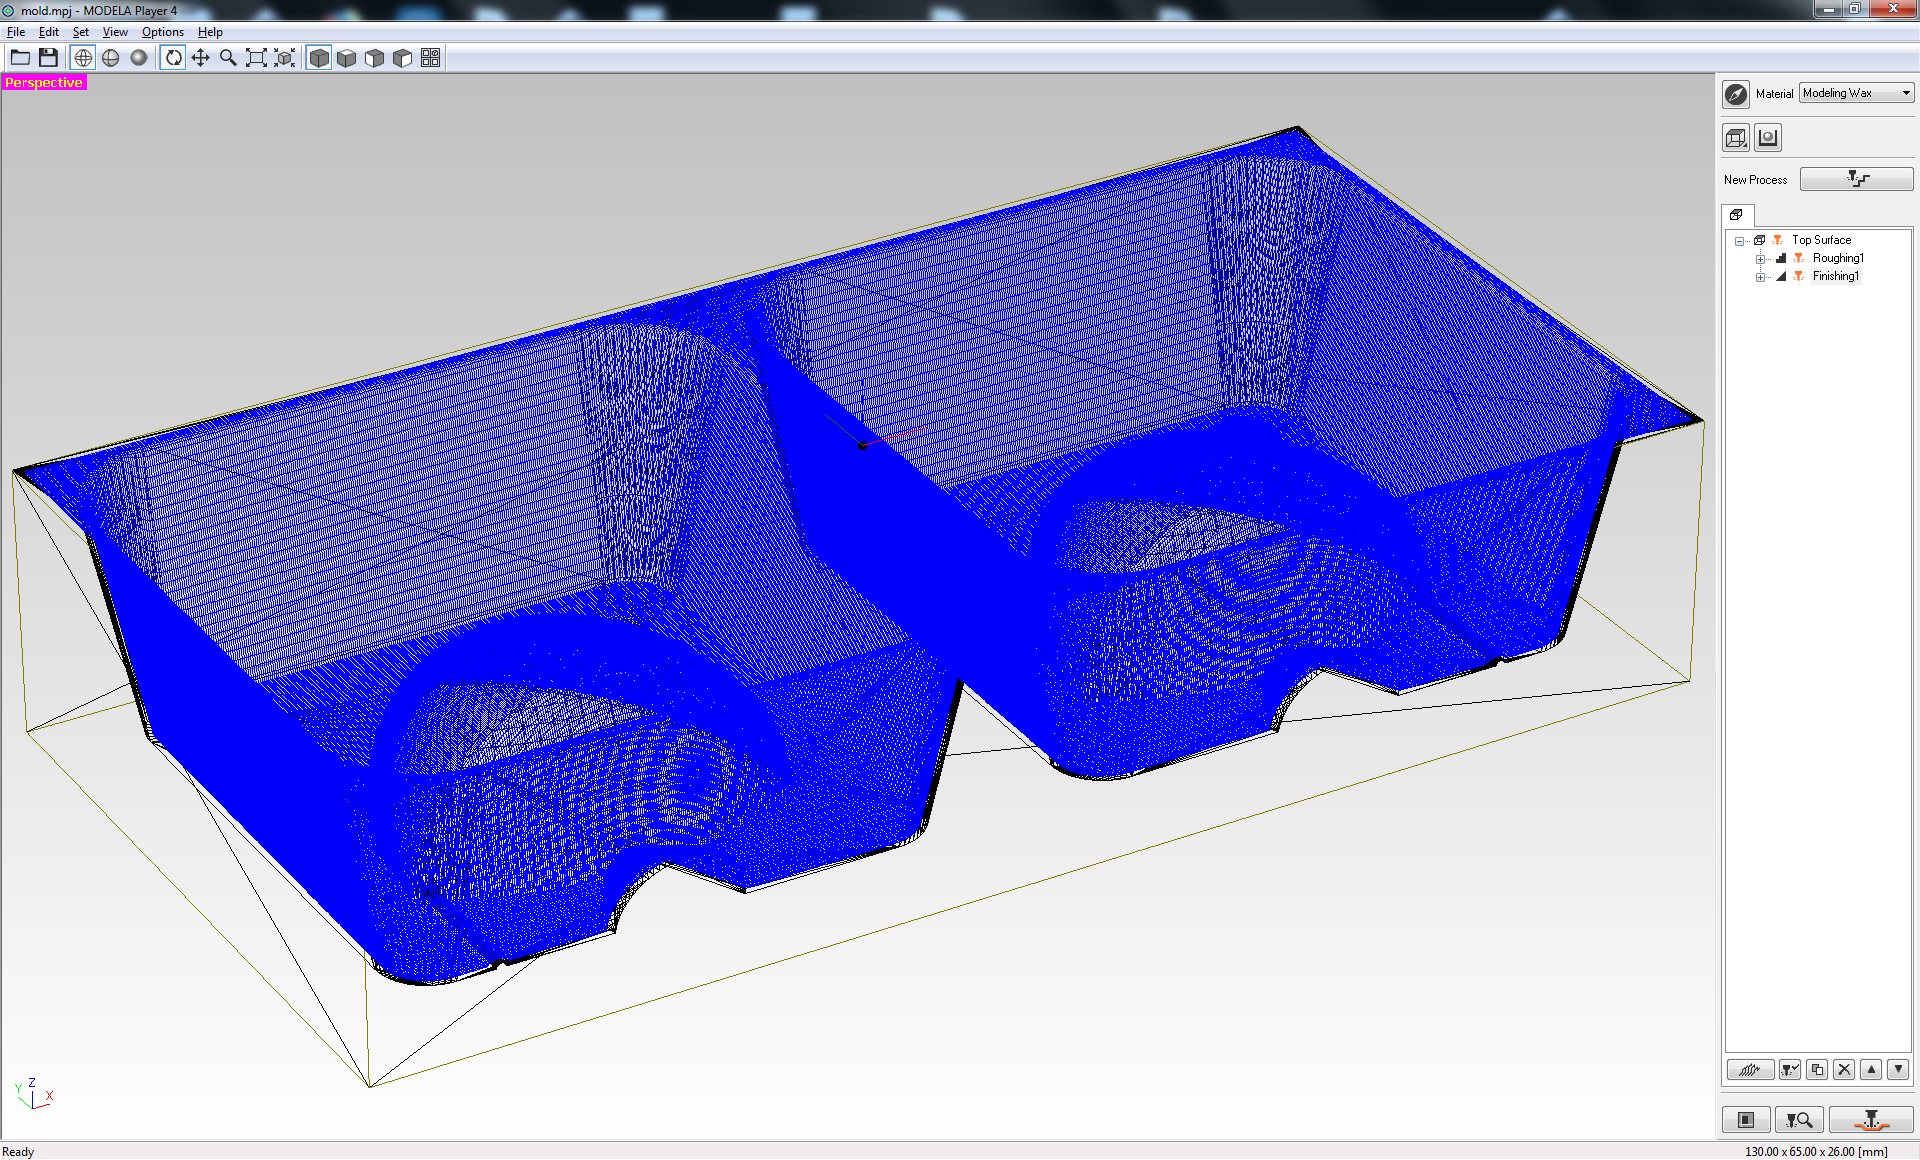
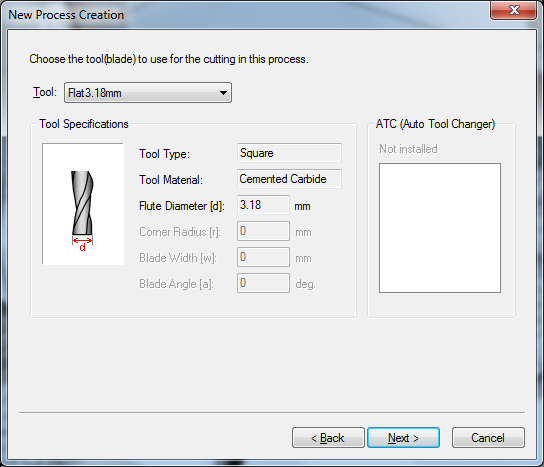
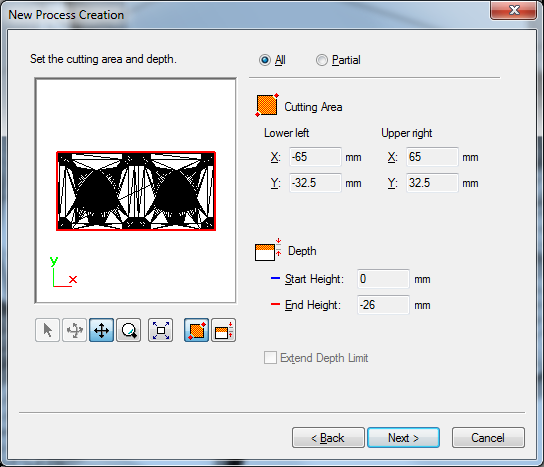
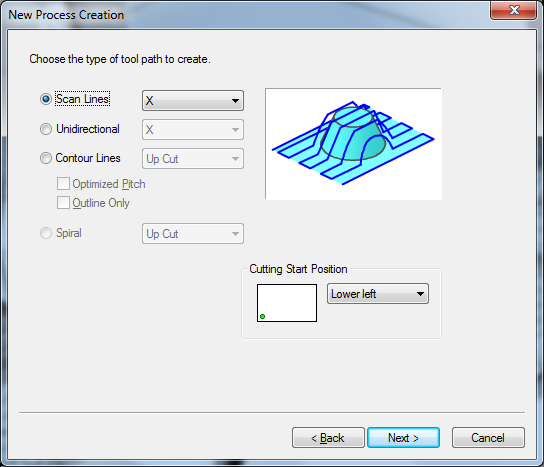
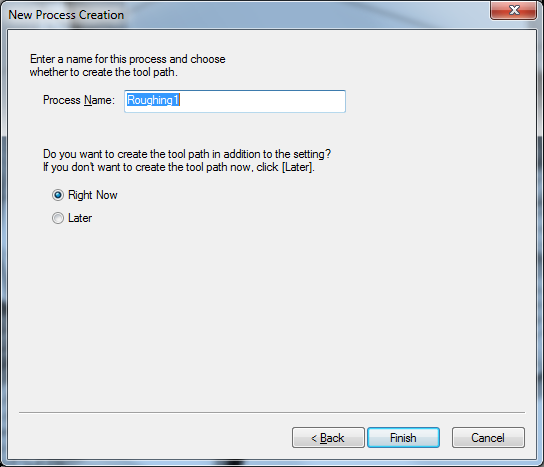
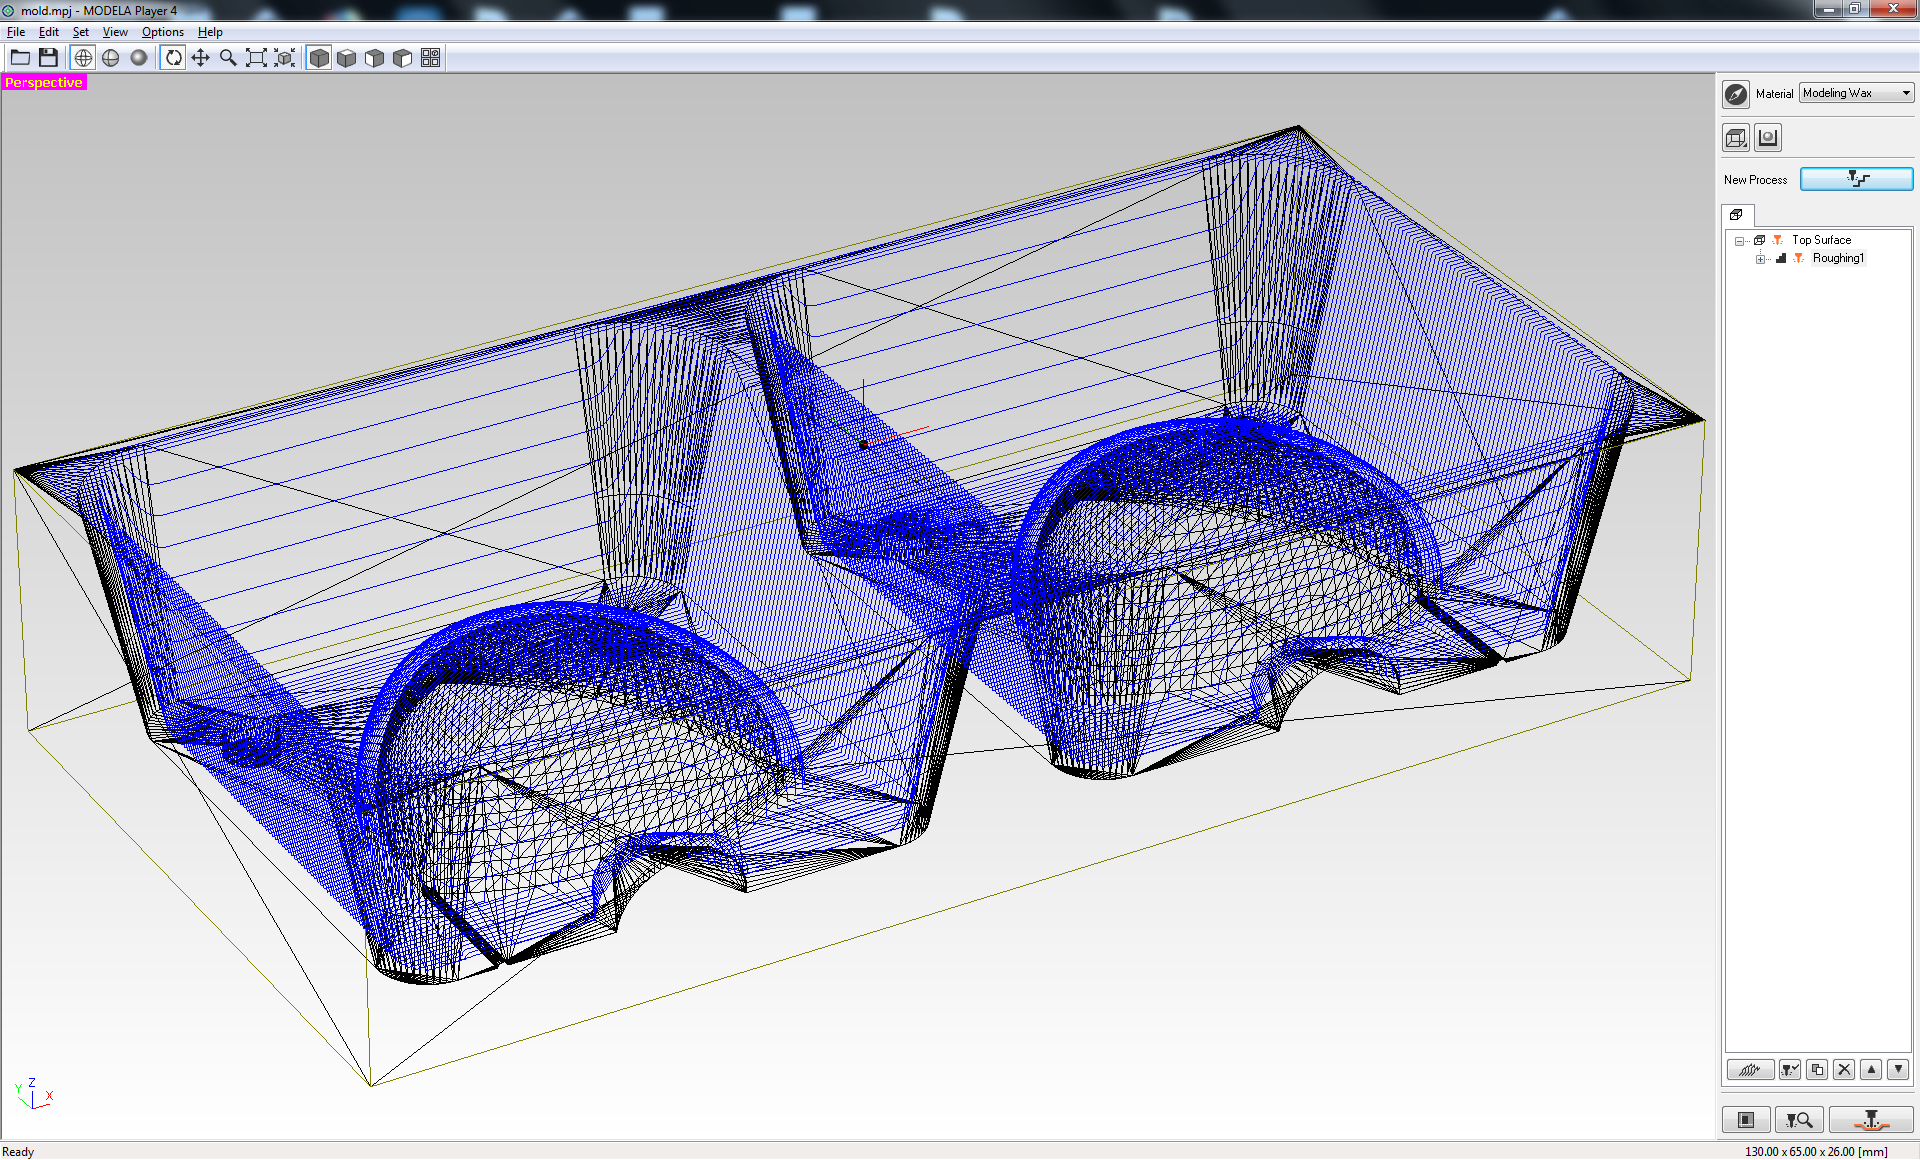
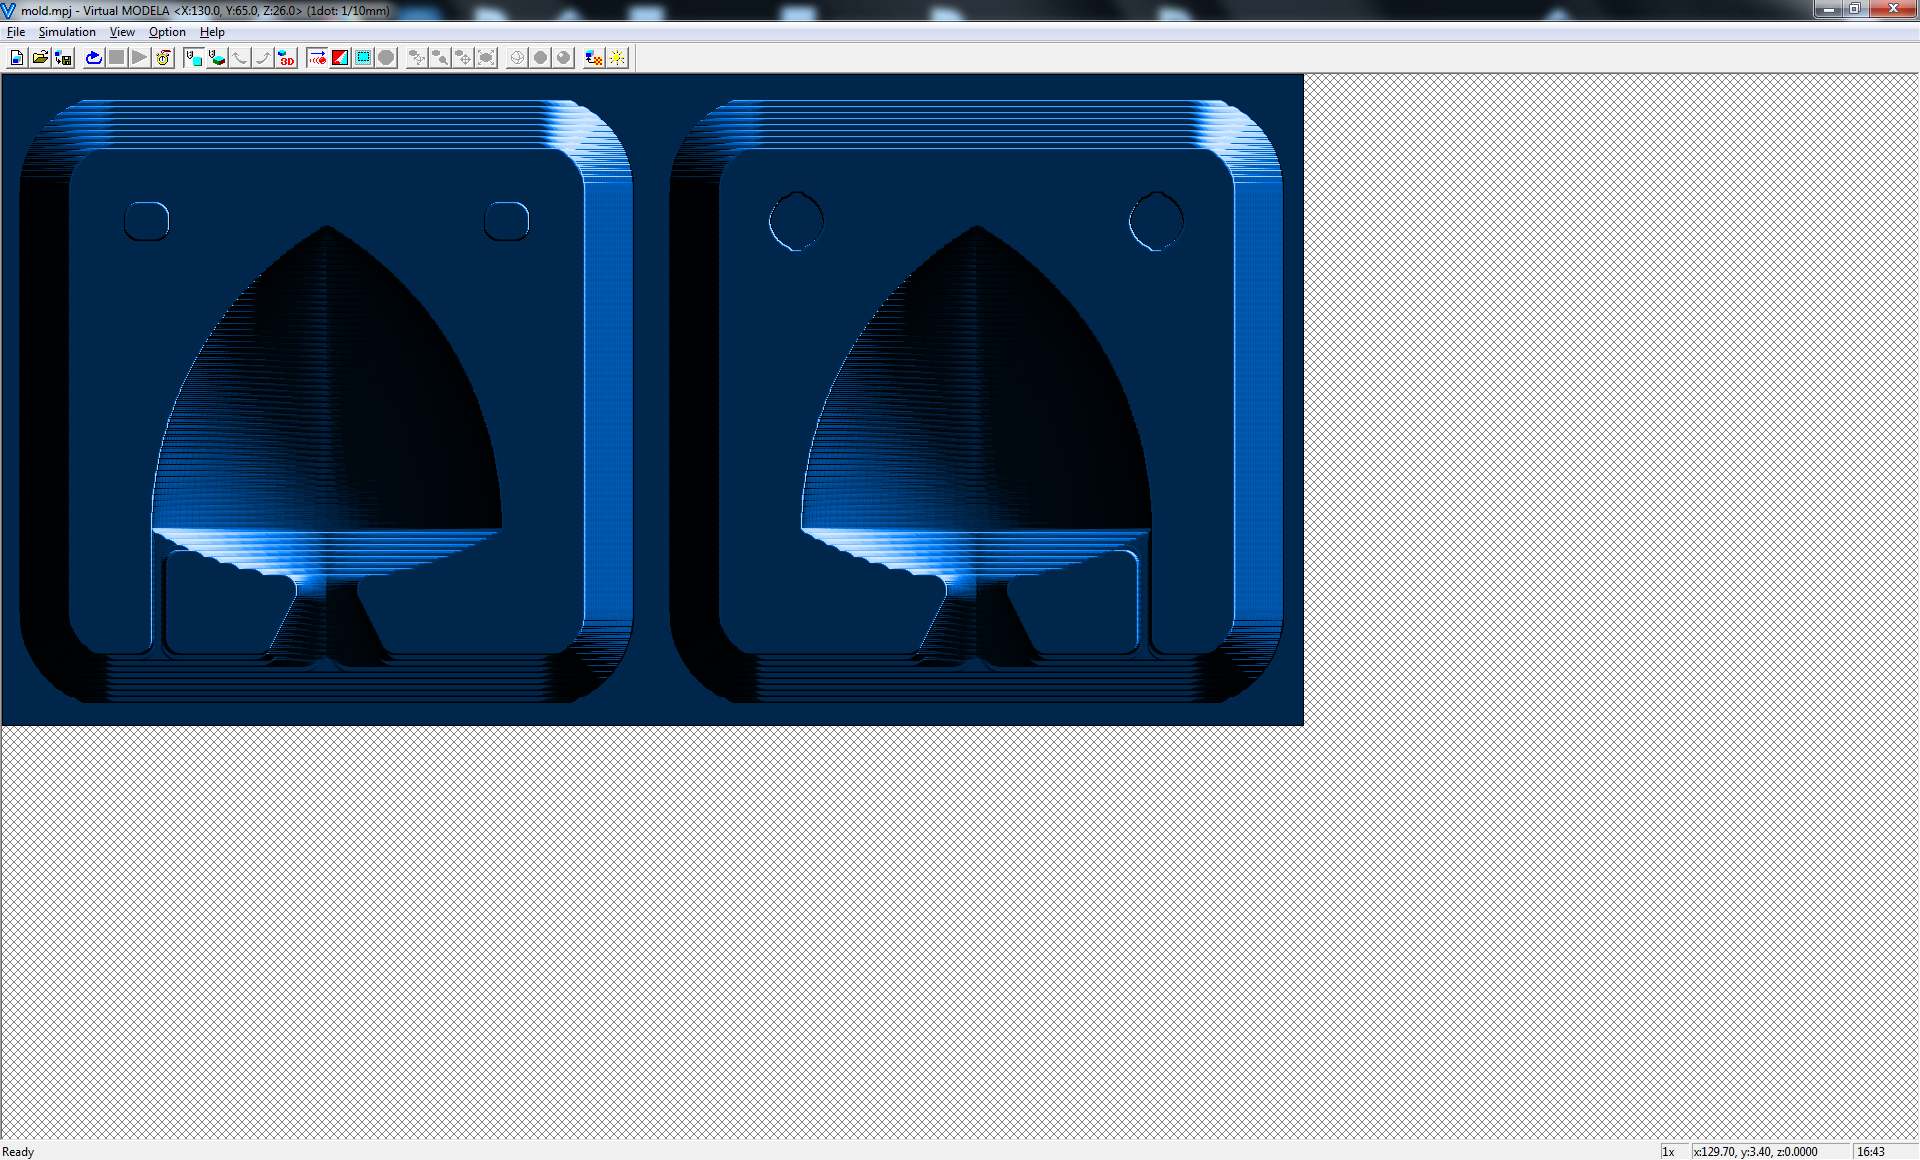

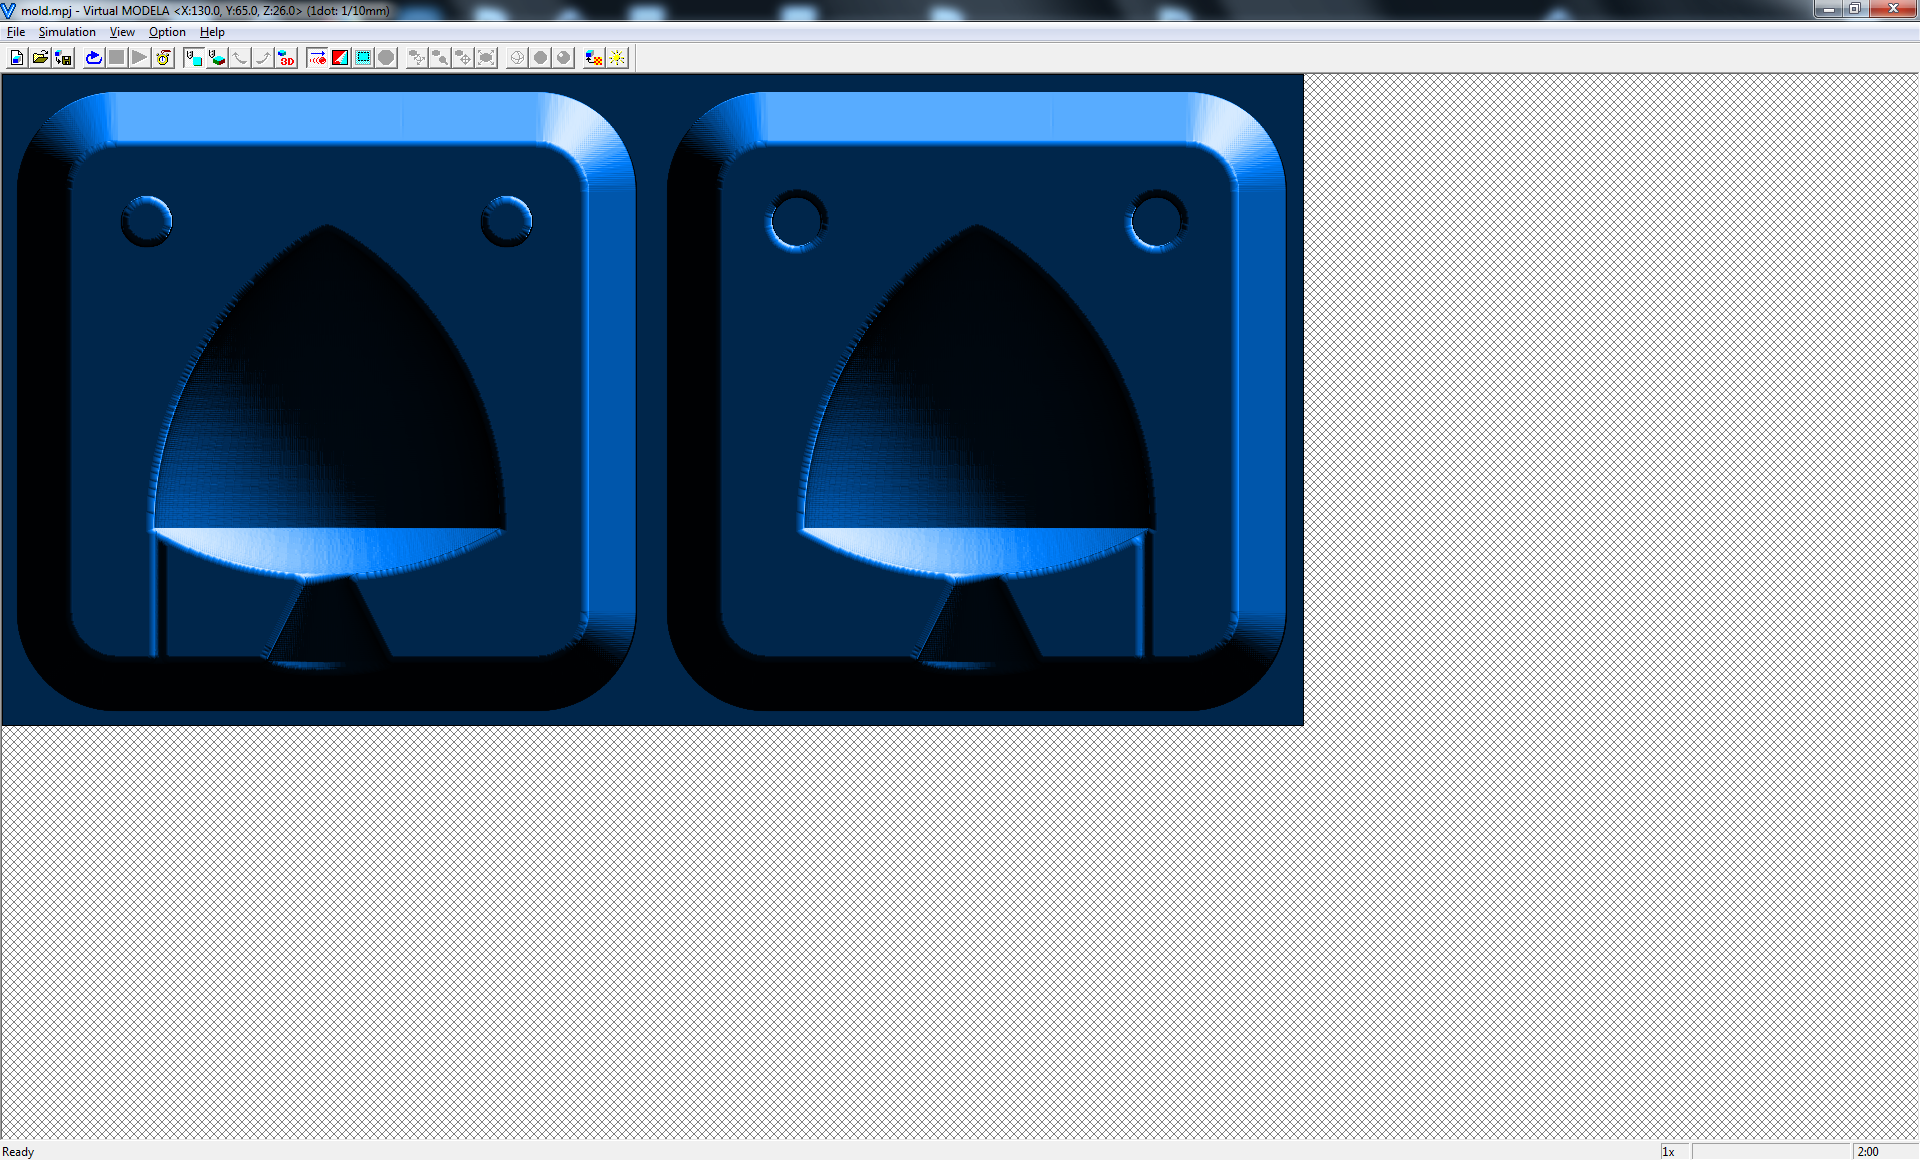
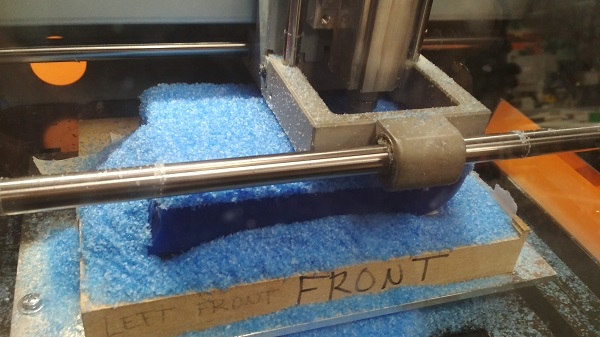
The whole milling process took about 3.5 hours for me. You can run the milling process directly from Modela Player, but I would say, that it is better to save .prn file for both processes and run them fom V-panel.
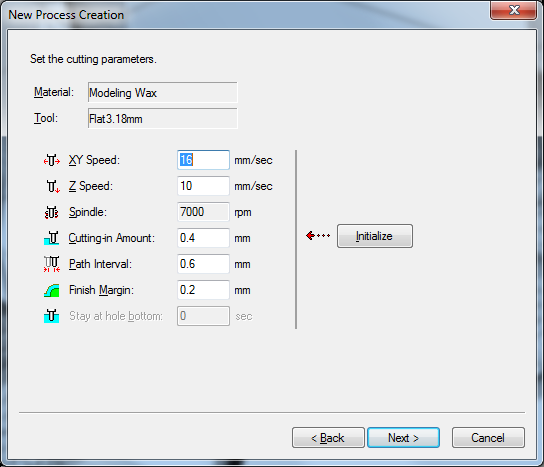
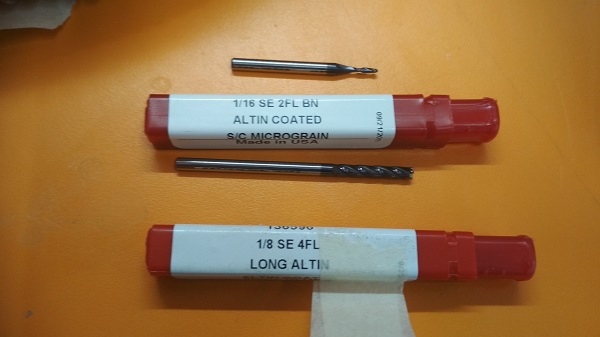
To secure the wax stock in the machine I put masking tape on the bottom of the brick and on the building plane in the machine. Then, using hot glue gun, I secured the wax stock inside. This system worked better then doublesided tape we used before. Using V-panel I set zero X,Y,Z. And started the milling process. For the milling I used 1/8 SE 4FL for roughing and 1/16 SE 2FL BN — for finising.
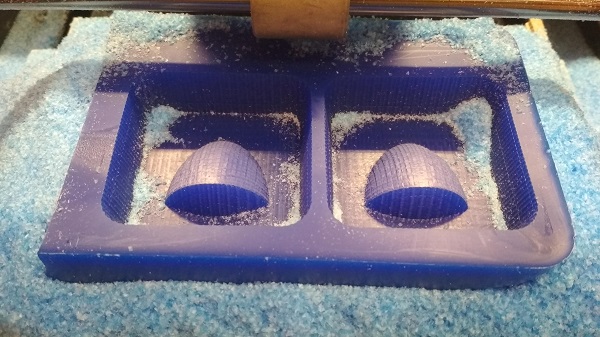
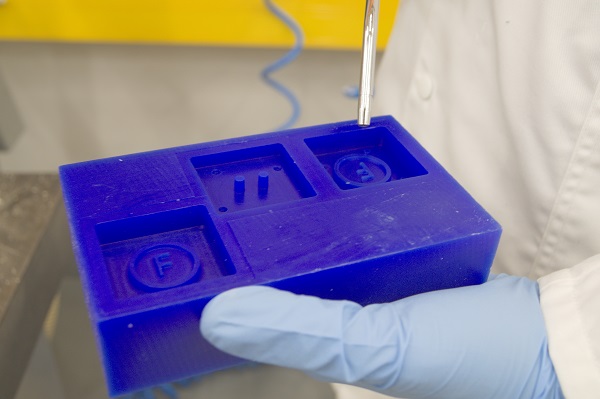
After milling the mold, I looked at my pouring and air shafts, and, it seemed to me, that they are too narrow. For the silicone mold it shouldn't be a big problem. I think, if there will be any problems I'll just make them bigger with a modeling knife.
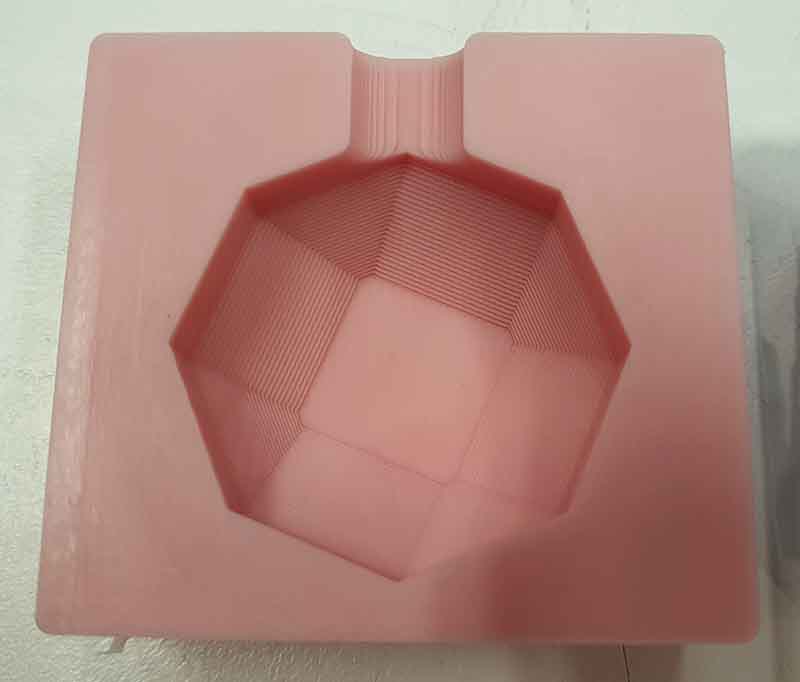
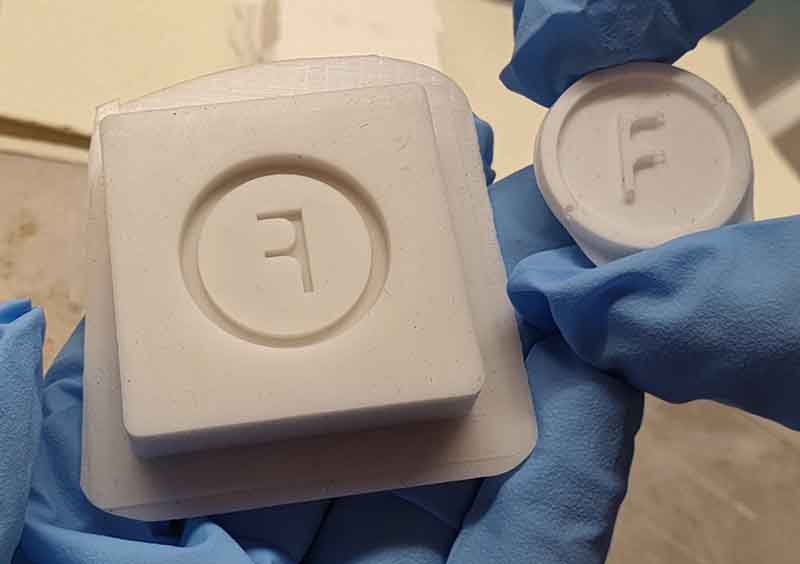
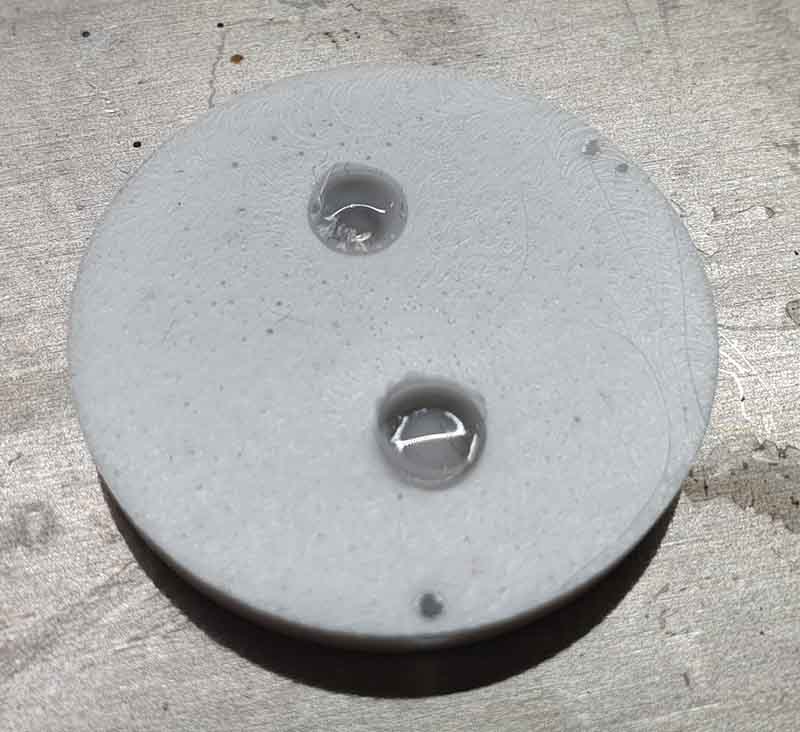
4. Negative Mold
From my wax mold I decided to make a food-safe silicone mold from Smooth-Sil 940. To make it food safe you need to cure it for 24 hours.
As in the group work part, I mixed the components by weight: 100A:10B. I estimated that I need about 180 g for my mold. I took 160 g of component A and 16 g of component B. Here I made a mistake, which spoiled a little bit the result. We had an old pack and a new pack. From the old pack about 40 g of component A left. So I used them and the rest I took from the new pack. I think that it was a bad Idea. But I'll come back to it later.
So I mixed the components (160A:16B), put them in the vacuum chamber for a few minutes and poured the mix to the mold.
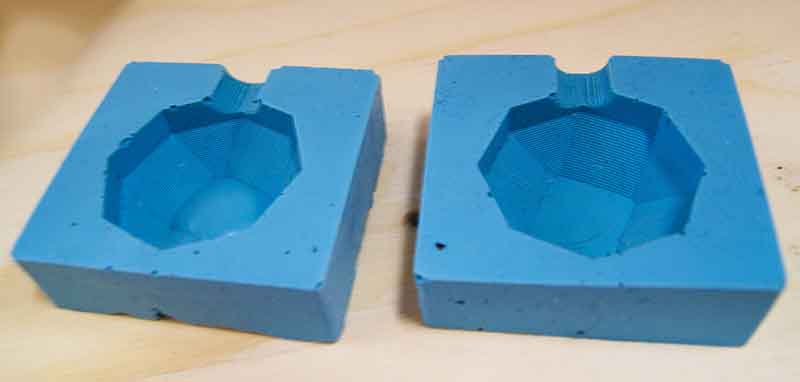
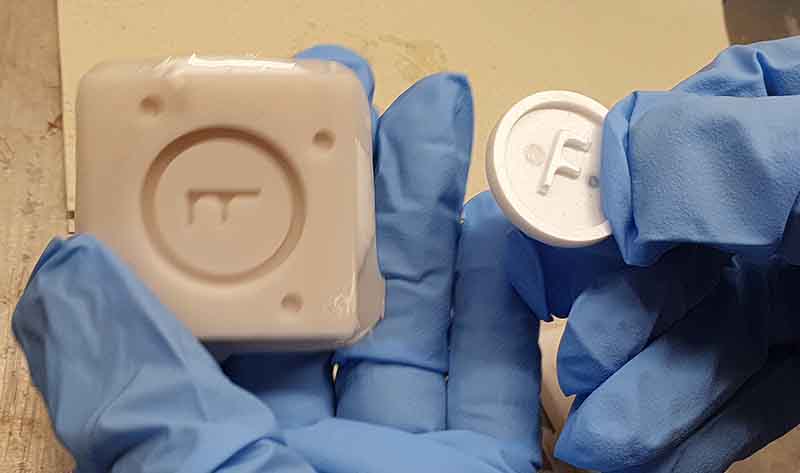
24 hours later...
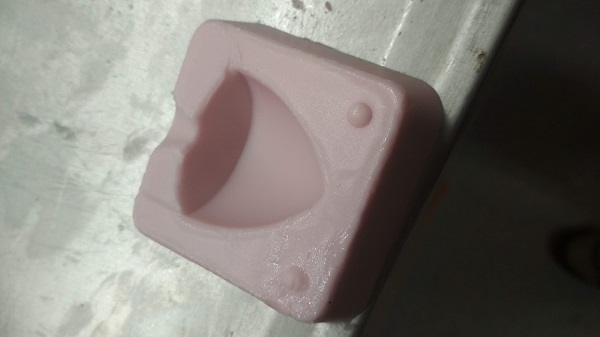
I took one of the parts off rom the mold and at the very edges it still was not cured. I put it back and left in the mold for another night. But the damage was done and one of the parts has some imperfections now.
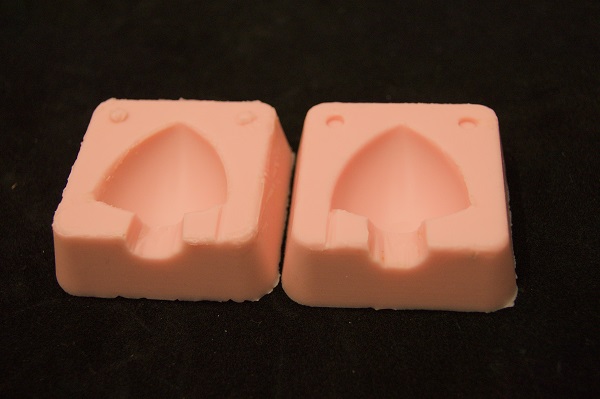
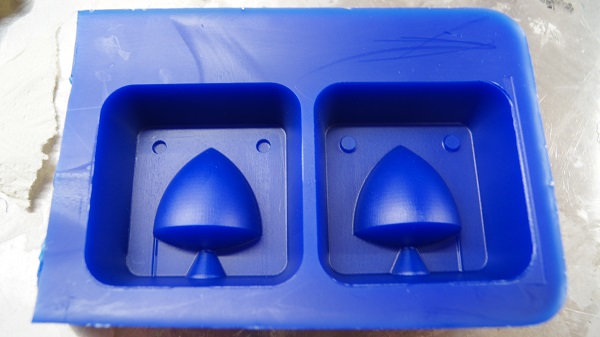
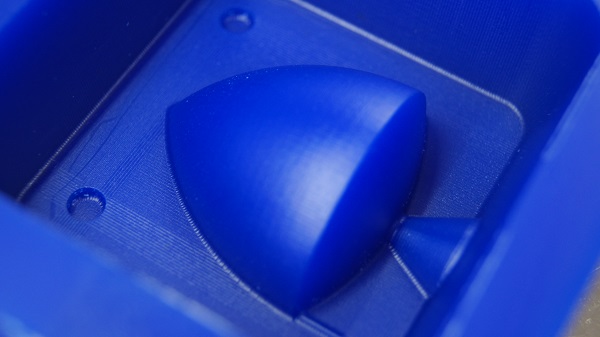
So, 36 hours later my silicone mold was ready. I left it in the oven on 60°C (140°F) to make it a little bit harder, cut the shafts a little bit bigger, and the mold was ready to pour something inside. Here I saw the second mistake I made: instead of two pins it is better to have a slot on every side of the mold for better alignment.
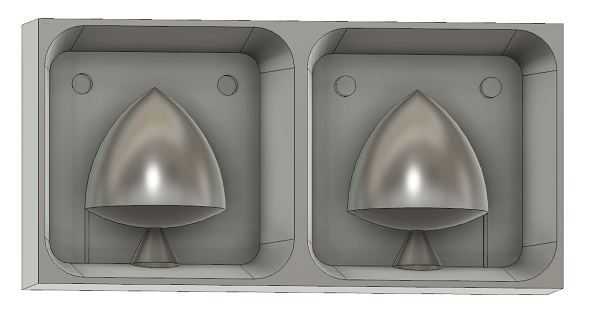
5. Casting
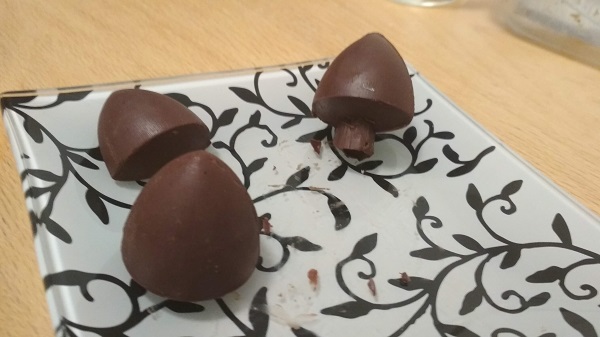
I had a dark chocolate bar, silicone mold and a kitchen just for me (my wife went for a research visit to France, so I could do whatever I wanted to). And I wanted a chocolate in constant width shape.
To melt the chocolate I put it my hiking cup with chocolate in a pot with water. So the chocolate won't hit up more then 99°C.
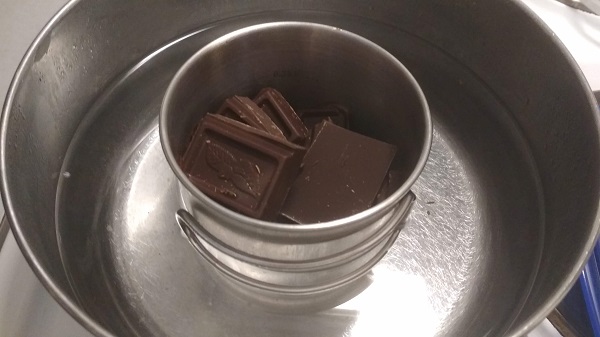
I secured two parts of the mold with a few rubber bands and poured the chocolate inside. To make the curing process faster I put the mold with chocolate in the freezer. And repeated the process until I got bored (lucky, that it happened in the end of the chocolate bar).
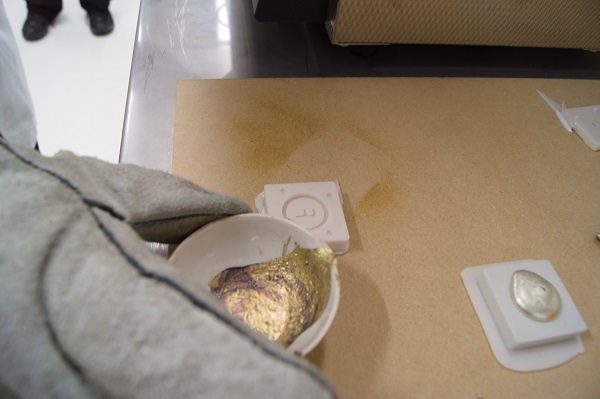
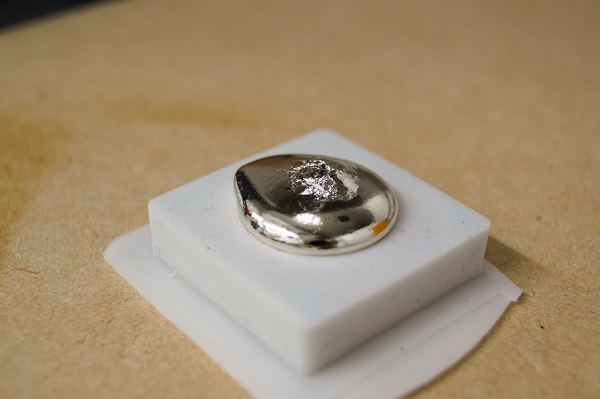
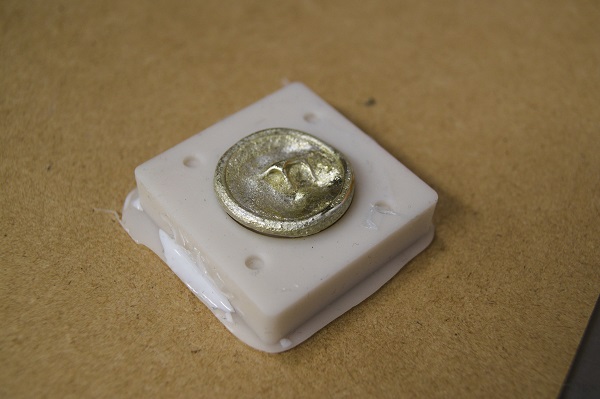
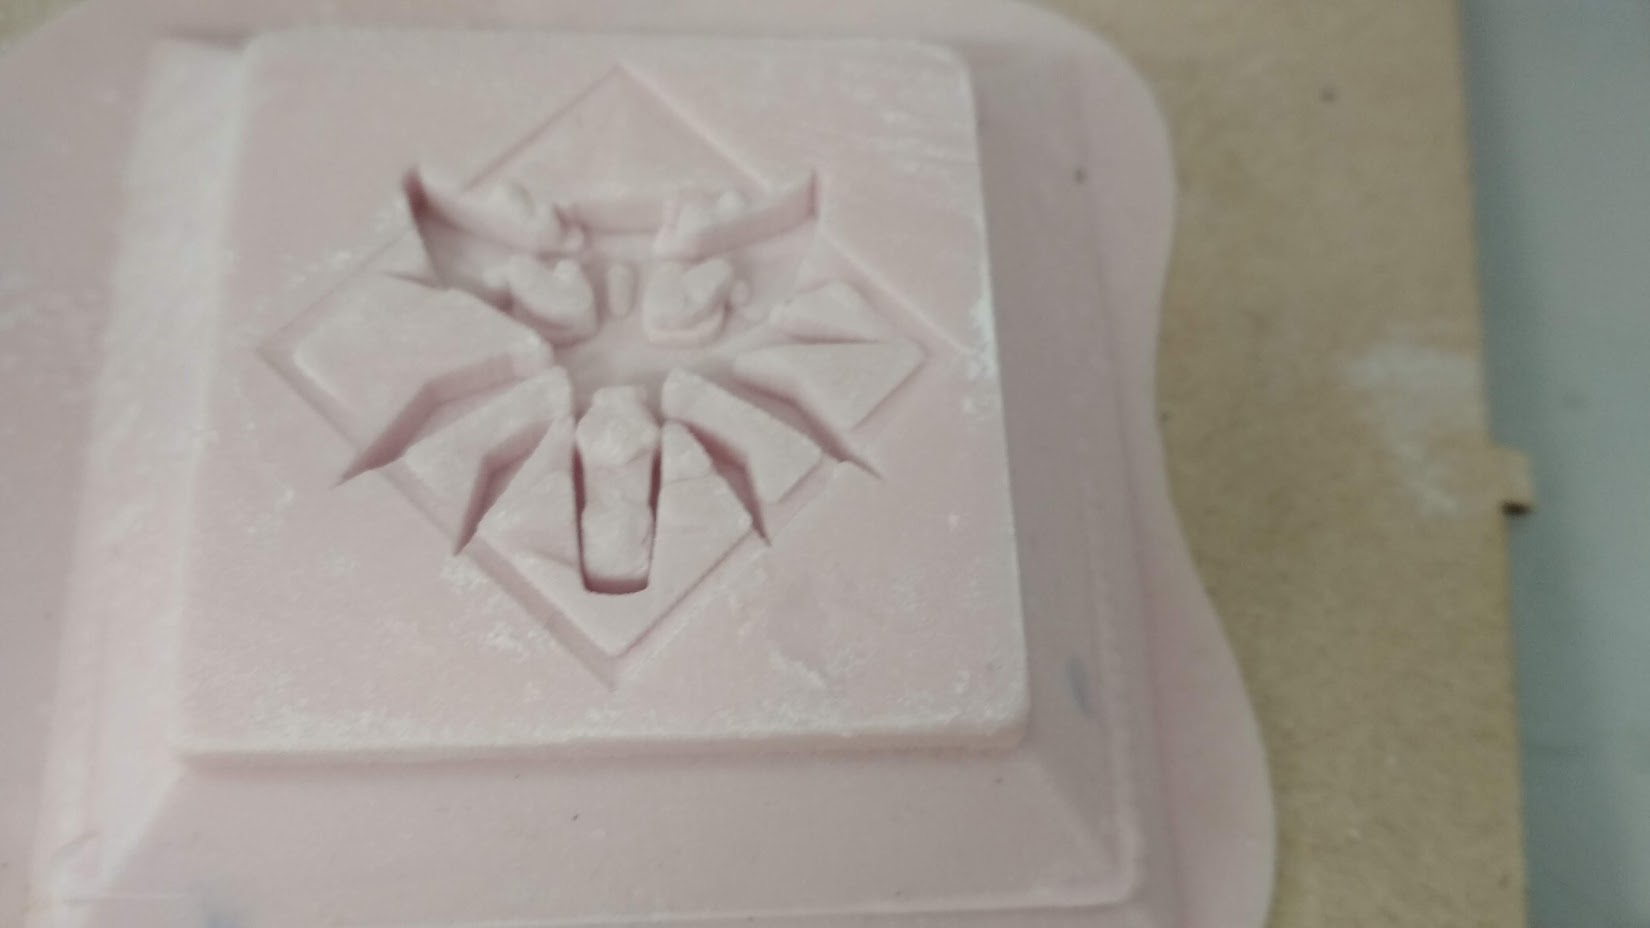
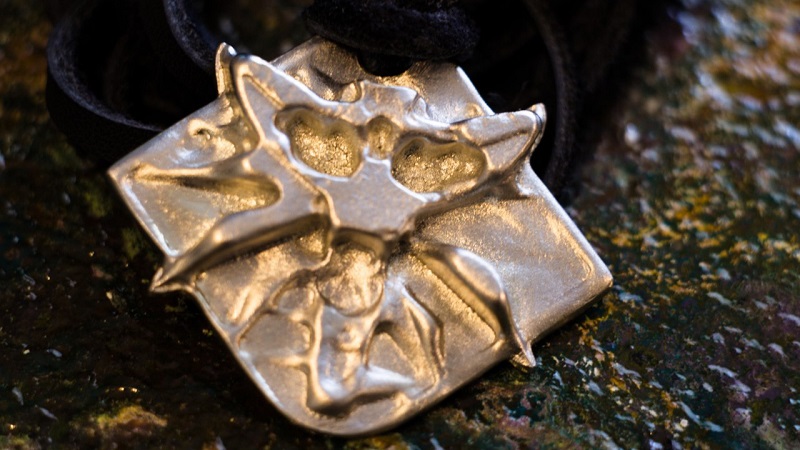
Metal casting
Lucas made a very nice mold this week. And with our local FabLab tutor Ari we casted a very nice medalion in metal. Wax and silicone molds are designed and made by Lucas. I participated in the casting process and I processed it after.
6. The Results of the week
- I was going to use this weeks assignment to cast parts for my final project, but this is not going to happen. I need to make a ring 60 sm in diameter. Now it looks like it is easier to assemble it from 3D printed parts
- Casting is a very amusing process. Hope to make some jewelry one day.
- Smooth-Sil 940 is an amazing material!
- Trying to figure out how to mill a mold for a complicated shape was a total waste of time.
- LEDs for my final project are somewhere in Helsinki