Week 16: Wildcard Week
Composite
A composite material is made by combining two or more materials. I have done some large-scale wood lamination for making furniture and sculpture before. I enjoyed the process a lot, but the process felt very unaccessable on a small scale. I want to use this week as an opportunity to do something similar, but on a small scale.


In order to make a composite material, these materials are needed:
●Material for combining: materials that absorbs liquid such as cheesecloth and burlap are often used in Fab Academy, since resin is often used as the adhesive to combine the materials together
●Adhesive: I will be using a transparent resin we have at the Fab Lab; in the future, I am also interested in using a startch-based adhesive, which is the base for making bioplastic. This way I can make the composite material entirely organic and toxic-free (some resins in their uncured liquid-form are quite nasty to work with).
●Material for combining: materials that absorbs liquid such as cheesecloth and burlap are often used in Fab Academy, since resin is often used as the adhesive to combine the materials together
●Mould for laying the resin-soaked-material to cure
●Vacuum bag for extruding air out of material while curing
●Mould release
Making Test Coupons
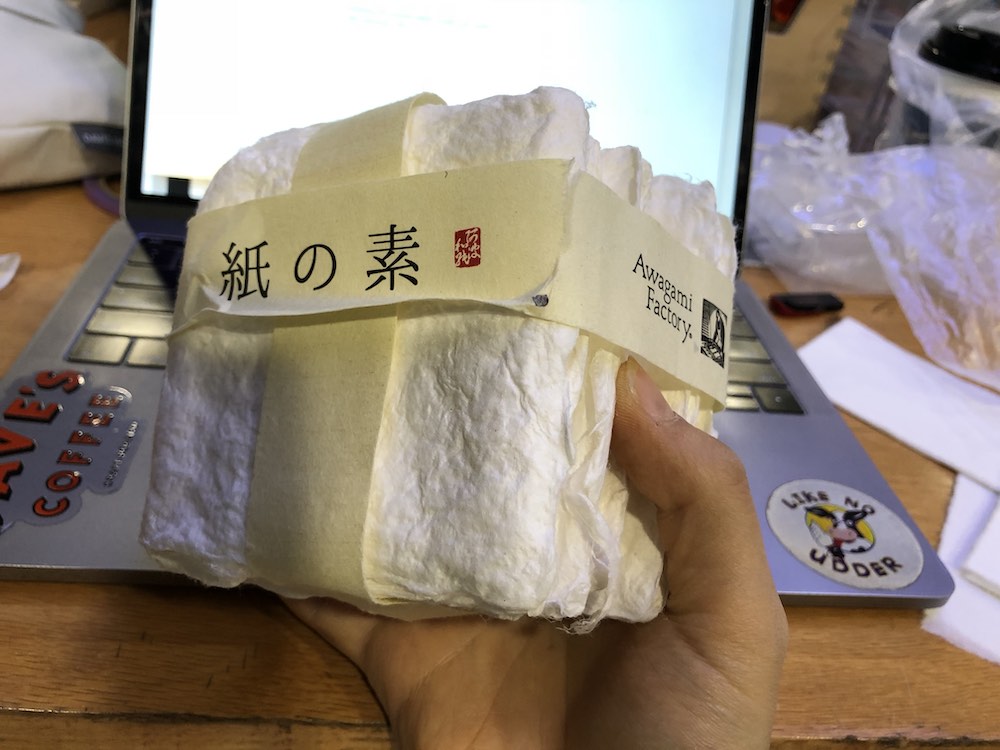
My goal for this week is to make a composite material out of Japanese paper. Similar to a loose woven material like cheesecloth, it takes liquid quite well and remains stiff. My hypothesis is that Japanese paper (the ones I have are about 100-110g per sheet) would take resin well.
To begin with, I made test coupons with three materials - cheesecloth, Japanese paper, paper pulp (for making kozo paper) - to understand the process and material properties.


NOTE on turning dried Kozo into paper pulp: link to Youtube video HERE
Helpful links to past student's composite week project: Jun Kawahara, Victoria Retana
Here is the result from the test:
| Material | Note |
|---|---|
Two-layer of Cheesecloth 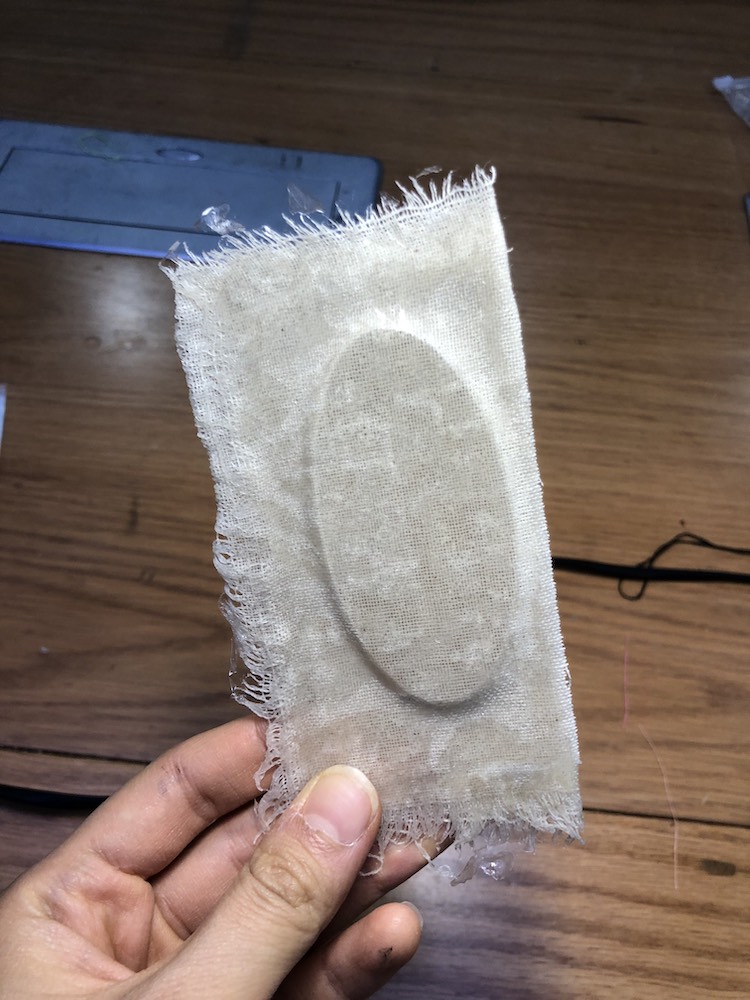
| came off from the mould nicely; very stiff given it was only two layers |
Two-layer of Japanese paper 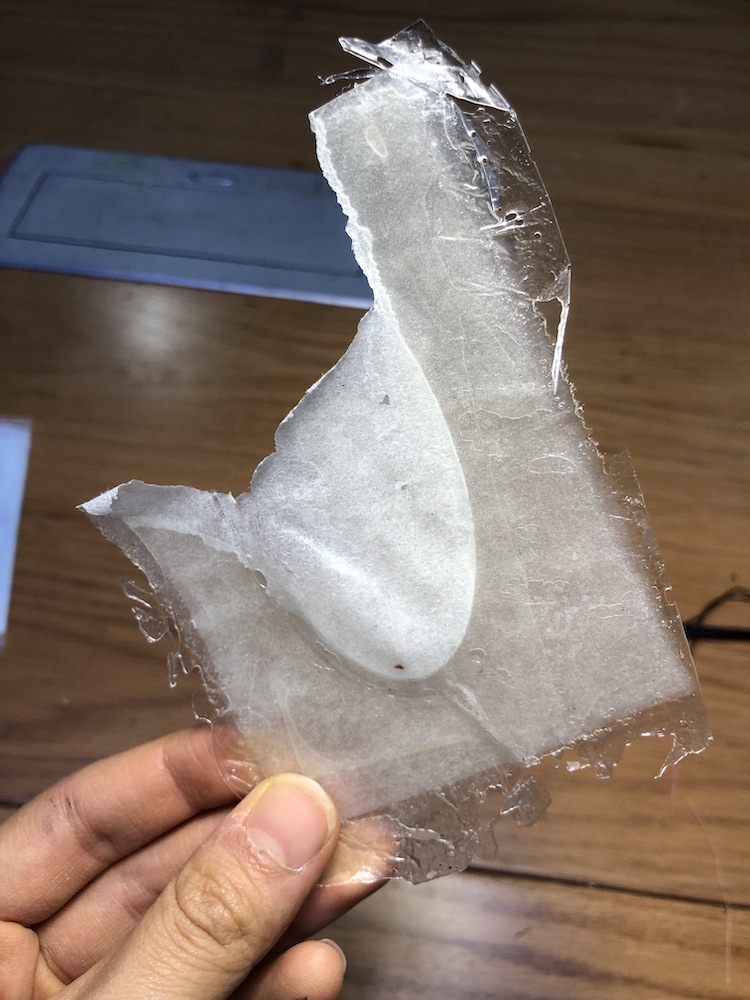
| came off graping onto the mould, which peeled one part off; vaseline should be used instead of the rubber mould release at the lab; stiff; fine |
Kozo mixed in water and resin 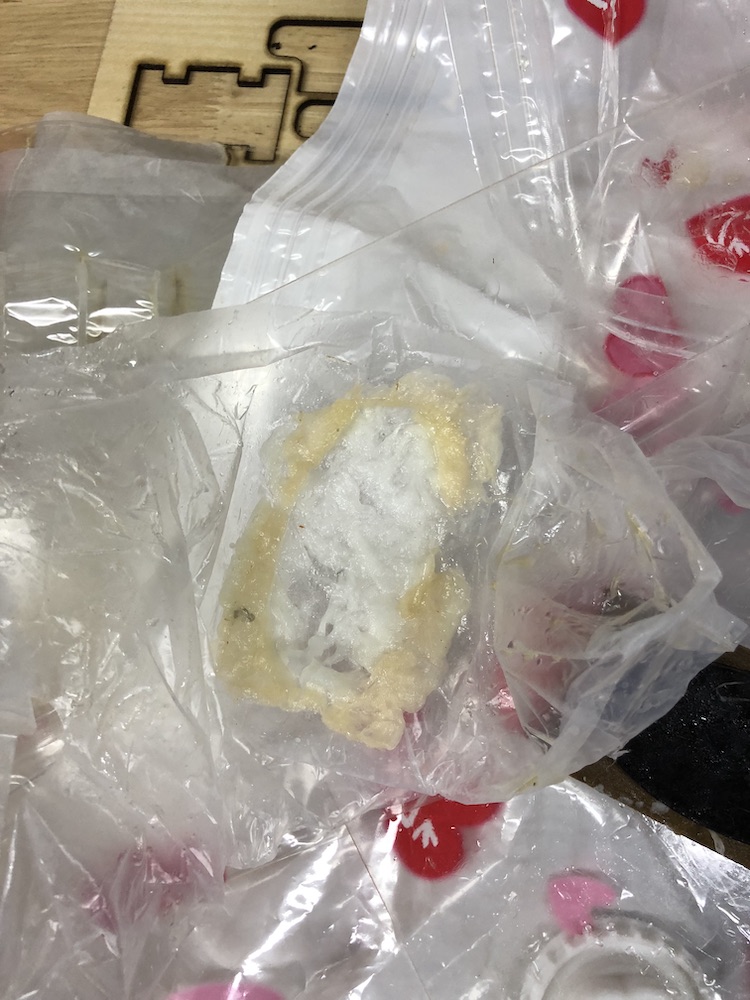
| failed; too much water in the pulp; should have drained water out of the pulp and mix it with resin |
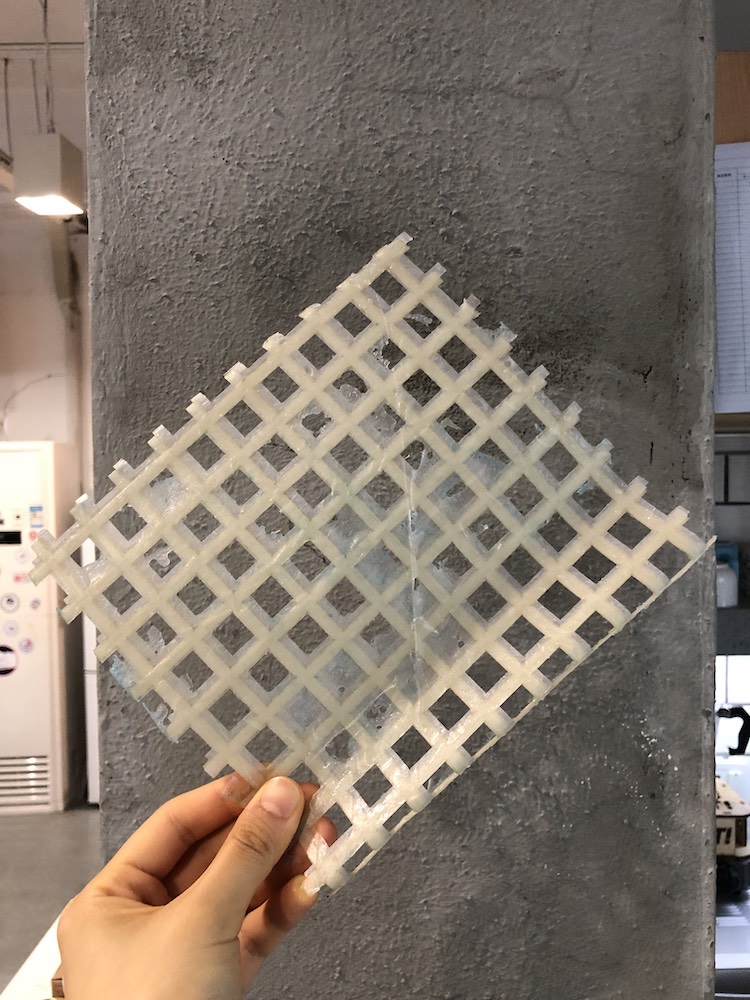
Final Composite with Paper
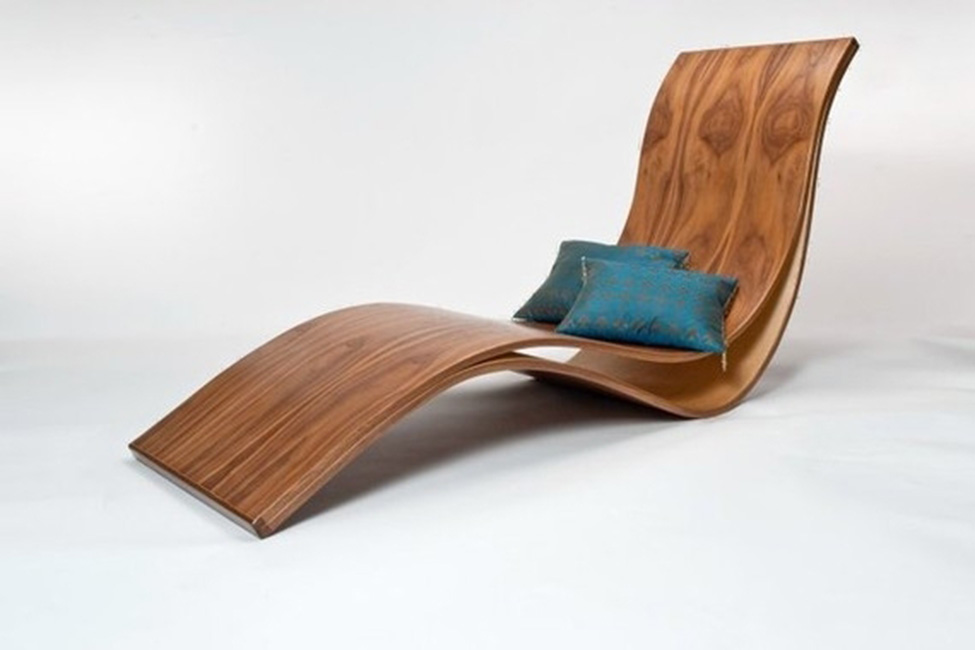
I want to make a form with paper composite that looks like this:
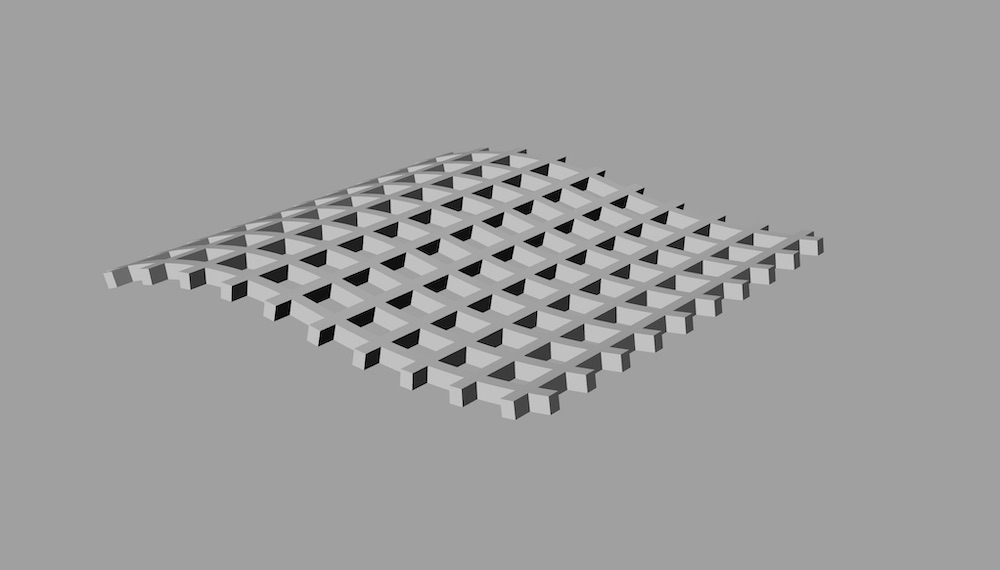

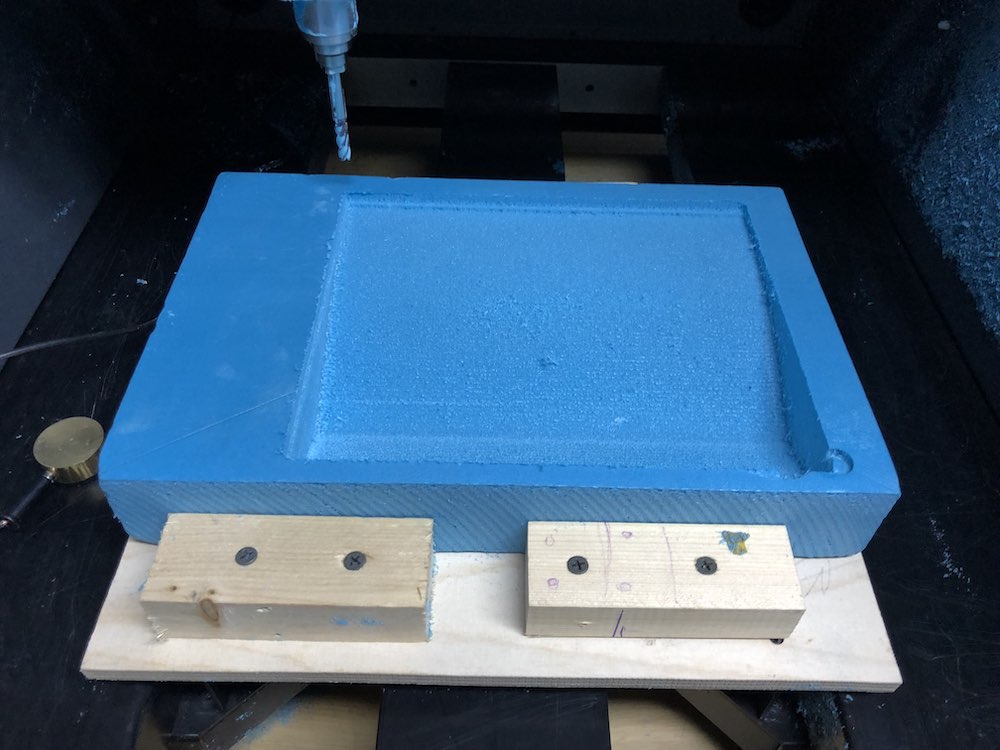
file: cncmould.stl
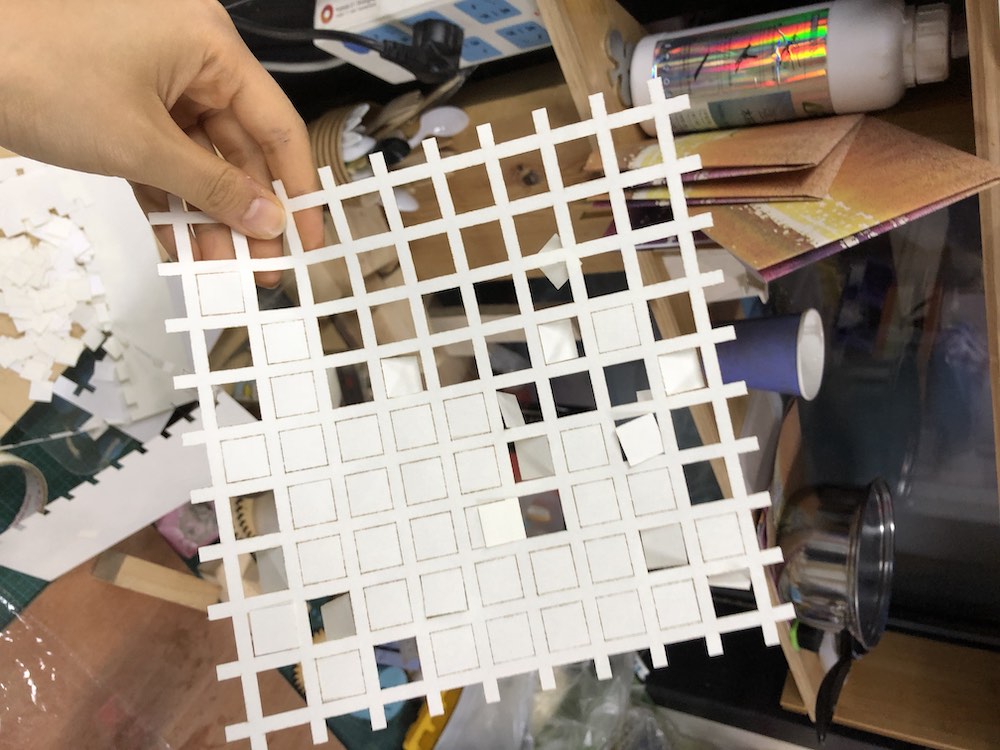
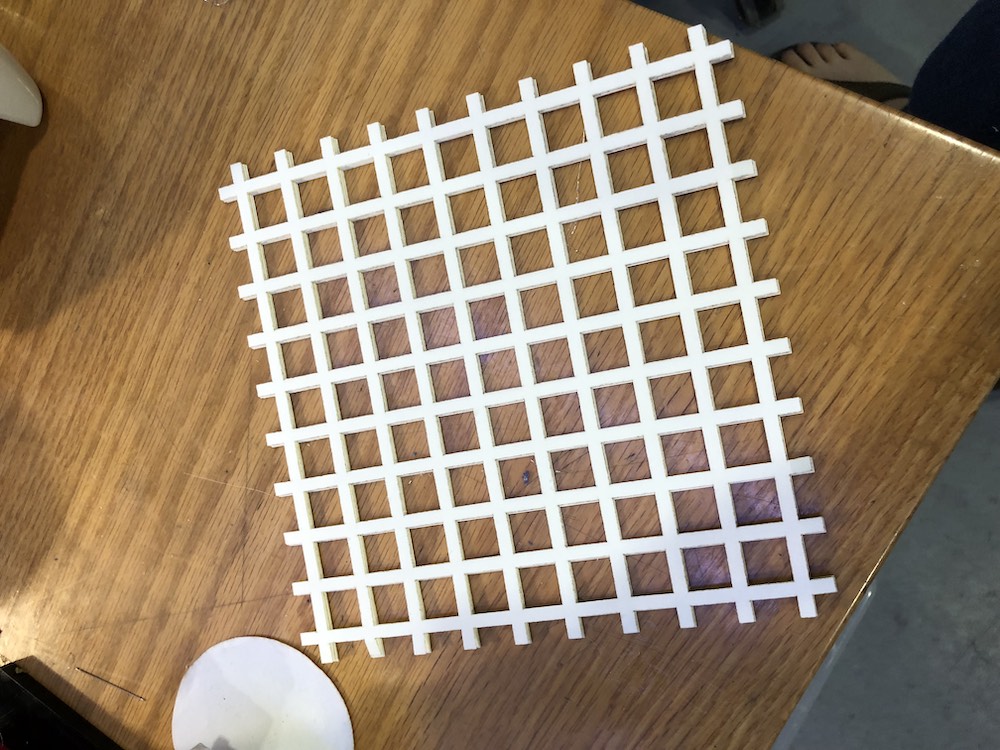
file: composite_lasercutonpaper_grid.ai
I brushed each layer of paper with resin and layer them on top of each other and onto the mould while avoiding air bubble. Then placed the mold into the vacuum bag:
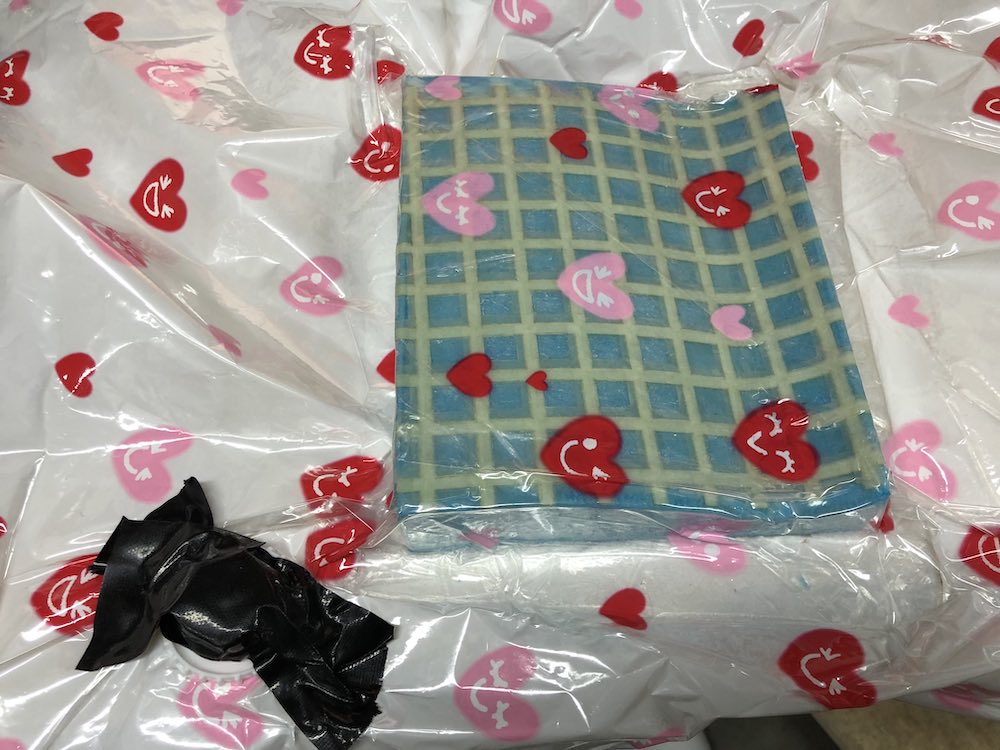
After twenty-four hours, I removed the mould from the vacuum bag. Here is the outcome:
3D Printing on Fabric
Two weeks ago when I attended Fab Asian Network 5 in Seoul, I discovered 3D printing on fabric at a Fabricademy workshop:
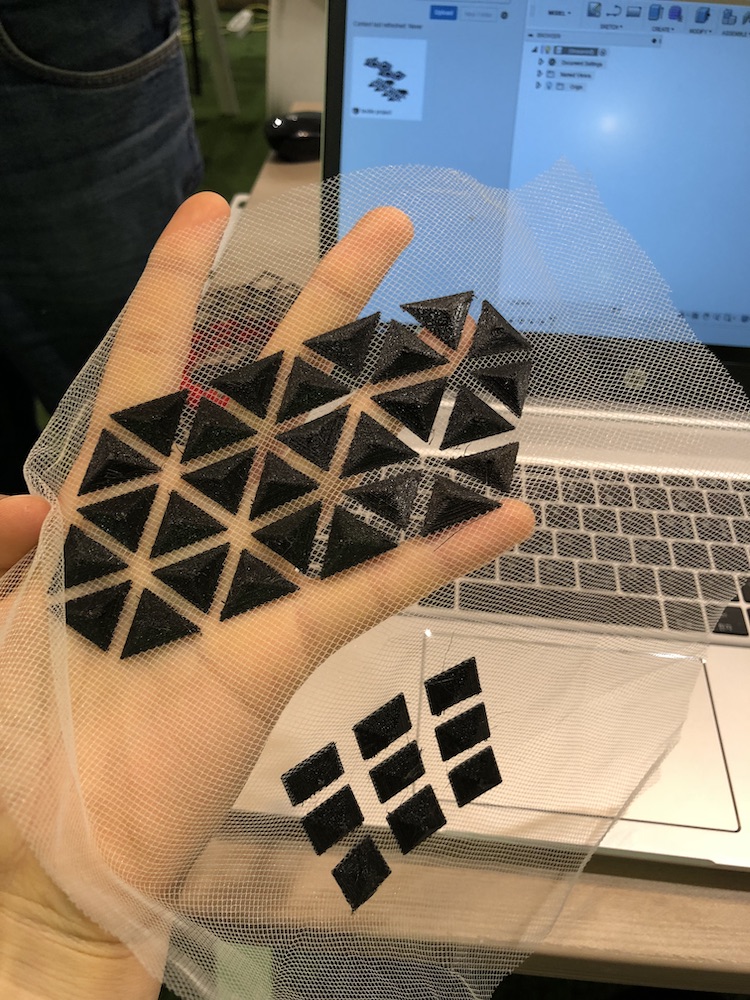
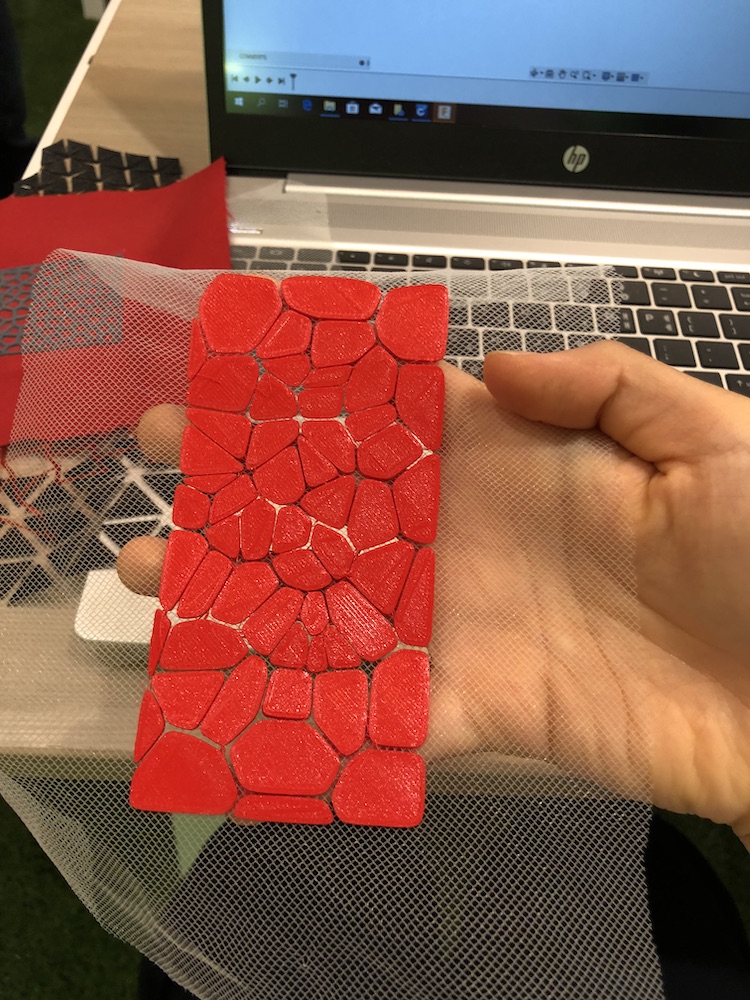
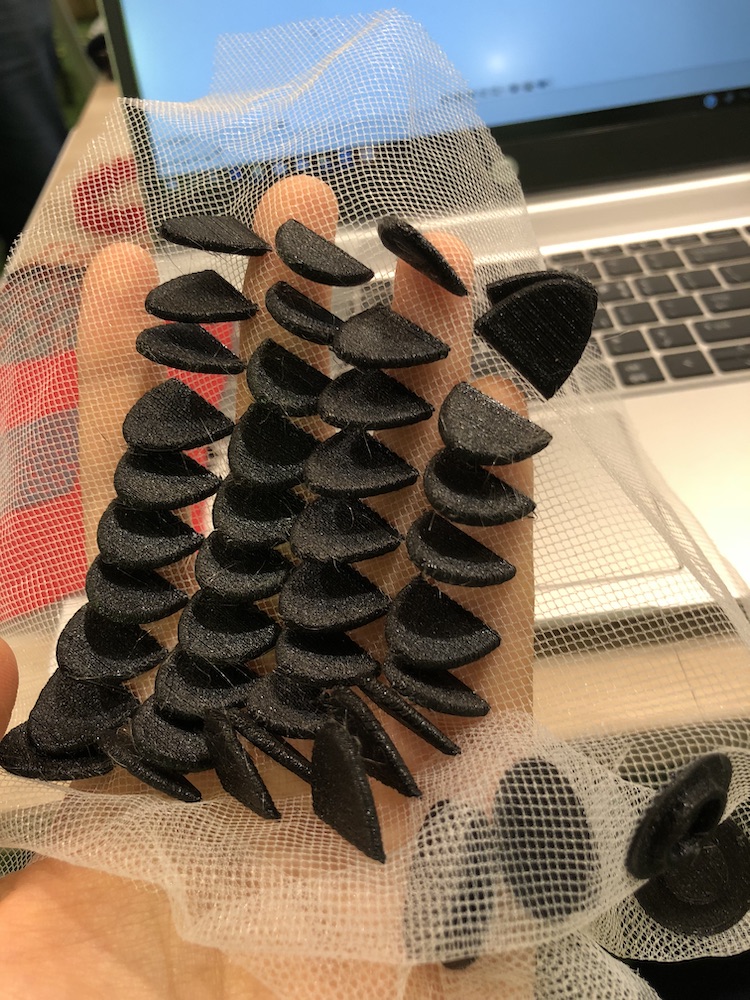
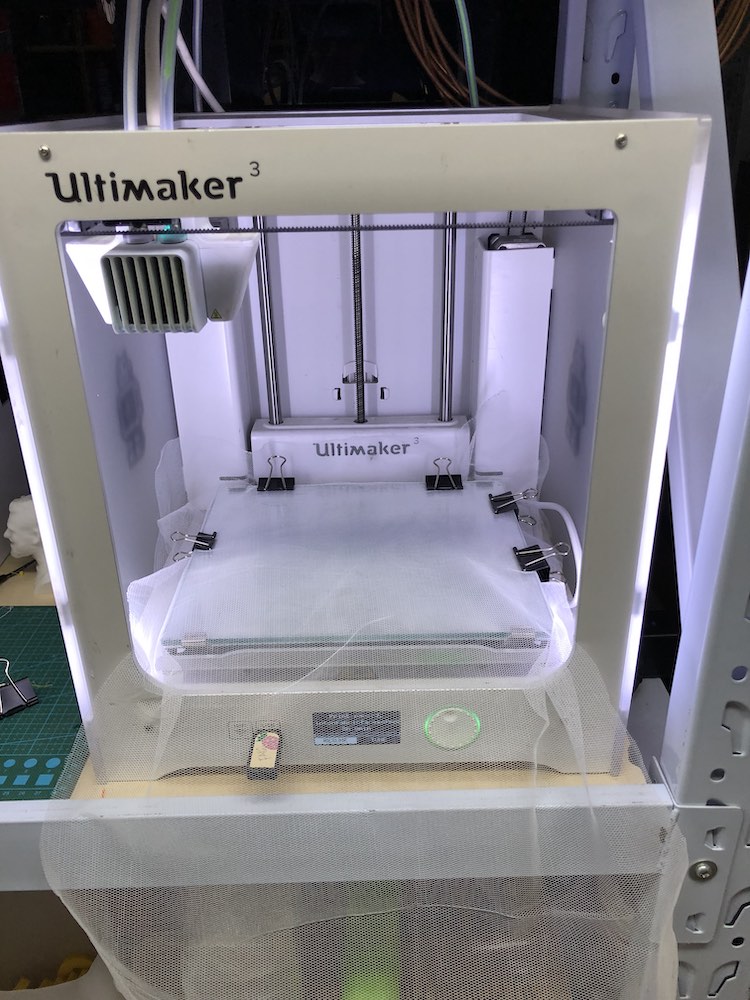
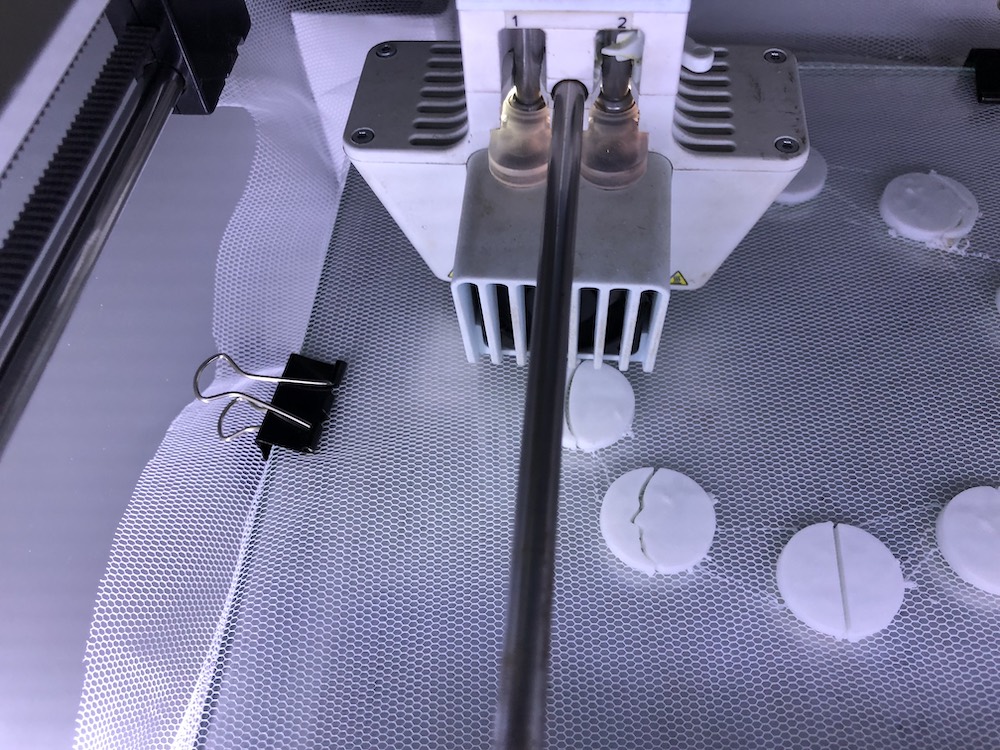
Some prints are done with PLA, while TPU was also used on some of the prints. TPU is softed than PLA and gives a semi-gloss, smooth finishing. When printing, material is layed flat (very important!) on the print bed. You can also print a few layers of material without any fabric at first, and then put the material on top of the first few layers of print and continue print.
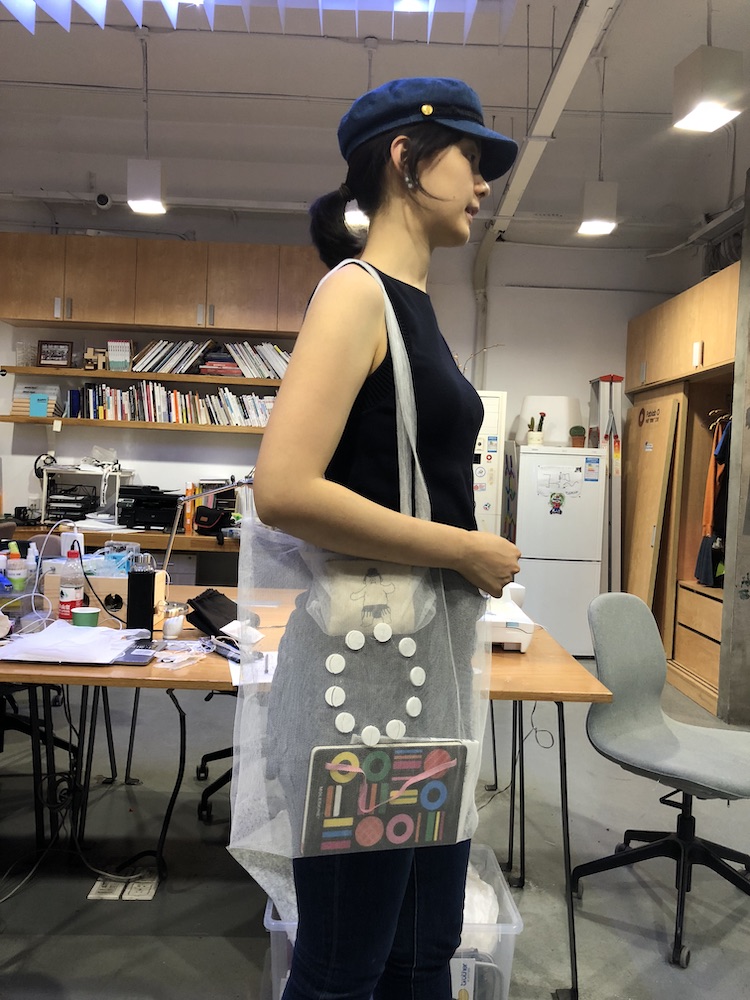
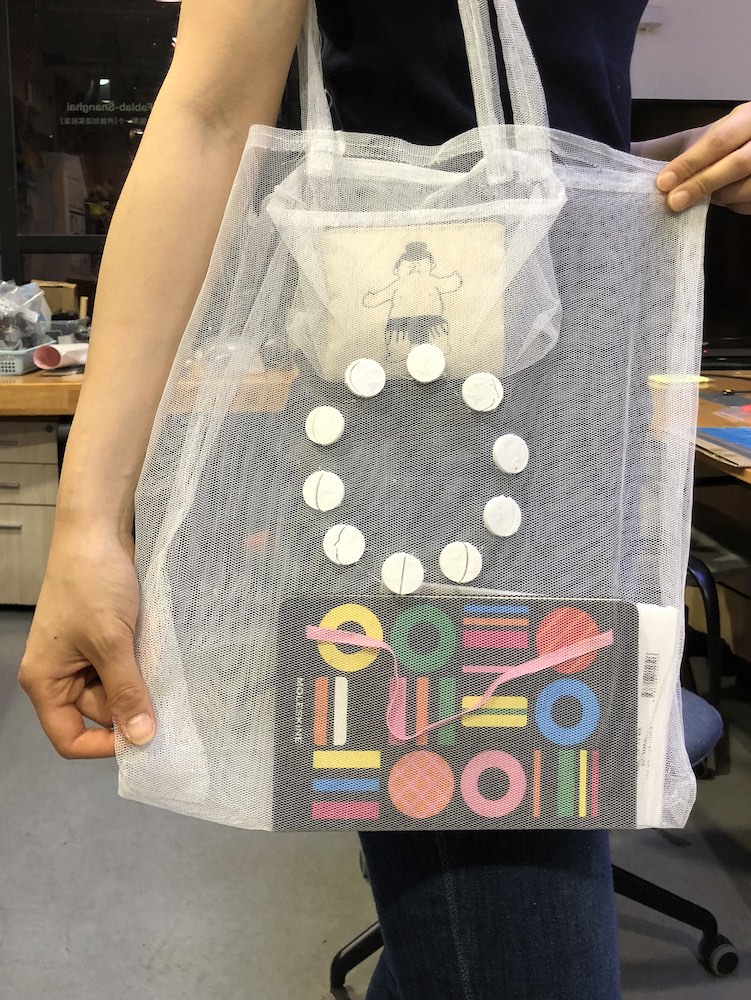
Making a summer tote bag
I am a big fan of tote bags. Since summer is approaching, and I started biking since I moved to a place twenty minutes away by foot from the subway station, I want to make a waterproof tote bag for the summer. It will be a two layer tote bag, with a layer of the material I used in the test, and a PVC material inside. This way the bag is entirely waterproof and strong enough for bearing weight.
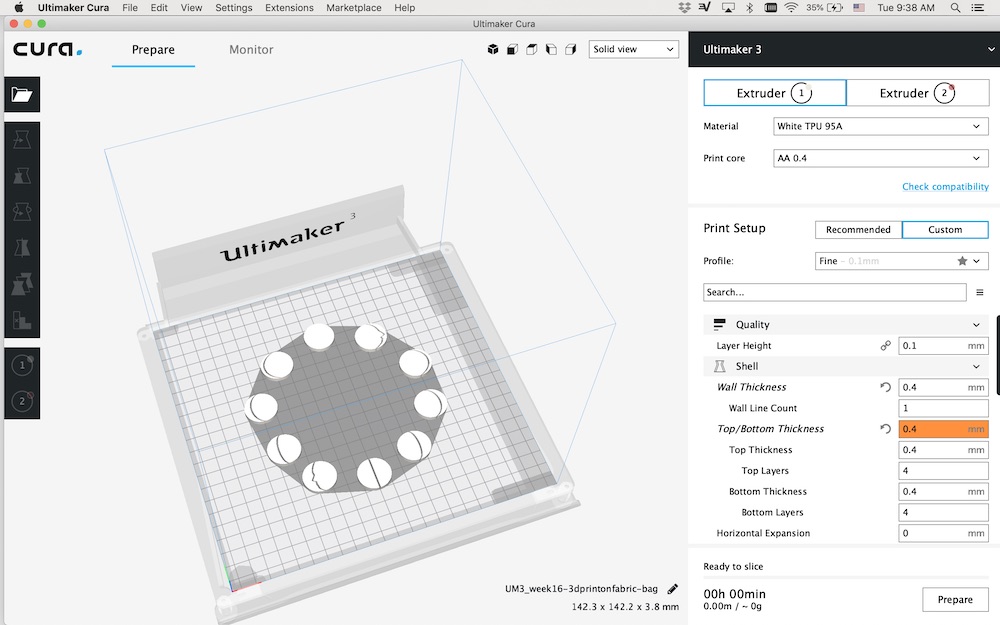
file: 3dprintonfabric-bag.stl
Here is the bag with only one layer :O In the future I will add another layer of PVC to make it more practical.